This post may contain affiliate sales links. Please read my disclosure policy.
This easy cutout sugar cookie recipe is the best! It makes soft cookies with lightly crisp edges. The perfect sugar cookie for decorating!
Sugar cookies are such versatile cookies – there’s one for every occasion! This recipe makes amazing sugar cookies for decorating. You can also try Brown Sugar Cookies and these Soft & Chewy Sugar Cookies for more ways to enjoy this classic cookie!
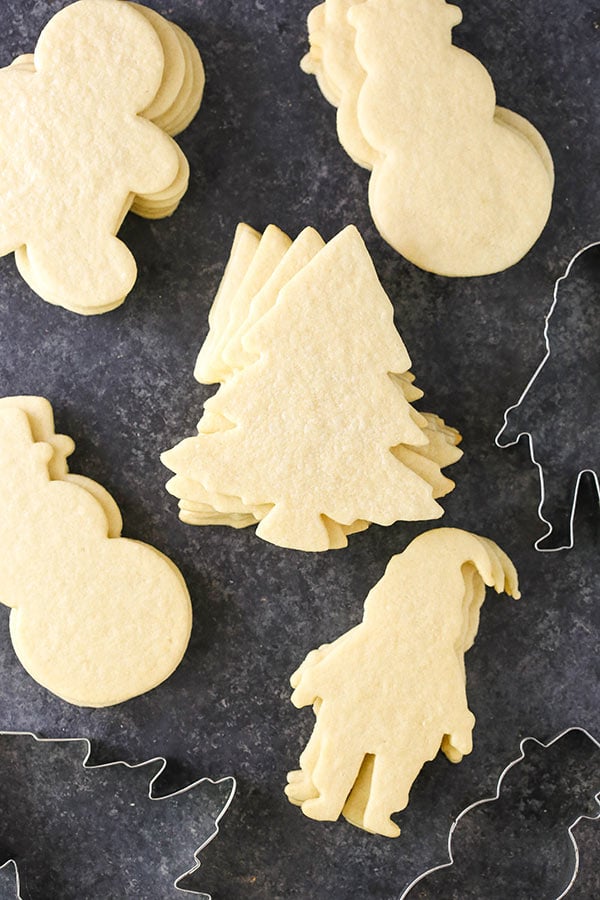
Decorating sugar cookies was a holiday tradition for my family growing up. My mom is not a baker but every Christmas she’d get things ready to make Christmas cookies with my brother and I. These caramel clusters were made very year, along with cutout sugar cookies. We’d actually ice the cookies with a traditional buttercream, but I decided to use royal icing this time around.
My mom actually gave me the cookie cutters we used to use a few years ago, figuring I’d get more use out of them now. I used those cookie cutters for these cookies. 🙂

I also used the same recipe we’d use – with a few modifications. The original recipe actually spread quite a bit. Not really ideal for cutout cookies.
So I did some playing around with the recipe and got them just right! I’m not going to lie, they spread juuuusssst a tad. It’s really more that they rise a bit. I considered making them a touch thicker so they didn’t spread/rise at all, but honestly I love them just the way they are. Too thick and you end up with a less than appetizing, dry cookie. The spread really isn’t much and as you continue to work with the dough and re-roll it, more flour mixes in and by the time you’re done, there’s no spread at all. The cookies hold their shape great, even when they spread a tad.
You will want to make sure to accurately measure your ingredients for these cookies. The amounts of ingredients – especially the flour – really do need to be correct to ensure your cookies turn out correctly. Too much flour and you’ll have some hard cookies. Too little and they’ll spread too much.

To help with that potential problem, I’ve included weight measurements for those who have a scale. It really is more accurate.
If you’re using a scoop, just be sure not to pack in the flour. I pour my flour into a canister and then scoop it out of there, so it isn’t densely packed but is loose.
Make the Cookie Dough
To make the dough, start by creaming the butter and sugar together for 3-4 minutes. You should notice the color of the mixture actually get lighter in color and it should get fluffy in texture. Then you’ll mix in the egg and vanilla, then the dry ingredients. It’s a very simple and straightforward recipe as far as the ingredients and method.
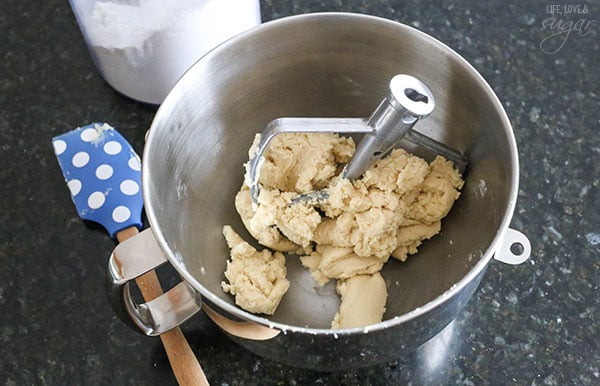
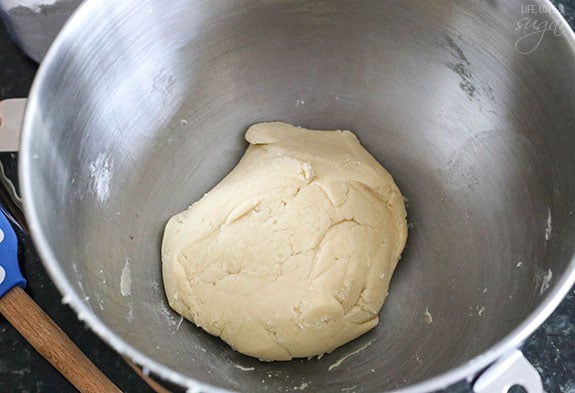
The dough will actually be quite thick, even a little crumbly at first. If it doesn’t completely come together with the mixer, use your spatula or hands to press it into a ball.
These Are No Chill Cutout Sugar Cookies
You can definitely refrigerate this cookie dough and make it a few days ahead if you want, but it isn’t required. You can start rolling our cookies as soon as it’s ready.
Shape Your Cut Out Cookies
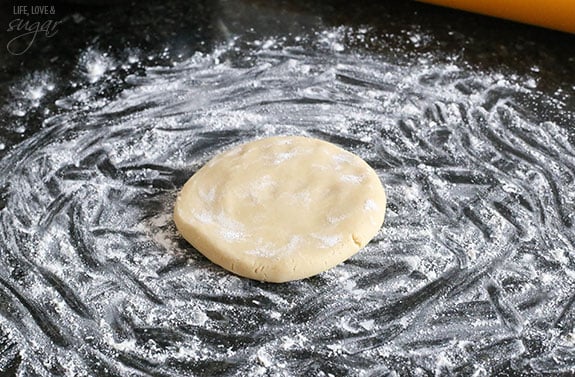
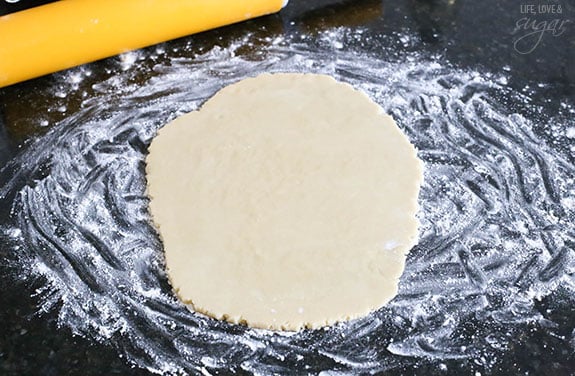
Sprinkle a little flour onto your surface (I used our countertops). Grab some of the dough – I start with about 1/3 of the dough – and roll it out. If you find your rolling pin sticks to the dough, sprinkle a touch of flour onto it. You’ll want the dough to be 1/8 to a 1/4 inch thick after being rolled out.
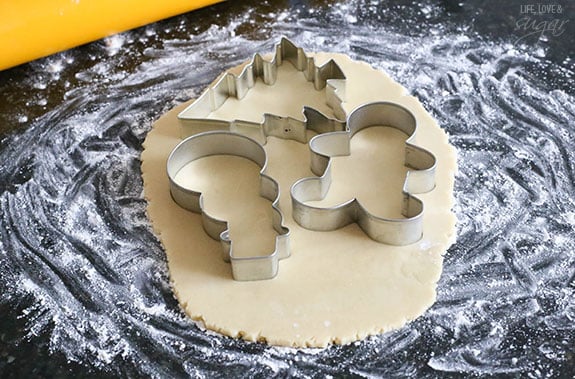
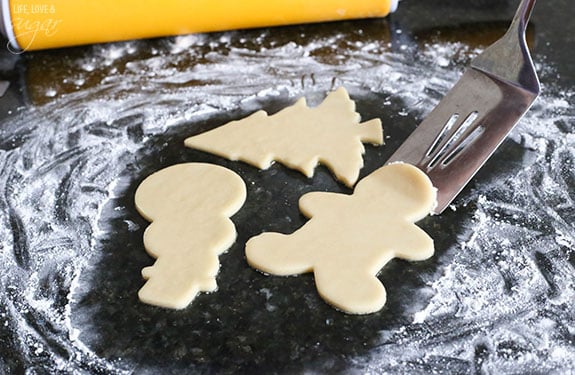
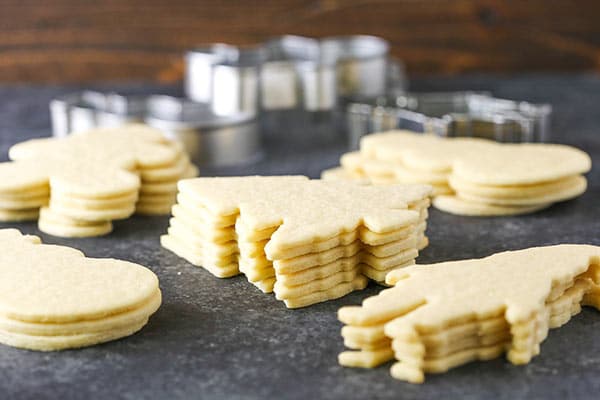
Cut out your cookies, making the most of the dough and squeezing in as many cookies as you can. My cookie cutters were fairly big, so I didn’t get quite as many cookies per roll out. Remove the excess dough and lift the cookies with a lightly floured spatula, then place them on a lined cookie sheet. I like to use my silicone baking mat, but parchment paper would work well too.
Bake the Cookies
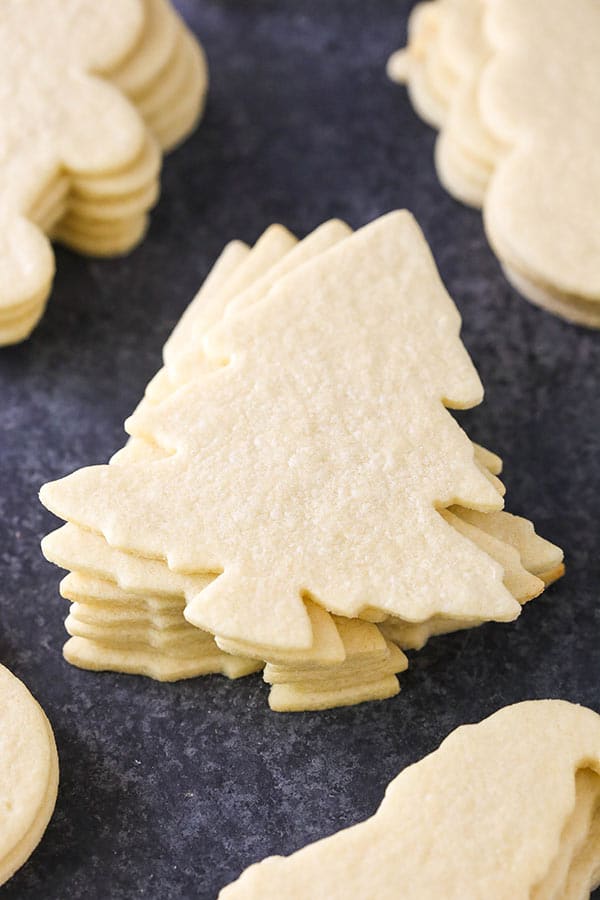
The cookies bake for 7-9 minutes. You can wait until the edges are just starting to get golden, or remove them a touch sooner. The time might vary a bit between ovens, but 8 minutes was just right for me. Well baked, but not browned. I like mine a little softer.
Once you remove the cookies from the oven, you’ll want to let them sit for 4-5 minutes before removing to a cooling rack. They will be fairly soft until they firm up a bit as they cool, so it’ll be easier to move them once they’ve cooled a bit.
Decorate Your Sugar Cookies
Once the cookies are completely cool, it’s time to ice them with royal icing. It’s really not as scary as it seems, it just takes a little time and you need the right tools. I liked these cutout sugar cookies best once I had the royal icing on them. The icing softens the cookie up a bit from the moisture and results in a seriously perfect decorated sugar cookie.
In fact, I took one with me to Chicago right after I made them so that my friend Julianne from Beyond Frosting could try one. She said it was the best royal icing cookie she’s had! A big compliment. 🙂
If you’re wanting to decorate your cookies with royal icing when they’re ready, check out my post on how to make, color and pipe with royal icing. There’s even a video!
- Best Gingerbread Cookies (Soft and Chewy Cutouts)
- Christmas Tree Chocolate Chip Cookie Cake
- White Chocolate Dipped Cranberry Oatmeal Cookies
- Coconut Sugar Cookies
- Chocolate Crinkle Cookies
- No Bake Salted Caramel Coconut Macaroons
- Gingerbread Cookies with Eggnog Icing
- Caramel Stuffed Chocolate Cookies
- Frosted Sugar Cookie Bars
- Silicone baking mat
- Scale, for weighing ingredients
- Parchment paper
- Rolling pin
Watch How To Make Them
Print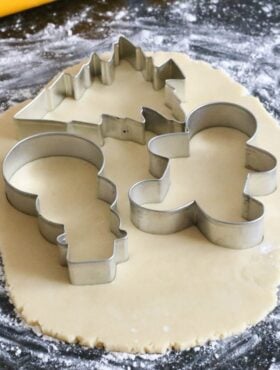
- Prep Time: 10 minutes
- Cook Time: 9 minutes
- Total Time: 19 minutes
- Yield: About 20 Large Cutout Cookies
- Category: Dessert
- Method: Oven
- Cuisine: American
Description
This easy cutout sugar cookie recipe is the best! It makes soft cookies with lightly crisp edges. The perfect sugar cookie for decorating!
Ingredients
- 1/2 cup (112g) unsalted butter, room temperature
- 1 cup (207g) sugar
- 1 large egg
- 1 tsp (5ml) vanilla extract
- 2 1/4 cups (293g) all purpose flour
- 1/8 tsp salt
- 1 1/2 tsp baking powder
Instructions
- Preheat oven to 350 degrees and line a cookie sheet with a silicone baking mat or parchment paper.
- Cream butter and sugar together for 3-4 minutes, until light and fluffy.
- Add egg and vanilla extract and mix until combined.
- Combine dry ingredients in a separate bowl, then add to wet ingredients and mix until well combined. Dough will be very thick. You might need to use a spatula or your hands to help it all come together.
- On a lightly floured surface and using smaller amounts of dough at a time, roll out dough to about 1/8 to a 1/4 inch. IF you roll them out too thickly, they might spread a little bit. If the dough sticks to the rolling pin, lightly sprinkle the top of the dough with flour. See my notes about rolling out the cookie dough below.
- Use cookie cutters to cut out cookies, then transfer to cookie sheet. (If you want to be completely sure that they don’t spread even a little, put them on parchment paper and freeze them for 7-8 minutes before baking them.)
- Bake cookies 6-8 minutes. Remove from oven just before they start to brown on the edges.
- Allow cookies to cool for 4-5 minutes, then move to cooling rack to finish cooling.
Notes
The best way to measure the dry ingredients for this recipe to ensure your cookie dough isn’t dry is to measure them by weight. If you don’t have a scale though, be sure not to pack the flour into your measuring cup. I usually store my flour in a separate container from the bag I bought it in, then prior to measuring I use a spoon or other utensil to loosen the flour. I use a scoop to scoop out the flour, then level it with the flat side of a knife. Don’t tap the scoop to settle the flour or pack in the flour.
Rather than rolling the dough out onto a floured surface, you can also roll it out right onto parchment paper or a silicone baking mat, then you don’t have to transfer them and move them around after cutting. I’ve started doing this, and also putting parchment paper over the cookie dough when I roll it out so I’m not flouring the dough several times or the rolling pin.
If you’d like to use it, here is my royal icing recipe for decorating the cookies.
Nutrition
- Serving Size: 1 cookie
- Calories: 136
- Sugar: 10.1 g
- Sodium: 121.5 mg
- Fat: 5 g
- Carbohydrates: 21.1 g
- Protein: 1.8 g
- Cholesterol: 21.5 mg
Categories
Enjoy!
This post contains affiliate links.



What kind flour
All purpose
This recipe is absolutely AMAZING. I can’t tell you how many I have tried & disliked. Thank you so much for sharing! 🙂
So glad to hear you enjoyed them!
We have made these 4 times in the past 2 weeks! They are the BEST!!! Our new favorite cookie! Perfect royal icing! Thanks for sharing!
Merry Christmas
The Oliver Family – Louisiana
What do you suggest if the dough is too sticky to try to pick up ? I’m scared to try more flour since you said to be sure to use what ingredients call for, lol. Maybe refrigerate a lil bit?
Where the ingredients weighed? Or did you use cups? If you used cups, it’s possible that you need a touch more flour.
Lindsay, we’ve made these cookies the last two years and love them! This dough is so easy to make and I love that you don’t have to chill it!! Perfect recipe! Merry Christmas!!
How cute! I wish my sugar cookies came out like this. How did you make your icing? Recipe Please? 🙂 thank you for sharing!!
There is a link to the recipe within the pink card, just below the recipe. Here it is though. 🙂 There’s also a video with it.
I came across your royal icing tutorial on Pinterest, and decided to use your sugar cookie recipe as well! They came out just perfect! They have a slightly crisp bottom but the cookie itself has a soft but toothsome bite. I really appreciate that you added the weight of the ingredients! It helped keep all four batches consistent. Great recipe, thank you!
Yay! I’m so glad to hear you used the weight measurements – always turns out best! So glad you enjoyed them! 🙂
Do you have to refrigerate?
You can but you don’t have to.
Merry Christmas! I have to tell you ,this is my new favorite sugar cookie recipe! so easy and I love that the dough doesn’t have to chill and that the cookies keep their shape. such a time saver! I also have to share with you and your readers that I used Truvia baking blend (Stevia) instead of sugar- and it still turned out perfect! thank you for sharing this recipe! Happy New Year 🙂
I’m so glad you enjoyed them! Merry Christmas and Happy New Year to you as well!
Can you freeze these?
I haven’t tried it, but it should be fine.
As an experienced baker I thought I would try your recipe.ni was a little skeptical that there was only 1/2 cup butter to 2 cups flour. However, I follwed yoyr recipe and found myself with not a dough but fliyr meal. So I added another 1/2 cup shortening and the recipe turned out fine.
My biggest pet peeve is trying recipes on pinterest that are not accurate ir that ingredients have been omitted.
Hi Lynn. I’m sorry it didn’t turn out as expected. The reason for that ratio is that these cookies don’t spread when baked so they maintain their shape. Adding additional butter (or shortening) would likely result in cookies that spread. The ingredients are accurate and nothing has been omitted, so there was likely some other issue. Thanks.
I was just comparing recipes and this one has the same flour to butter ratio as the Martha Stewart sugar cookie recipe.
What a beautiful recipe and story!! I absolutely can’t wait to try this recipe!!!
Just a quick question, while I have definitely flagged your royal icing recipe for future use, I was hoping to make something a little easier my first time. Your story mentioned that you used to use a buttercream frosting when you were younger. While obviously not as gorgeous as royal colored icing, any other cons to buttercream frosting? (Cookie doesn’t last as long?)
As I’m sure you can guess, it’s really more of an appearance thing. Certainly as a kid, buttercream was easier to work with. The buttercream won’t be quite a firm as a royal icing, but that might not be an issue. I’d think the cookies would last a similar amount of time. Royal icing does typically hold better for longer, but the cookie might be even softer over a weeks time with buttercream because of the moisture. I hope that helps!
How long can you store the cookie?
Honestly, the cookie would dry out if made too much ahead. Once frosted, they’ll last a little longer. It depends a little on your tolerance for a crispy cookie. 🙂 I’d say 3-4 days is best, but up to a week or so should be ok.
I loved this recipe, I was very nervous when the dough wasn’t coming together, but if you mix it with your hands it works perfectly. I rolled them into balls since I didn’t have cookie cutters. Then, I rolled the balls in cinnamon and sugar. That made them taste even better! I flattened the balls with a fork and pooped them in the oven! I will totally use this recipe again!
Hey, can you please upload the recipe for the frosting as well? I’ve tried some methods but didn’t find one that I like. It’d be really helpful. 🙂
PS thank you for this recipe. I’ll definitely try this one out soon. 🙂
The link is within the blog post, but I just added it to the recipe card so it’s easier to find. I hope you enjoy the cookies!
Can you freeze these cookies after baking and prior to icing them?
I haven’t tried it. I’m not sure how well they do after freezing.