This post may contain affiliate sales links. Please read my disclosure policy.
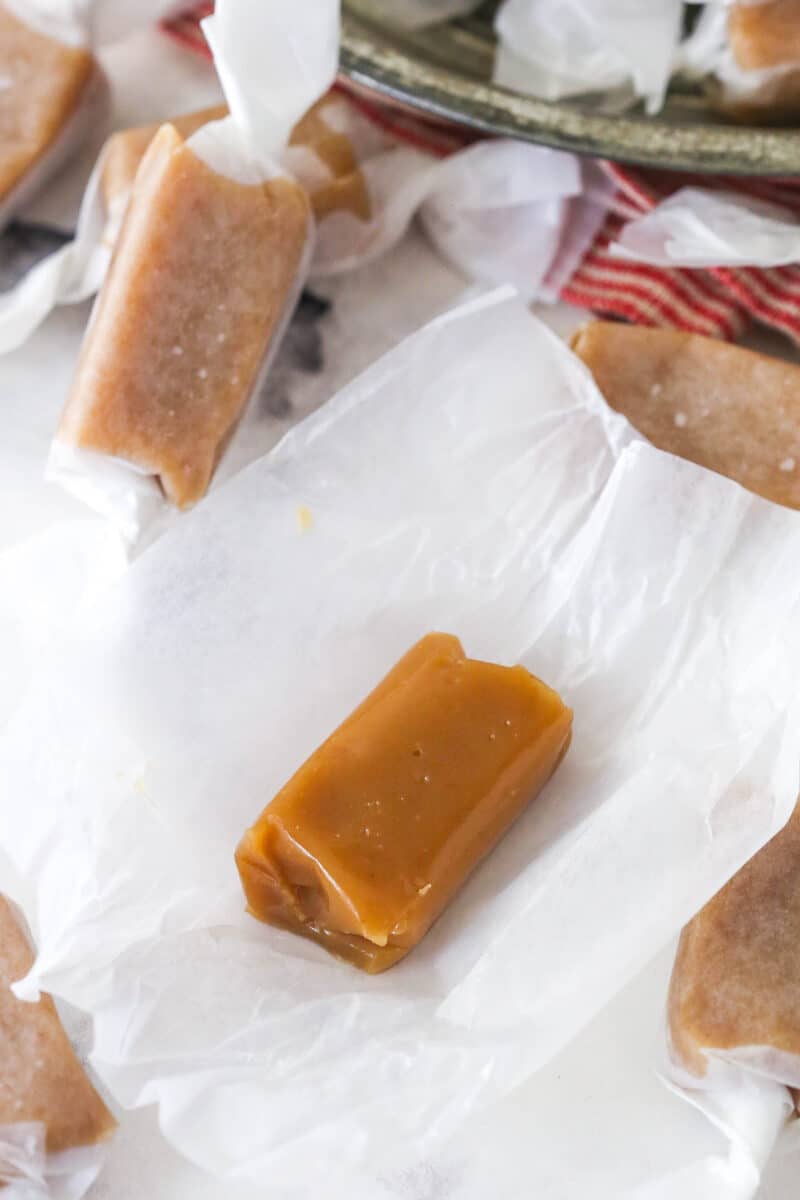
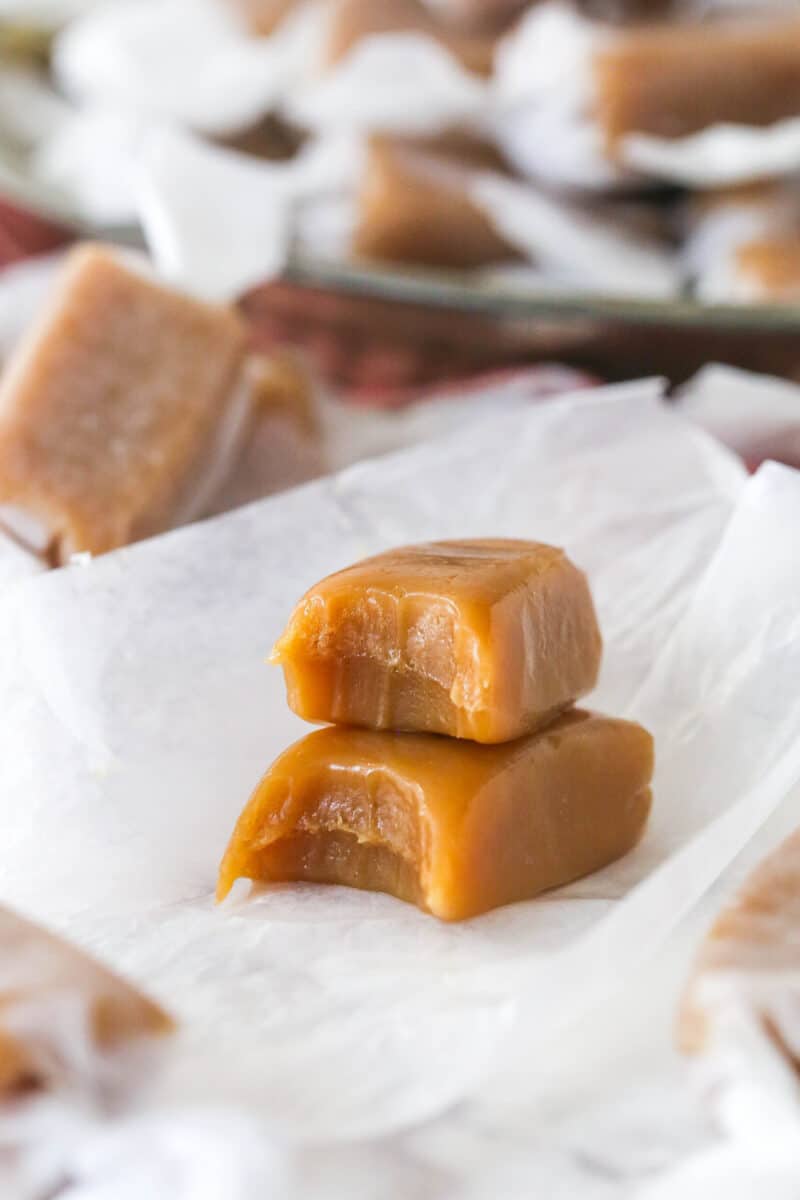
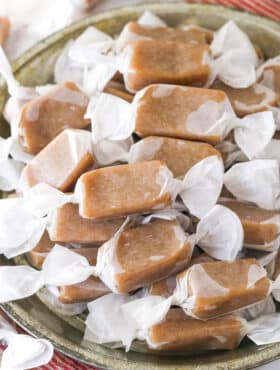
These homemade caramels are soft, chewy and FULL of flavor! They’re not hard to make and use simple ingredients. With my detailed instructions and step-by-step photos, you’ll be gifting homemade caramels to everyone you know!

Better Than Store-Bought
I am such a big caramel fan. It’s easily one of my favorite flavors. In a bag full of candy and chocolates, I will always eat anything with caramel first and may not even bother with the rest. It’s true love.
And these homemade caramels are even better than store-bought ones – and pretty much every other recipe I tried. When I make something homemade, I want even better flavor than what I can buy, otherwise what’s the point? Many recipes out there have caramel flavor that just isn’t enough for me. So I set out to make something better.
Rather than having just one caramelization process that’s cut short by the temperature needed to have softer caramels, this recipe has two rounds of caramelization. You basically start out by making my homemade salted caramel sauce, which already has amazing flavor, then add a few more ingredients and cook it again until it’s at the right temperature for chewy caramels. Purely addicting and amazing. The flavor is the best.
Why You’ll Love These Homemade Caramels
- Amazing flavor – As explained above, the flavor of these caramels is the best. Twice the caramel flavor of most other recipes! You won’t be able to resist them!
- Soft and chewy – They are soft, chewy and just the right texture. Plus, with slight adjustments to the temperature you cook them to, you can make them more or less soft to your preference. Easy!
- Perfect for gifting – Move over cookies! Homemade caramels are in town! Not only are homemade caramels special and impressive feeling, they also last longer than any cookie. Gift them all season long, ship them – they stay perfect.
Ingredient Notes
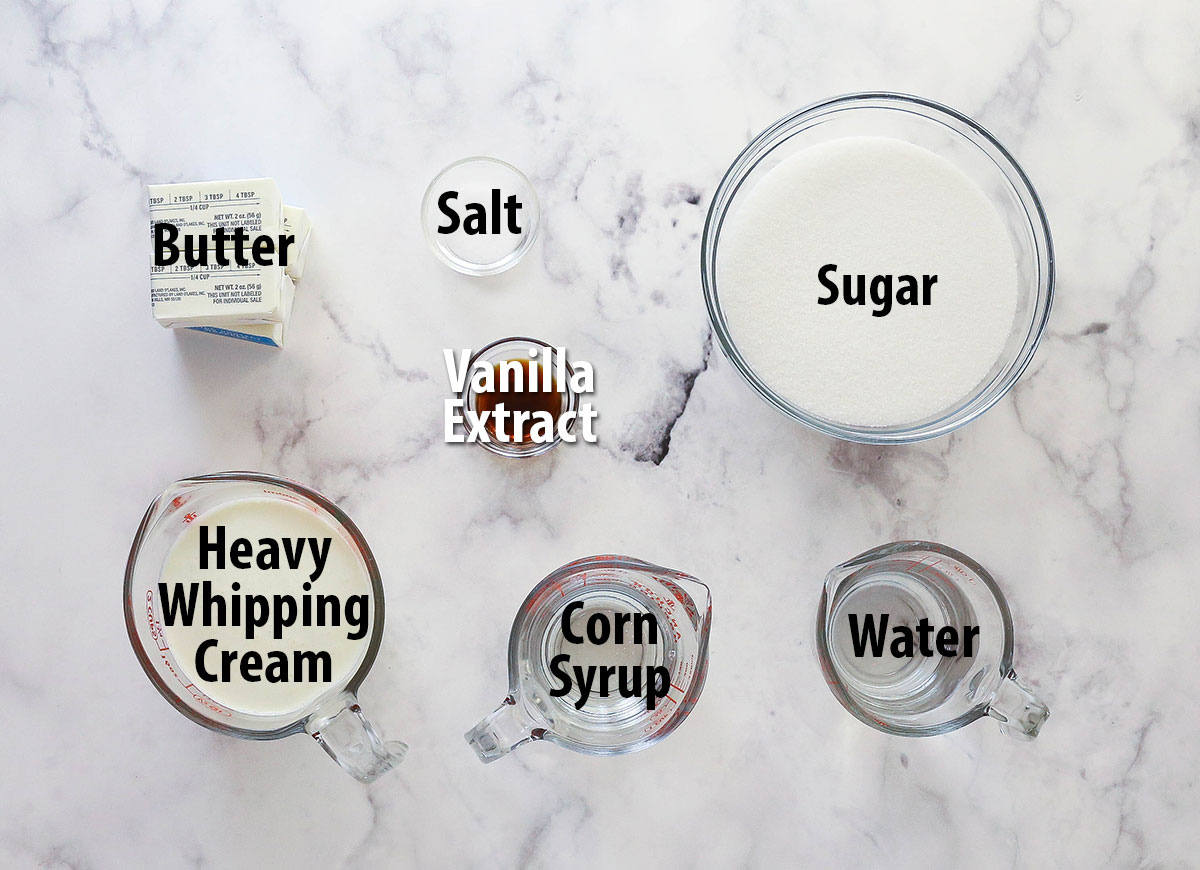
These caramels are made with simple ingredients and you likely have most, if not all, of them on hand. You can find the exact measurements for each ingredient in the recipe card below.
- Sugar – The caramel flavor comes from melting and cooking – or caramelizing – the sugar. Stick with regular granulated sugar.
- Water – The sugar is cooked in water when making the caramel sauce. The water helps regulate the temperature of the melted sugar as it cooks so that it doesn’t burn before it caramelizes. You wouldn’t want to swap this out for something else, like cream, because cream is more likely to burn at higher temperatures.
- Butter – For flavor and texture. You really want to be able to control your salt content here, so go for unsalted butter.
- Heavy Whipping Cream – Be sure to use heavy whipping cream, not half and half, milk or another alternative. You want the higher fat content so that your caramels thicken/firm up properly.
- Light Corn Syrup – Helps prevent crystals from forming in the caramels so that they have a smooth, creamy texture
- Salt – I love the way it makes the flavor of the caramels pop, but you could leave it out, if you prefer.
- Vanilla Extract – Amps up the flavor of the caramels.
How to Make Homemade Caramels
These caramels take a little time to make, but they aren’t hard. The main thing is to have an instant candy thermometer so you know what temperature things are and when they’re done. Otherwise, it’s a lot of stirring and waiting. You can find the printable version of the instructions in the recipe card below.
- Prep: Line an 8 or 9-inch baking pan with parchment paper. Set aside.
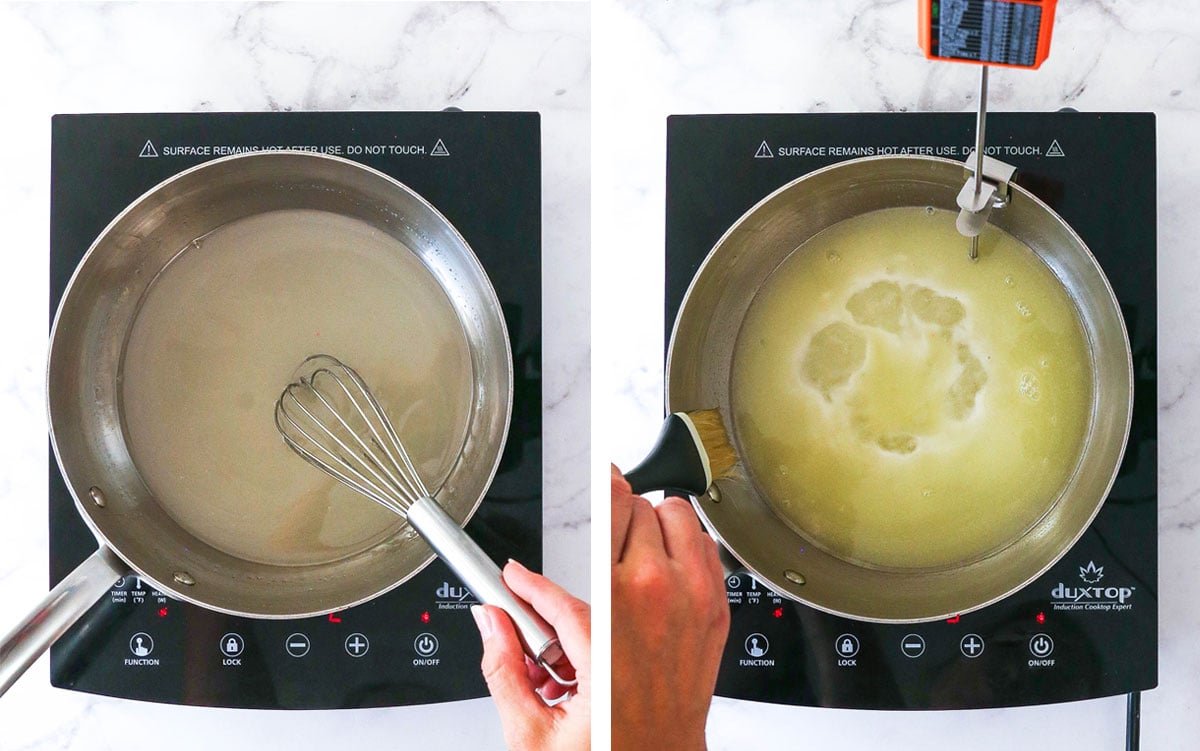
- Start making the caramel sauce. Combine the sugar and water and cook over medium-low heat until the sugar is dissolved. Add ½ a cup of the butter and let it melt.
- Bring sugar mixture to a boil. Turn the heat to medium and bring the mixture to a boil. Use water and a pastry brush to clean the sides of the pan to help reduce crystallization. Don’t whisk at all during this part.
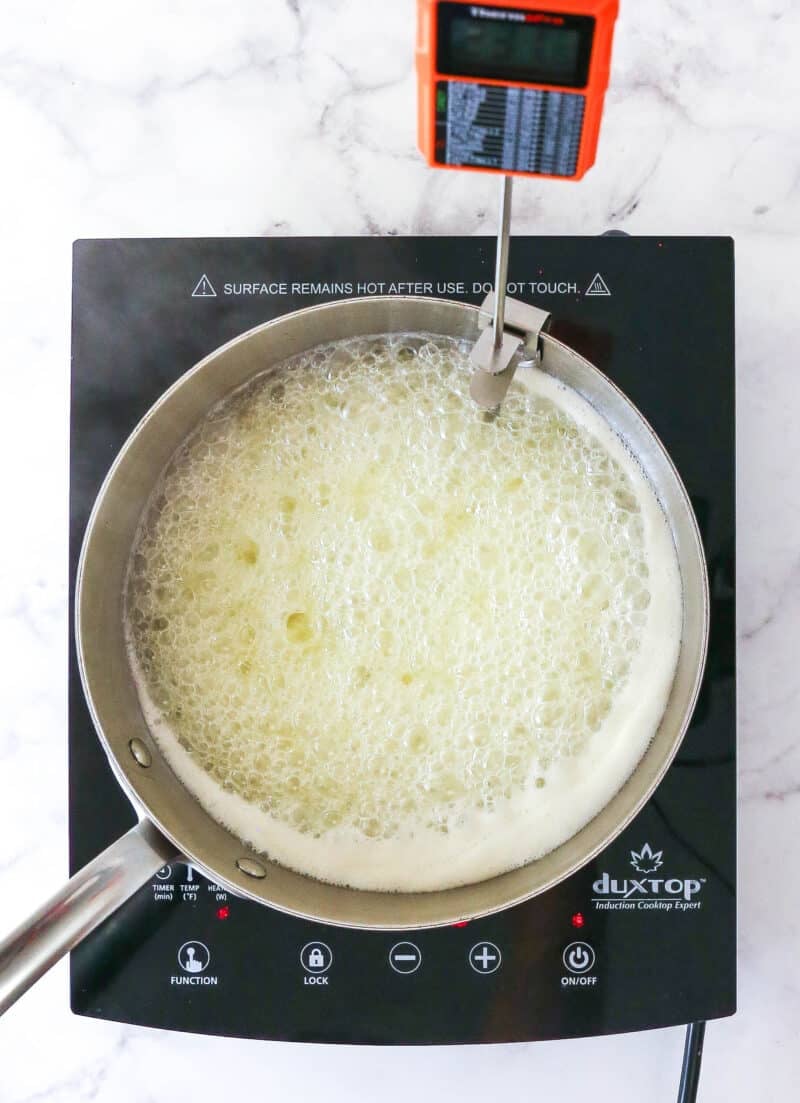
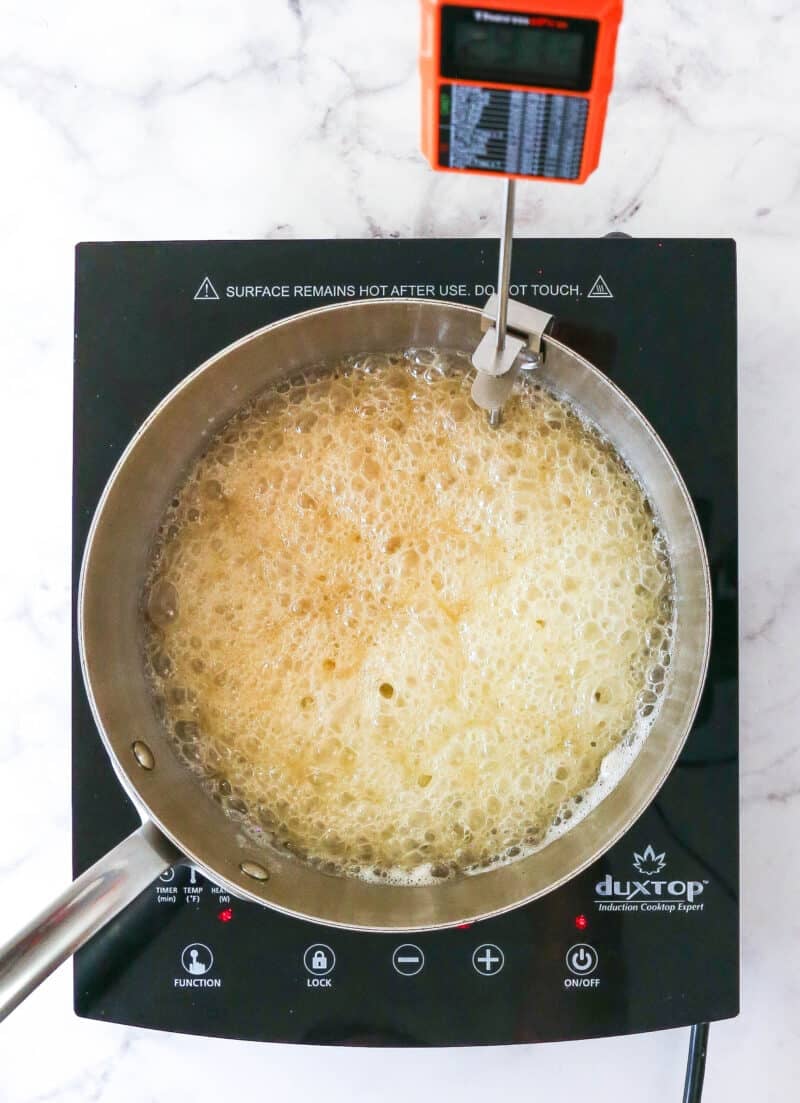
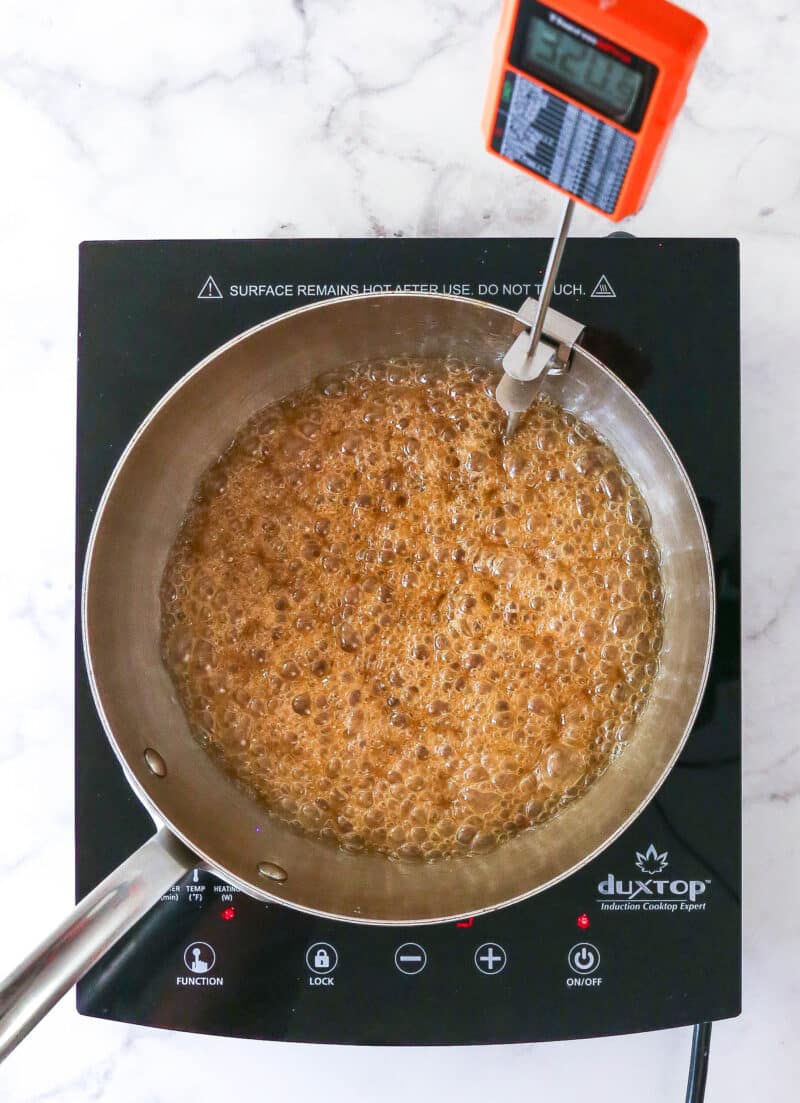
- Let the sugar caramelize. Allow to boil until it turns a deep golden copper color and reaches 330°F. If needed, tip the pan from side to side to help things cook evenly, and to see how dark it is to make sure it isn’t burning.
- Finish caramel sauce. Remove caramel from heat and add the heavy whipping cream. The caramel will bubble up quite a bit, so be careful. Whisk quickly as you add the cream, whisking until well combined.
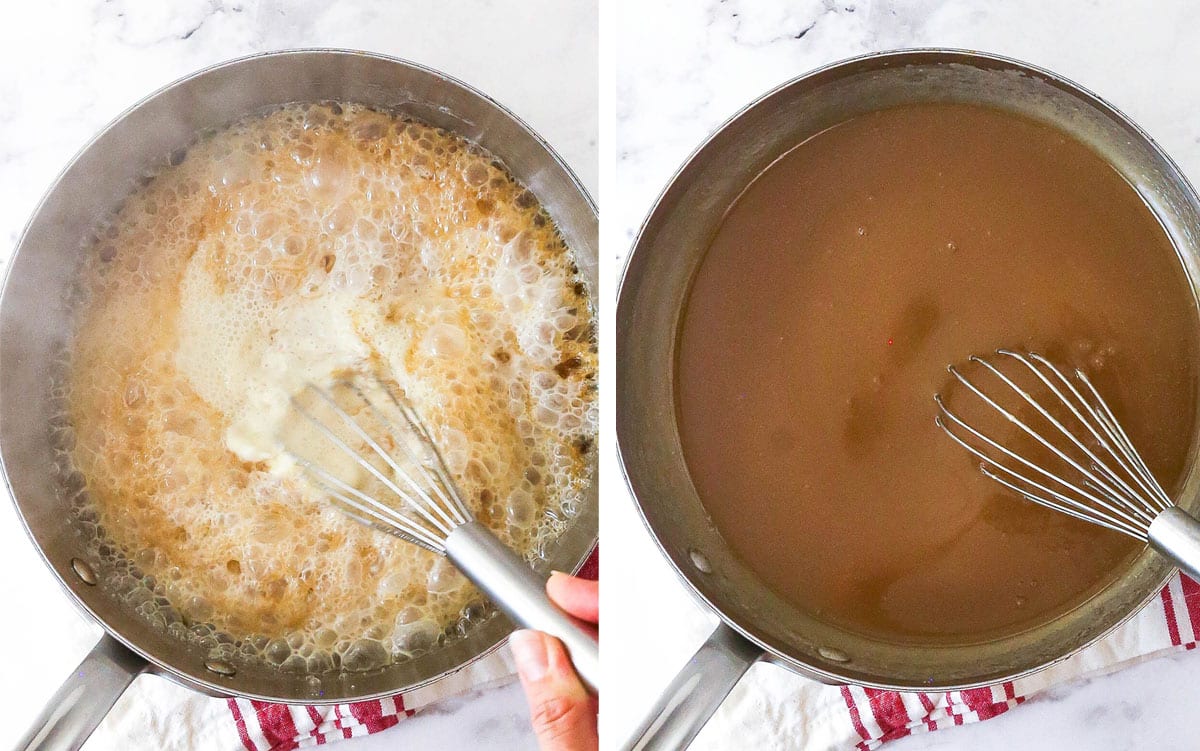
- Turn the caramel sauce into caramels. Add the remaining ½ cup of butter and let it melt, then add the corn syrup. Heat over medium heat and bring to a boil. Stir often with a silicone spatula to help prevent burning.
- Heat to the right temperature. Cook the caramel until reaches 240-245°F. The higher the temperature, the firmer the caramels will be. If you don’t have a candy thermometer, you can also test it the old-fashioned way by dropping a spoonful of hot caramel into a cup of ice water. If you can shape it into a fairly firm but slightly sticky ball, it should be ready.
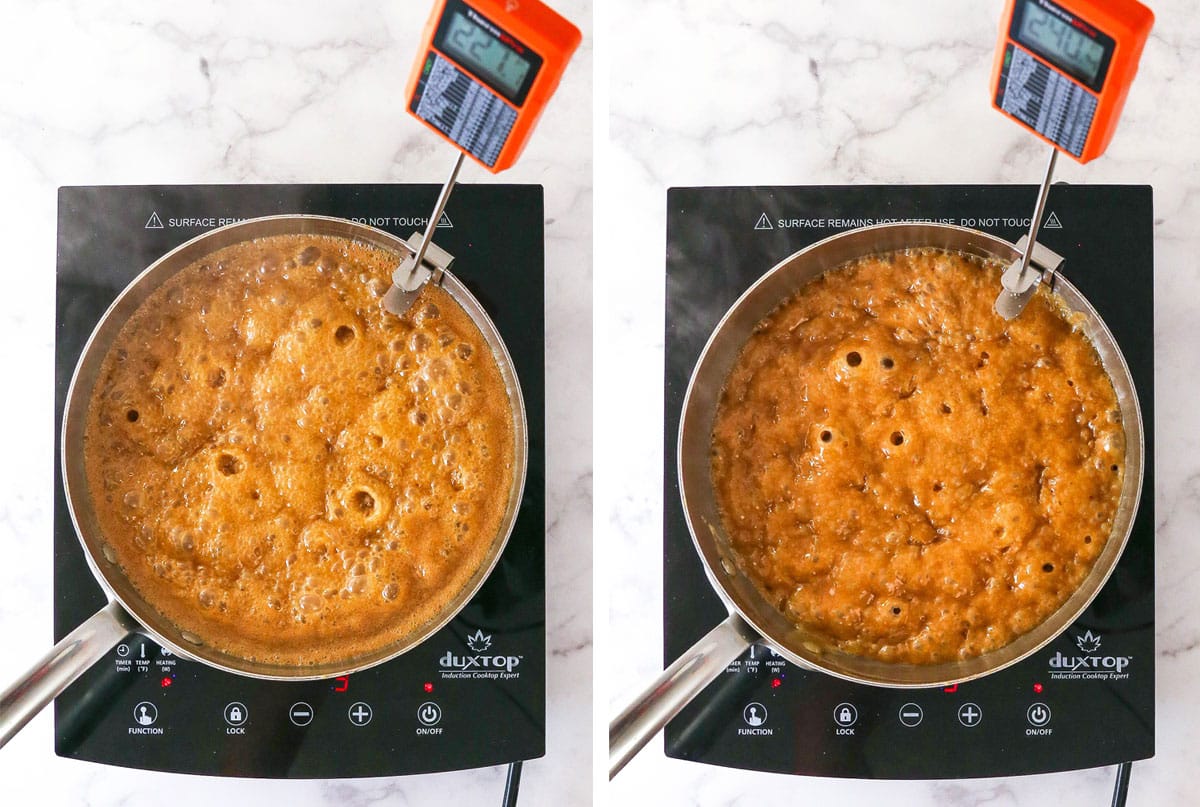
- Add additional flavor. Remove from heat and stir in the salt and vanilla extract. It will bubble up a bit, so be careful.
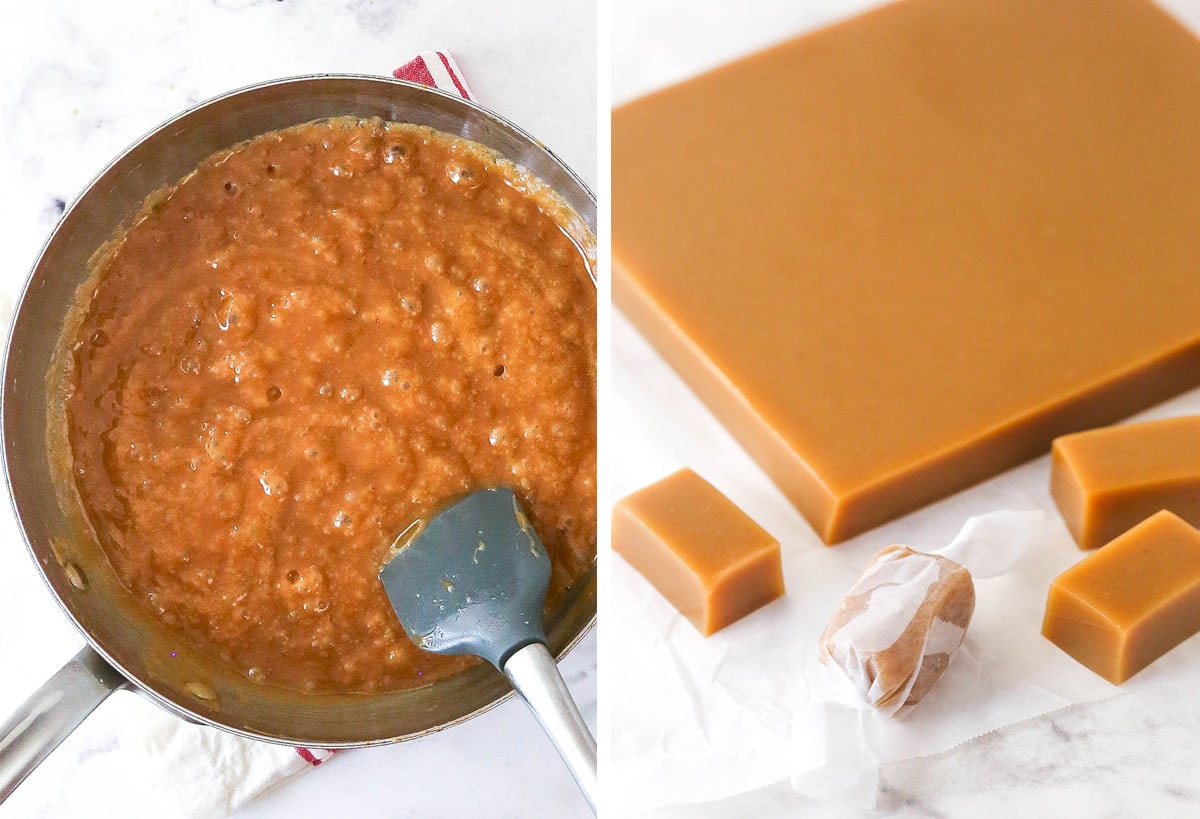
- Cool, cut, wrap. Pour the caramel mixture into the prepared pan and let cool completely. Cut the caramels to your desired size and wrap them in wax paper.
Tips For Perfect Caramels
- Avoid crystallization – There are a few places crystallization can happen during this process, so take note of where it’s mentioned in the recipe. Don’t stir while the initial caramel sauce is cooking and use a pastry brush and water to clean the sides of the pan when needed.
- Slow and steady – Don’t crank up heat to make the caramels cook faster. The whole process takes about 45 minutes to an hour, but rushing it can cause caramels to separate or just generally not turn out right.
- Use a stainless steel saucepan – Certainly not required, but it is helpful. It allows you to more clearly see the color of the caramel sauce while it’s cooking. Plus, a good quality pan also helps with more even heating.
- Use an instant candy thermometer – I love the instant candy thermometer because it takes the guessing out of it. It’s important to cook the initial caramel sauce as much as you can without burning it. This round of cooking is what gives the strong caramel flavor to the caramels. Cooking it to a lower temperature will mean less flavor. Similarly, the second round of cooking is what gives the caramels their level of firmness. Lower temperature means a softer caramel and small differences in temperature make a big difference in final texture, so it’s important to know what temperature the mixture is at. Also, don’t let the thermometer touch the bottom of the pan or it won’t be accurate.
If Your Caramels Are Too Soft Or Too Firm
This goes back to using the candy thermometer mentioned above. Small temperature differences make a big difference in results. If your caramels are too soft, they weren’t cooked to a high enough temperature. If they are too firm, they were cooked to too high of a temperature. Also keep in mind that everyone has a different idea of the “perfect” amount of softness. Once you find that sweet spot, a candy thermometer will help make sure they’re perfect every time.
Make Chocolate Covered Caramels
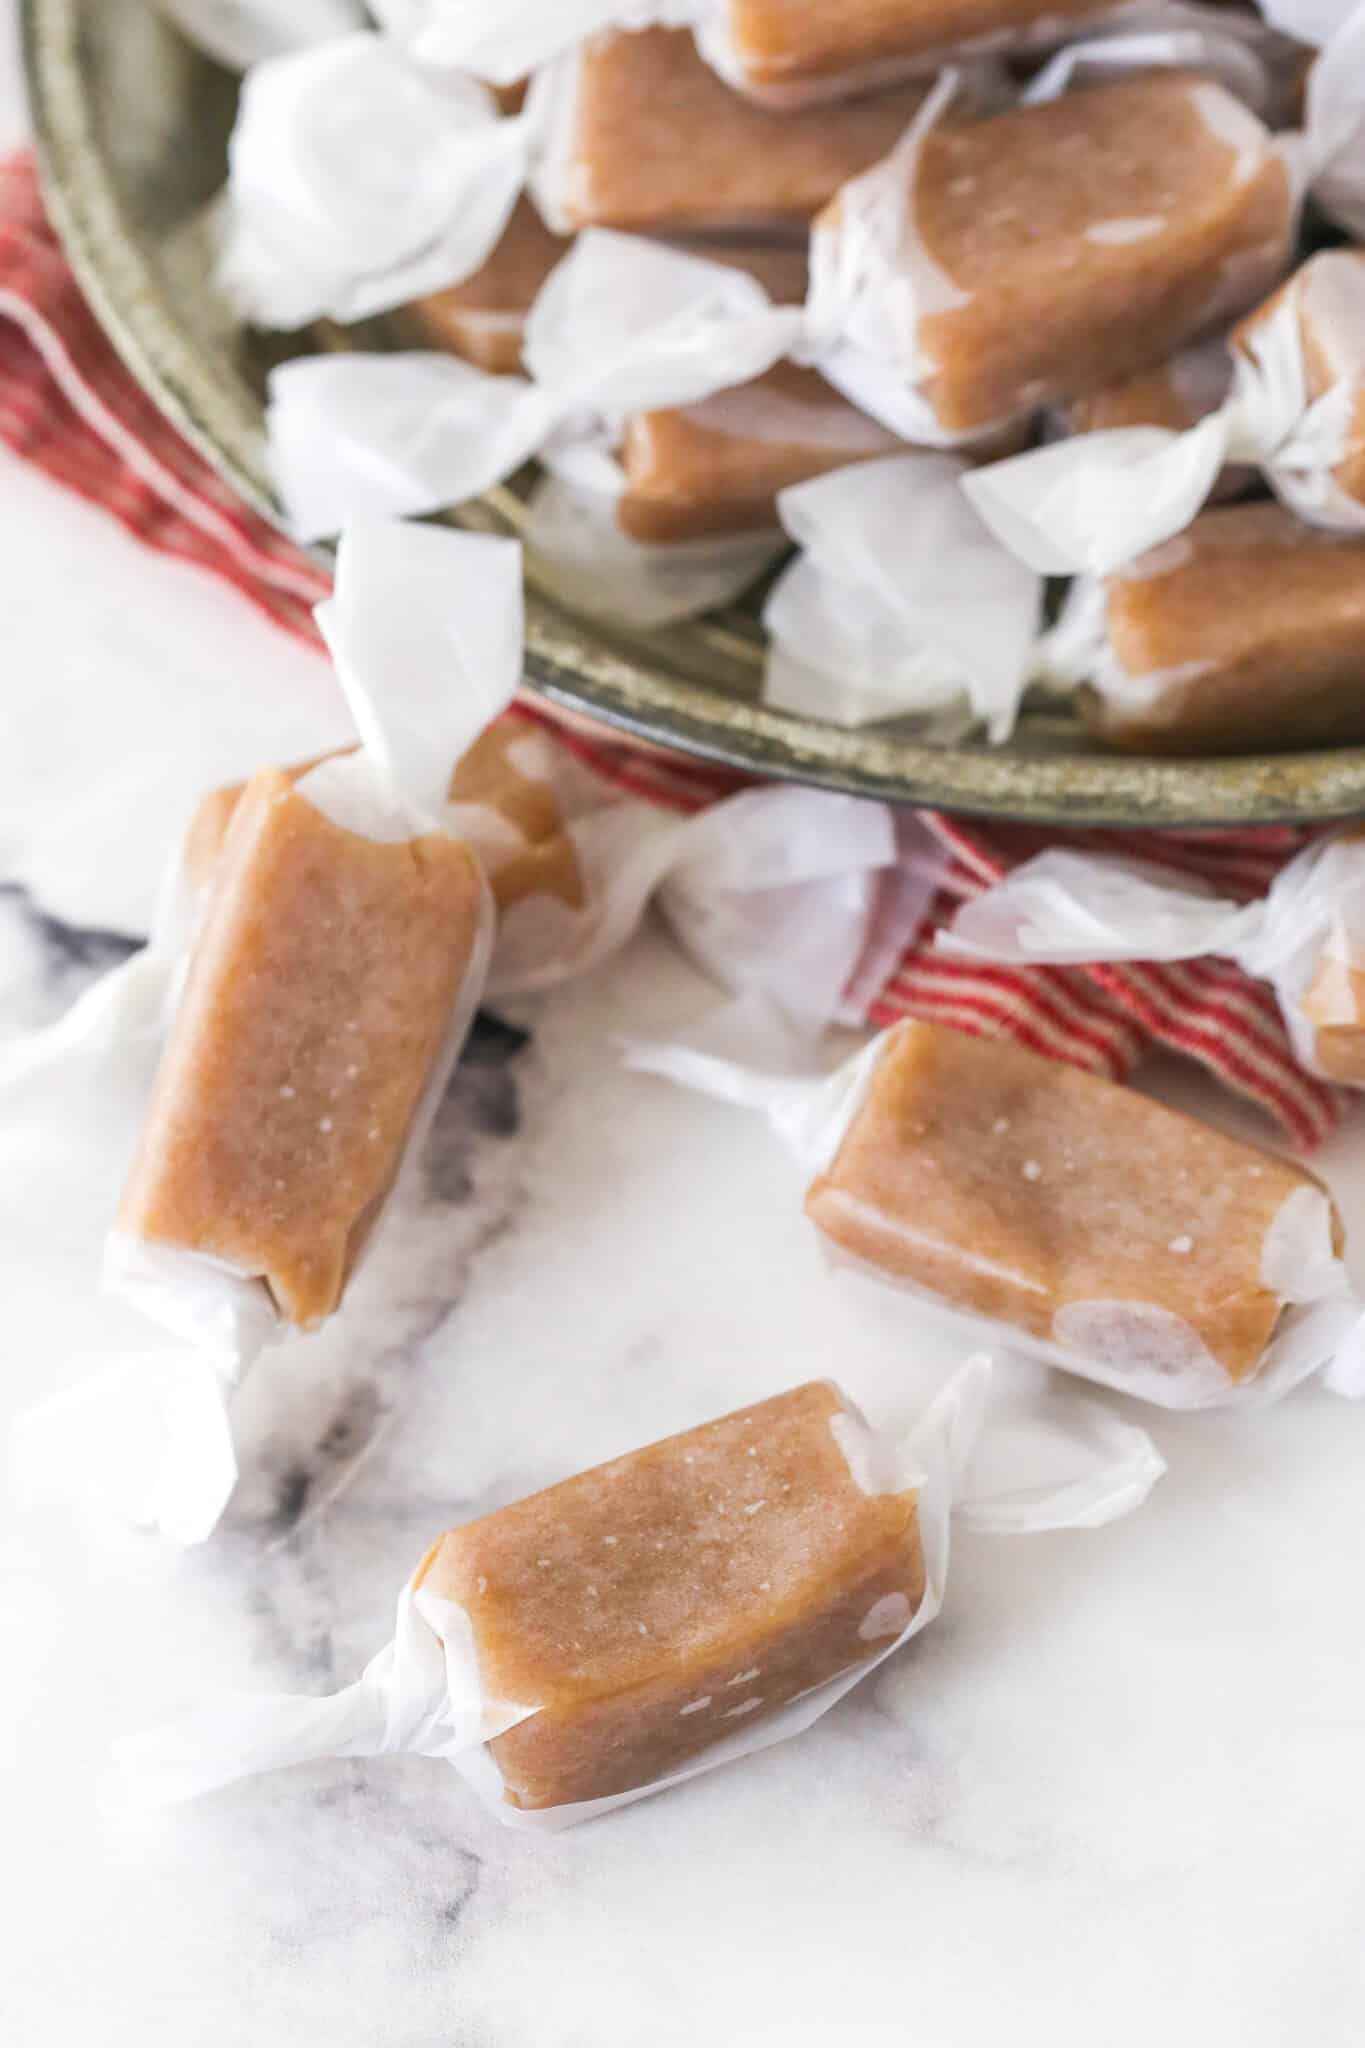
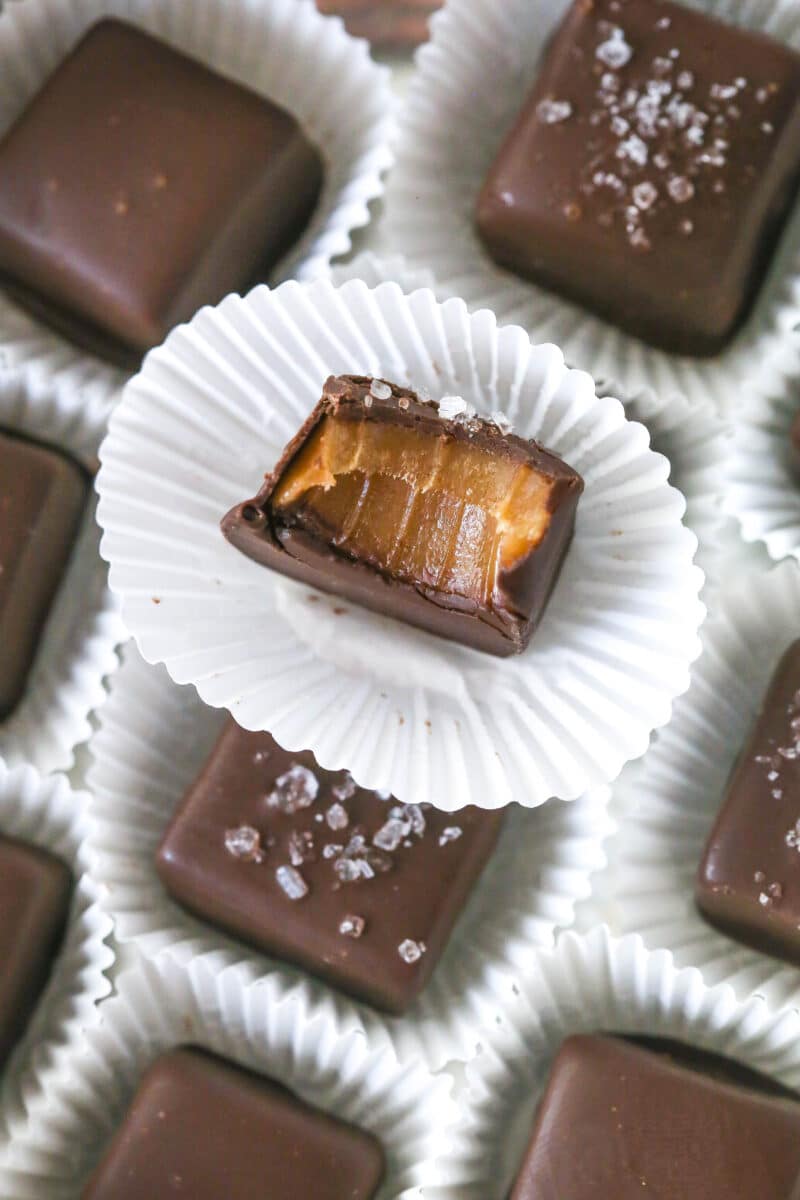
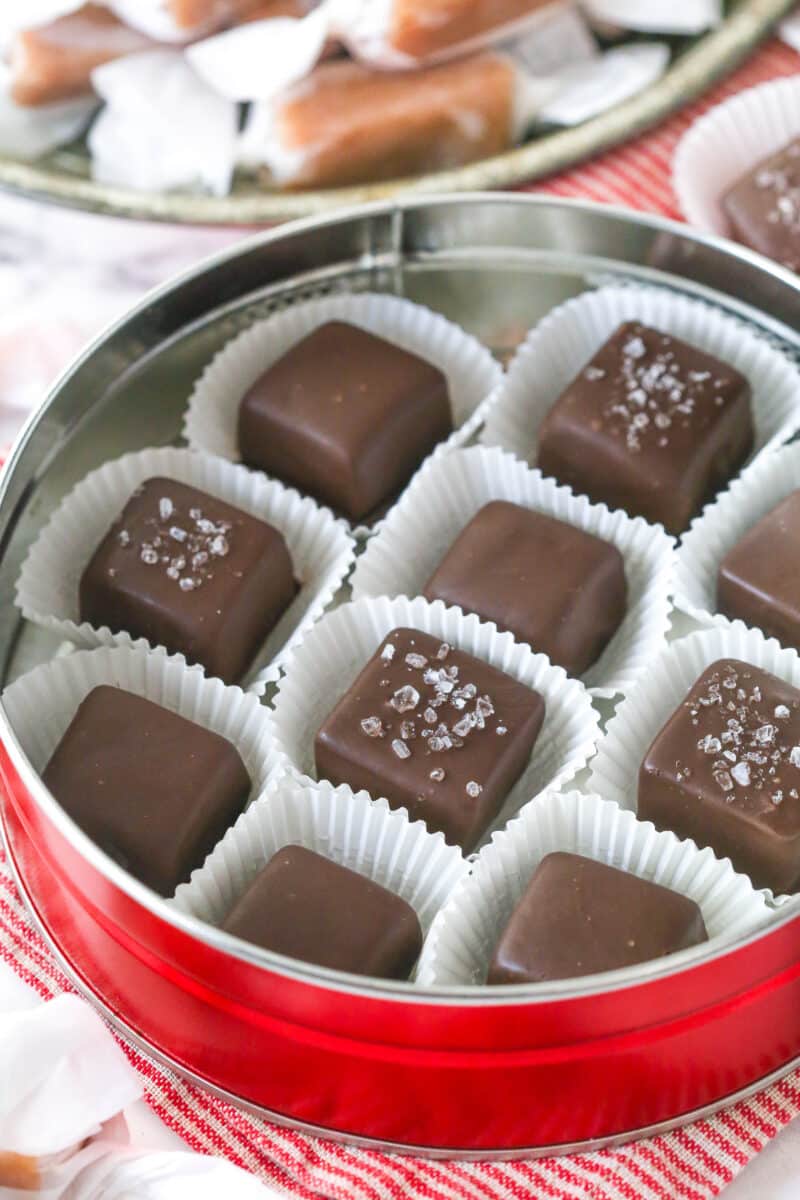
You can also turn your homemade caramels into homemade chocolate covered caramels. Set out a piece of parchment paper and melt your preferred chocolate (I find Ghirardelli melting wafers to be easiest to work with). Use a toothpick or similar tool to dip each caramel square into the chocolate to coat it, then tap or shake off any excess chocolate and set the caramels on the parchment paper to dry fully. You can add a little sea salt, if you like. The amount of chocolate you need depends a little on how big you cut your caramels, but you should need about 10 ounces.
How To Store Homemade Caramels
- Storage – Wrapped homemade caramels can be stored in an air-tight container at room temperature for six to nine months.
- Freezing – While you don’t really need to freeze them, you could and they’d last for closer to a year. Thaw in the fridge before using.
More Recipes With Caramel
- Salted Caramel Cheesecake
- Caramel Turtle Pie
- Soft and Chewy Caramel Clusters
- Turtle Cheesecake
- Turtle Fudge
Soft Homemade Caramels
- Prep Time: 30 minutes
- Cooling Time: 2 hours
- Cook Time: 1 hour
- Total Time: 3 hours 30 minutes
- Yield: 35 caramels
- Category: Dessert
- Method: Stove
- Cuisine: American
Description
These homemade caramels are soft, chewy and FULL of flavor! They’re not hard to make and use simple ingredients. With my detailed instructions and step-by-step photos, you’ll be gifting homemade caramels to everyone you know!
Ingredients
- 2 cups (414g) sugar
- 3/4 cup (180ml) water
- 1 cup (224g) unsalted butter, divided
- 1 3/4 cups (420ml) heavy cream, room temperature
- 1/2 cup (120ml) light corn syrup
- 1 tsp salt
- 2 tsp vanilla extract
Helpful Tools
Instructions
- Line an 8 or 9-inch baking pan with parchment paper. Either size pan will work, the 8-inch will just give you thicker caramels.
- You’ll start by making the caramel sauce. In a medium to large saucepan, combine the sugar and water. Cook over medium-low heat until the sugar is completely dissolved, about 3 to 5 minutes. Add ½ cup of the butter and let it melt.
- Turn the heat up to medium and bring the mixture to a boil. Use water and a pastry brush to clean the sides of the pan (this helps the residue on the sides of the pan not cause crystallization). Stop whisking and don’t whisk at all during this part (again to help avoid crystallization).
- Allow to boil until the mixture turns a deep golden copper color and reaches 330°F (if you’re using a candy thermometer), about 10-15 minutes, maybe longer depending on your stove. Keep an eye on it, but do not stir. If needed, you can occasionally tip the pan from side to side to help things cook evenly, and to give you a look at how dark it is and make sure it isn’t burning.
- Remove the pan from the heat and immediately add in the heavy whipping cream in a slow, steady stream. The caramel will bubble up quite a bit, so be careful with this step. Whisk quickly and well as you add the cream, whisking until well combined.
- Now it’s time to turn the caramel sauce into caramels. Add the remaining ½ cup of butter and let it melt, then add the corn syrup and stir to combine.
- Place the pan back over medium heat and bring to a boil (it’ll happen quickly). Stir often with a silicone spatula to help prevent burning. After stirring, you can use water and a pastry brush to clean the sides of the pan (this helps the residue on the sides of the pan not crystallize).
- Cook the caramel until reaches 240-245°F (I prefer 245°F). The higher the temperature, the firmer the caramels will be. If you don’t have a candy thermometer, you can also test it the old-fashioned way by dropping a spoonful of hot caramel into a cup of ice water. If you can shape it into a fairly firm but slightly sticky ball, it should be ready.
- Remove from heat and stir in the salt and vanilla extract. It will bubble up a bit, so be careful.
- Pour the caramel mixture into the prepared pan and allow to cool completely. They can cool at room temperature or in the fridge. They are firmer and easier to cut when cold, and are softer (but totally still cut-able) at room temperature.
- Cut the caramels to your desired size and wrap them in wax paper. Store them in an air-tight container at room temperature or in the fridge, but serve at room temperature. They should keep well at room temperature for about six to nine months.
Notes
- Yield – I got about 35 caramels, but you could get more or less depending on how big you cut them.
- Storage – Wrapped homemade caramels can be stored in an air-tight container at room temperature for six to nine months.
- Freezing – While you don’t really need to freeze them, you could and they’d last for closer to a year. Thaw in the fridge before using.
Nutrition
- Serving Size: 1 caramel
- Calories: 126
- Sugar: 15.4 g
- Sodium: 72.1 mg
- Fat: 7.4 g
- Carbohydrates: 15.4 g
- Protein: 0.2 g
- Cholesterol: 20.7 mg


