This post may contain affiliate sales links. Please read my disclosure policy.
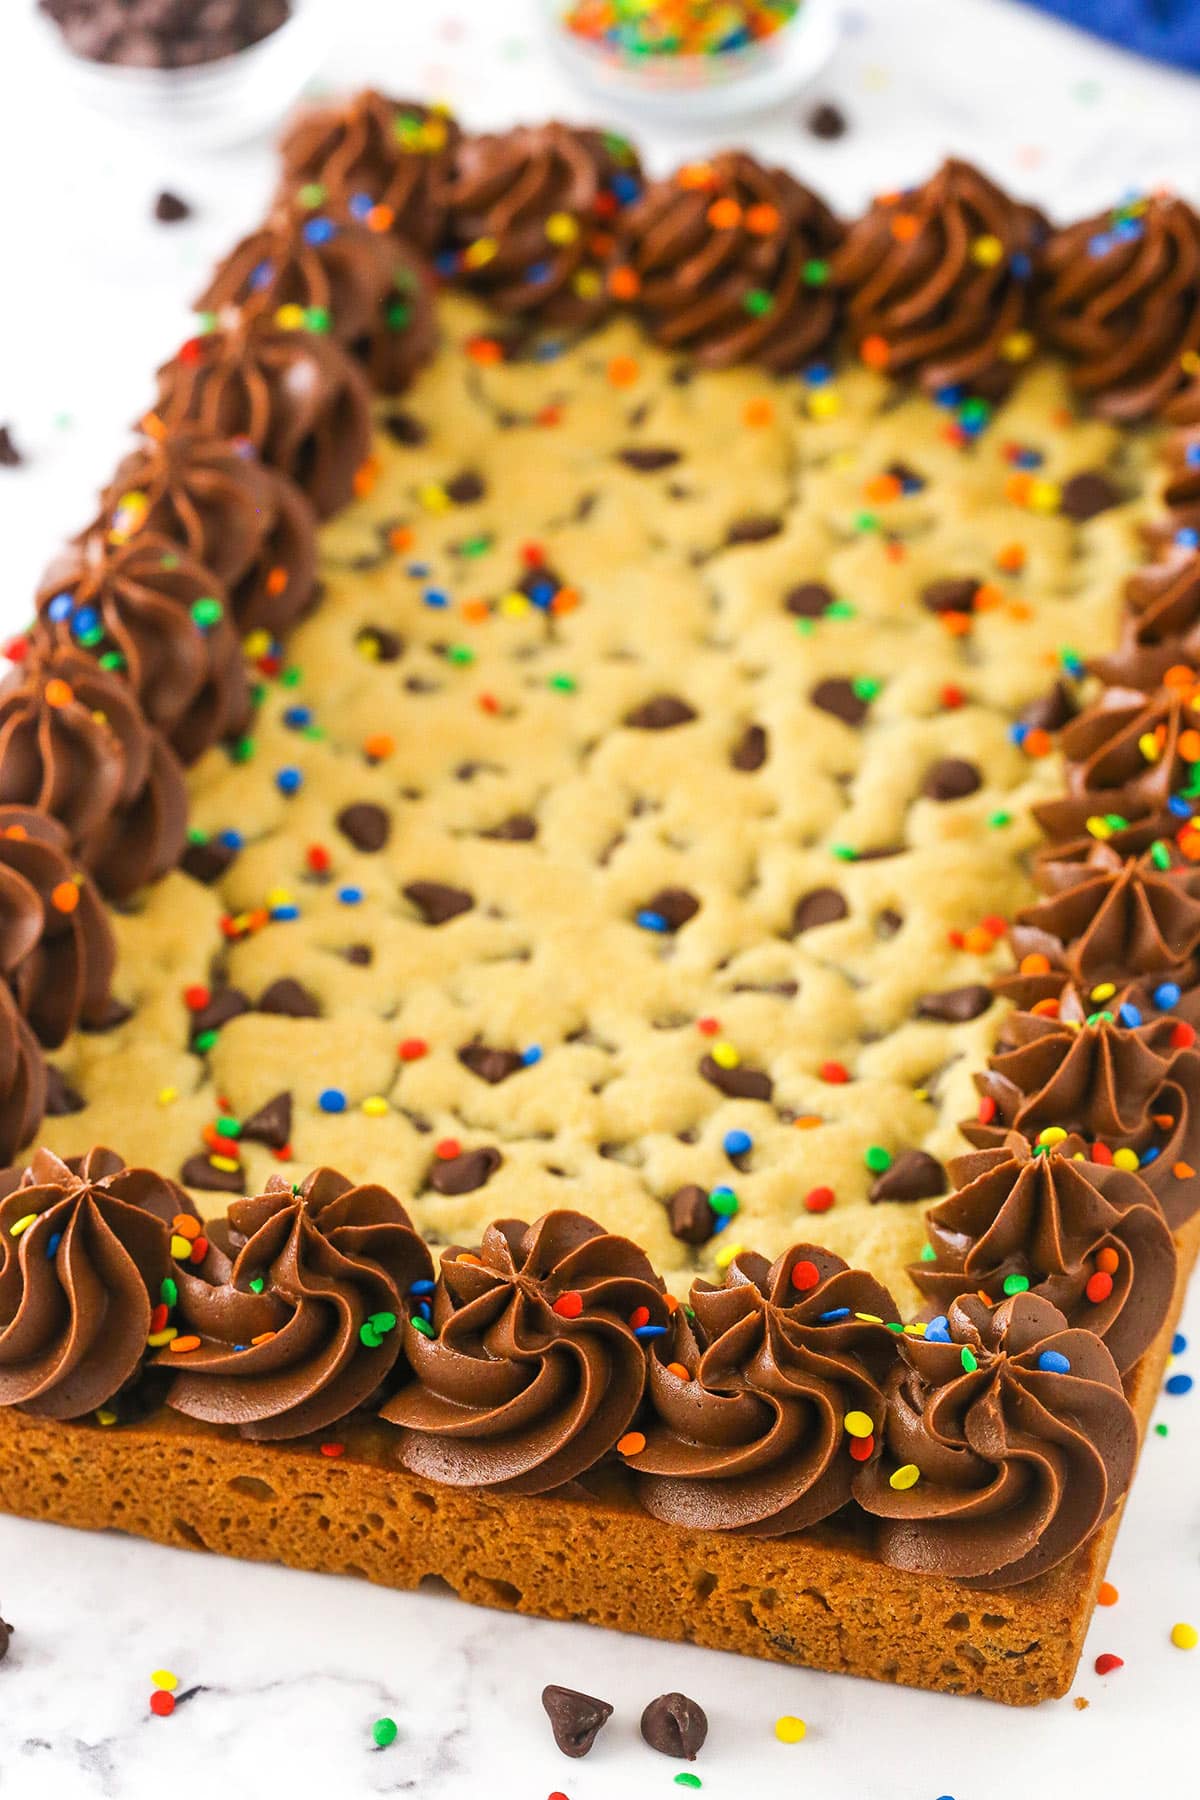
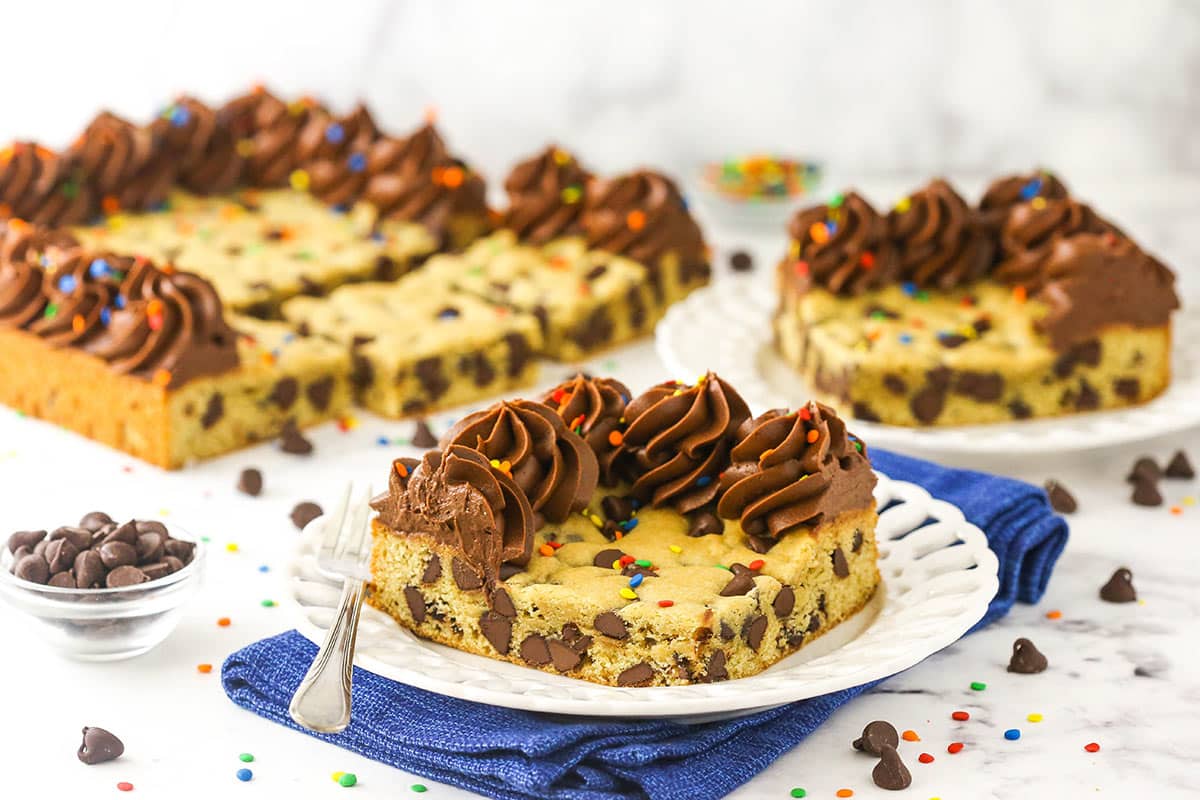
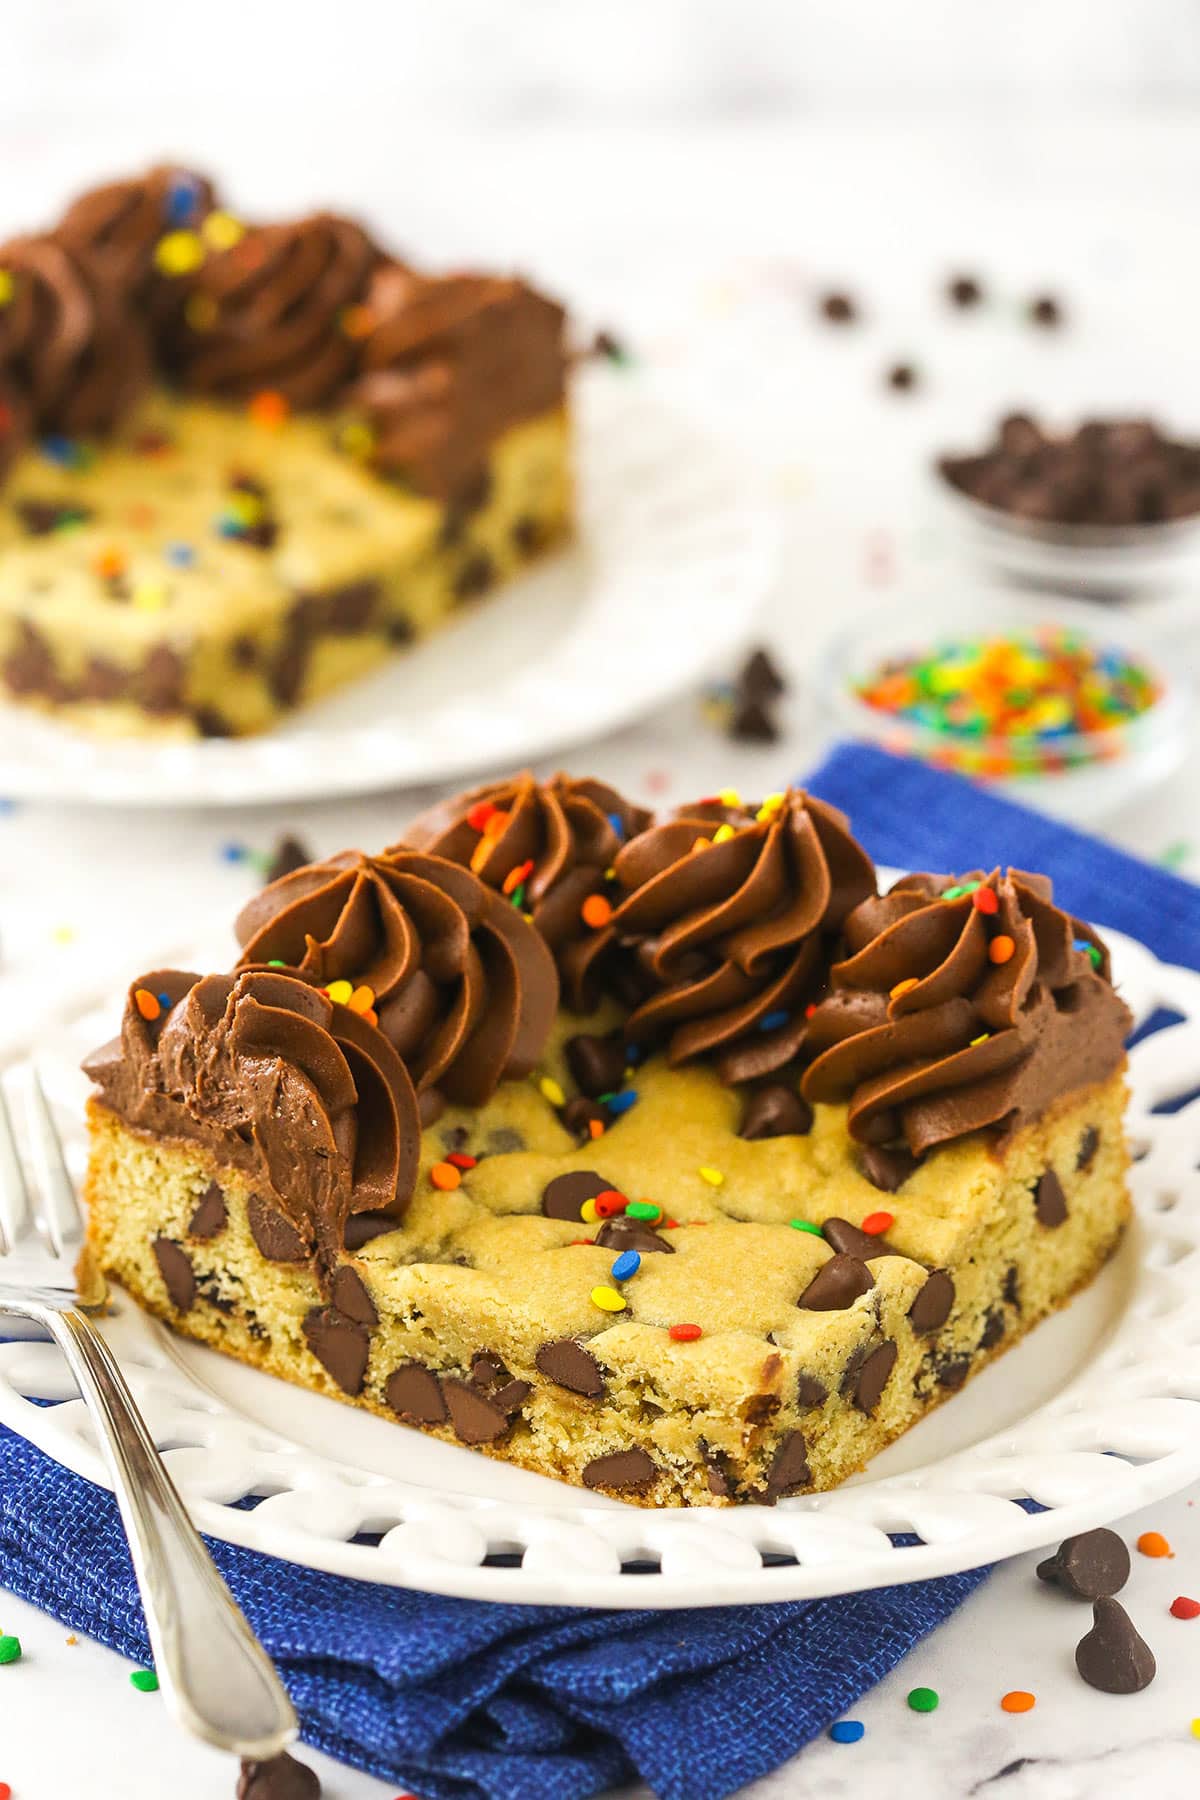
This thick and chewy Sheet Pan Cookie Cake is loaded with chocolate chips and decorated with a rim of creamy chocolate frosting. It’s an easy goodie that’s guaranteed to be the life of any party – it provides plenty of servings and everyone adores it!
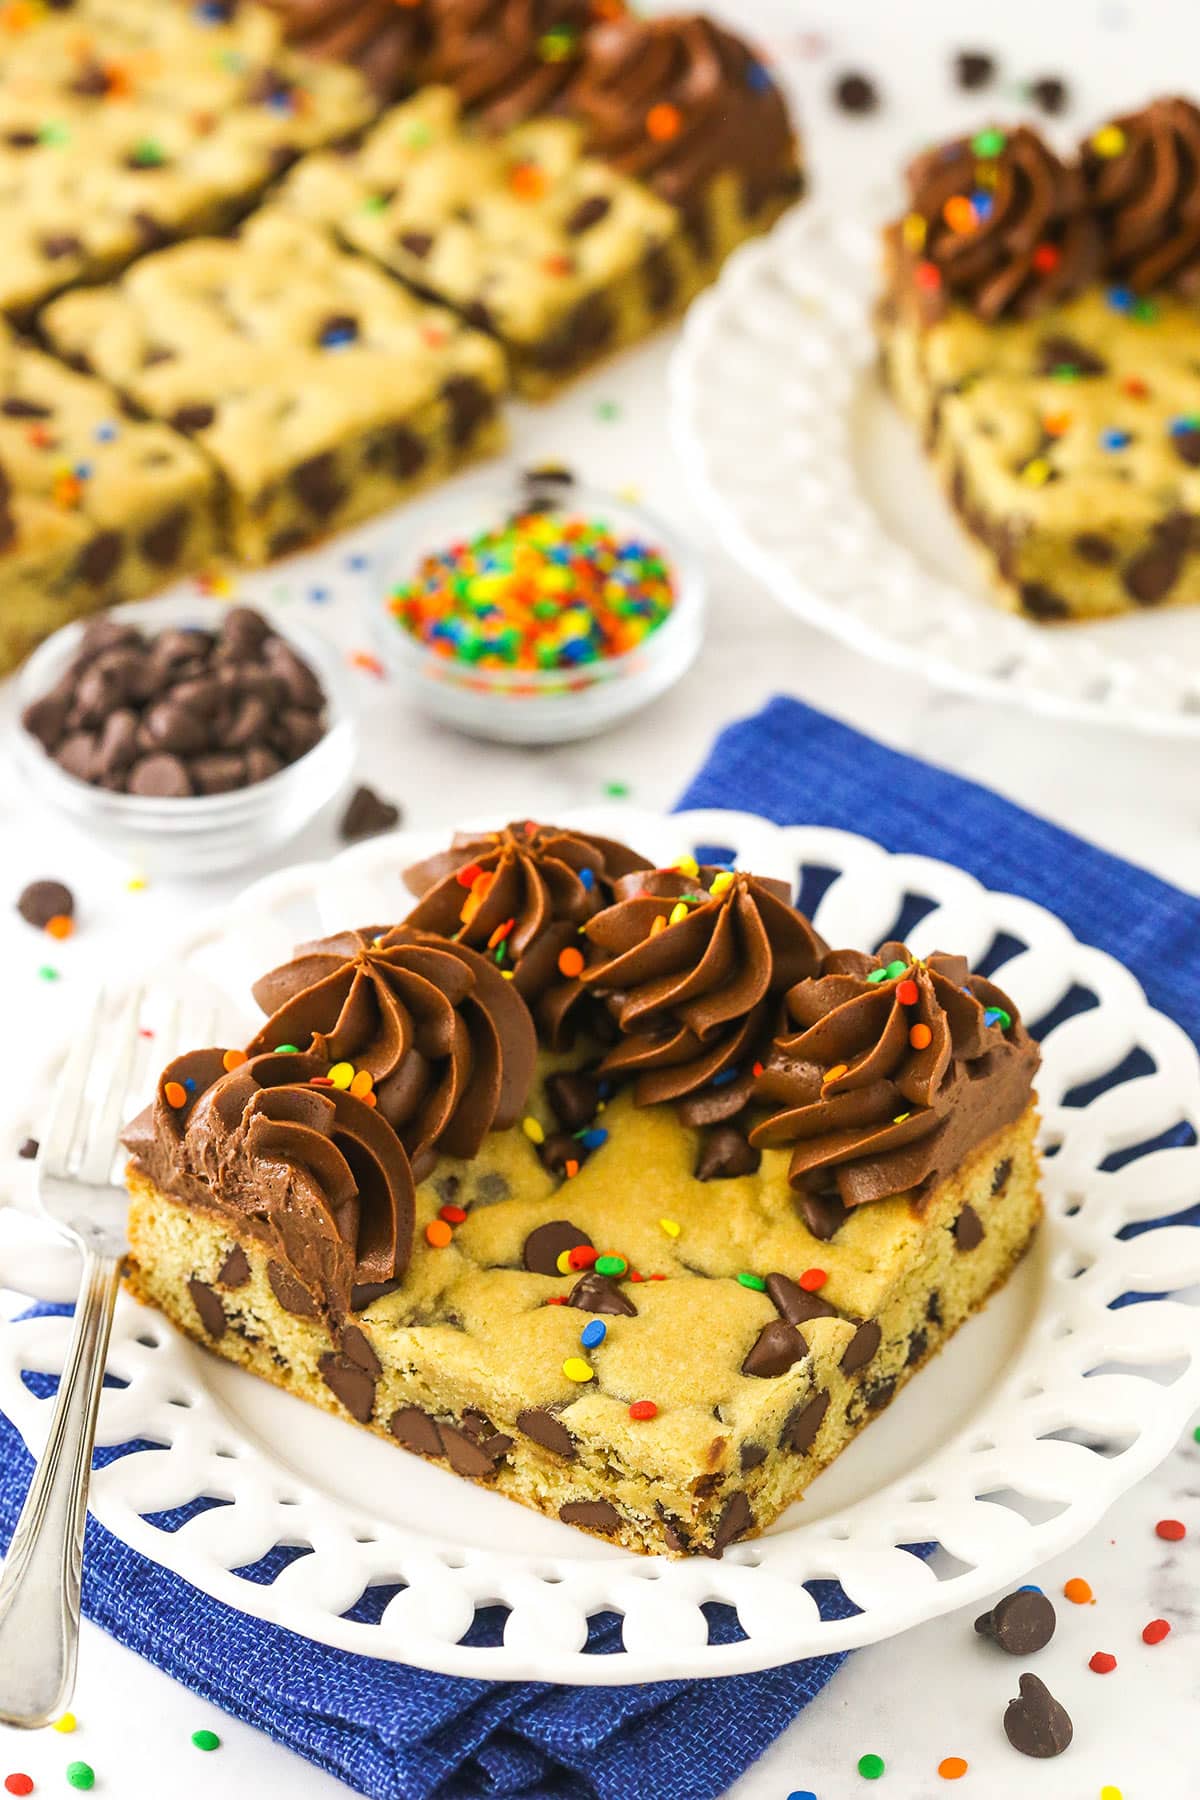
The Best Dessert to Feed a Crowd
I’ve always been a huge fan of cookie cakes. From football tailgating to birthdays, we’ve enjoyed them all my life. And the possibilities are endless! But as fun as it is to play around with different cookie flavors, sometimes all you need is a classic bag of chocolate chips.
This easy sheet pan recipe takes my Classic Chocolate Chip Cookie Cake to the next level of magnitude. It can satisfy lots of cookie lovers with minimal effort required on your part! It’s the perfect party dessert for those who aren’t overly fond of cake.
Nothing can beat the timeless comfort of a chocolate chip cookie paired with the melt-in-your-mouth richness of homemade chocolate buttercream. Anyone who isn’t a fan of frosting can simply grab a center slice! Once you sink your teeth into a piece of this soft and chewy cookie cake, you’ll want to set aside some extra servings just for you.
What You’ll Need
This epic dessert begins with a basic ingredient lineup. Check out the recipe card that follows this post for the full amounts.
For the Chocolate Chip Cookie Cake
- All-Purpose Flour: Or 1:1 gluten-free flour.
- Baking Soda
- Salt
- Unsalted Butter: Brought to room temperature.
- Light Brown Sugar: Packed into the measuring cup.
- Granulated Sugar
- Eggs
- Vanilla Extract: You’ll get the best flavor from a high-quality extract.
- Semi-Sweet Chocolate Chips: While I prefer semi-sweet, you could also use another kind.
For the Chocolate Buttercream
- Unsalted Butter
- Powdered Sugar: If you’re making a gluten-free cookie cake, double-check that your powdered sugar is certified gluten-free.
- Cocoa Powder: Use natural and unsweetened – not Dutch-processed.
- Vanilla Extract
- Heavy Cream: Water or milk works too, but the heavy cream will make for a more creamy consistency.
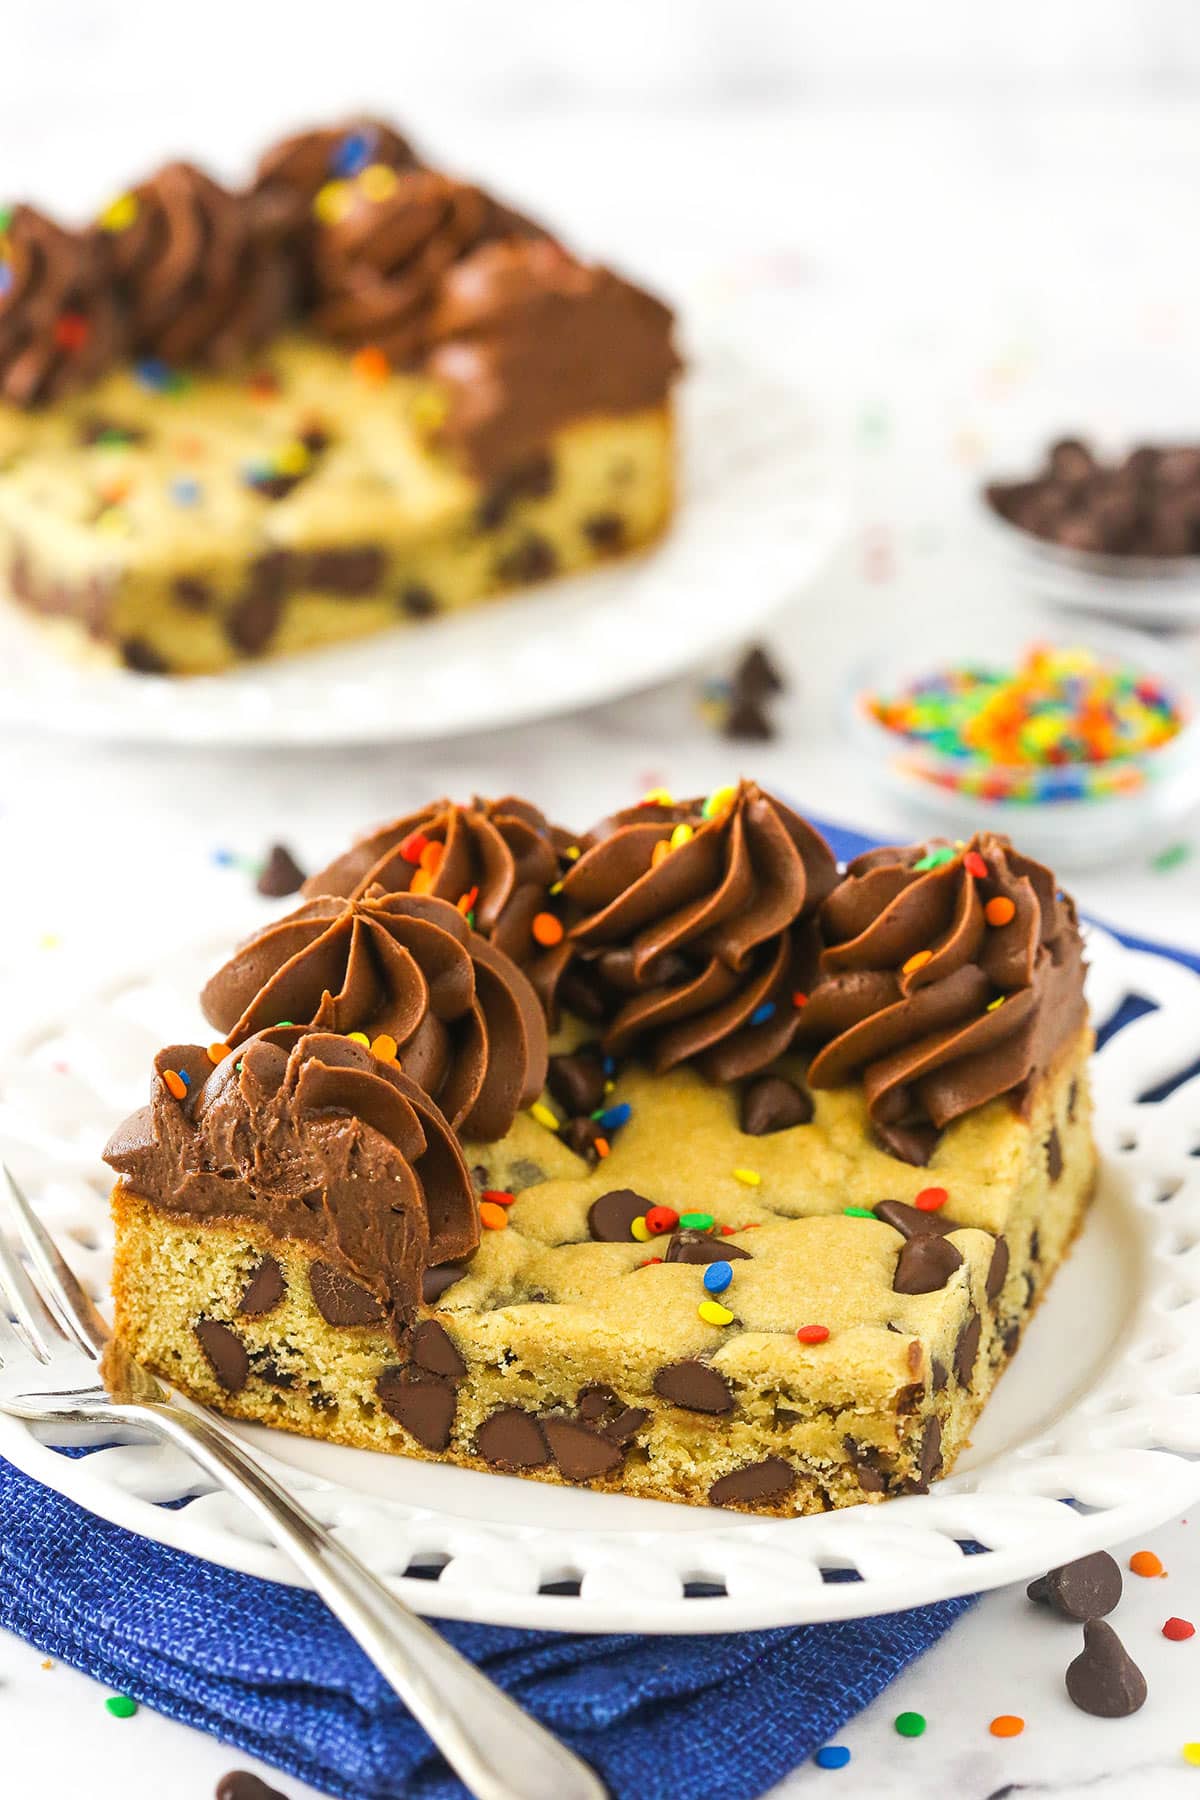
You can either use a sheet pan that’s 9 by 13 inches or one that’s 10 by 15 inches. The smaller sheet pan will make your cookie just under an inch thick, while the larger option will yield more servings and make a half-inch thick cookie cake. The same recipe is used for both sizes – the smaller one just takes a touch longer to bake since it’s thicker.
Make the Cookie Cake
Prep for Baking: Preheat the oven to 350°F and grease the sides of a 9×13-inch or 10×15-inch sheet pan. Place a fitted sheet of parchment paper on the bottom of the pan.
Combine Dry Ingredients: Combine the flour, baking soda and salt in a medium-sized bowl.
Cream Butter & Sugars: Cream the butter and sugars in a large mixer bowl until light and fluffy, about 2-3 minutes.
Add Eggs: Add the eggs one at a time, mixing just until well combined before adding the next.
Add Vanilla: Add the vanilla extract and mix until well combined.
Combine Wet & Dry Ingredients: Add the dry ingredients and mix just until well combined. The dough will be thick and sticky.
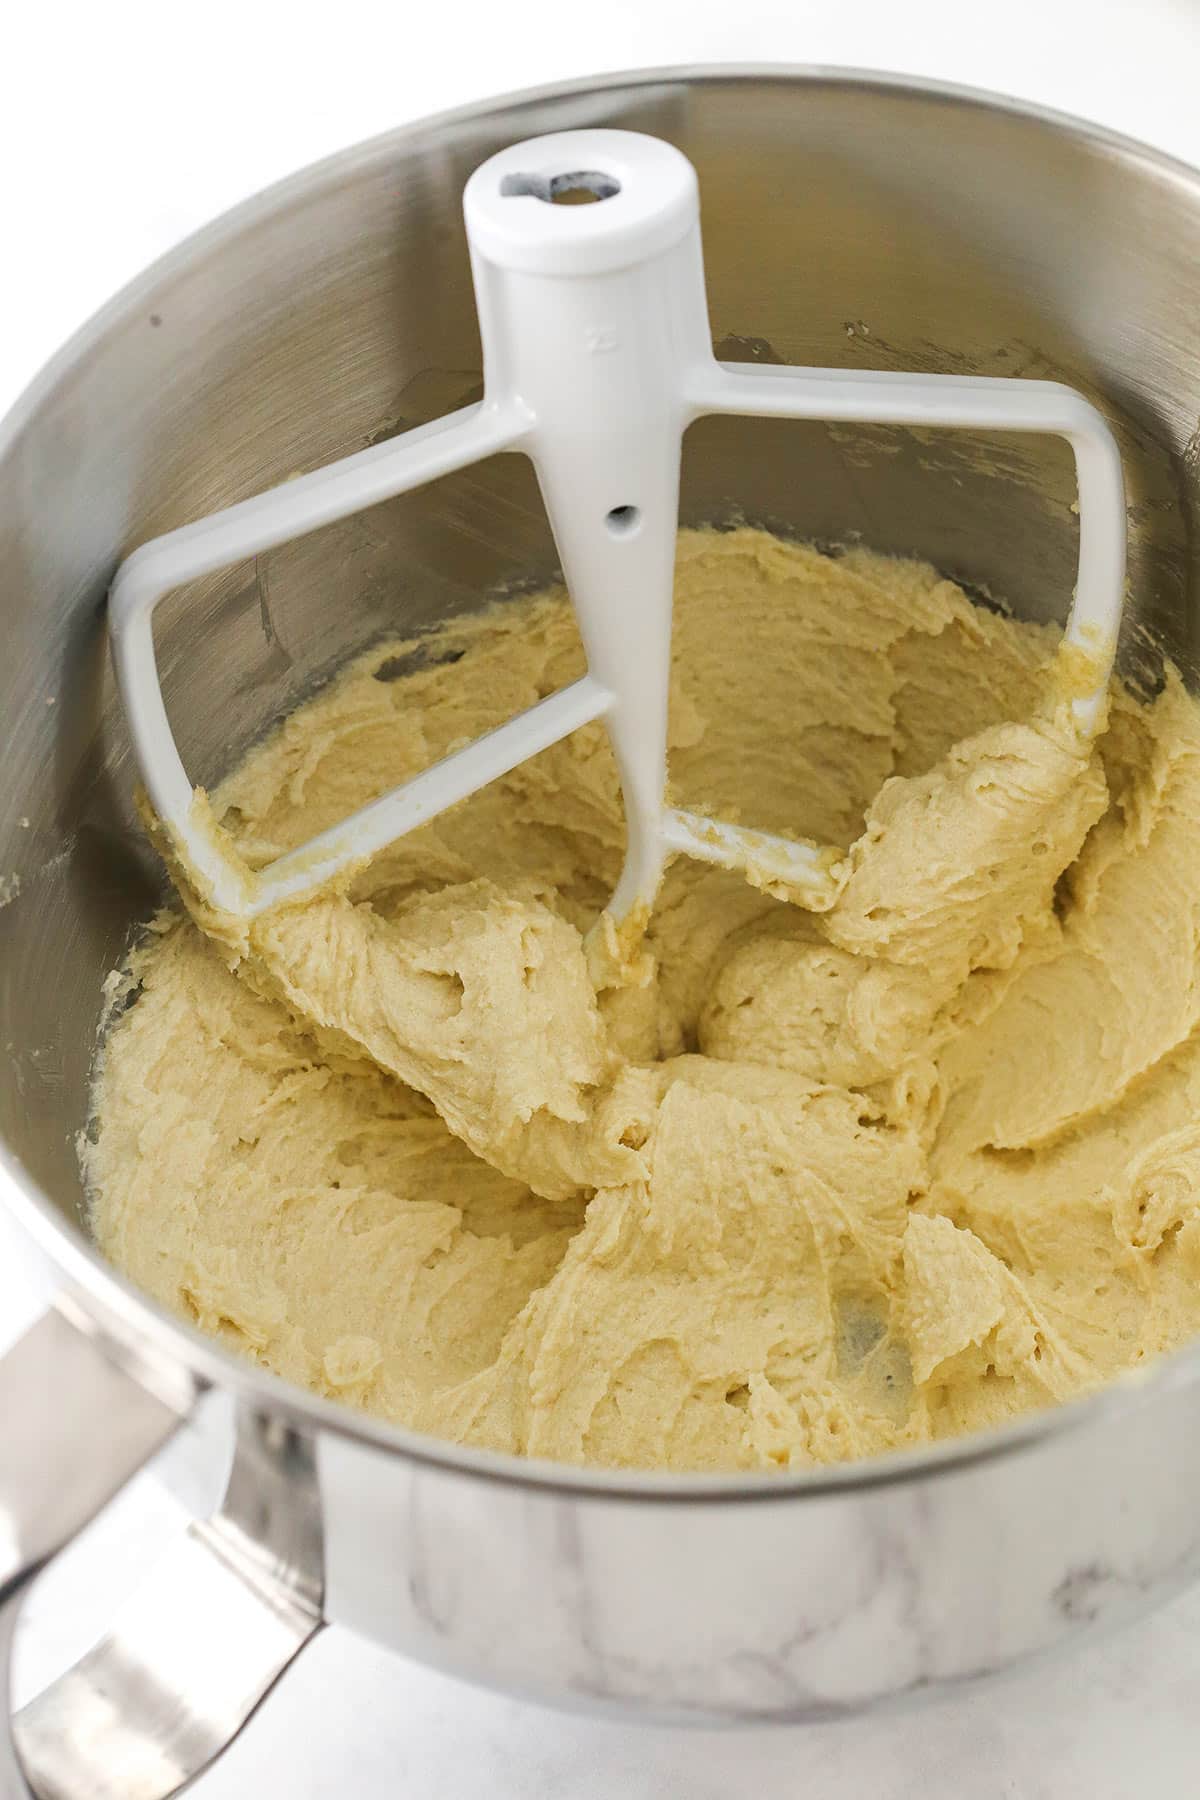
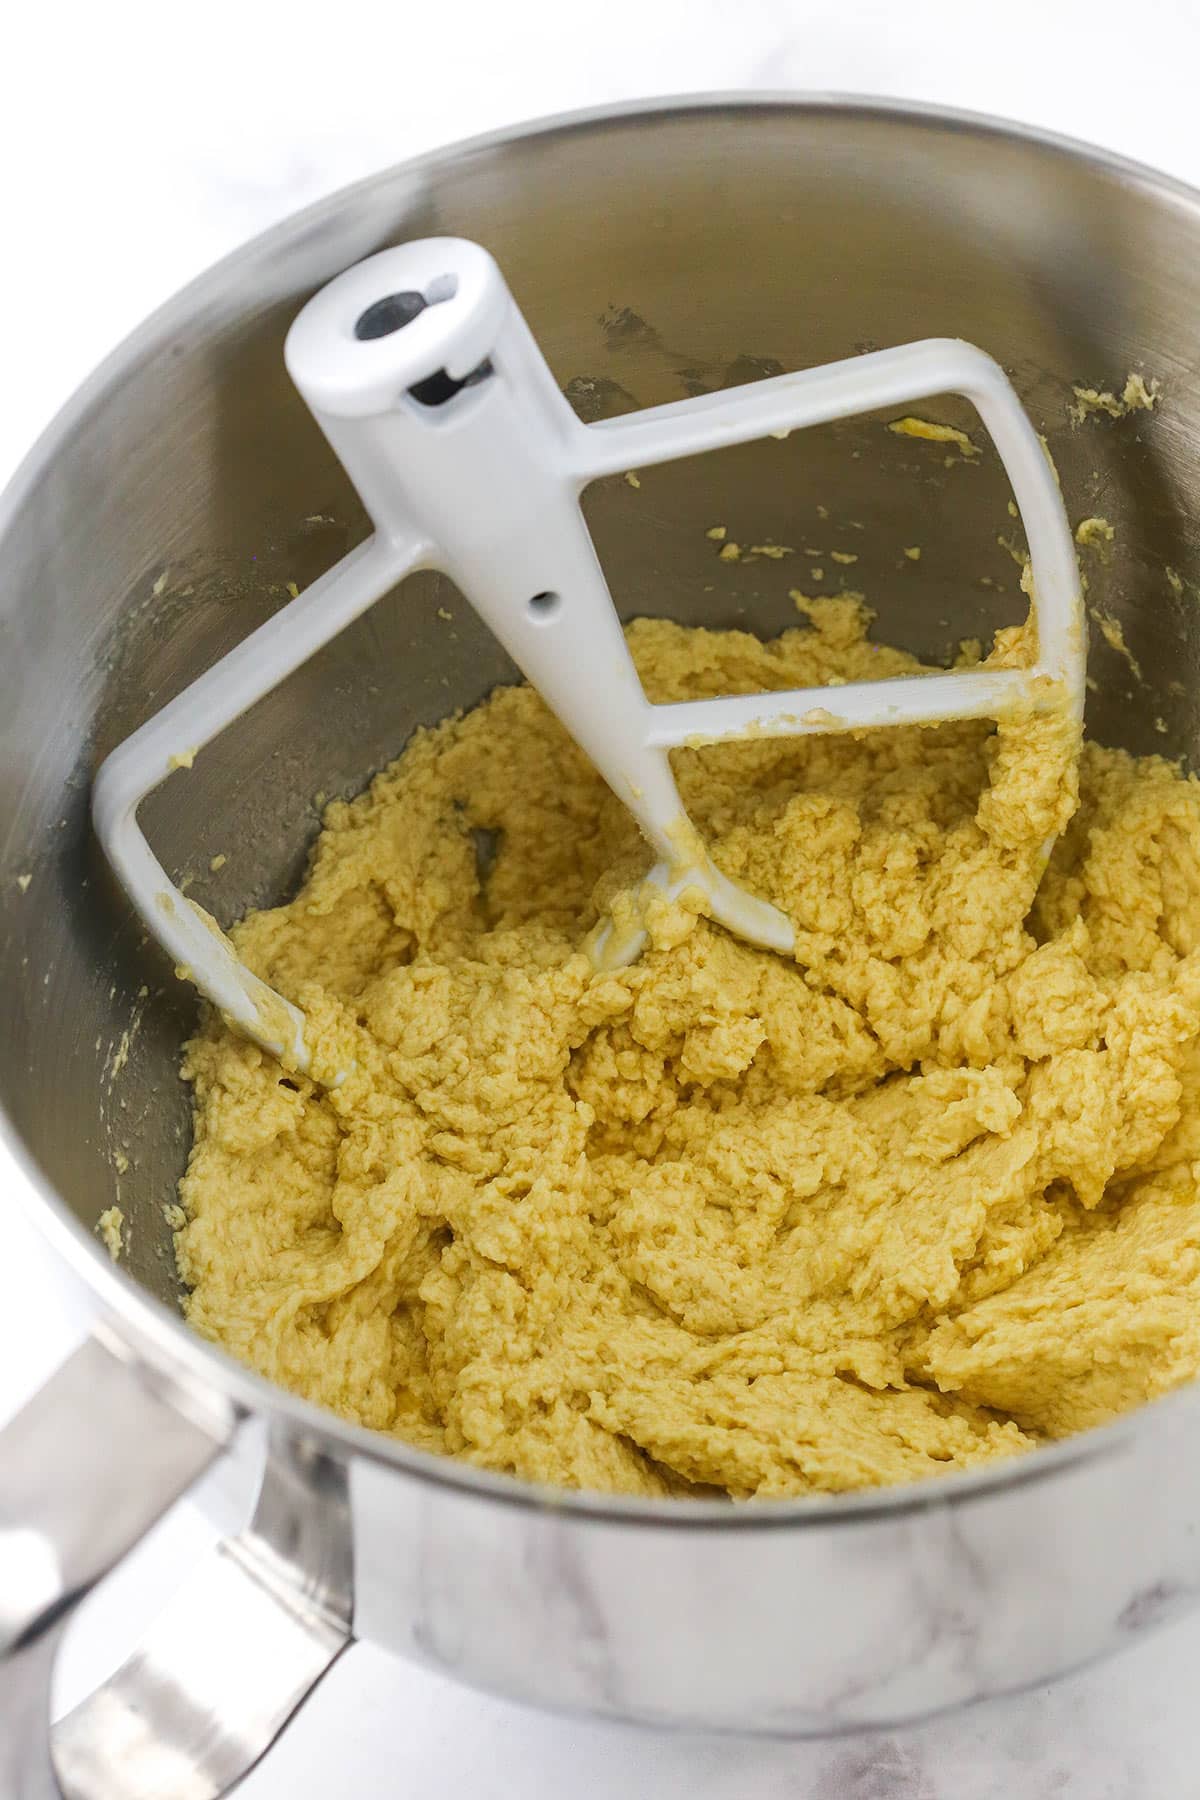
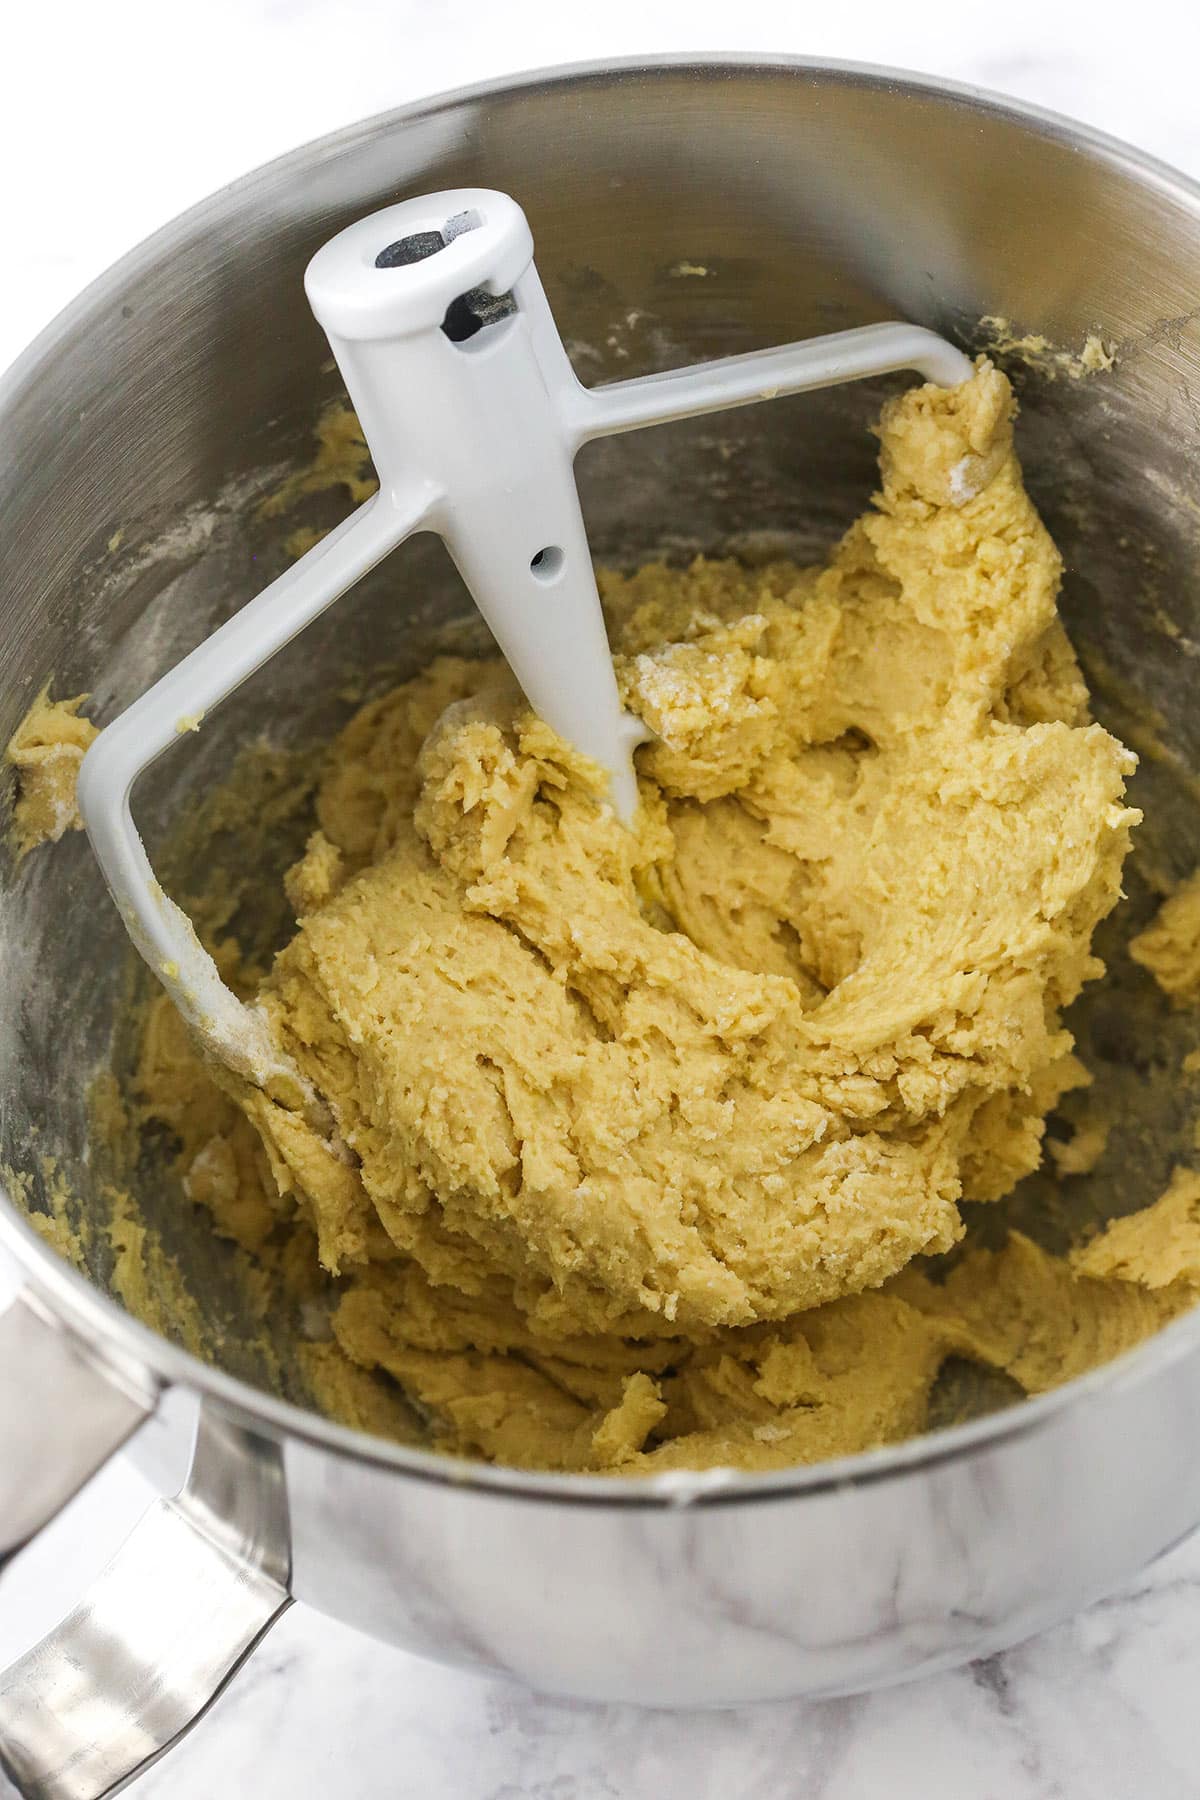
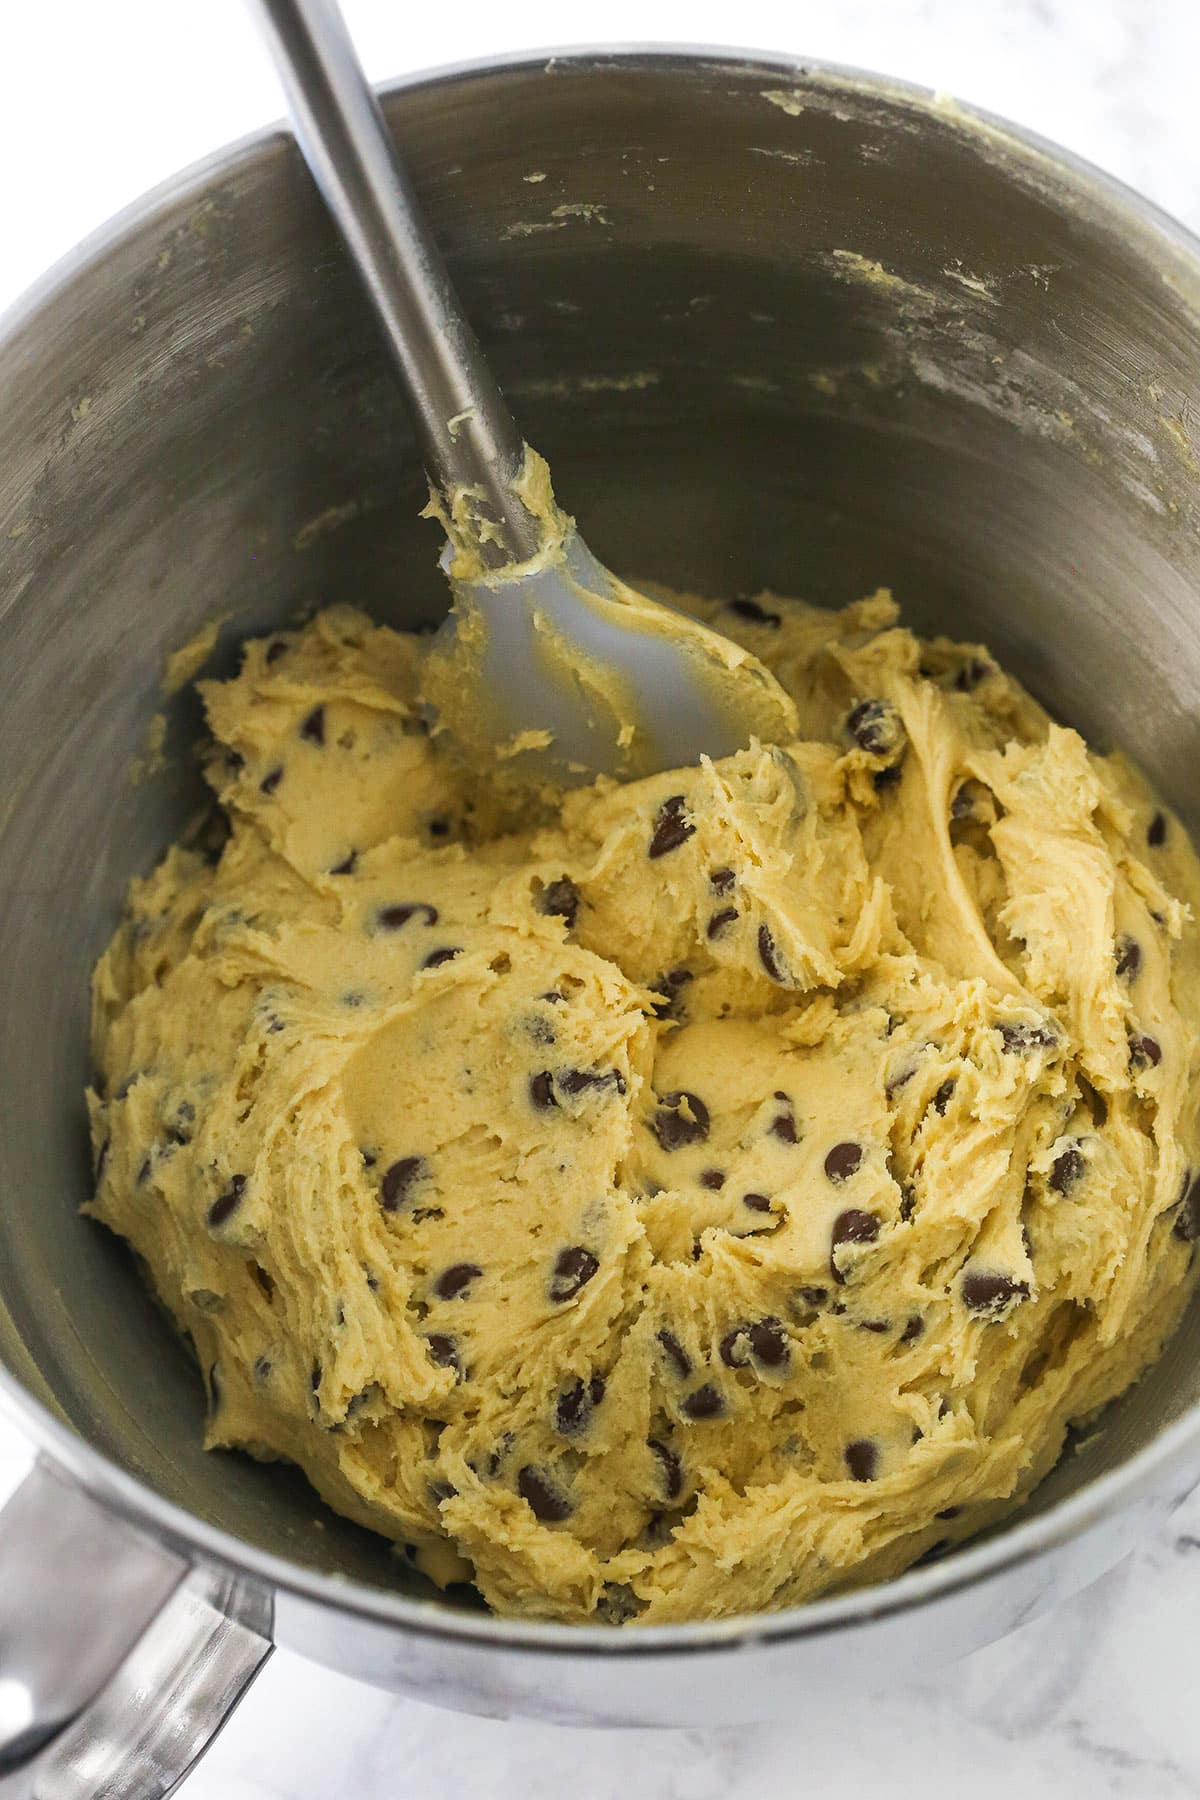
Add Chocolate Chips: Gently fold in the chocolate chips.
Transfer Dough to Pan: Spoon the cookie dough into the prepared pan and press it in evenly. I use my offset spatula to spread it around in the pan since it’s sticky.
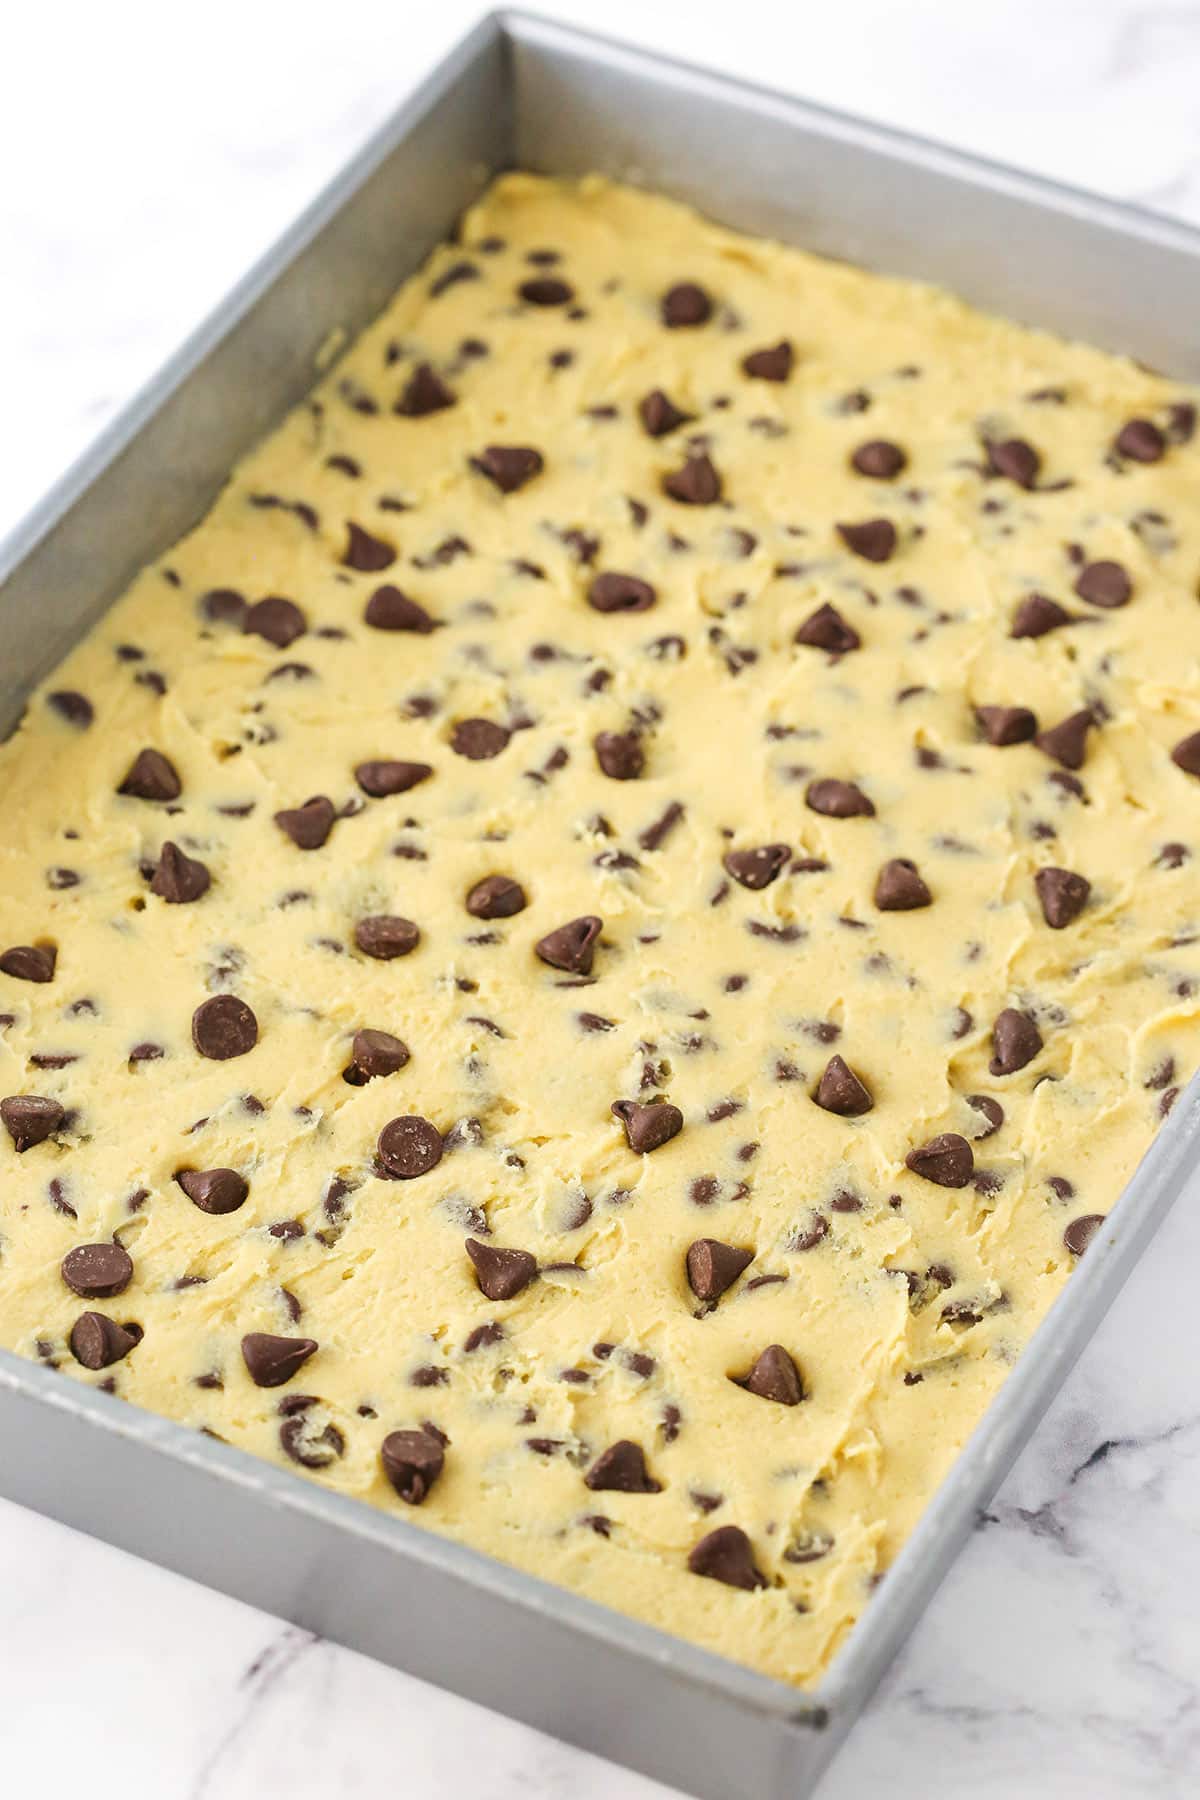
Bake: If you used a 9×13-inch pan, bake your cookie cake for 18-23 minutes, or until the top is just beginning to brown. If you used a 10×15-inch pan, bake the cookie for about 15 minutes, or until it just begins to brown on top.
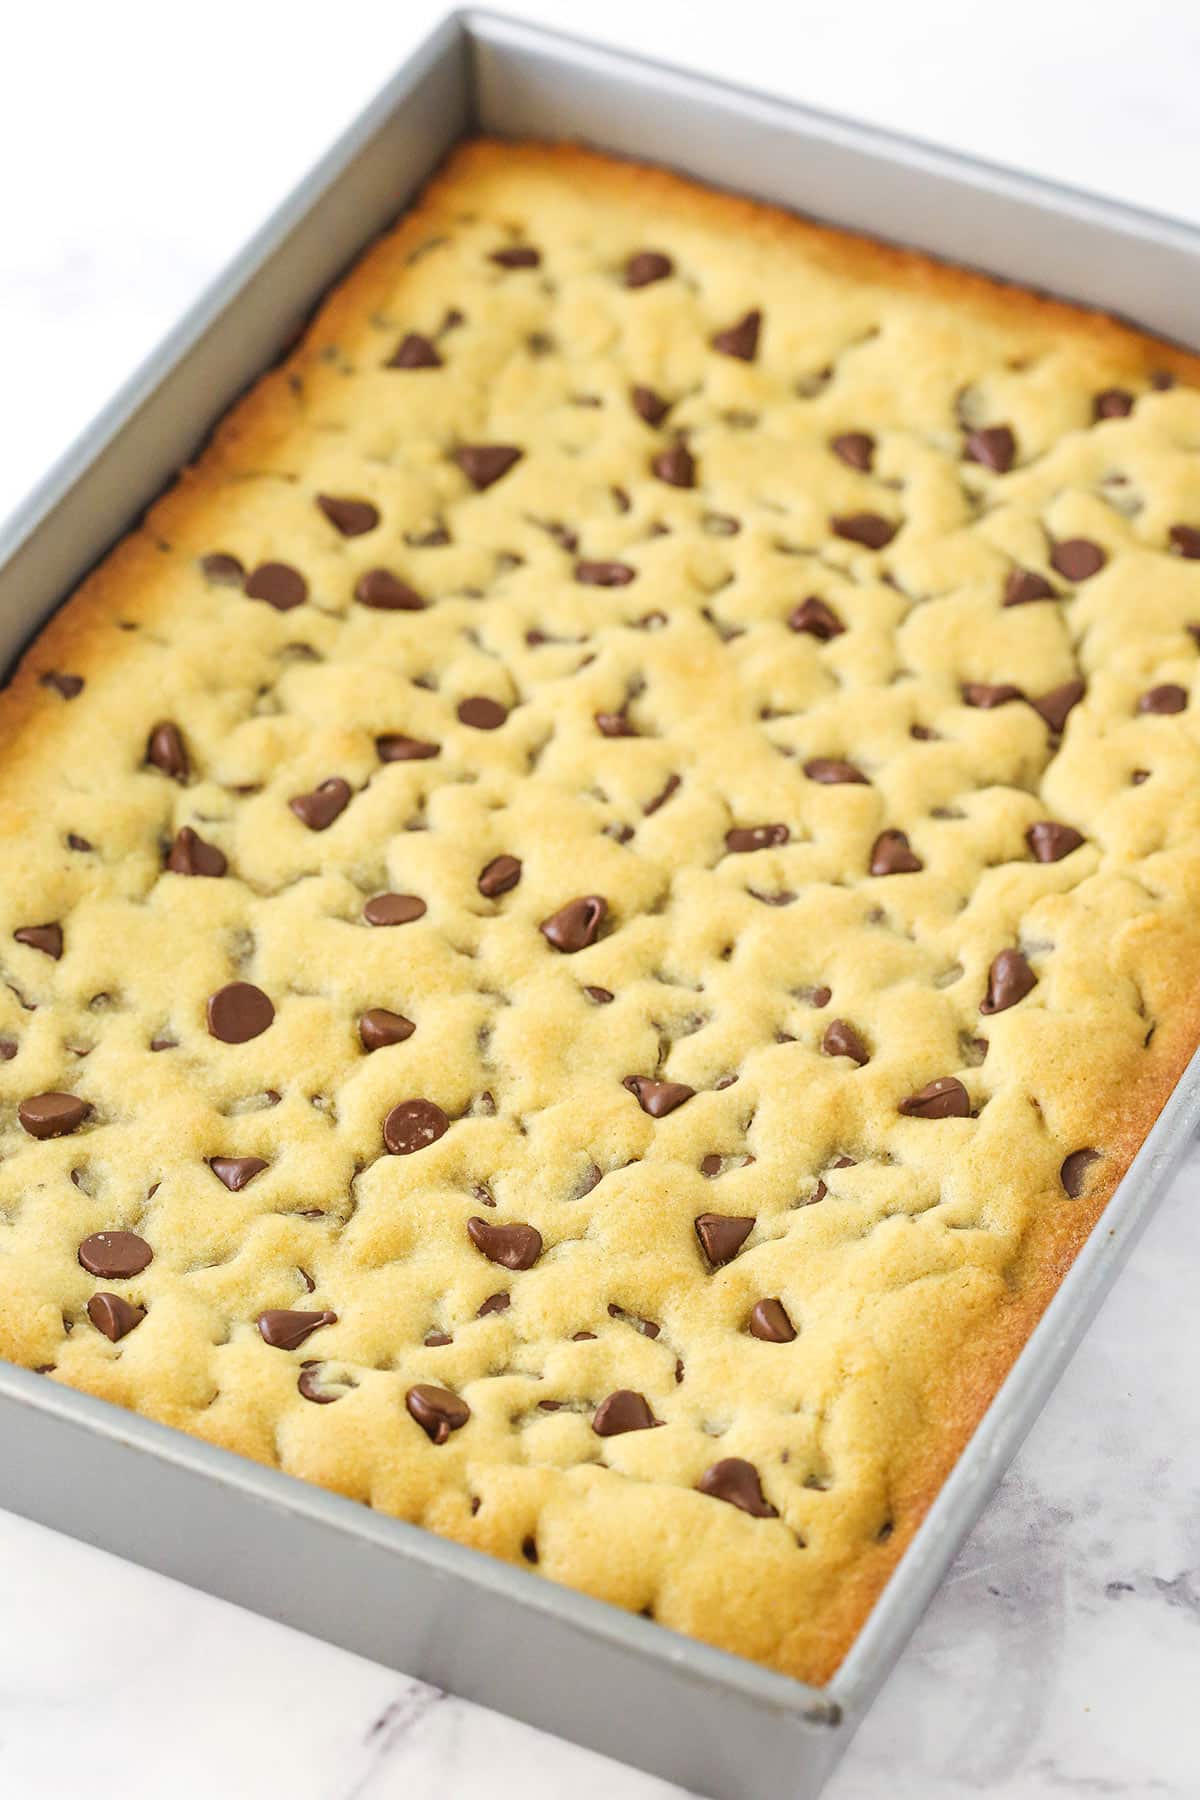
Let Cool: Remove the cookie cake from the oven and allow it to cool completely in the sheet pan, then transfer it to a serving plate.
Remove From Pan: To remove this cookie from such a large pan, I recommend using a cooling rack and a cardboard cake rectangle (two cooling racks would also work). First, place the parchment-lined cooling rack against the top of the cake pan, then flip it over. Immediately place the cardboard cake rectangle on top of the cookie cake and flip the whole thing over using the cooling rack. Remove the cooling rack from the top of the cake.
Make the Frosting
Beat Butter: Add the butter to a large mixer bowl and beat until smooth.
Start Adding Powdered Sugar: Add about half of the powdered sugar and mix until well combined and smooth.
Add Cocoa Powder, Vanilla & Cream: Add the cocoa powder, vanilla extract and two tablespoons of cream or water. Mix until well combined and smooth.
Add Remaining Powdered Sugar: Add the rest of the powdered sugar and mix until smooth.
Adjust Consistency: Add more water or cream to get the right consistency if needed.
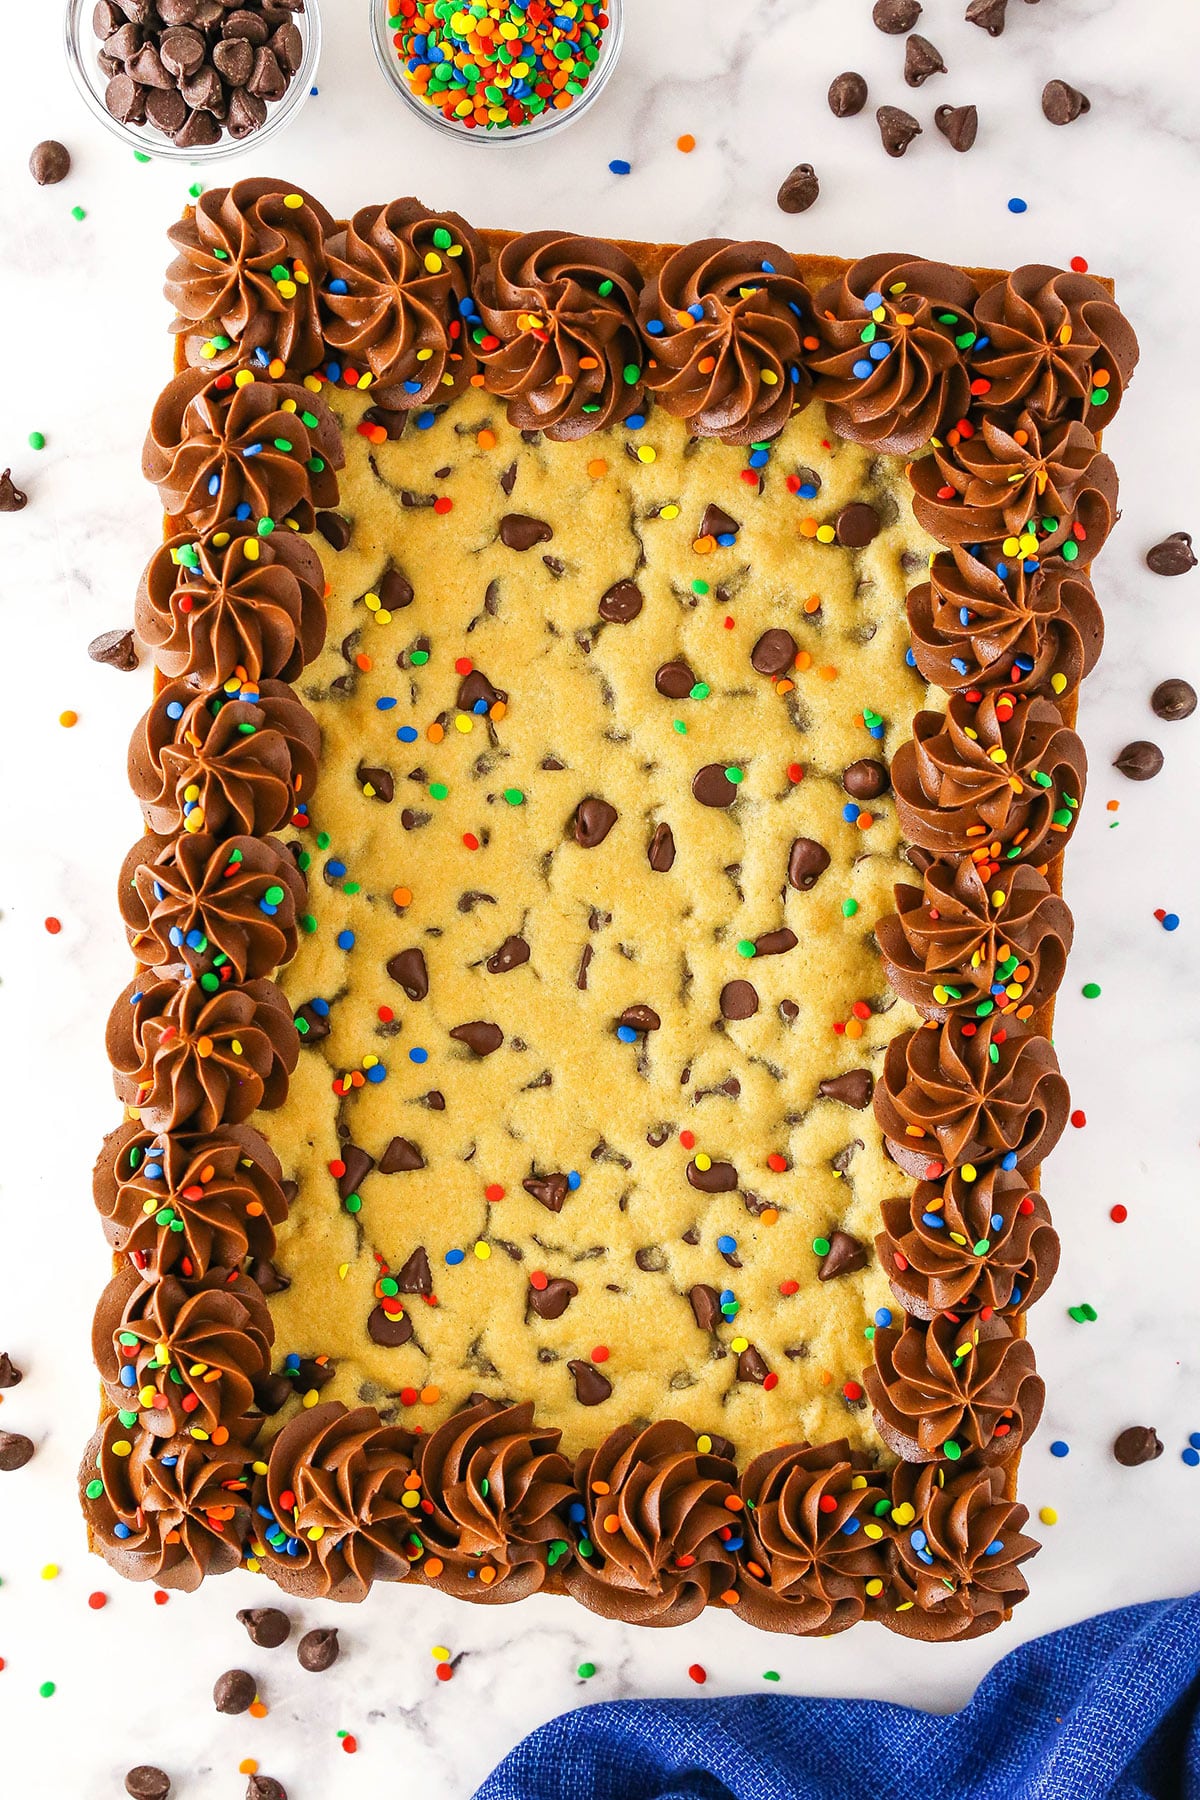
Pipe Onto Cookie Cake: Add the buttercream to a piping bag fitted with a piping tip (I used Ateco 847) and pipe swirls of frosting around the outer edge of the cake.
Enjoy! Slice and serve.
Can I Make It Ahead of Time?
If you’d like to make your cookie dough a day or two in advance, you have two options. You could bake the cookie a day ahead and store it well-covered. Or you could make the cookie dough and refrigerate it until you’re ready to bake it. Just bring the cookie dough back to room temperature so that you’re able to spread it into the pan.
Tips for Success
Let’s make sure your chocolate chip cookie cake comes out absolutely flawless.
- Measure the Flour Properly: Never scoop up flour directly with your measuring cup – this causes it to get packed in, resulting in an over-measurement. Instead, spoon the flour into the cup a little bit at a time and level it off with a butter knife. You could also simply use a food scale to ensure precision.
- Don’t Over-Mix the Dough: If you over-mix the cookie dough, your cookie cake might come out dense and tough. Be sure to stop mixing as soon as the wet and dry ingredients are combined to ensure a soft and chewy result. Don’t forget to fold in the chocolate chips very gently.
- Chill the Finished Cookie for Easier Removal: I find it can be helpful to refrigerate the cooled cookie cake to further firm it up before I remove it from the pan. This helps it stay together while it’s flipped around.
Variation Ideas
Want to switch things up but need some inspiration? I’ve got you covered!
- Make a Funfetti Cookie Cake: Swap out 2 cups of the semi-sweet chocolate chips for white chocolate ones and substitute the remaining 1/4 cup for Jimmie sprinkles. Use Vanilla Buttercream instead of chocolate and dye it blue with gel icing color.
- Make a Triple Chocolate Chip Cookie Cake: Instead of using 2 1/4 cup semi-sweet chocolate chips, use 3/4 cup each of dark chocolate, peanut butter and white chocolate chips. Yum!
- Make It Festive: You can dress up this cookie cake for any occasion by getting creative with the frosting. Try making this Christmas Tree Cookie Cake or this equally stunning American Flag one!
How to Store Extras
Keep extras in an airtight container at room temperature. Alternatively, you can return your cookie cake to the pan and keep it very well covered. Enjoy it within 3-4 days for the best results.
Can I Freeze This?
Go ahead! I recommend leaving off the frosting if you’d like to freeze your cookie cake. Wrap the cooled cookie in a tight layer of plastic wrap and freeze it in a heavy-duty storage bag. Thaw it out in the fridge and enjoy it within 3 months of freezing it, adding the rim of chocolate buttercream if desired.
Watch How To Make It
Print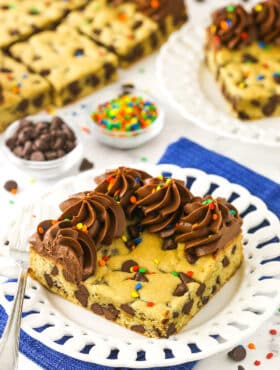
- Prep Time: 45 minutes
- Cook Time: 18 minutes
- Total Time: 1 hour 3 minutes
- Yield: 18
- Category: Dessert
- Method: Oven
- Cuisine: American
Description
This thick and chewy Sheet Pan Cookie Cake is loaded with chocolate chips and decorated with a rim of creamy chocolate frosting. It’s an easy goodie that’s guaranteed to be the life of any party – it provides plenty of servings and everyone adores it!
Ingredients
For the Chocolate Chip Cookie Cake
- 3 cups (390g) all-purpose flour
- 3/4 tsp baking soda
- 1/2 tsp salt
- 1 cup (224g) unsalted butter, room temperature
- 3/4 cup (168g) packed light brown sugar
- 1/4 cup (52g) sugar
- 3 large eggs
- 1 tbsp vanilla extract
- 2 1/4 cups (380g) semi-sweet chocolate chips
For the Chocolate Buttercream
- 1 cup (224g) unsalted butter
- 3 1/2 cups (403g) powdered sugar
- 1/2 cup (57g) natural unsweetened cocoa powder
- 1 tsp vanilla extract
- 3–5 tbsp (45ml-75ml) heavy cream or water
Instructions
For the Cookie Cake
- Preheat oven to 350°F (176°C). Grease the sides of a 9×13-inch cake pan and place parchment paper in the bottom.
- In a medium-sized bowl, combine the flour, baking soda and salt.
- In a large mixer bowl, cream the butter and sugars together until light and fluffy, about 2-3 minutes.
- Add the eggs one at a time, mixing just until well combined before adding the next.
- Add the vanilla extract and mix until well combined.
- Add the dry ingredients and mix just until well combined. Dough will be thick and sticky.
- Gently fold in the chocolate chips.
- Spoon the cookie dough into the prepared pan and press the dough evenly into the cake pan. I use my offset spatula to spread it around in the pan, since it’s sticky.
- Bake for 18-23 minutes, or until the top of the cookie is just beginning to brown on top. To make this cookie cake in a 10×15-inch pan, bake at 350°F for about 15 minutes, or until it just begins to brown on top.
- Remove from oven and allow to cool completely in the cake pan, then transfer to serving plate. I find it can help to refrigerate the cake after it has cooled to firm it up before removing from the pan. It helps it stay together while you remove it from the pan. To remove this cookie from such a large pan, I use a cooling rack and a cardboard cake rectangle (two cooling racks would also work). I place the cooling rack (lined with parchment paper) against the top of the cake pan, then flip it over. Immediately and quickly place the cardboard cake rectangle on top of the cookie cake (which is the bottom) and flip the whole thing over using the cooling rack. Remove the cooling rack from the top of the cake.
For the Frosting
- Add the butter to a large mixer bowl and beat until smooth.
- Add about half of the powdered sugar and mix until well combined and smooth.
- Add the cocoa powder, vanilla extract and two tablespoons of water or cream and mix until well combined and smooth.
- Add the rest of the powdered sugar and mix until smooth. Add more water or cream to get the right consistency.
- Add the buttercream to a piping bag fitted with a piping tip (I used Ateco 847) and pipe swirls of frosting around the outer edge of the cake.
- Store cookie cake in an airtight container or cover well. Cookie cake is best if eaten within 3-4 days.
Notes
- The 9×13 size cookie serves 15-18 people, depending on the size of the slices. The 10×15 size cookie serves 20-24 people.
- To Store: Keep cookie cake in an airtight container or cover well. Enjoy within 3-4 days.
- To Freeze: Wrap cooled, unfrosted cookie in a tight layer of plastic wrap and freeze in a heavy-duty storage bag. Thaw in the fridge and enjoy within 3 months of freezing, adding the rim of chocolate buttercream if desired.
Nutrition
- Serving Size:
- Calories: 554
- Sugar: 50 g
- Sodium: 135.8 mg
- Fat: 30.2 g
- Carbohydrates: 69.7 g
- Protein: 5.9 g
- Cholesterol: 86.6 mg




I made this cookie cake and cut it in half, I want to make a layered cookie cake. Do you think the frosting will be enough to use as the filling?
Yes, the frosting should be enough. I did something similar with my layered cookie cake recipe.
Can you use a glass 9×13 pan, that’s all I have in this size? How would you adjust baking time? Add or subtract?
Alternatively, I have half sheet pans which I would prefer but I’m wanting a thicker cookie cake and afraid these would make a 1/4” thick. Do you have thoughts or suggestions? I’m trying to feed 20 people for a birthday cake.
I haven’t tried this in a glass pan. The general rule is to reduce the baking temperature by 25 degrees and increase the baking time by 5-10 minutes, give or take.
How deep is the 9 by 13 pan you are using? I’m worried if it’s too deep the cake would break when flipping it out.
It’s a standard 9×13 pan, so probably 2 1/2 to 3 inches. You do have to work quickly when flipping it. If you’re really concerned, which I get, you could pop it in the freezer for 10-15 minutes first, so that it’s a little more firm.