This post may contain affiliate sales links. Please read my disclosure policy.
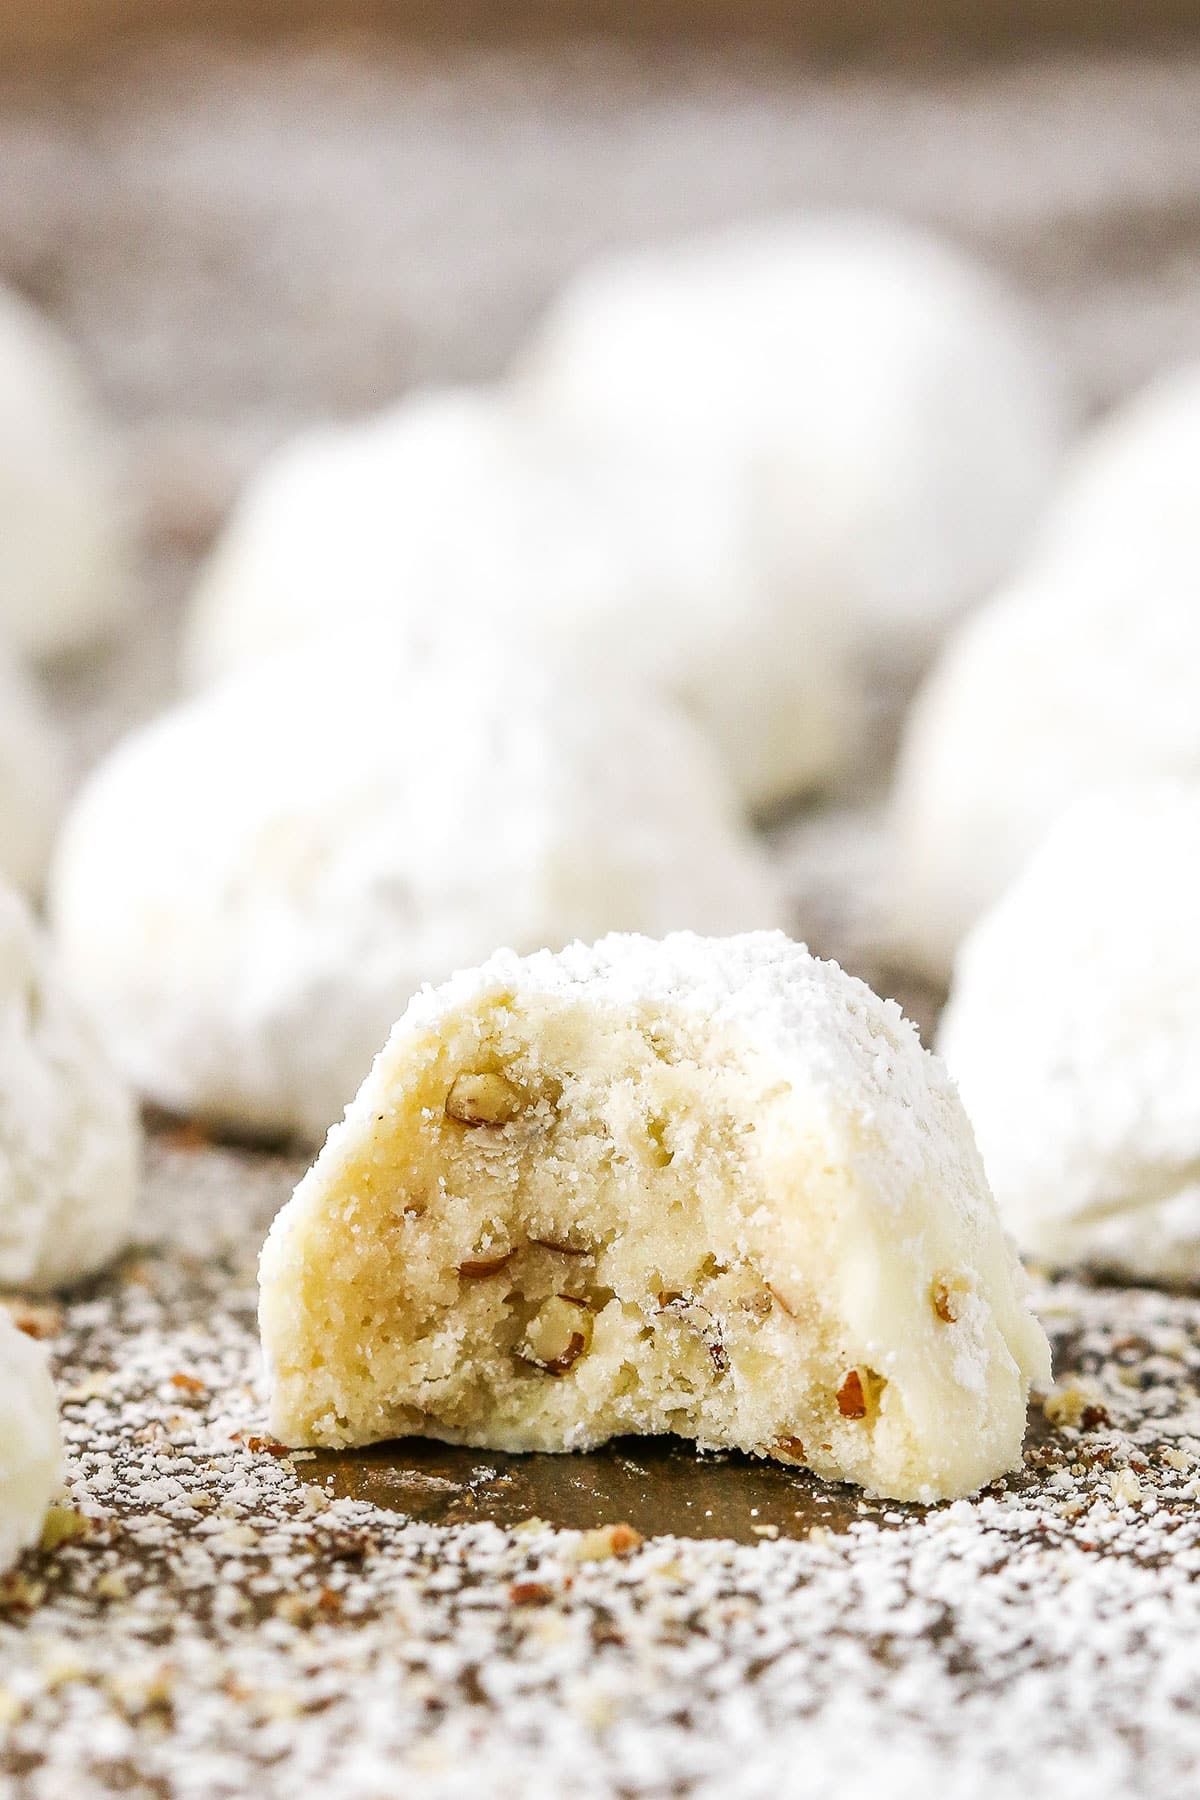
Russian Tea Cakes are tender, buttery cookies with a light nutty flavor all covered in powdered sugar! Also called “Snowballs,” these cookies are delicious and a wonderful holiday classic. One of my most requested Christmas cookie recipes!
Looking for more Christmas cookie ideas? Try my easy sugar cookies recipe, or these Italian Christmas cookies!
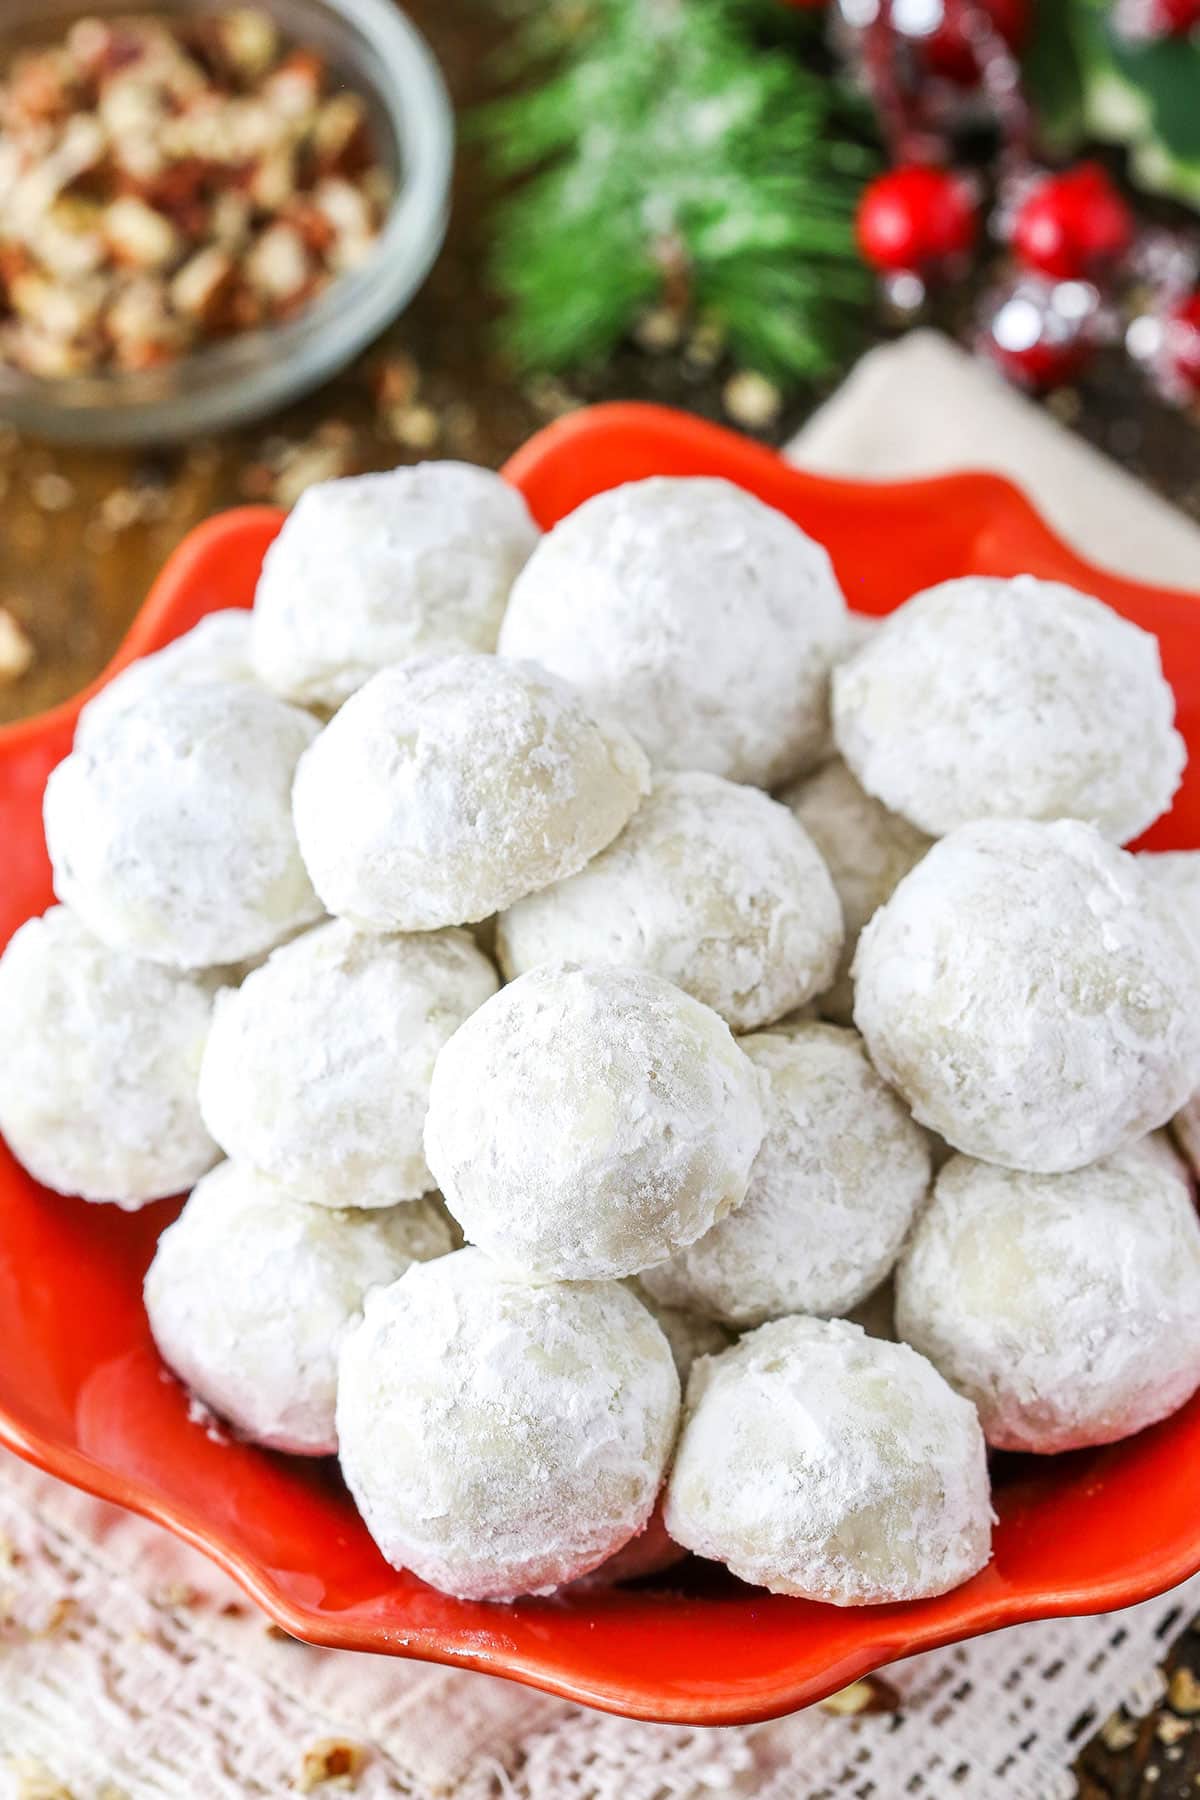
There are so many things to love about these cookies! For starters, they are quick and easy to make. The cookie dough comes together with only 6 ingredients. I do like to refrigerate them for about an hour before baking them, but you don’t have to. I personally think the cookies stay a little more tender on the inside if they’ve been refrigerated first.
Another reason to love them is that they are literally covered in sugar. Yes! Two layers of it, in fact. That outside layer of powdered sugar just melts right in your mouth. Completely addicting! And after you get past the outside, the inside is soft, buttery and also melts in your mouth. So darn good!
Of course one thing that adds great flavor to these cookies is the light nutty flavor, bit if you aren’t a nut fan, you could certainly leave them out. I’ve even left out the nuts and added coconut for a fun Easter version that I called “Bunny Tails”, ha!
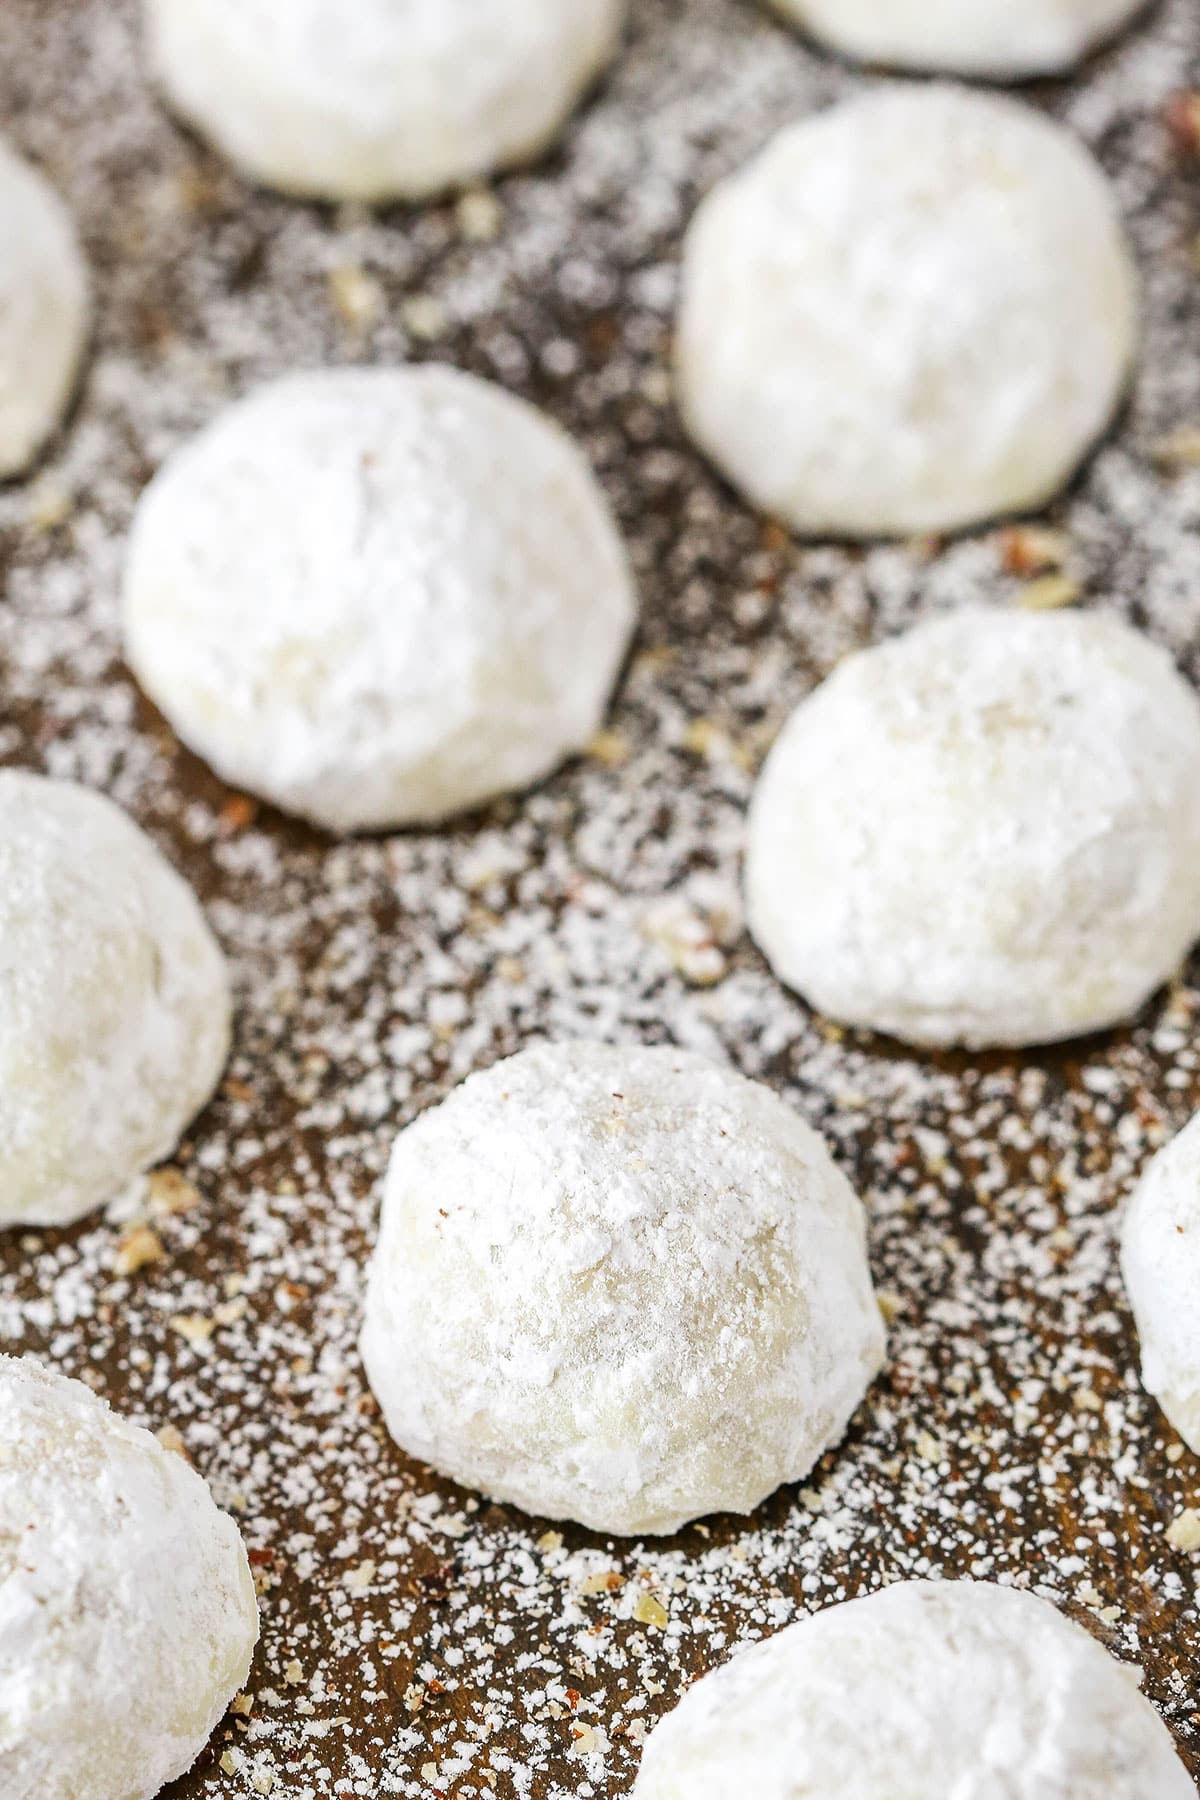
What Are Russian Tea Cakes?
Russian Tea Cakes are a simple cookie, similar to shortbread, known for the nuts included in the cookie and the powdered sugar used to decorate them. They are also often referred to as Snowballs and Mexican Wedding Cakes.
From a history perspective, the connection to Russia is unclear. It seems they may have originated in Europe as a popular snack with tea, hence “tea cake”, then they migrated to Mexico with European nuns where they became a popular wedding cookie. They are now also very popular in the U.S. at Christmas time.
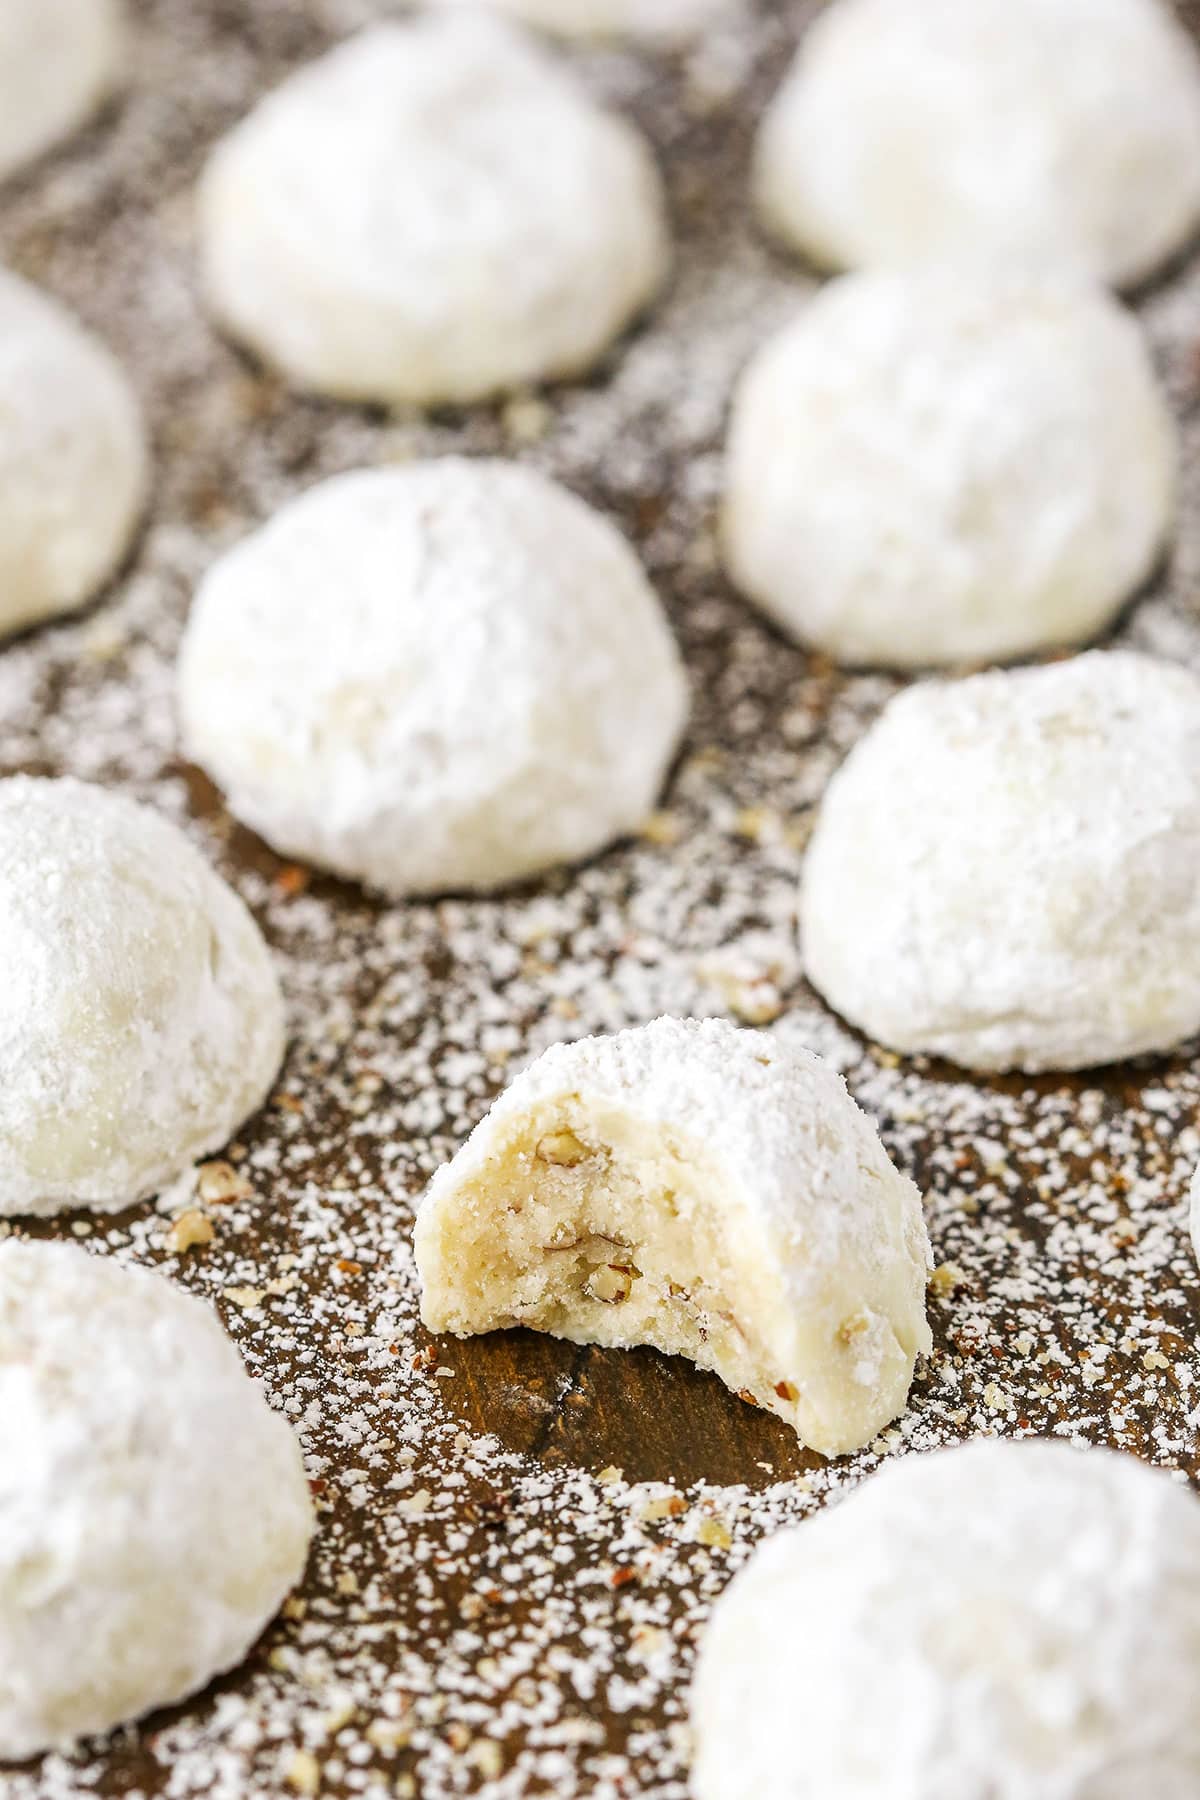
How to Make Russian Tea Cakes
It doesn’t get much easier than these Russian Tea Cakes. To start, you’ll combine the butter and powdered sugar, then add the vanilla extract.
From there, you’ll add the flour and salt and mix just until the dough comes together. Finally, you’ll stir in your nuts. I used chopped, toasted pecans but other nuts like walnuts or macadamia nuts would work as well.
Create tablespoons sized balls and refrigerate them for an hour. You don’t have to refrigerate them, but I think the cookies are even better if you don’t skip that step.
Bake them just until the bottoms are turning slightly brown. The time will vary based on your oven, but 7-8 minutes was just right for me.
When you take them out of the oven, let them cool just long enough so that you can handle them, then roll them in the additional powdered sugar. The sugar will melt a little from the heat, so after they cool, roll them in the powdered sugar one more time.
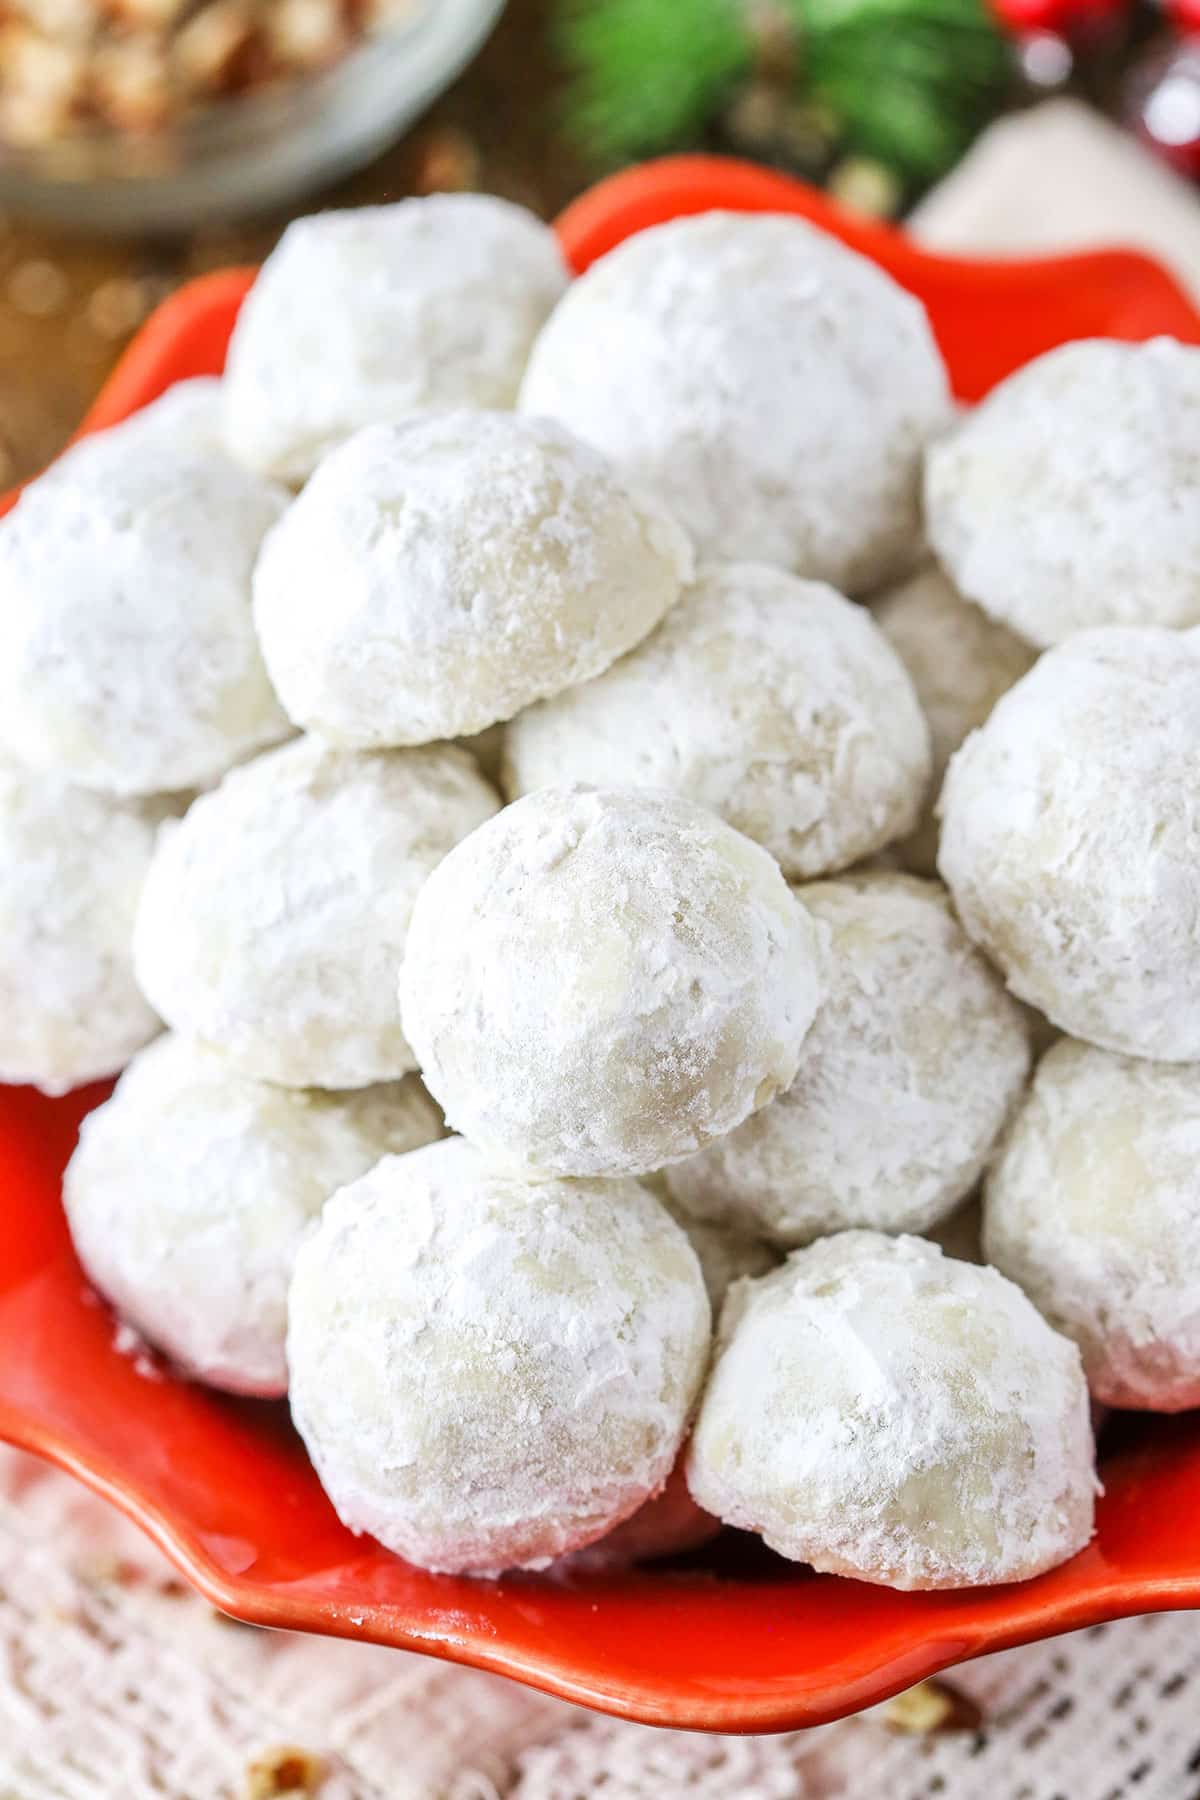
These cookies last very well for about a week when stored in an air tight container. They could also be made ahead and frozen, but you’ll want to freeze them prior to adding the powdered sugar, which would just dissolve when they thaw. Instead, thaw the cookies in the fridge when you’re ready for them and then dip them in the powdered sugar.
These Russian Tea Cakes are wonderful, sugary little bites of heaven! They are nice and small, so they are easy to snack on with a cup of coffee or eggnog (or tea!) and just enjoy the holidays. I hope you love them!
Italian Ricotta Cookies
Classic Spritz Cookies
Best Gingerbread Cookie Cutouts
Soft and Chewy Sugar Cookies
Classic Chewy Snickerdoodles
Peanut Butter Blossoms
Candy Cane Cookies
Soft and Chewy Eggnog Cookies
Southern Pecan Pralines
Reindeer Cookie Balls
Chocolate Crinkle Cookies
Cutout Sugar Cookies
Watch How They’re Made
Print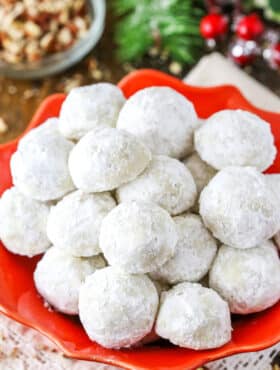
- Prep Time: 1 hour 30 minutes
- Cook Time: 20 minutes
- Total Time: 1 hour 50 minutes
- Yield: 40 cookies
- Category: Dessert
- Method: Oven
- Cuisine: American
Description
Russian Tea Cakes are tender, buttery cookies with a light nutty flavor all covered in powdered sugar! Also called “Snowballs,” these cookies are delicious and a wonderful holiday classic!
Ingredients
- 1 cup (224g) unsalted butter, room temperature
- 1 1/2 cups (173g) powdered sugar, divided
- 2 tsp vanilla extract
- 2 1/4 cups (293g) all-purpose flour
- 1/2 tsp salt
- 3/4 cup (85g) finely chopped nuts (I used toasted pecans)
Instructions
1. Preheat oven to 375°F (190°C) and line a cookie sheet with parchment paper or a silicone baking mat.
2. In a large mixer bowl, beat the butter and 1/2 a cup (58g) of powdered sugar together until smooth.
3. Add the vanilla extract and mix until smooth.
4. Add the flour and salt and mix on low speed just until the dough comes together.
5. Stir in the chopped nuts.
6. Scoop tablespoon sized balls of dough and shape into a ball. Refrigerate for about 1 hour, then place on the prepared cookie sheet 1-2 inches apart.
7. Bake for 7-10 minutes, or until the bottoms are just lightly brown.
8. Remove from the oven and allow to cool for a few minutes, until you can handle them.
9. Add the remaining 1 cup (115g) of powdered sugar to a small bowl and roll each cookie in it until well coated. The sugar will melt a little bit. Allow the cookies to cool completely, then re-roll in powdered sugar.
10. Store in an airtight container for up to a week.
Nutrition
- Serving Size: 1 cookie
- Calories: 99
- Sugar: 4.5 g
- Sodium: 29.9 mg
- Fat: 6.1 g
- Carbohydrates: 10.2 g
- Protein: 1 g
- Cholesterol: 12.2 mg






This has always been a childhood favorite of mine and this is my favorite recipe for this cookie! I made these a few years ago and now that my kids are older and like nuts, I resurrected the recipe for this holiday season. Thank you for the recipe!
So glad you enjoyed them!
Can this dough be made ahead and refrigerated for several days before baking?
That all be fine.
Can I make them without the nuts?
Yes, that should be fine. They just may spread a little bit more.
These are tiny little mouthfuls of joy! I substituted the butter for a plant based butter and they are delightful, very melty in the mouth. I can’t comment on how they keep for a week as they all went within a day… 5* recipe, thank you.
Awesome! So glad you enjoyed them!
This is an amazing recipe!! It was great practice since I have just begun baking. Everyone loved them! My grandma said she was looking for this recipe for a long time and was thrilled that I have made them. It was her favorite treat as a little kid 🙂
I have a few questions though.
How do you specifically know when they are fully ready?
I took them out of the oven and when I tried them they seemed raw, but when they cooled down they were perfect! Why is it like this?
Other than the amount of time, I mentioned looking for lightly browned bottoms. The reason they are softer when you first take them out of the oven is because they are still warm. Anything you bake will firm up as it cools. That’s why you want to be careful not to over bake things. Often if things really seem done when you take them out of the oven, they end up overdone and dry when they have cooled.
Thank you so much! This was great advice 🙂
So glad you all enjoyed them!
I made these and they came out a little flat. Any idea why?
Maybe they just spread a little bit? If so, you may just need to add a touch more flour. Also, if by chance you left out the nuts, that would mean you’d need a touch more flour too.
Hi, I made these cookies and they came out kinda flattened, not like the picture. Any ideas why
All I have is salted butter. Could I use that and would I omit adding the salt to the recipe?
Yes
My daughter is allergic to tree nuts, so we altered this recipe and used cashews, turned out awesome!!
I noticed one spot it says cook time 20 minutes and another says 7-10 minutes. Someone made a comment her mom went 300 for 40 minutes. I think I will try that one.
Step 7 says 7-10 minutes. That’s the correct baking time.
We had these every Christmas growing up in the 50’s. My step-mother called them Mexican Wedding Cakes, and now I know why!
This is one of the kid favorites… and they look beautiful in tins and are a wonderful gift.
I grew up with my mom making these and they’re still my all time favorite cookie. Thank you for sharing this recipe with everyone so they too can enjoy these little buttery balls of splendor.
My mother’s recipe calls for baking at 300 F for forty minutes. They never burn, always perfect. Any idea why the difference in time and temperature between recipes?
Can this recipe be made into a bar cookie instead of balls?
I’m not sure. I’ve never tried it.
These sound awesome, however I’m wondering if nuts can be omitted or do you have a recommended substitution? My son has a severe tree nut & peanut allergy. Thank you.
Yes, you could leave the nuts out.
Will chopped pistachios work to?
Happy holidays Xxx
Certainly!
These look so delicious, Lindsay! Every day, I’m excited to open your emails and find a new and amazing cookie recipe. Thank you for all the hard work and effort you put into this holiday series!
That’s truly so nice to hear. Thank you, Cyna!