This post may contain affiliate sales links. Please read my disclosure policy.
These Red Velvet Cookie Sandwiches are tender, delicious and filled with a tangy-sweet cream cheese frosting. They can be dressed up for several holidays – just swap out the sprinkles. Such a colorful treat that’s perfect for all ages!

These red velvet cookie sandwiches are so fun and delicious. I’ve been making them for years but recently updated the recipe to use my red velvet cookie recipe, which adds even more of that classic red velvet flavor and doesn’t need a pudding mix. These cookies sandwiches are better than ever and so moist and chewy. Add the cream cheese frosting and you have the perfect red velvet treat. I can’t wait for you to try them!
- The cookies! These cookie sandwiches are made with my red velvet cookies, just without the chocolate chips. They have a touch of cocoa powder and a hint of tang, just like the flavors in a red velvet cake. They’re soft and chewy and perfect in these cookie sandwiches.
- The frosting! Cream cheese frosting and red velvet are truly a match made in heaven. The tangy frosting is the perfect complement to the sweet and chewy cookies. It’s very easy to make too.
- Fun & festive. One thing I love about red velvet is that the color makes any red velvet dessert feel extra festive, whether it’s for Valentine’s Day, Christmas or even July 4th. I like to customize the sprinkles used on these cookies based on the holiday. I’ll stick with plain red and green sprinkles for Christmas, little pink heart sprinkles are great for Valentine’s Day or red, white and blue for July 4th.
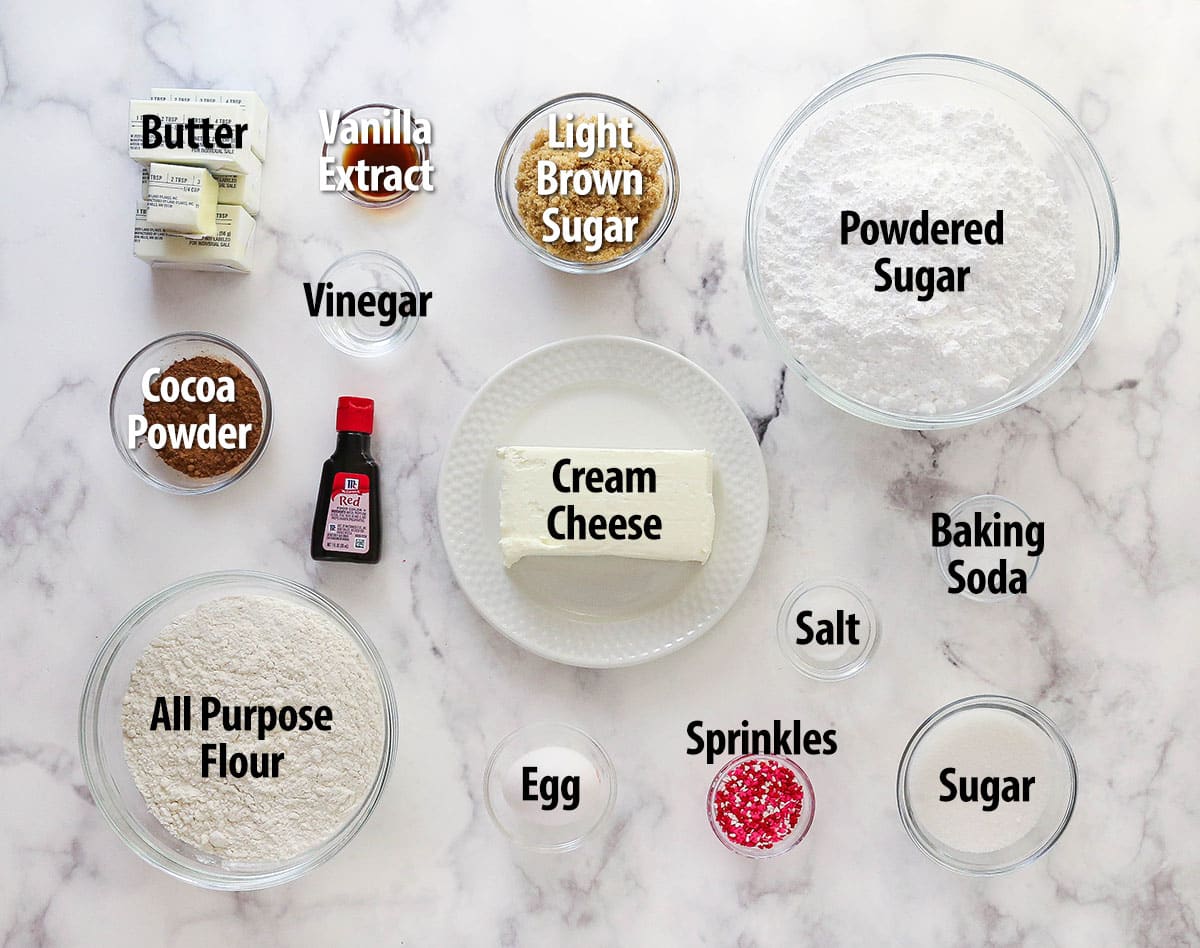
What You’ll Need
These red velvet sandwich cookies are made with pantry staples plus the usual red velvet ingredients like cocoa powder and vinegar. You can find the exact measurements of each ingredient in the recipe card below.
Red Velvet Cookies
- All-purpose flour – Be sure to measure it accurately. That extra tablespoon is important! Over- or under-measuring flour will affect the final texture of the cookies.
- Cocoa powder – Use natural unsweetened cocoa powder in these cookies, not Dutch-processed cocoa powder.
- Baking soda – Helps the cookies rise and create a chewy texture.
- Salt – Amplifies the other flavors in the cookies.
- Unsalted butter – I always use unsalted butter when baking, so that I can control the amount of salt added.
- Sugar – Both granulated sugar and light brown sugar are used to make these cookies.
- Egg – Be sure to use large eggs, not medium or extra large.
- Vanilla extract
- Vinegar – Vinegar is a common ingredient in red velvet desserts. Don’t worry, it won’t make the cookies taste like vinegar! It does, however, work with the baking soda to help the cookies rise and add to the tangy flavor.
- Red food coloring – You can also use red gel icing color. Add more or less based on how intense you want the red color.
Cream Cheese Frosting
- Cream cheese – Allow the cream cheese to sit on the counter and come to room temperature ahead of time, so that it’s easier to mix. Full-fat brick cream cheese works best for making frosting. Reduced fat, tub style cream cheese will be thinner/softer.
- Butter – The butter should also come to room temperature ahead of time. Unsalted butter is best for frosting.
- Powdered sugar – Sweetens and adds volume to the frosting, while also making it pipe-able.
- Vanilla extract
- Sprinkles – The sprinkles are optional but I think they add a fun, festive touch.
These red velvet cookie sandwiches are so easy to make. The cookie recipe is very straight forward and the frosting comes together in just a few minutes. Just be sure to leave time for the cookies to cool! Scroll down to the recipe card for the printable version of the instructions.
Make the cookies
- Prep. Preheat the oven to 350F. Line baking sheets with a silicone baking mat or parchment paper.
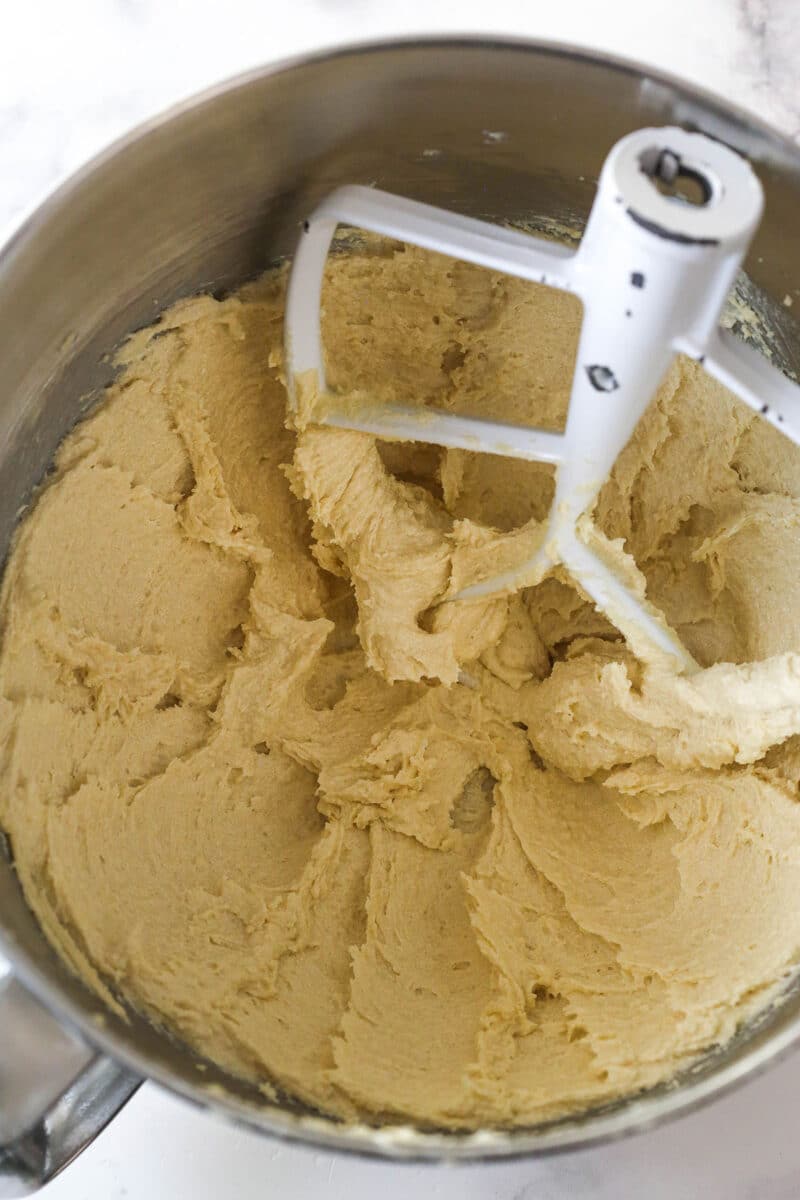
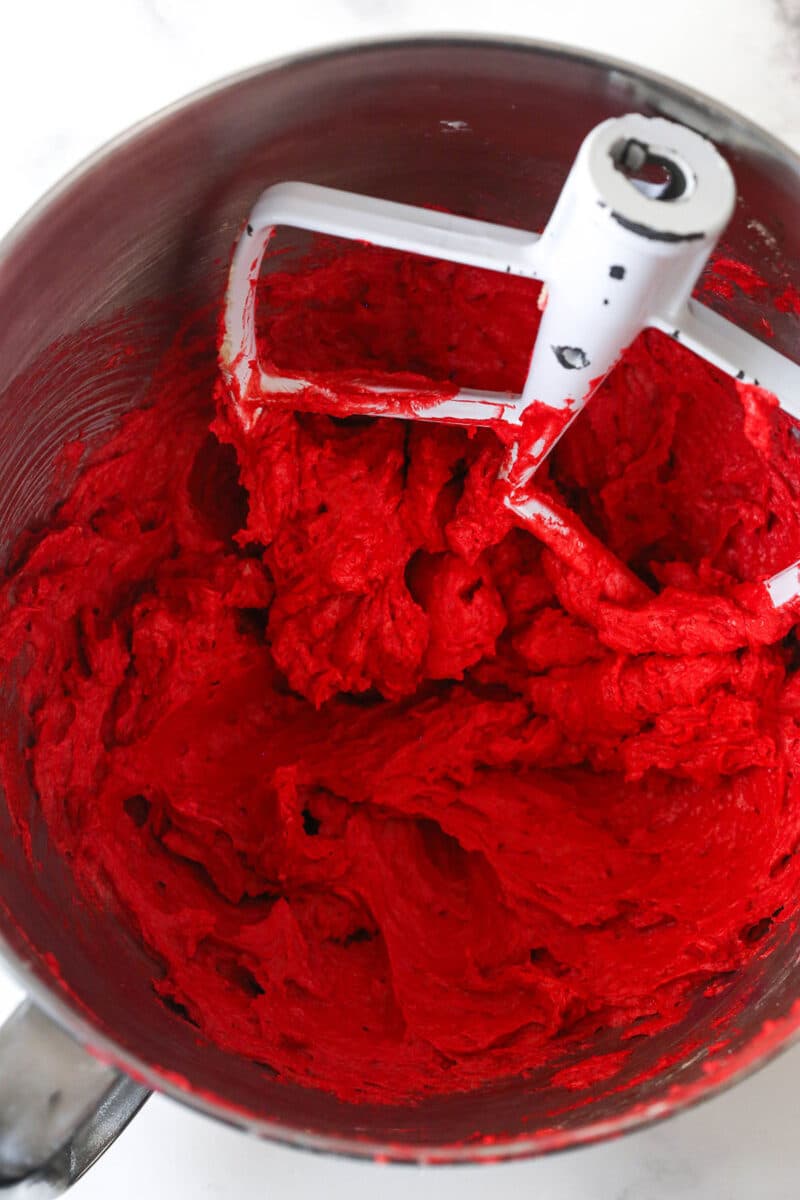
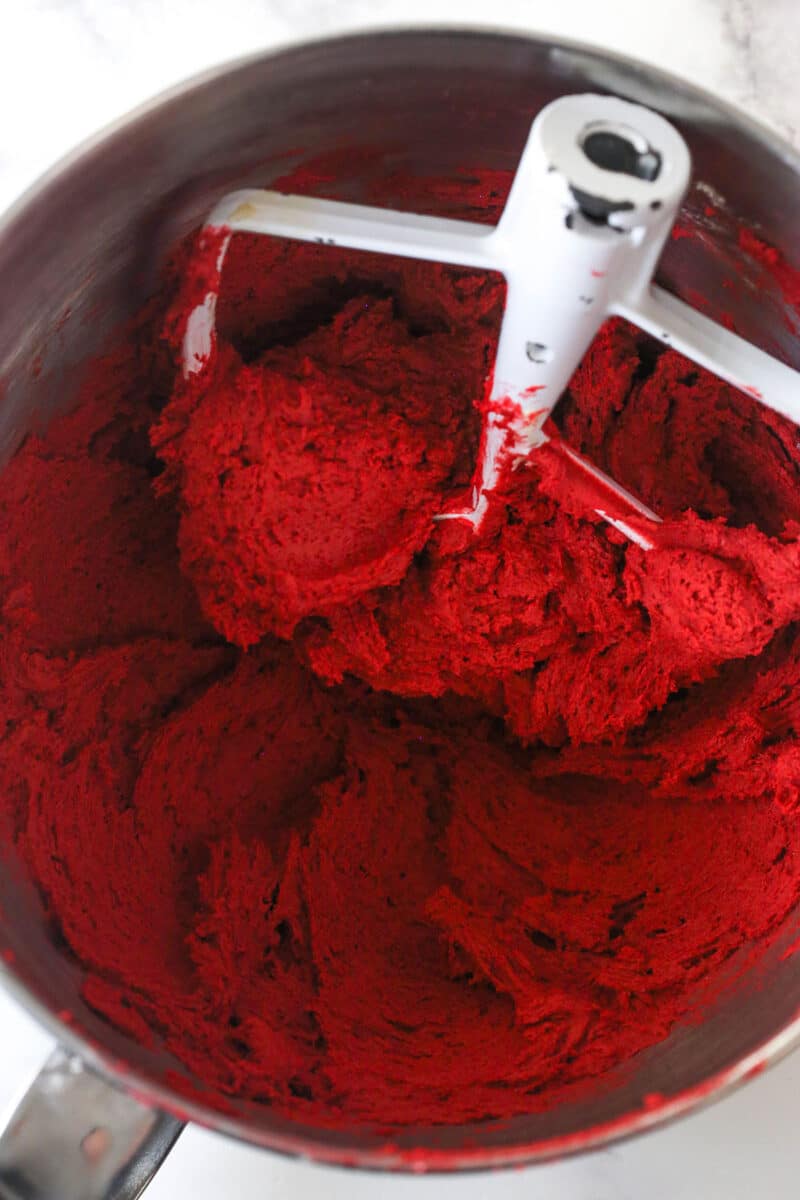
- Make the dough. Combine the dry ingredients in a bowl. In another bowl, cream the butter and sugars until light and fluffy, about 2-3 minutes. Mix in the egg until well combined then add the vanilla extract, vinegar, and red food coloring. Add the dry ingredients and mix until well combined.
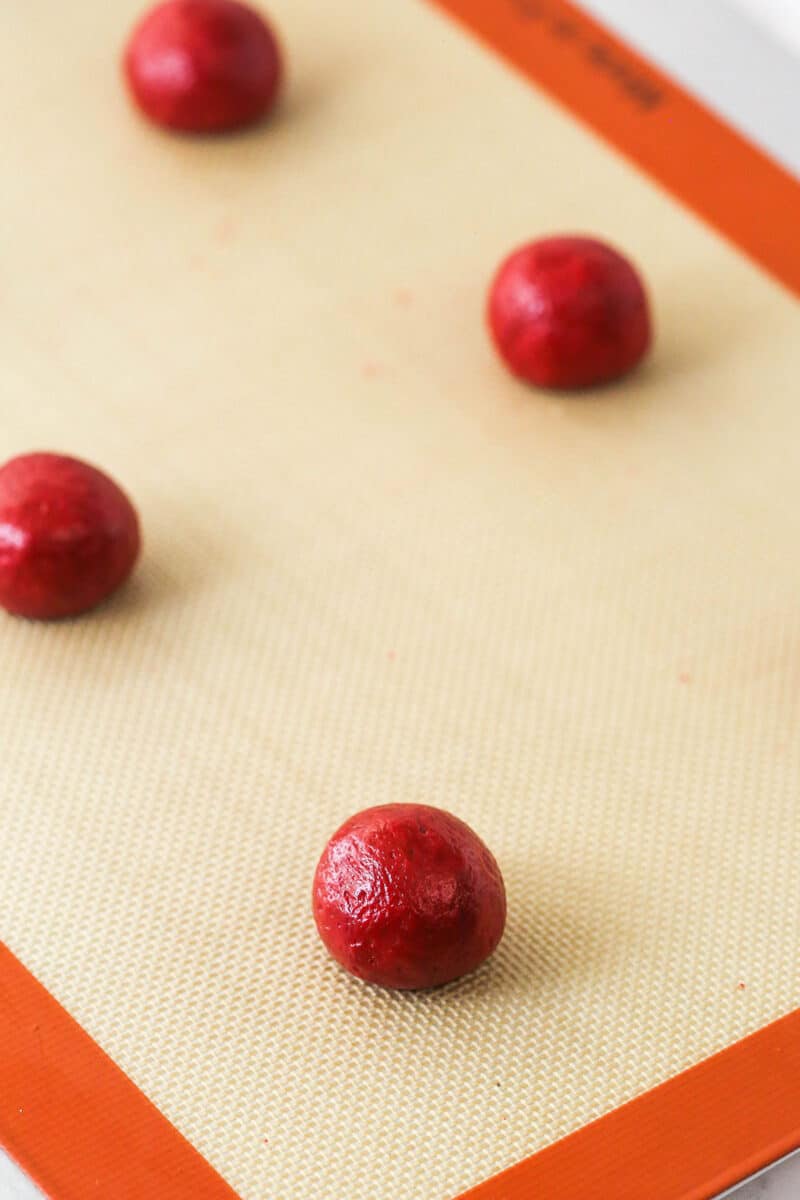
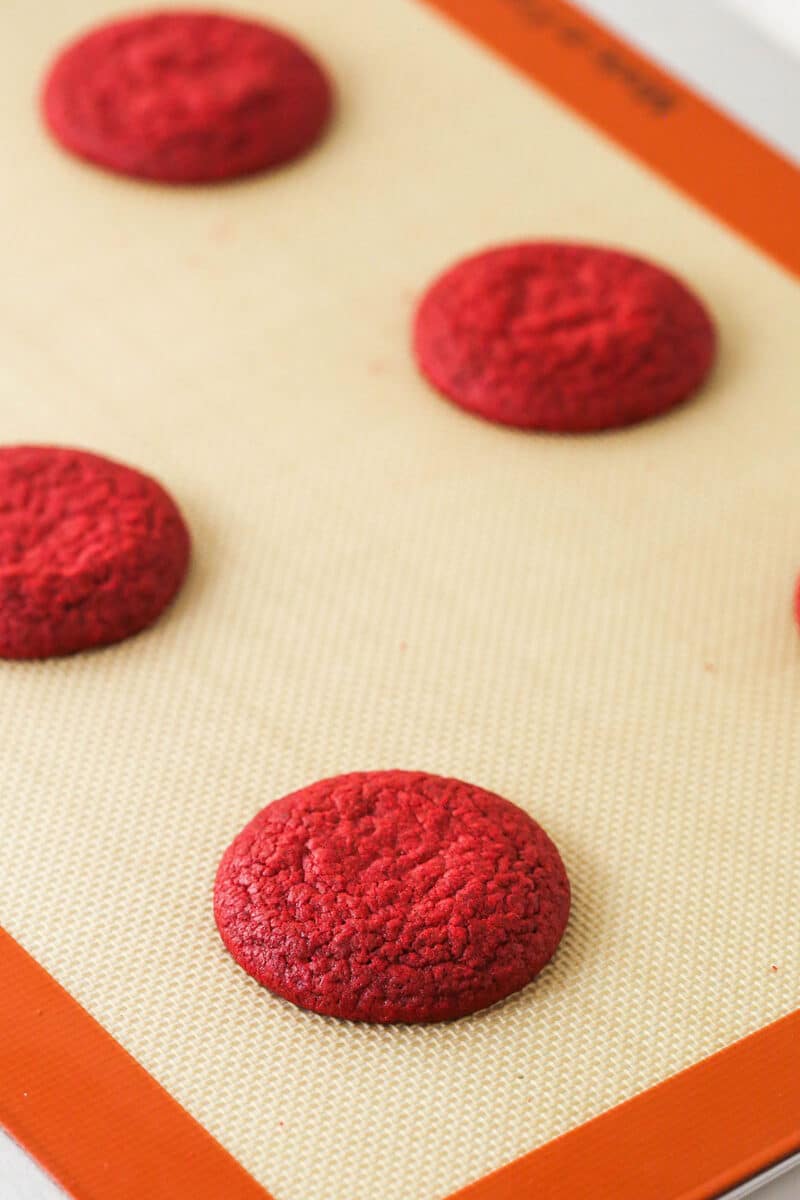
- Bake. Roll 1 1/2 tablespoon-sized balls of cookie dough. Place on the baking sheet 2 inches apart. Bake for 7-9 minutes.
- Cool. Allow the cookies to cool on the baking sheets for 4-5 minutes then transfer to a wire rack to cool completely.
Make the Frosting & Assemble
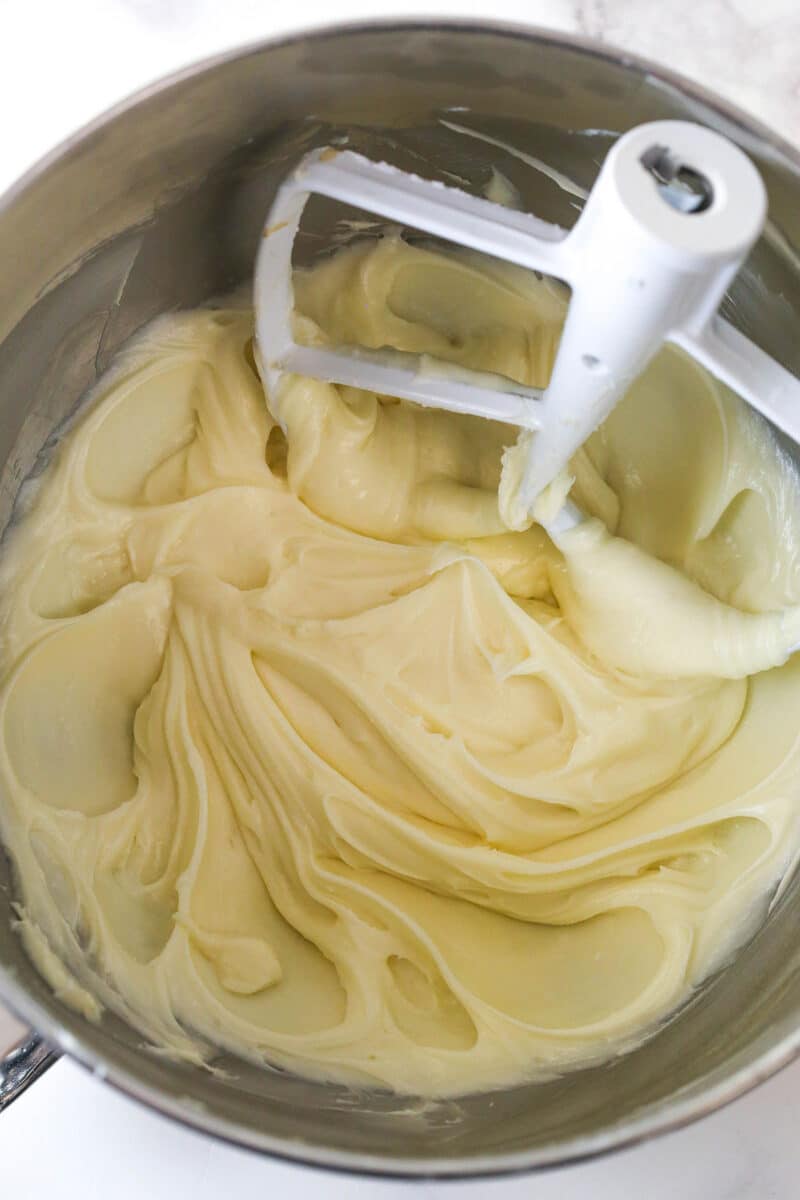
- Make the frosting. Combine the cream cheese and butter in a mixing bowl until combined and spoon. Mix in half of the powdered sugar until smooth then add the vanilla extract. Mix in the remaining powdered sugar until combined and smooth.

- Assemble the cookies. Transfer the frosting to a piping bag (I used Ateco 844) and pipe the frosting onto one cookie then add a second cookie on top. Add sprinkles to the edges if desired. Repeat with the remaining cookies.

Tips for Success
- Use room temperature ingredients. The ingredients in both the red velvet cookies and cream cheese frosting should be at room temperature when starting the recipe. This helps ensure that everything mixes smoothly. It’s a lot harder to cream cold butter!
- Measure flour properly. I recommend using a food scale or the spoon and level method. Over measuring your flour will lead to dry cookies that don’t spread properly.
- Don’t over bake the cookies. The red velvet cookies should just look done when you pull them from the oven. It’s key to getting soft and chewy cookies! They’ll continue to firm up as they cool on the baking sheet.
- Let the cookies cool. I think the hardest part of this recipe is truly waiting for the cookies to cool before you add the frosting and assemble the cookie sandwiches. I always want to eat them right away! But they do need to cool or they’ll just melt the frosting.
- Thick frosting for piping. It’s always tempting to reduce the amount of powdered sugar used in frosting, but for it to maintain it’s shape in these cookies, the frosting does need to be thick enough. Stick with the amount listed for the best piping consistency and shape.

Proper Storage
- Refrigerator – Because of the cream cheese frosting, these red velvet cookie sandwiches do need to be stored in the fridge in an airtight container. However, they are best enjoyed at room temperature. I like to pull them from the fridge 20-30 minutes before serving so that the frosting softens a bit. These cookie sandwiches are best enjoyed within 3-4 days.
- Freezer – These cookies can be frozen. You can make the cookies and freeze before assembling, or freeze after assembling. Just keep in mind that the color from the sprinkles can bleed sometimes when they thaw. I recommend thawing them in the fridge before enjoying.
More Red Velvet Recipes
- Red Velvet Cheesecake Cake
- Red Velvet Cupcakes
- Red Velvet Cheesecake
- Best Red Velvet Cake Recipe
- Red Velvet Cookies
- Red Velvet Cheesecake Swirl Brownies

- Prep Time: 45 minutes
- Cooling Time: 1 hour
- Cook Time: 7 minutes
- Total Time: 1 hour 52 minutes
- Yield: 16 cookie sandwiches
- Category: Dessert
- Method: Oven
- Cuisine: American
Description
These Red Velvet Cookie Sandwiches are tender, delicious and filled with a tangy-sweet cream cheese frosting. They can be dressed up for several holidays – just swap out the sprinkles.
Ingredients
Red Velvet Cookies
- 2 1/4 cups + 1 tbsp (300g) all-purpose flour (measured accurately)
- 2 tbsp (14g) natural unsweetened cocoa powder
- 3/4 tsp baking soda
- 3/4 tsp salt
- 3/4 cup (168g) unsalted butter, room temperature
- 1/2 cup (104g) sugar
- 1/2 cup (112g) light brown sugar
- 1 large egg
- 1 1/2 tsp vanilla extract
- 2 tsp vinegar
- 1 1/2 tbsp red food coloring
Cream Cheese Frosting
- 8 oz (226g) cream cheese, room temperature
- 6 tbsp (86g) unsalted butter, room temperature
- 4 cups (460g) powdered sugar
- 1 tsp vanilla extract
- Sprinkles
Instructions
Make the cookies
- Preheat oven to 350°F (180°C). Line baking sheets with parchment paper or silicone baking mats. Set aside.
- Combine the flour, cocoa powder, baking soda and salt in a medium bowl and set aside.
- Cream the butter and sugars together in a large mixer bowl on medium speed until light in color and fluffy, 2-3 minutes. You should be able to see the change in color happen and know it’s ready.
- Add the egg and mix until well combined.
- Add the vanilla extract, vinegar and red food color and mix until well combined.
- Add the dry ingredients and mix just until well combined.
- Create 1 1/2 tablespoon sized balls of cookie dough. Gently roll into a ball and set the balls on the baking sheet, about 2 inches apart.
- Bake cookies for 7-9 minutes. The cookies will spread and the centers will look soft, but should just look done. Don’t over bake. The cookies will firm up as they cool.
- Remove from the oven and allow to cool on baking sheets for 4-5 minutes before transferring to a wire rack to cool completely.
Make the Frosting & Assemble
- Combine the cream cheese and butter in a large mixer bowl and mix until well combined and smooth.
- Add about half of the powdered sugar and mix until well combined and smooth.
- Add the vanilla extract and mix until well combined and smooth.
- Add the remaining powdered sugar and mix until well combined and smooth.
- Add the frosting to a piping bag with fitted with a piping tip (I used Ateco 844). Pipe frosting onto one cookie at a time, then add a second cookie on top of the frosting to finish off the sandwich. Add sprinkles to the sides of the frosting, if desired.
- Refrigerate until ready to serve and serve at room temperature. Cookie sandwiches are best if eaten within 3-4 days.
Notes
Red food color: You need less than 1 ounce. Feel free to reduce the amount, depending on how deep you want the red color to be. You can also use about ½ teaspoon red gel icing color.
Nutrition
- Serving Size: 1 Cookie Sandwich
- Calories: 401
- Sugar: 42.3 g
- Sodium: 221.7 mg
- Fat: 18.4 g
- Carbohydrates: 57 g
- Protein: 3.4 g
- Cholesterol: 60.3 mg


Such a cute cookie, where can we find the cute little heart sprinkles
Hi!
Could these be stored in the freezer to last longer?
That should be fine.
I love all your recipes so thank you! I’m from the UK and we dont have shortening what could I use instead? X
I’m so glad you enjoy the recipes! You can replace shortening with additional butter.
Tried this for the first time tonight and they’re so yummy! Mine definitely flattened out rather than staying fluffy & thick like yours though. Did I do something wrong?
It’s hard to say for sure if you did something “wrong”. There can be differences between ovens and even cookie sheets that will cause cookies to spread more. So it’s hard to say. Glad you enjoyed them though!
I am from Mexico in the recipe it has vanilla pudding which is that. Thank you
You could leave it out.
How long can these be stored in the fridge?
They should be fine for at least 4-5 days.
Should you melt the butter for the icing? Or is it 3 tbs of non melted butter?
The butter should be room temperature, not melted.
does it have to be white viniger? I can’t wait to make these! I have apple cider viniger but can grab the other if need be.
Apple cider vinegar should be fine.
Hi there,
I’m planning to make these yummy cookies for a friend, but because I can only gift them to her 2 days after, just wondering if I should keep them in the refrigerator or it’s fine to leave them in room temperature?
Thank you!
With the cream cheese frosting in the middle, it might be best to refrigerate them. But definitely eat them at room temperature.
Made these for a cookie exchange. The cookies are tasty, but mine didn’t stay puffy once removed from the oven. Wish there was a touch of salt in the recipe, too, but still this was a fun recipe to try.
These cookies look totally soft & decadent. Thanks for the tip about using pudding in the recipe, which is probably why they look so pillowy. You’re a fabulous baker’s idea of a fabulous baker, Lindsay! Your recipes are GREAT. Thanks for sharing them.
Thanks so much Darnell!
do you really need so much vanilla pudding mix??
That’s like 4 packets… I use grams and 13.4 oz converts to 380g.
I can see how that may have read confusingly. It’s one 3.4 oz package.
Can you roll and make tree or star patterns with the dough? Or is it not stiff enough to stay in shape?
It won’t hold it’s shape completely, but it shouldn’t spread drastically either.
I made his for Valentines Day for me and hubby. It turned out wonderful. The vanilla pudding mix (I used French vanilla because that’s all that was available at the grocery) added such a great flavor that wouldn’t be sort otherwise. The cookies were soft and moist; it was such a pleasure eating them. Will definitely make again and I’ll share next time 🙂
Wonderful! I’m so glad you enjoyed them!