This post may contain affiliate sales links. Please read my disclosure policy.
Made with a classic Oreo crust, this Red Velvet Cheesecake is one of the smoothest and creamiest cheesecakes I’ve ever tasted. It has that light tanginess that’s so loved in a red velvet dessert, and the whipped cream cheese topping finishes it off perfectly!
If you love this red velvet cheesecake recipe, you should totally try my Red Velvet Cheesecake Cake as well.
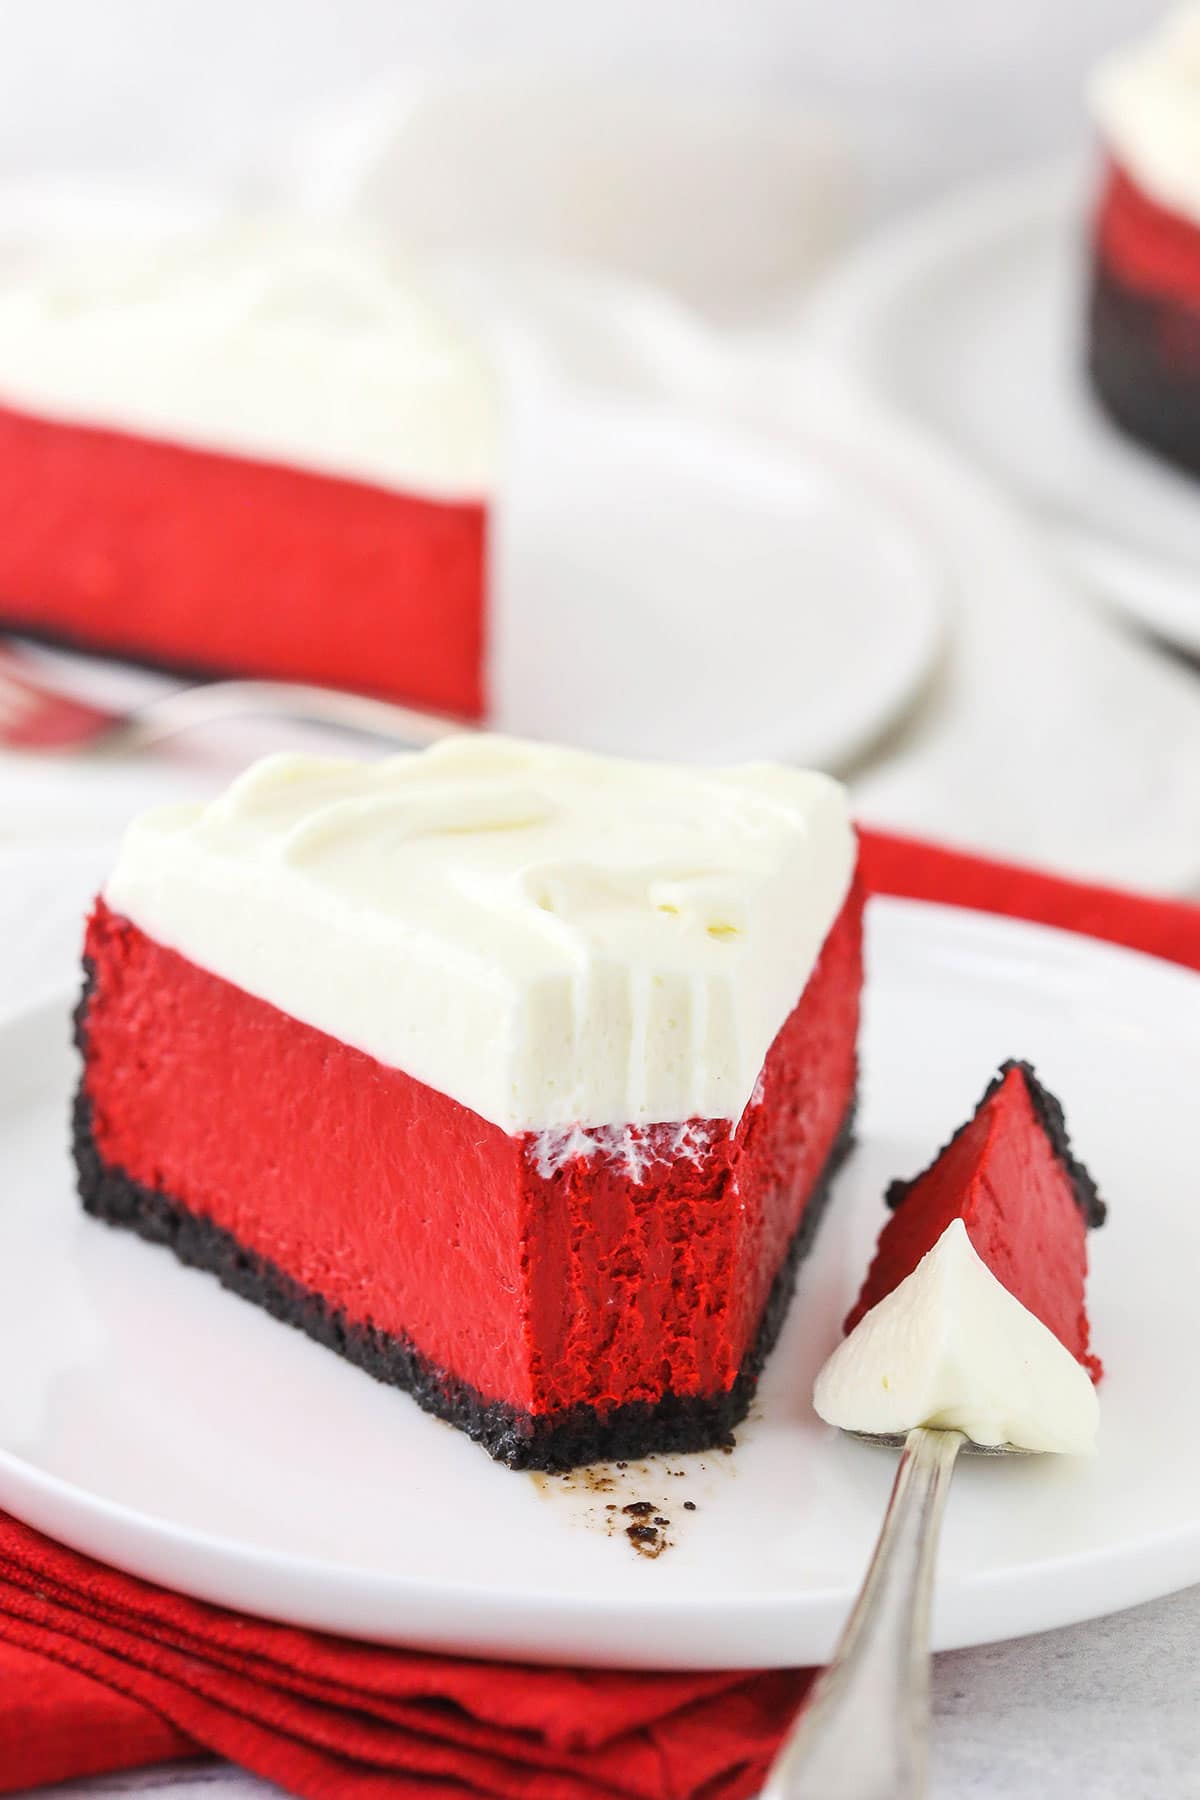
There’s no such thing as stopping at one piece when it comes to this cheesecake. From the crunchy Oreo crust to the rich red velvet filling and the light cream cheese topping, it’s insanely good! If you’re a fan of red velvet, you’ve just discovered your new favorite dessert.
As far as baked cheesecakes go, this one’s very simple. You do have to use a water bath, but it’s really not as much work as it seems! And I’m here to guide you through the process from start to finish. Thanks to that quick little water bath, the cheesecake filling is super smooth and creamy. When you factor in the crust and the topping, it’s heaven in a cheesecake!
What Exactly is Red Velvet?
Some people think that red velvet is just chocolate with red food coloring and a little cream cheese, but that’s actually not the case. While chocolate and cream cheese are included in red velvet desserts, buttermilk and a splash of vinegar help produce that delightfully tangy flavor. Traditionally, the natural reaction of those ingredients creates that iconic red hue, and the food coloring is there to enhance it.
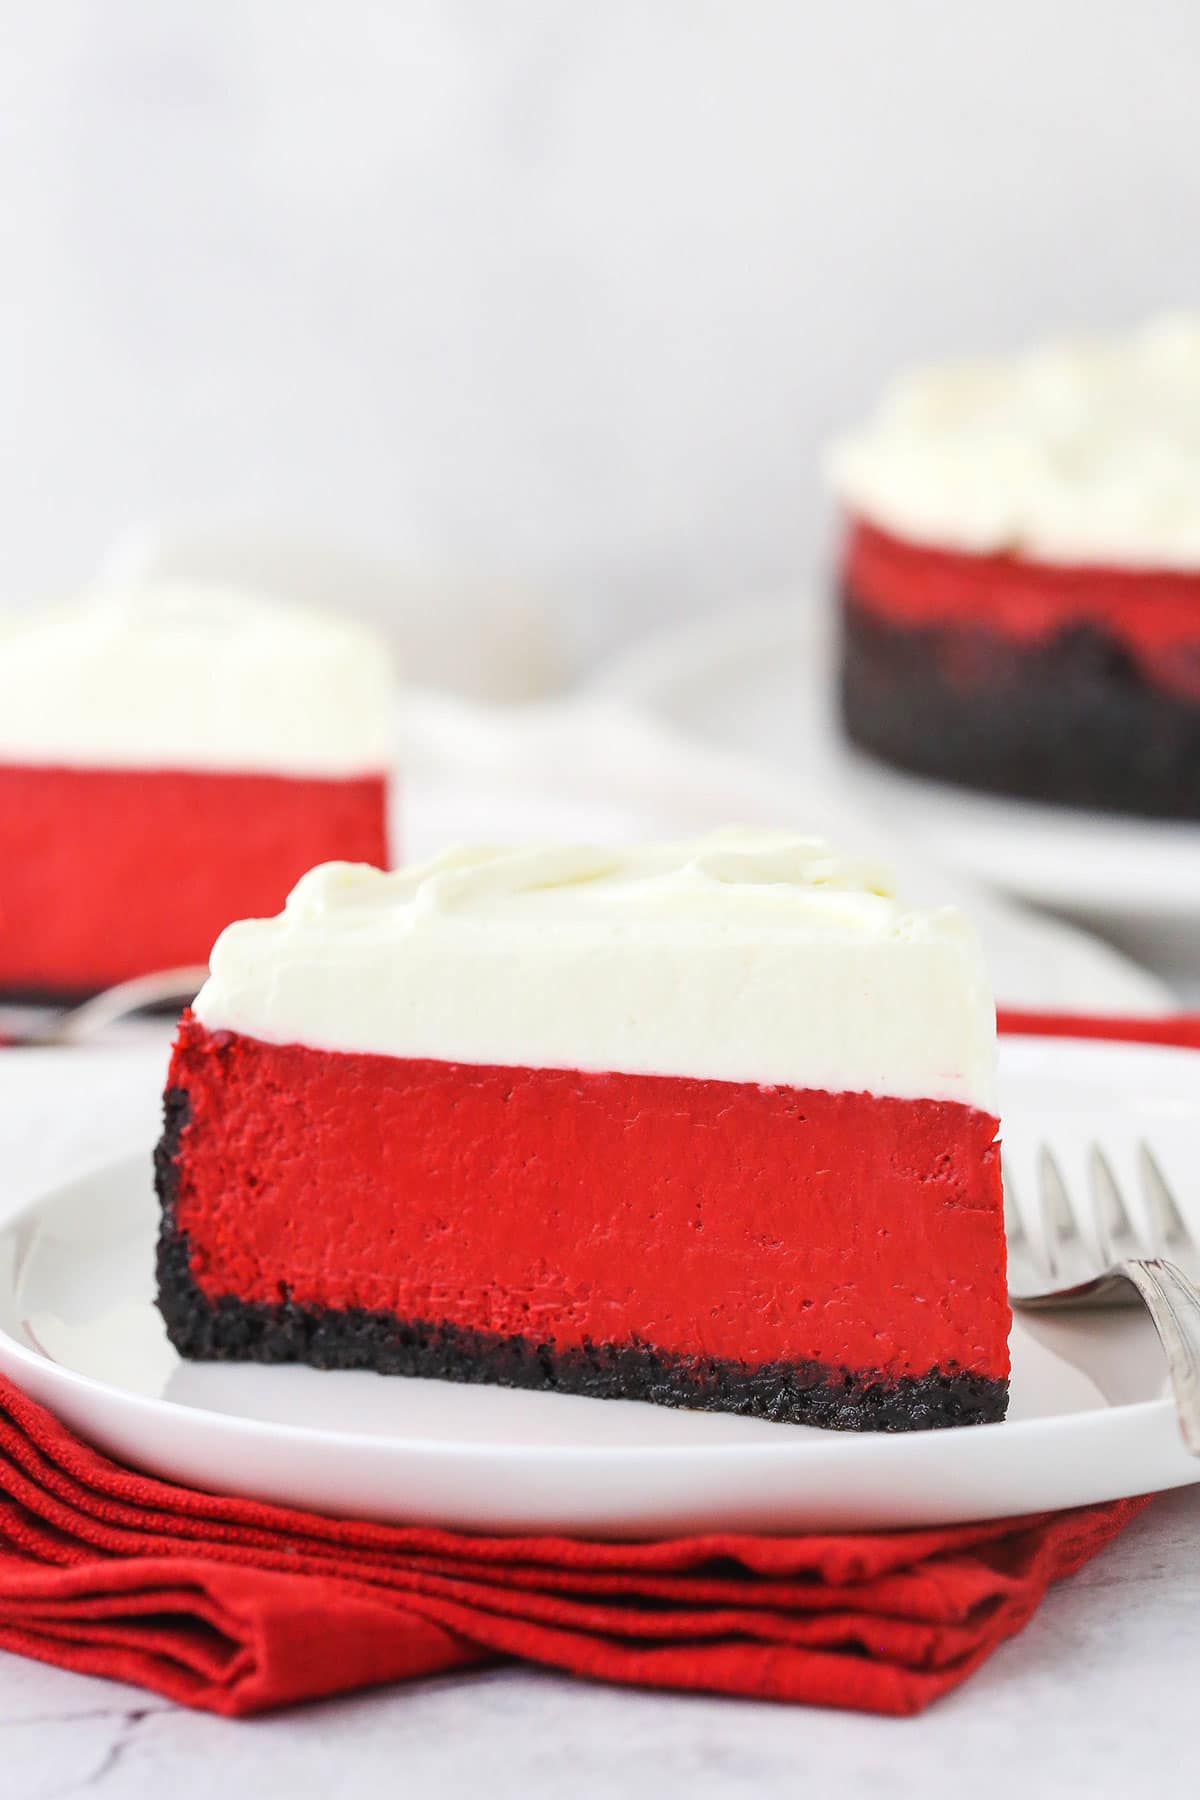
Ingredients You’ll Need
This cheesecake filling uses a tried and true base that I’ve built upon for all sorts of cheesecake flavors. Here are the ingredients you’ll need to make each layer of this dessert:
For the Oreo Cookie Crust
- Oreos: Leave the creme filling inside of the cookies.
- Butter: Melted. You can use salted or unsalted.
For the Red Velvet Cheesecake Filling
- Cream Cheese: Brought to room temperature.
- Sugar
- Cocoa Powder: Natural, unsweetened cocoa powder is best.
- Sour Cream: For an extra creamy filling.
- Buttermilk: If you don’t have any buttermilk on hand, you can make your own by mixing a cup of milk with a tablespoon of lemon juice or vinegar. Let the mixture sit for 5-10 minutes after stirring it. You’ll only need 1/4 cup for this cheesecake, but I recommend making a full cup so you can be sure you have the right ratio of milk to acid.
- Eggs: Large.
- White Vinegar: This is needed for that true red velvet tang. Don’t worry – your cake won’t taste like vinegar.
- Vanilla Extract: Use a good quality extract for the best flavor.
- Red Food Coloring: I use regular food coloring, but gel icing color would also work.
For the Cream Cheese Whipped Cream
- Cream Cheese: Room temperature.
- Heavy Whipping Cream: Keep this refrigerated until you’re ready to use it.
- Powdered Sugar: This thickens the whipped cream and keeps it from wilting or melting.
- Vanilla Extract
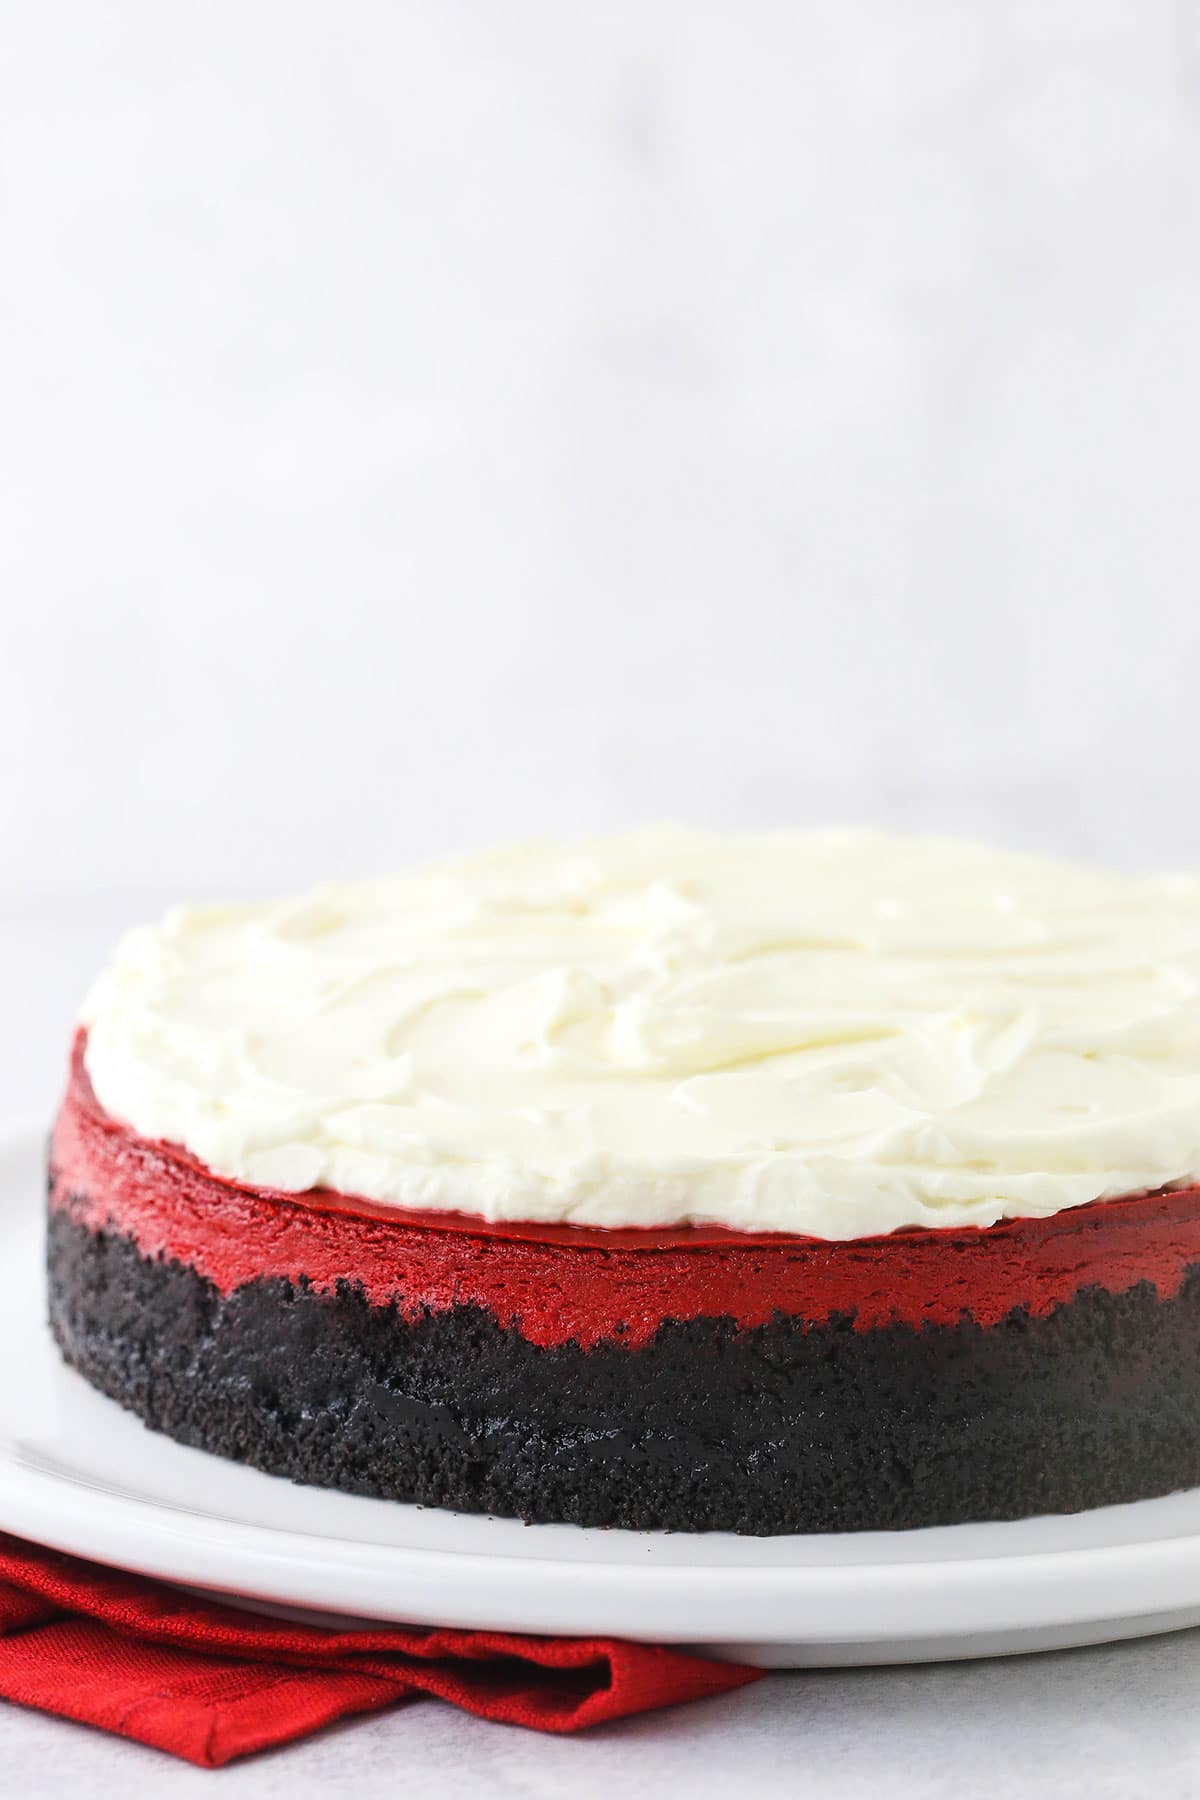
How to Make Red Velvet Cheesecake
After the cheesecake is baked, it has to chill in the fridge until it’s set. This will take at least 5 hours, so make sure you plan accordingly.
Make the Crust
- Prep for Baking: Preheat the oven to 325°F. Line a 9-inch springform pan with parchment paper in the bottom and grease the sides.
- Combine Ingredients & Add to Pan: Combine the crust ingredients in a small bowl. Press the mixture into the bottom and up the sides of the springform pan.
- Bake: Once the oven has finished preheating, bake the crust for 10 minutes, then set it aside to cool.
- Prep for Water Bath: Cover the outsides of the pan with aluminum foil so that water from the water bath cannot get in. Set the prepared pan aside.
Make the Filling
- Lower Oven Temperature: Reduce the oven temperature to 300°F.
- Beat Cream Cheese, Sugar & Cocoa: In a large bowl, beat the cream cheese, sugar and cocoa powder on low speed until completely combined and smooth. Scrape down the sides of the bowl as needed.
- Add Sour Cream & Buttermilk: Add the sour cream and buttermilk and mix on low speed until well combined.
- Add Eggs: Add the eggs one at a time, mixing slowly to combine after each addition. Scrape down the sides of the bowl as needed to make sure everything is well combined.
- Add Vinegar, Vanilla & Food Coloring: Add the vinegar, vanilla extract and food coloring and mix until well combined.
- Pour Into Crust: Pour the cheesecake batter into the prepared crust.
- Assemble Water Bath: Place the springform pan inside of another larger pan. Fill the outside pan with enough warm water to go about halfway up the sides of the springform pan. The water should not go above the top edge of the aluminum foil on the springform pan.
- Bake: Bake the cheesecake for an hour and 45 minutes. The center should be set, but still jiggly.
- Turn Off Oven: Turn off the oven and leave the door closed for 30 minutes. The cheesecake will continue to cook, but slowly begin to cool as well.
- Crack Oven Door: Crack the door of the oven for 20-30 minutes to allow the cheesecake to continue cooling slowly. This process helps prevent cracking.
- Chill: Remove the cheesecake from the oven and the water bath wrapping and refrigerate it until it’s firm, 5-6 hours or overnight.
Make the Topping
- Remove From Pan: Once the cheesecake is nice and firm, remove it from the springform pan and set it on a serving plate.
- Beat Cream Cheese: Add the cream cheese to a large mixer bowl and beat until it’s smooth. Set it aside.
- Whip Remaining Ingredients: Add the remaining ingredients to another large mixing bowl and whip on high speed until stiff peaks form.
- Combine: Gently fold the whipped cream into the cream cheese in two parts until well combined.
- Add to Cake: Spread the whipped cream topping onto the cheesecake in an even layer.
- Enjoy! Refrigerate the cheesecake until you’re ready to serve it.
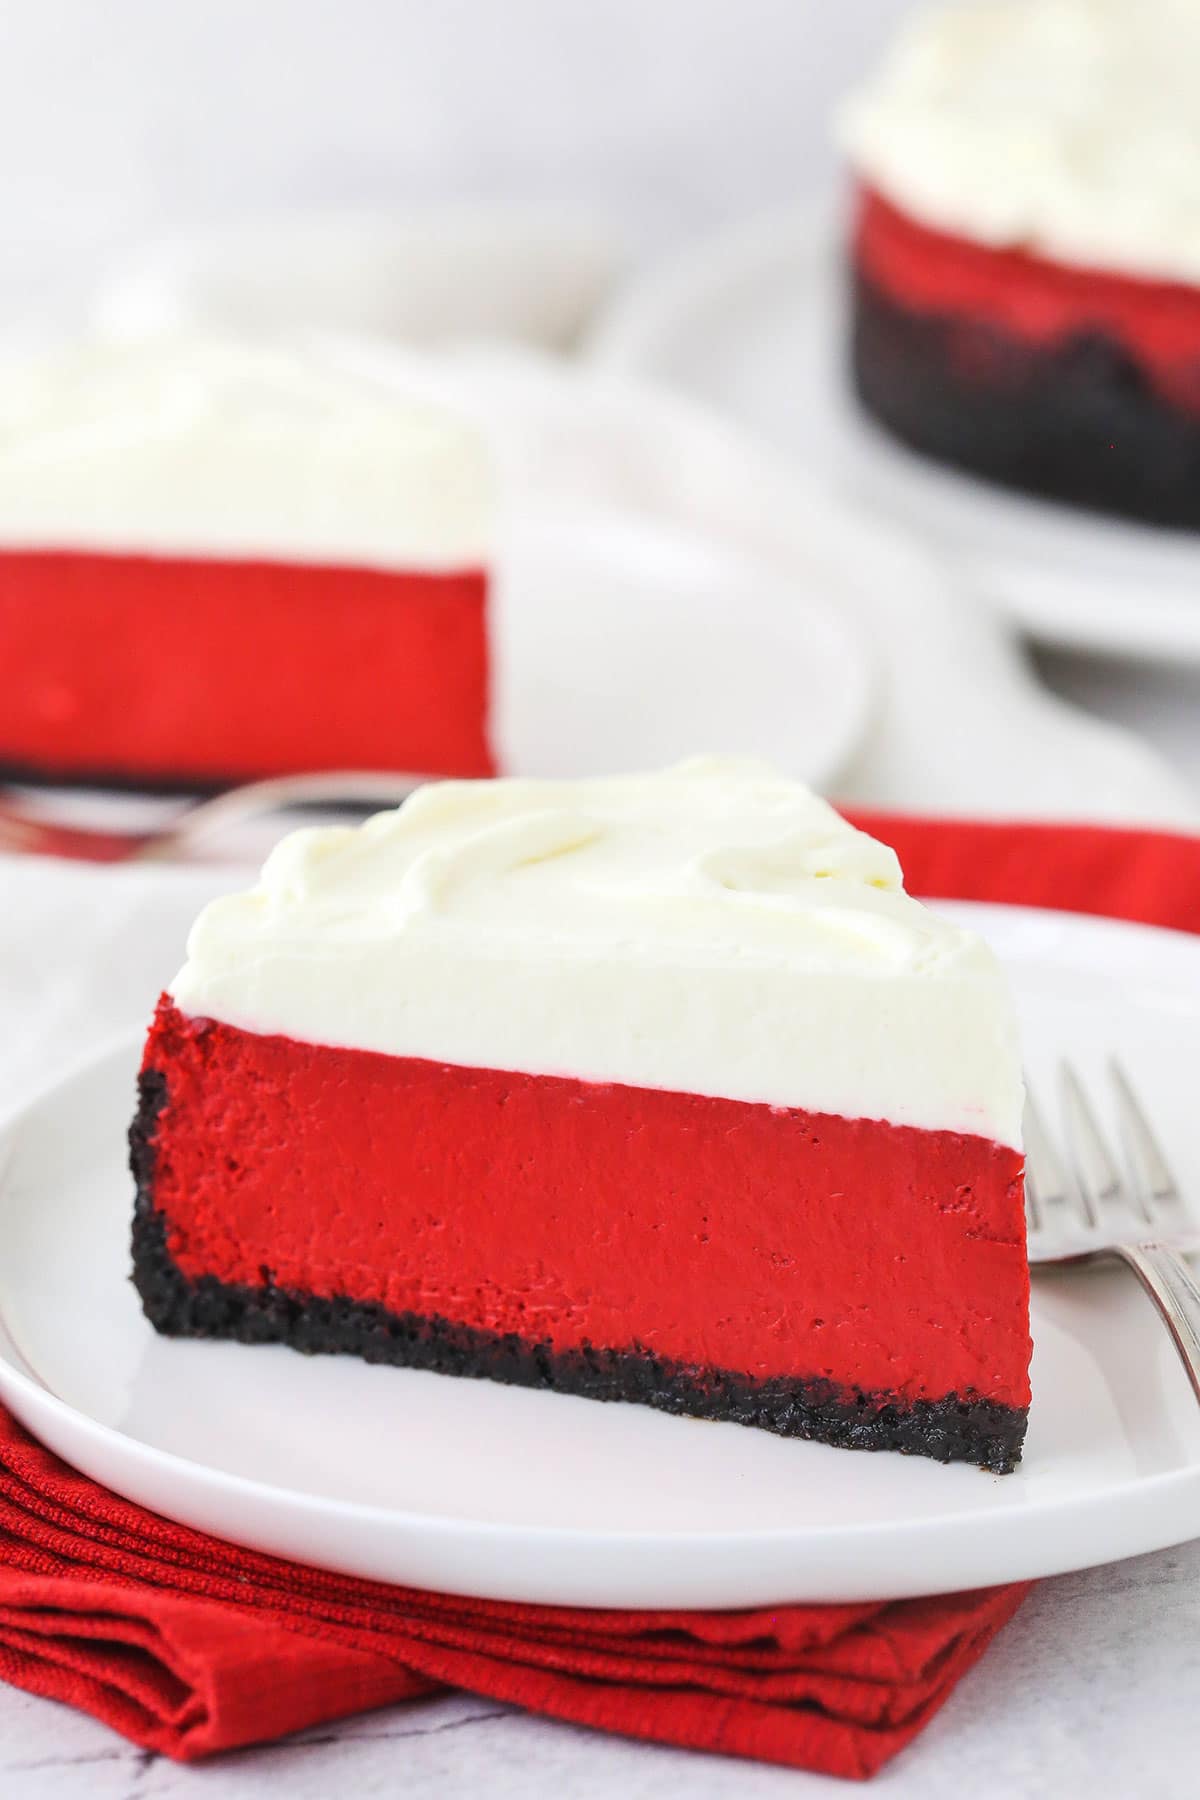
Recipe Tips & Tricks
It’s time to talk about some quick tips and suggestions that will help you nail this red velvet cheesecake. Here they are!
- Bring Your Cream Cheese to Room Temperature: You’ll have a hard time working with your cream cheese if it’s cold. Unlike the heavy whipping cream, the cream cheese should be brought to room temperature before it’s used to avoid a lumpy filling.
- Stick With Low Speed: Always mix your filling at low speed, and be careful not to over-mix it. Both can add additional air to the batter, which is a common culprit of cracks.
- How Do I Make Sure My Water Bath Doesn’t Leak? When you’re assembling your water bath, make sure that the water doesn’t rise above the edges of the tin foil lining. For a detailed tutorial and more hacks for preventing leakage, check out my Water Bath Tips & Tricks.
- Cool the Cheesecake Slowly: I encourage you to follow the recipe instructions for cooling your cheesecake. If it cools too quickly, it will crack. If you still notice cracks in your cheesecake, it’s not the end of the world – they’ll be covered up with the whipped topping anyway.
How to Store Leftover Cheesecake
This cheesecake should be kept well covered in the fridge. Enjoy it within 3-4 days.
Is This Dessert Freezer-Friendly?
Yes! Pop it in the freezer for about an hour to flash freeze it, then wrap it well in clear wrap and foil. You can also wrap and freeze individual slices if preferred.
Freeze your cheesecake for up to 1 month. Thaw it out overnight in the fridge before enjoying it.
Print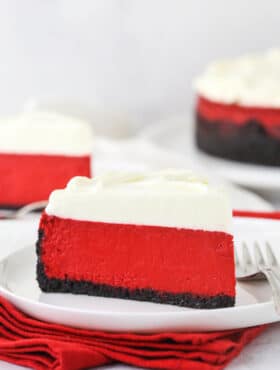
Red Velvet Cheesecake
- Prep Time: 1 hour
- Cook Time: 1 hour 55 minutes
- Total Time: 2 hours 55 minutes
- Yield: 13
- Category: Dessert
- Method: Oven
- Cuisine: American
Description
Made with a classic Oreo crust, this Red Velvet Cheesecake is one of the smoothest and creamiest cheesecakes I’ve ever tasted. It has that light tanginess that’s so loved in a red velvet dessert, and the whipped cream cheese topping finishes it off perfectly!
Ingredients
For the Oreo Cookie Crust
- 24 Oreos (2 cups | 268g Oreo crumbs)
- 4 tbsp (56g) butter, melted
For the Red Velvet Cheesecake Filling
- 24 oz cream cheese, room temperature (three 8 oz packages)
- 1 cup (207g) sugar
- 3 tbsp (21g) cocoa powder
- 1 cup (230g) sour cream
- 1/4 cup (60ml) buttermilk
- 4 large eggs
- 2 tsp white vinegar
- 2 tsp vanilla extract
- 2 oz red food coloring
For the Cream Cheese Whipped Cream
- 4 oz cream cheese, room temperature
- 1 cup (240ml) heavy whipping cream, cold
- 1/2 cup (58g) powdered sugar
- ½ tsp vanilla extract
Instructions
Make the Crust
- Preheat oven to 325°F (163°C). Line a 9-inch (23cm) springform pan with parchment paper in the bottom and grease the sides.
- Combine the crust ingredients in a small bowl. Press the mixture into the bottom and up the sides of the springform pan.
- Bake the crust for 10 minutes, then set aside to cool.
- Cover the outsides of the pan with aluminum foil so that water from the water bath cannot get in (see how I prepare my pan for a water bath). Set prepared pan aside.
Make the Filling
- Reduce oven temperature to 300°F (148°C).
- In a large bowl, beat the cream cheese, sugar and cocoa powder on low speed until well completely combined and smooth. Be sure to use low speed to reduce the amount of air added to the batter, which can cause cracks. Scrape down the sides of the bowl.
- Add the sour cream and buttermilk and mix on low speed until well combined.
- Add the eggs one at a time, mixing slowly to combine after each addition. Scrape down the sides of the bowl as needed to make sure everything is well combined.
- Add the vinegar, vanilla extract and food color and mix until well combined.
- Pour the cheesecake batter into the crust.
- Place the springform pan inside another larger pan. Fill the outside pan with enough warm water to go about halfway up the sides of the springform pan. The water should not go above the top edge of the aluminum foil on the springform pan.
- Bake for 1 hour 45 minutes. The center should be set, but still jiggly.
- Turn off the oven and leave the door closed for 30 minutes. The cheesecake will continue to cook, but slowly begin to cool as well.
- Crack the door of the oven for 20-30 minutes to allow the cheesecake to continue to cool slowly. This process helps prevent cracking.
- Remove the cheesecake from the oven and water bath wrapping and refrigerate until firm, 5-6 hours or overnight.
Make the Topping
- When the cheesecake is cool and firm, remove from the springform pan and set on a serving plate.
- To make the whipped cream, add the cream cheese to a large mixer bowl and beat until smooth. Set aside.
- Add the remaining ingredients to another large mixing bowl and whip on high speed until stiff peaks form.
- Gently fold the whipped cream into the cream cheese in two parts until well combined.
- Spread the whipped cream on top of the cheesecake in an even layer.
- Refrigerate the cheesecake until ready to serve.
Notes
- Makes 12-14 servings.
- To Store: Cheesecake is best when stored well covered and eaten within 3-4 days.
- To Freeze: Cut out a circle of cardboard equivalent to the size of the cake and line it with foil if desired. Place the cake on top of the cardboard and wrap it tightly in a layer of plastic wrap and a layer of foil. You can also wrap and freeze individual slices. Store for up to 1 month and thaw overnight in the fridge before enjoying.
Nutrition
- Serving Size: 1 Slice
- Calories: 458
- Sugar: 29.6 g
- Sodium: 259.3 mg
- Fat: 32.5 g
- Carbohydrates: 36.4 g
- Protein: 7.3 g
- Cholesterol: 131.7 mg
Categories
More Red Velvet Treats to Try
If you love all things red velvet, you have to try the recipes below!





So I’ll be trying this tomorrow. We are going to be snowed in.
Do you think 4 small springform pans would be better?
Also, they didn’t have cream cheese frosting – welcome to a small town in Central Oregon.
I’m going to try the whipped cream frosting from B. Crocker
Neither size would be better than the other. But I can’t advise on 4 inch size because I haven’t made that size.
Can I used an already chocolate graham cracker crust? I believe I will end up with 2 cheesecakes from this recipe if I do, which is fine.
Can I divide the recipe into 2? Three 8.ounces of cheesecake is a bit to many for us. And I don’t have a big pan my cheesecake pans are the small ones.
You can, I’m just not sure what pan size/baking time/etc. to recommend.
I made this red velvet cheesecake for a customer and she could not stop talking about it! Thank for sharing! I am a professional baker and cheesecake is the one thing I hated to make when it was ordered. Not anymore! Your instructions to turn the oven off for a short time after baking time and then crack the oven door made a huge difference. I have tried many, many cheesecake recipes and this one is by far the easiest and the best. Cheesecake is now back on my menu and I’m happy about it!
I made this and it was runny. I’ve made quite a few cheesecakes and was very disappointed with the outcome on this one.
You probably needed to bake it longer. There can be variation between ovens.
Hi Lyndsay,
This cheesecake is absolutely delicious. I was asked to make a dessert for 220+ people at our NYE party at the clubhouse where we live. I chose this recipe and made nearly 250 individual Cheesecakes. Huge hit! Thank you so much and Happy New year to you!
Wow! That is quite a few cheesecakes! I’m glad they were a hit!
How long does it need to chill before served??
It usually takes about 5-6 hours to chill.
Hi!! I have been struggling to find a good red velvet cheesecake, so I am excited to try this, but I have a question… Why the vinegar if you already have the buttermilk? Is it too much tang or does it balance with the cocoa powder? Thanks!
I don’t think it adds too much, but that would be my opinion. You can certainly leave it out, if you’d like.
I made this cheesecake for my son’s birthday and it was delicious. It had a nice chocolate taste between the Oreo cookie crust and the cocoa powder that is added to the batter. The batter was a little runnier than my other cheesecake recipes so I was a bit worried it wouldn’t set properly. I followed the recipe exactly and it turned out perfect. I plan on making it again for Christmas this year. The only things I will try and change for next time is adding less food coloring. It was a lot. And I think I’m going to add some peppermint extract to make it a chocolate peppermint cheesecake. It is definitely a keeper. Thanks for sharing it with us.
Glad you enjoyed it!
I made it for the first time and while the cheesecake came out perfect the icing didn’t. Followed the directions exactly but the icing was thin and runny. Any suggestions?? Thanks
Are you sure you used “heavy whipping cream” and the full amount of powdered sugar? It does actually make a difference.
Yes, Heavy Whipping cream. I used Pillsbury Creamy Supreme Cream Cheese frosting. Used a KitchenAid stand mixer. The Whipped cream was stiff until I added the frosting. Did I not Whip it long enough before adding the frosting?? The cake flavor is spot on Red Velvet!!!
Hi Lindsay, Can I make this in advance and freeze it? I’d like to make it for thanksgiving but need to get a jump on my baking. Thanks
That should be fine. I would just be sure to wrap it well and thought it in the fridge.
Are there any natural red food dyes that you could suggest to use that wouldn’t alter the flavouring too much? Thanks 🙂 so excited to make this.
I’m not familiar with non-flavored alternatives, I’m sorry.
I will be making this, this weekend, for my daughter and taking it to her as a surprise gift. I love the simple beauty of this cheesecake already but, is there anything that you could recommend garnishing the top of the icing on the cheesecake with that would taste great with the other flavors in the recipe and also give it a beautiful flare?
Hello! Came to this recipe looking for other cheesecake to try – gonna try this during Christmas time! Red is perfect for Christmas but I have a question – when you do the Oreo for the crust do you use the filling as well? And just the regular Oreo not double stuff?
I hope you enjoy it! I leave the filling in the Oreos. 🙂
I just made this cheesecake, it’s in the oven now. But is it normal for it to look more like a dark purple then red? I used more then enough food colouring maybe even a little extra.
Hmm, I don’t recall it looking purple. Did it turn out ok?
Hi Lindsay,
I am going to be making cheesecake bites for a dessert for a wedding. They want red velvet and square cheesecake bites. Do you think this recipe could be made in an 8×8 inch square pan if i lay foil down in the bottom so that I can lift it out?
This is probably big enough for a 9×13 pan. You’d want to cut in half for an 8×8.
Thanks for the response. How thick do you think they would be in a 9×13? Since they are mini cheesecakes I would like them to be somewhat tall. Not thin like cheesecake bars, if that makes sense.
I made this for clients this week and had leftovers or my husband. I regularly make cheesecakes but wow! This was amazing! My husband keeps saying how i knocked it out of the park with this one. My clients loved it as well – thanks – I’ll be making this again!
Wonderful! So glad it was a hit!
I’ve made this twice , 9 inch and first time I made 24 mini cheesecakes and had enough to do 2 four inch cheesecakes. Worked great, I piped regular cream cheese icing on mine and was delicious. Thank you so much for the recipe