This post may contain affiliate sales links. Please read my disclosure policy.
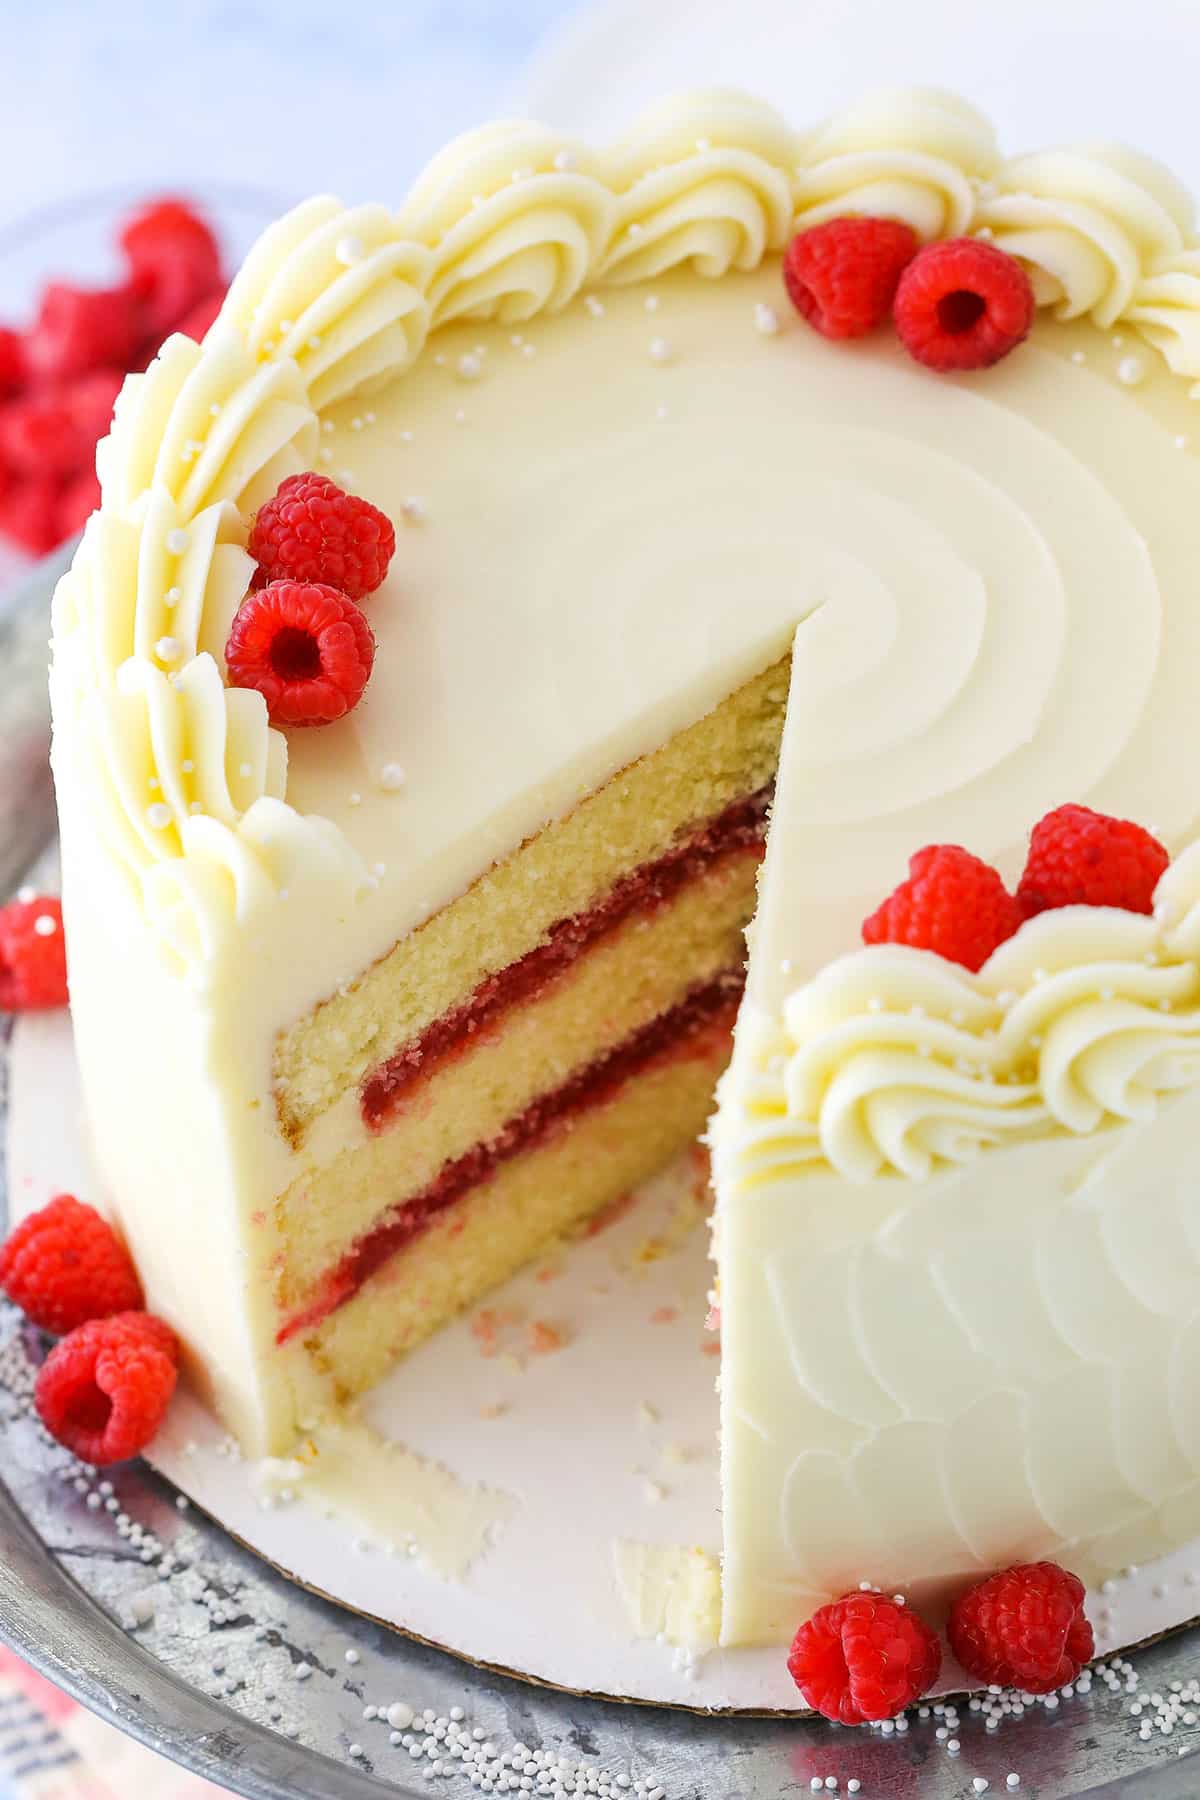
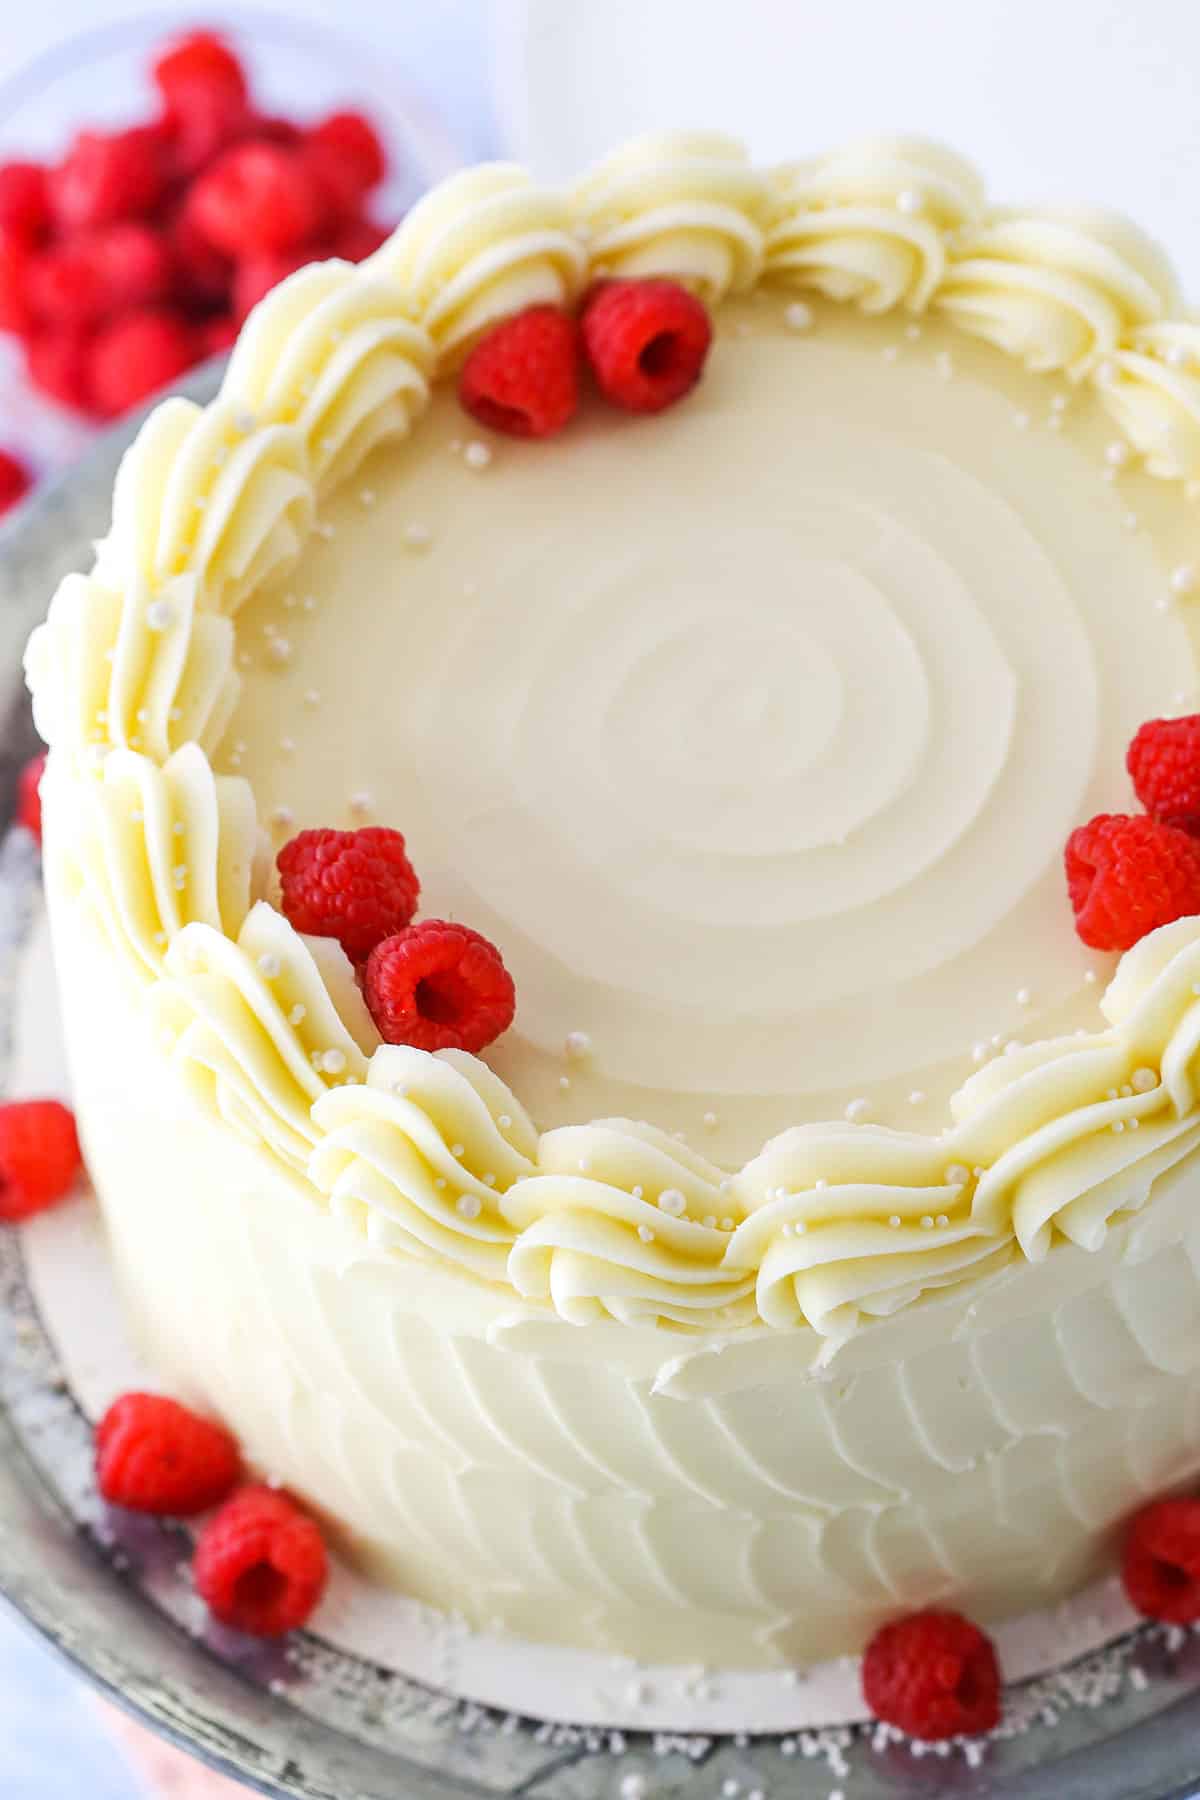
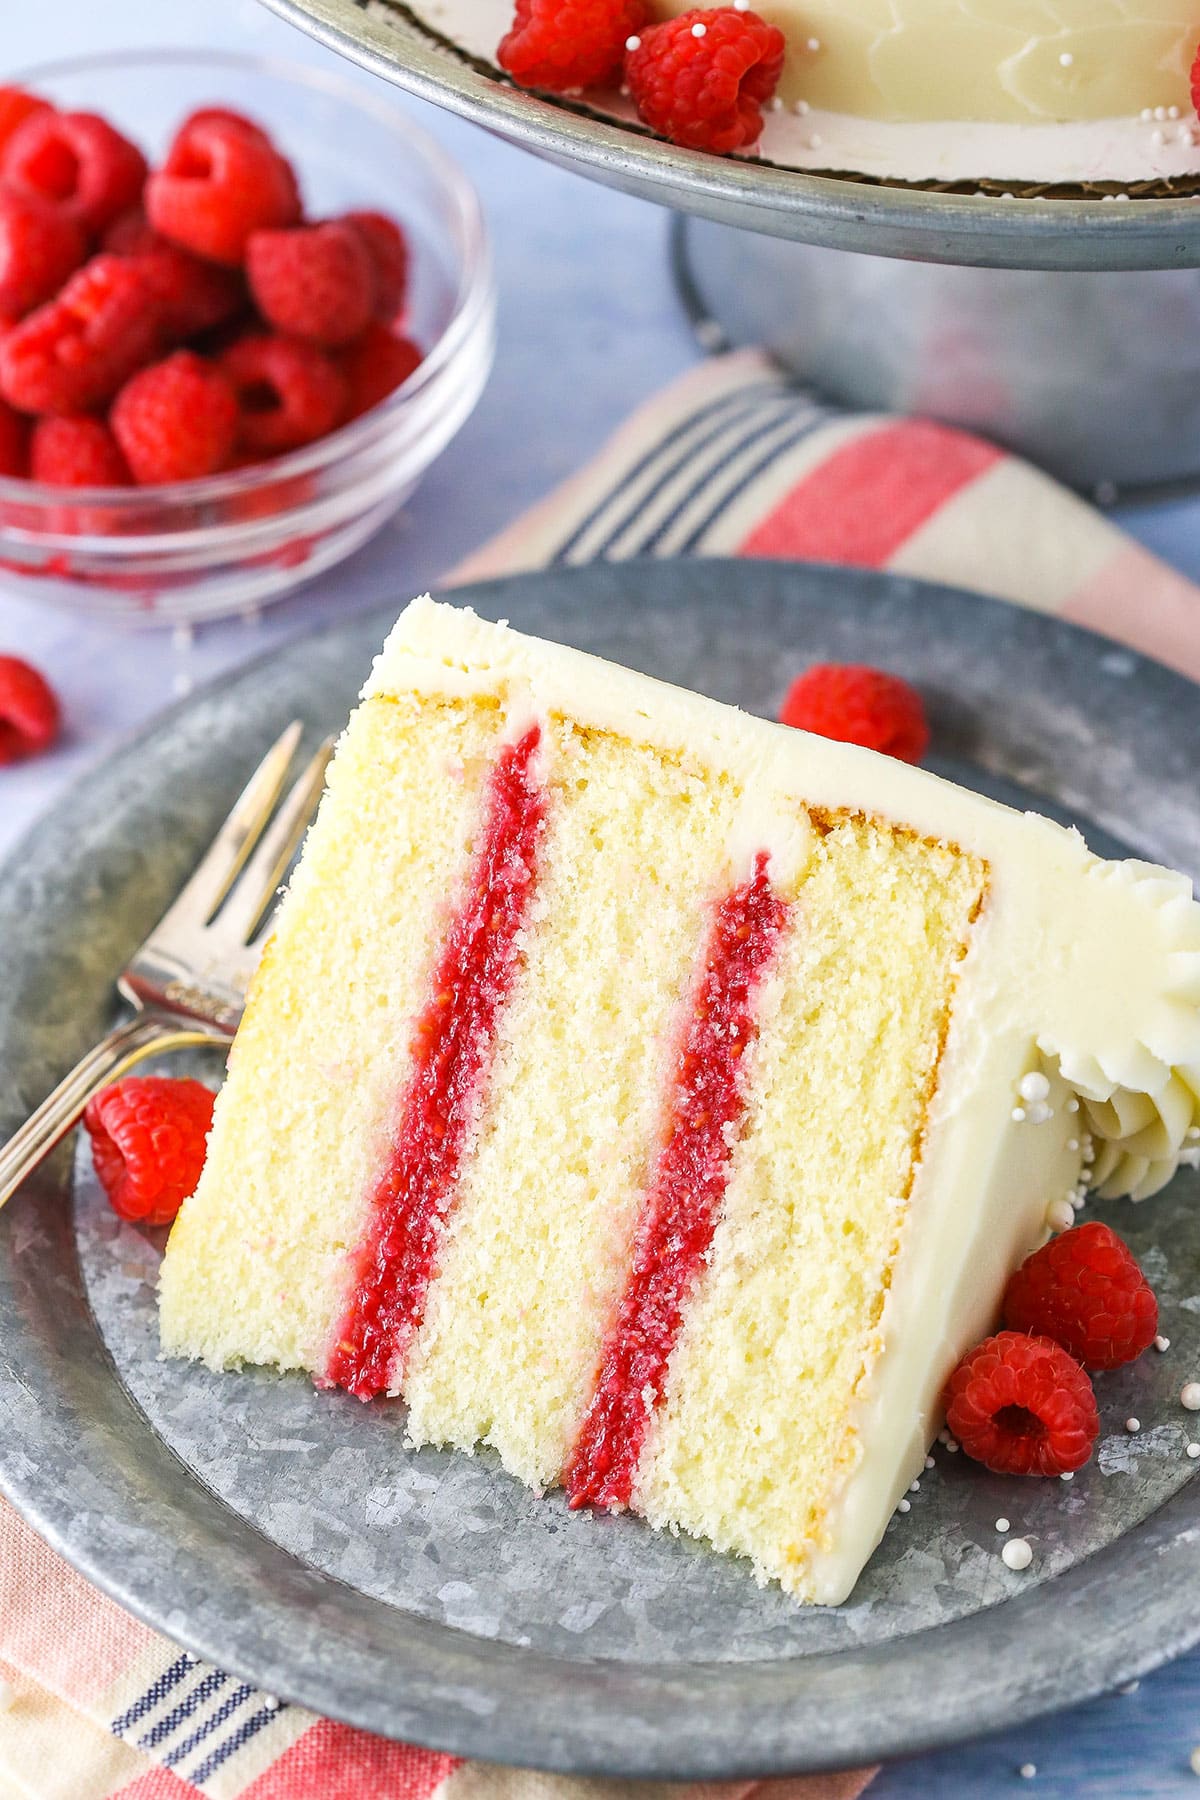
This Raspberry Dream Cake has layers of tender, moist vanilla cake and fresh raspberry filling all covered in cream cheese frosting! It’s a wonderfully simple, yet delicious cake!
So the boys seem to be changing so much lately and getting so grown up. They are 18 months and after their 18 month check up I can tell you that being preemies didn’t hold them back one bit. They’ve caught up fully to where they were as far as percentiles when I was pregnant with them. Ashton is up in the 90s with his percentile and Brooks is literally off the chart. Crazy boys. They are over 27 and 31 pounds and getting quite tough for me to hold at the same time.
One thing I’ve been working with them on for a little bit now is drinking from a straw and they’ve totally mastered it now, which is neat to see. They are also really discovering that they have a mind of their own and so sitting down and planting themselves when they don’t want to do what we say is becoming a very popular behavior. And their dance moves are going from a cute little bounce to full on dancing, complete with the same little bounce, stomping, swaying and arm waving. It’s my favorite.
And yet despite all their growth, they are still the same silly boys that love being outside and playing with water. They’ll be taking a big step a week from today, and starting swimming lessons. The place we are taking them does short 10 minute lessons 4 times a week for 6 weeks, so it’s a fairly big commitment. But with drowning literally being the number one death in young kids and us around water so much, it’s a skill they’ve got to have. So survival swimming begins next week!
The boys have also recently developed a taste for baked goods. They initially were questionable on them and now whenever they see stuff I’m working on, they know they want to try it. Eek! There’s always so much stuff around our house, I’m hiding most of it. I just don’t want to give them too many sweets too soon. They didn’t get to try this cake, but I’m sure the day is coming.
How to Make this Vanilla Cake with Raspberry Filling
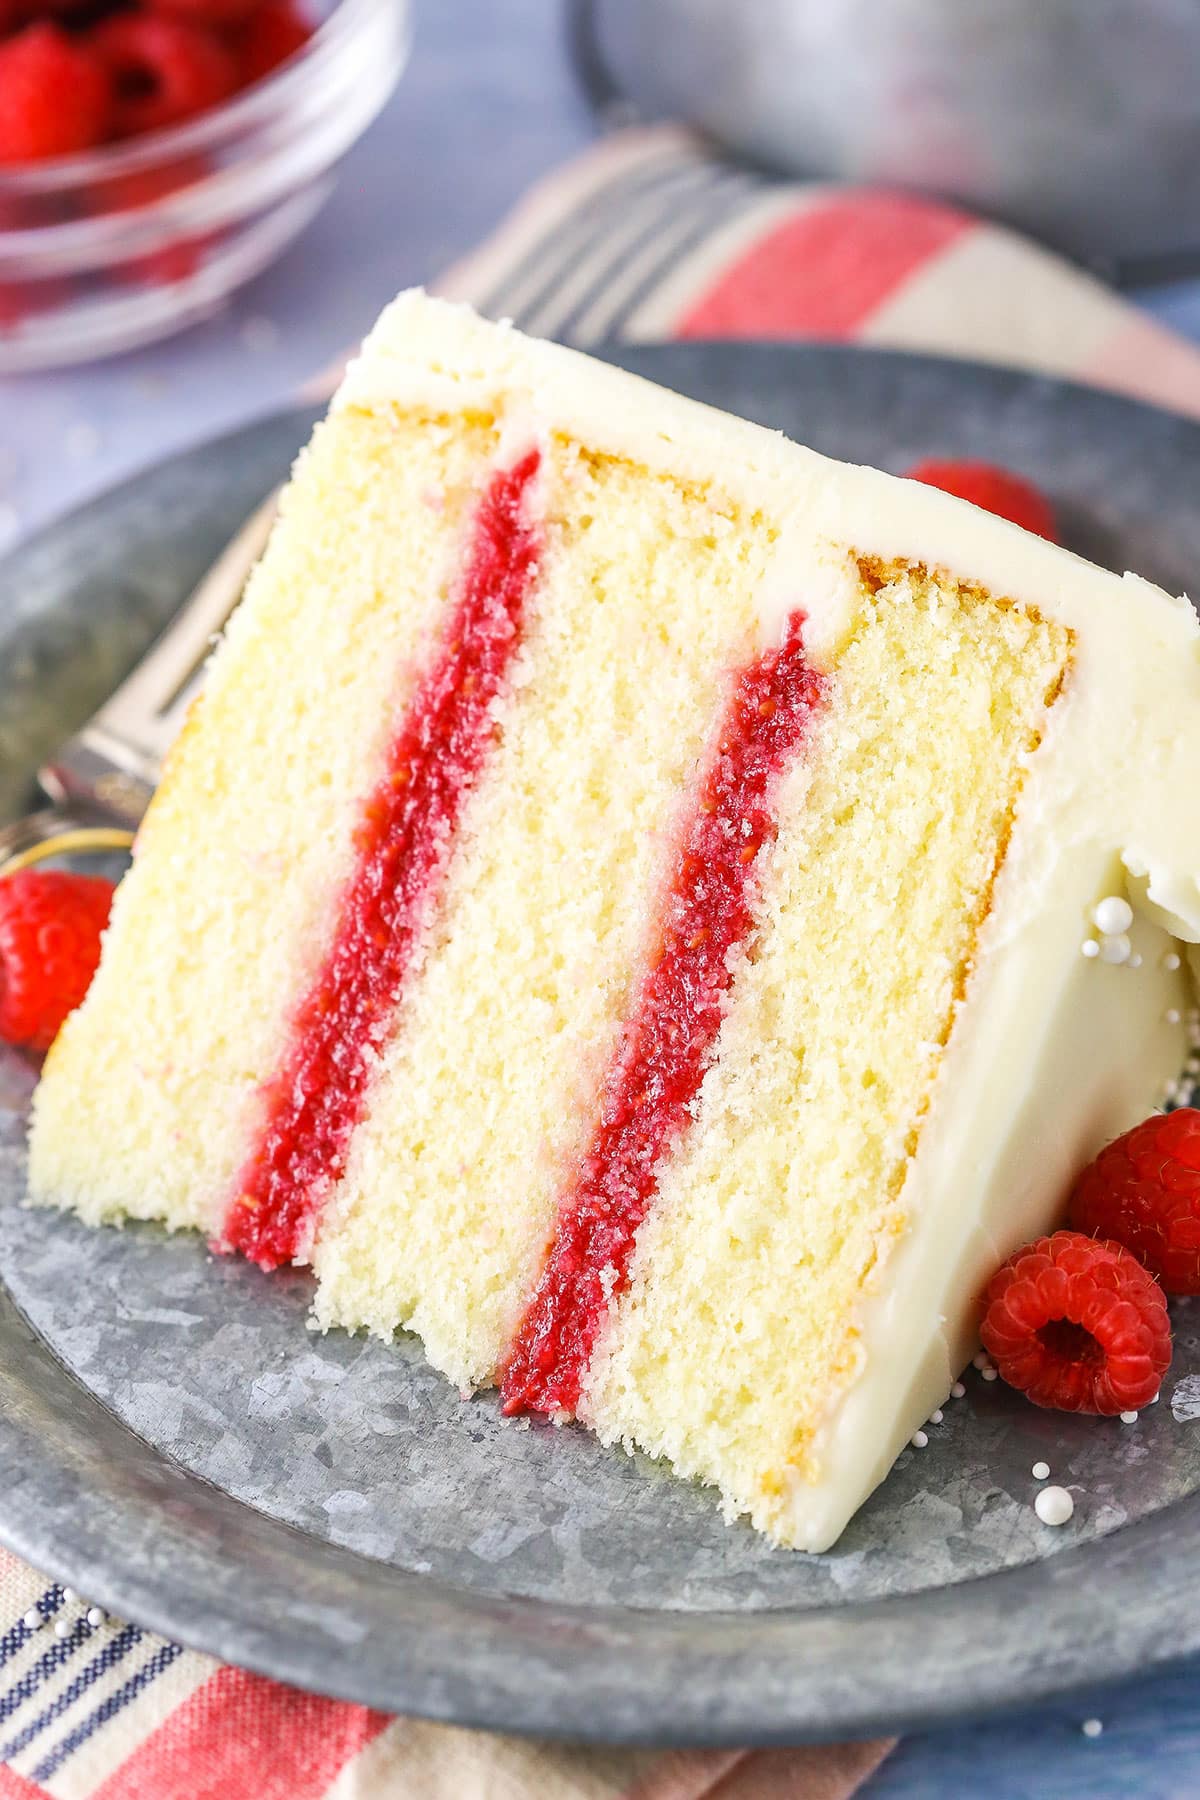
Speaking of this cake, it really is a dream! It’s modeled after the Publix Raspberry Elegance Cake, which I had recently. It really struck me because the flavors are so simple and seemingly unexciting and yet, when paired together, make an elegant and classy cake. Simple enough that you could eat it any old day but nice enough for an occasion too, and certainly not boring. The cream cheese frosting really ups the game with this cake!
To start, there’s the cake layers. I’ve mentioned using the reverse creaming method in a couple of recent cakes and have used it here as well. I promise I won’t use it for every cake now, but I have kind of fallen in love with the texture it gives a cake. It’s just SO tender! And it creates a really nice, tight crumb that is reminiscent of a bakery-style cake.
To make it, you’ll combine the dry ingredients, then slowly add in the butter one tablespoon at a time until the mixture resembles wet sand. This process of adding the fat to the flour actually coats the flour to minimize gluten formation. Ultimately it results in a more tender cake and finer crumb.
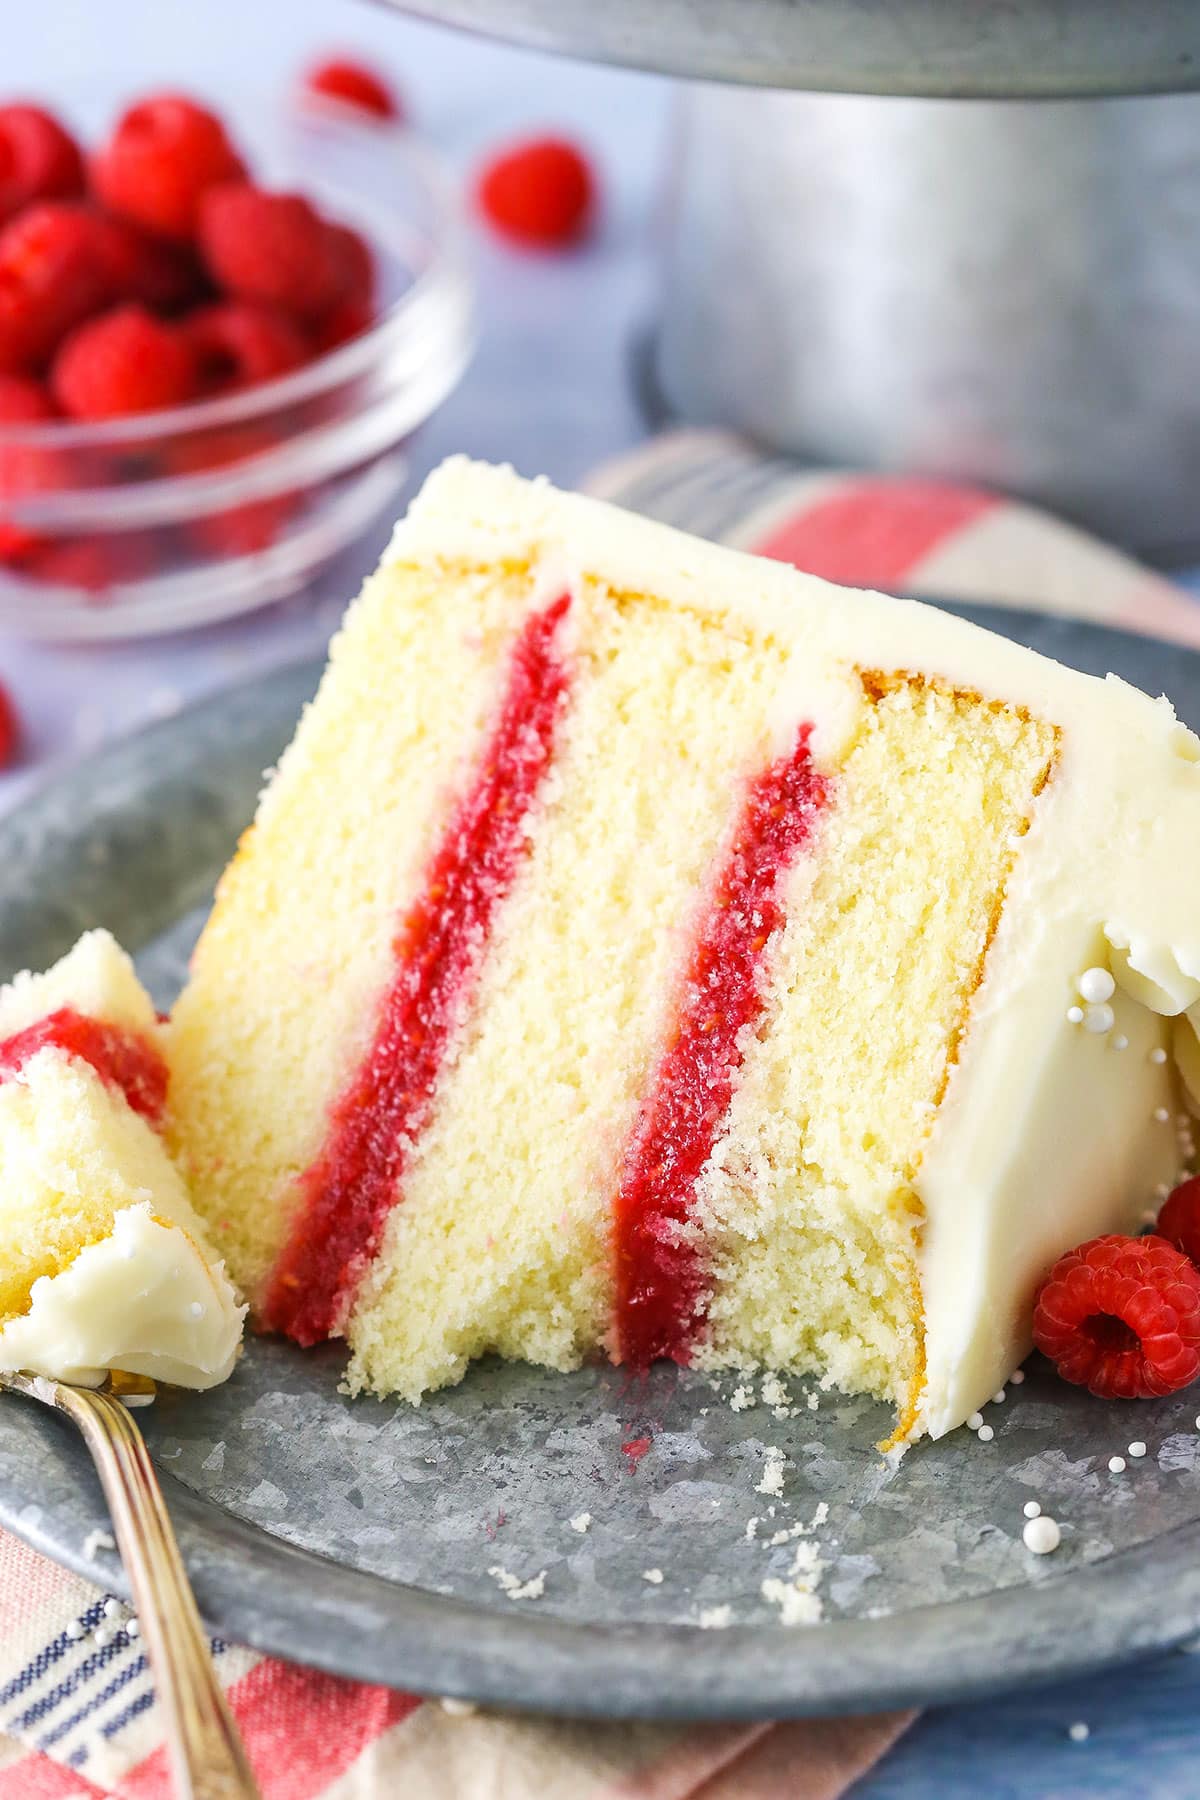
Next, the filling is made with some fresh raspberries that are pureed in a food processor. They are then cooked with some sugar and cornstarch to sweeten and thicken it. It thickens enough to make a nice filling, but doesn’t become super thick.
Finally, you’ve got a classic cream cheese frosting. It’s hard not to love a good cream cheese frosting and the flavor it adds compliments this cake beautifully. Frost the cake with it, then decorate it as you like.
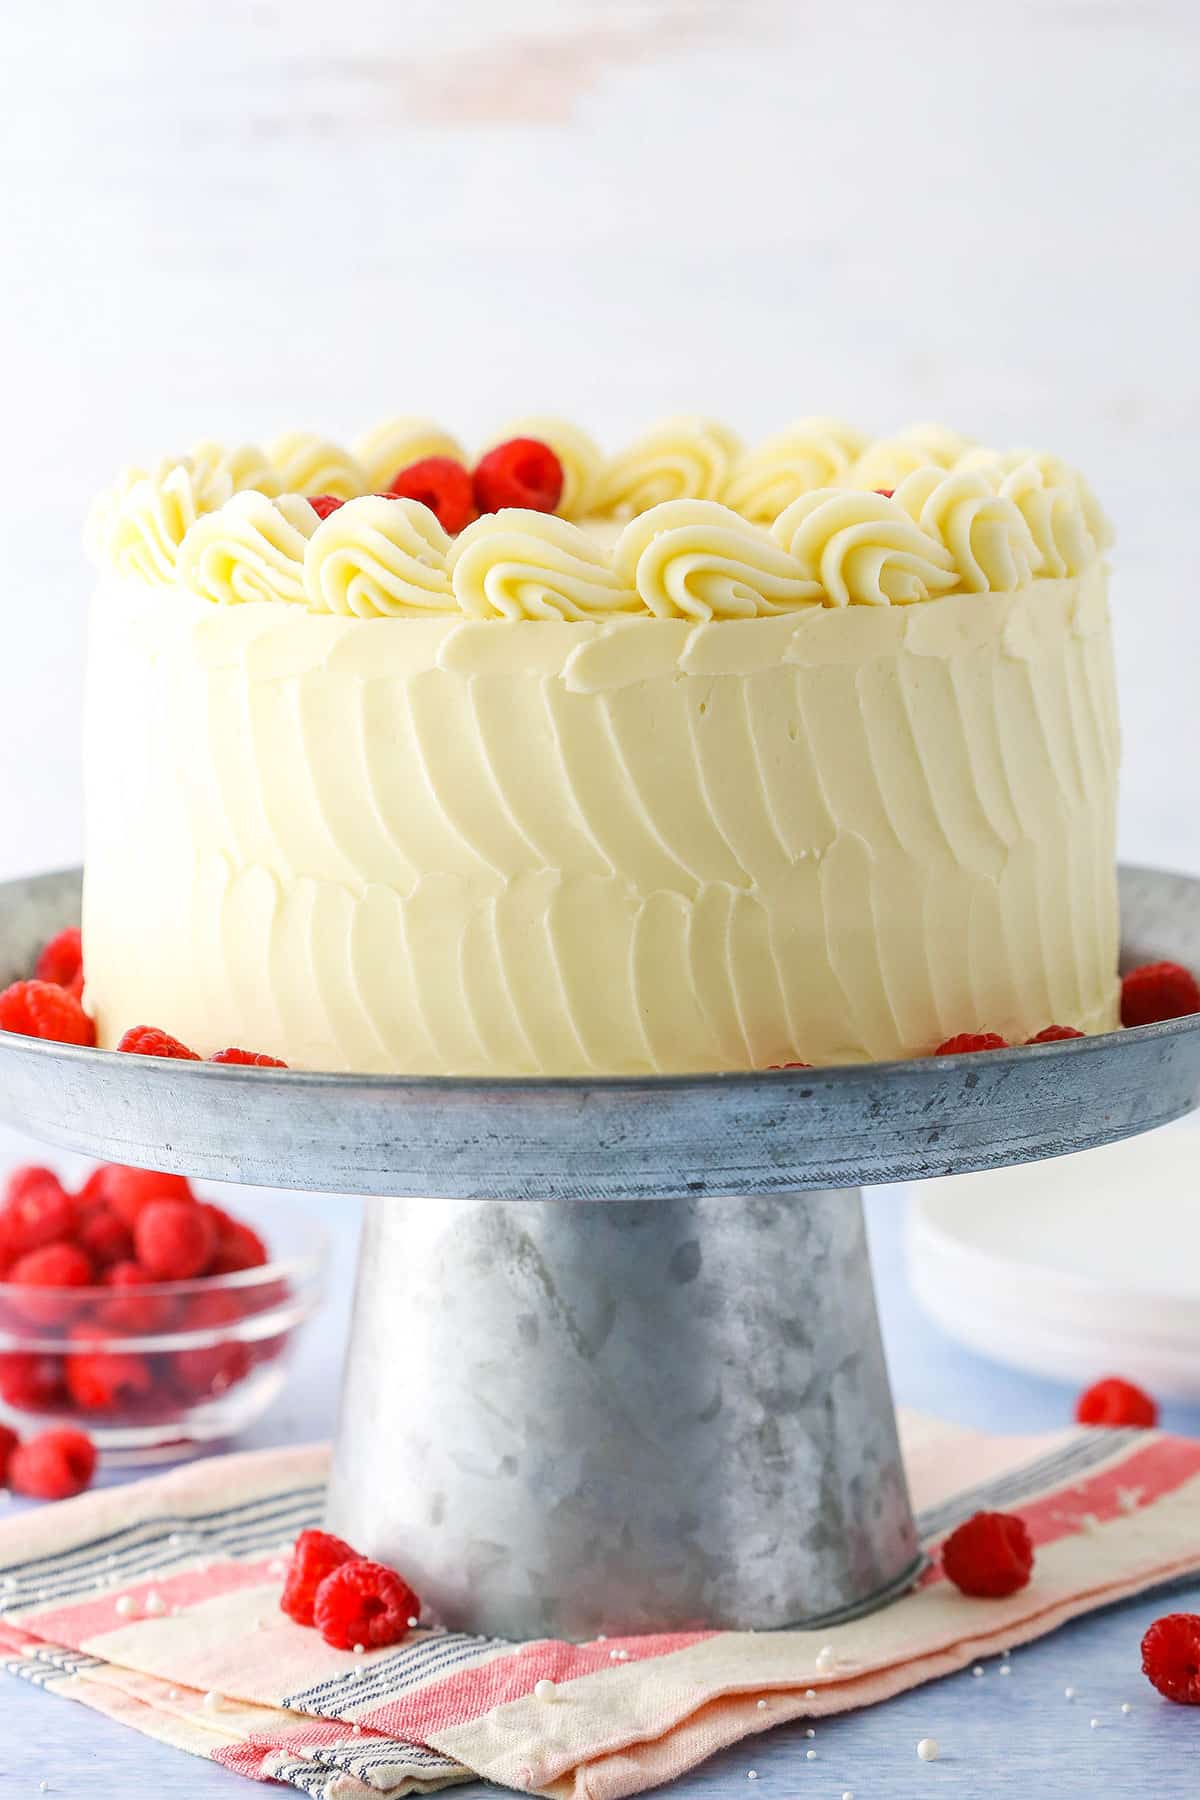
I used my favorite 9 inch offset spatula to create some decoration around the outside, then adorned it with some fresh raspberries and few pearl sprinkles. A subtle but elegant look that reflects the simplicity of the cake itself. I hope you enjoy it!
More raspberry recipes to enjoy:
White Chocolate Raspberry Mousse Cake
Raspberry Almond Layer Cake
Raspberry Chocolate Layer Cake
Raspberry Cream Cheese Coffee Cake
Raspberry Goat Cheese Cheesecake
Raspberry Roll Cake
Raspberry Dream Cake
- Prep Time: 1 hour 20 minutes
- Cook Time: 35 minutes
- Total Time: 1 hour 55 minutes
- Yield: 12-14 slices
- Category: Dessert
- Method: Oven
- Cuisine: American
Description
This Raspberry Dream Cake has layers of tender, moist vanilla cake and fresh raspberry filling all covered in cream cheese frosting! It’s a wonderfully simple, yet delicious cake!
Ingredients
Vanilla Cake Layers
- 1 1/4 cups (300ml) milk
- 4 large eggs
- 1/4 cup vegetable oil
- 1 tbsp vanilla extract
- 2 1/2 cups (325g) cake flour
- 1 1/2 cups (310g) sugar
- 2 1/2 tsp baking powder
- 1/2 tsp salt
- 3/4 cup (168g) unsalted butter, room temperature
Raspberry Filling
- 2 1/2 cups (320g) raspberries
- 4 tbsp (60ml) water
- 1 cup (207g) sugar
- 3 tbsp + 1/2 tsp cornstarch
Cream Cheese Frosting
- 16 oz (452g) cream cheese, room temperature
- 3/4 cup (172g) butter, room temperature
- 10 cups (1150g) powdered sugar
- 2 tsp vanilla extract
- Pinch or two of salt
Instructions
Vanilla Cake Layers
- Preheat oven to 350°F (176°C) and prepare three 8 inch cake pans with parchment paper in the bottom and baking spray on the sides.
- Combine the milk, eggs, vegetable oil and vanilla extract in a large bowl, then separate about 3/4 cup of the mixture into another bowl or measuring cup. About 1 1/4 cups should remain in the other bowl. Set both aside.
- In a large mixer bowl, combine the flour, sugar, baking powder and salt.
- With the mixer on the lowest speed, add the butter about a tablespoon at a time, allowing it to incorporate before adding the next tablespoon. As you add more butter, the mixture will start to clump together a bit a should end up resembling wet sand.
- Add the larger of the reserved egg mixture (about 1 1/4 cups) to the dry ingredients/butter mixture. Stir on the lowest speed until it’s incorporated, then scrape down the sides of the bowl.
- Increase the speed to medium high and beat until light and fluffy, about 45 seconds to a minute. Scrape down the sides of the bowl.
- Turn the speed down to low and slowly add the remaining egg mixture in a slow stream until incorporated.
- Scrape the sides of the bowl, then turn speed back up and mix until well combined, about 10-15 seconds.
- Divide the batter evenly between the three cake pans and bake 20-25 minutes or until a toothpick inserted comes out clean.
- Remove cakes from the oven and allow to cool for 2-3 minutes, then turn out onto a cooling rack to cool completely. The cakes will pull away from the sides of the pan a little as they cool.
Raspberry Filling
- To make the raspberry filling, add the raspberries and water to a food processor and puree until smooth. If you’d like, you can strain the puree to remove the seeds.
- Combine the sugar and cornstarch in a medium saucepan. Stir in the raspberry puree.
- Cook over medium heat, stirring consistently until mixture thickens and comes to a boil, about 8-10 minutes.
- Allow to boil for 1 minute, then remove from heat. Refrigerate and allow to cool completely.
Cream Cheese Frosting
- When ready to build the cake, make the frosting. Add the cream cheese and butter to a large mixer bowl and beat until well combined and smooth.
- Add about half of the powdered sugar and mix until well combined and smooth.
- Add the vanilla extract and salt mix until well combined.
- Add the remaining powdered sugar and mix until well combined and smooth.
Build the Cake
- To put the cake together, use a large serrated knife to remove the domes from the top of the cakes so that they’re flat. Refer to my tutorial, if needed.
- Place the first cake on a serving plate or a cardboard cake round.
- Pipe a dam of frosting around the outside of the cake. Refer to my tutorial, if needed. Spread about 1/2 of the filling evenly on top of the cake.
- Place the second cake on top and add another dam of frosting and the remaining raspberry filling.
- Top the cake with the final cake layer and frost with the remaining frosting. Refer to my tutorial, if needed.
- If desired, use a 9 inch offset spatula to create a design in the sides of the cake. Pipe shells around the top edge of the cake. I used Ateco tip 847. Finish off the cake with some fresh raspberries.
- Refrigerate cake until ready to serve. If possible, remove the cake from the fridge 1-2 hours before serving so that it comes closer to room temperature.
- Store in a cake carrier or well wrapped with plastic in the fridge. Best if eaten within 3-4 days.
Nutrition
- Serving Size: 1 slice
- Calories: 785
- Sugar: 109.6 g
- Sodium: 329.2 mg
- Fat: 25.4 g
- Carbohydrates: 134.7 g
- Protein: 7.5 g
- Cholesterol: 97.9 mg









Can I freeze this cake?
I don’t typically freeze full cakes, but this one would probably be fine. Just flash freeze it, then wrap it well and thaw it in the fridge when you’re ready.
This cake was wonderful. It tasted like it came from the bakery !
I’m so glad you enjoyed it!
Hi,
Do you mix/stir the eggs, milk, vanilla, veg. Oil together so they r all combined before separating into the two portions?
Yes, that’s correct.
First time making this. I substituted buttermilk for the milk and added raspberry emulsion. Omg! It was awesome! I was doubting the reverse creaming method, but you made me a believer! Cake was a tight crumb, beautiful texture, and tasted heavenly! You are the best!! Everyone loved the cake!!
So glad it was a hit!
How much emulsion did you use?
I used 1 teaspoon of emulsion. Sorry it took so long to reply. It was in my spam folder!😳
can i use whipped cream cheese instead of regular?
Sure!
What would I do differently if I made it in 2 9″ pans instead?
You’d want to increase the bake time a bit and you may not need all of the filling.
Just now I am eating the cake which I baked yesterday, I have never made such light cake, so delicious I grade it if I could 10 stars, it is that good .You have geven it the Right now I am eating your dream cake it is just what it is a dream cake. My cake did not look like yours but it tasted I am sure just the same. It took me 5 times to read it and understood about the batter as I am 91 years OLD and still bake cakes bread and cook every day, I am in awe of your baking you are the MAX. Thank you for your recipes, also the your knowlegde of baking is just wonderful. With great respect I thank you. Leona So….I do live in Belgium, Thursday my friends will taste the other half of your dream cake, which I saved and froze.
I’m so glad you enjoyed it!
Would frozen raspberries be a good substitute for fresh?
That should be fine. I would just thaw them and remove the excess water.
Is it possible to make this as a sheet pan?
I imagine that would be fine. If you are planning on making it in a 9 x 13 pan, I would probably reduce the temperature to 325°F.
Made the cake for our celebration of birthdays at church. Followed the recipe step by step exactly, Cake was very heavy What would cause this to happen? The delicious raspberry filling saved it from being a disaster.
It’s very difficult for me to say from a distance, without more information, whether or not it turned out correctly. The reverse creaming method does produce a cake that feels a little more dense and heavy than the traditional creaming method. But it also creates a very tender crumb and kind of a smooth texture. If that describes what you experienced, then it may have been correct, and just a little different than you expected. Otherwise, it could be that it was over mixed or something happened with an ingredient. It can be really hard to say for sure.
I had high hopes for this recipe but the batter never came together correctly. I now have 3 hockey puck cake discs. I am a seasoned baker and can’t even remember the last time a recipe was a total failure. It’s unfortunate…i’ve no idea what could be the cause. I did double check the baking powder and it’s not expired 🤷🏻♀️ i made the recipe exactly as written. I’ll frost them anyway as i hate to waste the ingredients but don’t think i’ll try another reverse creaming recipe.
My only other comment is it seemed unnecessary to put 1/4 of the liquid in a different bowl…instead I would just advise that you put 3/4 of the liquid mixture in, mix together and then add the rest, otherwise you’ve created an extra dish to wash when it’s not necessary.
I have really had great luck with reverse creaming. Sorry it didn’t work. One thing- I use high fat butter and make sure it isn’t “sweated” with condensation in case water affects it. I also just dump in all the butter at once.
I was skeptical about the reverse creaming method in this recipe as i never heard before but i will probably say this is the best vanilla cake recipe i’ve baked before.Made it for my twins birthday and the cake was gone in a heartbeat.Cake turned out so tender and moist and had a very nice crumb to it.I baked the cakes in 9″ square pans ,reduced the baking time to 17 minutes and they were baked to perfection.
I’m so glad you enjoyed it!