This post may contain affiliate sales links. Please read my disclosure policy.
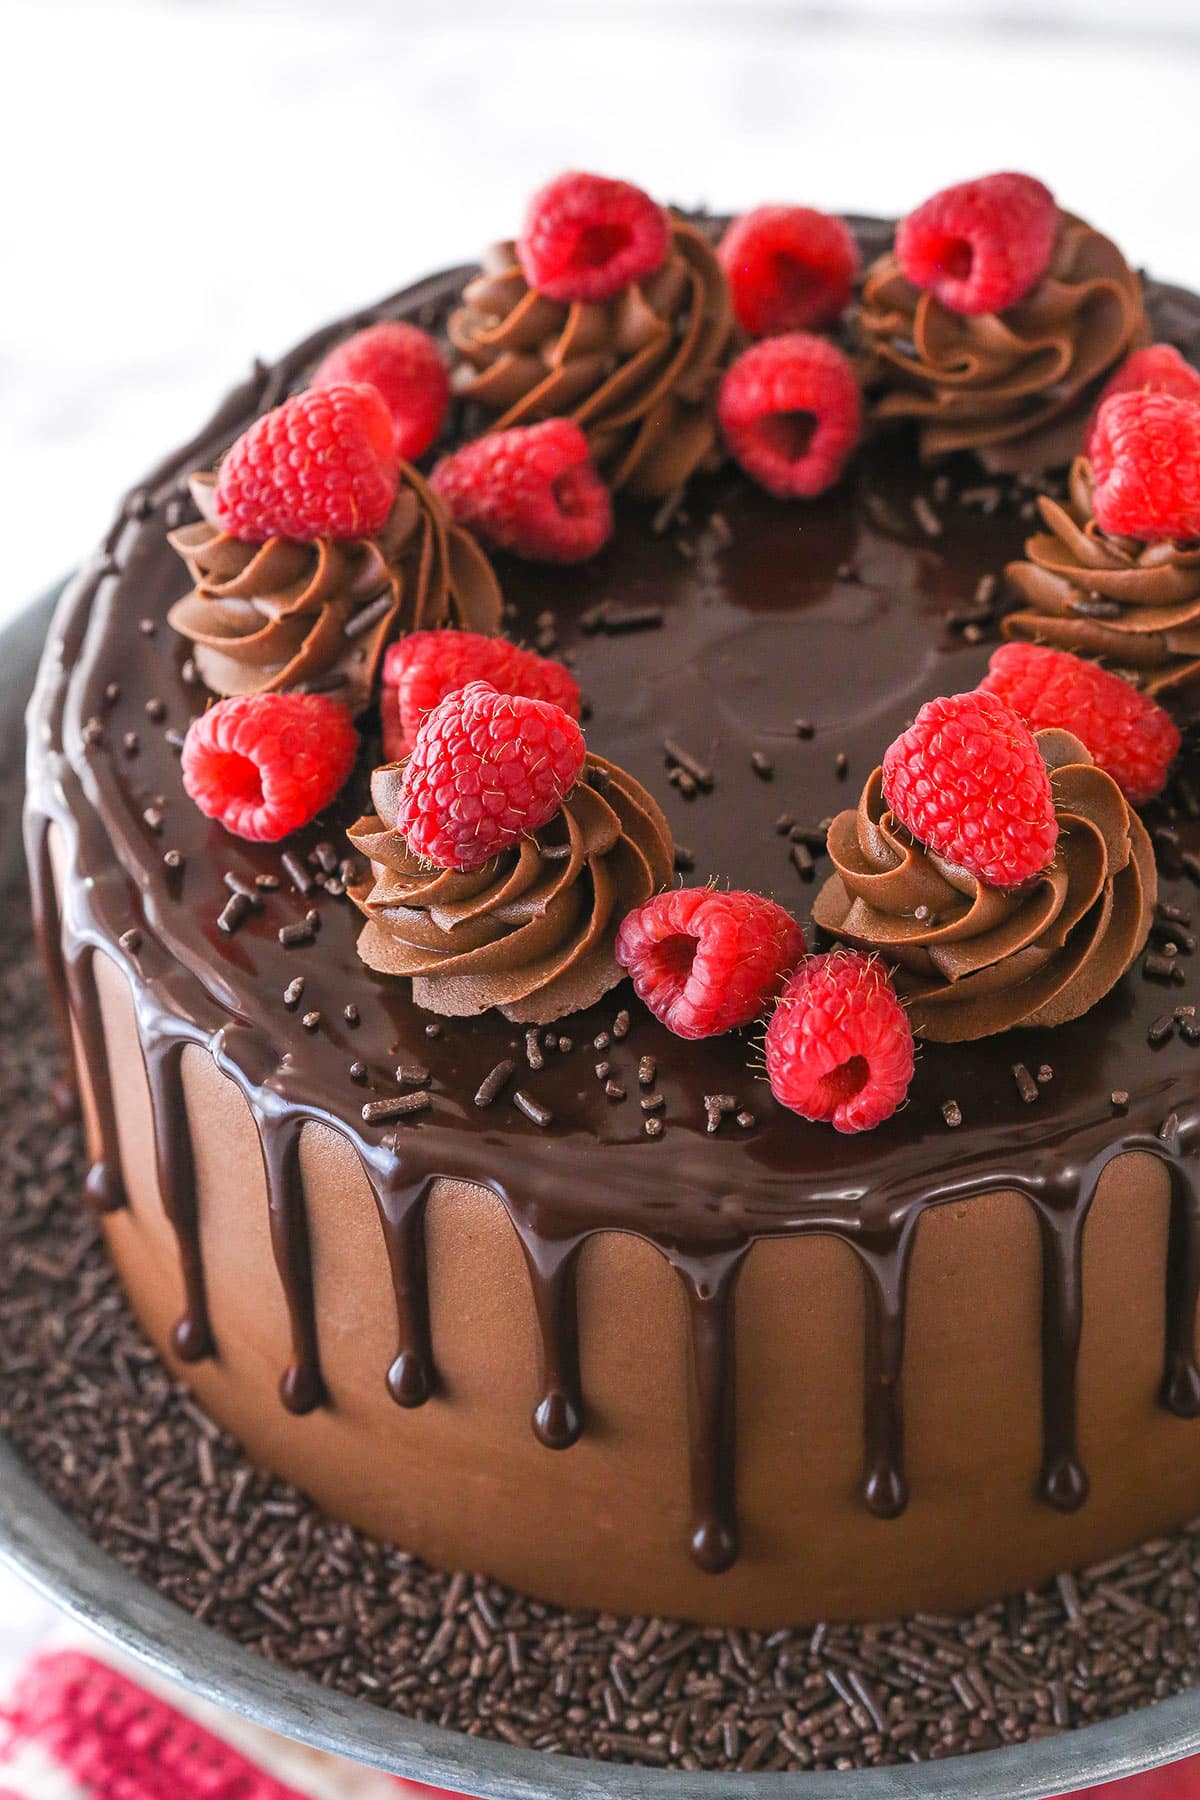
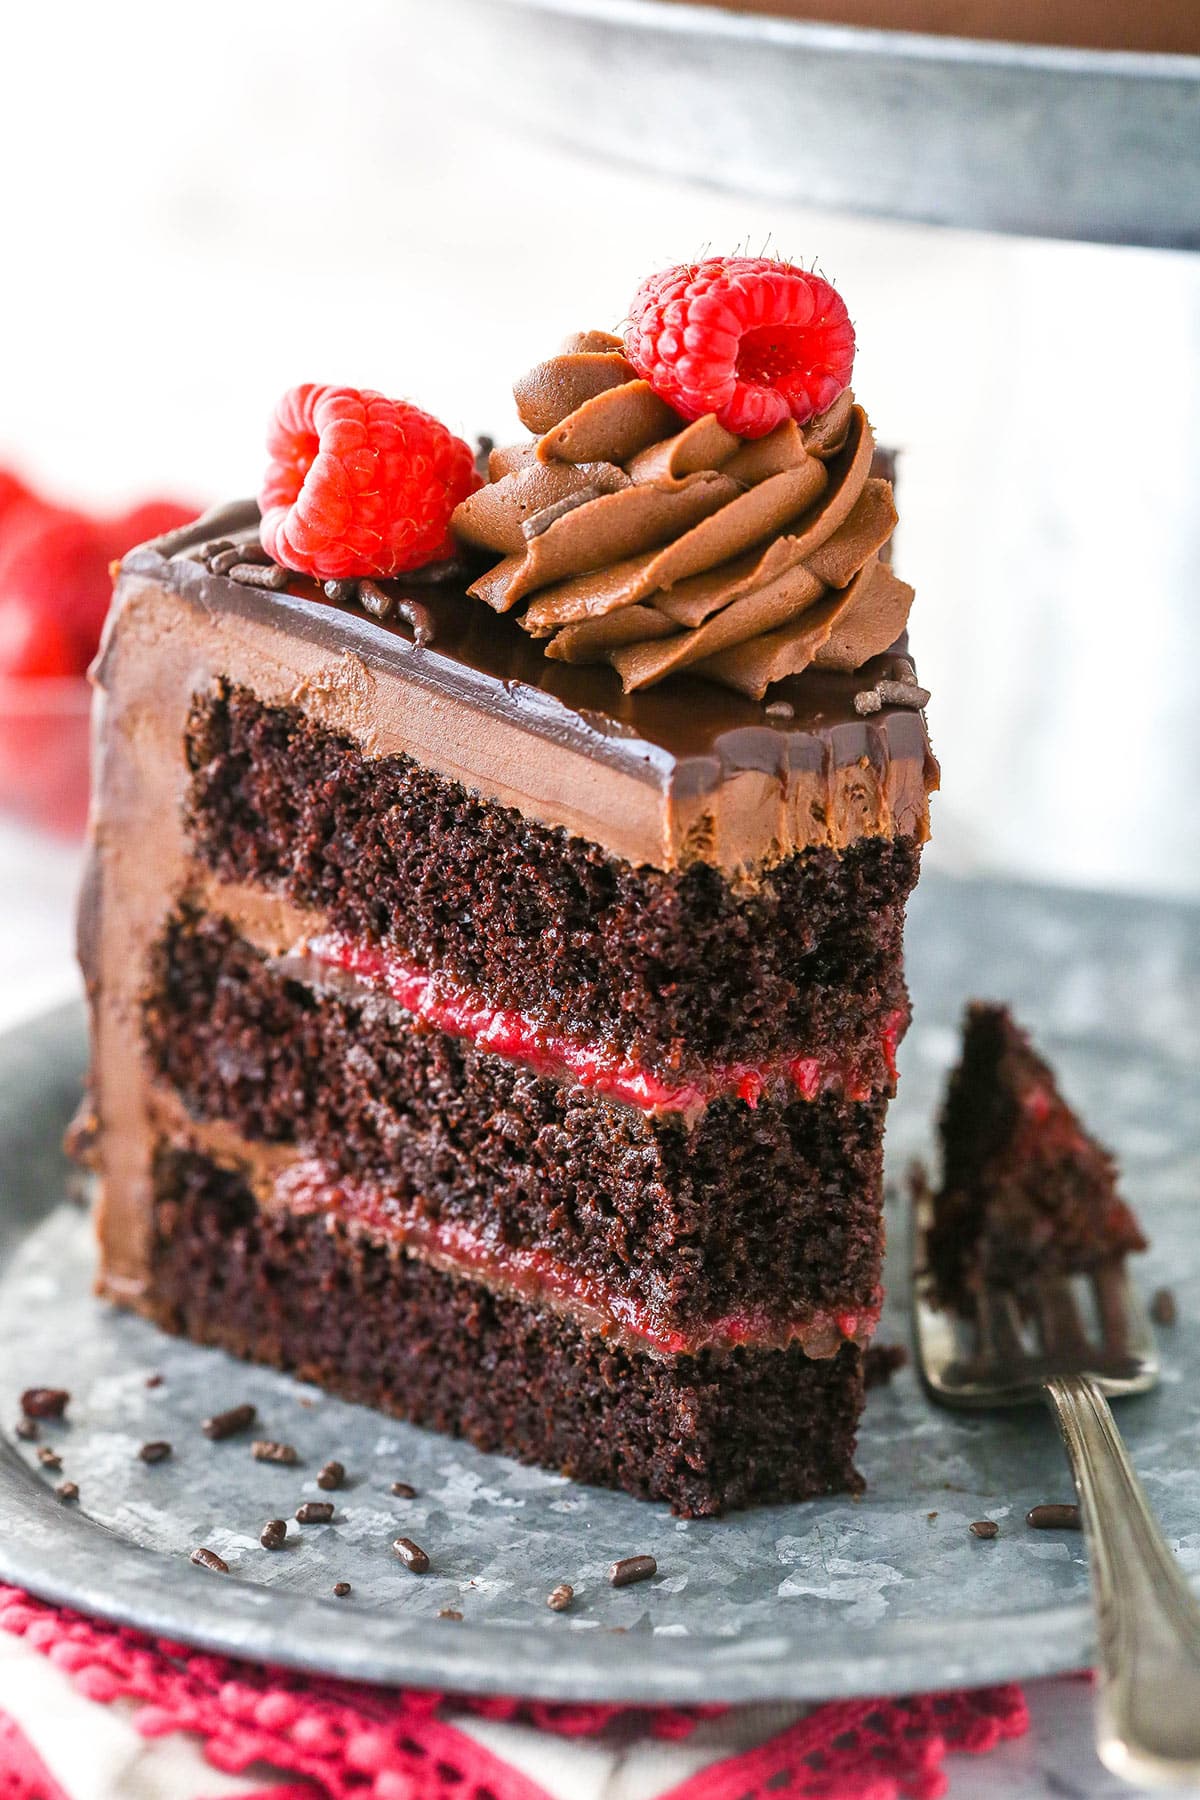
This chocolate raspberry cake is made up of three layers of super moist chocolate cake, homemade raspberry filling, and rich, creamy chocolate frosting. The whole thing is topped off with a decadent chocolate ganache and a smattering of fresh raspberries.
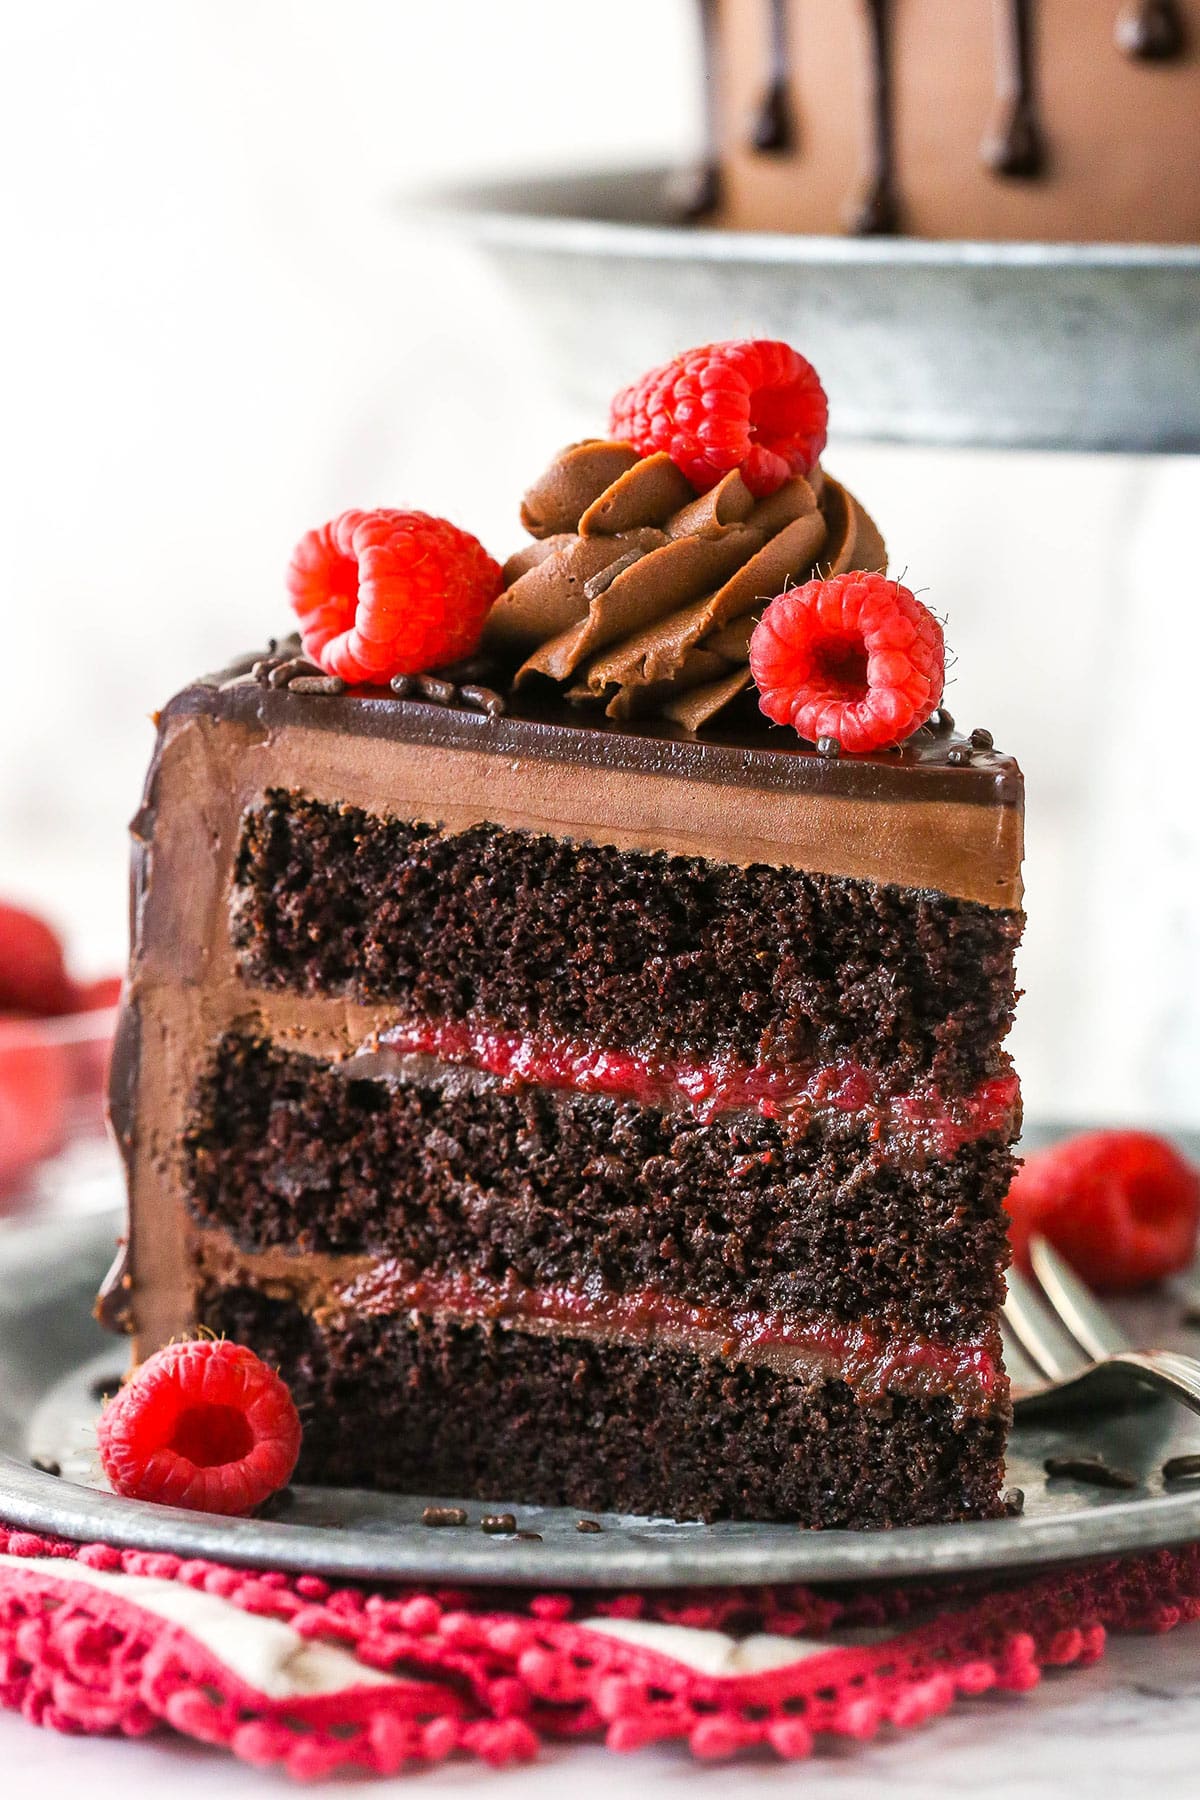
Table of Contents
The Best Chocolate Raspberry Cake
If you’re looking for a cake that will wow your family and friends, this cake is it. It’s not only beautiful, but it’s so darn delicious. The cake layers alone make a wonderful cake. They are super easy to make, perfectly chocolatey and so moist. Add the delicious homemade raspberry filling and fudgy chocolate frosting made with real melted chocolate and the cake nearly melts in your mouth.
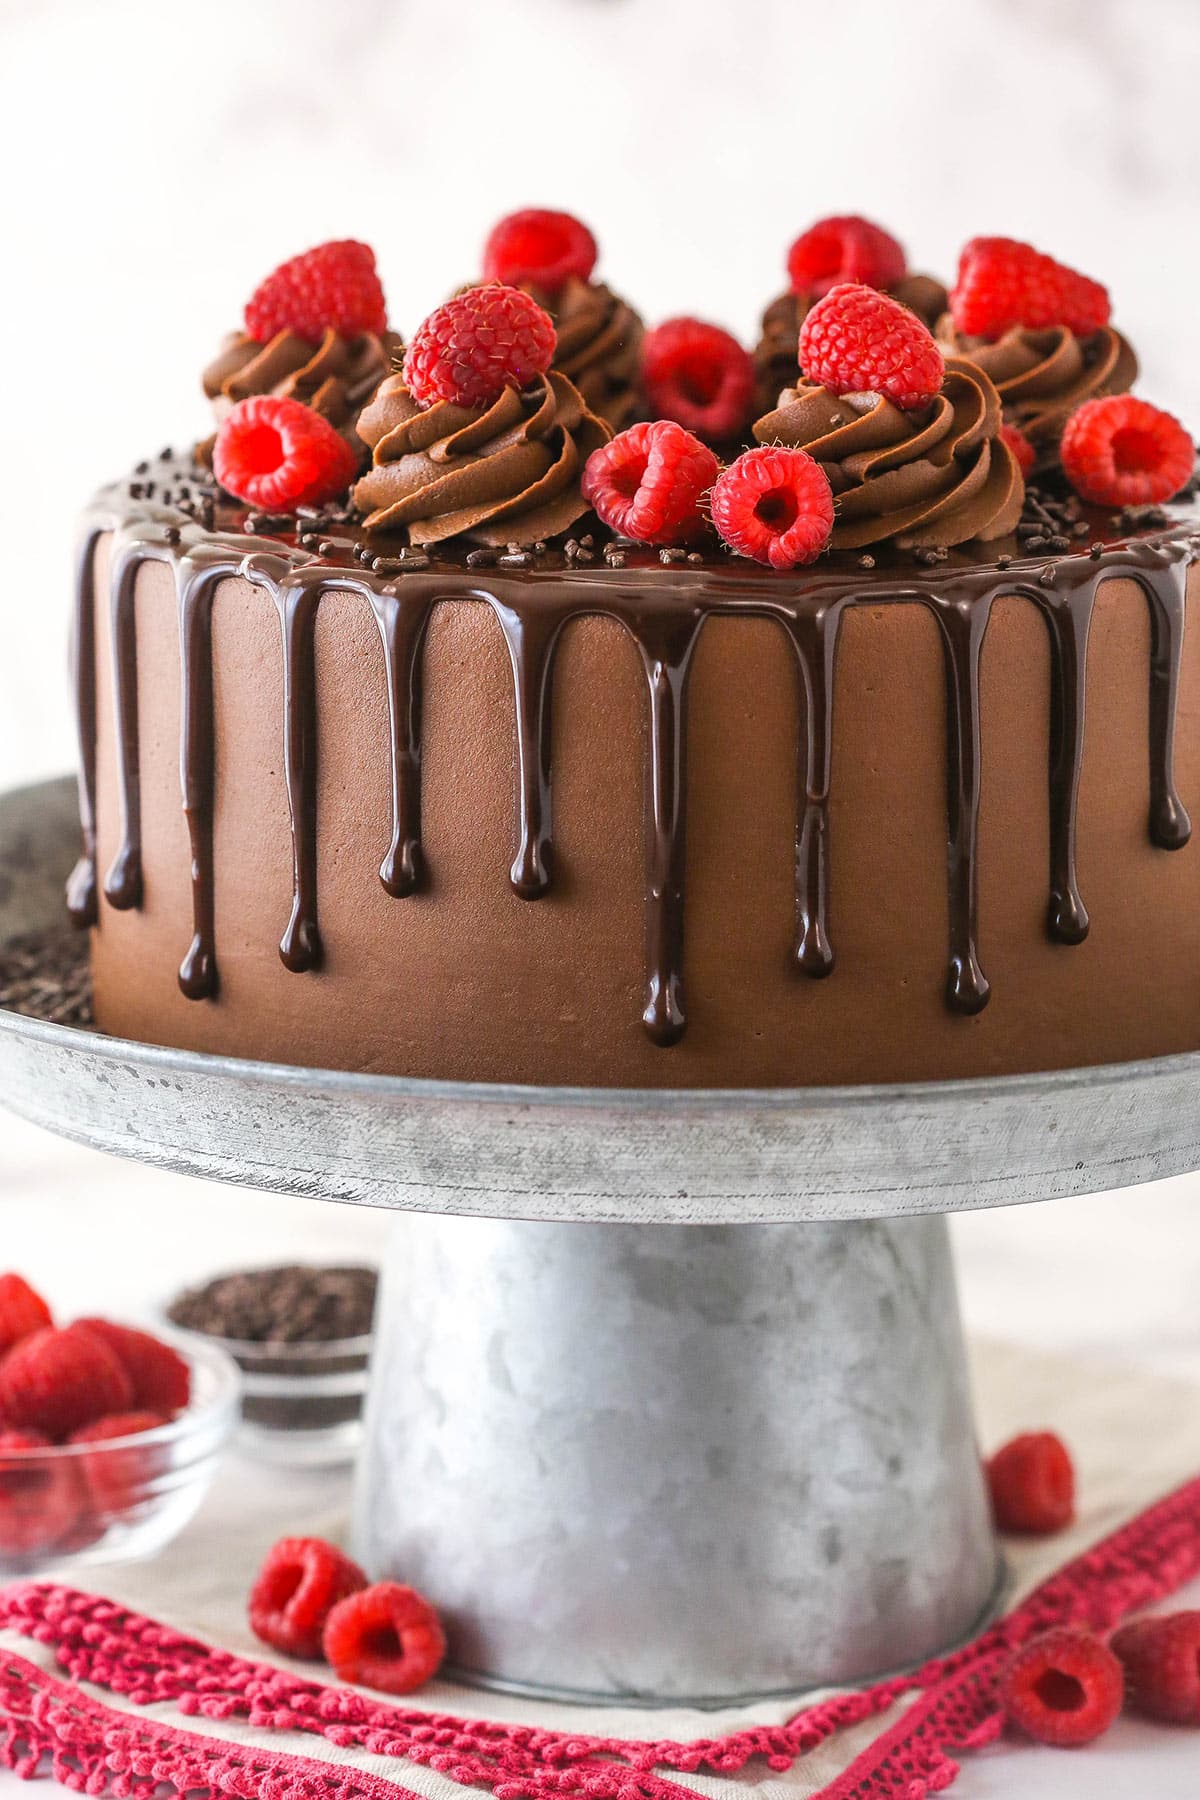
To finish it off, there’s the chocolate drip and more fresh raspberries. Yes, please! Real chocolate. Real raspberries. HUGE flavor. And it’s actually pretty simple to make. This raspberry chocolate layer cake is definitely a must-try.
Why You’ll Love This Layer Cake
This cake makes me swoon every time. If you love chocolate and raspberries, you might just have found your dream dessert. Here’s why I think you’ll love it.
- Simple mixing method. All you have to do is whisk together your dry ingredients and then your wet ingredients (separately) before mixing them all together and adding some hot water. No fancy mixing methods here!
- A classic flavor combo. Chocolate and raspberries are a match made in heaven. They both have a bitter-sweetness that comes together in all of the right ways. Each balances the other out.
- Unbeatable texture. This cake uses oil instead of butter, which gives it a wonderful, silky smooth, moist texture. The addition of hot water to the batter takes it over the top, adding the perfect extra kick of moisture without making the cake too heavy.
- So chocolaty. Both the cake layers and the frosting are just exploding with chocolate flavor. The hot water added to the cake batter allows the flavors of the cocoa powder to bloom into full effect. And then the frosting. The frosting has a base of butter and real chocolate. The result is an almost fudgy frosting that will have you licking the mixing bowl.
What You’ll Need
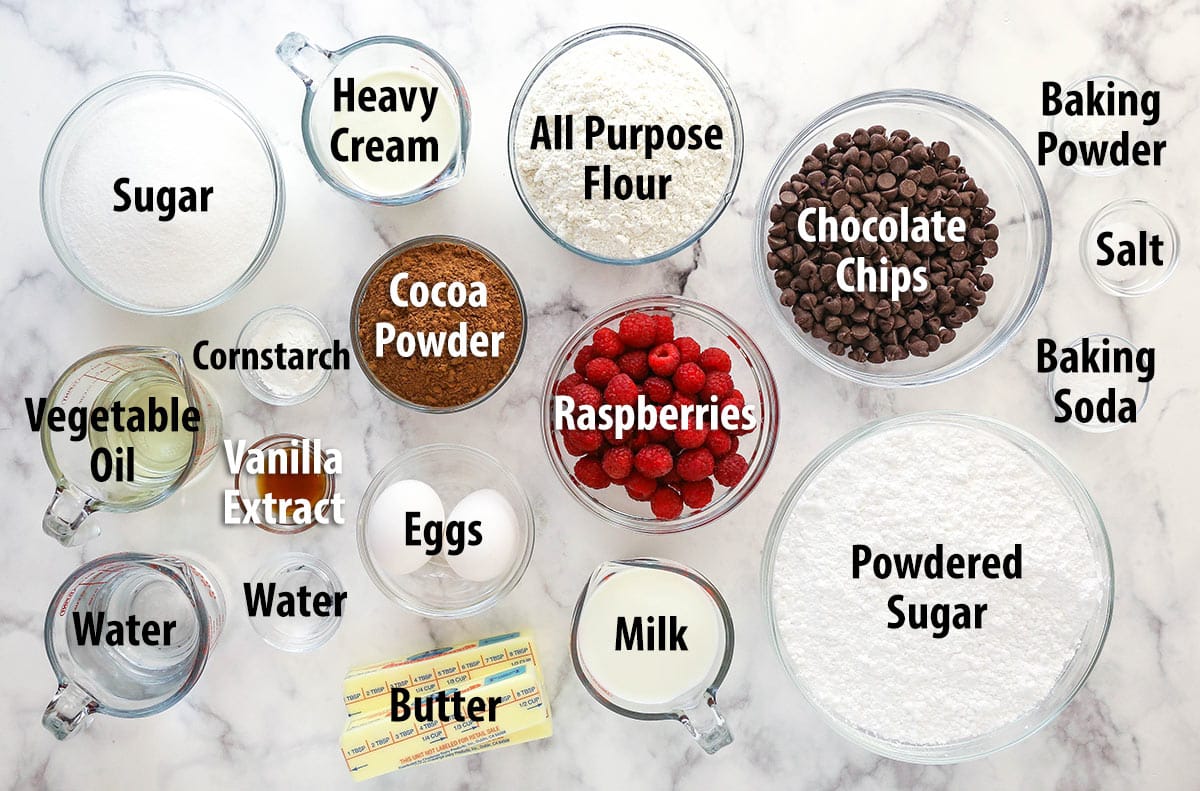
Here’s a list of ingredients you will need to make this chocolate and raspberry cake. For exact measurements, scroll to the recipe card at the bottom of the post.
Raspberry filling
- Sugar – Adds sweetness and some volume to the filling.
- Cornstarch – To help thicken the filling. Just don’t cook it for too long or it can actually have the reverse effect.
- Water – To help dissolve the cornstarch and melt the sugar.
- Raspberries – You’ll need about 2 pints of raspberries for the filling and decor. Feel free to use frozen raspberries, just thaw them and remove the excess water first.
Chocolate cake
- All-purpose flour – Be sure to measure it accurately with either a food scale or the scoop and level method. Don’t pack your flour. You could also use a 1:1 gluten-free flour.
- Sugar – Regular granulated sugar is all that’s needed.
- Natural unsweetened cocoa – You could use Dutch-processed cocoa powder instead for a deeper chocolaty flavor, your layers just may not rise quite as tall.
- Leavening – Baking soda and baking powder are both used to give the cake a super tender texture, but also not so tender that it falls apart too easily.
- Salt – For flavor. Don’t leave it out.
- Milk – Whole milk and 2% both work great.
- Vegetable oil – The vegetable oil adds lovely moisture to this chocolate cake.
- Vanilla extract
- Eggs – They hold everything together. Be sure to use large size eggs.
- Hot water – Hot water awakens and intensifies the chocolaty flavor in this cake and also adds moisture without weighing the cake down and making it too heavy. You could also use hot coffee.
Chocolate buttercream
- Unsalted butter – The butter should be at room temperature. Butter that is too cold will give you a lumpy frosting and butter that is too warm with leave you with a runny frosting.
- Semi-sweet chocolate chips – Melted, so that they can be folded into the frosting.
- Hershey’s dark cocoa powder – You could use natural unsweetened cocoa powder or Dutch-processed cocoa powder instead but I love the intensity of Hershey’s dark chocolate rendition.
- Powdered sugar – Definitely necessary for buttercream. It adds sweetness and volume to the buttercream and also affects the frosting consistency.
- Salt – For flavor.
- Heavy whipping cream – Adds creaminess to the buttercream.
Chocolate ganache
- Semi-sweet chocolate chips
- Heavy whipping cream
How to Make Chocolate Raspberry Cake
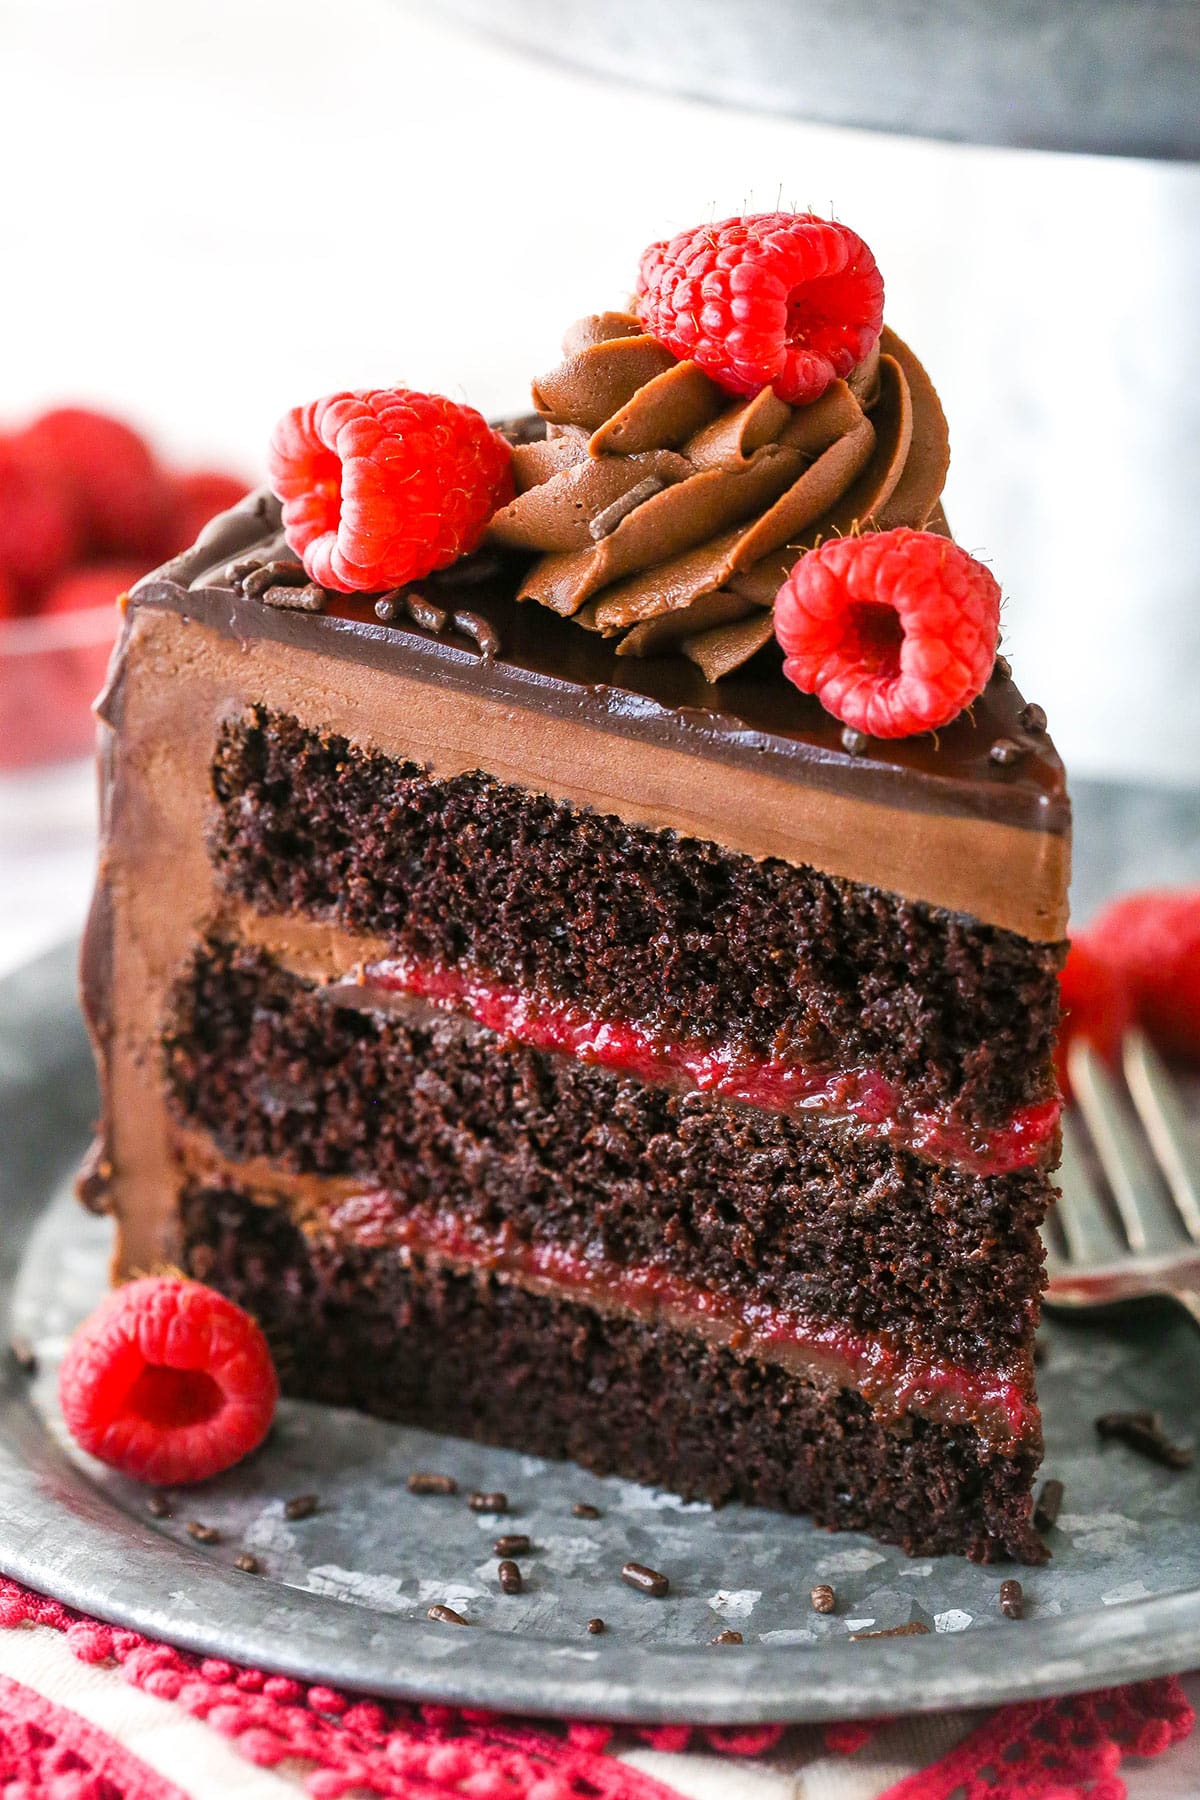
Ready to learn how to make chocolate raspberry layer cake? Here’s a quick overview. Be sure to scroll to the recipe card below for more thorough instructions.
To make the raspberry filling
- Melt the sugar. Melt the sugar with the cornstarch and water over medium heat.
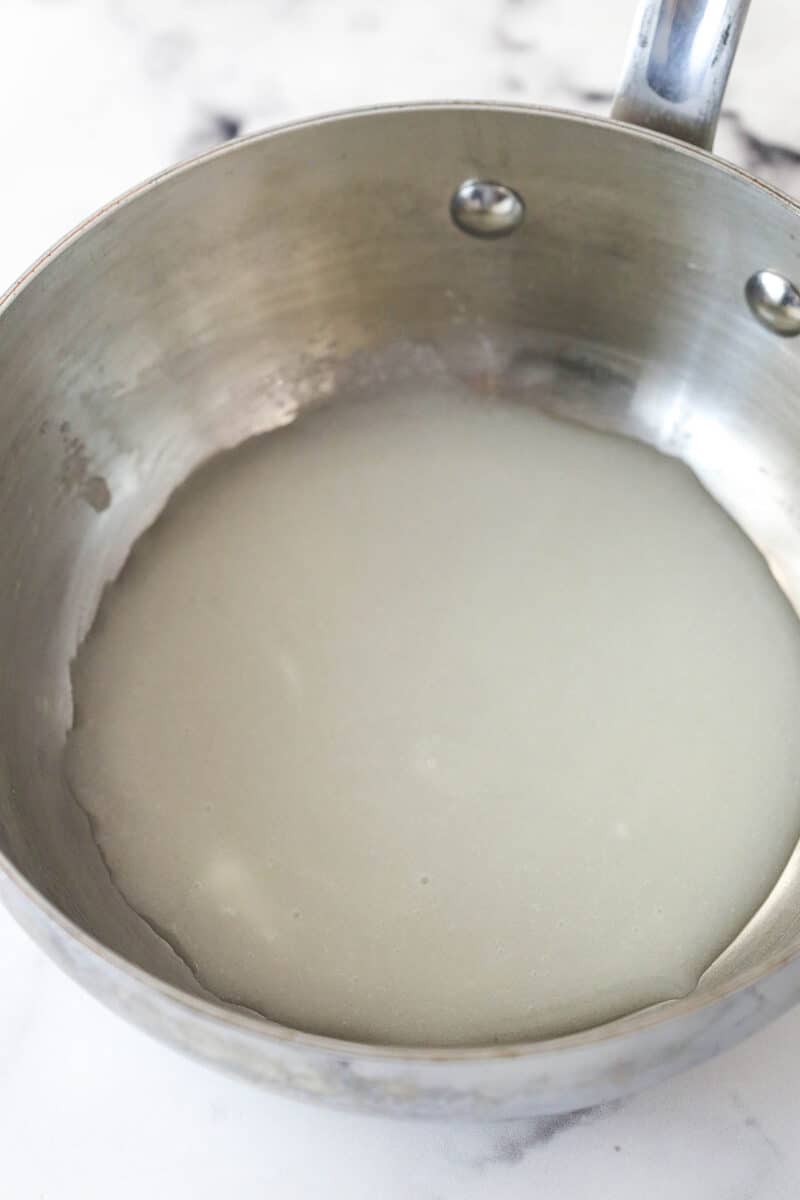
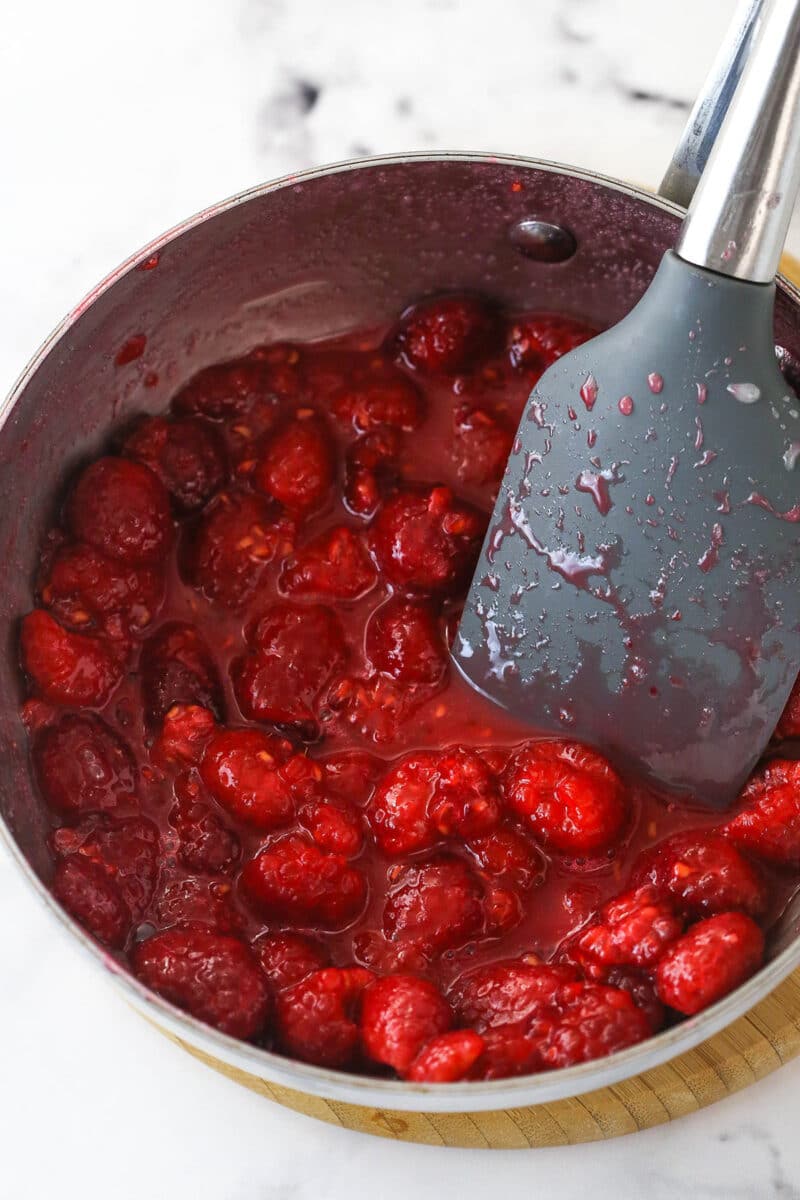
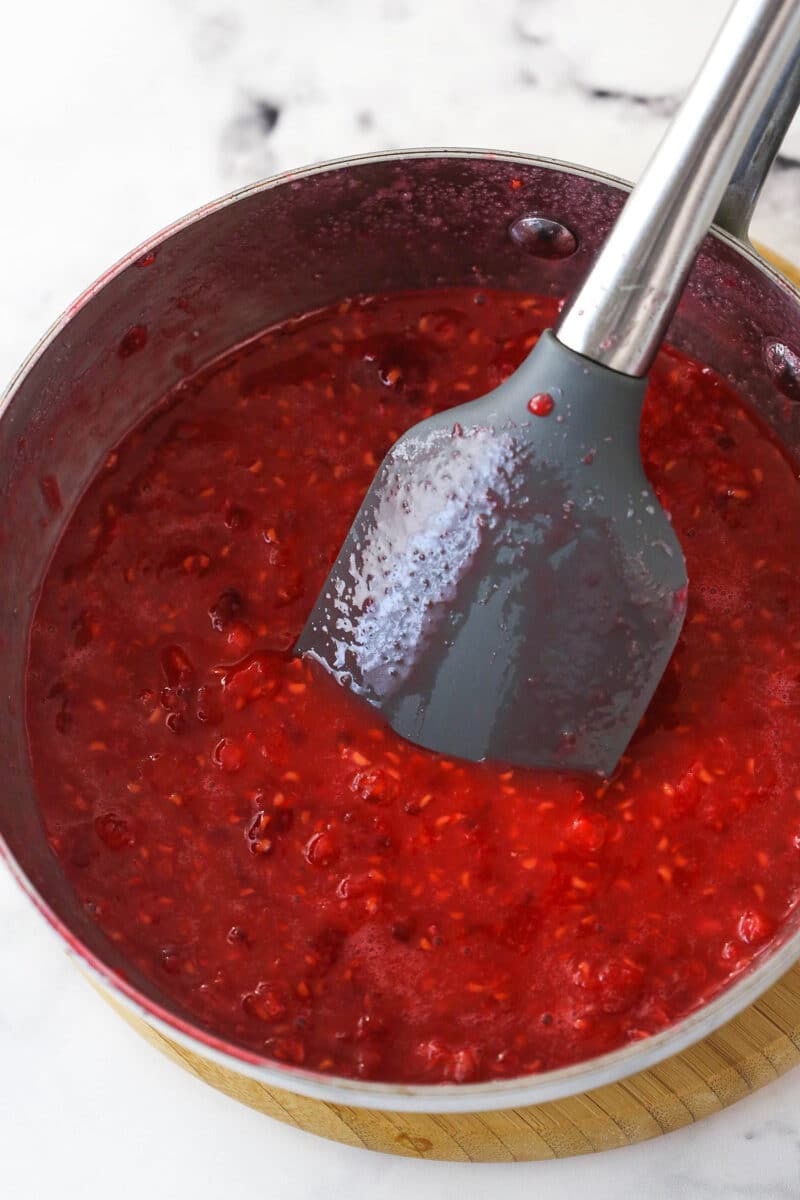
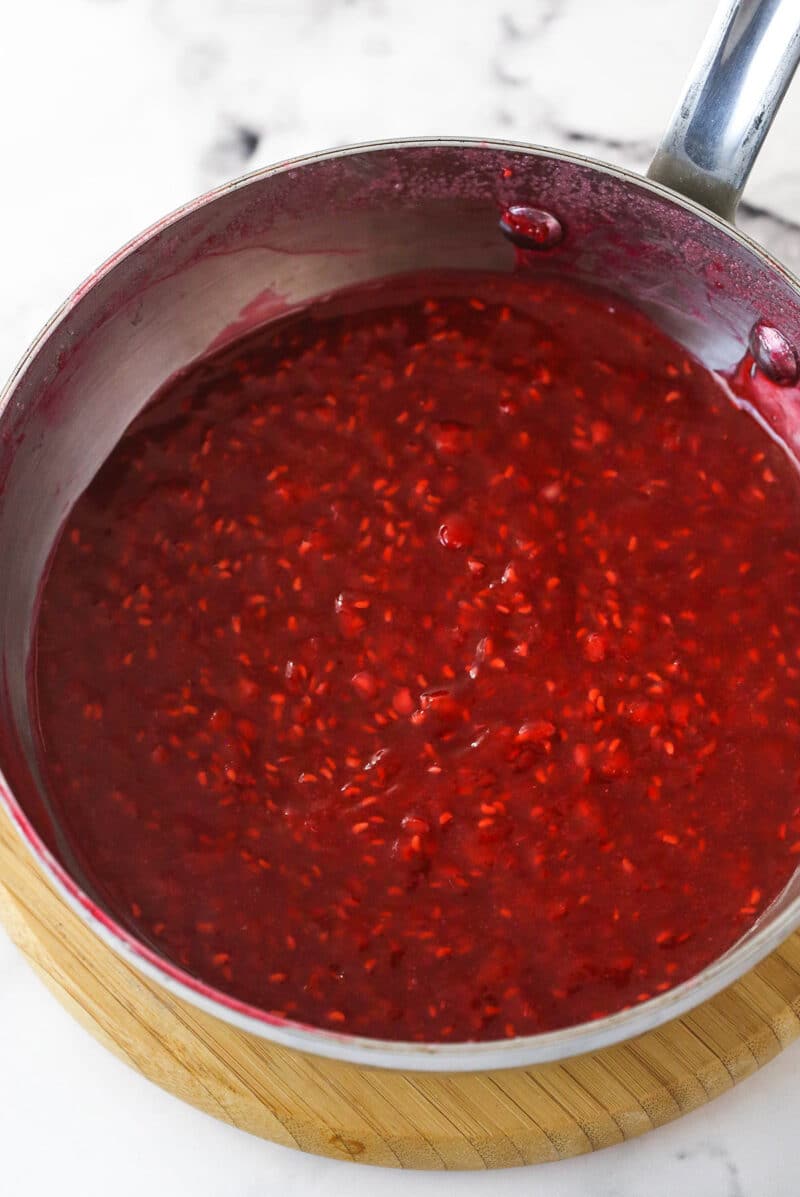
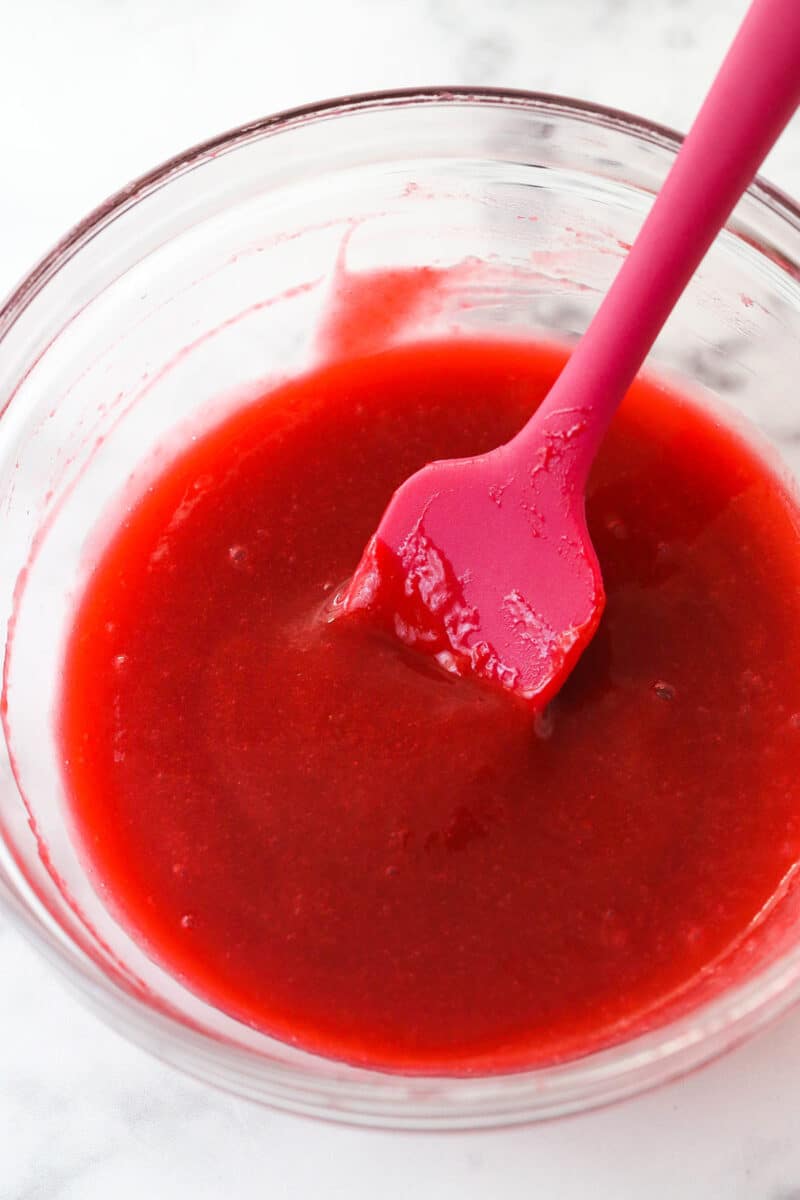
- Add the raspberries. Stir in the raspberries and cook until they start to soften. Mash the berries a bit and cook until thickened. Strain to remove the seeds, if desired.
- Chill. Refrigerate until cool.
For the cake layers
- Prep. Preheat oven to 350°F, line the bottoms of three 8-inch cake pans parchment paper, and grease with non-stick baking spray.
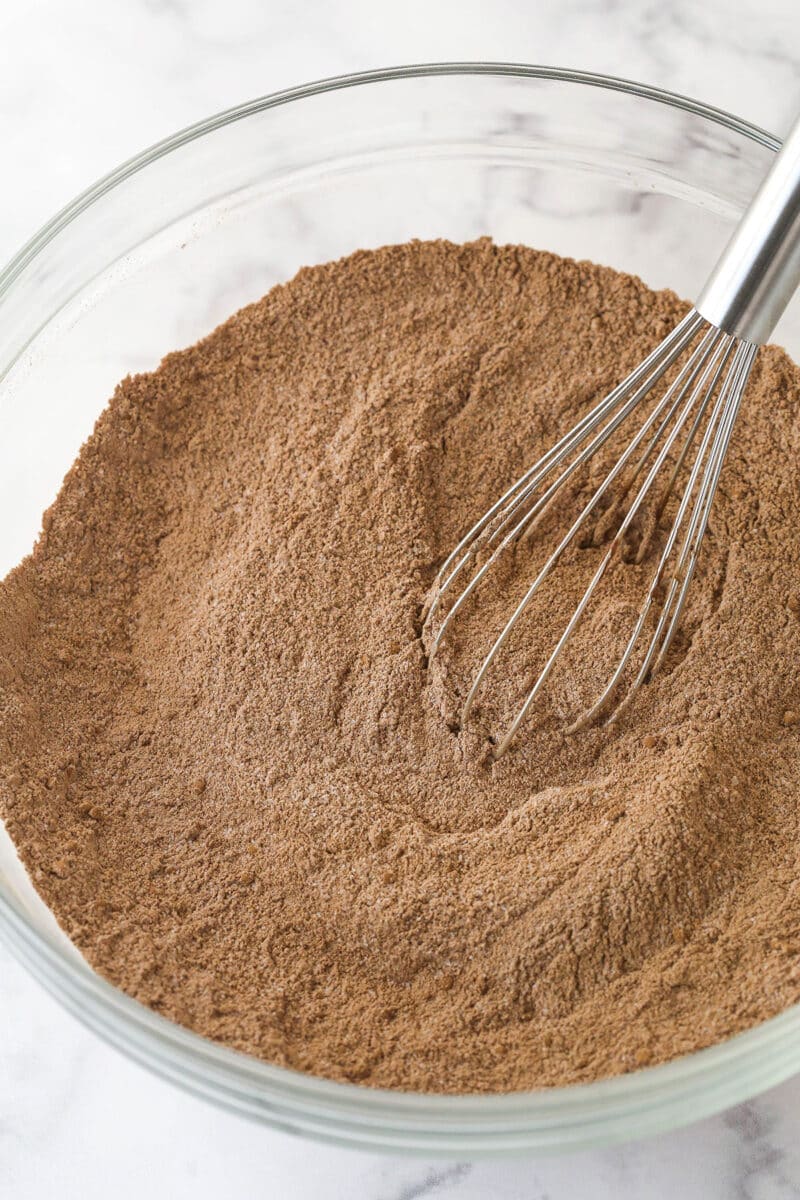
- Combine the dry ingredients. Whisk together the flour, sugar, cocoa, baking soda, baking powder, and salt.
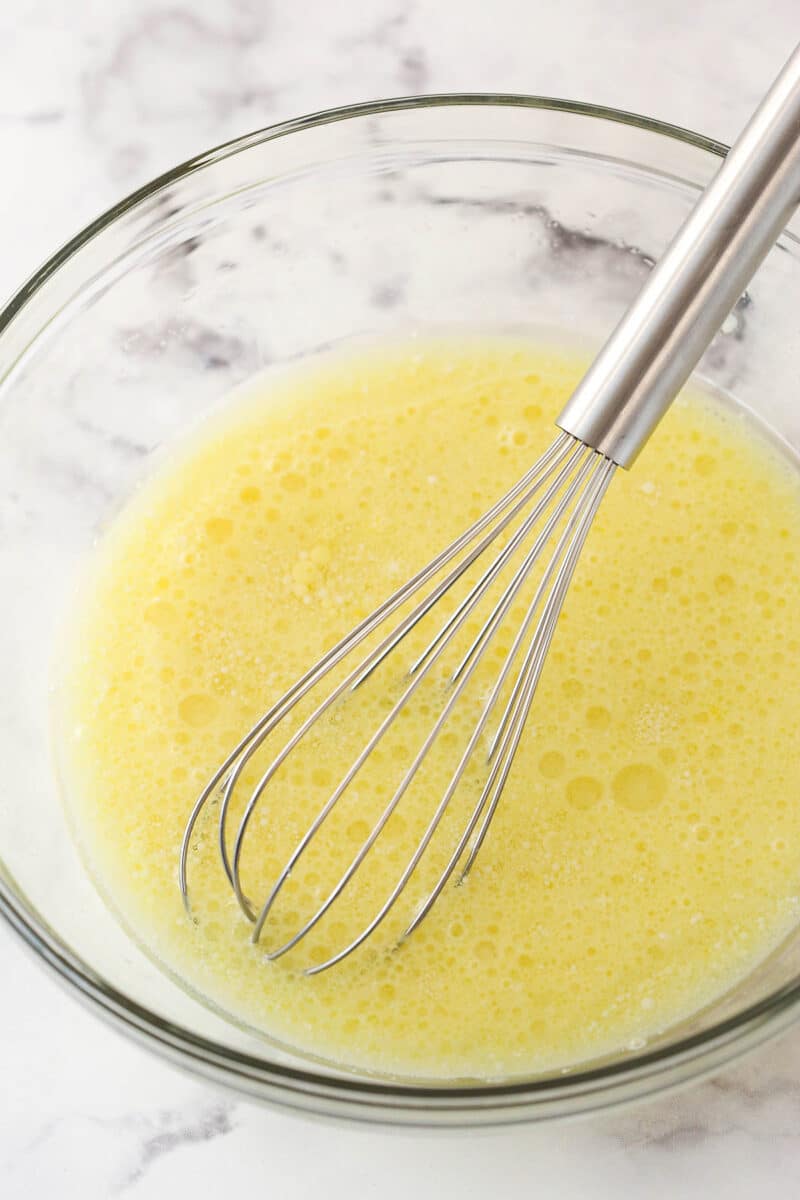
- Combine the wet ingredients.Whisk together the milk, vegetable oil, vanilla extract, and eggs.
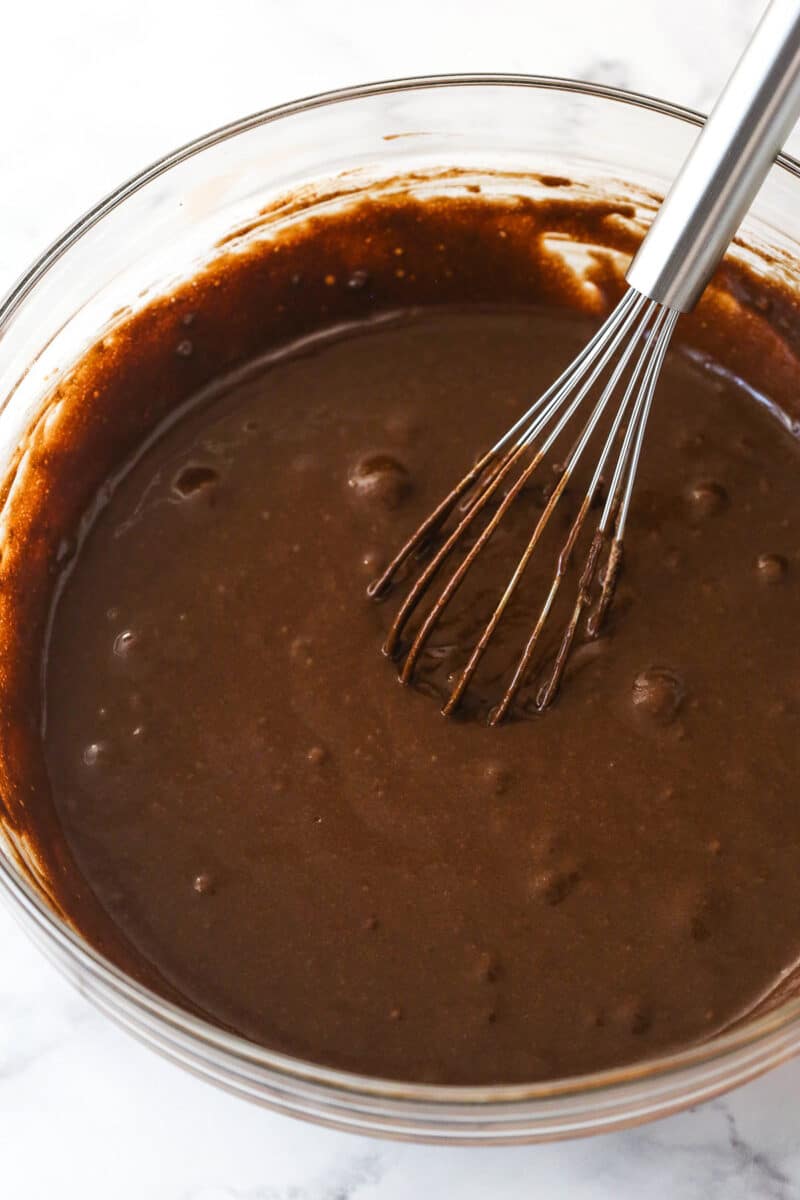
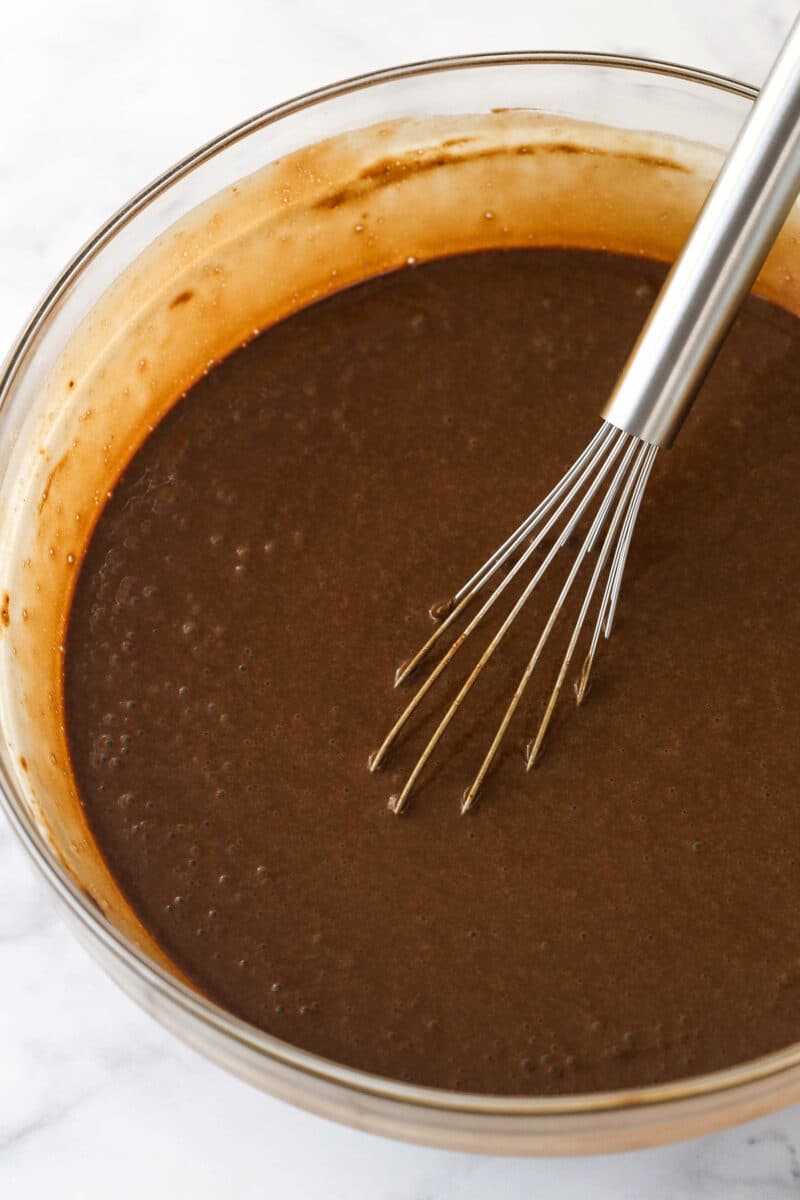
- Put it all together. Mix the wet ingredients into the dry ingredients followed by the hot water.
- Bake. Divide the batter between the cake pans and bake for 22-25 minutes.
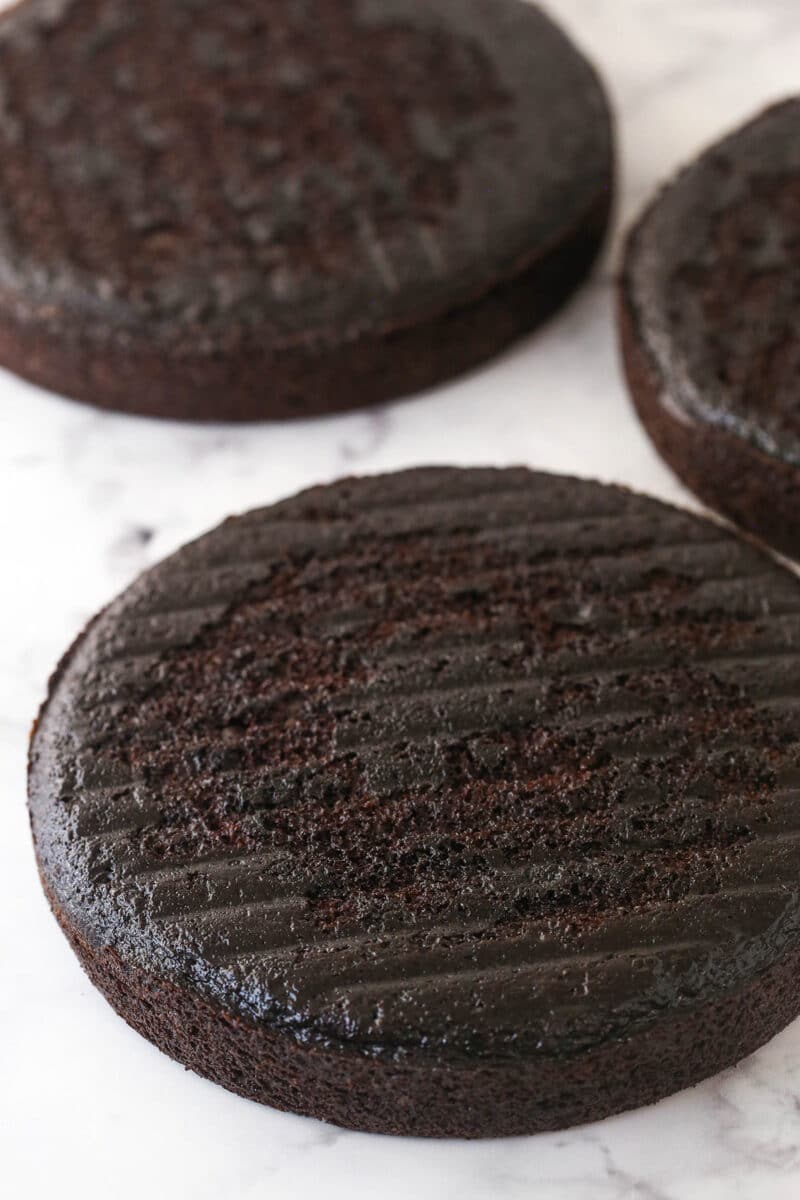
- Cool. Cool for a couple of minutes in the pans before turning the cakes out onto cooling racks.
To make the chocolate frosting and chocolate ganache
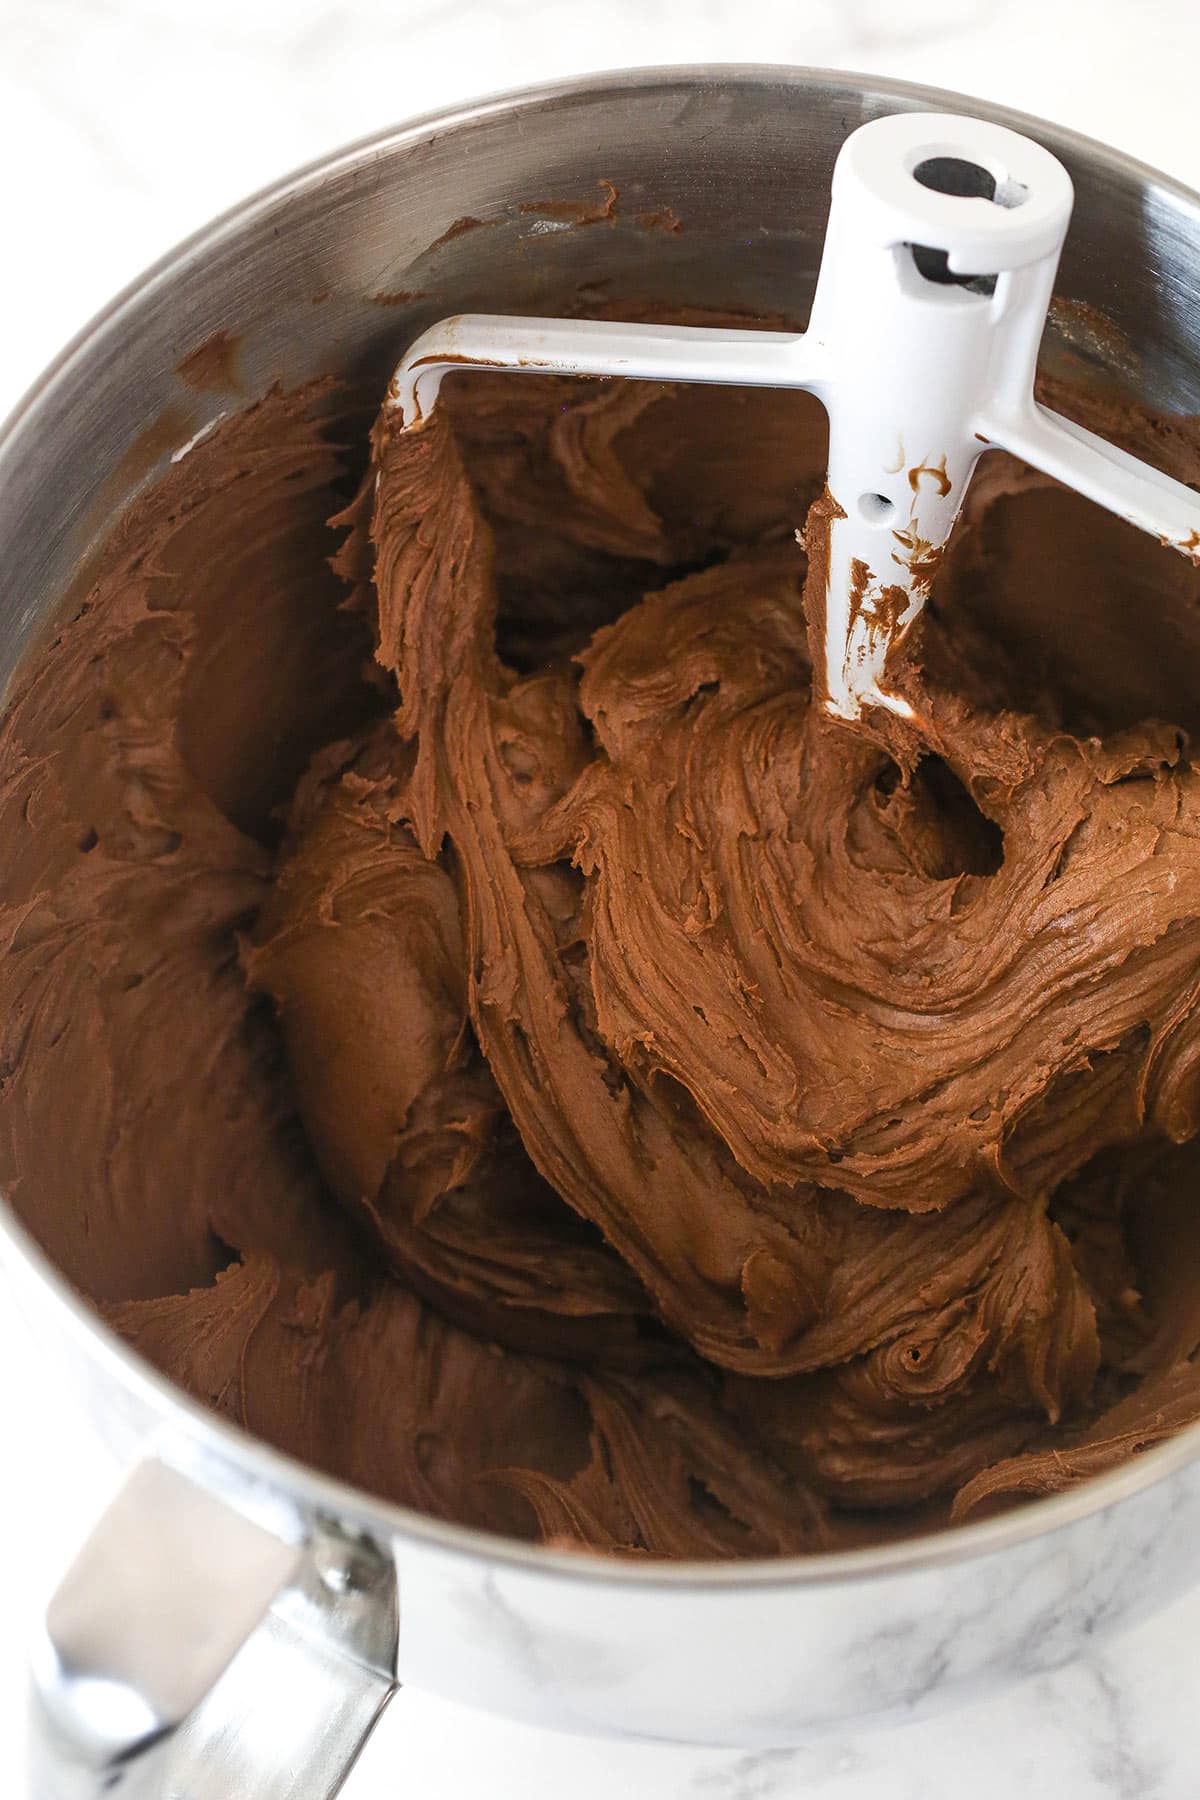
- Beat. Beat the butter until smooth.
- Make it chocolaty. Mix in the melted chocolate followed by the cocoa powder.
- Finish it off. Add half of the powdered sugar, salt, and half of the heavy cream. Mix until smooth before mixing in the rest of the powdered sugar followed by the remaining heavy cream.
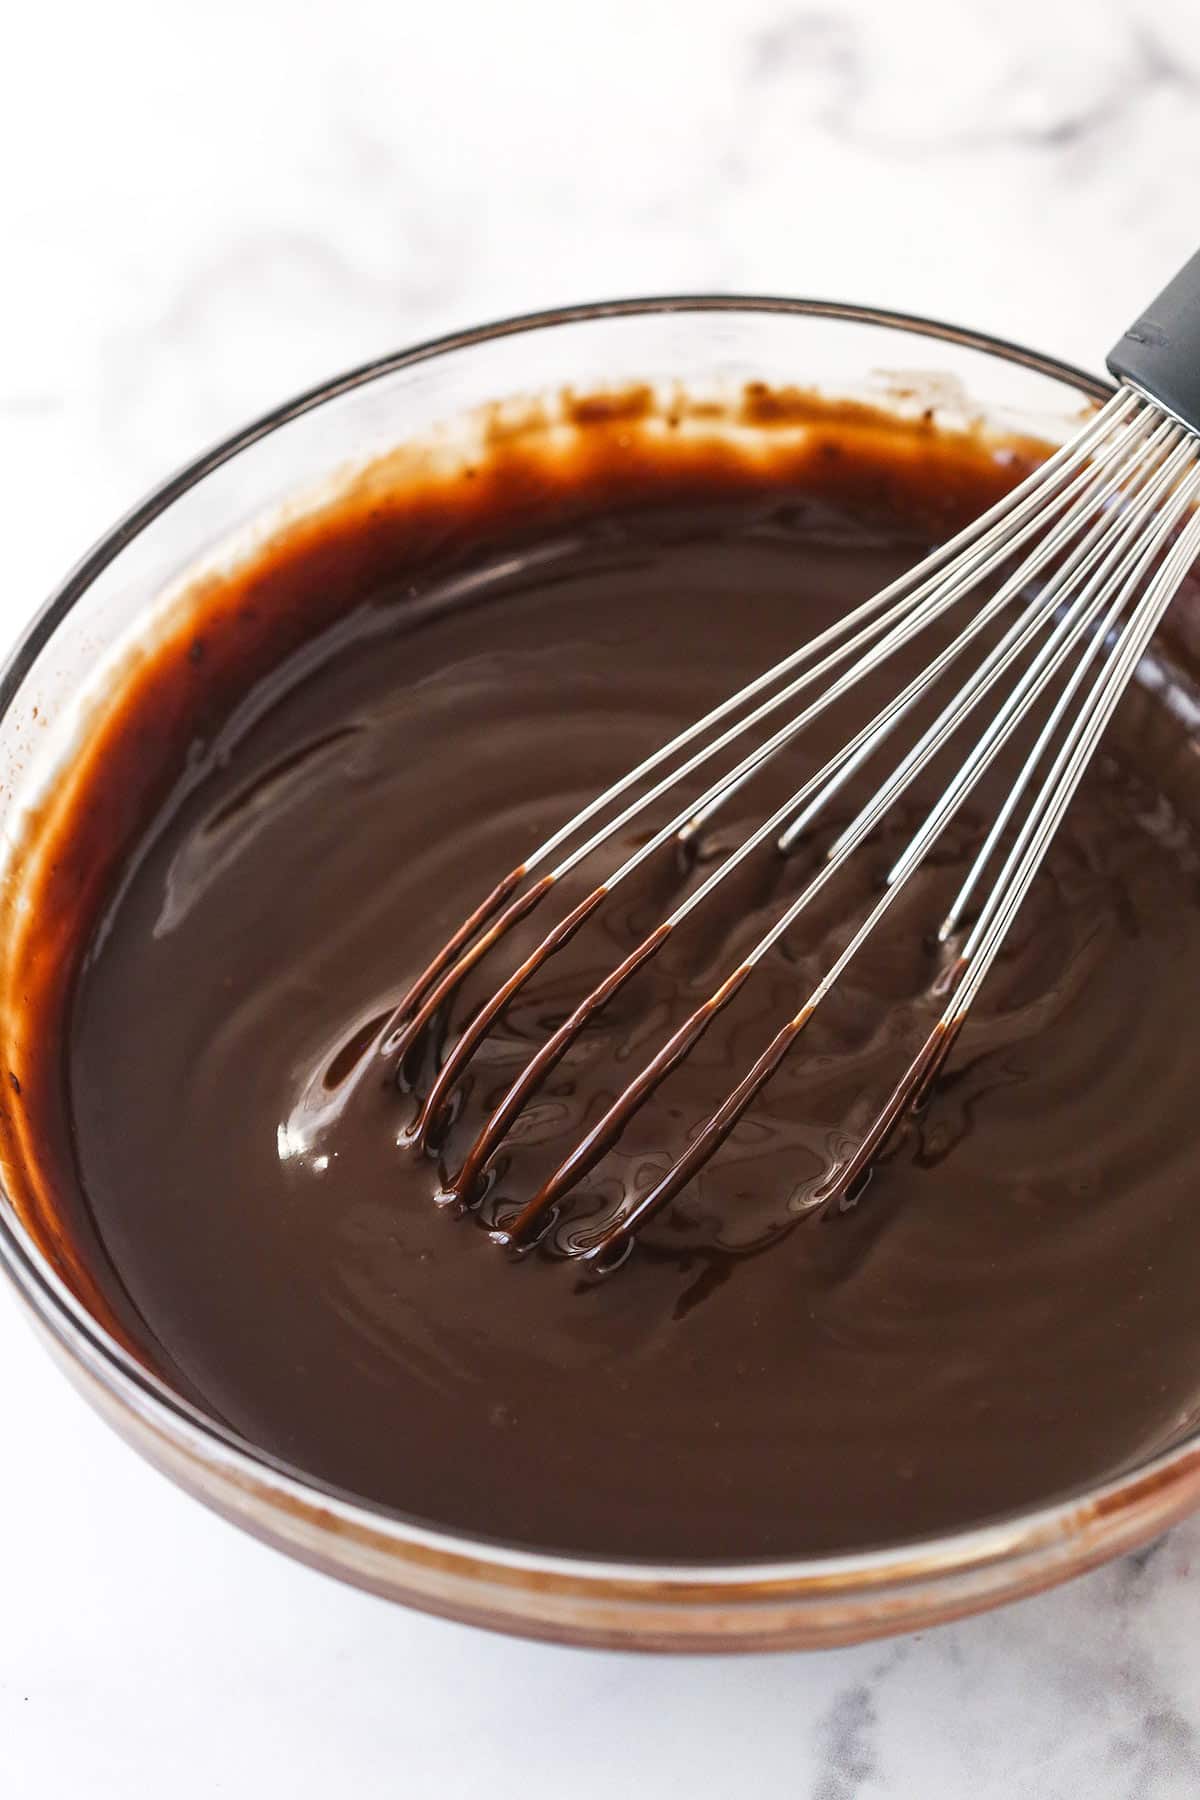
- Make the chocolate ganache. Heat the heavy cream in the microwave until it begins to boil. Pour it over the chocolate chips. Let the mixture sit for a couple of minutes before whisking until smooth.
- Level the cakes. Cut the domes from the tops of the cakes.
- Make a dam. Place one cake layer on a serving plate. Pipe frosting around the top edge of the cake (you are making a dam to keep the filling inside).
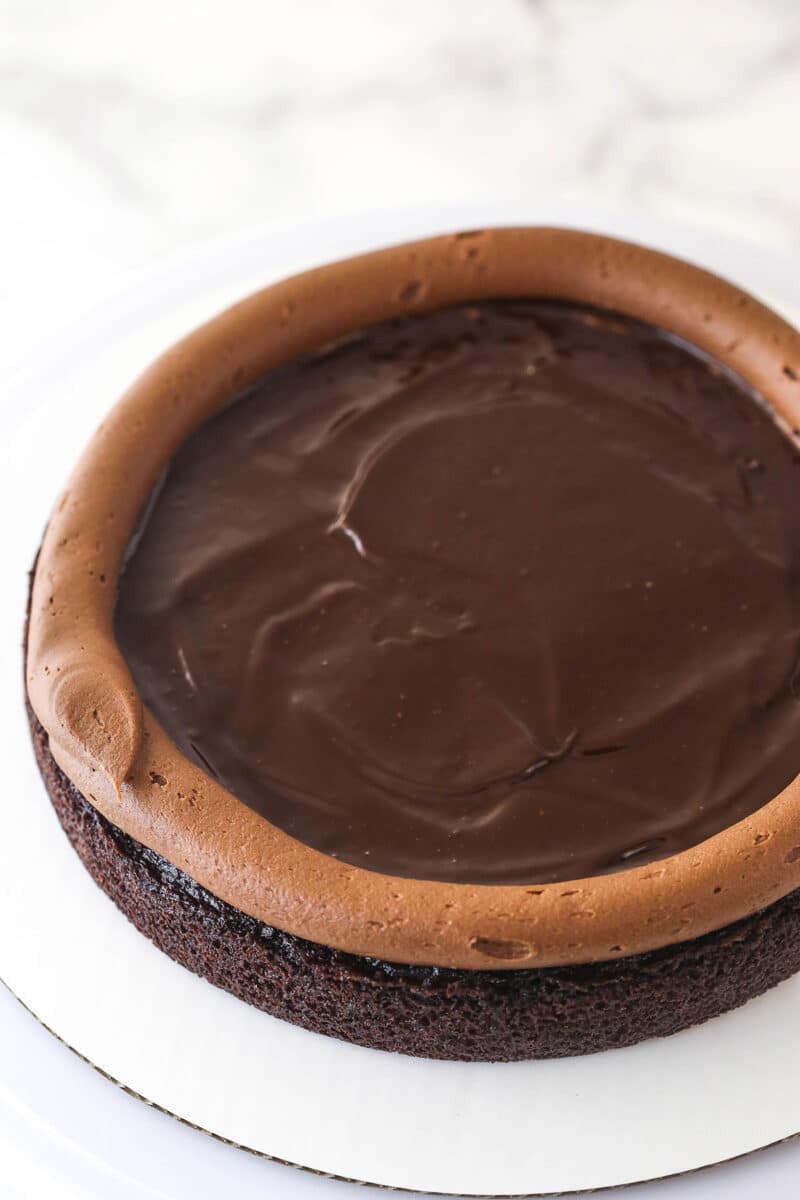
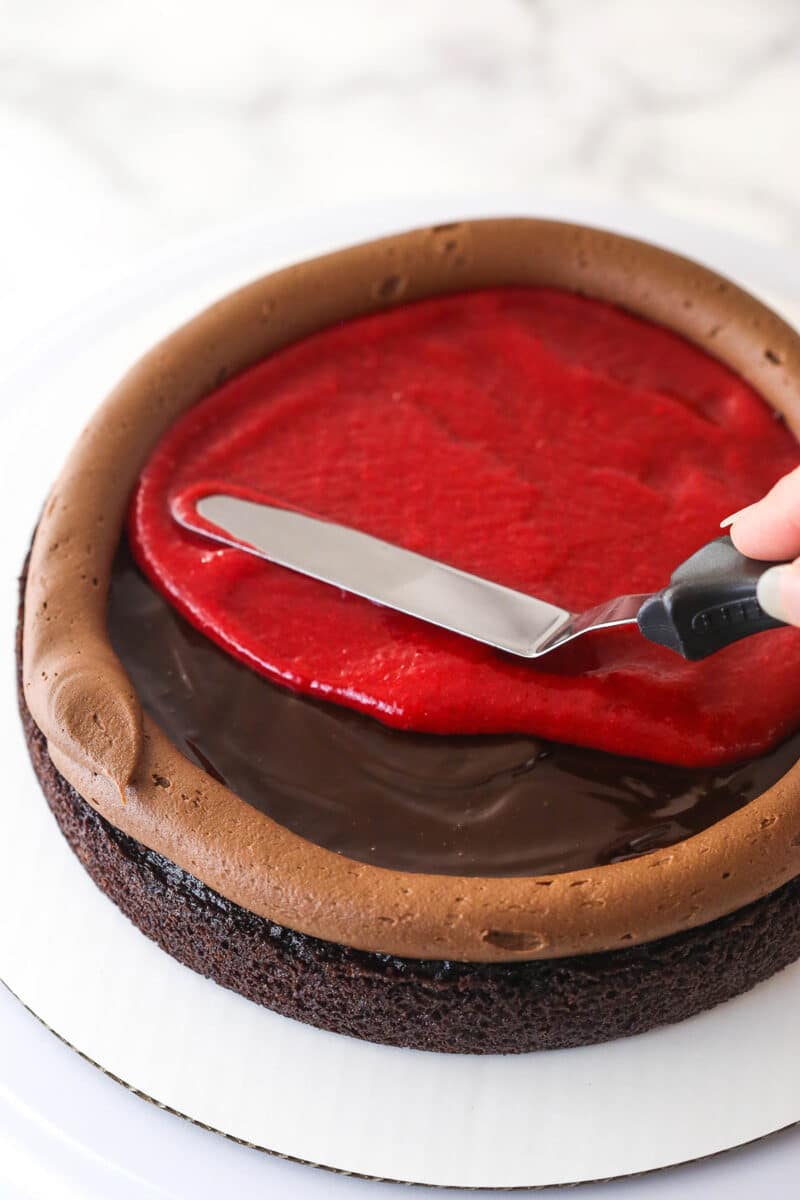
- Fill and stack. Spread 1/4 cup of the chocolate ganache over the top of the cake (inside the dam) followed by 1/2 of the raspberry filling. Top with another cake layer and repeat.
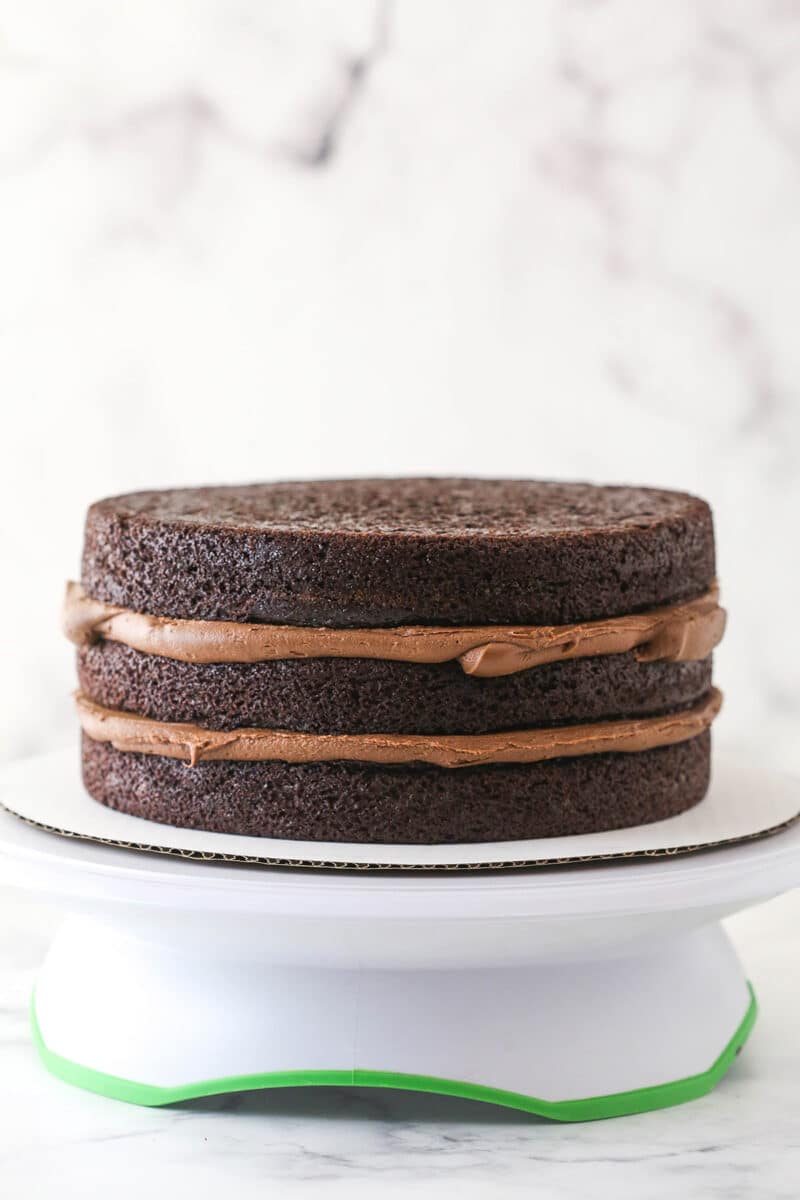
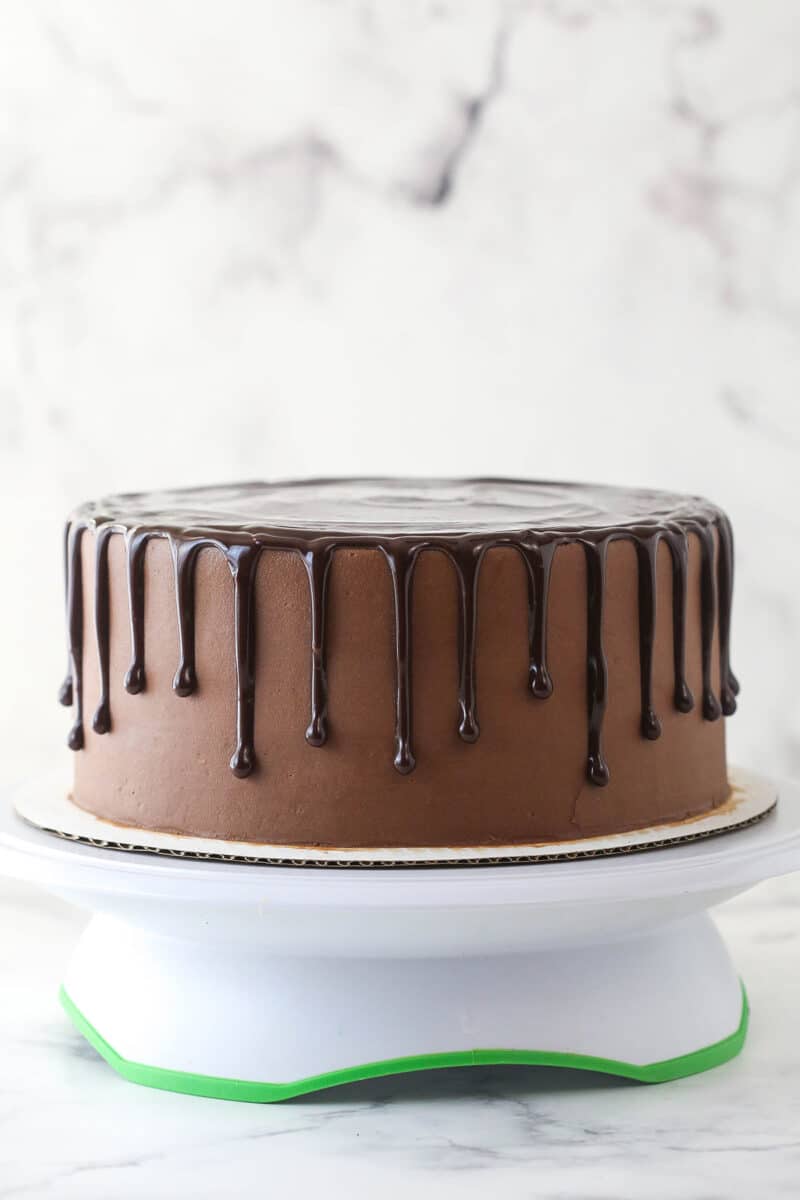
- Frost the cake. Once you’ve added the final cake layer, frost the top and outside of the cake.
- Decorate. Drizzle chocolate ganache around the edges of the cake and fill in the center. Pipe swirls of chocolate frosting around the top of the cake. Garnish with raspberries.
Tips for Success
One of my favorite things is helping you achieve spectacular baking results. Here are some tips and tricks that will help you do that with this cake.
- Scrape the sides of the bowl. When making the cake batter, be sure to scrape down the sides of the bowl intermittently as you add and mix in ingredients. This will help ensure that all of the ingredients make it into the batter and are incorporated fully.
- Don’t over-mix. When combining the wet and dry ingredients for the cake batter, mix just until everything is incorporated. Over-mixing can cause the glutens in the flour to overdevelop. This is a one-way ticket to a tough, overly dense cake.
- Room temperature butter. The butter in the frosting should be at room temperature. Butter that is too cold will likely give you a lumpy frosting. Conversely, butter that is too soft can make your frosting runny.
- Add chocolate slowly. When making the buttercream, it’s best to add the melted chocolate in 2 or 3 parts so that it incorporates evenly and you don’t end up with lumps of chocolate.
- Do your homework. This cake requires a slightly more complex stacking and filling process because you are working with a softer filling. Check out my tutorial on How to Fill and Stack a Layer Cake for the best results.
- Let it cool. It is crucial to allow the cake layers and filling to cool completely before stacking, filling, and frosting. Otherwise, things won’t stay in place.
Can This Chocolate and Raspberry Cake Be Prepared in Advance?
Yes! You can make the cake layers up to 2 days in advance. Once they’ve cooled, seal them in separate ziplock bags and store them at room temperature. In addition, you can make the chocolate frosting and the raspberry filling up to 4 days in advance. Seal them in separate airtight containers (allow the raspberry filling to cool first) and store them in the refrigerator. When you are ready to serve, all that’s left to do is make the ganache and stack, fill, frost, and decorate the cake.
Alternatively, you could make the whole cake and refrigerate it for a day or two before serving. I often make cakes the day before I serve them. Just keep in mind that the frosting gets firm when cold, so I’d let it sit at room temperature for a bit before serving so that it isn’t too firm.
How to Store Leftovers
Hesitant to make an entire cake for just you and your household? Do it anyway. This cake will stay good for several days in the fridge and for months in the freezer. It’s totally worth it. Here’s how to store it properly.
- Refrigerator: Transfer the cake to an airtight cake carrier. If you don’t have one, wrap the cake in a double layer of plastic wrap. Use toothpicks to prop the wrap away from any decorations. If you already sliced the cake, arrange the slices in a single layer in an airtight container and seal it shut. Store the cake in the refrigerator for up to 5 days. It is best enjoyed closer to room temperature, so allow it to sit on the counter for an hour or so before serving.
- Freezer: Let the cake hang out in the freezer for a couple of hours to firm up before wrapping the whole thing in a double layer of plastic wrap. Sliced it already? Arrange the slices in a single layer in an airtight container and seal it shut. Store the cake in the freezer for up to 3 months. When a chocolate raspberry cake craving hits you, allow the cake to thaw in the refrigerator. Once thawed, allow it to come to room temperature on the counter before serving. You can also wrap individual layers of cake separately and pull one out as needed.
More Layer Cake Recipes:
Layer cakes are so festive and fun. You can pretty much pick any cake flavor, frosting, and filling and put them together to make a masterpiece. This chocolate raspberry layer cake is one of my favorites but here are some other must-try gems.
- The BEST Chocolate Cake
- Peanut Butter Chocolate Layer Cake
- Chocolate Mousse Cake
- Nutella Chocolate Cake
- Chocolate Oreo Cake
- Hot Chocolate Cake
- S’mores Chocolate Cake
- Orange Layer Cake
- Moist Vanilla Layer Cake Recipe
- Lemon Blueberry Layer Cake
- Lemon Mascarpone Layer Cake
- Oreo Brookie Layer Cake
Watch How to Make Chocolate Raspberry Cake
Print
Chocolate Raspberry Layer Cake
- Prep Time: 1 hour
- Cook Time: 30 minutes
- Total Time: 1 hour 30 minutes
- Yield: 12-14 Slices
- Category: Dessert
- Method: Oven
- Cuisine: American
Description
This chocolate raspberry cake is made up of three layers of super moist chocolate cake, homemade raspberry filling, and rich, creamy chocolate frosting. The whole thing is topped off with a decadent chocolate ganache and a smattering of fresh raspberries.
Ingredients
Raspberry filling
- 1/4 cup (52g) sugar
- 1 tbsp cornstarch
- 2 tsp water
- 2 cups (225g) raspberries*
Chocolate cake
- 1 3/4 cups (228g) all purpose flour
- 2 cups (414g) sugar
- 3/4 cup (85g) natural unsweetened cocoa
- 2 1/4 tsp baking soda
- 1/2 tsp baking powder
- 1 tsp salt
- 1 cup (240ml) milk
- 1/2 cup (120ml) vegetable oil
- 1 1/2 tsp vanilla extract
- 2 large eggs
- 1 cup (240ml) hot water
Chocolate frosting
- 1 1/2 cups (336g) unsalted butter, room temperature
- 12 oz semi sweet chocolate chips, melted
- 5 tbsp (35g) Hershey’s dark cocoa powder
- 6 cups (690g) powdered sugar
- 1/2 tsp salt
- 10–12 tbsp (150-180ml) heavy whipping cream
Chocolate ganache
- 9 oz (1 1/2 cups) semi-sweet chocolate chips
- 3/4 cup heavy whipping cream
Instructions
To make the raspberry filling
- Combine the sugar, cornstarch and water in a medium-sized saucepan over medium heat and stir to combine. Heat until the mixture is wet and the sugar begins to melt.
- Add the raspberries and stir to coat with the sugar mixture.
- Continue to cook until the raspberries start to soften and let out juice. Use your spatula to mash the raspberries.
- Remove from heat when raspberry juice has begun to thicken, after about 5 minutes. Strain to remove the seeds, if desired. Pour the mixture into another bowl and refrigerate until cool.
To make the cake layers
- Preheat oven to 350°F (176°C) and prepare three 8 inch cake pans with non-stick baking spray and parchment paper in the bottom.
- Add the flour, sugar, cocoa, baking soda, baking powder and salt to a large mixer bowl and combine. Set aside.
- Add the milk, vegetable oil, vanilla extract and eggs to a medium sized bowl and combine.
- Add the wet ingredients to the dry ingredients and beat until well combined.
- Slowly add the hot water to the batter and mix on low speed until well combined. Scrape down the sides of the bowl as needed to make sure everything is well combined.
- Divide the batter evenly between the prepared cake pans and bake for 22-25 minutes, or until a toothpick comes out with a few moist crumbs.
- Remove cakes from oven and allow to cool for 2-3 minutes, then remove to a cooling rack to finish cooling.
To make the chocolate frosting
- Add the butter to a large mixer bowl and beat until smooth.
- Add the melted chocolate in 2-3 batches and mix until well combined.
- Add the cocoa powder and mix until well combined.
- Add about half of the powdered sugar, salt and half of the heavy cream and mix until well combined.
- Add the remaining powdered sugar and mix until smooth.
- Add the remaining heavy cream as needed to get the right consistency of frosting.
To make the ganache and finish the cake
- To make the chocolate ganache, add the chocolate chips to a medium sized bowl (see my tips on making chocolate ganache).
- Heat the heavy whipping cream in the microwave until it just begins to boil. Keep an eye on it because it happens quickly.
- Pour the hot cream over the chocolate chips and let it sit for 2-3 minutes, then whisk until smooth. Set aside.
- To layer the cake, first use a large serrated knife to remove the domes from the tops of the cakes so they are flat. See my tips on how to level a cake and how to stack a cake.
- Place the first cake layer on a serving plate or on a cardboard cake circle.
- Pipe a dam around the outside of the cake layer with some of the chocolate frosting.
- Spread about 1/4 cup of chocolate ganache on top of the cake, in the center of the dam.
- Drop spoonfuls of the raspberry filling (use about half of the raspberry filling per layer) over the chocolate ganache and then spread into an even layer.
- Add the second layer of cake, then repeat steps 23 thru 25.
- Add the third and final layer of cake on top.
- Frost the top and outside of the cake with the remaining chocolate frosting.
- Use the remaining chocolate ganache to drizzle chocolate around the edges of the cake, then fill in the center. If the ganache has gotten a little firm from sitting, just reheat for a few seconds until pourable again. See my tips on making a chocolate drip cake.
- Pipe swirls with the remaining chocolate frosting around the top of the cake, then decorate with additional raspberries and chocolate sprinkles, if desired.
- Refrigerate the cake until ready to serve. The cake is best when served at room temperature and holds up well for 4-5 days when well sealed in an air tight container.
Notes
*You’ll need about 2 pints of raspberries for the filling and decor.
Nutrition
- Serving Size: 1 Slice
- Calories: 940
- Sugar: 100.8 g
- Sodium: 481.2 mg
- Fat: 51 g
- Carbohydrates: 122.3 g
- Protein: 9.7 g
- Cholesterol: 108 mg






Hi, how high are the layers supposed to be? I made the layers and they came out really thin, about 1.5 in, less than 1 in once I leveled them to stack
I’d say they are roughly 1 1/2 inches. Sounds about right. Taking off 1/2 an inch for leveling though seems like a lot.
Love the recepie! Will try it out this weekend. I have a doubt though, how much fat does cream have to have to be considered “Heavy whipping cream”? Where I’m from they are called differently, and I want to make sure I’m getting the right cream. Thanks!
I believe heavy whipping cream has about 36% fat.
I made this cake today, very delicious. I only tweaked the raspberry filling. I pureed it in the processor, then pressed it through a strainer (I don’t care for the seeds). Other than that, all was perfect.
I’m so glad you enjoyed it!
This is going to sound odd, but I made this for my own birthday! Haha! And I was skeptical as I’m still a bit of a novice when it comes to baking. But oh my lord did this cake turn out wonderful!! Not three tiered and not as pretty as yours, but I fam proud of this! What a great recipe. THANKS!!
Wonderful! So glad you enjoyed it and happy belated birthday!
Hi Lindsay,
Your cake looks gorgeous, can’t wait to try out this recipe!
I was wondering – would you recommend substituting hot water with hot coffee?
Cheers
Vanessa
You could certainly do that. I know a lot of people think it brings out the chocolate flavor.
Hi Lindsay,
Would you mind tell me the pan size you have used for this recipe? Thanking you in advance.
They are 8 inch cake pans that are 2 inches in height.
Hi,
Can we make d cake one day before d occasion and refrigerate it …nd use it next day. Will d ganache become hard..pls guide
Yes, that’d be fine. The ganache will firm up a bit, but it’ll still be soft enough.
Hi Lindsay,
Planning to bake your cake for my friend’s birthday. Just wandering if Hershey’s dark cocoa powder can be substituted with normal cocoa powder? Thank you
You used to be able to use the Hershey’s dark cocoa, because it was actually a blend back then. Now it’s 100% dutched cocoa and it actually doesn’t turn out as well, in my opinion.
This was the first layered cake I had ever made and the first cake I’ve ever made from scratch! That being said, it was challenging and messy but still doable for a beginner! Video made the recipe easy to follow. I had some issues with slippery layers so be sure to build a decent “dam” and take the time to cut layers completely flat and cool properly. Thought it would be a disaster but it ended up turning out BEAUTIFULLY and tasted AMAZING!! My friends and family were SO impressed. The cake is sooo moist and the fresh raspberry filling is easier than it sounds and adds a nice touch. I was nervous about adding the cup of water since it turned into a runny batter but I think this is the most important step and helps enhance the flavor of the cocoa! This was the best chocolate cake I’ve ever tasted (yes, better than bakery cakes I’ve bought before) and it was made in my kitchen! Thank you Lindsay, you are a star!!! I could rave about this cake forever and I have a feeling it will be my new specialty! Will be using more of your recipes in the future! 🙂
Wonderful! So glad to hear you enjoyed it and found the recipe and video easy to follow! Thanks so much Mary!
Hi,
I see you that you use a hand mixer for your frosting instead of a stand mixer, does it make a difference? I am trying to make smooth frosting, I have both just wondering what will give me the best result.
Thank you!
I actually use a stand mixer. The video production company I use for videos uses the hand mixer. However, I’ve used both and both will work just fine.
I can’t wait to make this! I think that Chambord would be delicious to add!
Oh yes! Sounds delicious!
I love this recipe and wish I could make it for my mother who loves raspberry! I gave up baking anything layered 🙁 it seems like every time I make the frosting it is like CoolWhip :/ kinda runny and doesn’t hold the layers. Just squashes out. So I’ve been sticking to cupcakes. Is there a way to transform this into cupcakes stuffed with the raspberry?? Or if you have any tips on the icing that would be great!! Thank you. Love your page!
You could make them as cupcakes and use the raspberry filling in the centers. Maybe just leave out the chocolate ganache part of the filling. If you’d like to try out the cake though, here’s a post on frosting consistency that might be helpful.
Just a point of clarification. In the ganache it says to use 9 oz of chocolate chips. It says that equals 3/4 of a cup. But one cup of chocolate chips is 6 oz. So do we use 9 oz which is a cup and a half or the 3/4 cup?
Great catch! Sorry about that! The 9 oz is correct, which is 1 1/2 cups. It’s been updated. Thanks!
Hi this cake looks delicious and I wanted to try baking it for my birthday. I am curious if this recipe can be made eggless and what can I use as a substitute for eggs. Thank you.
I’m really not sure. I’m sorry.
I plan on making this tomorrow. If I don’t include the filling, do I still need to refrigerate? Thanks!
Would you be leaving out both the raspberry and chocolate filling? If leaving out just the raspberry and keeping the chocolate, it should be fine at room temperature for about 24 hours. Longer than that and I might refrigerate it.
Hola soy de españa me gustaria saber que es la crema de leche pesada? gracias
Es una crema líquido semi-espesa sin endulzar. En Mexico usamos la media crema de Nestle como substituto. Ojalá te sirva la información.
This looks like an awesome recipe!
Do you think it’s possible to make this cake a few days in advance? Like, make it on Thursday evening for Sunday evening?
Or would a Cheesecake be more suitable for that?
So generally speaking I would say cheesecake holds up better for that length of time. But, if you really want to make a cake, this is probably one of the better ones to make for that length of time. It won’t be as fresh, but this is a very moist cake and should hold up pretty well since it will be refrigerated.
Thank you, I will try with my tins because it’s a beautiful cake.
HI, I want to make this cake but I only have loose bottomed tins is the mixture very runny?
I will make it with strawberries,
It’s a pretty thin batter, but if your pan is really leakproof it should be ok.
I’ve just made the cake (only the biscuit) but the result was a disaster! It tastes horrible, I can feel the flavour of the baking soda and I cant handle it. I had to throw it away. Maybe your recipe has too much baking soda? The cake looks delicious in the pics but my results, following your recipe step by step tastes not good. Sorry!
Are you quite sensitive to baking soda normally? I’ve made this chocolate cake many times and never gotten that feedback before. I’m sorry you weren’t happy with it!
Recipe looks great. Do you use natural cocoa powder or dutch process? I’m guessing that the reviewer used dutch.
I’ve used both natural cocoa and a combination of natural and Dutch process, but never just Dutch process cocoa.