This post may contain affiliate sales links. Please read my disclosure policy.
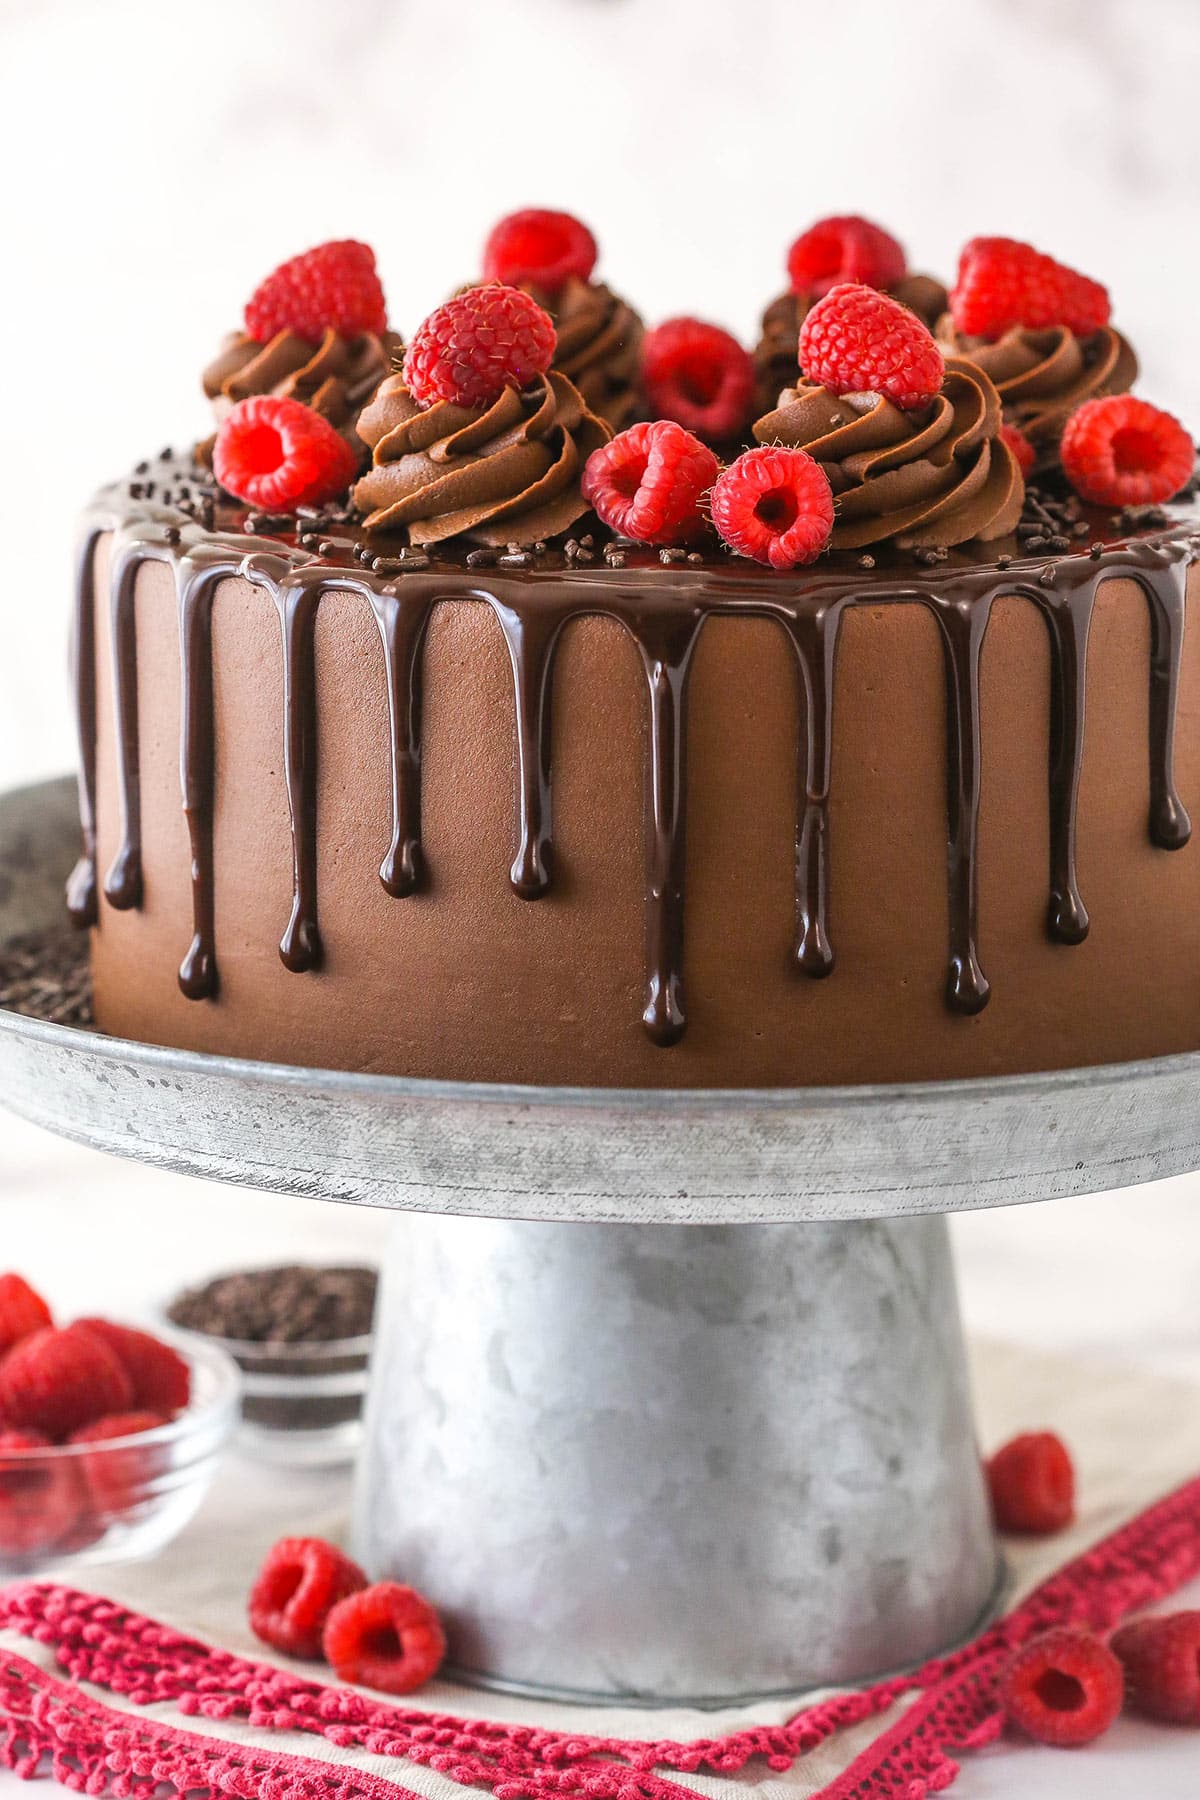
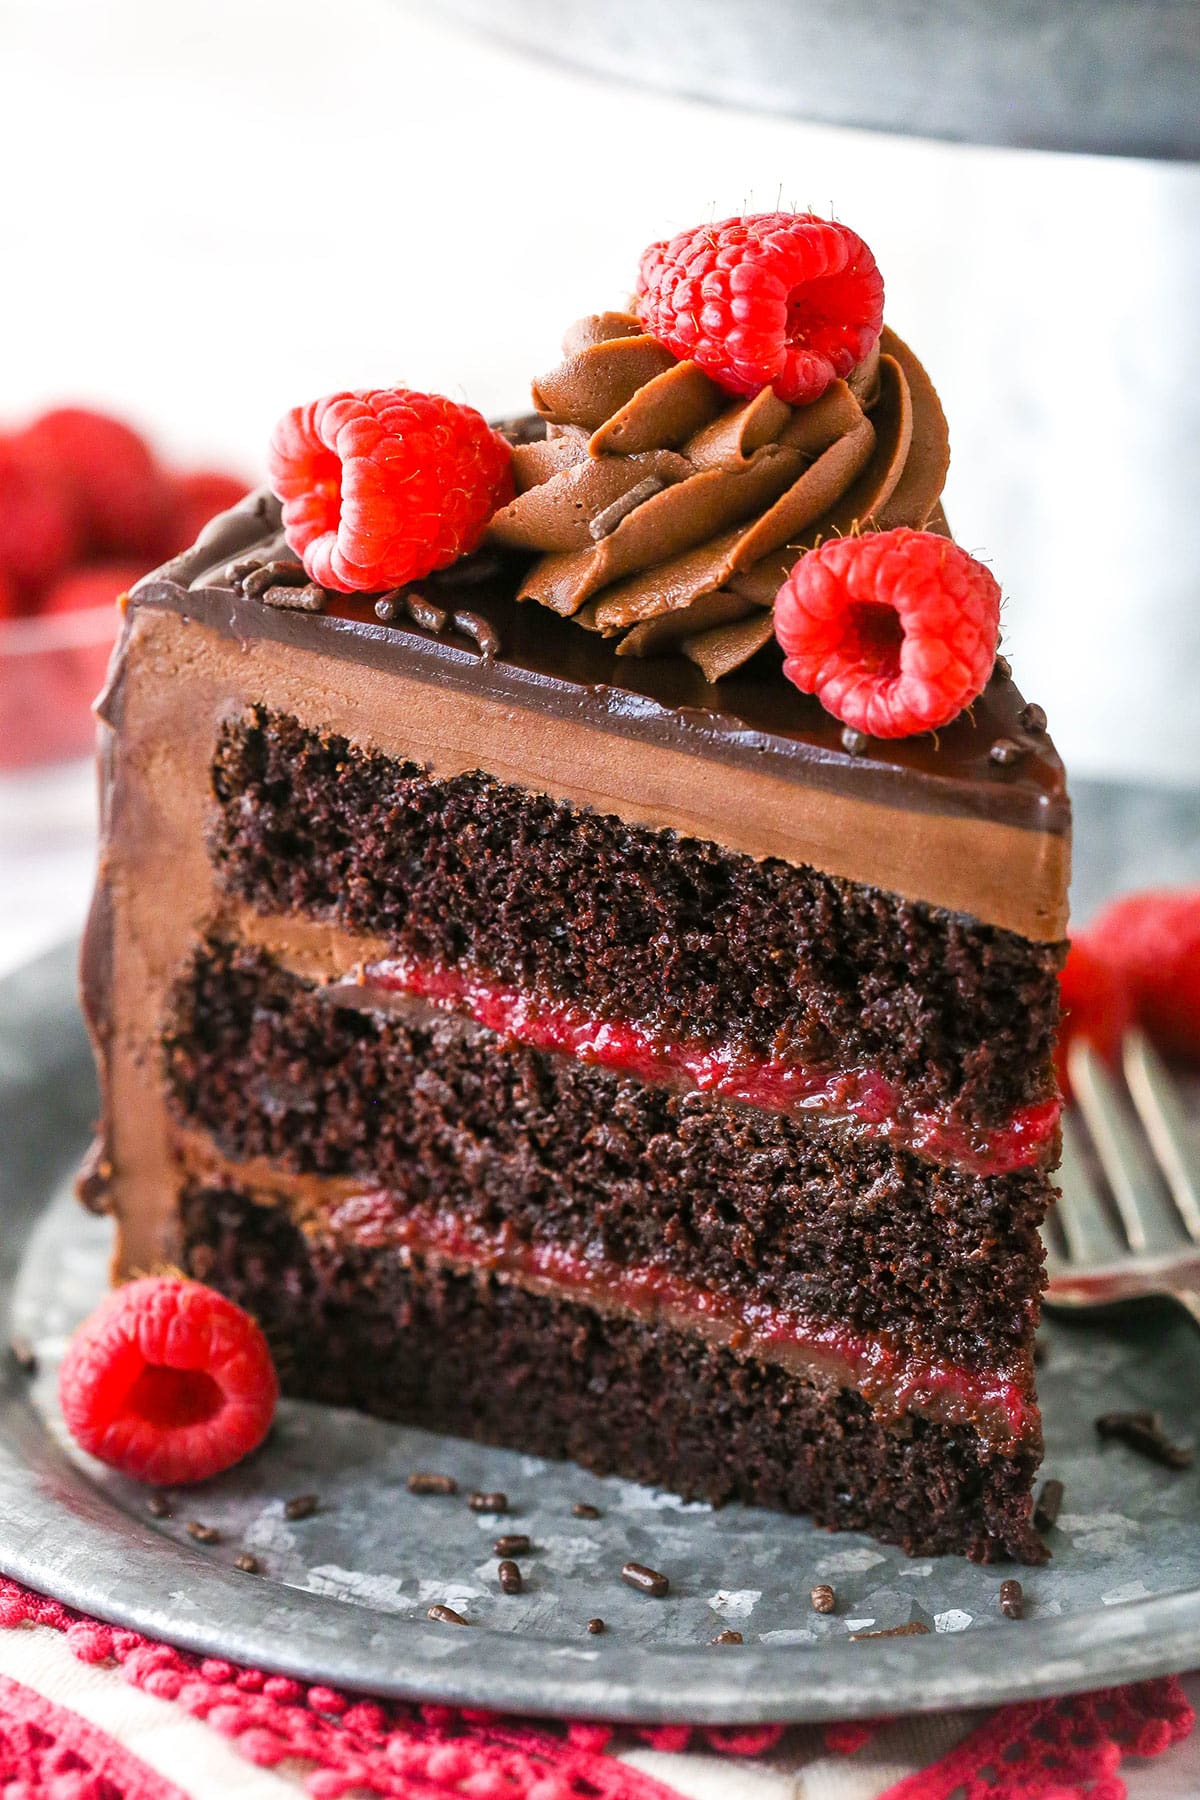
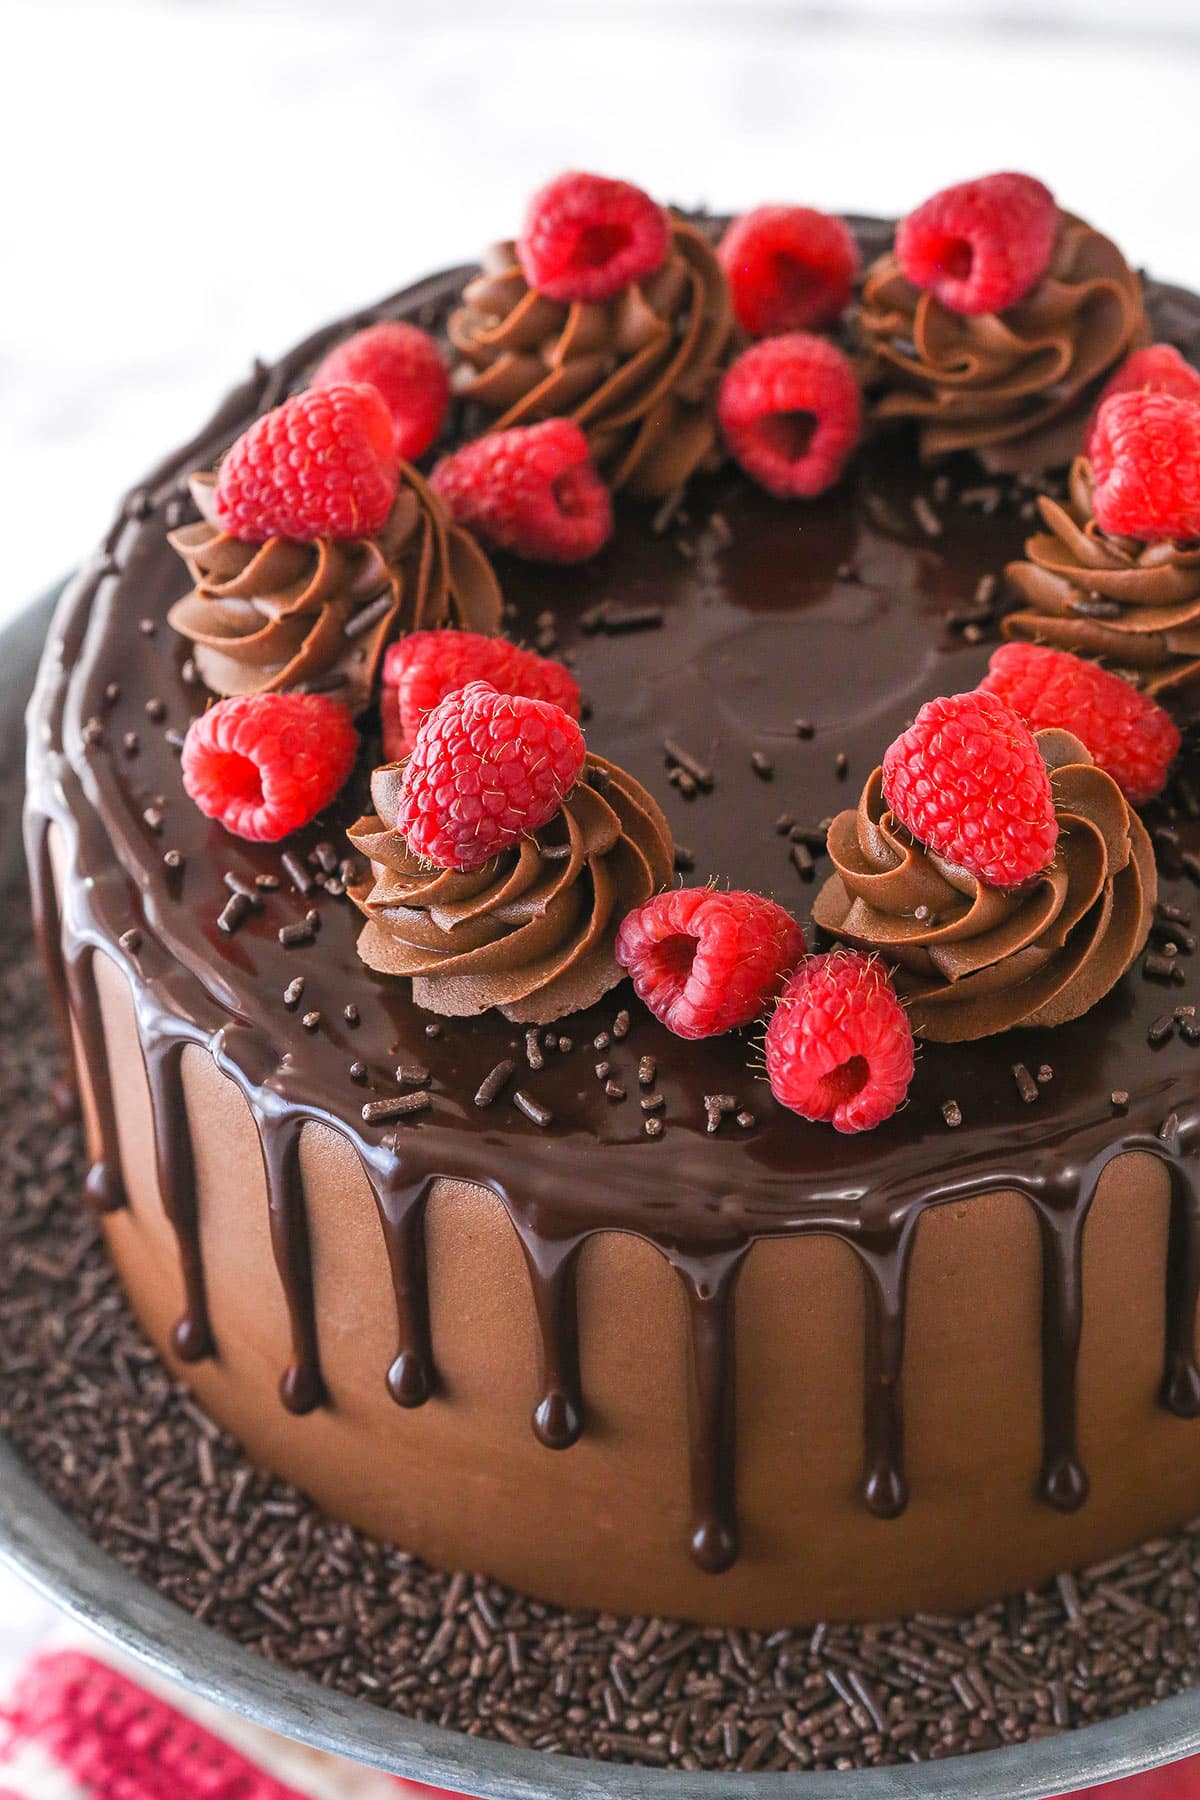
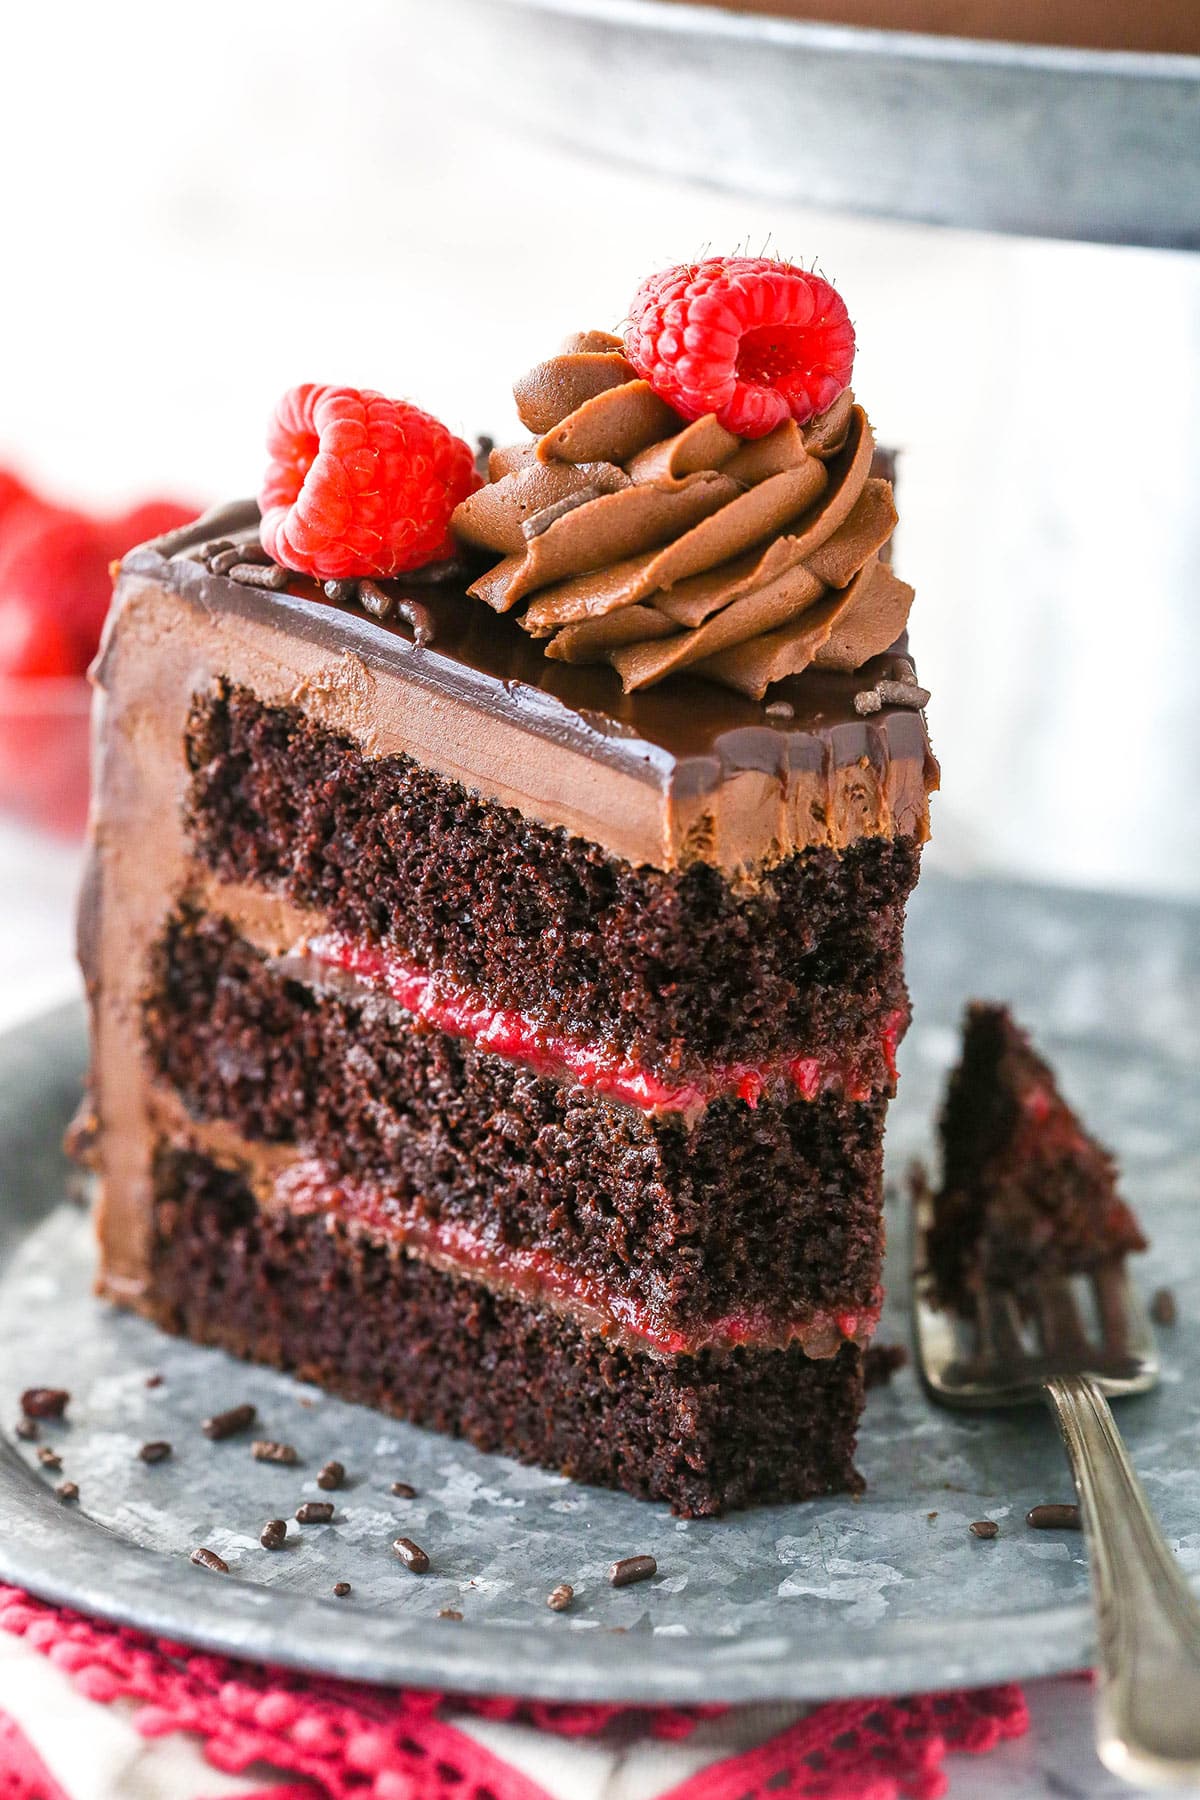
This chocolate raspberry cake is made up of three layers of super moist chocolate cake, homemade raspberry filling, and rich, creamy chocolate frosting. The whole thing is topped off with a decadent chocolate ganache and a smattering of fresh raspberries.
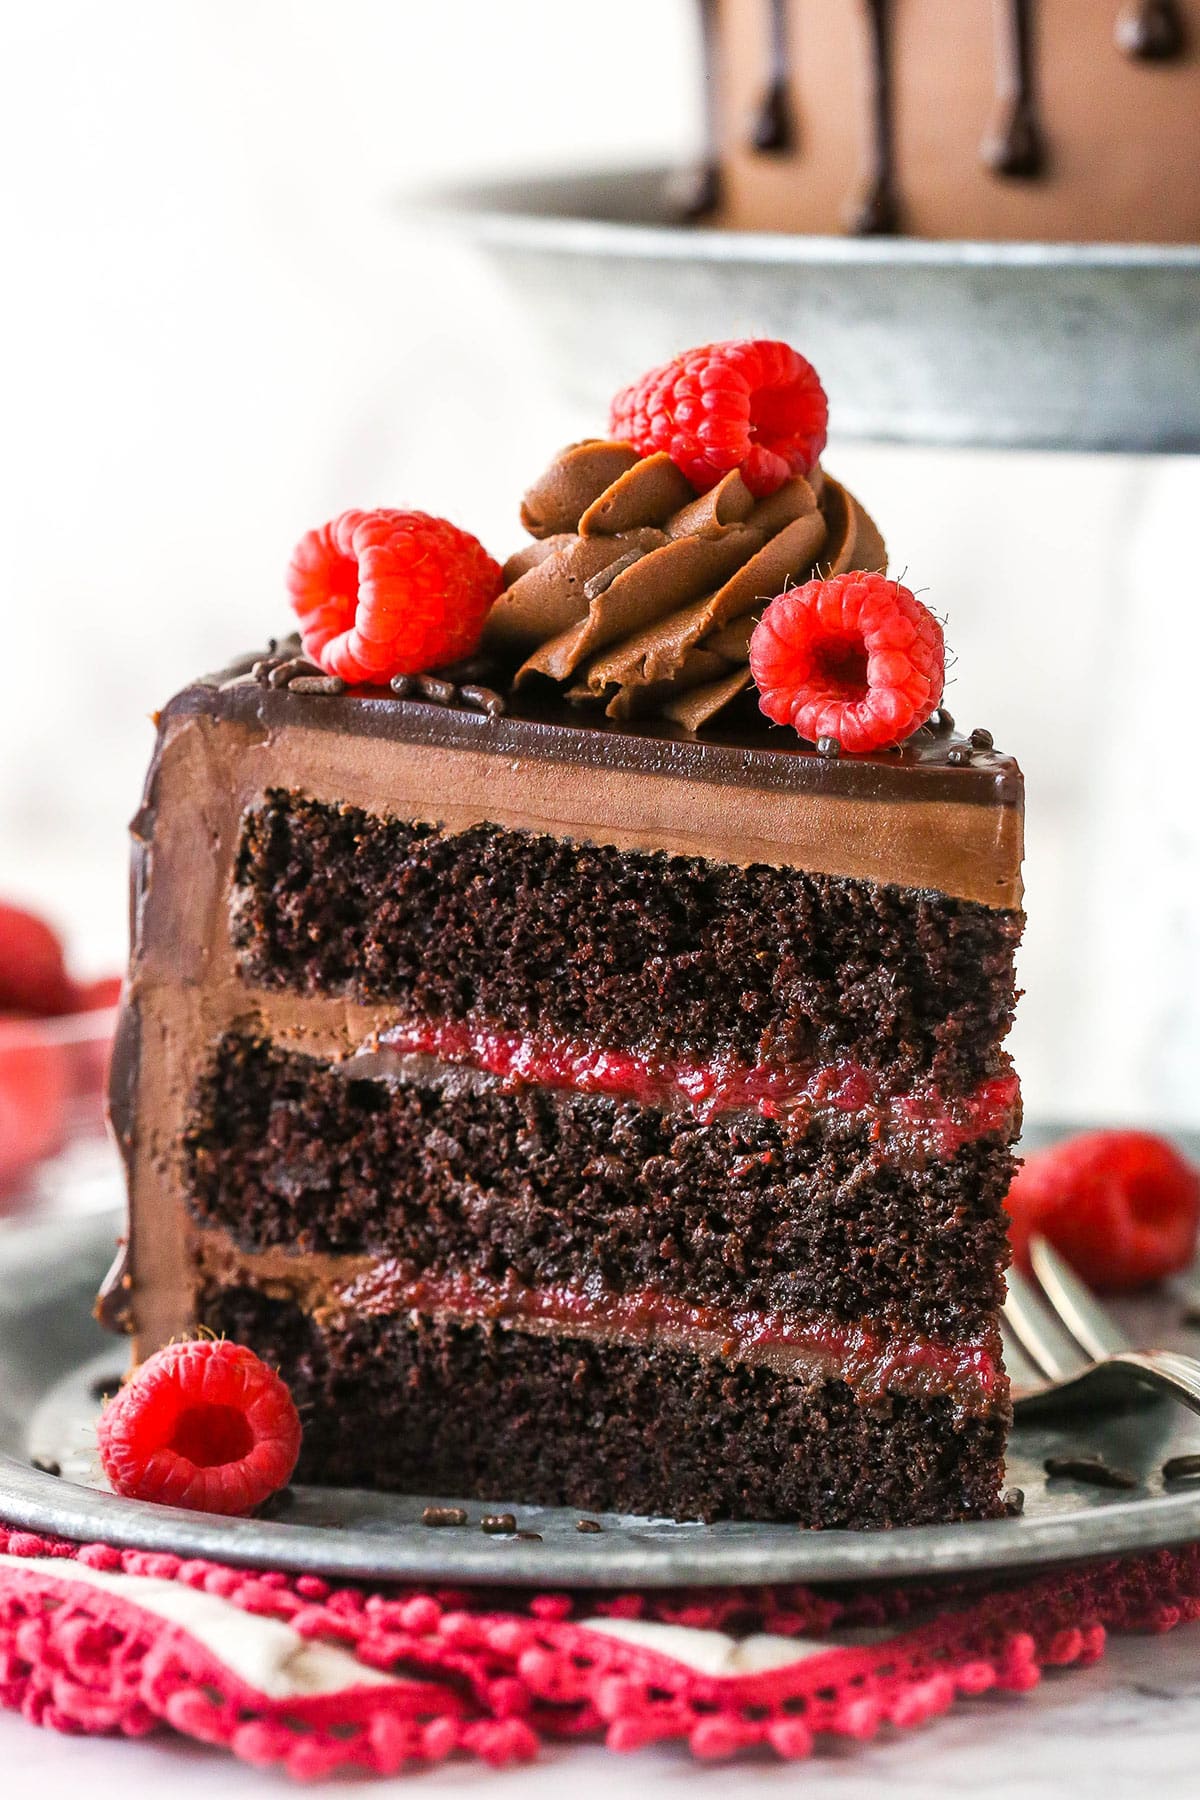
Table of Contents
The Best Chocolate Raspberry Cake
If you’re looking for a cake that will wow your family and friends, this cake is it. It’s not only beautiful, but it’s so darn delicious. The cake layers alone make a wonderful cake. They are super easy to make, perfectly chocolatey and so moist. Add the delicious homemade raspberry filling and fudgy chocolate frosting made with real melted chocolate and the cake nearly melts in your mouth.
To finish it off, there’s the chocolate drip and more fresh raspberries. Yes, please! Real chocolate. Real raspberries. HUGE flavor. And it’s actually pretty simple to make. This raspberry chocolate layer cake is definitely a must-try.
Why You’ll Love This Layer Cake
This cake makes me swoon every time. If you love chocolate and raspberries, you might just have found your dream dessert. Here’s why I think you’ll love it.
- Simple mixing method. All you have to do is whisk together your dry ingredients and then your wet ingredients (separately) before mixing them all together and adding some hot water. No fancy mixing methods here!
- A classic flavor combo. Chocolate and raspberries are a match made in heaven. They both have a bitter-sweetness that comes together in all of the right ways. Each balances the other out.
- Unbeatable texture. This cake uses oil instead of butter, which gives it a wonderful, silky smooth, moist texture. The addition of hot water to the batter takes it over the top, adding the perfect extra kick of moisture without making the cake too heavy.
- So chocolaty. Both the cake layers and the frosting are just exploding with chocolate flavor. The hot water added to the cake batter allows the flavors of the cocoa powder to bloom into full effect. And then the frosting. The frosting has a base of butter and real chocolate. The result is an almost fudgy frosting that will have you licking the mixing bowl.
What You’ll Need
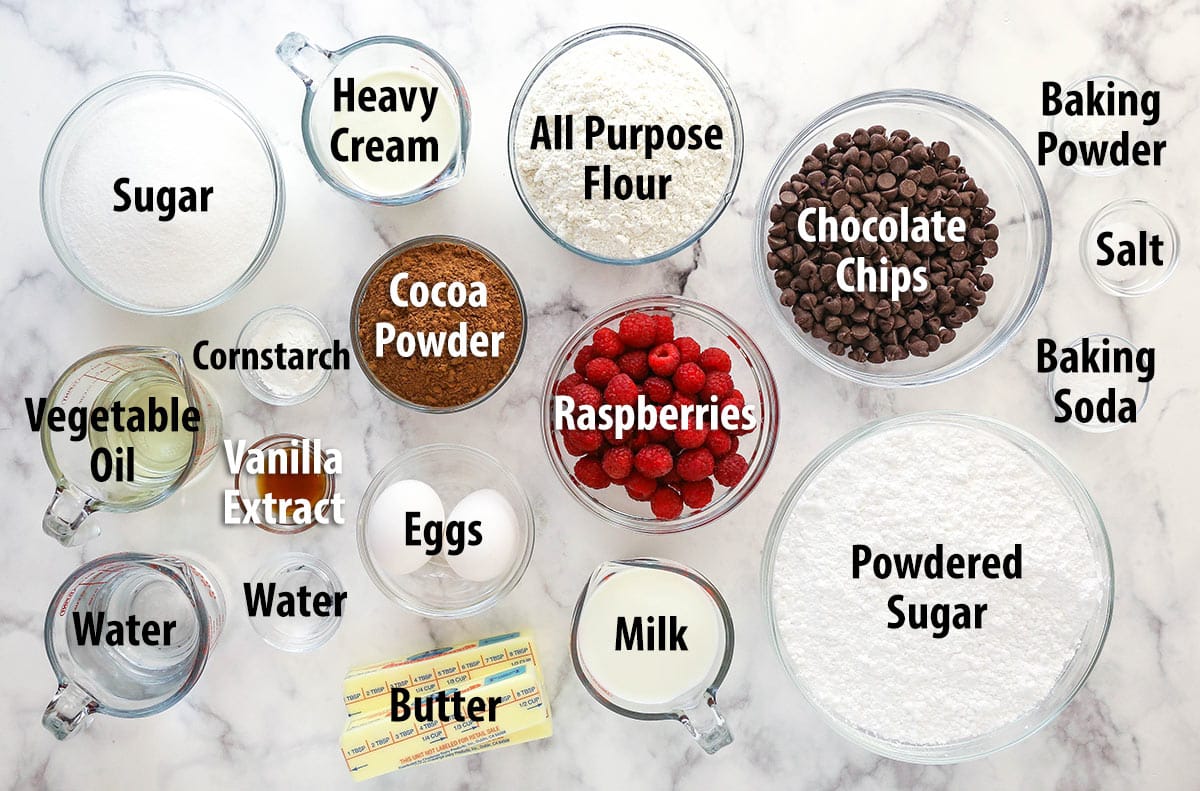
Here’s a list of ingredients you will need to make this chocolate and raspberry cake. For exact measurements, scroll to the recipe card at the bottom of the post.
Raspberry filling
- Sugar – Adds sweetness and some volume to the filling.
- Cornstarch – To help thicken the filling. Just don’t cook it for too long or it can actually have the reverse effect.
- Water – To help dissolve the cornstarch and melt the sugar.
- Raspberries – You’ll need about 2 pints of raspberries for the filling and decor. Feel free to use frozen raspberries, just thaw them and remove the excess water first.
Chocolate cake
- All-purpose flour – Be sure to measure it accurately with either a food scale or the scoop and level method. Don’t pack your flour. You could also use a 1:1 gluten-free flour.
- Sugar – Regular granulated sugar is all that’s needed.
- Natural unsweetened cocoa – You could use Dutch-processed cocoa powder instead for a deeper chocolaty flavor, your layers just may not rise quite as tall.
- Leavening – Baking soda and baking powder are both used to give the cake a super tender texture, but also not so tender that it falls apart too easily.
- Salt – For flavor. Don’t leave it out.
- Milk – Whole milk and 2% both work great.
- Vegetable oil – The vegetable oil adds lovely moisture to this chocolate cake.
- Vanilla extract
- Eggs – They hold everything together. Be sure to use large size eggs.
- Hot water – Hot water awakens and intensifies the chocolaty flavor in this cake and also adds moisture without weighing the cake down and making it too heavy. You could also use hot coffee.
Chocolate buttercream
- Unsalted butter – The butter should be at room temperature. Butter that is too cold will give you a lumpy frosting and butter that is too warm with leave you with a runny frosting.
- Semi-sweet chocolate chips – Melted, so that they can be folded into the frosting.
- Hershey’s dark cocoa powder – You could use natural unsweetened cocoa powder or Dutch-processed cocoa powder instead but I love the intensity of Hershey’s dark chocolate rendition.
- Powdered sugar – Definitely necessary for buttercream. It adds sweetness and volume to the buttercream and also affects the frosting consistency.
- Salt – For flavor.
- Heavy whipping cream – Adds creaminess to the buttercream.
Chocolate ganache
- Semi-sweet chocolate chips
- Heavy whipping cream
How to Make Chocolate Raspberry Cake
Ready to learn how to make chocolate raspberry layer cake? Here’s a quick overview. Be sure to scroll to the recipe card below for more thorough instructions.
To make the raspberry filling
- Melt the sugar. Melt the sugar with the cornstarch and water over medium heat.
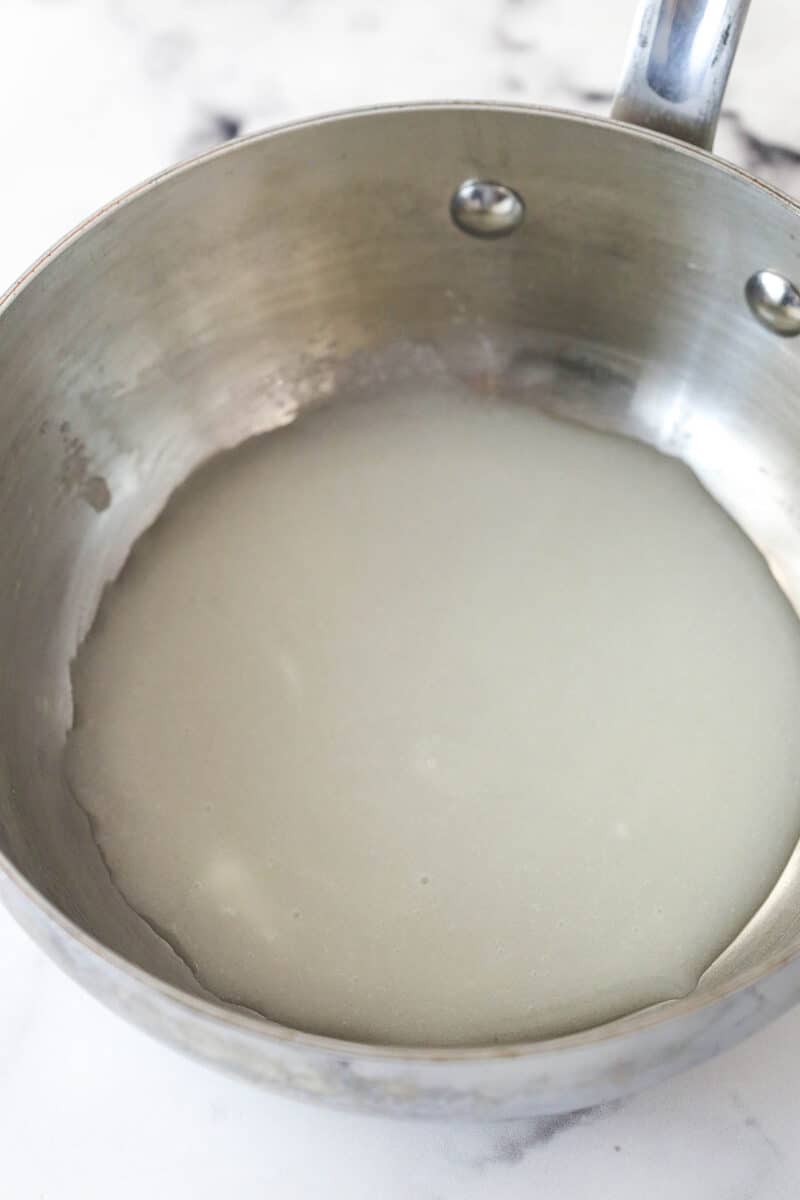
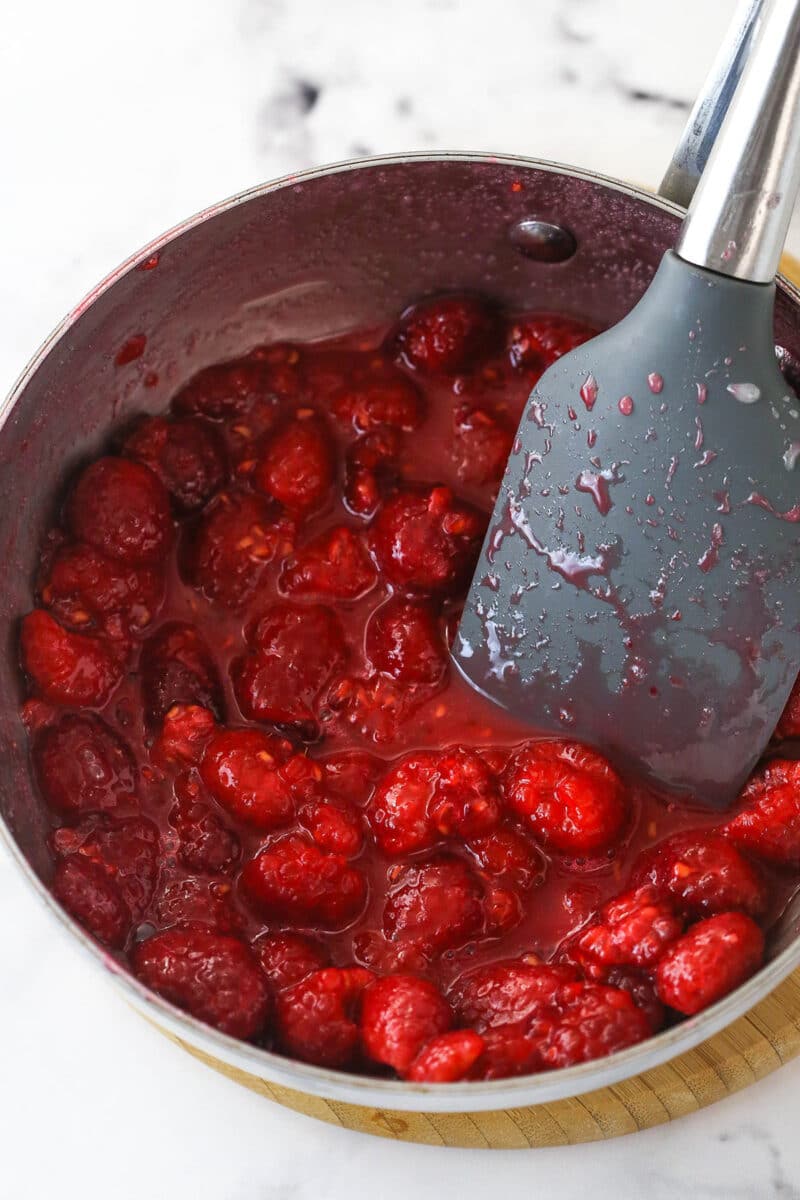
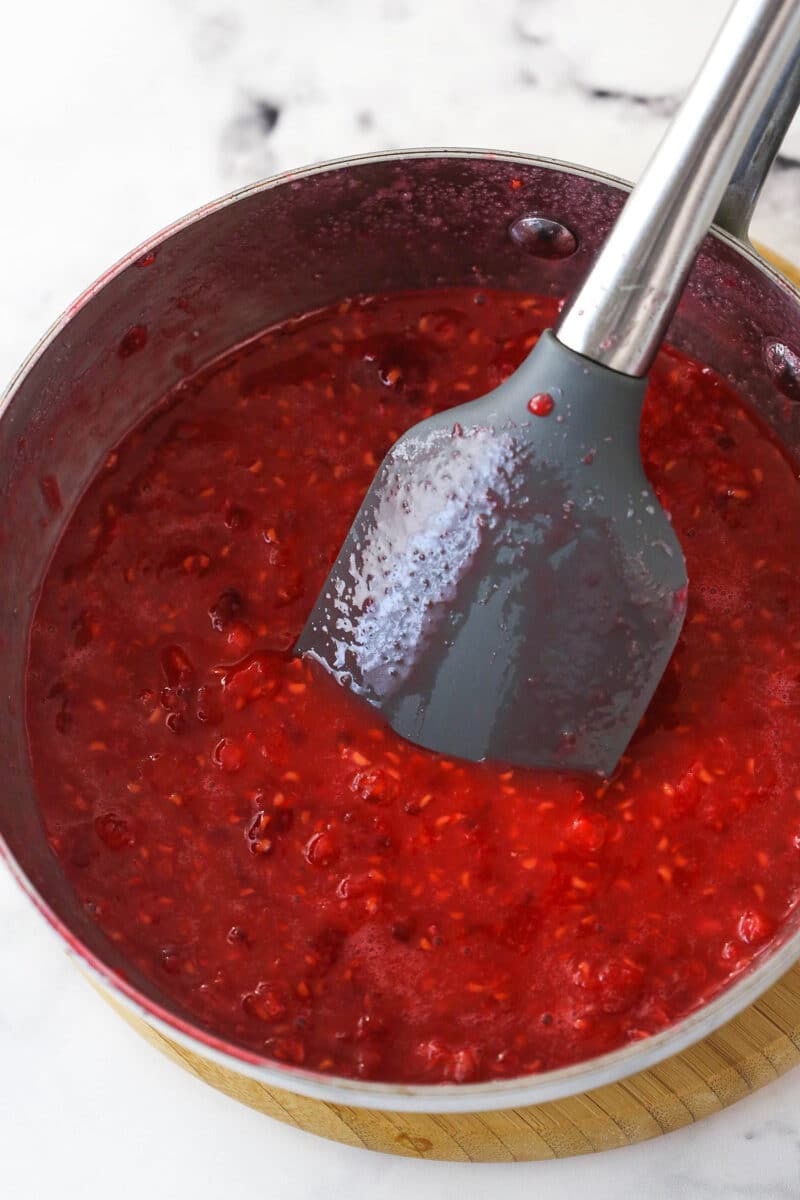
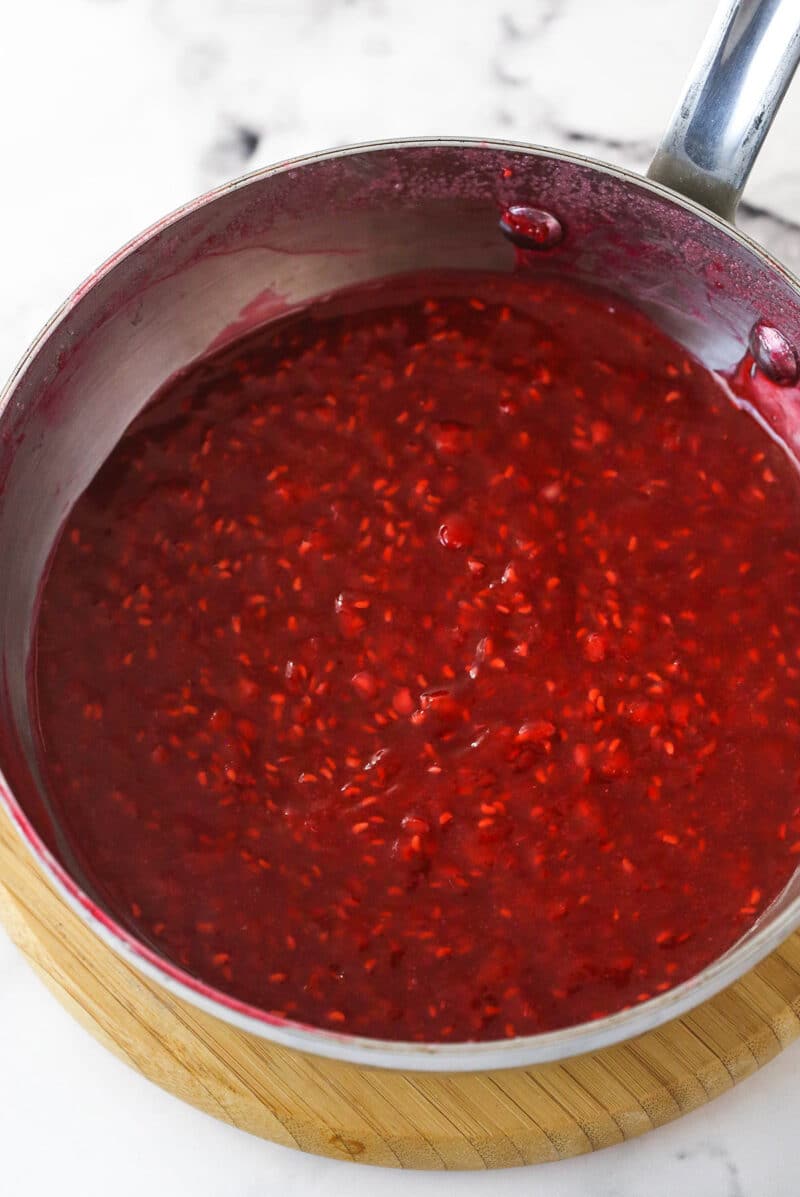
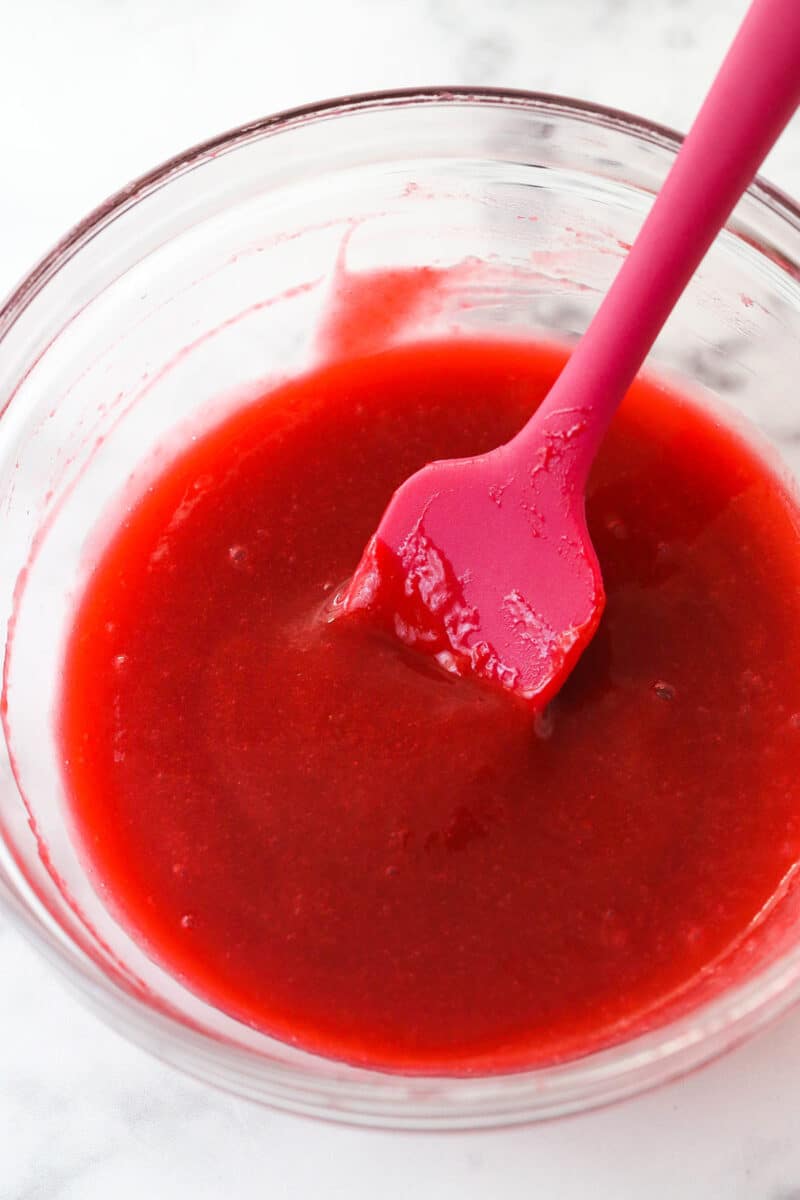
- Add the raspberries. Stir in the raspberries and cook until they start to soften. Mash the berries a bit and cook until thickened. Strain to remove the seeds, if desired.
- Chill. Refrigerate until cool.
For the cake layers
- Prep. Preheat oven to 350°F, line the bottoms of three 8-inch cake pans parchment paper, and grease with non-stick baking spray.
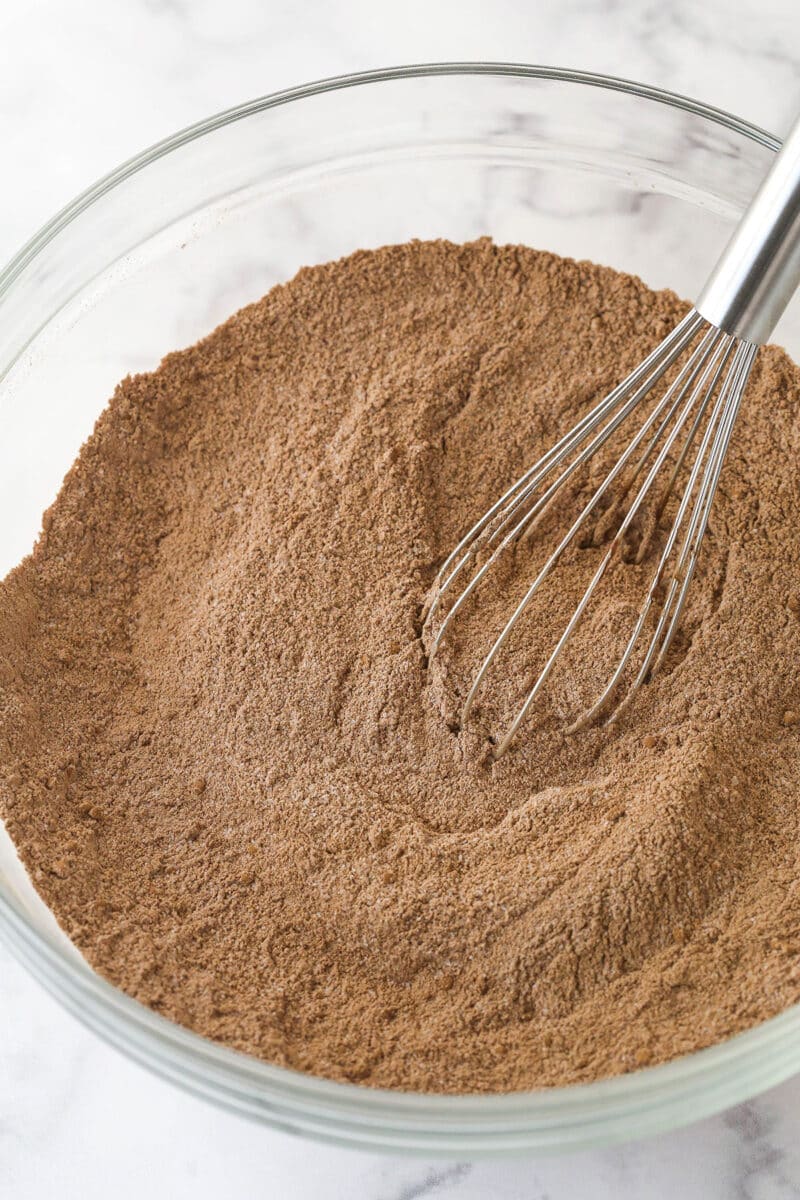
- Combine the dry ingredients. Whisk together the flour, sugar, cocoa, baking soda, baking powder, and salt.
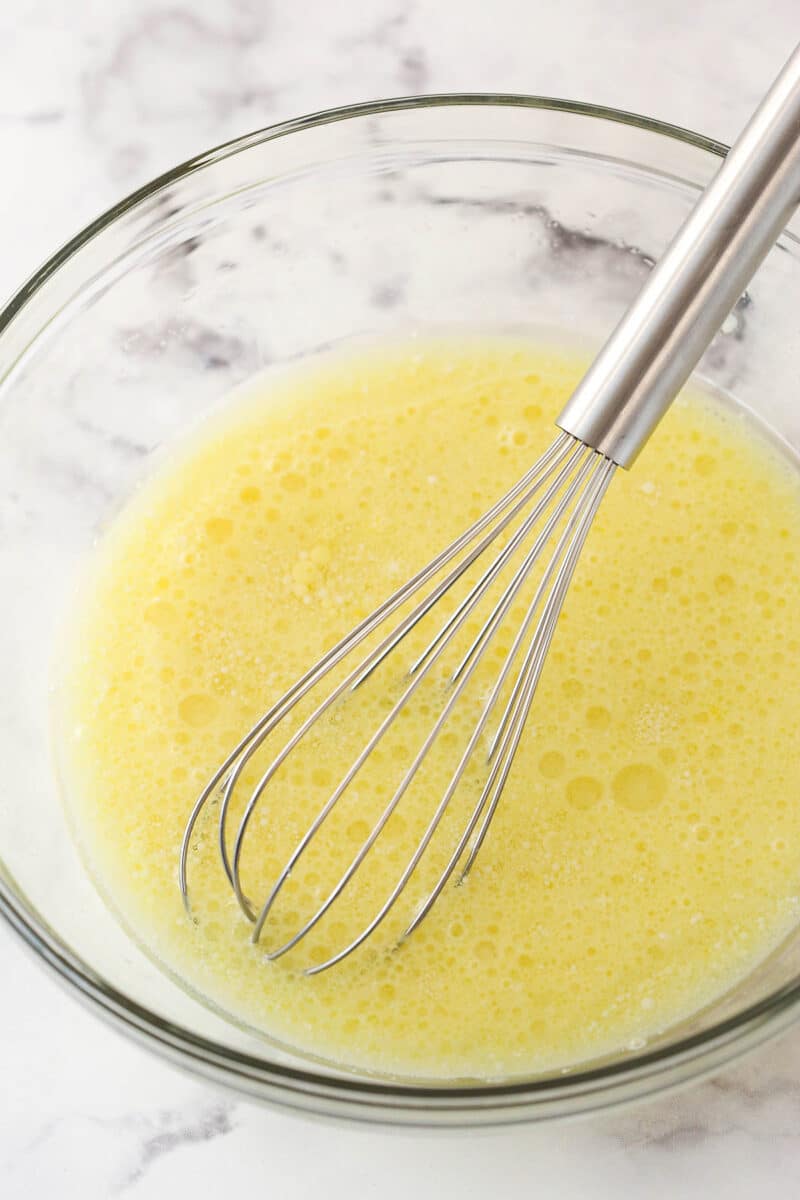
- Combine the wet ingredients.Whisk together the milk, vegetable oil, vanilla extract, and eggs.
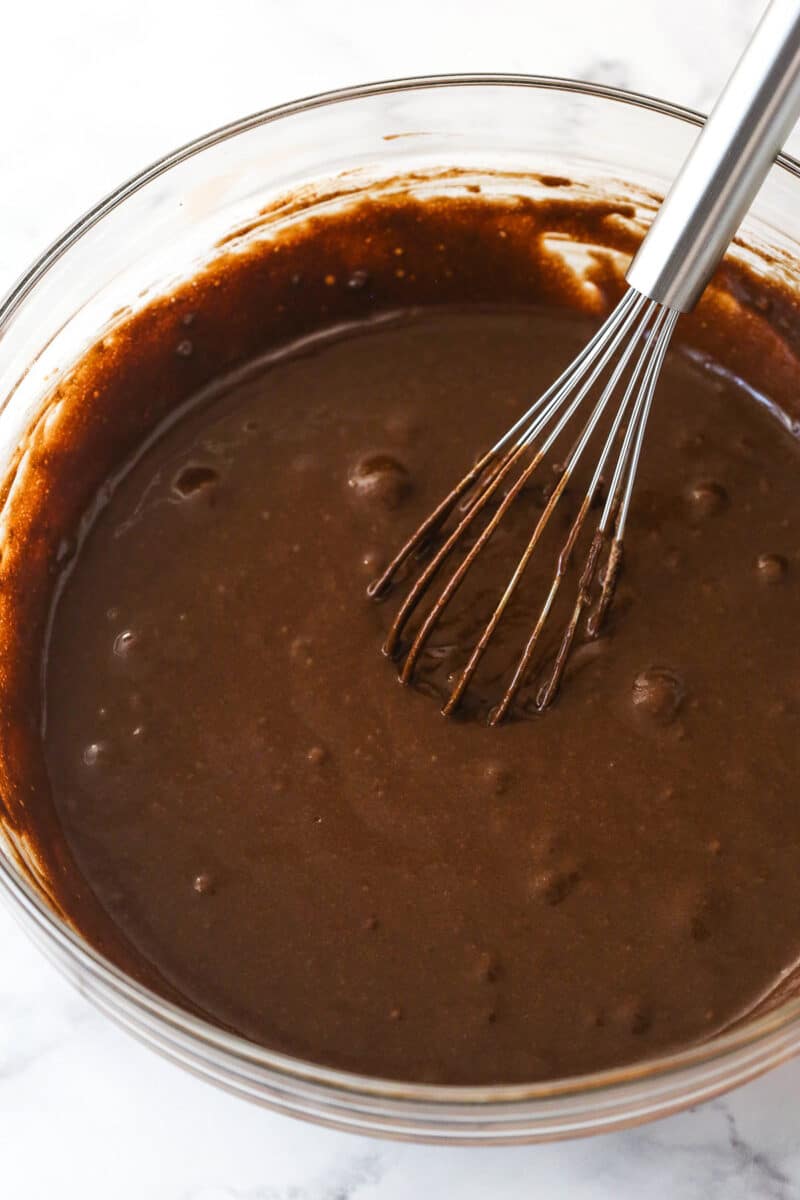
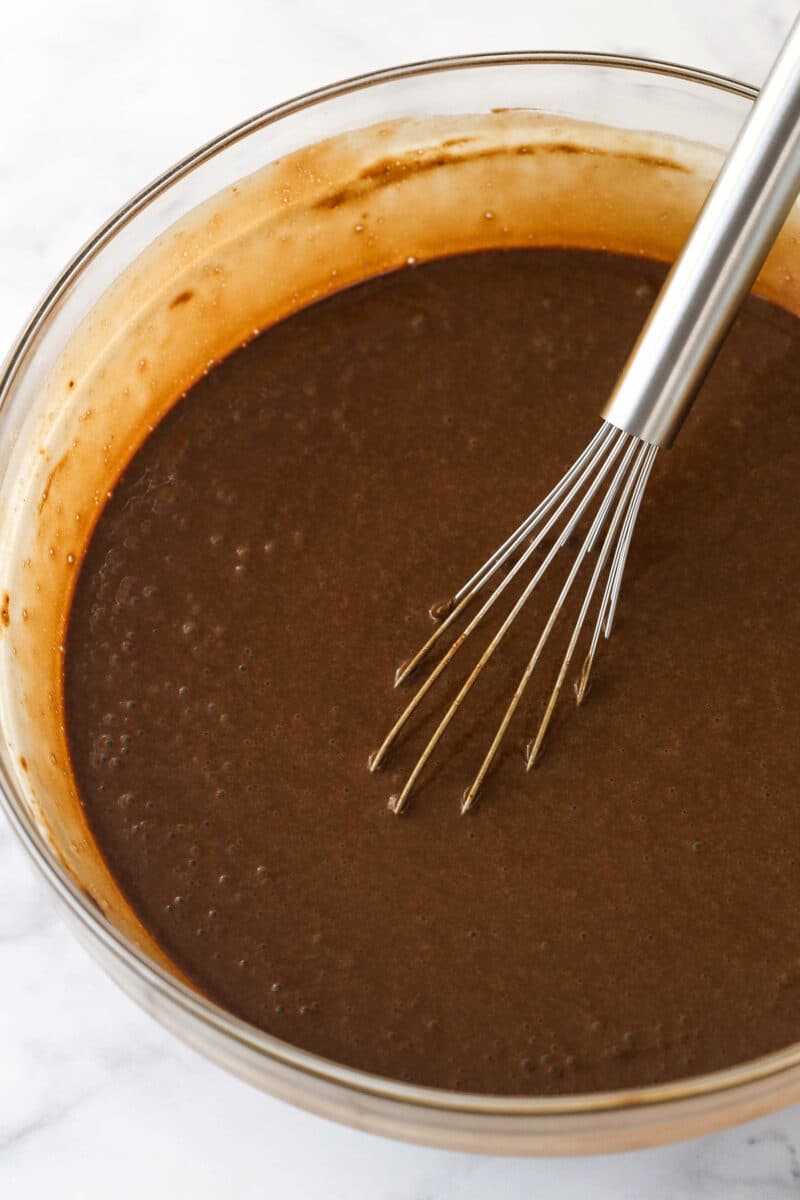
- Put it all together. Mix the wet ingredients into the dry ingredients followed by the hot water.
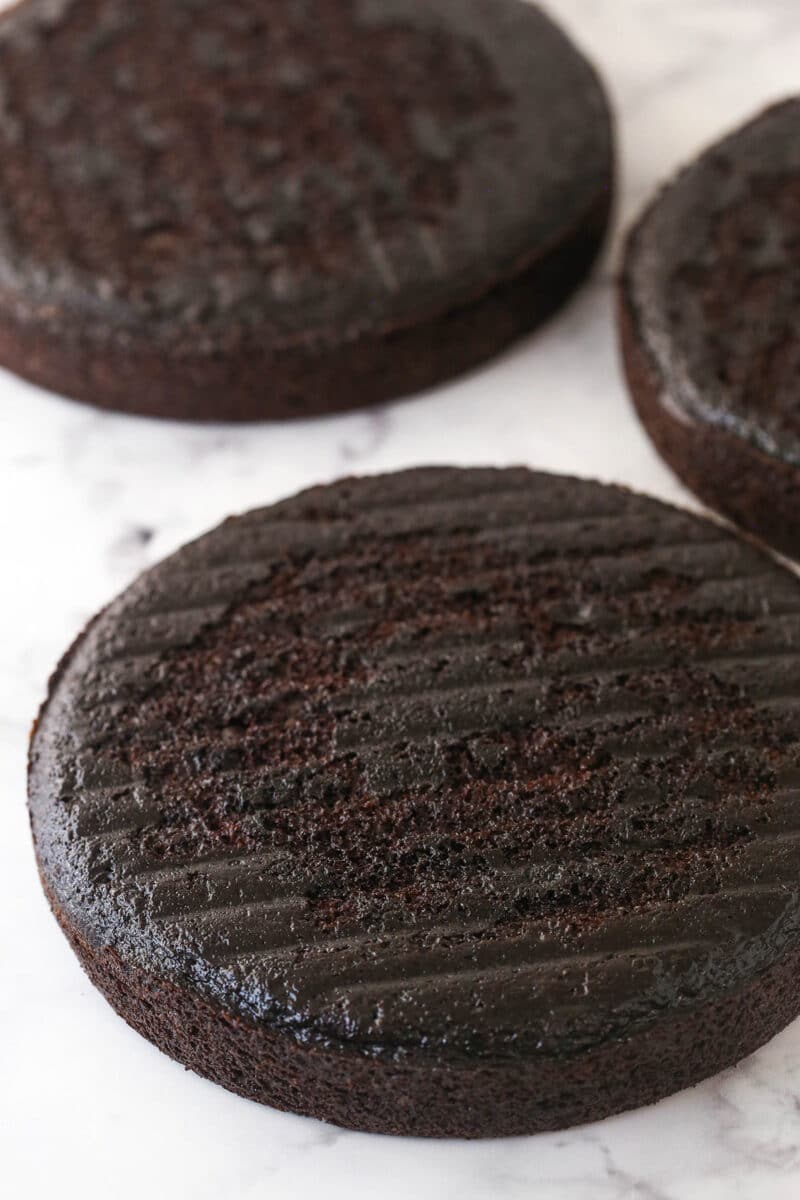
- Bake. Divide the batter between the cake pans and bake for 22-25 minutes.
- Cool. Cool for a couple of minutes in the pans before turning the cakes out onto cooling racks.
To make the chocolate frosting and chocolate ganache
- Beat. Beat the butter until smooth.
- Make it chocolaty. Mix in the melted chocolate followed by the cocoa powder.
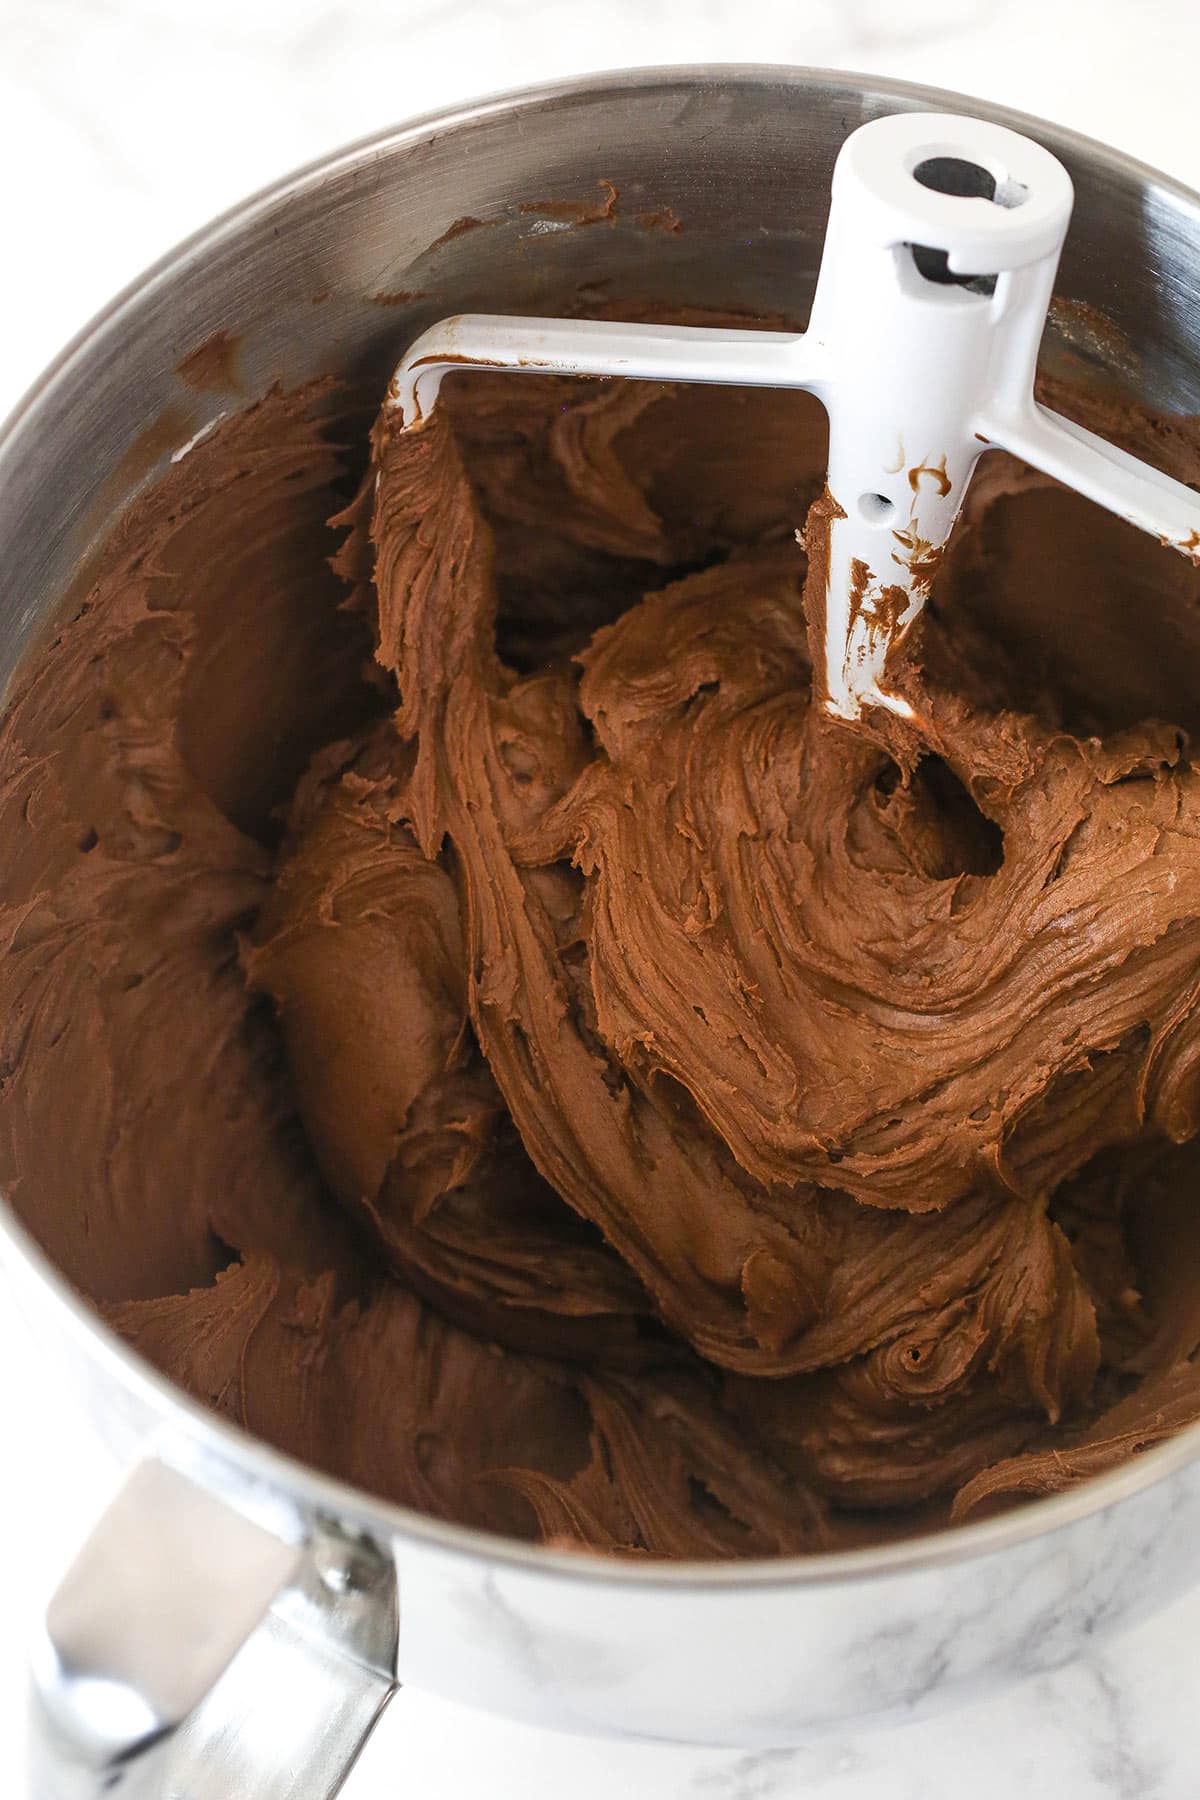
- Finish it off. Add half of the powdered sugar, salt, and half of the heavy cream. Mix until smooth before mixing in the rest of the powdered sugar followed by the remaining heavy cream.
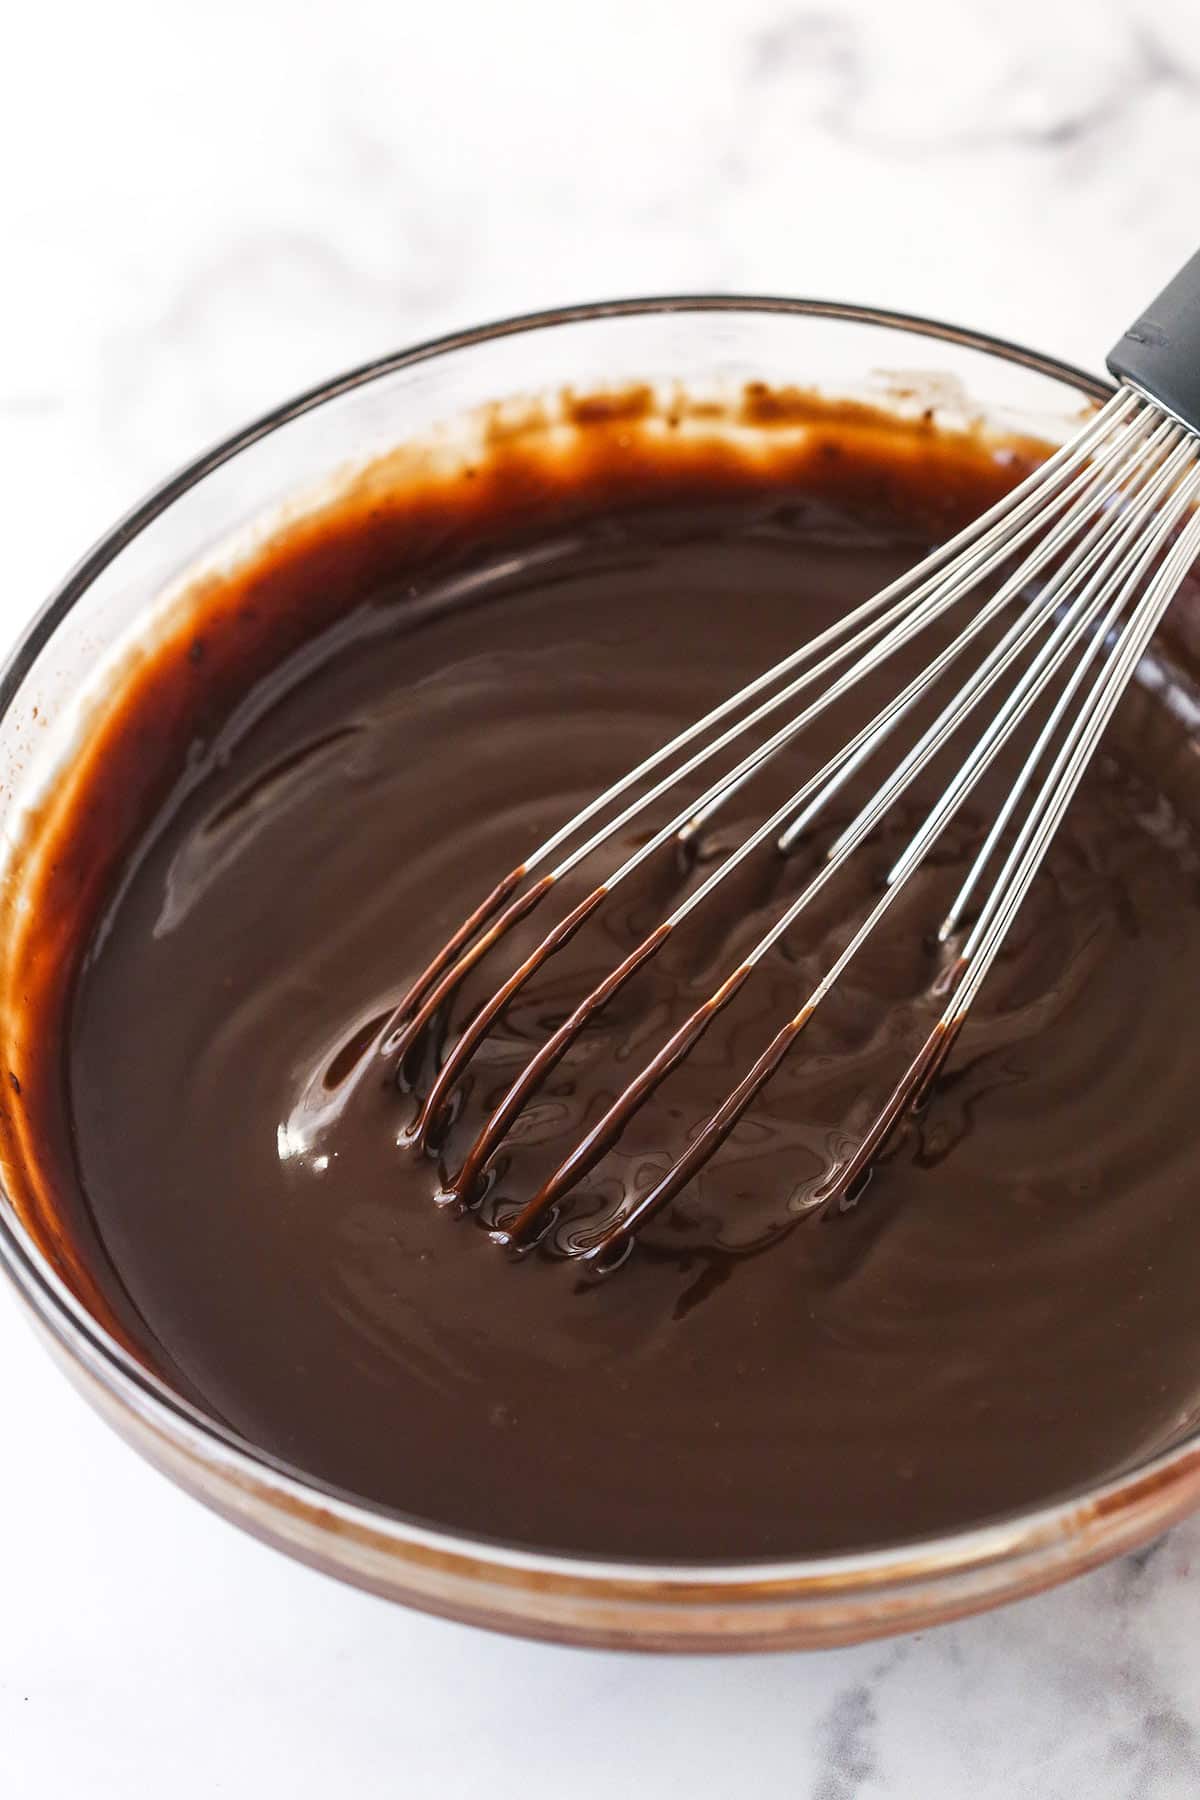
- Make the chocolate ganache. Heat the heavy cream in the microwave until it begins to boil. Pour it over the chocolate chips. Let the mixture sit for a couple of minutes before whisking until smooth.
- Level the cakes. Cut the domes from the tops of the cakes.
- Make a dam. Place one cake layer on a serving plate. Pipe frosting around the top edge of the cake (you are making a dam to keep the filling inside).
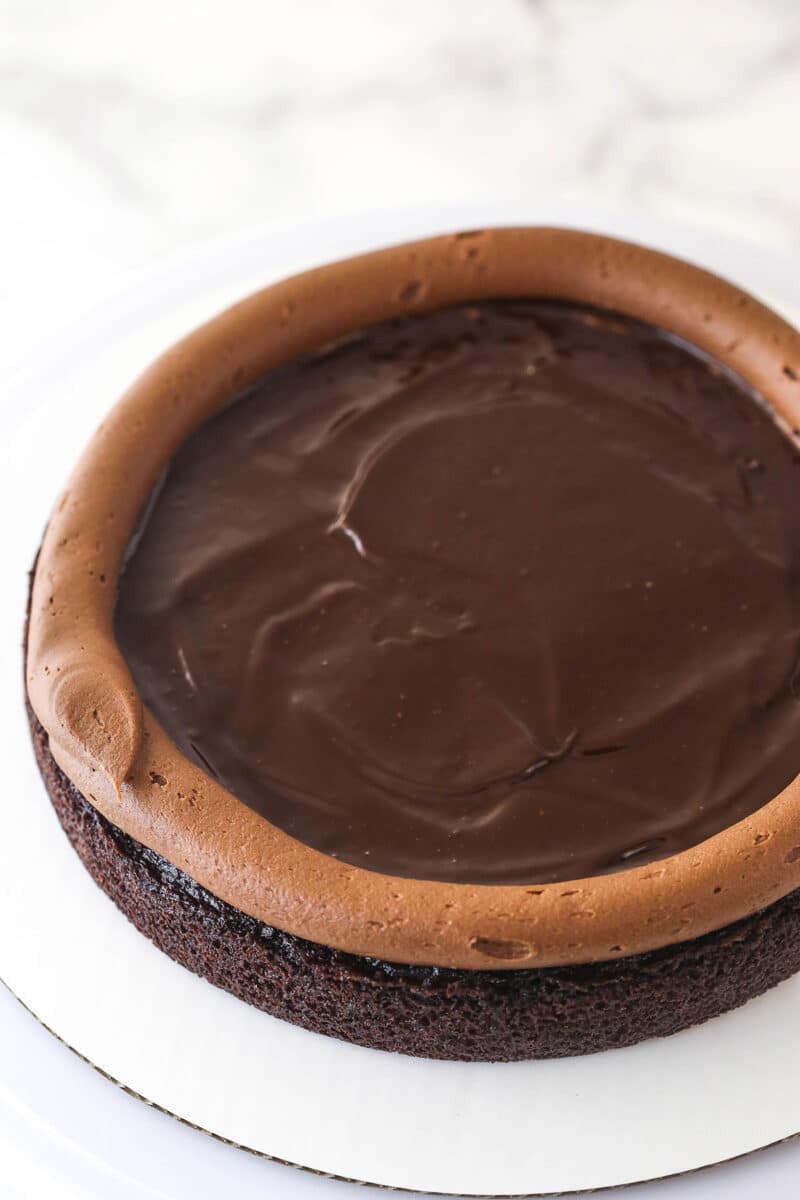
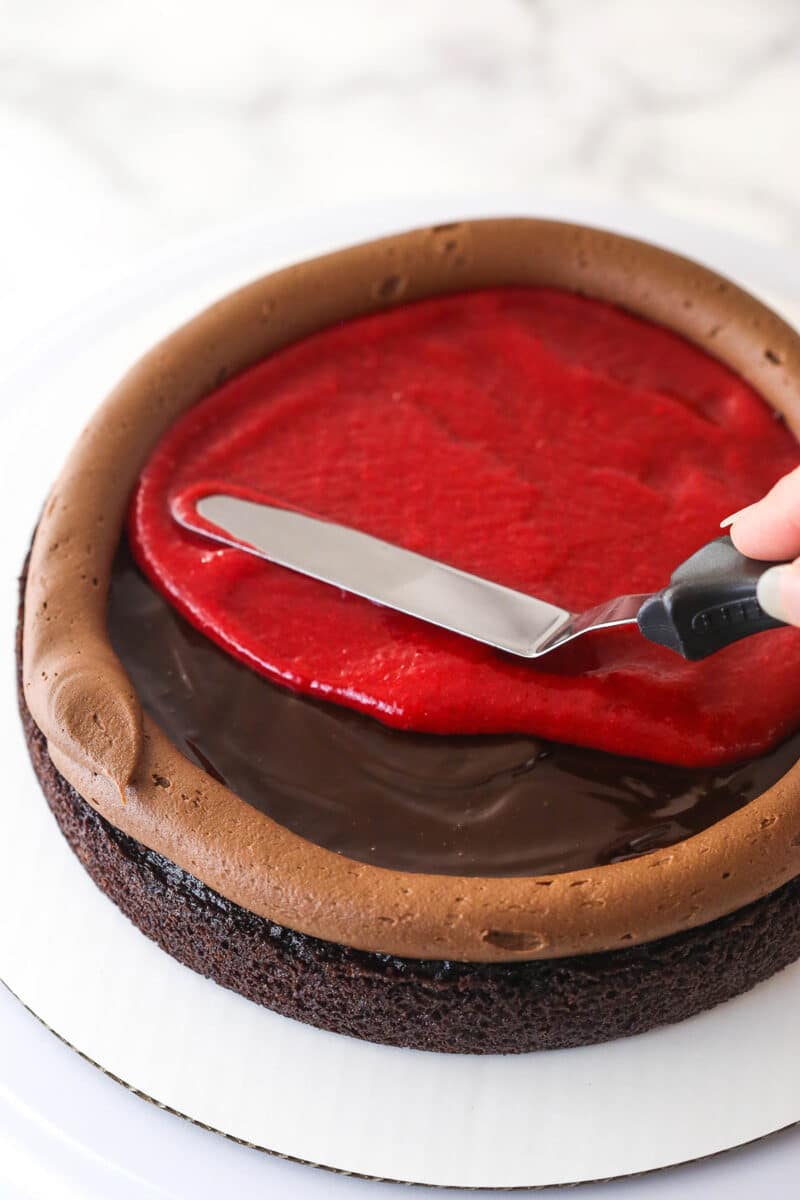
- Fill and stack. Spread 1/4 cup of the chocolate ganache over the top of the cake (inside the dam) followed by 1/2 of the raspberry filling. Top with another cake layer and repeat.
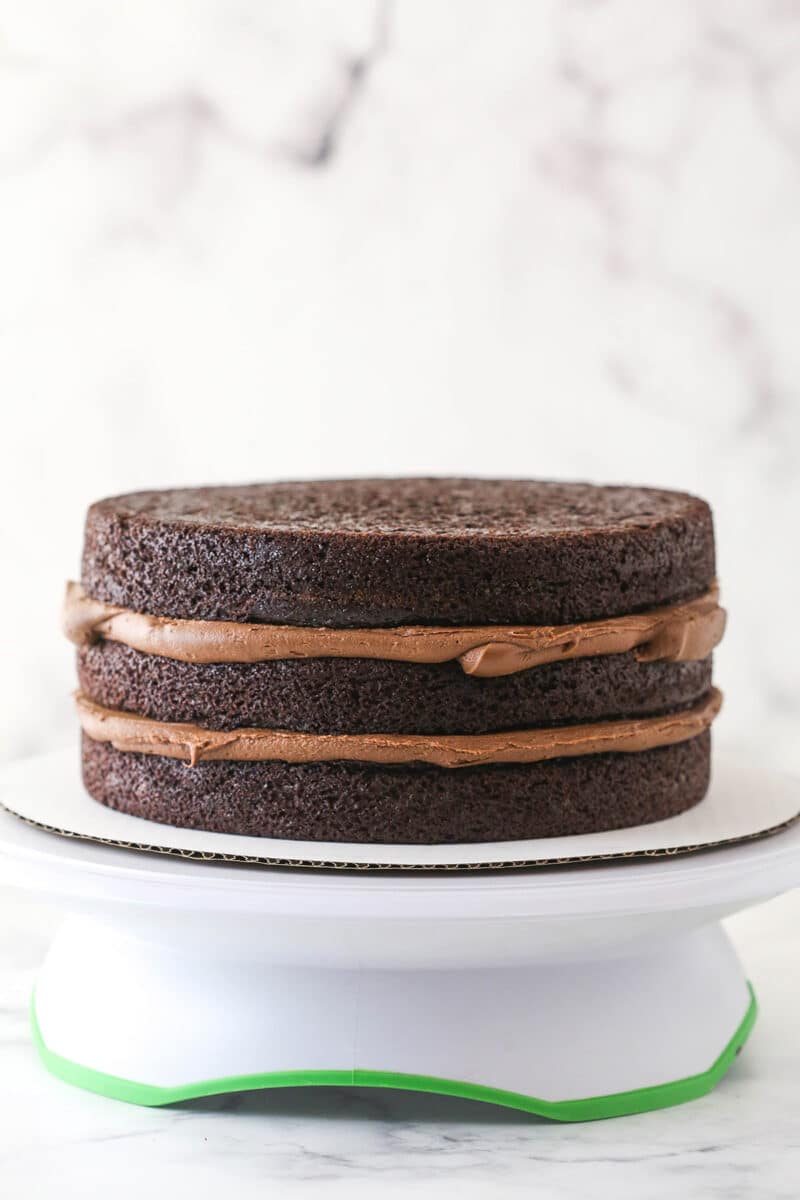
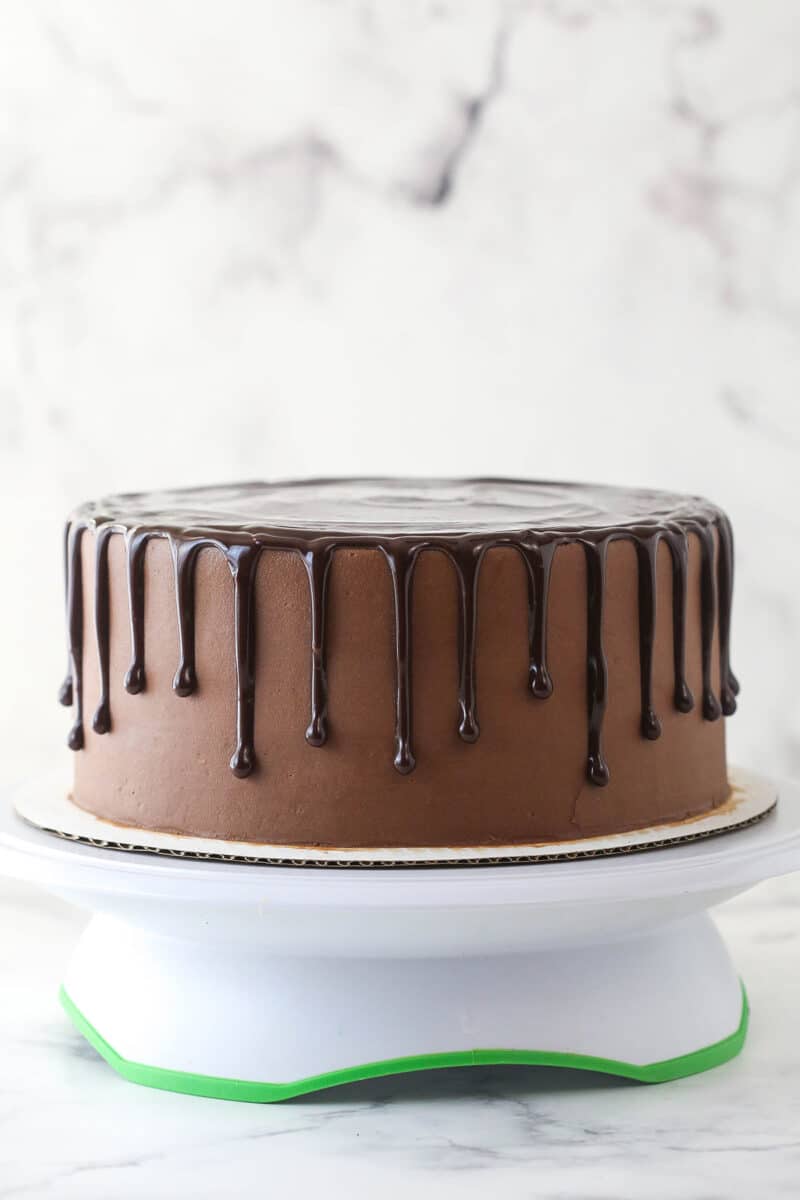
- Frost the cake. Once you’ve added the final cake layer, frost the top and outside of the cake.
- Decorate. Drizzle chocolate ganache around the edges of the cake and fill in the center. Pipe swirls of chocolate frosting around the top of the cake. Garnish with raspberries.
Tips for Success
One of my favorite things is helping you achieve spectacular baking results. Here are some tips and tricks that will help you do that with this cake.
- Scrape the sides of the bowl. When making the cake batter, be sure to scrape down the sides of the bowl intermittently as you add and mix in ingredients. This will help ensure that all of the ingredients make it into the batter and are incorporated fully.
- Don’t over-mix. When combining the wet and dry ingredients for the cake batter, mix just until everything is incorporated. Over-mixing can cause the glutens in the flour to overdevelop. This is a one-way ticket to a tough, overly dense cake.
- Room temperature butter. The butter in the frosting should be at room temperature. Butter that is too cold will likely give you a lumpy frosting. Conversely, butter that is too soft can make your frosting runny.
- Add chocolate slowly. When making the buttercream, it’s best to add the melted chocolate in 2 or 3 parts so that it incorporates evenly and you don’t end up with lumps of chocolate.
- Do your homework. This cake requires a slightly more complex stacking and filling process because you are working with a softer filling. Check out my tutorial on How to Fill and Stack a Layer Cake for the best results.
- Let it cool. It is crucial to allow the cake layers and filling to cool completely before stacking, filling, and frosting. Otherwise, things won’t stay in place.
Can This Chocolate and Raspberry Cake Be Prepared in Advance?
Yes! You can make the cake layers up to 2 days in advance. Once they’ve cooled, seal them in separate ziplock bags and store them at room temperature. In addition, you can make the chocolate frosting and the raspberry filling up to 4 days in advance. Seal them in separate airtight containers (allow the raspberry filling to cool first) and store them in the refrigerator. When you are ready to serve, all that’s left to do is make the ganache and stack, fill, frost, and decorate the cake.
Alternatively, you could make the whole cake and refrigerate it for a day or two before serving. I often make cakes the day before I serve them. Just keep in mind that the frosting gets firm when cold, so I’d let it sit at room temperature for a bit before serving so that it isn’t too firm.
How to Store Leftovers
Hesitant to make an entire cake for just you and your household? Do it anyway. This cake will stay good for several days in the fridge and for months in the freezer. It’s totally worth it. Here’s how to store it properly.
- Refrigerator: Transfer the cake to an airtight cake carrier. If you don’t have one, wrap the cake in a double layer of plastic wrap. Use toothpicks to prop the wrap away from any decorations. If you already sliced the cake, arrange the slices in a single layer in an airtight container and seal it shut. Store the cake in the refrigerator for up to 5 days. It is best enjoyed closer to room temperature, so allow it to sit on the counter for an hour or so before serving.
- Freezer: Let the cake hang out in the freezer for a couple of hours to firm up before wrapping the whole thing in a double layer of plastic wrap. Sliced it already? Arrange the slices in a single layer in an airtight container and seal it shut. Store the cake in the freezer for up to 3 months. When a chocolate raspberry cake craving hits you, allow the cake to thaw in the refrigerator. Once thawed, allow it to come to room temperature on the counter before serving. You can also wrap individual layers of cake separately and pull one out as needed.
More Layer Cake Recipes:
Layer cakes are so festive and fun. You can pretty much pick any cake flavor, frosting, and filling and put them together to make a masterpiece. This chocolate raspberry layer cake is one of my favorites but here are some other must-try gems.
- The BEST Chocolate Cake
- Peanut Butter Chocolate Layer Cake
- Chocolate Mousse Cake
- Nutella Chocolate Cake
- Chocolate Oreo Cake
- Hot Chocolate Cake
- S’mores Chocolate Cake
- Orange Layer Cake
- Moist Vanilla Layer Cake Recipe
- Lemon Blueberry Layer Cake
- Lemon Mascarpone Layer Cake
- Oreo Brookie Layer Cake
Watch How to Make Chocolate Raspberry Cake
Print
Chocolate Raspberry Layer Cake
- Prep Time: 1 hour
- Cook Time: 30 minutes
- Total Time: 1 hour 30 minutes
- Yield: 12-14 Slices
- Category: Dessert
- Method: Oven
- Cuisine: American
Description
This chocolate raspberry cake is made up of three layers of super moist chocolate cake, homemade raspberry filling, and rich, creamy chocolate frosting. The whole thing is topped off with a decadent chocolate ganache and a smattering of fresh raspberries.
Ingredients
Raspberry filling
- 1/4 cup (52g) sugar
- 1 tbsp cornstarch
- 2 tsp water
- 2 cups (225g) raspberries*
Chocolate cake
- 1 3/4 cups (228g) all purpose flour
- 2 cups (414g) sugar
- 3/4 cup (85g) natural unsweetened cocoa
- 2 1/4 tsp baking soda
- 1/2 tsp baking powder
- 1 tsp salt
- 1 cup (240ml) milk
- 1/2 cup (120ml) vegetable oil
- 1 1/2 tsp vanilla extract
- 2 large eggs
- 1 cup (240ml) hot water
Chocolate frosting
- 1 1/2 cups (336g) unsalted butter, room temperature
- 12 oz semi sweet chocolate chips, melted
- 5 tbsp (35g) Hershey’s dark cocoa powder
- 6 cups (690g) powdered sugar
- 1/2 tsp salt
- 10–12 tbsp (150-180ml) heavy whipping cream
Chocolate ganache
- 9 oz (1 1/2 cups) semi-sweet chocolate chips
- 3/4 cup heavy whipping cream
Instructions
To make the raspberry filling
- Combine the sugar, cornstarch and water in a medium-sized saucepan over medium heat and stir to combine. Heat until the mixture is wet and the sugar begins to melt.
- Add the raspberries and stir to coat with the sugar mixture.
- Continue to cook until the raspberries start to soften and let out juice. Use your spatula to mash the raspberries.
- Remove from heat when raspberry juice has begun to thicken, after about 5 minutes. Strain to remove the seeds, if desired. Pour the mixture into another bowl and refrigerate until cool.
To make the cake layers
- Preheat oven to 350°F (176°C) and prepare three 8 inch cake pans with non-stick baking spray and parchment paper in the bottom.
- Add the flour, sugar, cocoa, baking soda, baking powder and salt to a large mixer bowl and combine. Set aside.
- Add the milk, vegetable oil, vanilla extract and eggs to a medium sized bowl and combine.
- Add the wet ingredients to the dry ingredients and beat until well combined.
- Slowly add the hot water to the batter and mix on low speed until well combined. Scrape down the sides of the bowl as needed to make sure everything is well combined.
- Divide the batter evenly between the prepared cake pans and bake for 22-25 minutes, or until a toothpick comes out with a few moist crumbs.
- Remove cakes from oven and allow to cool for 2-3 minutes, then remove to a cooling rack to finish cooling.
To make the chocolate frosting
- Add the butter to a large mixer bowl and beat until smooth.
- Add the melted chocolate in 2-3 batches and mix until well combined.
- Add the cocoa powder and mix until well combined.
- Add about half of the powdered sugar, salt and half of the heavy cream and mix until well combined.
- Add the remaining powdered sugar and mix until smooth.
- Add the remaining heavy cream as needed to get the right consistency of frosting.
To make the ganache and finish the cake
- To make the chocolate ganache, add the chocolate chips to a medium sized bowl (see my tips on making chocolate ganache).
- Heat the heavy whipping cream in the microwave until it just begins to boil. Keep an eye on it because it happens quickly.
- Pour the hot cream over the chocolate chips and let it sit for 2-3 minutes, then whisk until smooth. Set aside.
- To layer the cake, first use a large serrated knife to remove the domes from the tops of the cakes so they are flat. See my tips on how to level a cake and how to stack a cake.
- Place the first cake layer on a serving plate or on a cardboard cake circle.
- Pipe a dam around the outside of the cake layer with some of the chocolate frosting.
- Spread about 1/4 cup of chocolate ganache on top of the cake, in the center of the dam.
- Drop spoonfuls of the raspberry filling (use about half of the raspberry filling per layer) over the chocolate ganache and then spread into an even layer.
- Add the second layer of cake, then repeat steps 23 thru 25.
- Add the third and final layer of cake on top.
- Frost the top and outside of the cake with the remaining chocolate frosting.
- Use the remaining chocolate ganache to drizzle chocolate around the edges of the cake, then fill in the center. If the ganache has gotten a little firm from sitting, just reheat for a few seconds until pourable again. See my tips on making a chocolate drip cake.
- Pipe swirls with the remaining chocolate frosting around the top of the cake, then decorate with additional raspberries and chocolate sprinkles, if desired.
- Refrigerate the cake until ready to serve. The cake is best when served at room temperature and holds up well for 4-5 days when well sealed in an air tight container.
Notes
*You’ll need about 2 pints of raspberries for the filling and decor.
Nutrition
- Serving Size: 1 Slice
- Calories: 940
- Sugar: 100.8 g
- Sodium: 481.2 mg
- Fat: 51 g
- Carbohydrates: 122.3 g
- Protein: 9.7 g
- Cholesterol: 108 mg






This has become my most requested and go to cake. We are going on vacation and want to freeze the cake and assemble later in the week for a birthday. How long can I keep the cake frozen?
Glad you’ve enjoyed it! Cake layers usually freeze fine for up to 3 months. I haven’t tested it, but am guessing that’d be fine.
Okay…my cake fell. I have no idea what happened. I didn’t open the door & I do NOT live in high elevation. I am devestated. It’s suppose to be for my 4th of July BBQ & everyone is looking forward to it. I’m very sad. 😥
Are you sure you did the right amounts of baking soda/powder? It can be easy to mix them up.
Is it possible to use 9inch cake pans instead? Would I still have 3 layers?
You can, the layers would just be thinner.
What is the difference between “natural unsweetened cocoa” and “Hershey’s dark cocoa powder.”
Would a mixture of Valrhona cocoa powder and a little bit of black cocoa be a good substitute for the Hershey’s dark cocoa powder?
The difference is how they are made and their acidity level. Hershey’s dark cocoa USED to be a mix of natural unsweetened cocoa and dutch processed cocoa, but now it’s 100% dutch processed. They are quite different. I’m not really familiar with the two cocoa’s you mention, but when googling them it appears they are both dutch processed and the black cocoa is very heavily dutch processed. I wouldn’t say they are a good substitute. I’d recommend natural unsweetened cocoa powder.
This came out great, but I almost threw out the batter and tried another recipe, because it was so liquidy. I’ve never seen a cake batter so runny. I wish that had been in the description. The only reason I ended up keeping it; I had a wild notion to throw a few tablespoons in a mug and microwaved to see if it would bake. It did!! Close call!!
This ended up super moist and tender.
Im so glad I saw this. My batter looked really runny too so I came to the reviews and found this!!
Just found your website and made this cake. I’m new to baking, but I’ve been looking for a raspberry/chocolate cake. It was delicious, and the layers stayed strong. I found the links to your tips really helpful. I would be interested to know if anyone made smaller cakes. I was thinking of trying 4 inch cakes for an upcoming event. Would that be too small?
Hi I have just baked this lovely cake really enjoyed doing all the different components, I have one question can I freeze unsed frosing, don’t know if I can as it has cream in it, Many thanks carol
Made this before for my mother’s birthday and now she’s requesting it again for this year too! Considering turning it into a few smaller cakes instead of one giant one and individually packaging. Any advice on changing the cook time if I use something smaller instead of the 9″ cake pan recommended? Thanks!
I’m so glad it was a hit! I have not baked it in smaller pans so unfortunately I don’t have any advice.
Made this last night for my Mother’s Day lunch today ! Am so psyched since i have some chocolate lovers ! Thank you for sharing
I’ve been using this recipe for my husbands birthday! He requested it for past 4 years, since his birthday is the day you first posted!! What a great recipe, made exactly as instructed. It’s superb, thank you so much 😊
So glad to hear it’s been a hit!
What kind of milk do you use?
2%
This was awful, the cakes never baked right, we did it three times to check if we were doing it right. They were so bitter and thin.
Not only have I baked this cake many times, but it is one of my most popular cakes. I know it works. I would make sure that you were using baking soda and baking powder and measuring those properly. If you swapped them around, it could give you thin layers.
You may also want to check that you were using natural unsweetened cocoa powder. If you used Dutch cocoa powder, that could also have given you trouble.
Hi, can I make the coulie the day before?
Definitely
I got rave reviews with this cake recipe! Thank you so much for sharing it! Question – is the 1/2 tsp of salt in the frosting correct? It seemed odd to me, and I noticed in the video you made to accompany the recipe that you didn’t add salt but you did add vanilla, which wasn’t listed as an ingredient in your frosting recipe. Wondering if you meant vanilla instead of salt? Either way the cake tasted great!!
I’m glad you enjoyed it! The frosting should have vanilla extract and salt in it. It may seem odd, but salt gives and amplifies the flavor in food. Including frosting. You don’t have to put salt in your frosting, but I personally believe it tastes better. And even though it’s a chocolate frosting, vanilla extract adds to a nice flavor.
How does this cake fare if frozen once frosted?
Not sure. I don’t usually freeze full cakes. But you could try it. I’d wrap it well and thaw in the fridge.
I’ve made this recipe twice now and it always turns out perfect! I substitute the hot water for hot coffee for extra flavor and it’s amazing! Thank you for this recipe!!