This post may contain affiliate sales links. Please read my disclosure policy.
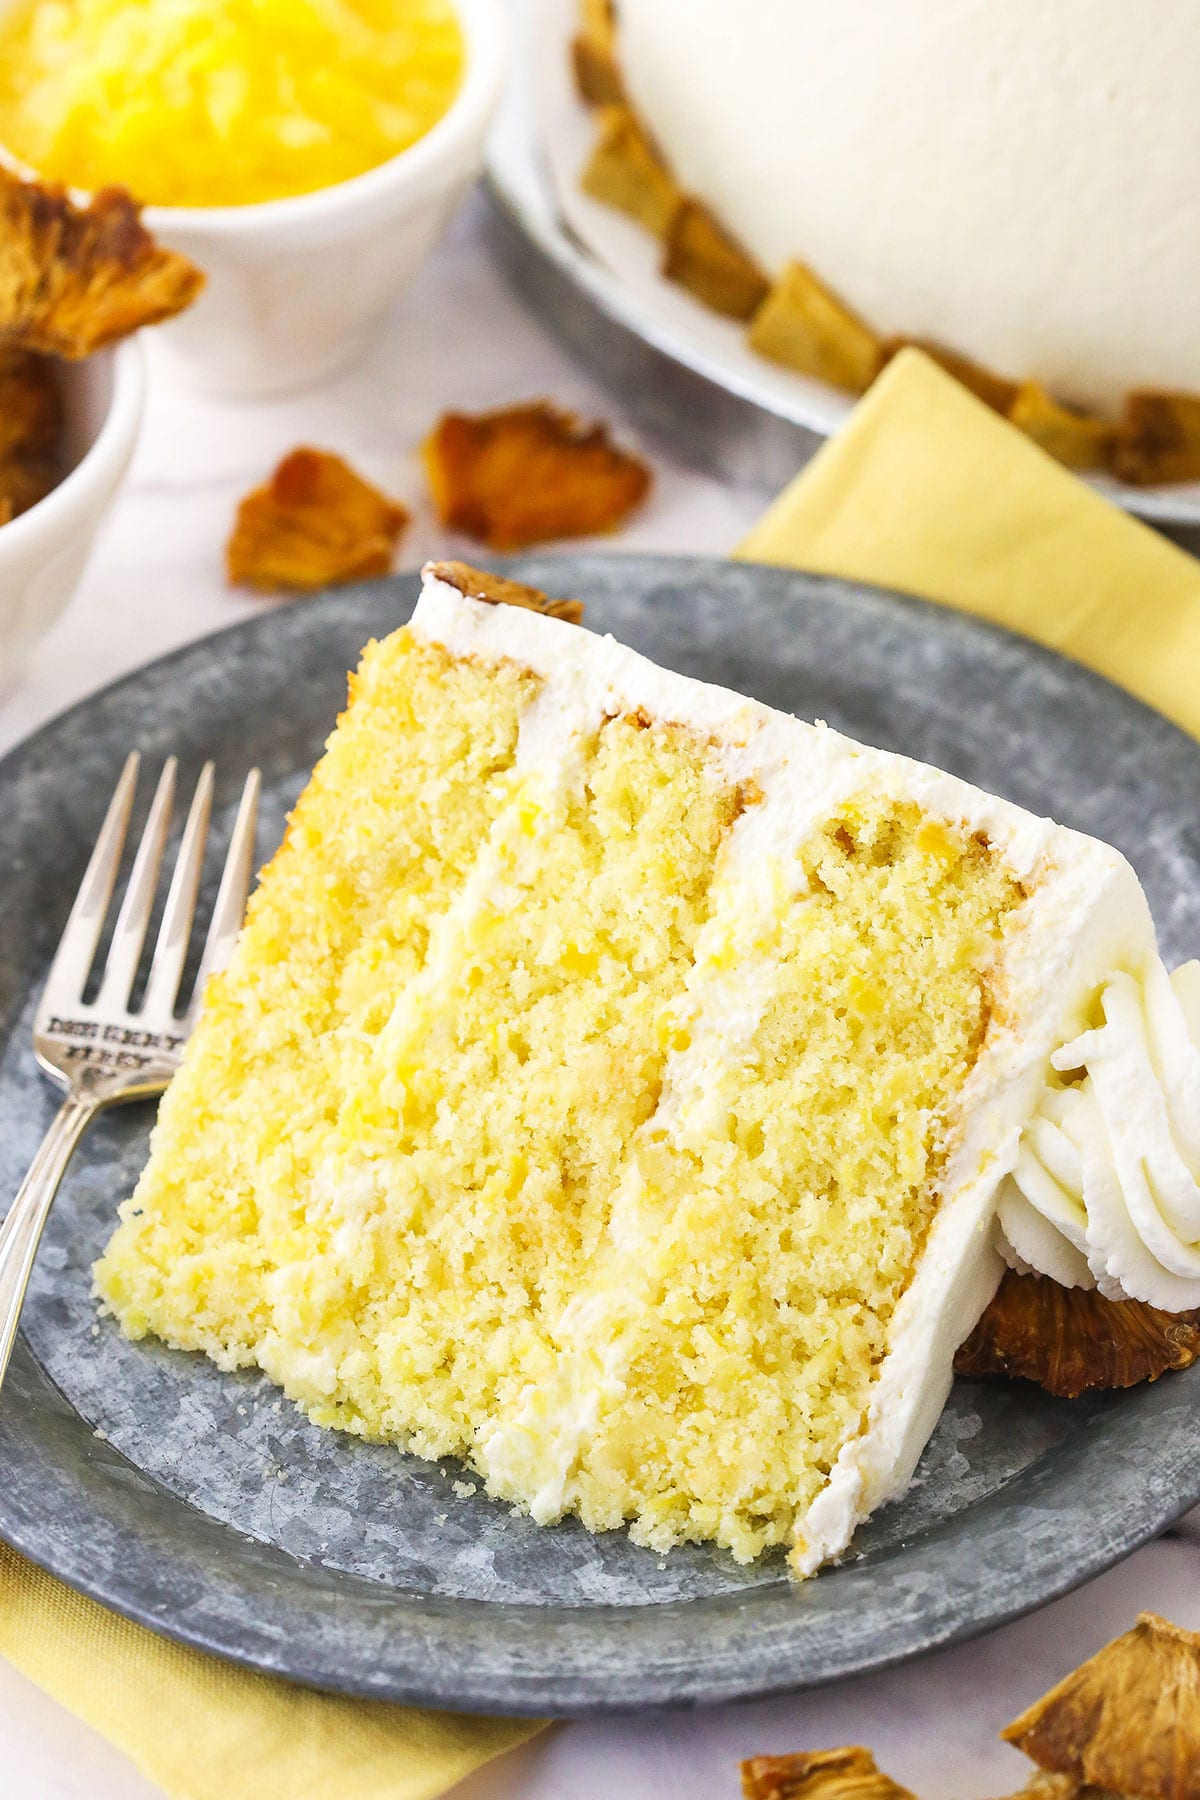
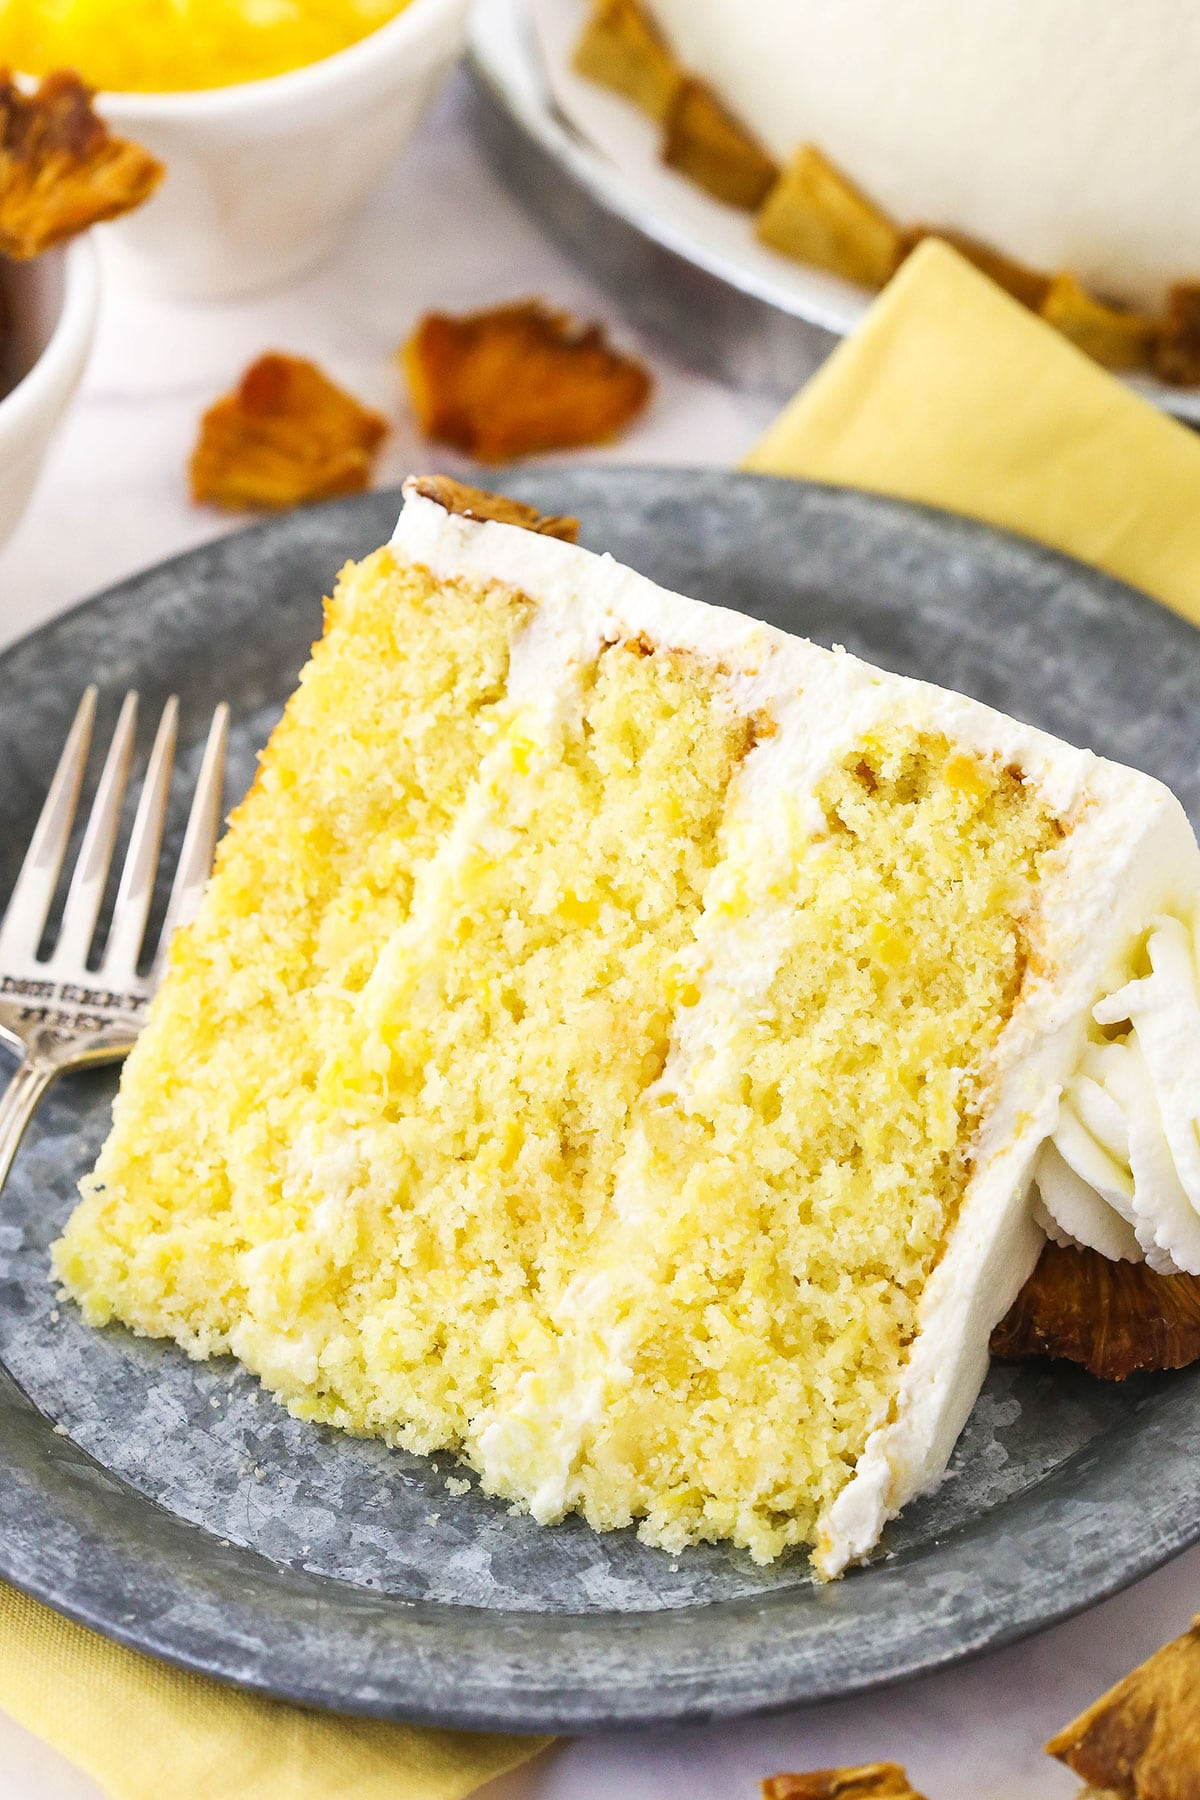
This sweet, moist and tender Pineapple Layer Cake is packed with juicy pineapple chunks! Three soft layers of pineapple cake are separated by a creamy pineapple filling and finished off with homemade whipped cream frosting.
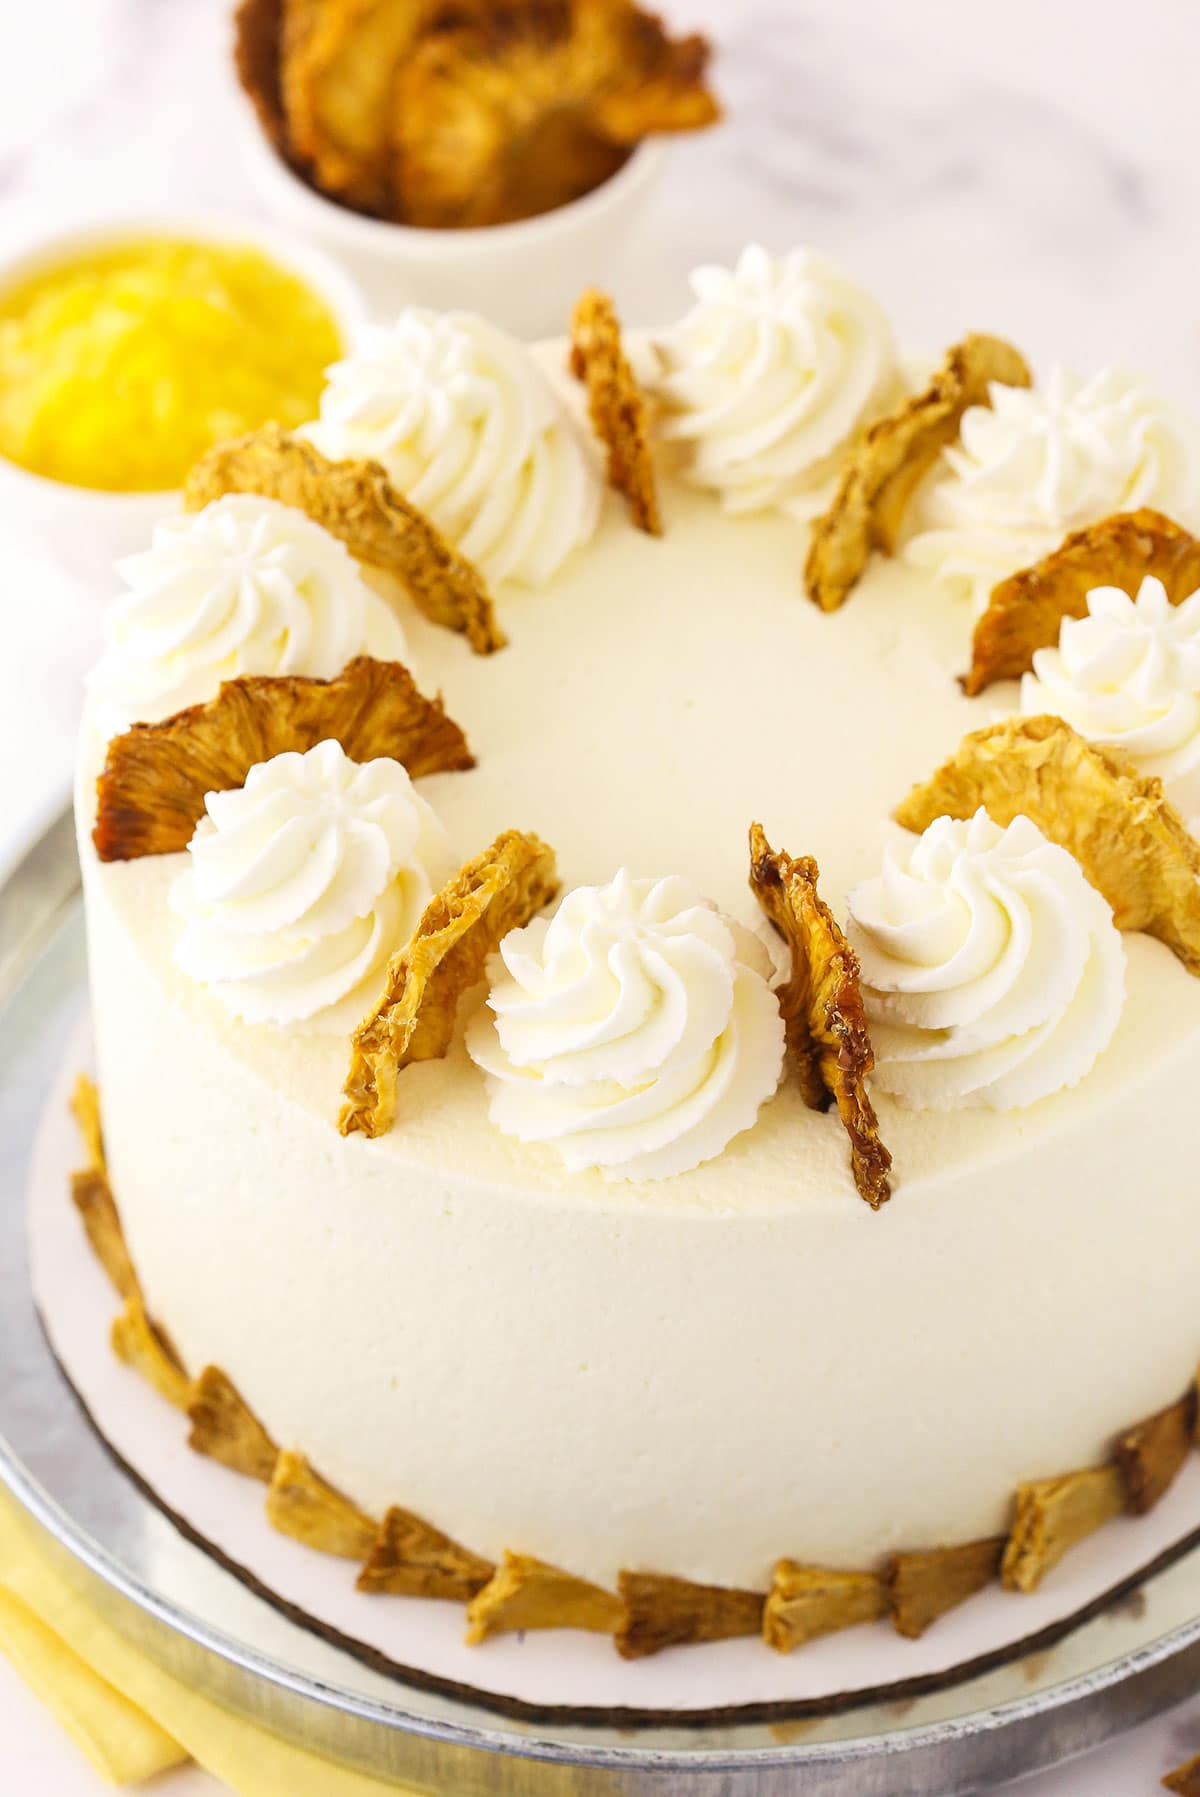
Heavenly Pineapple Cake with Whipped Cream Frosting
If you enjoy pineapple – even just a little bit – you will love this cake. It’s a light and refreshing dessert that features plenty of crushed pineapple in both the cake and the filling.
The velvety filling compliments the tender layers of cake in such a dreamy way. It’s creamy and light yet full of flavor, ensuring that the cake as a whole remains nice and delicate. Once you spread on the pillowy whipped cream frosting, this 3-layer masterpiece will give your favorite Pineapple Upside Down cake a run for its money.
The crushed pineapple doesn’t just infuse this dessert with fruity flavor – it also adds some amazing texture. Not to mention, it ensures that the cake stays delightfully moist! Needless to say, this beauty instantly joined the list of our family favorites.
What You’ll Need
Each component of this cake relies on a simple lineup of ingredients. For the full amounts of what you’ll need, refer to the recipe card toward the bottom of this post.
For the Pineapple Cake
- All-Purpose Flour: Use a food scale, if possible. Otherwise, fluff your flour and use the spoon and level method.
- Baking Powder & Baking Soda: These leavening agents work together to give you super soft and fluffy cake layers.
- Salt: To help lock in moisture and enhance flavor.
- Unsalted Butter: Be sure to bring this to room temperature.
- Vegetable Oil
- Sugar
- Eggs
- Crushed Pineapple: Don’t forget to include the juice from the cans as well.
- Vanilla Extract
For the Pineapple Filling
- Sugar
- Cornstarch: To thicken up the filling.
- Crushed Pineapple: With juice.
- Water
For the Whipped Cream Frosting
- Heavy Whipping Cream: Make sure this is nice and cold.
- Powdered Sugar: To ensure that your whipped cream doesn’t wilt.
- Vanilla Extract
- Dried Pineapple Slices: To decorate the cake.
How to Make Pineapple Layer Cake
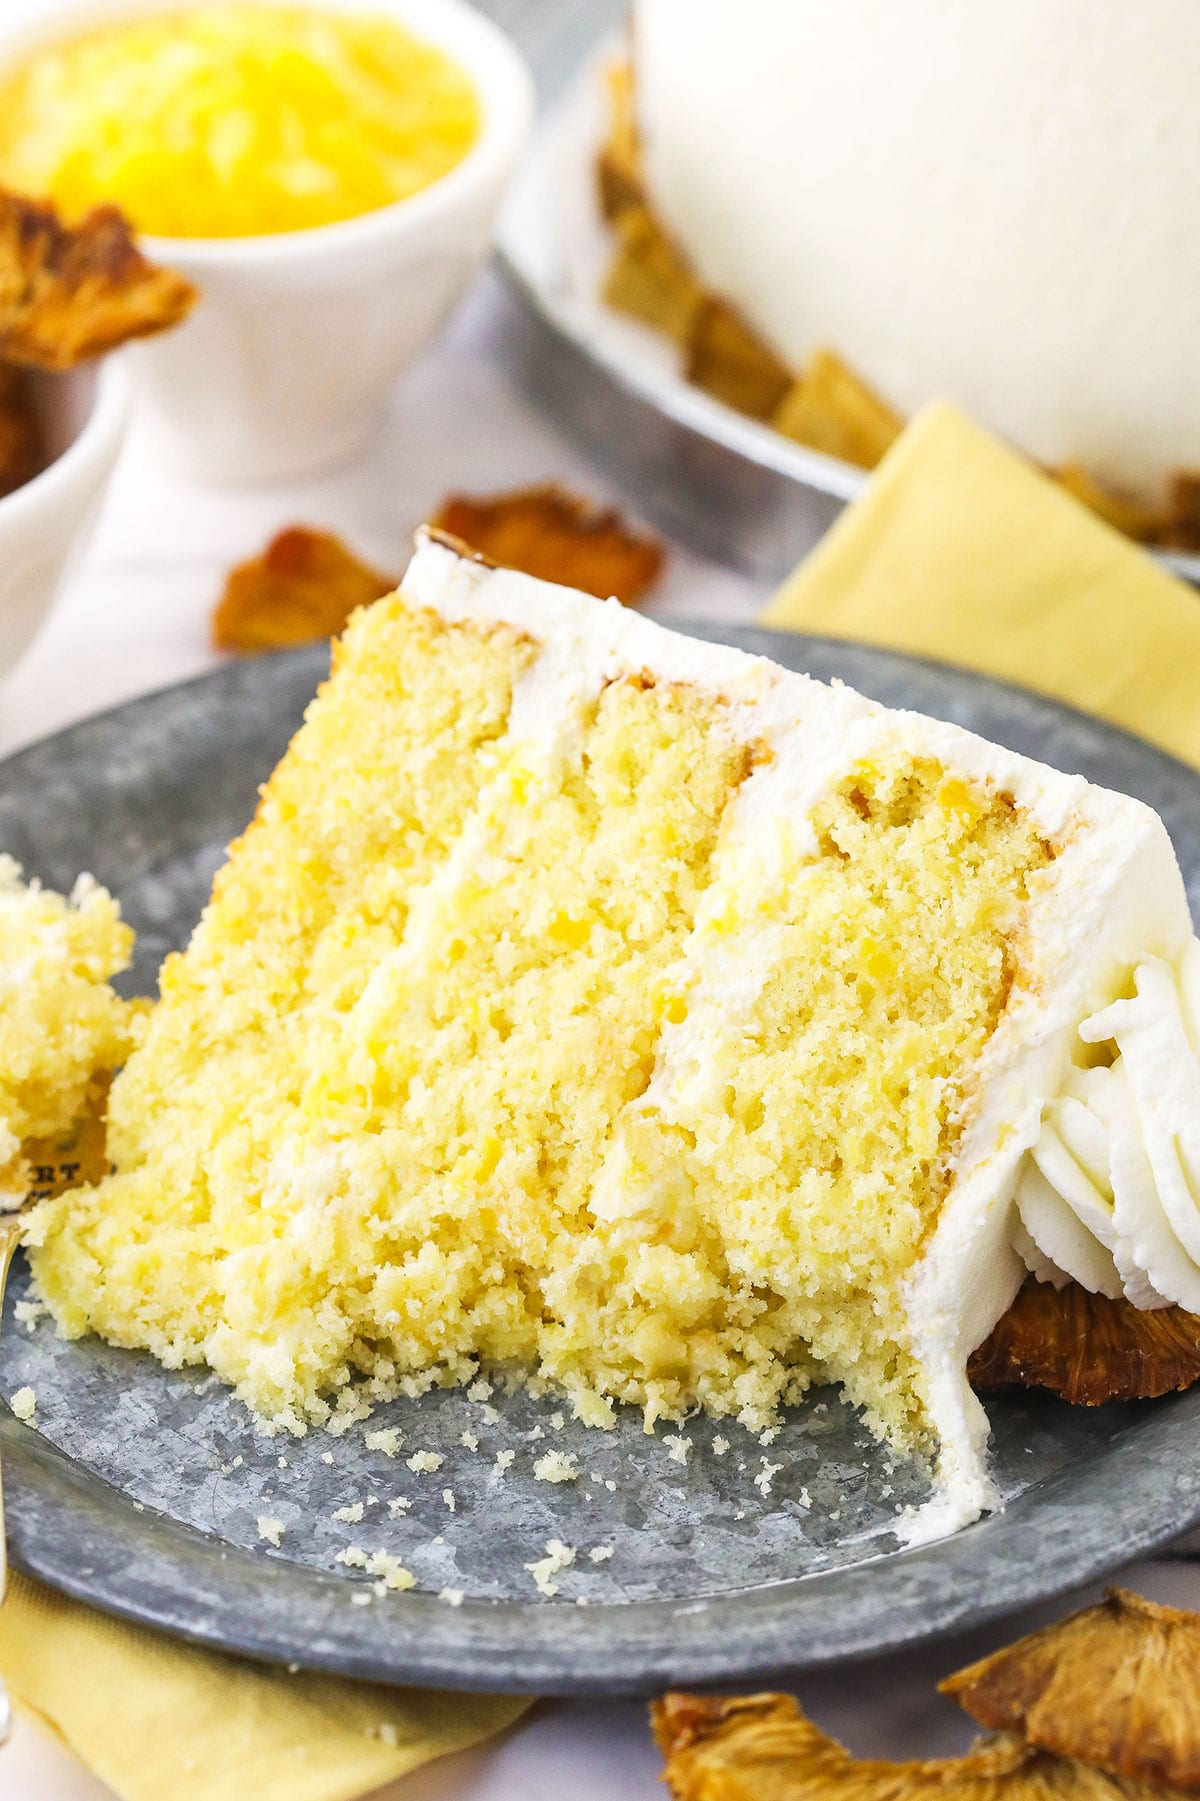
Because of all the crushed pineapple in this cake, getting perfectly clean slices is pretty much impossible – but it doesn’t matter – they’re going to get devoured lickety-split!
Make the Cake Layers
- Prep Pans & Heat Oven: Prepare three 8-inch cake pans with parchment paper circles in the bottom and grease the sides. Preheat the oven to 350°F.
- Combine Dry Ingredients: Combine the flour, baking powder, baking soda and salt in a medium-sized bowl. Set the mixture aside.
- Cream Butter, Oil & Sugar: Add the butter, oil and sugar to a large mixer bowl and beat them together until the mixture is light in color and fluffy, about 2-3 minutes. Do not skimp on the creaming time. You should visibly see a change in color and texture.
- Add Eggs One by One: Add the eggs one at a time, mixing until mostly combined after each addition. Scrape down the sides of the bowl as needed to be sure all of the ingredients are well incorporated.
- Start Adding Pineapple: Add half of the crushed pineapple and mix until well combined.
- Start Adding Dry Ingredients: Add half of the dry ingredients to the batter and mix until mostly combined.
- Finish Adding Pineapple: Add the remaining crushed pineapple and vanilla extract. Mix until the batter is well combined.
- Finish Adding Dry Ingredients: Add the remaining dry ingredients and mix until well combined. Scrape down the sides of the bowl as needed, but do not over-mix the batter.
- Bake: Divide the batter evenly between the cake pans and bake for 22-25 minutes, or until a toothpick inserted into the center of the cake comes out with a few loose crumbs.
- Let Cool: Remove the cakes from the oven and allow them to cool for about 2-3 minutes, then flip them out onto cooling racks and let them cool completely.
Make the Filling
- Combine Sugar & Cornstarch: Combine the sugar and cornstarch in a large saucepan.
- Add Pineapple & Water: Stir in the crushed pineapple, including the juice, and the water.
- Cook: Cook the filling over medium heat, stirring regularly until the mixture thickens and comes to a boil, about 10 minutes. Allow the filling to boil for 1 minute, then remove it from the heat.
- Chill: Set the filling in the fridge until it has cooled completely.
Make the Frosting & Build the Cake
- Make Frosting: Make sure the cake layers and filling have fully cooled before you continue. Add the heavy whipping cream, powdered sugar and vanilla extract to a large mixer bowl. Whip the mixture on high speed until stiff peaks form.
- Fold Some Into Filling: Fold one cup of the whipped cream frosting into the pineapple filling until well combined. Set aside.
- Remove Cake Domes: Use a large serrated knife to remove the domes from the top of the cakes so that they’re flat (if needed). These cakes don’t have a large dome, but I like to make sure they’re completely flat. Place the first cake on a serving plate or a cardboard cake round.
- Start Assembling: Pipe a dam of whipped cream around the outer edge of the cake, then fill it with half of the pineapple filling. Spread the filling out evenly.
- Continue Layering: Add the second layer of cake, another rim of whipped cream and the rest of the pineapple filling. Add the final layer of cake on top.
- Frost: Frost the top and outside of the cake with the whipped cream frosting. Use the remaining whipped cream to pipe swirls on top of the cake.
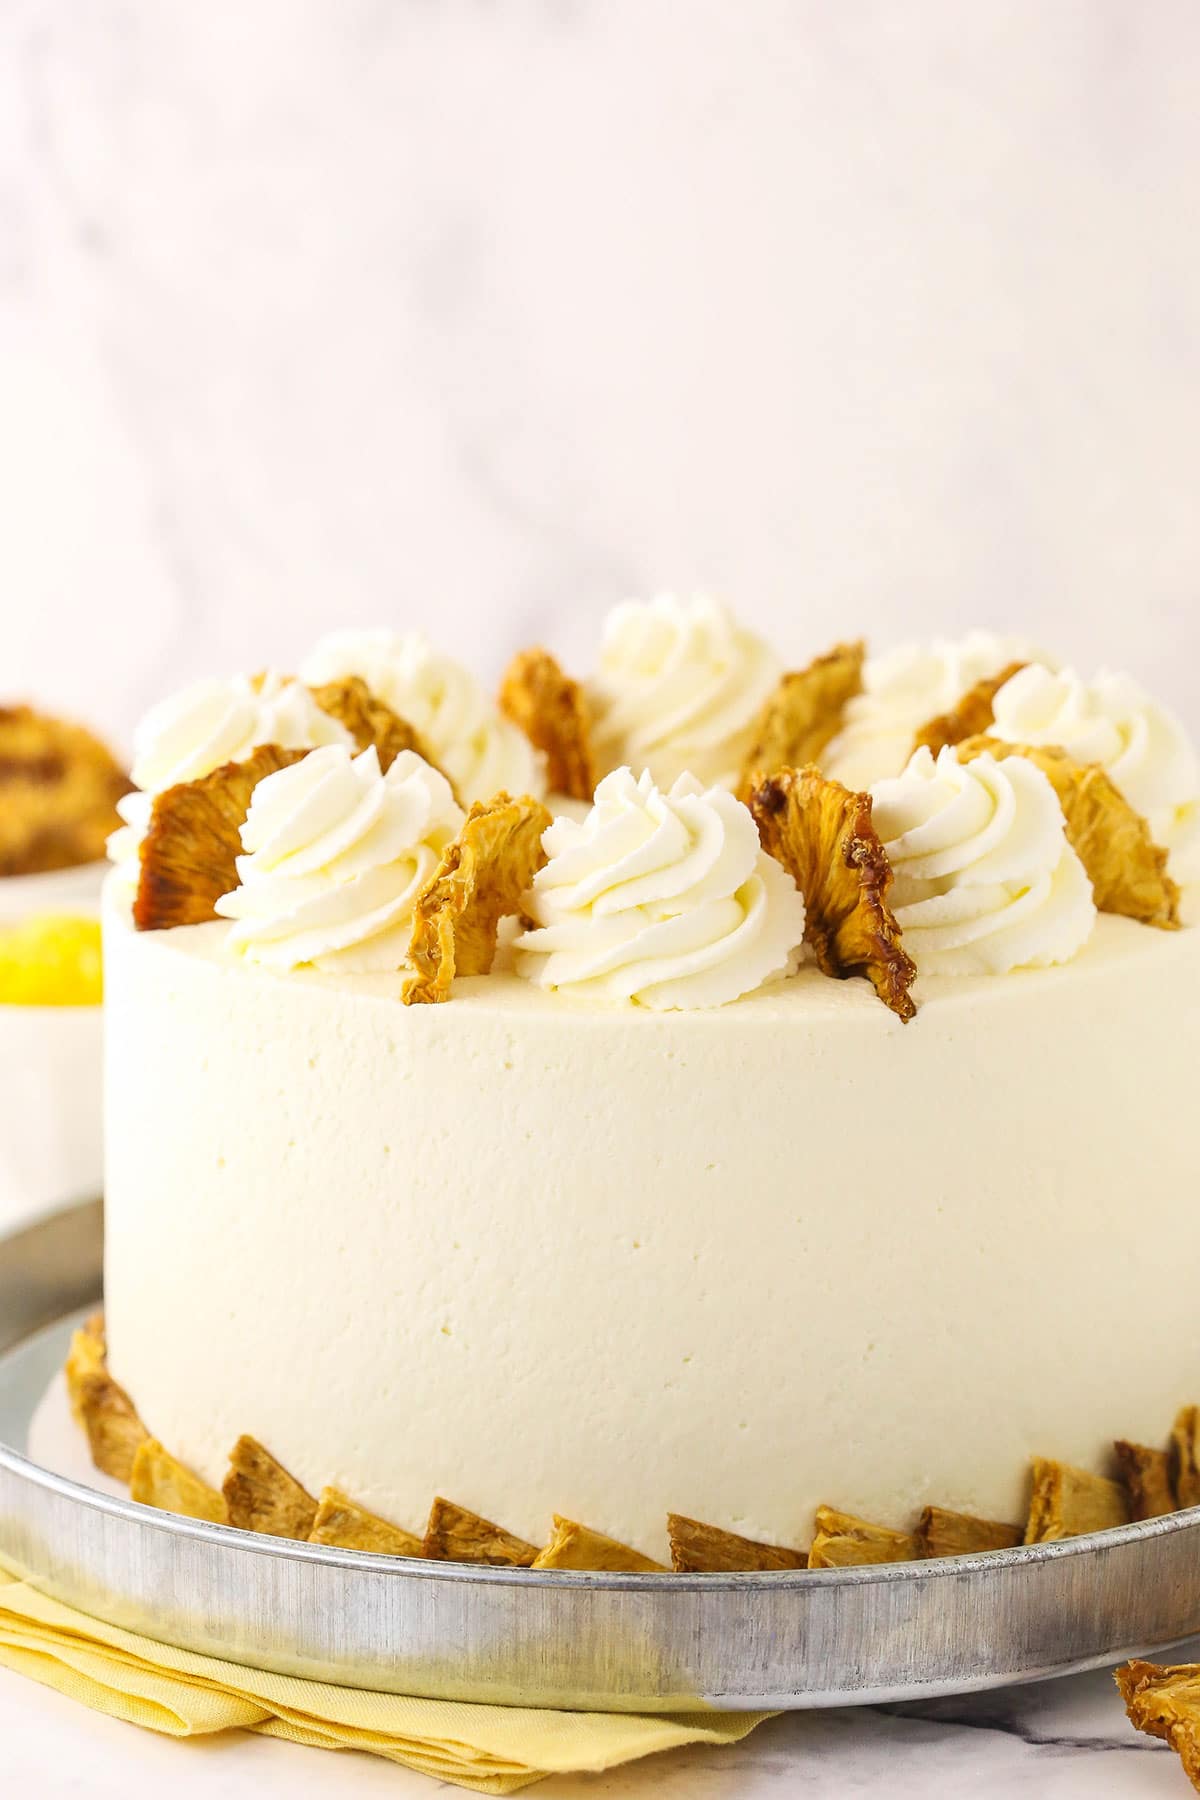
- Garnish & Serve: Finish off the cake with some dried pineapple slices. Cut and serve it or store it in the fridge until you’re ready.
Can I Make the Cake Ahead of Time?
Sure you can! First, bake the cake layers and let them cool as usual. Once they’ve fully cooled, store them in an air tight container at room temperature for up to 24 hours or wrap each layer tightly in plastic wrap and refrigerate them for up to 2 days. The filling (without the whipped cream folded in) should also be okay in the fridge overnight – just be sure to keep it in an airtight container.
Helpful Tips
Even professional bakers could benefit from some friendly advice. Here’s mine for this heavenly cake!
- Measure the Flour Carefully: Don’t just scoop your measuring cup directly into the flour. Instead, spoon in the flour bit by bit and level it off at the top with a butter knife. This prevents the flour from getting packed in and causing an incorrect measurement.
- Don’t Forget the Juice: Whether you’re working on the cake or the filling, it’s important to add the juice from the can in addition to the crushed pineapple itself. Don’t be shy – just dump it all in there!
- Use the Whipped Cream Frosting Immediately: You’ll want to make the whipped cream frosting just before you use it. If you make it ahead of time, it’ll likely deflate when you stir it back up later. However, it won’t deflate if you make it right before you fold it into the filling and frost the cake.
How to Store Extras
Leftover pineapple cake should be kept in an airtight container in the fridge. It will stay fresh for about 3-4 days.
Can I Freeze Pineapple Cake?
Due to the whipped cream frosting, this cake isn’t ideal for freezing. But you can definitely freeze the cooled cake layers by themselves! Wrap each one in a tight layer of plastic wrap followed by a layer of heavy-duty foil. Freeze them for up to 3 months and defrost them in the fridge before you build the cake.
Print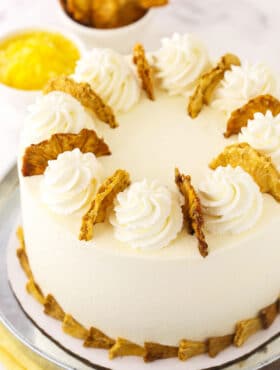
Pineapple Layer Cake
- Prep Time: 1 hour 30 minutes
- Cook Time: 22 minutes
- Total Time: 1 hour 52 minutes
- Yield: 14
- Category: Dessert
- Method: Oven
- Cuisine: American
Description
This sweet, moist and tender Pineapple Layer Cake is packed with juicy pineapple chunks! Three soft layers of pineapple cake are separated by a creamy pineapple filling and finished off with homemade whipped cream frosting.
Ingredients
For the Pineapple Cake
- 2 1/2 cups (325g) all-purpose flour
- 2 tsp baking powder
- 1/4 tsp baking soda
- 1/2 tsp salt
- 3/4 cup (168g) unsalted butter, room temperature
- 1/4 cup (60ml) vegetable oil
- 1 1/2 cups (310g) sugar
- 4 large eggs
- 16 oz crushed pineapple, with juice
- 1 tsp vanilla extract
For the Pineapple Filling
- 1/3 cup (69g) sugar
- 1 1/2 tbsp cornstarch
- 8 oz crushed pineapple, with juice
- 2 tbsp water
For the Whipped Cream Frosting
- 3 1/2 cups heavy whipping cream, cold
- 1 1/2 cups (217g) powdered sugar
- 1 tbsp vanilla extract
- Dried pineapple slices
Instructions
Make the Cake Layers
- Prepare three 8-inch cake pans with parchment paper circles in the bottom and grease the sides. Preheat oven to 350°F.
- Combine the flour, baking powder, baking soda and salt in a medium-sized bowl and set aside.
- Add the butter, oil and sugar to a large mixer bowl and beat together until light in color and fluffy, about 2-3 minutes. Do not skimp on the creaming time. You should visibly see a change in color and texture.
- Add the eggs one at a time, mixing until mostly combined after each. Scrape down the sides of the bowl as needed to be sure all ingredients are well incorporated.
- Add half of the crushed pineapple and mix until well combined.
- Add half of the dry ingredients to the batter and mix until mostly combined.
- Add the remaining crushed pineapple and vanilla extract and mix until well combined.
- Add the remaining dry ingredients and mix until well combined. Scrape down the sides of the bowl as needed to be sure all ingredients are well incorporated. Do not over mix the batter.
- Divide the batter evenly between the cakes pans and bake for 22-25 minutes, or until a toothpick comes out with a few crumbs.
- Remove the cakes from the oven and allow to cool for about 2-3 minutes, then remove to cooling racks to cool completely.
Make the Filling
- Combine the sugar and cornstarch in a large saucepan. Stir in the pineapple, including the juice, and the water.
- Cook over medium heat, stirring regularly until mixture thickens and come to a boil, about 10 minutes. Allow to boil for 1 minute, then remove from heat. Set in the fridge to cool completely.
Make the Frosting & Build the Cake
- Make sure the cake layers and filling have fully cooled. Add the heavy whipping cream, powdered sugar and vanilla extract to a large mixer bowl and whip on high speed until stiff peaks form.
- Fold one cup of the whipped cream into the pineapple filling until well combined. Set aside.
- Use a large serrated knife to remove the domes from the top of the cakes so that they’re flat, if needed. These cakes don’t have a large dome, but I like to make sure they’re completely flat. Place the first cake on a serving plate or a cardboard cake round.
- Pipe a dam of whipped cream around the outer edge of the cake and fill it with half of the pineapple filling. Spread evenly.
- Top with the second layer of cake and add another layer of pineapple filling.
- Add the final layer of cake on top and frost the cake with the remaining whipped cream. Use remaining whipped cream to pipe swirls on top of the cake. Finish off the cake with some dried pineapple slices.
- Store the cake in the fridge until ready to cut and serve.
Notes
- Makes 12-14 slices.
- To Make Ahead: Once cake layers are fully cooled, wrap each one tightly in plastic wrap and refrigerate for up to 24 hours. The filling (without the whipped cream folded in) should also be okay in the fridge overnight – just be sure to keep it in an airtight container.
- To Store Extras: Cake is best refrigerated in an airtight container and eaten within 2-3 days.
Nutrition
- Serving Size:
- Calories: 849
- Sugar: 148.7 g
- Sodium: 144.1 mg
- Fat: 17.2 g
- Carbohydrates: 169.3 g
- Protein: 8.2 g
- Cholesterol: 88.7 mg
Categories
More Luscious Layer Cakes to Try
Already fantasizing about your next layer cake? I’ve got the perfect recipes to make your dreams a reality.





Absolutely loved how it turned out. 10/10 would recommend
Thank you for the recipe Lindsay!
Awesome! So glad you enjoyed it!
I can’t wait to make this cake! I was thinking of making a cream cheese icing instead of the whipped cream. Do you think that would be too heavy for this cake?
I think that really depends on preferences. I like the lighter whipped frosting on this, but I’m sure cream cheese frosting would be fine.
Made this for my dad’s 50th birthday and my family loved it. This was my first time frosting a cake and your instructions made it easier! Thank you
Awesome! So glad to hear that!
Hi! I’m planning to bake this cake for my dad’s birthday. Should I crush the pineapple using an imersion blender or should I use the food processor since I have the entire fruit and not its canned version?
I’m guessing either way would be fine.
I don’t comment on recipes very often,but I followed this one exactly and the cake was perfect.I didn’t have to trim the tops because they were relatively flat.I did measure 1 1/2 cups of batter in each pan and decorated top with swirls and cherries.
Awesome! So glad you enjoyed it!
Hi! Would I be able to turn this into a 9×13 or sheet pan cake? This recipe looks amazing!
Yes, that’d be fine. For a 9×13, I’d just reduce the temperature to 325.
This recipe was delicious. I made it per recipe but didn’t used dried pineapple just made some rosettes on top in whipped cream icing. Delicious
Wonderful! So glad you enjoyed it!
Hi! I’m going to make this next week and was wondering which stand mixer attatchment do you use to make the cake batter?
I use the beater blade.
Thanks!
May i ask if i can bake this in a bundt pan ?
I haven’t tried it before, so it’s hard for me to say. I’m guessing it would be fine, but I might reduce the oven temperature to 325.
I made this recipe and it was delicious. I had one problem… when I was stacking the cake, two layers were splitting, And of course, when I cut it the next day, I couldn’t get that perfect slice because it started breaking apart. It was baked and cooled long enough before frosting and refrigerated overnight before slicing. I figured it was the pineapple and the juice in the cake.
The chunks of pineapple do make it hard to get a beautiful slice. But the cakes should not split when you’re building the cake. You just want to be very gentle moving them around and be sure they’re flat before you layer them together.
The recipe reads 3/4 tbsp (168 grams) butter for the cake batter: Shouldn’t that be 12 tablespoons or 3/4 cup butter instead?
Yes, thank you. It’s been updated.
I’m confused about how much butter to use. You say 3/4 tbsp (168 g).
Sorry but is that an error? Thank you
Yes, it’s been fixed. Sorry about that!
I bought a 12 pack of pineapple tidbit fruit cups my kids decided they don’t like. Could I run that through a food processor and use instead of crushed pineapple?
I would just chop it up a little bit rather than putting it through the food processor. I tested it using the food processor and ground the pineapple into smaller pieces, almost puréed it, the flavor wasn’t quite as good. You want chunkiness. But the tidbits would be a little too big, so I would chop it a bit.
This cake looks sooooo delicious. Have to try it!!
But I miss the double and triple time recipe that you use to post Lindsay. That was so much easier when I have to make a much bigger cake. 😀
I’m sorry about that! I got too many complaints that the recipes weren’t doubling correctly and it was causing people to bake the cakes incorrectly. I hope you enjoy the cake!
Owwww. And for me they worked perfect. The only ingredient that was indeed incorrect was the amount of milk in ml. That was the only one that I always needed to adjust. But think about it. It wasn’t for everybody a problem. I love love love your cakes and so do my customers 😉.
Is the butter amount really 3/4 of a Tablespoon? Or 3 to 4 Tablespoons?
Sorry, that was an error. It’s been fixed. It’s 3/4 cup.
Ooooh! This cake looks so tender and luscious! I have to bake this soon! Maybe, even today! Thanks Lindsay!
I hope you enjoy it!