This post may contain affiliate sales links. Please read my disclosure policy.
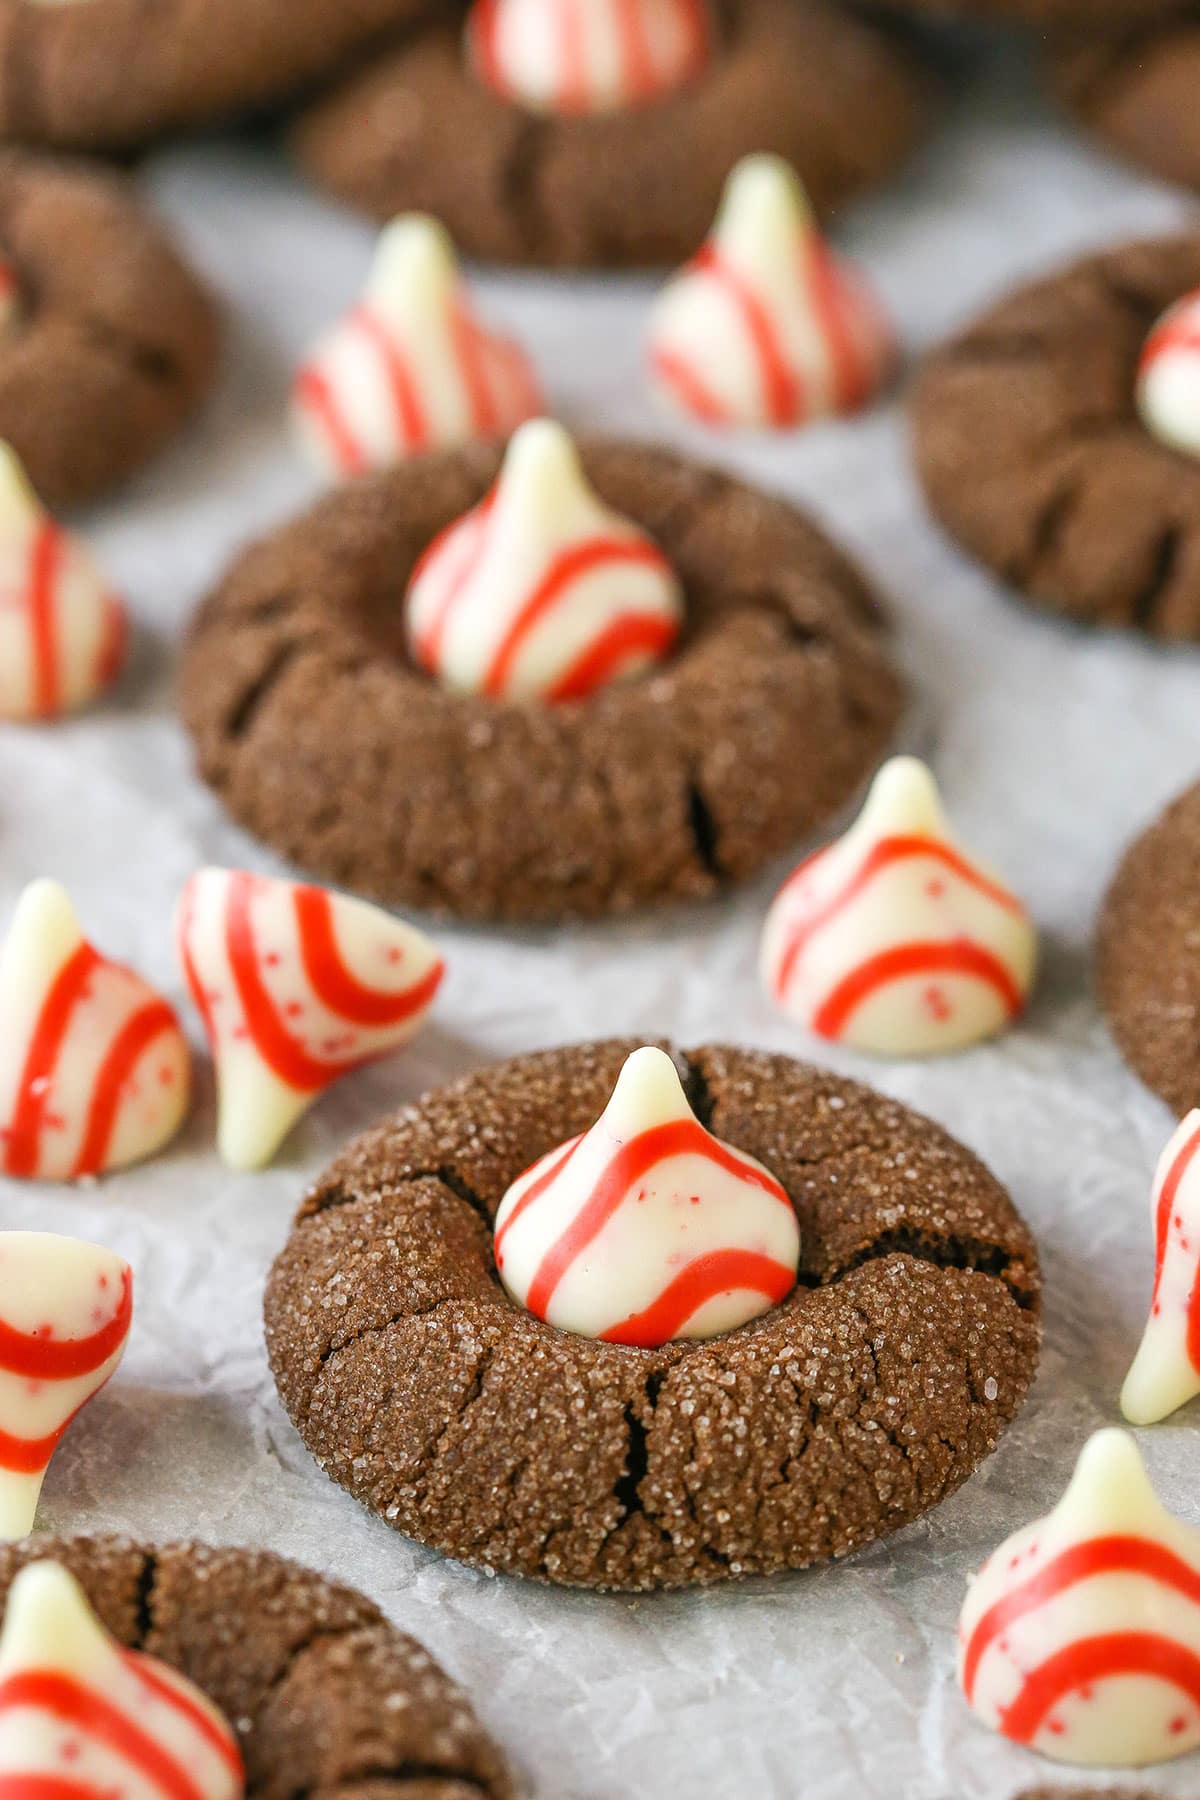
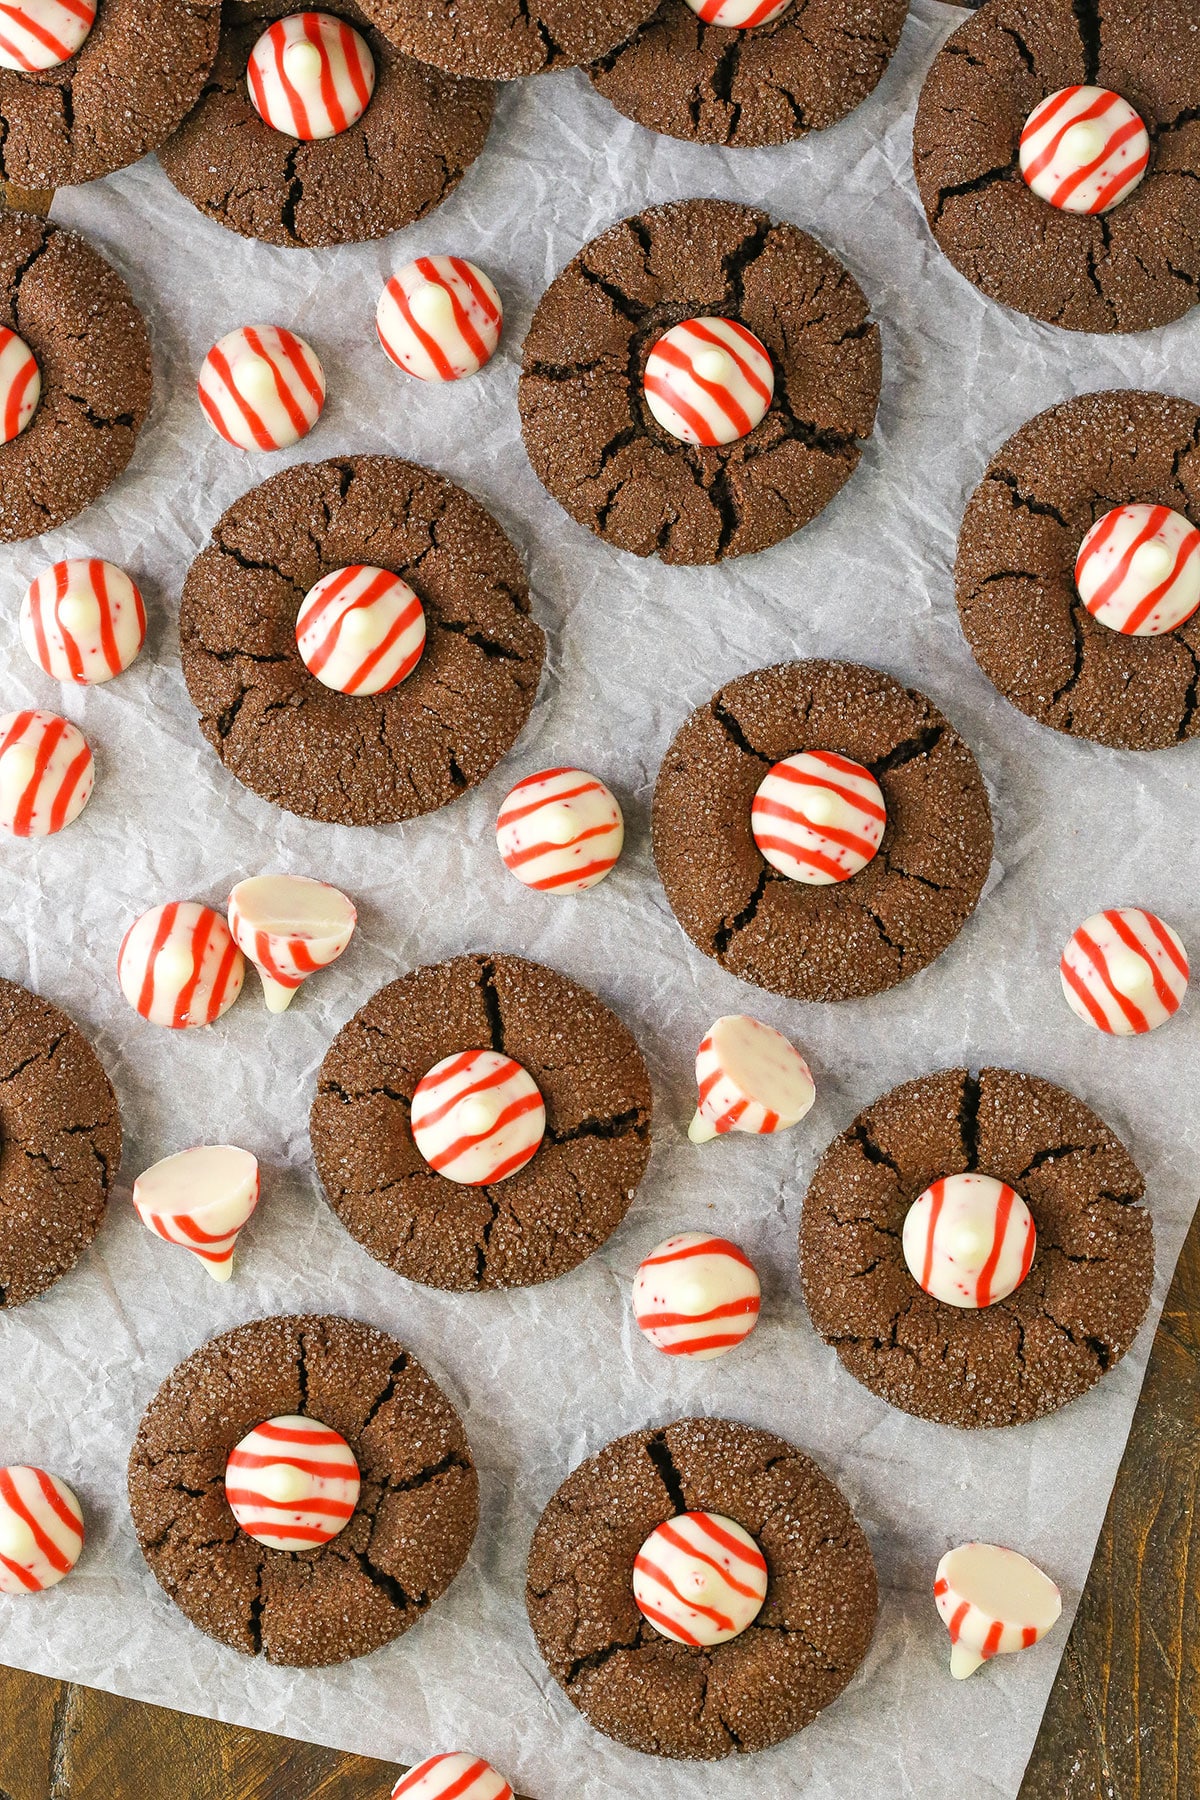
These Peppermint Chocolate Thumbprint Cookies are soft, chewy Christmas chocolate cookies topped with peppermint Hershey kisses – one of my favorite little holiday candies! They are delicious and will make you the hit of your holiday cookie exchange!
If you like thumbprint cookies as much as I do, you should also try these delicious Peanut Butter Blossoms!
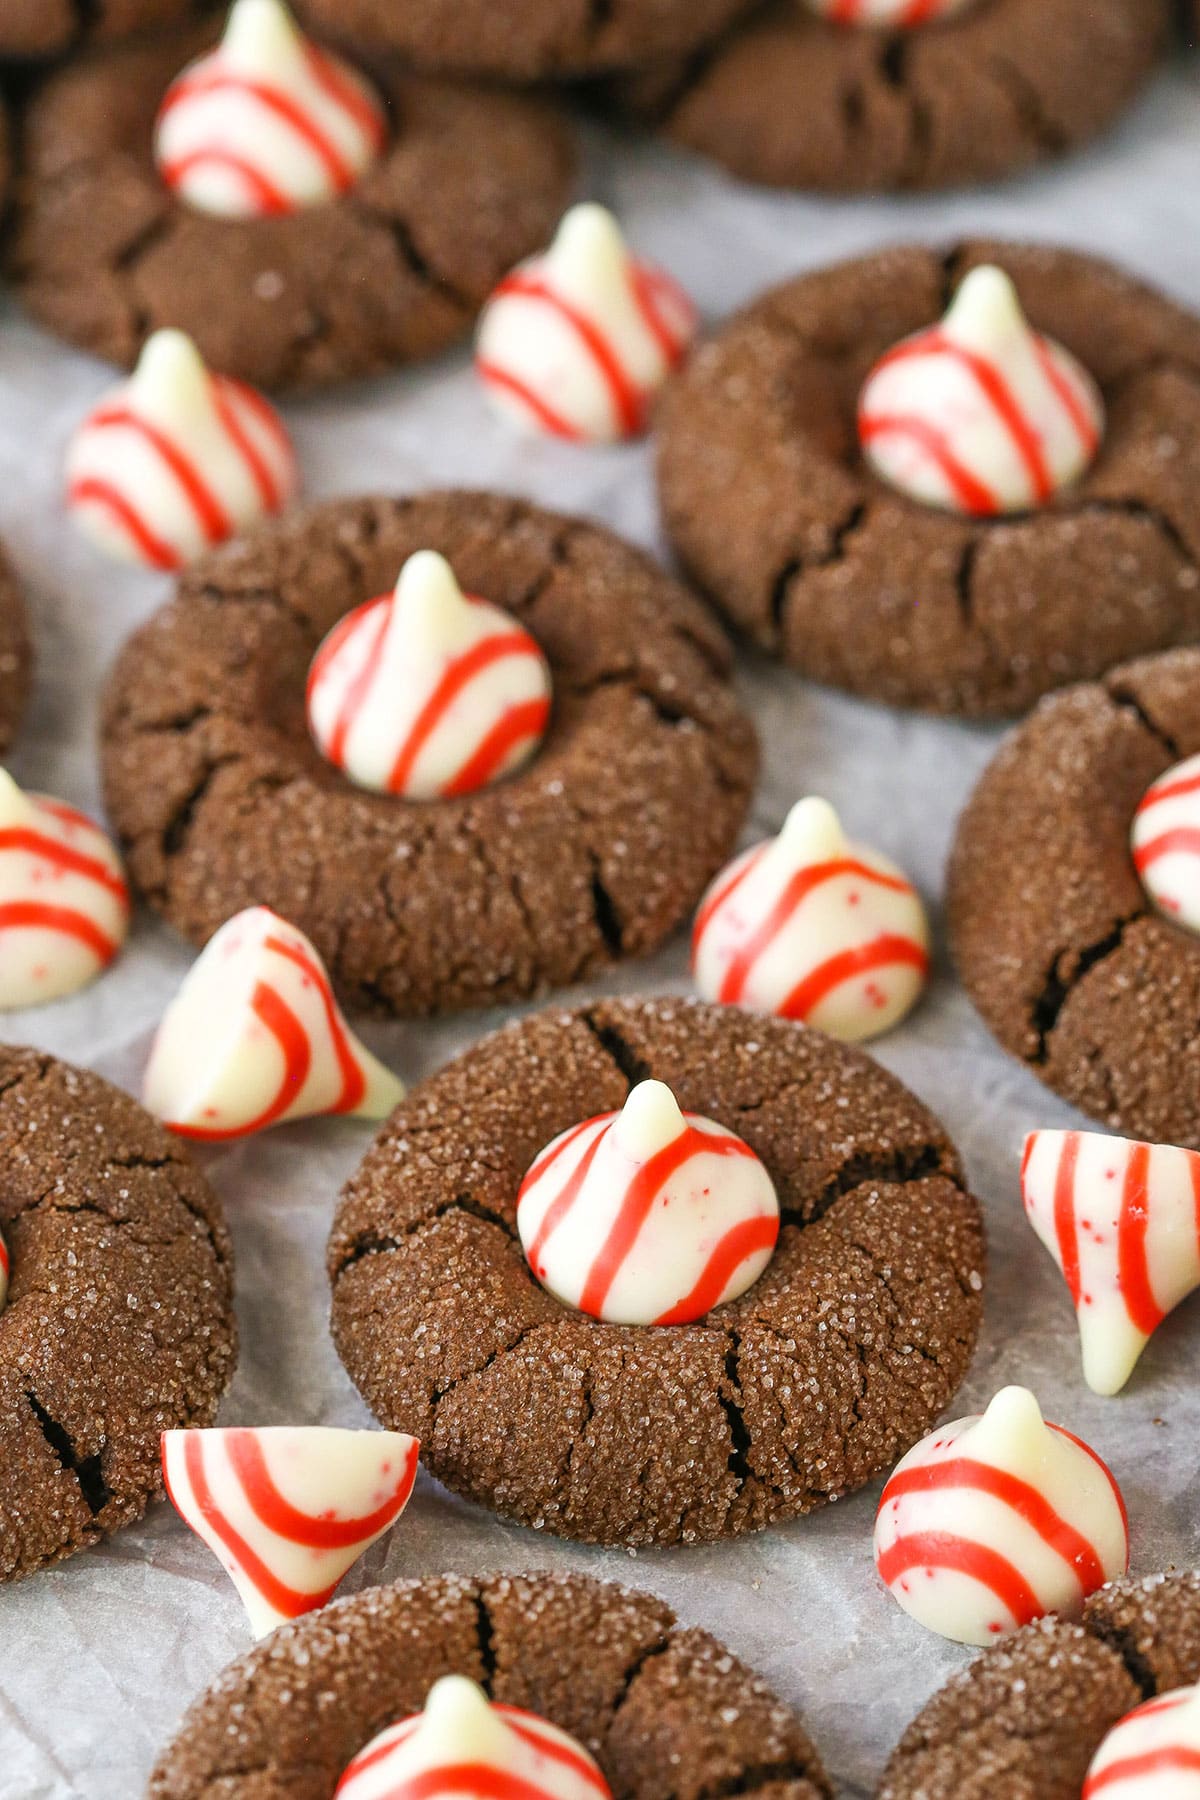
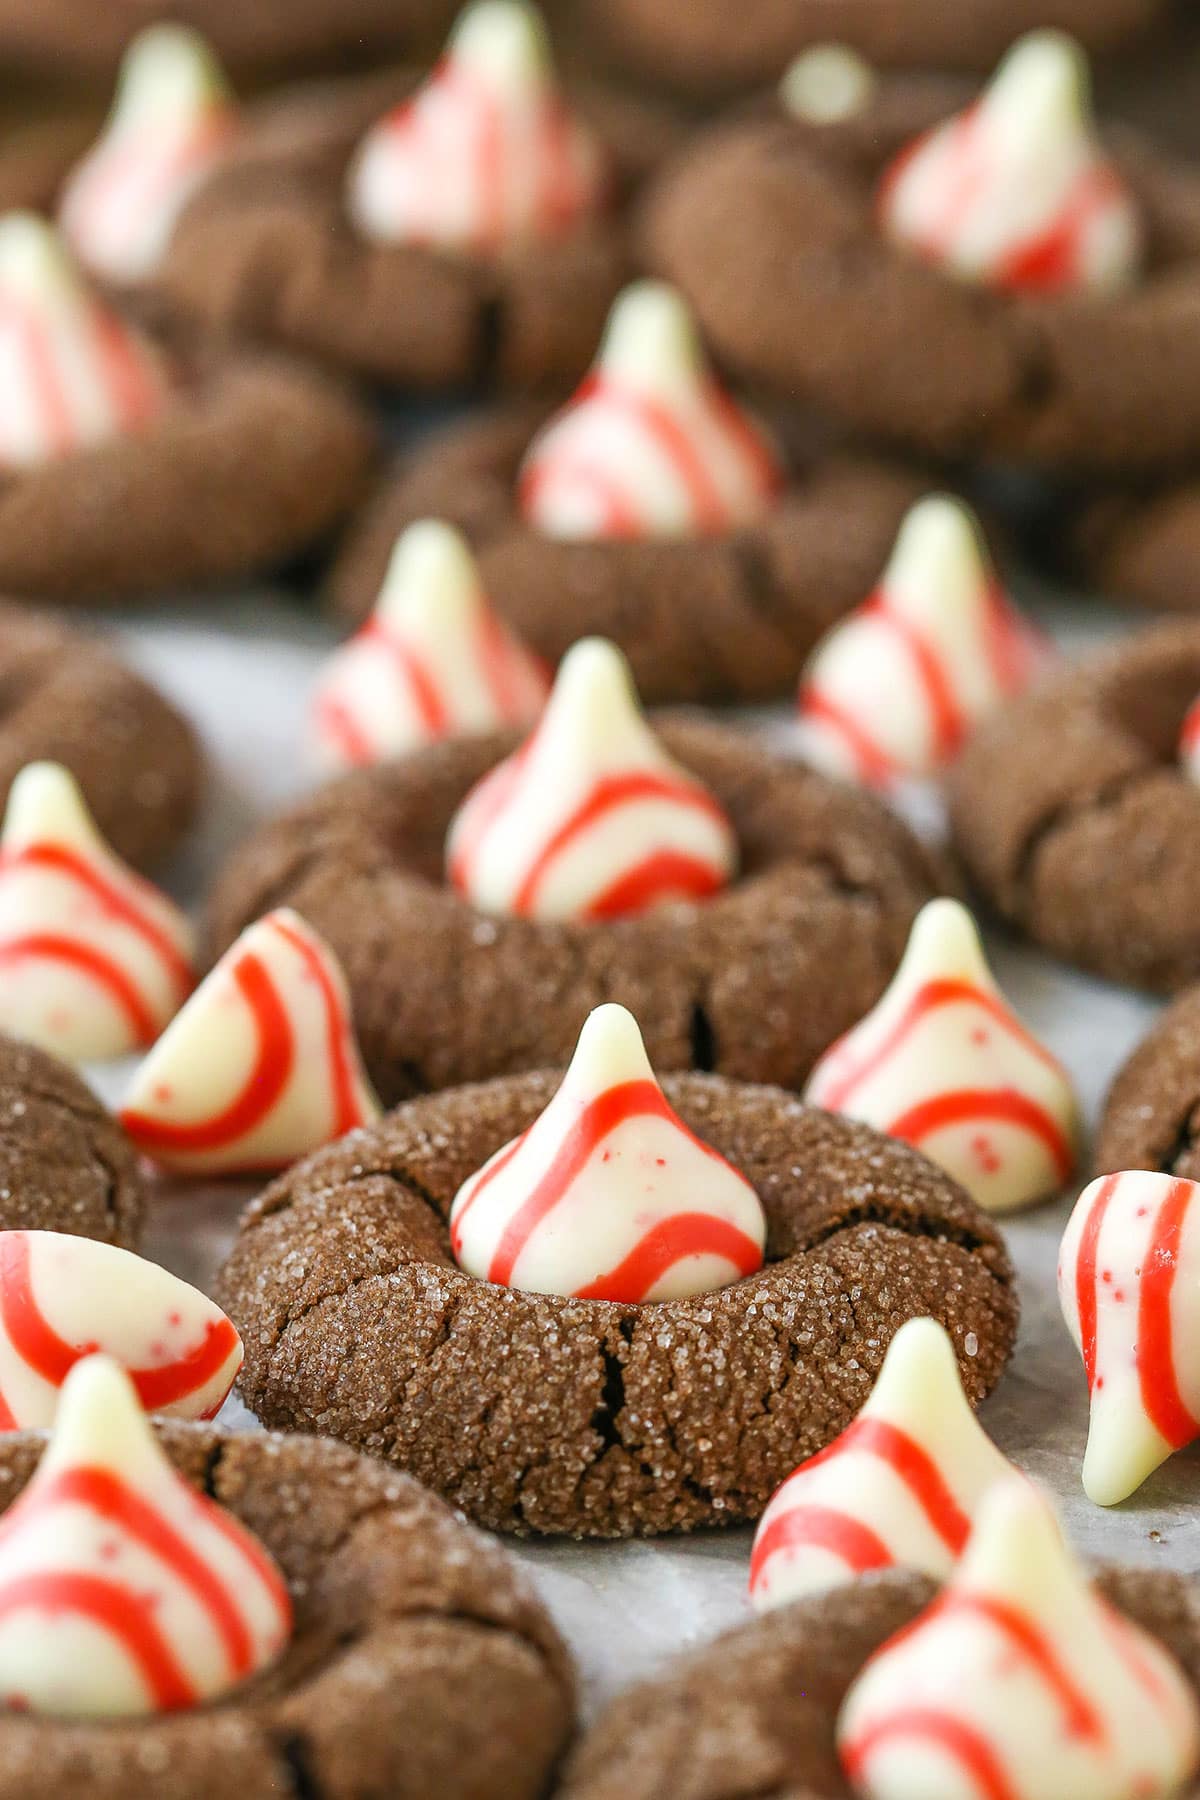
There are few things that I’ve been loving more than peppermint for the holidays. When I was pregnant last year, all of sudden I craved all things peppermint and that hasn’t really gone away. I’m still totally in love with peppermint flavored things for Christmas!
So when I decided to make a chocolate thumbprint cookie, I knew they needed to be topped with the candy cane Hershey kisses. I think of all the little peppermint candies out there, those might be my fave. Such great flavor and I love the little crunchy things in them. So good!
Naturally when you combine a delicious chocolate cookie with a delicious peppermint kiss, you’ve got a fabulous cookie on your hands that’s totally worthy of your cookie tray!
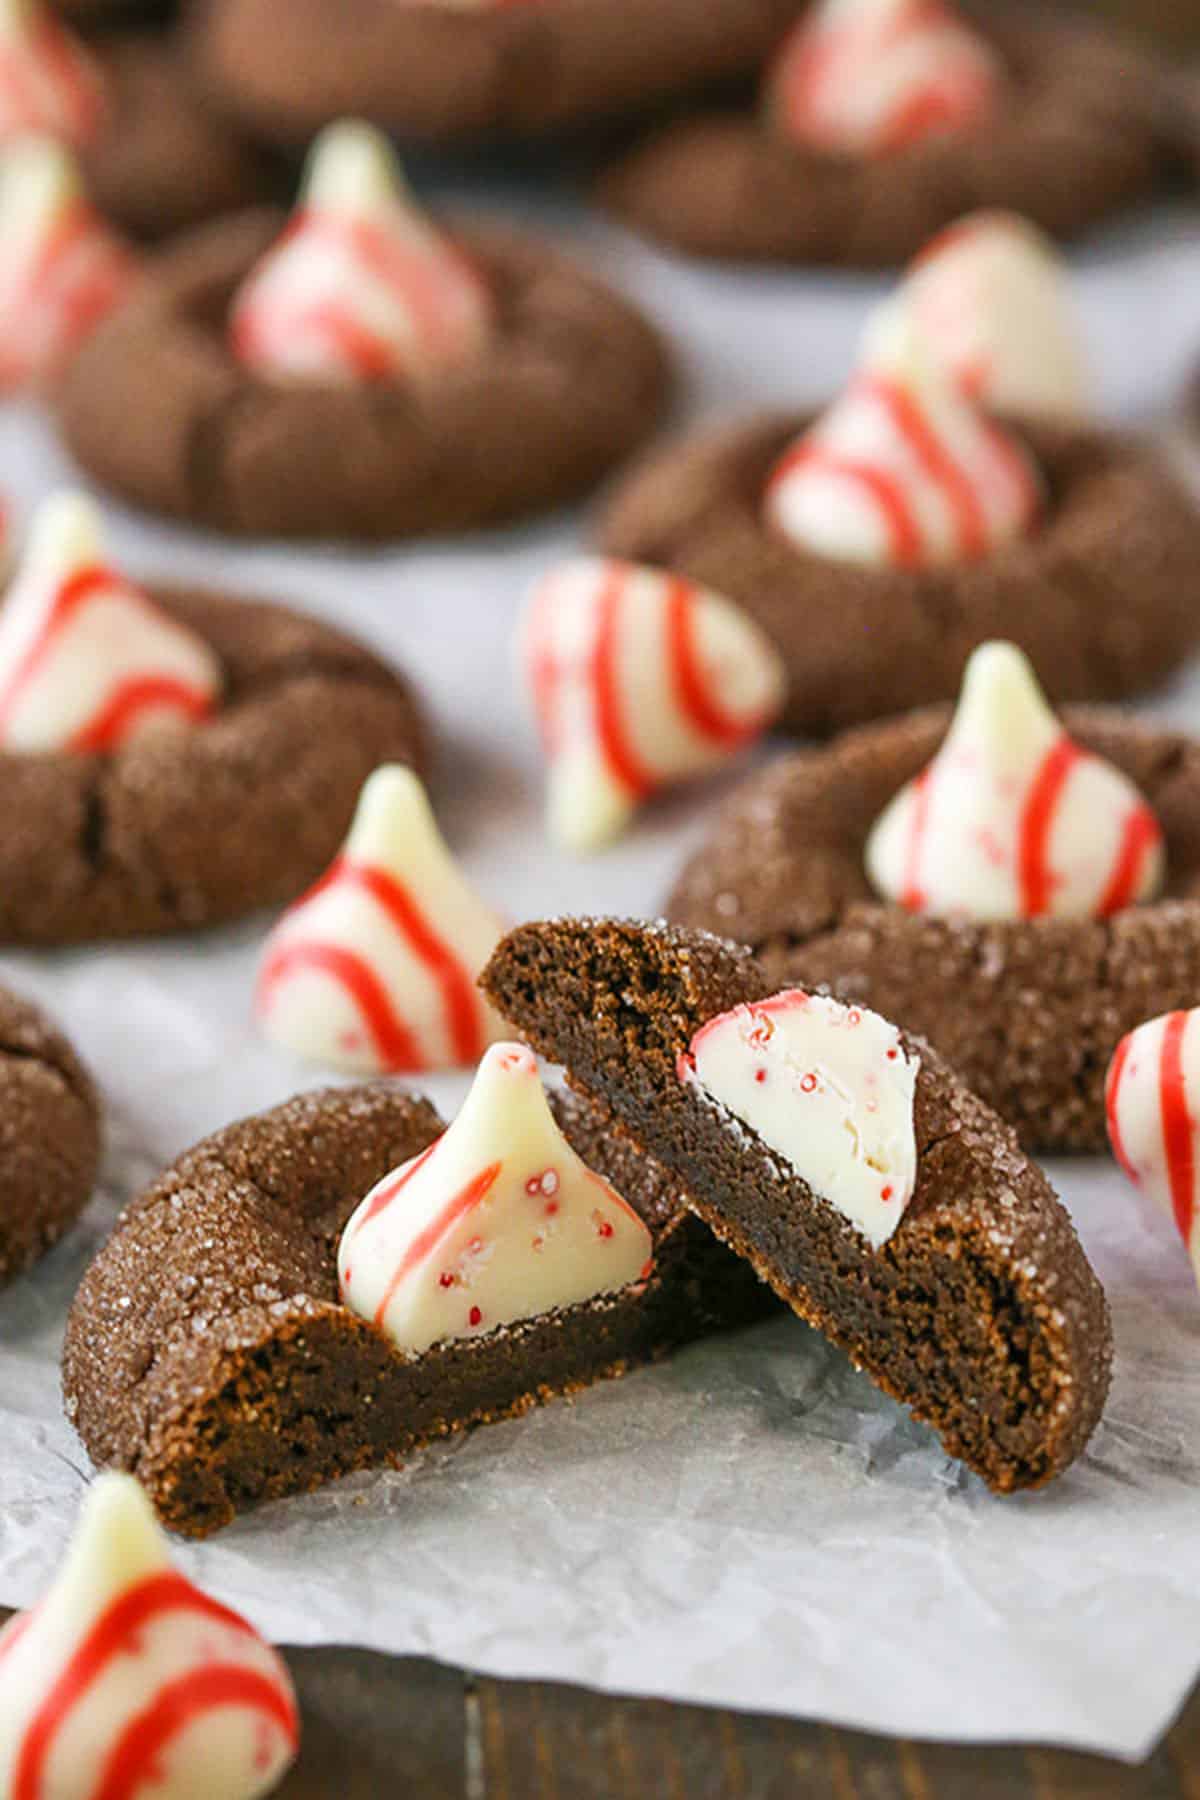
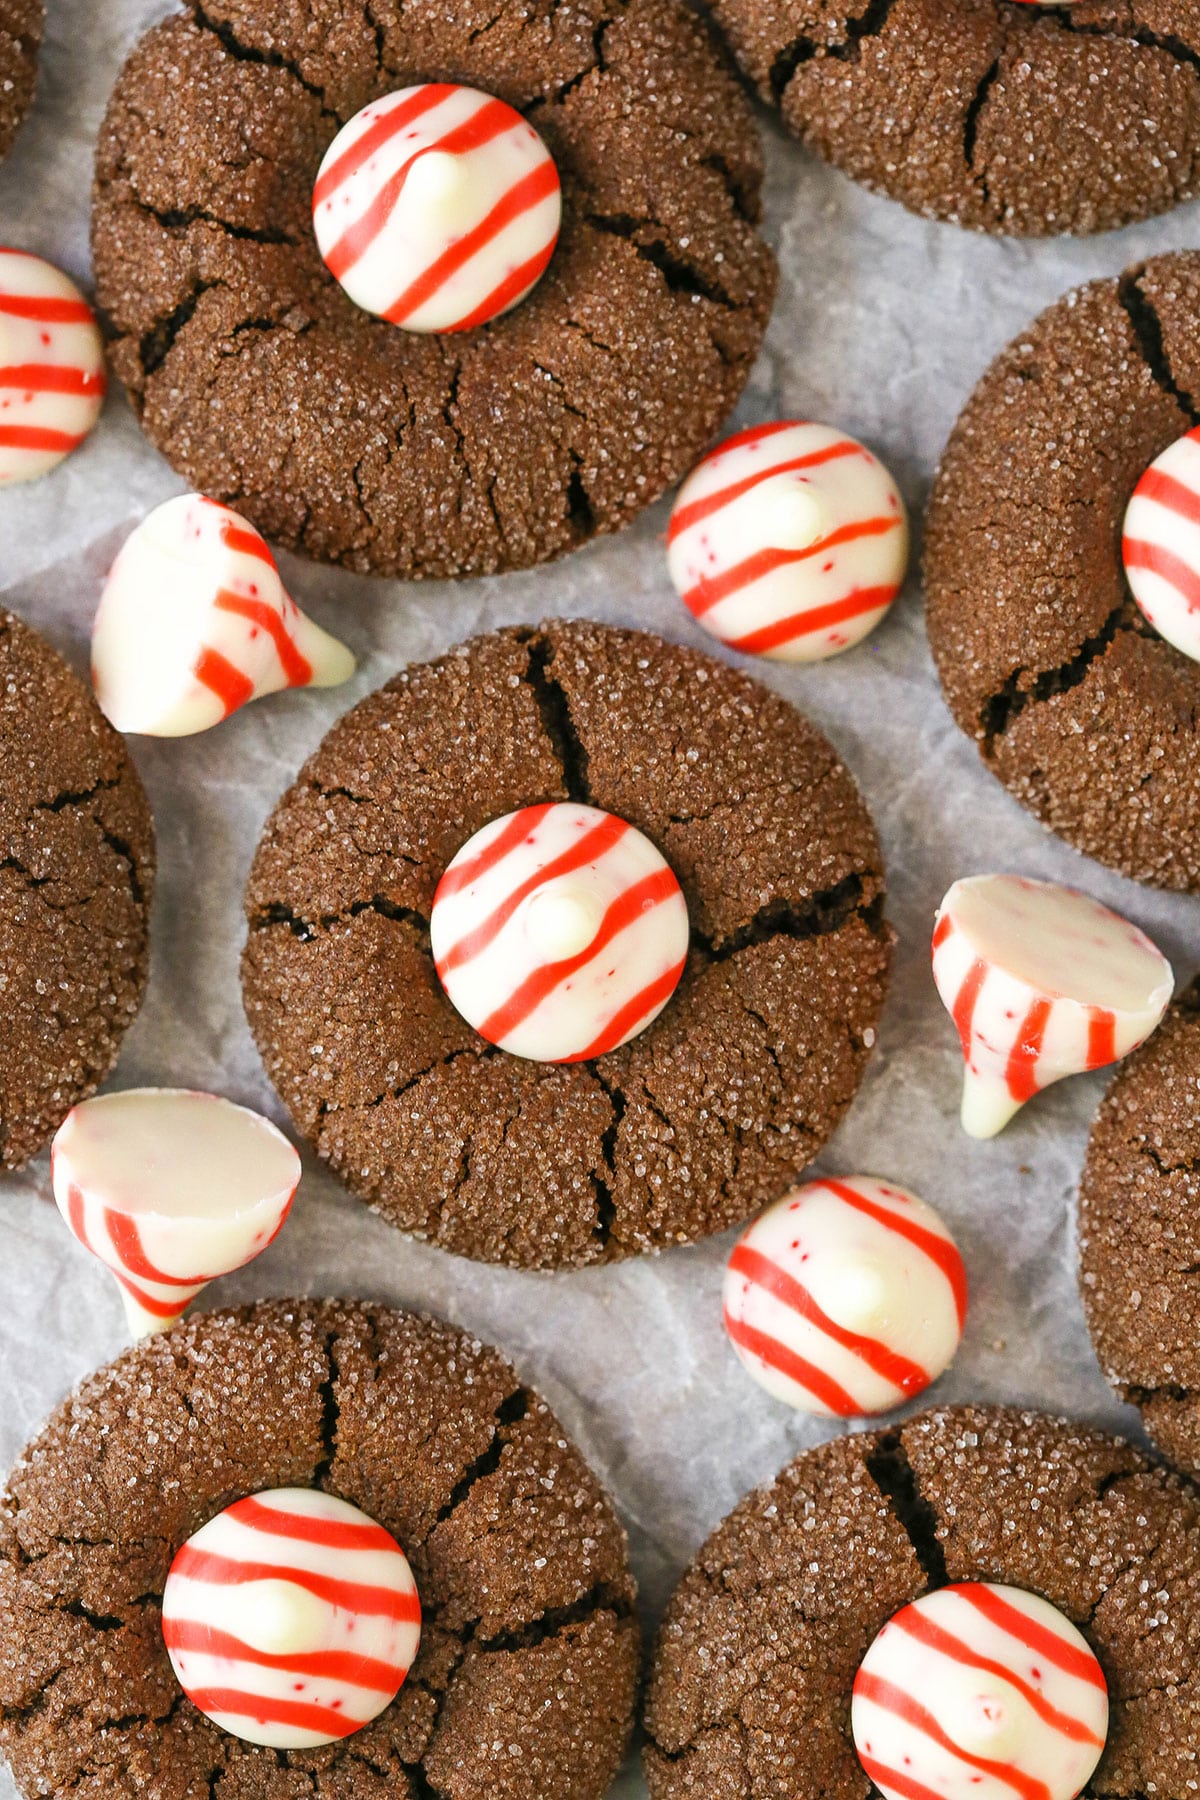
To get started making these little drops of Christmas cookie heaven, you’ll want to cream the butter and sugar together until it’s lighter in color and fluffy in texture. I used both regular and brown sugar in these cookies. I often find that brown sugar offers a deeper flavor and more moisture and they definitely add to these chocolate thumbprint cookies.
Next up you’ll add your egg and vanilla extract, then the dry ingredients. When the cookie dough is ready to go, roll it into large tablespoon sized balls, then roll the balls in a little sugar. After placing the ball onto a cookie sheet, press a little indent into the center of the cookie – a “thumbprint”. It will fill back in a good bit when baking, but it’ll give you a spot to add your hershey kiss later.
The cookies bake for just 6-7 minutes and once they are done, you can add your peppermint kiss.
The final Peppermint Chocolate Thumbprint Cookies are not only pretty, but delicious! So wonderfully soft to bite into, with the crunch of the hershey kisses. I love the chocolate and peppermint flavor combination – just perfect!
You might also like:
Candy Cane Cookies
Peppermint Cheesecake Brownie Trifle
Chocolate Peppermint Shortbread Cookies
Peppermint Chip Layer Cake
Peppermint Espresso Brownie Cheesecake
Chocolate Peppermint Biscotti
Peppermint Chocolate Pancakes
Peanut Butter Blossoms
- Prep Time: 45 minutes
- Cook Time: 25 minutes
- Total Time: 1 hour 10 minutes
- Yield: 26-28 cookies
- Category: Dessert
- Method: Oven
- Cuisine: American
Description
Peppermint Chocolate Thumbprint Cookies are soft, chewy Christmas chocolate cookies topped with peppermint Hershey kisses. Perfect for cookie exchanges!
Ingredients
- 10 tbsp (140g) unsalted butter, room temperature
- 1/2 cup (112g) brown sugar, lightly packed
- 1/2 cup (104g) sugar, plus 3 tbsp for rolling
- 1 egg
- 1 tsp vanilla extract
- 1 1/4 cups (163g) all purpose flour
- 1/2 cup (57g) natural unsweetened cocoa powder
- 1 tsp baking soda
- 1/4 tsp salt
- 26–28 Candy Cane Hershey’s Kisses
Instructions
1. Preheat oven to 350°F (176°C). Line a baking sheet with a silicone baking mat or parchment paper.
2. Combine flour, cocoa, baking soda and salt in a medium sized bowl. Set aside.
3. Cream butter and sugars (minus the 3 tablespoons of sugar for rolling) together until light and fluffy, about 2-3 minutes.
4. Mix in egg and vanilla extract.
5. Add the dry ingredients and mix until well incorporated and thick.
6. Roll one tablespoon sized balls of cookie dough. (NOTE: If you make larger balls of cookie dough, the cookies will spread more.)
7. Put the 3 additional tablespoons of sugar into a small bowl and roll each ball of cookie dough in it, coating the ball fully, then place the cookie dough balls on the lined cookie sheet.
8. Bake the cookies for 6-7 minutes.
9. Remove the cookies from the oven and press an unwrapped hershey kiss into the top center of each cookie. Allow cookies to cool for 2-3 minutes, the remove to cooling rack to cool completely.
Notes
The cookie dough can be made ahead and refrigerated for up to 3 days. While you don’t have to refrigerate the cookie dough before baking, I do find that if you refrigerate it for about 24 hours first, the cookies bake even more soft, thick and chewy.
Nutrition
- Serving Size: 1 Cookie
- Calories: 92
- Sugar: 6.7 g
- Sodium: 70.1 mg
- Fat: 4.9 g
- Carbohydrates: 11.9 g
- Protein: 1.2 g
- Cholesterol: 17.5 mg
Categories
Enjoy!


Not sure what I did wrong..but the dough is way too sticky to roll…I hope it firms up in the fridge
I made these cookies today and after mixing the ingredients the dough was was very gooey so I added more flour. don’t know if this was right thing to do but they tasted very good. the first batch was still not cook on the inside so the next batch I bake them a little longer
Just made these. Used a small cookie scoop to form balls, ended up with 32 cookies. Waited 2 min before I removed from cookie sheet and placed kisses on them without any issues. I did bake for 8 min and I ended up with a soft cookie which had a fudge like flavor. Perfect..thanks for posting.
Ps..I added one teaspoon instant coffee to my batter to enhance the chocolate.
So glad you enjoyed them!
Delicious! My 1″ cookie balls made 70 cookies so make sure you have lots of unwrapped kisses on hand! I put mine in the freezer before baking the cookies and they kept their shape when pushed into the hot cookies.
I love these. The chocolate and peppermint go together for the holidays better than chocolate and peanut butter, which are year round cookies.
So glad you enjoy them!
My Hershey kisses melted after placing on cookies right out of the oven. Found another version of the recipe which says to wait 2-3 minutes for cookies to cool a little, then place kiss on top.
I added about 1/2 tsp peppermint extract to the batter. My son said I now have to make these every year at Christmas.
Do you think I could roll these in powdered sugar instead of granulated before baking to give it a snowy appearance.
I believe that the powdered sugar would melt while baking and disappear into the cookie.
We made these for the first time today ant the are delicious! I used a cookie scoop which makes a bigger size but easier to keep consistent. We alternated mint and regular kisses as well as peanut butter cups. All three tasted great. The peanut butter cups melt a bit more.
They were pretty wet inside after 7 minutes. Most thumbprint cookies bake for about 10 minutes.
Can a person use salted butter and just not add the additional salt ?
Definitely!
These look soooooooooo pretty! I am totally making these at some point! Just one question, does th indent you add before baking change the way it bakes or looks? I just wanted to let you know that these cookies are so cute! Thank you!
-Hannah
Thanks Hannah! The indent might change it just a bit as far as how it looks, but nothing big.
These taste great but unfortunately mine came out completely flat also, so way too big and flat to put a HERShey’s kiss on. I wonder what could possibly be the difference? I followed the recipe exactly and even refrigerated the 2nd sheet and it didn’t make a difference.
Hmm, that really is strange. Especially if you refrigerated a batch and still had them spread that much. Was the butter and sugar creamed well? Did you weigh the flour (which I like to do to be sure it’s measured correctly)?
The chill step is not listed. How long do you chill the dough?
That’s because chilling isn’t a step. You could refrigerate the cookie dough before making them and keep it for a couple days, but I didn’t.
I’ve had similar problems with other cookie recipes. Use butter flavored Crisco in place of the butter!
A Peppermint mocha is my favorite coffe indulgence drink- do you know how I could turn these into peppermint chocolate-espresso thumbprint cookies? If not they look amazing as is, and I am looking forward to making them!
I love that drink too! You could try adding some powdered espresso to the cookie dough and see if that gives it a nice coffee flavor.
Is it ok to freeze these cookies? I have to make a lot for a cookie swap.
Yes, that should be fine. I’d suggest thawing in the fridge when you’re ready to.
Making these this weekend and will get back with you after they are finished for a few review!
I’ve made these cookies the past couple yrs. (not the same recipe for the choc. cookie), but the candy cane kisses melt down to a little puddle. Yours still look perfectly shaped on a hot cookie. Maybe making the indentation helps, but I’ve had to wait til the cookies cool awhile before putting on the kisses. What’s your secret?
Hmm, interesting. Did you add the kiss after baking? I’m assuming you did, which is what I did and I didn’t have that issue. It definitely softened and if I had wanted to, I could push down on it and it would flatten out – but it stayed put if I left it alone. I don’t think I have a secret – I’m sorry!
When I bake similar hershey kiss cookies, I find it helps to flash freeze the candy before topping the cookies, especially if a softer variety like the pumpkin spice kisses! Perhaps the white chocolate is just a firmer candy and that is why Lindsay’s stayed intact?
This recipe is not what I expected. I followed it to a T, and they spread paper thin. I would suggest a nice pumpkin chocolate chip cookie instead.
Made these cookies this afternoon. They are so, so good! Just the perfect amount of flavor. We’re planning to make 200 of this recipe for a gathering to support area foster children. One question though – the cookies came out much flatter than those in your pictures. Do you think it would help to refrigerate the dough balls before baking? Does making the thumb imprint ahead of baking (per your blog) somehow help the cookies not flatten? The thumb print prior to baking was the only thing we didn’t do.
The thumbprint shouldn’t make a difference. It can be hard to say exactly what the difference is. Could be that some ingredient was measured a little differently. Could be the cookie sheet – I use sort of a medium color cookie sheet and I think the cookies spread a little more on a light sheet. I’m glad to hear you enjoyed them!