This post may contain affiliate sales links. Please read my disclosure policy.
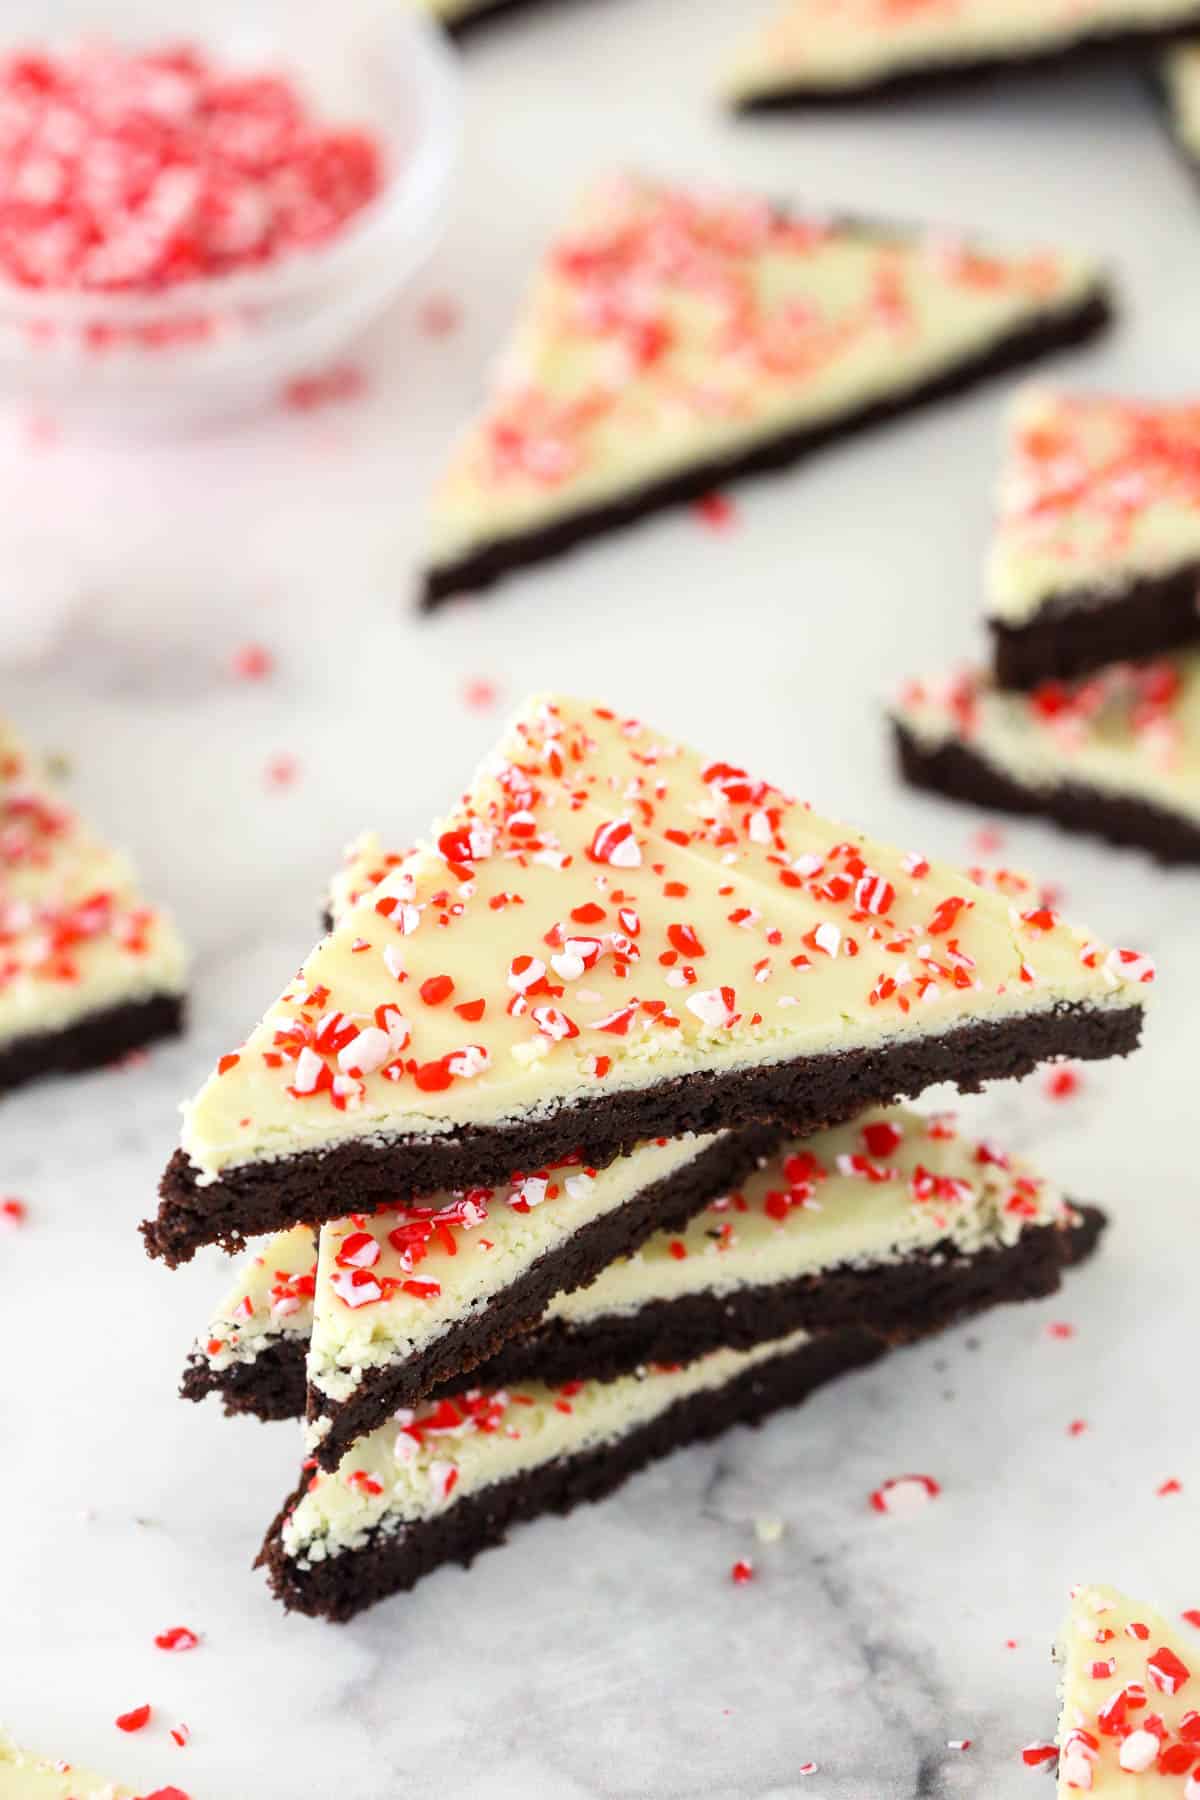
These Peppermint Bark Cookies are festive, fun, and totally delicious. This recipe takes the idea of traditional peppermint bark and turns it into a fun cookie! A chocolate cookie base, white chocolate peppermint topping, and crushed candy canes create one of my new favorite Christmas cookies!
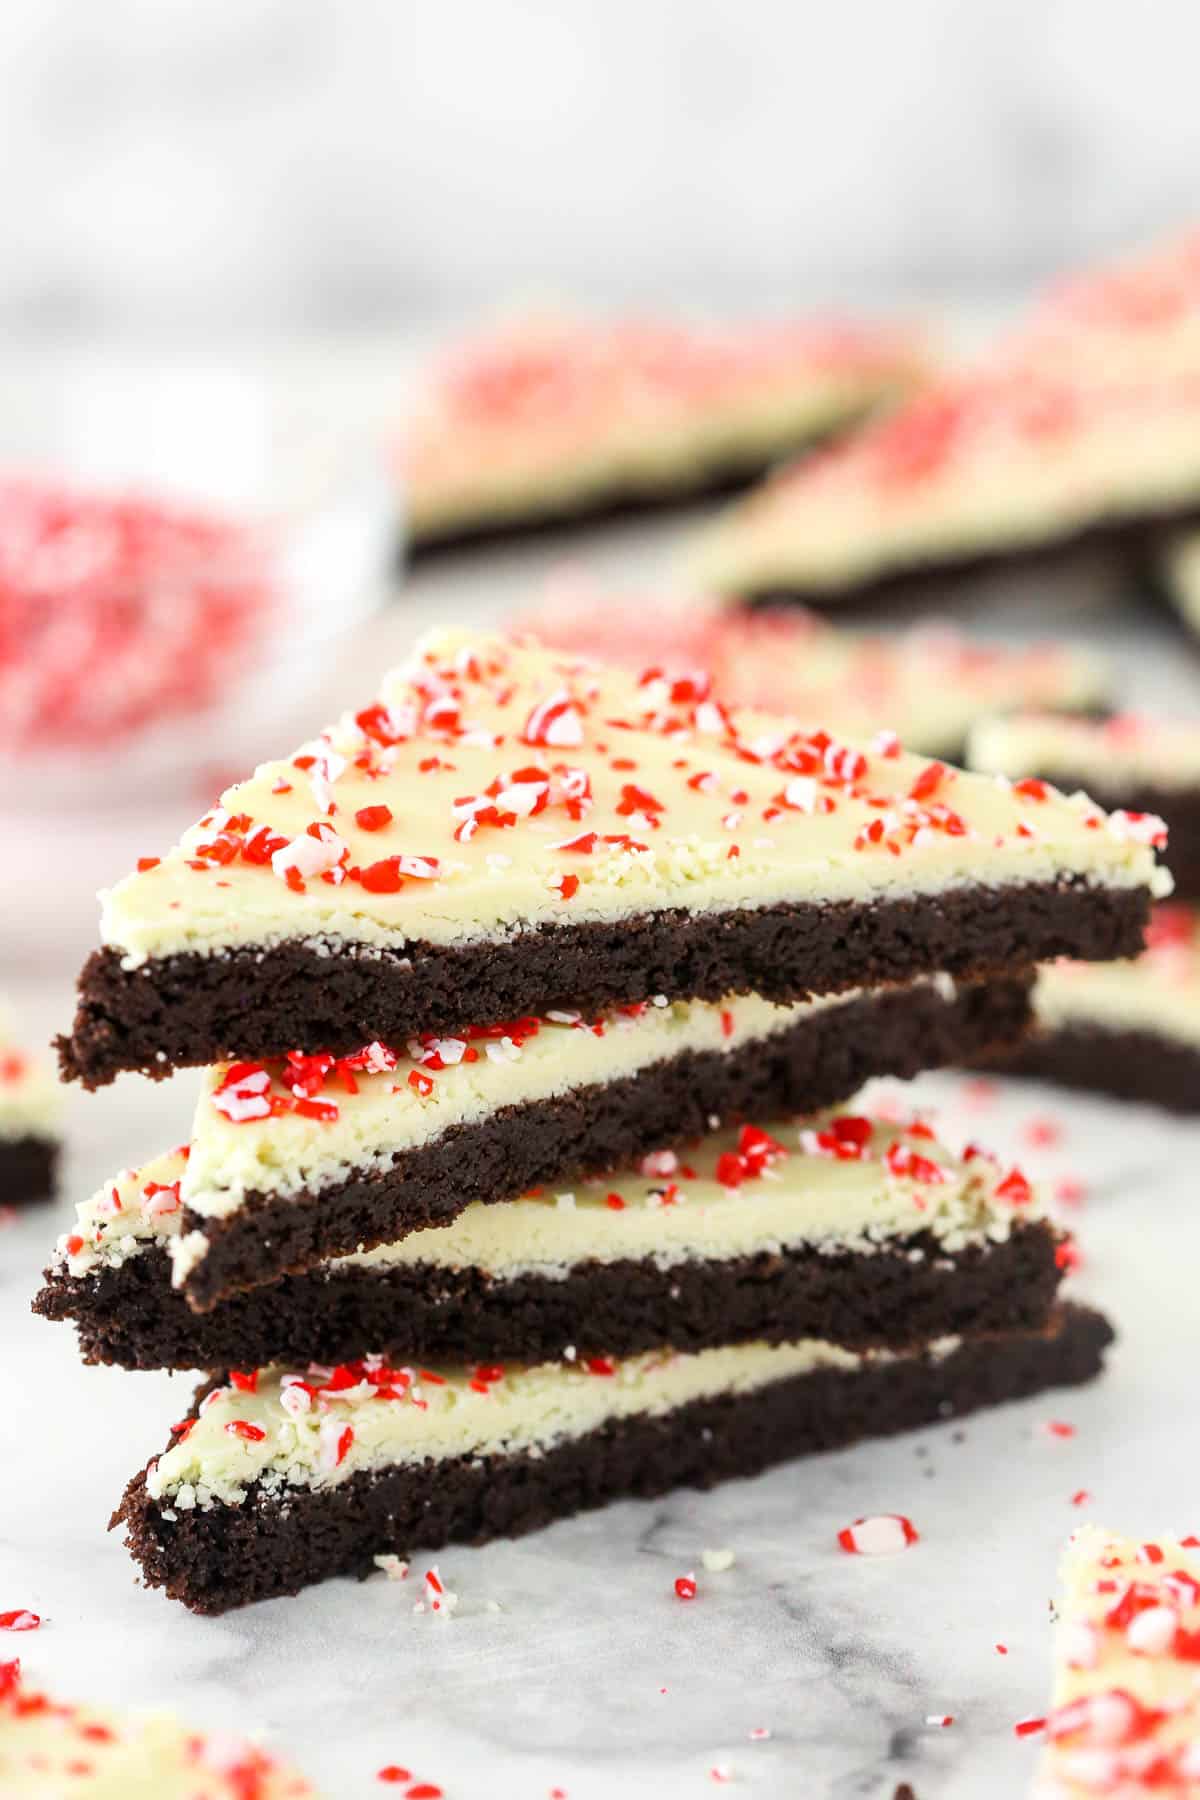
- Soft and smooth. The chocolate cookie base has a lightly cakey texture, and it’s topped off with smooth white chocolate for a perfectly balanced bite.
- The best blend of sweet and minty. The white chocolate topping pairs vanilla extract with peppermint to keep it from tasting like toothpaste. Trust me – without the vanilla, the chocolate reminds you of toothpaste instead of candy canes. Not ideal!
- Perfect for the holidays. These peppermint bark cookies will be the stars of your Christmas cookie tray! The crushed candy canes are a super fun touch and make these cookies really festive. (You can also use crushed peppermint candies that come in jars to make them easier if you like. Either way works great!)
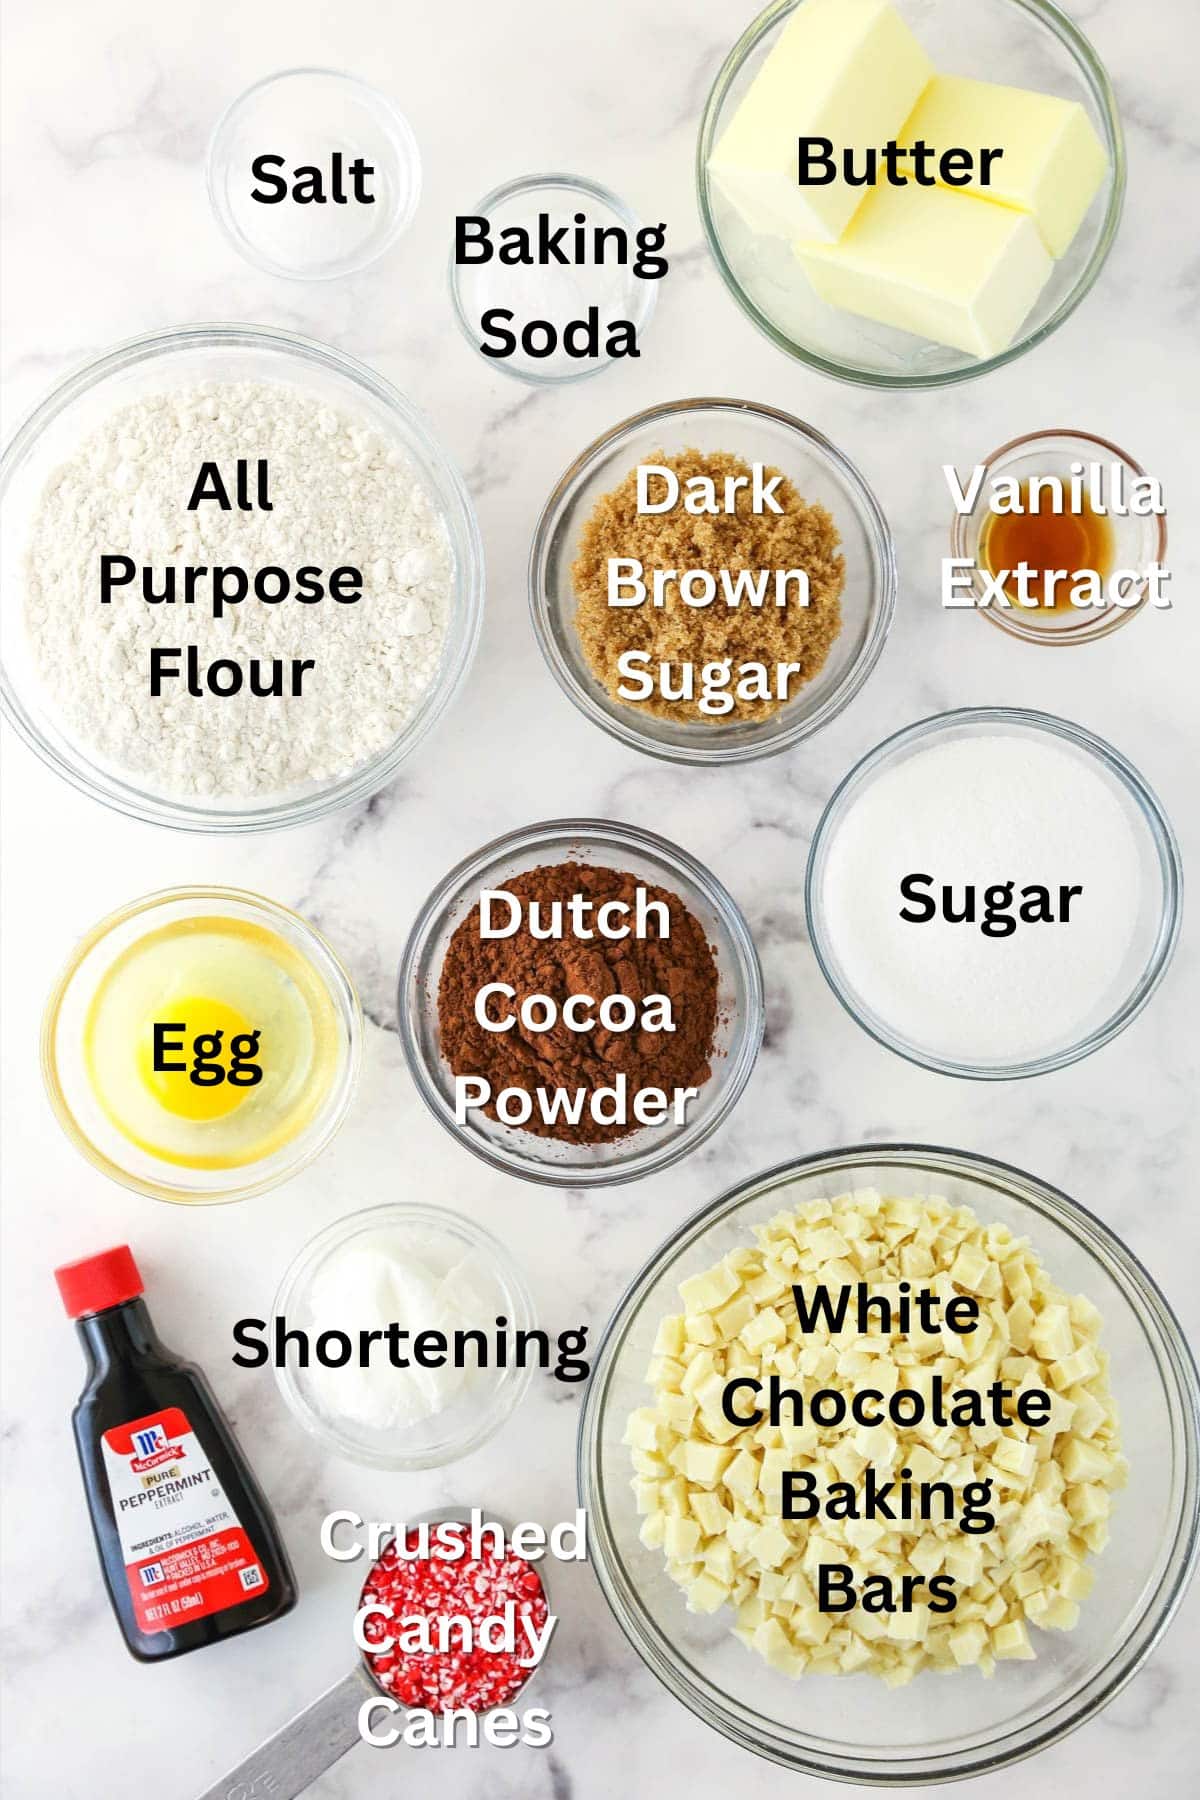
What You’ll Need
Since there are two layers to this Christmas cookie recipe, you’ll notice a slightly longer ingredient list than normal. Don’t worry! All the ingredients come together in a simple way and create incredible flavor. Scroll down to the recipe card for the actual amounts of each ingredient.
For the Cookies
- All-purpose flour – I recommend using a food scale to ensure accuracy, but you can also use the spoon and level method.
- Cocoa powder – I like using dark Dutch cocoa powder for a richer chocolate flavor.
- Baking soda
- Salt
- Unsalted butter – Set the butter out on the counter for about an hour to bring it to room temperature.
- Dark brown sugar – To add more moisture to the cookies.
- Sugar
- Egg – Make sure to use a large egg.
- Vanilla extract
For the White Chocolate Peppermint Topping
- White chocolate baking bars – I recommend either Baker’s or Ghirardelli.
- Shortening – I used vegetable shortening.
- Peppermint extract – You can find this in the baking aisle of your grocery store if you don’t already have some at home.
- Vanilla extract – Be sure to use the vanilla extract in the white chocolate topping. As mentioned above, it helps soften the peppermint flavor, so it doesn’t taste like toothpaste.
- Candy canes – Crushed candy canes add a great crunchy texture to these cookies!
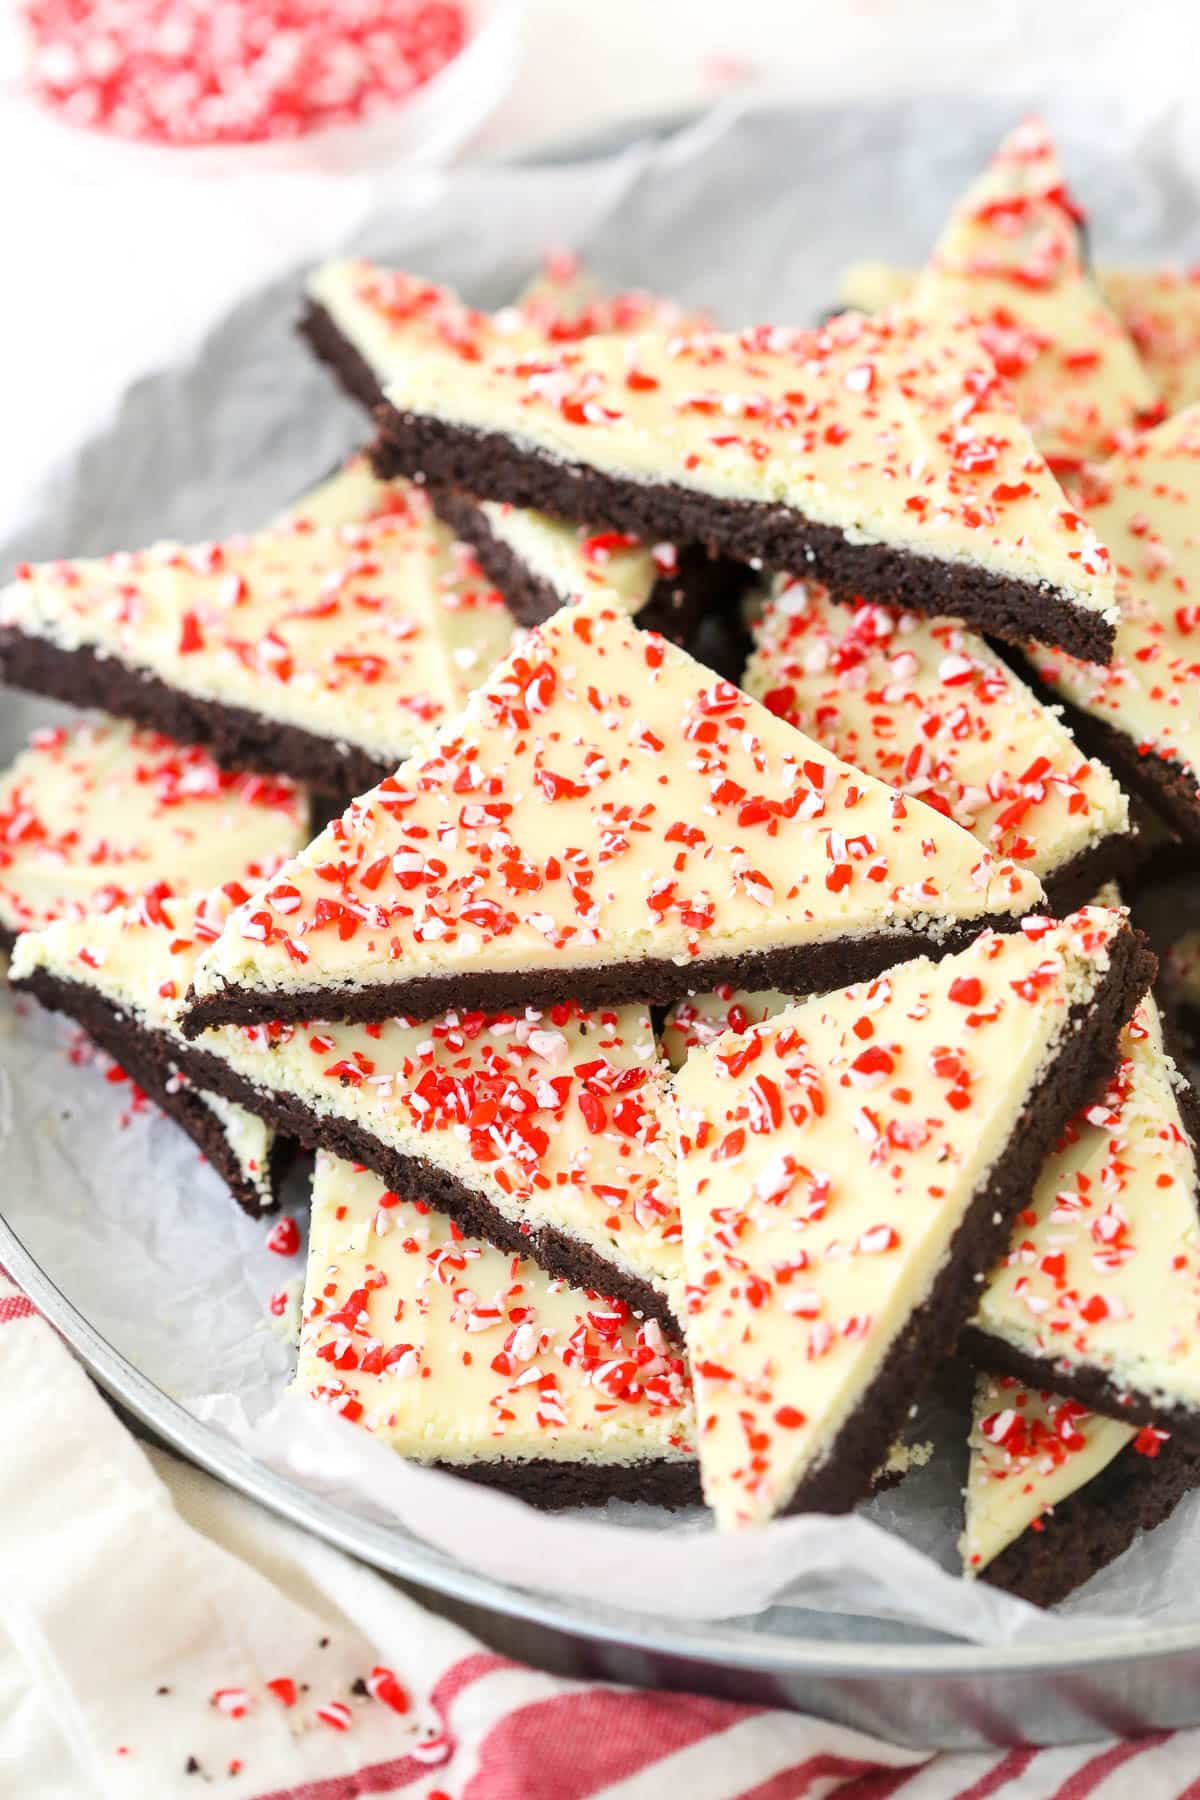
These Christmas cookies are a showstopper both visually and when it comes to flavor. They’re sure to stand out at any holiday gathering and make a festive addition to your cookie tray. Here’s how to make them. (Scroll down to the recipe card for the full set of directions.)
To Make the Cookie Base
- Prepare for baking. Preheat the oven to 350°F and prepare a 9×13 inch pan with parchment paper.
- Combine the dry ingredients. Mix the flour, cocoa powder, baking soda, and salt in a medium-sized bowl, then whisk everything together.
- Cream the butter and sugar. Add the butter and both sugars to the bowl of a stand mixer and beat on medium-high speed until the mixture is light in color and fluffy (2-3 minutes).
- Add the egg and vanilla. Add the egg and vanilla extract to the creamed butter and beat until they’re fully incorporated.
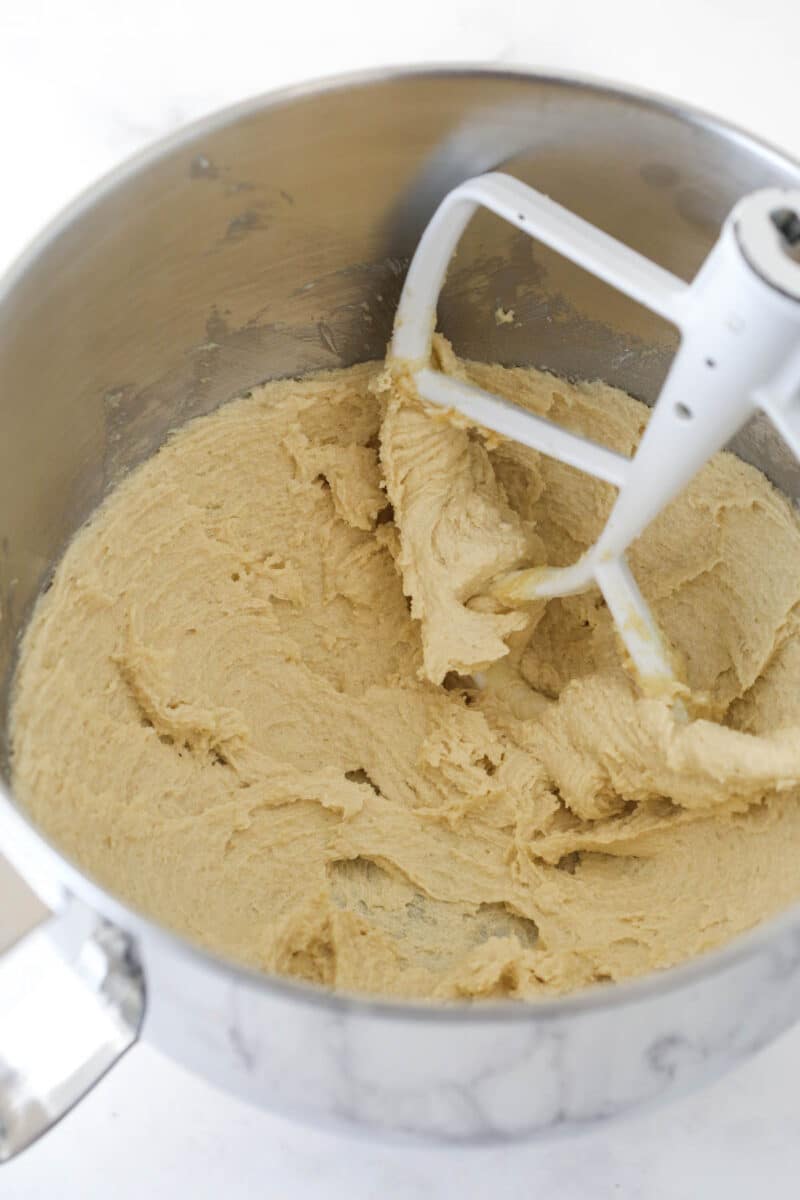
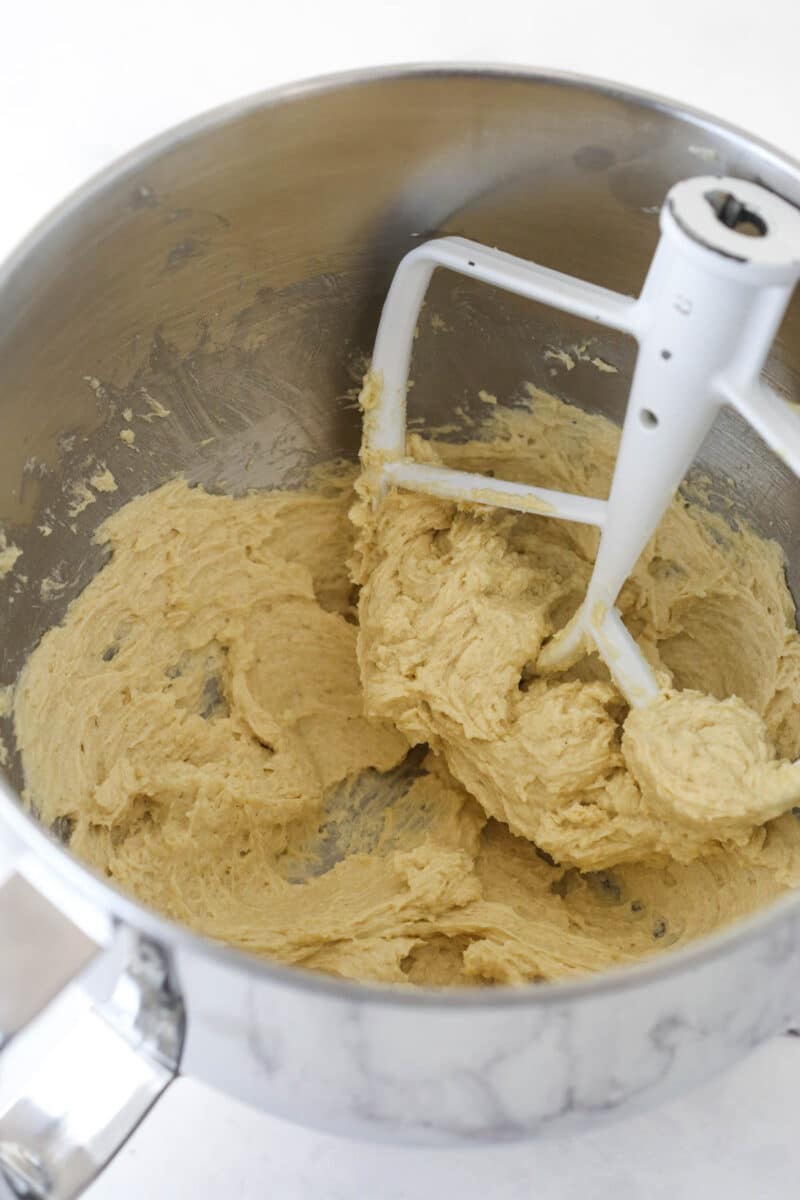
- Add the dry ingredients. Add the dry ingredients to the wet and mix them by hand until the batter is combined. You want to avoid over-mixing here, or you’ll lose all the light airiness you developed when creaming the butter.
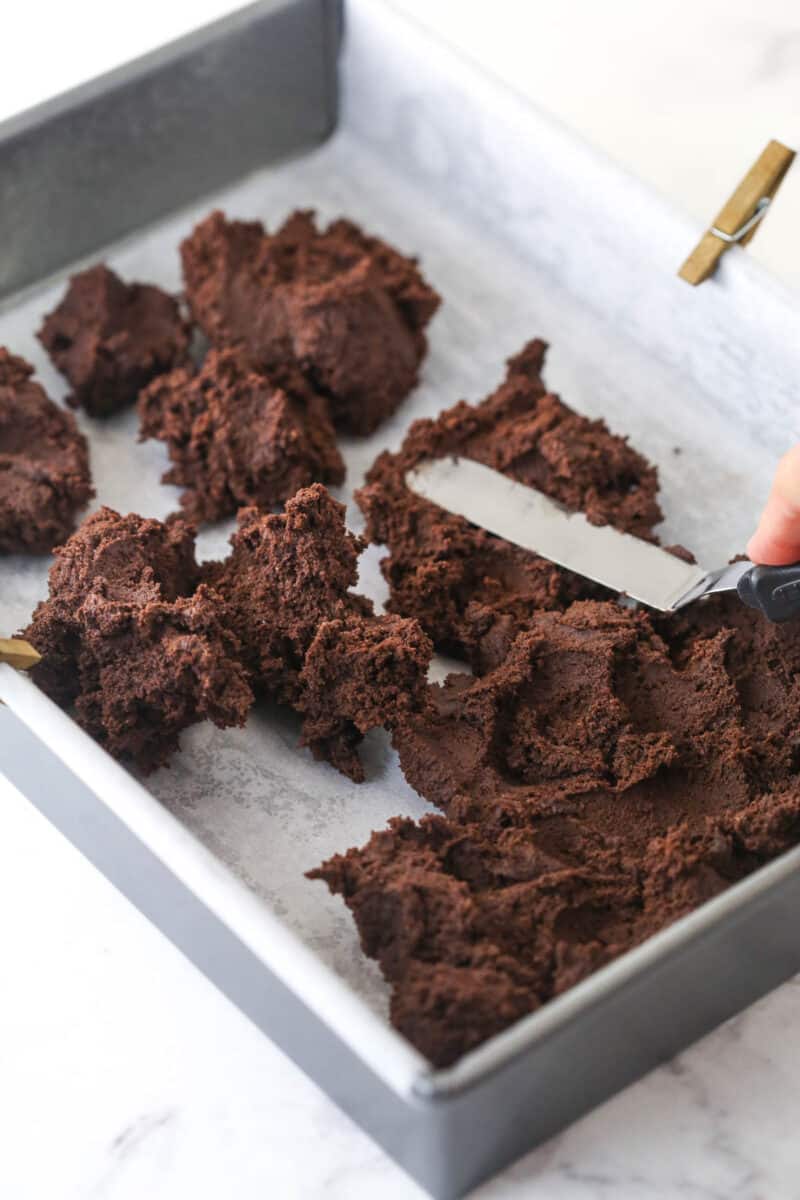
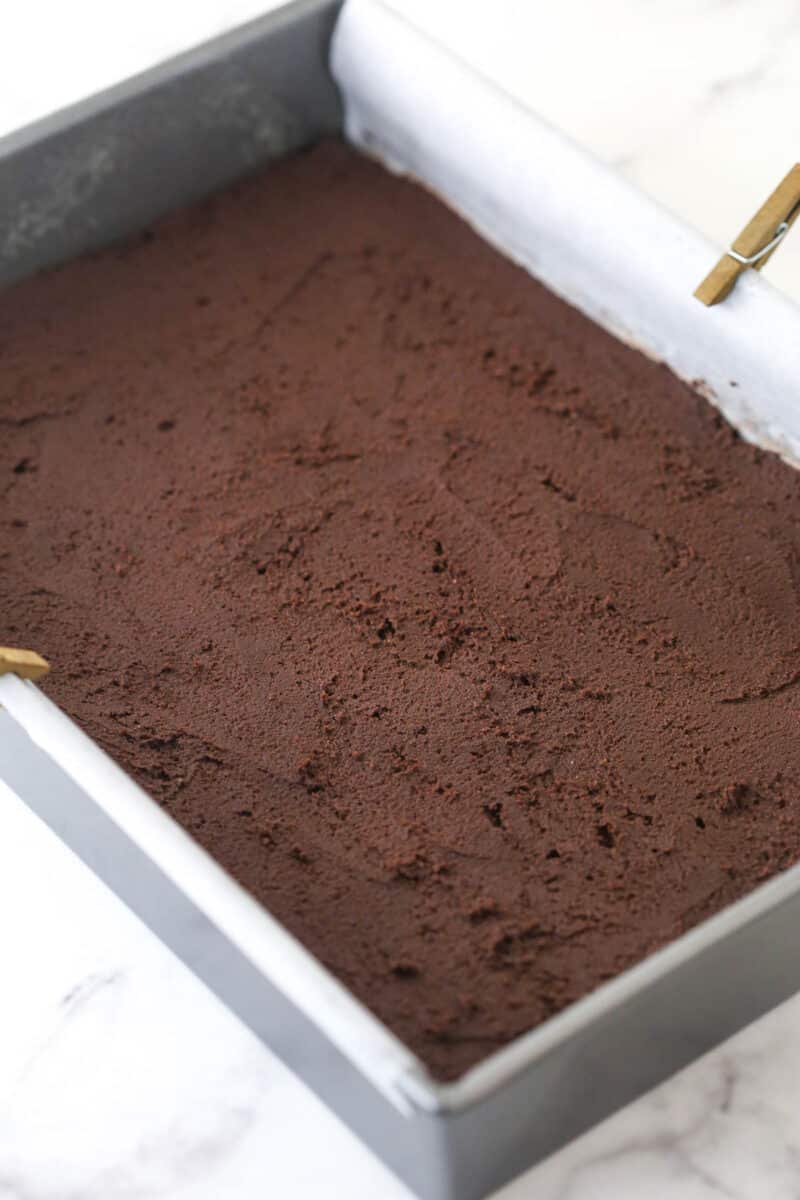
- Press the cookie dough into the pan. Spoon out the cookie dough into the prepared pan. Press it evenly into the bottom with your fingers or an off-set spatula until you have a nice even layer.
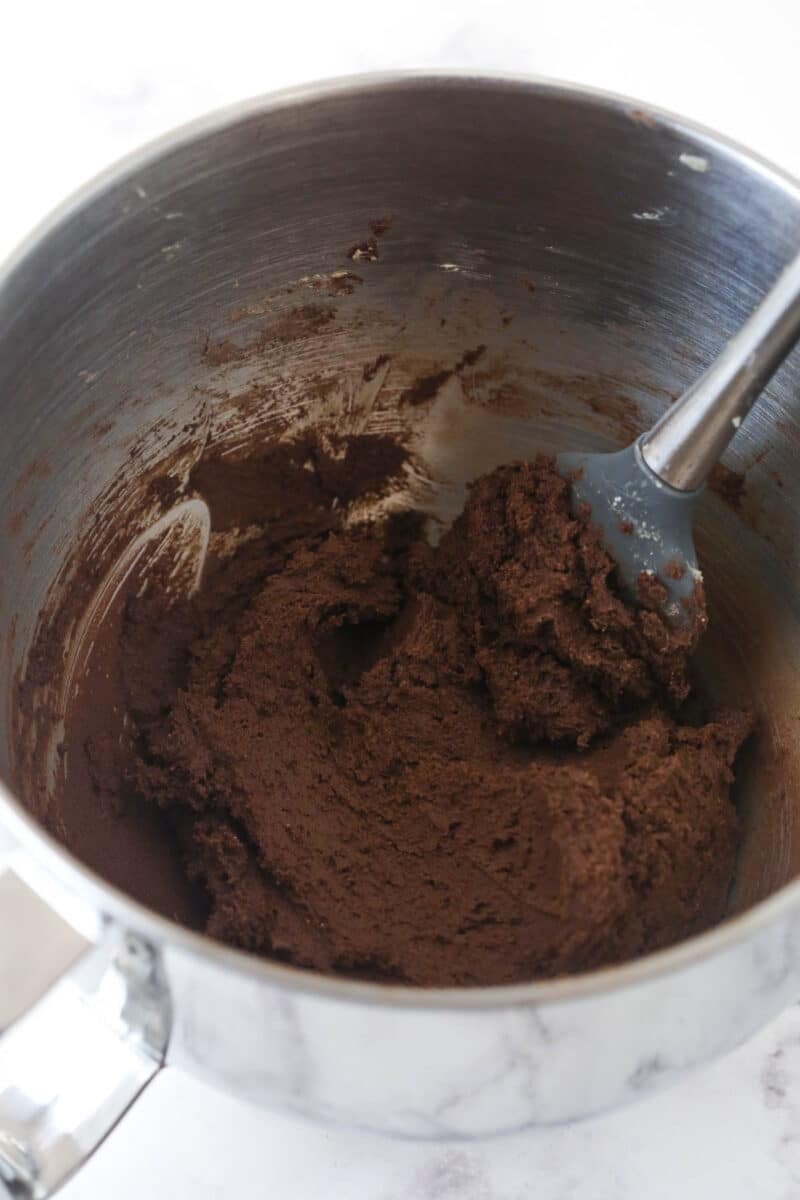
- Bake. Bake the cookie base for 10-15 minutes or until the dough is no longer glossy on top. It should have a nice golden brown color but shouldn’t look crispy.
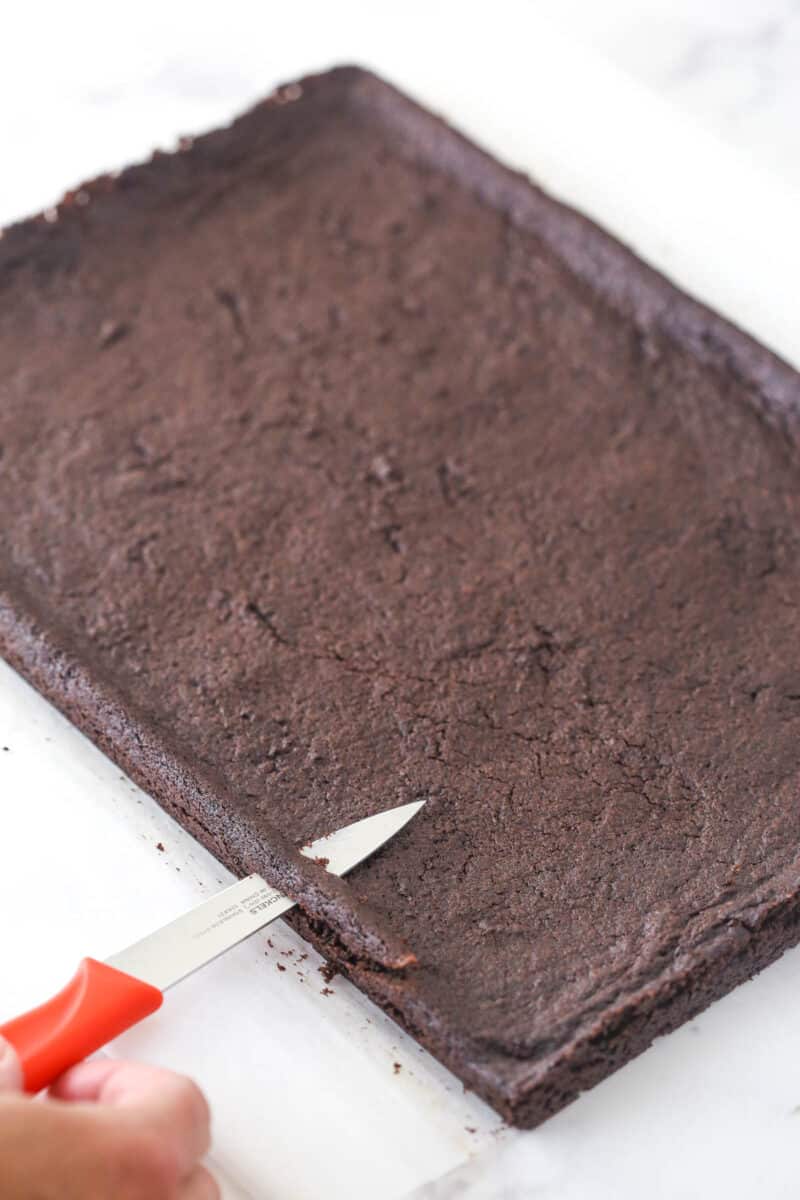
- Cool. Remove the cookie from the oven and allow it to cool completely in the pan. Once cool, remove and set it on a cutting board or a large flat plate. Use a sharp knife to trim any edges that look slightly raised, so everything is even and flat. Those extra bits are yours to enjoy!
To Make the White Chocolate Peppermint Topping
- Melt the white chocolate. Add the white chocolate and shortening to a medium-sized microwave-safe bowl and heat it in 30-second increments, stirring between each. You want to heat only enough that the chocolate melts and combines smoothly with the shortening. Take care not to scorch the chocolate by heating it too much or too quickly.
- Finish the topping. Add the peppermint and vanilla extracts to the melted chocolate mixture and stir to combine. You’ll notice the mixture will thicken, but it shouldn’t seize.
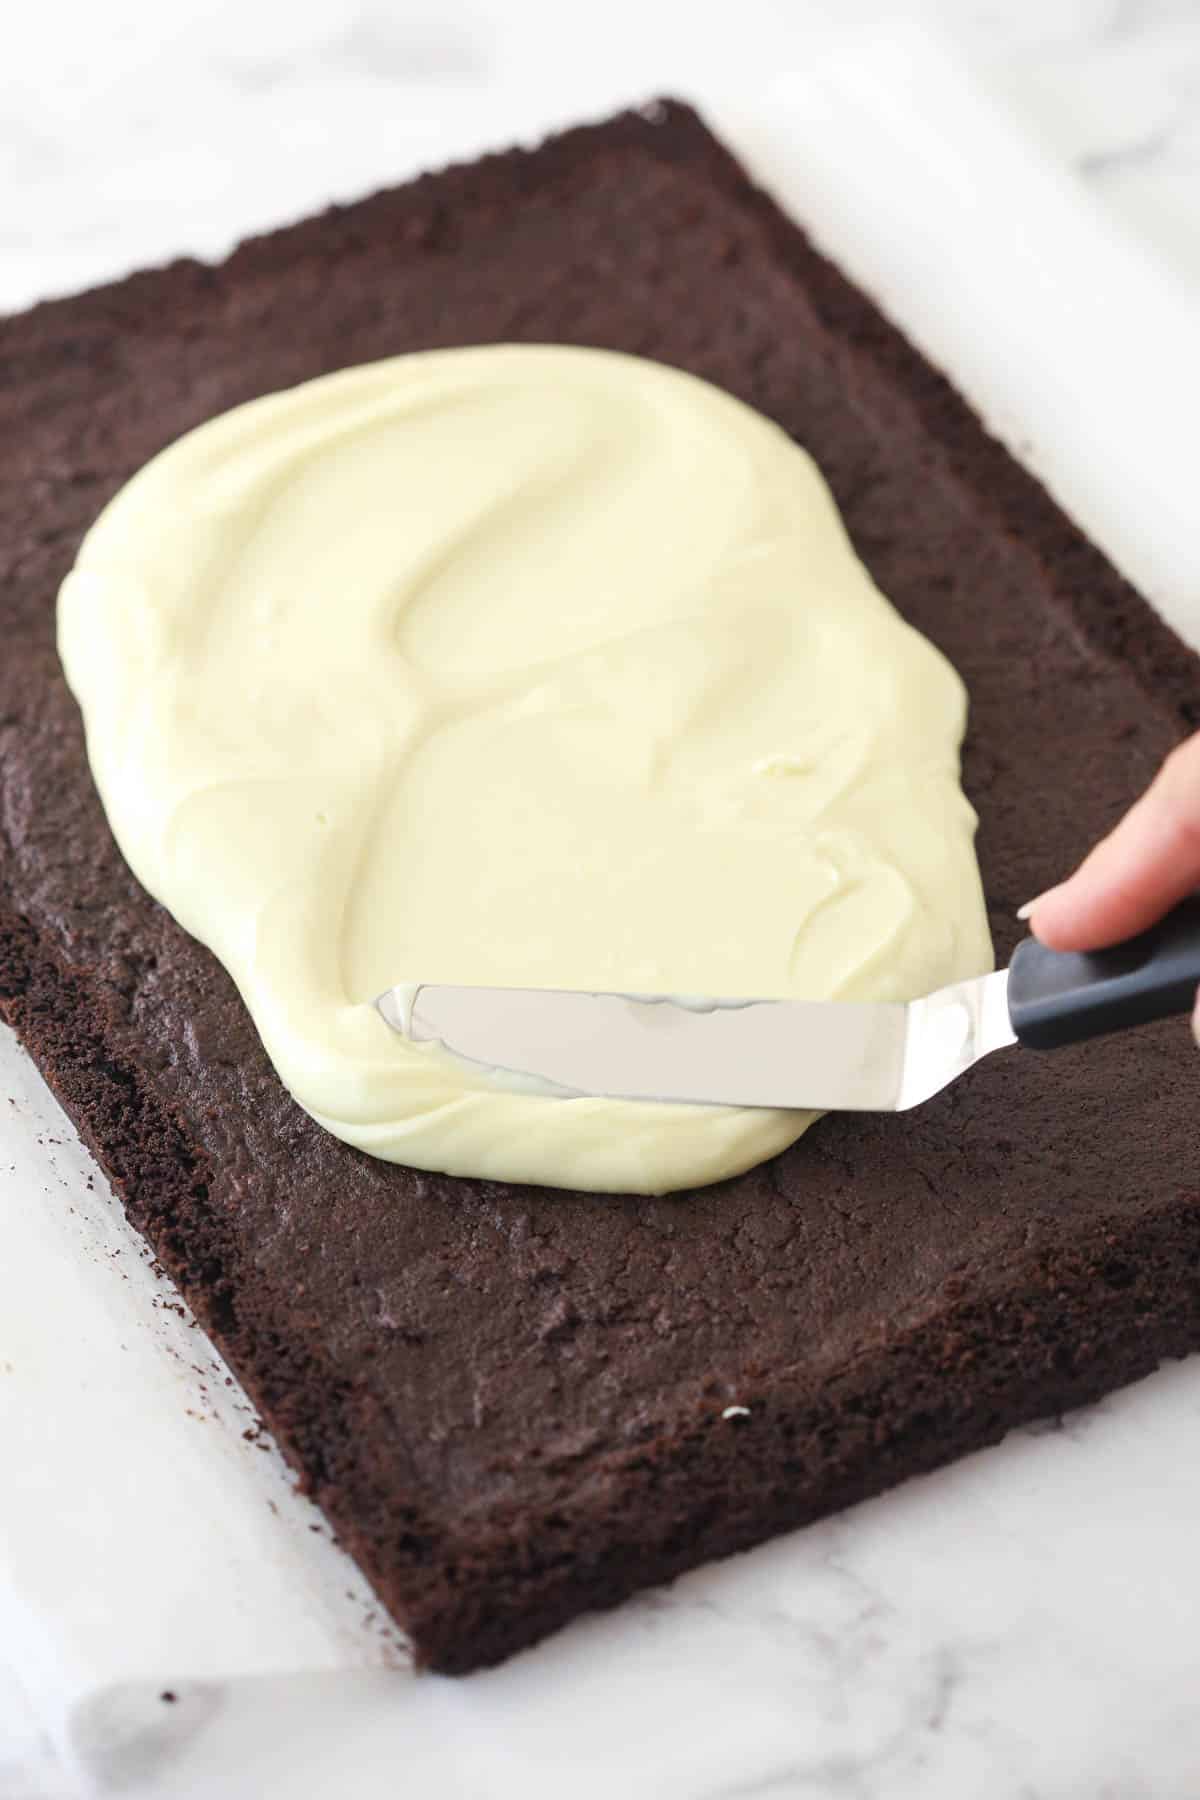
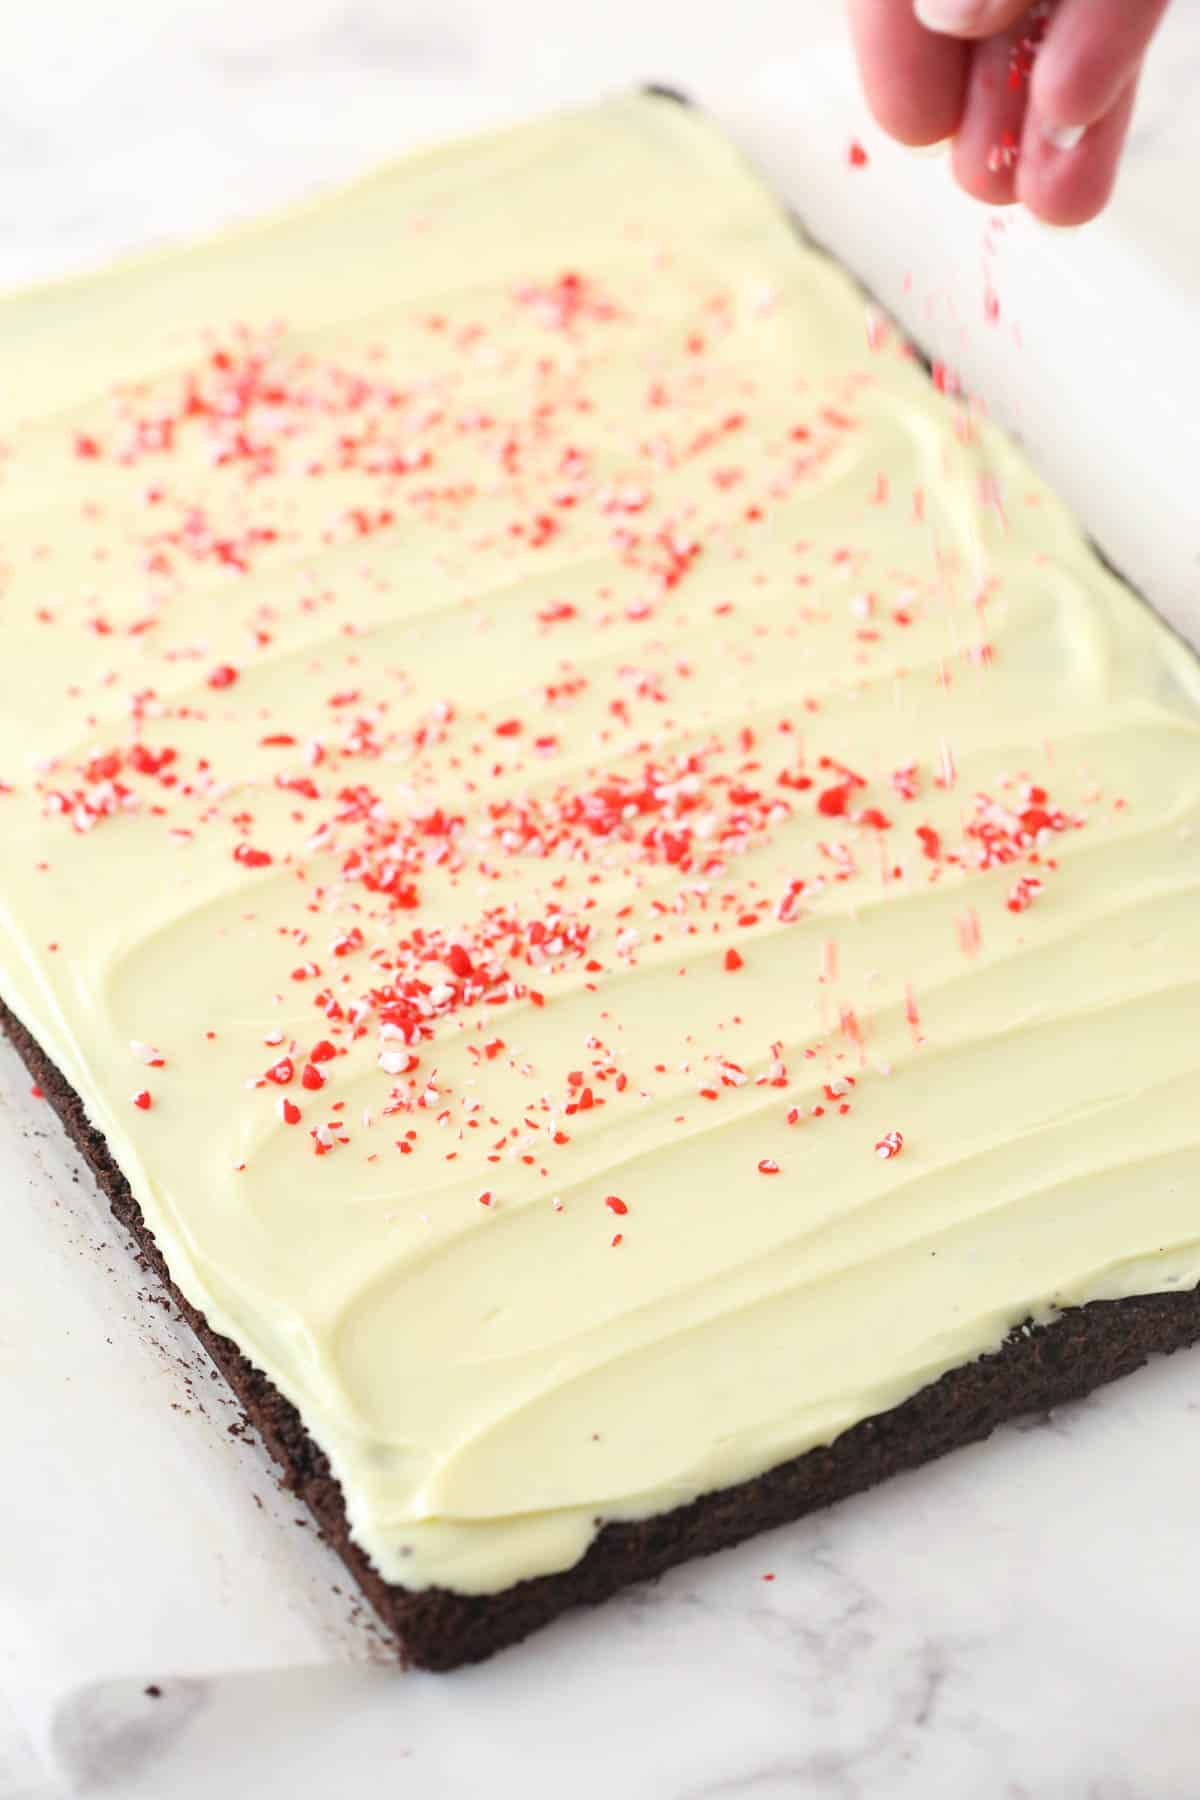
- Add the topping to the cookie. Spread the white chocolate mixture evenly over the cookie base, all the way to the edge. Sprinkle pieces of crushed candy cane over the top for a festive finish.
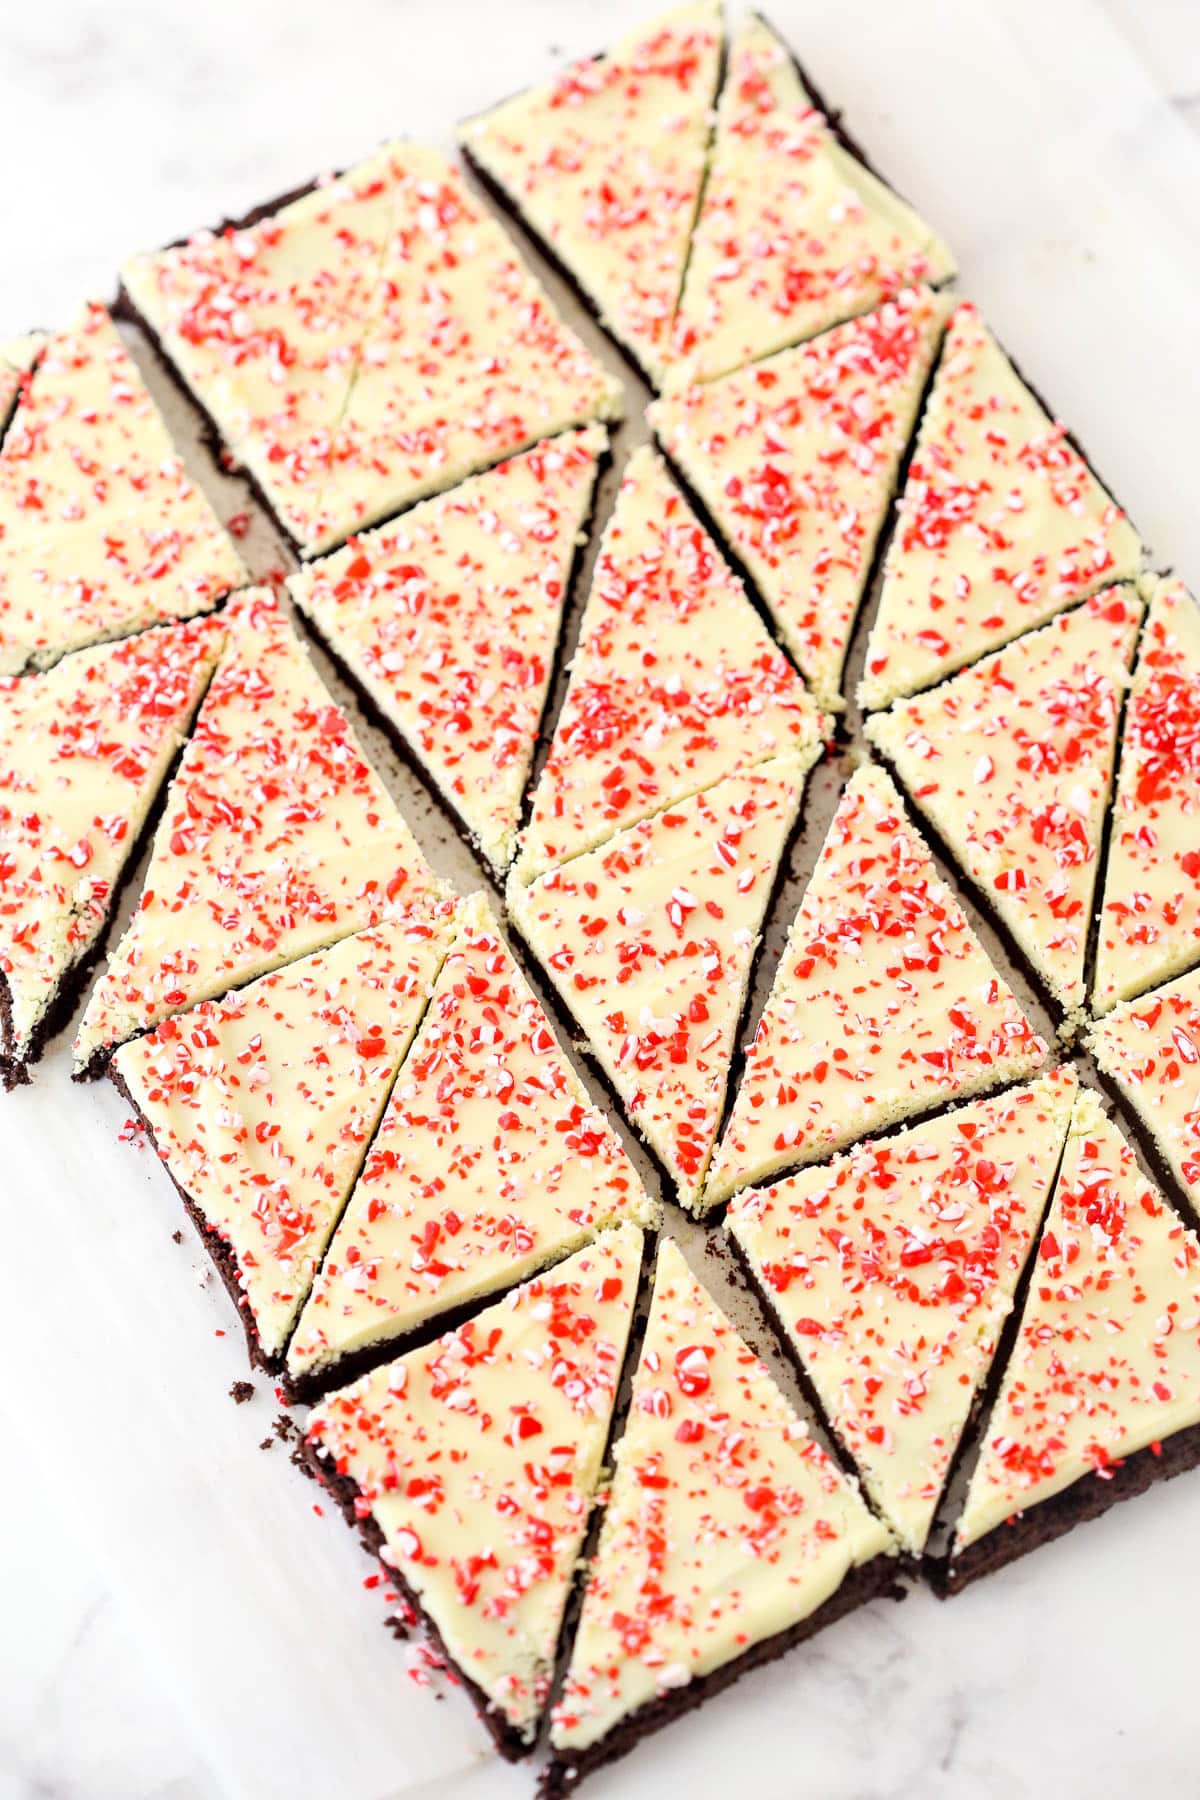
- Cut and serve. Give the white chocolate time to set and firm up before cutting. Once the topping has set up, cut it into bars. I made triangles by cutting the cookie into 12 squares and then cutting those in half diagonally. This left me with 24 cookies.
Tips for Success
- Line the pan with a large piece of parchment paper. Make sure the parchment paper sticks up above the sides of the pan on the long side so that you can remove the cookie base easily later on.
- Don’t place the cookie dough into the center of the pan. This will make spreading it to the edges difficult. The dough will be very thin, so it helps to drop spoonfuls around the pan before spreading it instead.
- Let the cookie cool completely. If you remove the cookie from the pan when it’s still warm, it’s more likely to break, so take care!
Proper Storage
- Countertop. Leftover cookies can be stored at room temperature for 3-4 days in an airtight container.
- Freezer. If you need these to last longer, wrap the cookies in plastic or foil and place them in a freezer bag or airtight container. They’ll stay fresh for a couple of months. To serve after freezing, let the cookies come to room temperature and store them on the counter.
- Prep Time: 35 minutes
- Cook Time: 10 minutes
- Total Time: 45 minutes
- Yield: 24
- Category: Cookies
- Method: Oven
- Cuisine: American
Description
These peppermint bark cookies are festive, fun, and 100% delicious. A light cookie base, perfectly-balanced white chocolate peppermint topping, and crushed candy canes create one of the best Christmas cookies of all time!
Ingredients
For the Cookie Base
- 1 1/4 cups (163g) all purpose flour (measured correctly)
- 1/2 cup (57g) dutch cocoa powder
- 1 teaspoon baking soda
- 1/4 teaspoon salt
- 3/4 cup (168g) unsalted butter, room temperature
- 1/3 cup (75g) dark brown sugar, packed
- 1/2 cup (104g) sugar
- 1 large egg
- 1 teaspoon vanilla extract
For the White Chocolate Peppermint Topping
- 10 ounces white chocolate baking bars, chopped
- 4 tablespoons (48g) shortening
- 1/2 teaspoon peppermint extract
- 1/2 teaspoon vanilla extract
- 1/4 cup crushed candy canes (2–3 candy canes)
Instructions
- Preheat the oven to 350°F. Prepare a 9×13 inch pan with parchment paper that sticks up above the sides of the pan on the long side, so that you can remove the cookie base later.
- In a medium sized bowl, combine the flour, cocoa powder, baking soda and salt in a medium sized bowl and set aside.
- Add the butter and sugars to a large mixer bowl and beat on medium speed until light in color and fluffy, about 2-3 minutes.
- Add the egg and vanilla extract and mix together until well combined.
- Add the dry ingredients and mix together just until combined.
- Press the cookie dough evenly into the bottom of the prepared 9×13 pan. It’ll be very thin, so it helps to drop spoonfuls of the dough around the pan, then spread it evenly.
- Bake the cookie base for 10-15 minutes or until no longer glossy on top.
- Remove the cookie from the oven and allow to cool completely (pop it in the fridge to cool more quickly, if you like), then remove the cookie from the pan and set it on the counter. If you move the cookie when warm, it’s more likely to break, so be sure it’s cooled. Use a shark knife to trim the slightly raised edges from the the sides of the cookie base, so everything is even and flat. Set aside.
- Add the white chocolate and shortening to a medium sized microwave-safe bowl and heat in 30 seconds increments, stirring well between each, until the mixture is melted and smooth.
- Add the peppermint and vanilla extract and stir to combine. The mixture will thicken slightly.
- Spread the white chocolate mixture evenly over the cookie base, spreading all the way to the edge. Sprinkle on the peppermint pieces.
- Allow the white chocolate to cool and firm up (pop it in the fridge again to cool more quickly, if you like), then cut into bars. I made triangles by cutting it into pieces lengthwise and 4 pieces the shorter way to make 12 squares, then I cut each square diagonally to get 24 cookies.
Notes
- To store. Leftover cookies can be stored at room temperature for 3-4 days in an airtight container.
- To freeze. If you need these to last longer, wrap the cookies in plastic or foil and place them in a freezer bag or airtight container. They’ll stay fresh for a couple of months. To serve after freezing, let the cookies come to room temperature and store them on the counter.
Nutrition
- Serving Size: 1 cookie
- Calories: 197
- Sugar: 15.1 g
- Sodium: 91.7 mg
- Fat: 12.2 g
- Carbohydrates: 21.6 g
- Protein: 2 g
- Cholesterol: 25.5 mg


I made these and they are delicious! I used coconut oil instead of the shortening but I only used half the amount of coconut oil, 2 tablespoons and the white chocolate set up perfectly fine. I think the next time I make them I will try making them as cookies rather than bars, roll out 24 balls, flatten and bake then dip top of cookie in the white chocolate and sprinkle with crushed candy canes.
I’m so glad you enjoyed them!
This will now be apart of my hoilday season! I changed out the white chocolate to a dark/milk chocolate blend, and they are just awsome!
Glad you enjoyed them!
Delicious! But my white chocolate layer was soft like an icing. I used coconut oil instead of shortening. Is this why? Should the white chocolate layer be firm like chocolate? That would have been better.
Yes, it should be firm like chocolate but just a little softer so that it’s easier to cut and eat. I don’t really use coconut oil, but I’m guessing that’s probably why you had a problem.
I haven’t tasted them yet; cookie base is cooling, but cannot wait! I had so much trouble spreading the cookie layer – any tips or advice to get that thin, even layer?
I dropped spoonfuls of the cookie dough batter around the bottom of the pan so that it was already kind of spread out in that way. Then I use my offset spatula to spread it further and smooth it. I hope that helps and that you enjoy them!
Hi Lindsey, another doubtlessly scrumptious temptation….. You’re killing me LOL. Could I use butter instead of shortening which I very seldom use and don’t keep? Once again, Thanksgiving featured your awesome Banana Pudding Ice Box Cake, which has become traditional! Blessings, Christiane
You could try butter. I imagine it’d be fine, though it may be a little softer.
I did and you are right though it worked but I will use shortening. Cookies were popular!
I’m glad they were a hit!