This post may contain affiliate sales links. Please read my disclosure policy.
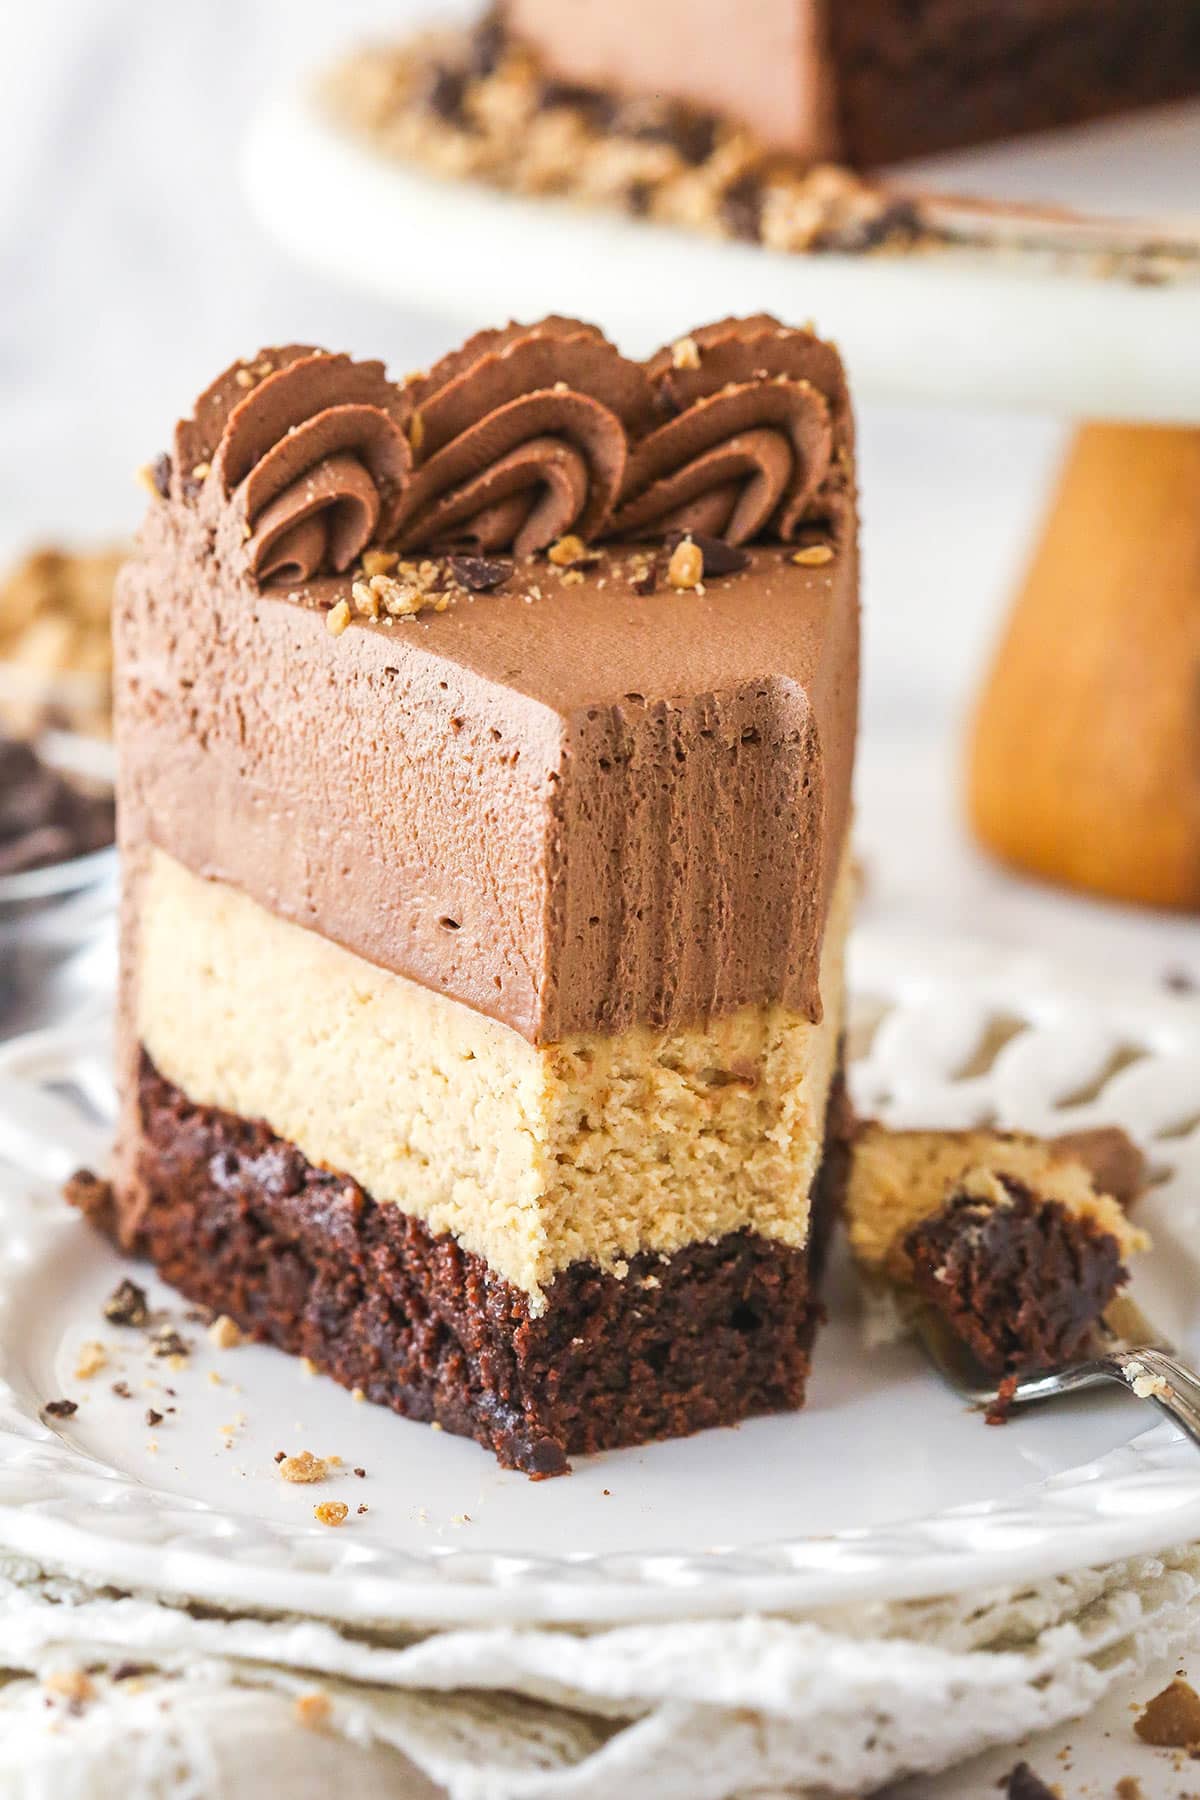
This Peanut Butter Chocolate Mousse Cake is made with a layer of homemade brownie topped with peanut butter mousse, and a layer of chocolate mousse. It is rich, delicious, and simple to make!
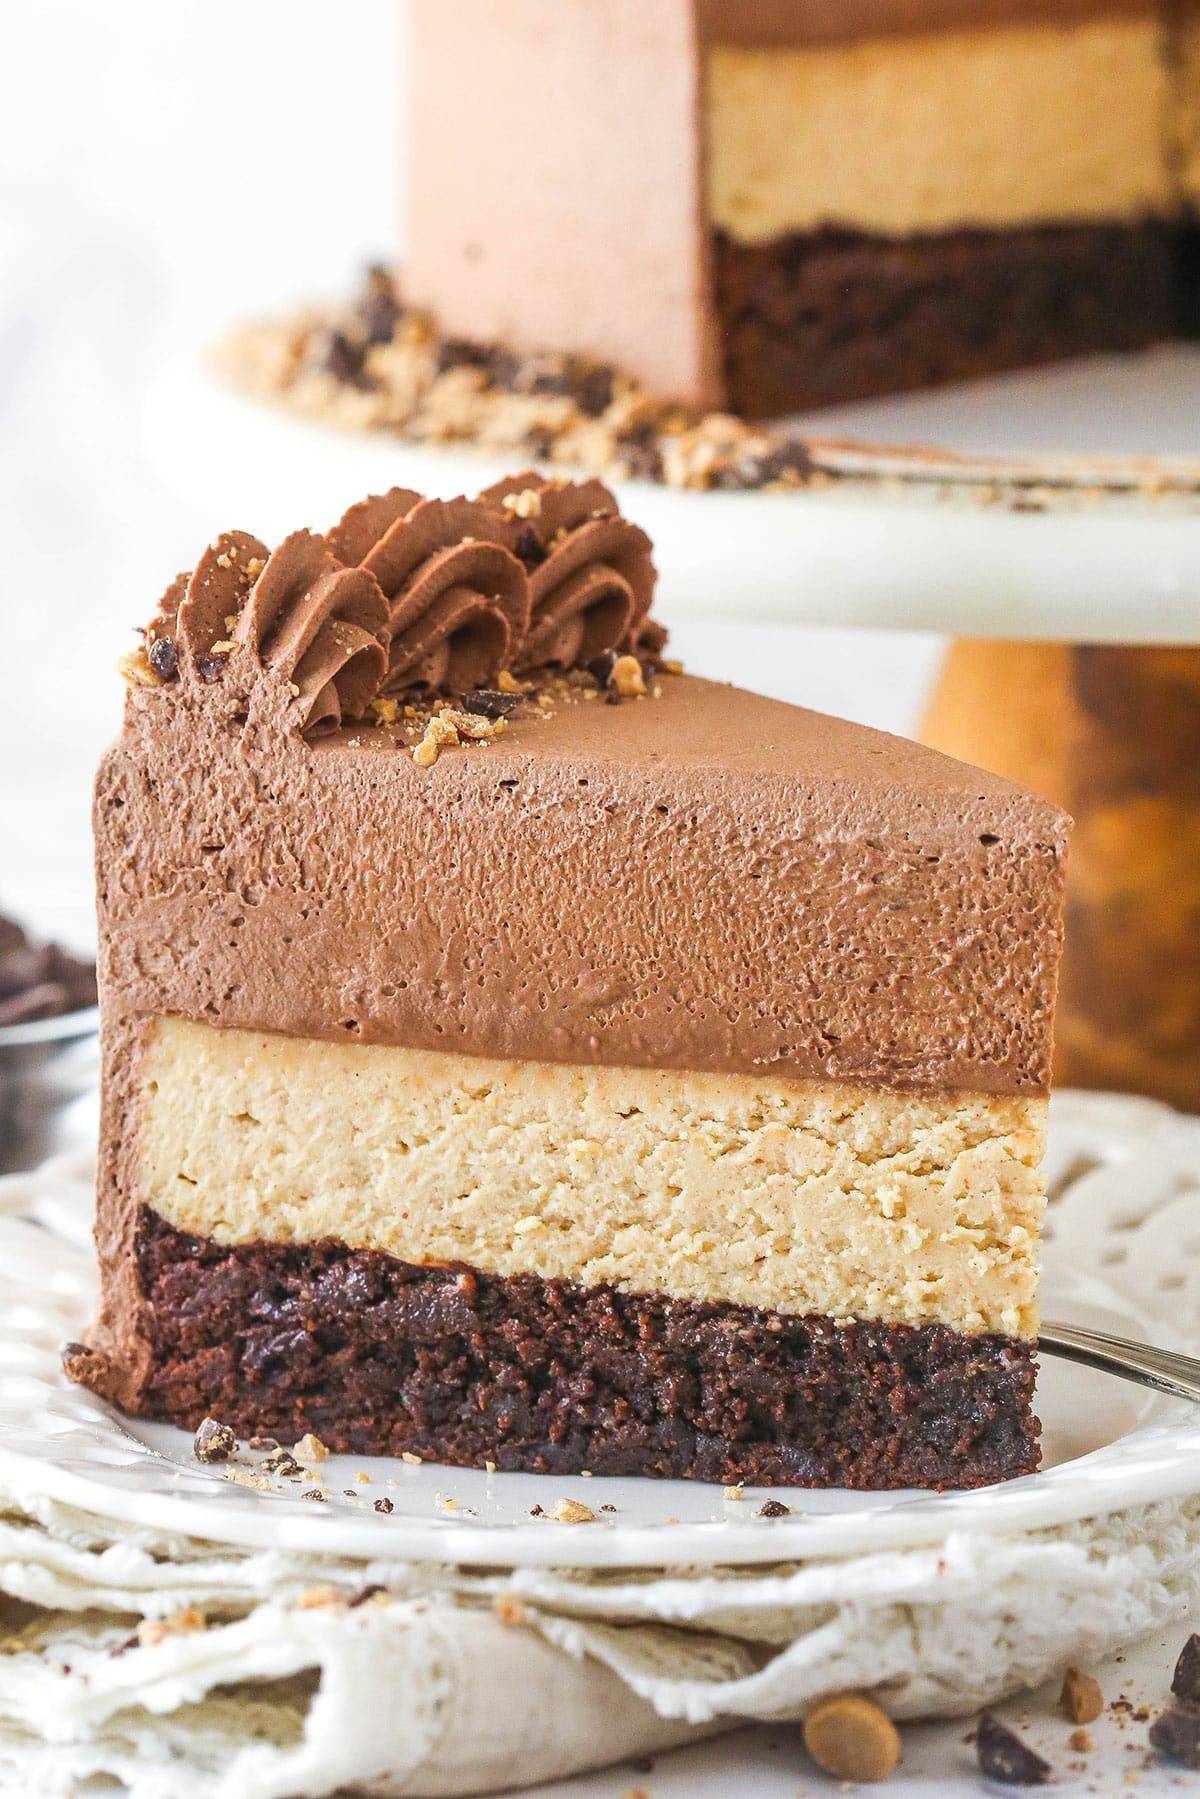
Why You’ll Love This Peanut Butter Chocolate Mousse Cake
The unique combination of layers in this cake make it such a fun one to make and enjoy. Here’s all the things I love about it.
- Great texture – The chewiness of the dense brownie and the creaminess of the mousse that melts in your mouth will have you coming back for more.
- Amazing flavor – Who doesn’t love peanut butter and chocolate together? The mousse layer even has a Reese’s-like flavor from the peanut butter chips, that truly makes this cake a little slice of heaven.
- Simple to make – It looks like a work of art, but really isn’t hard to make. Aside from the brownie, there isn’t any other baking involved. There’s no buttercream. Just some simple mousse layers and whipped cream frosting. It just takes a little time.
- Make ahead – Since there aren’t cake layers that dry out and the mousse on top of the brownie helps to keep it moist, it holds up great to making a day or two ahead.
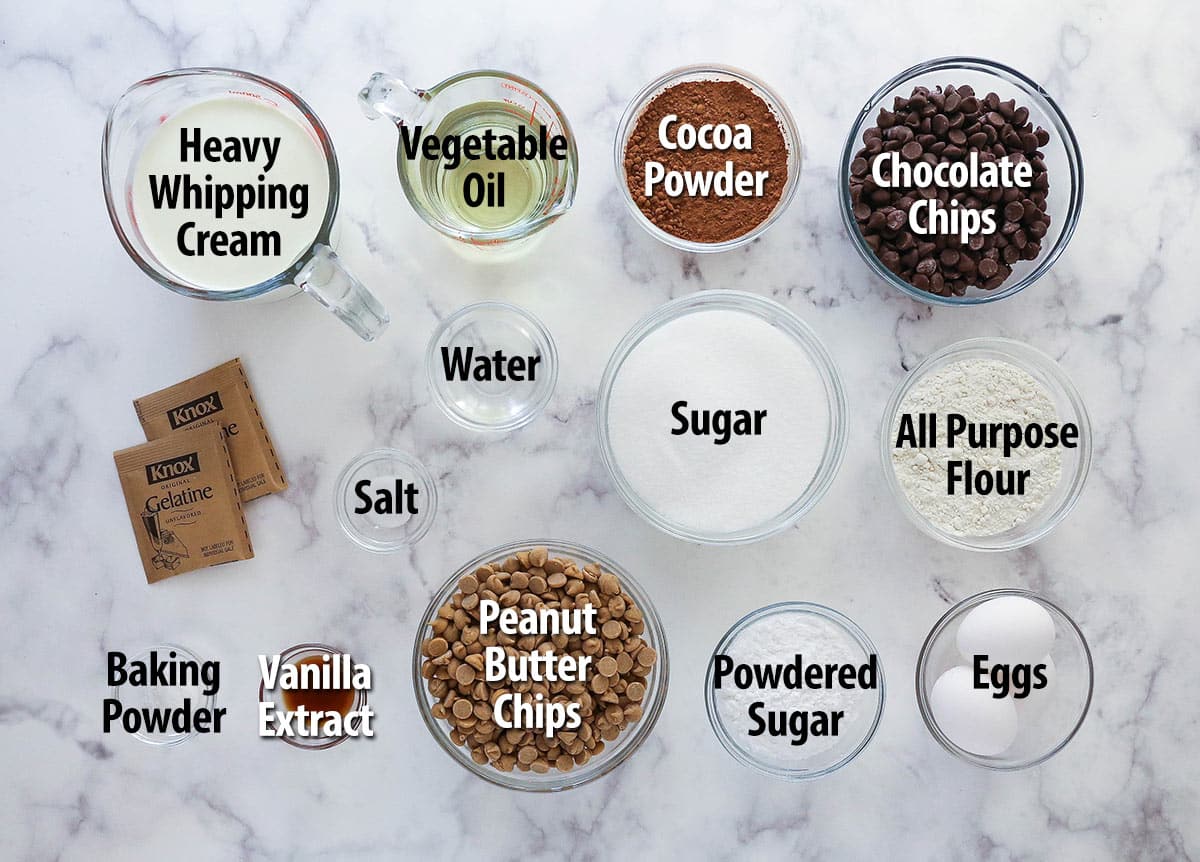
Recipe Ingredients
Many of the same ingredients are repeated throughout the recipe, so don’t be intimated by the long list. Scroll down to the recipe card below for the exact measurements.
Brownie
I currently use a homemade brownie recipe, but used to use a box mix. Feel free to take that shortcut, if you prefer. If you are making it from scratch, here’s what you’ll need.
- All-purpose flour – Be sure to measure your flour correctly to avoid a brownie that’s too dry or dense.
- Cocoa powder – Natural unsweetened cocoa powder is best here. You could use Dutched cocoa, but the texture isn’t as nice.
- Baking powder – For just a bit of rise and a bit of a cakey texture.
- Salt – Without a little salt, your brownie would be bland.
- Vegetable oil – I have tried butter in these brownies and while it works, the oil definitely produces the more intended mix of cakey/fudgy texture.
- Sugar – Add sweetness and also moisture.
- Vanilla extract
- Eggs – For binding things together and adding chewiness. Be sure to use large eggs, not medium or extra large.
Peanut Butter and Chocolate Mousse
Both mousse layers use the same ingredients, except for one uses chocolate chips and the other uses peanut butter chips.
- Water – Used to bloom/hydrate the powdered gelatin. Should be cold.
- Powdered gelatin – These mousse layers use powdered gelatin to firm up, rather than cooking eggs.
- Heavy whipping cream – It’s important that the whipping cream stays COLD until it’s time to use it. Otherwise, it won’t whip up properly and hold shape as well.
- Baking Chips – You’ll use peanut butter chips in the peanut butter mousse and semi-sweet chocolate chips in the chocolate mousse. I don’t recommend another type of chocolate, since others can be thicker and/or thinner and will give you a different texture.
- Powdered sugar – To stabilize the whipped cream and add a little sweetness.
Chocolate Whipped Cream
- Heavy whipping cream – Again, this needs to say COLD until it’s time to use it. Otherwise, it won’t whip up properly.
- Powdered sugar – To stabilize the whipped cream so that it won’t wilt and add a little sweetness. Don’t leave it out.
- Cocoa powder – I used natural unsweetened cocoa powder, but you could also use a dark cocoa for a darker color and slightly sweeter/more mild flavor.
- Vanilla extract – Adds a little flavor and softens the bitterness of the cocoa.
How to Use Gelatin
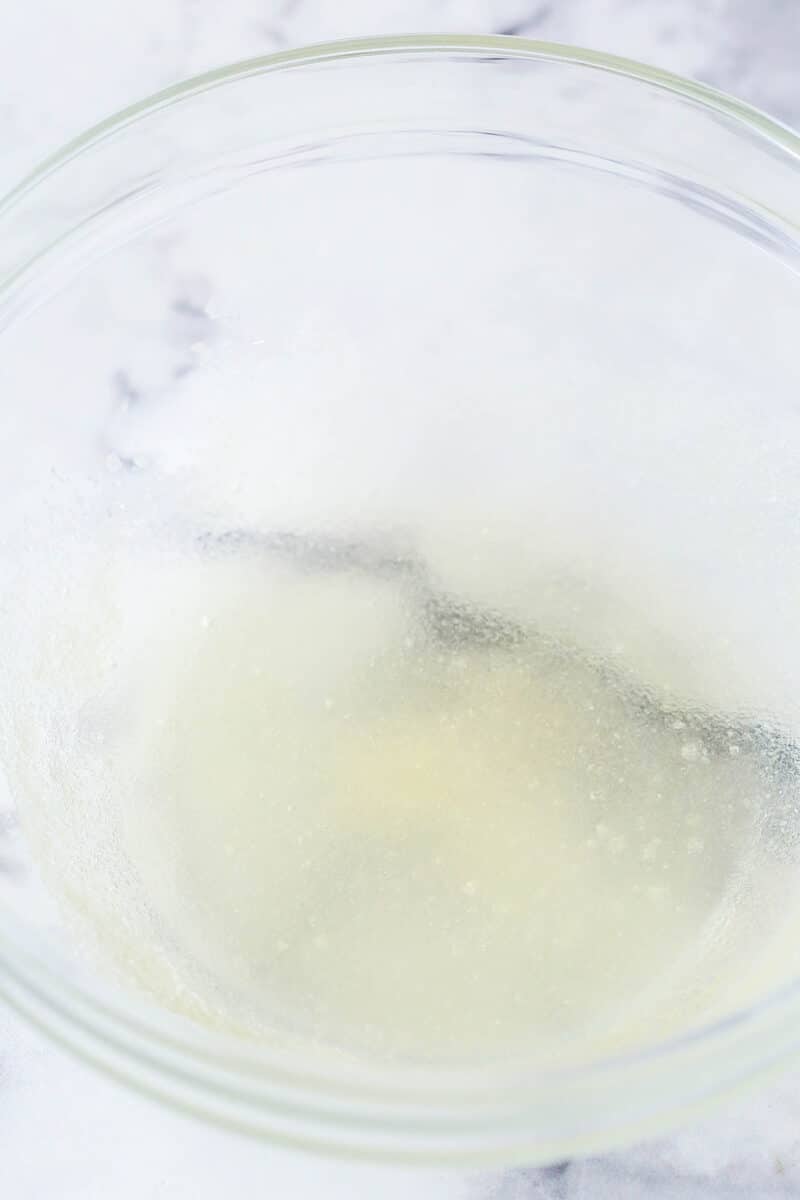
Gelatin isn’t hard to use, but you do need to follow a couple steps. The first is to allow the powdered gelatin to “bloom”, or hydrate. Gelatin needs a cool liquid for this step. So, sprinkle the powder over the cool water and let it sit for about 5 minutes. The gelatin will activate and the water will thicken like gelatin. Microwave it for about 10 seconds to melt it and then you can add it to your mousse layers (or other desserts!).
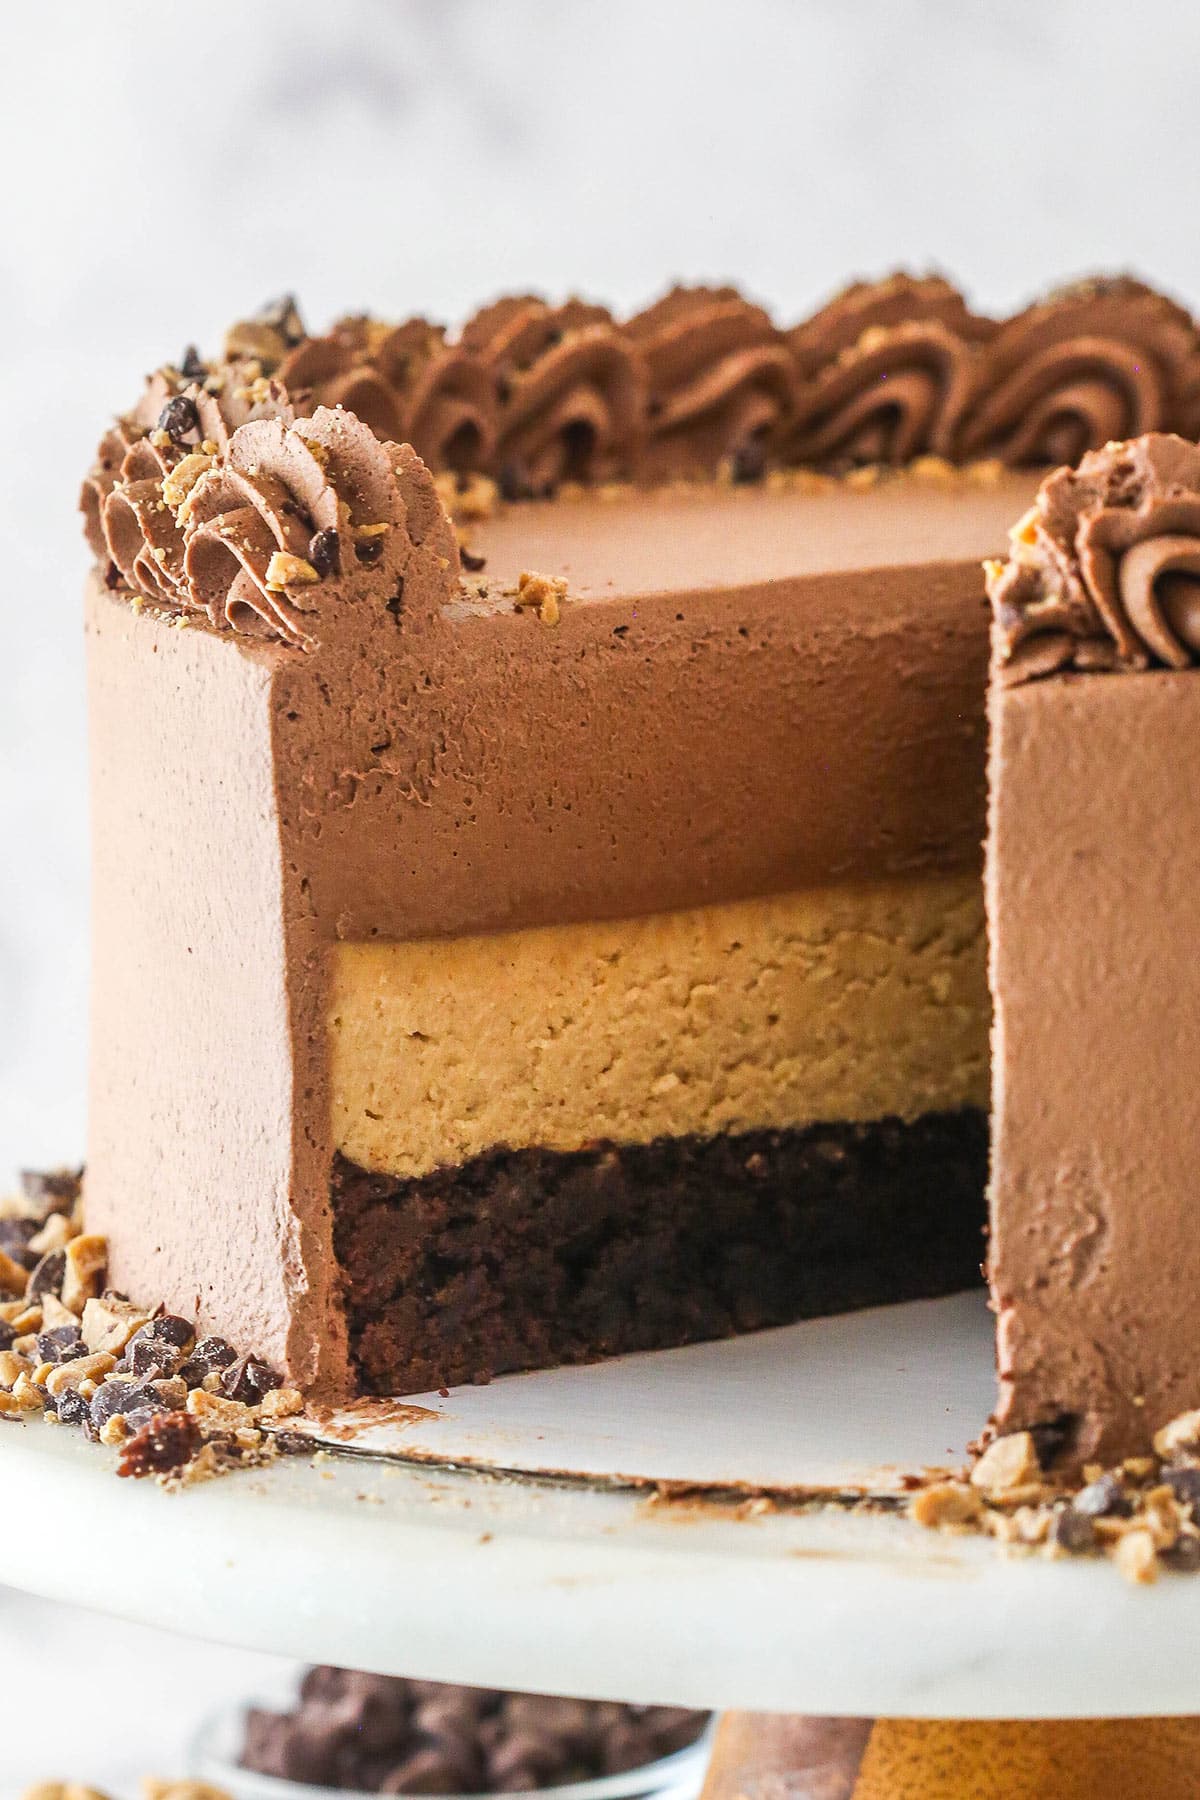
How To Make Peanut Butter Chocolate Mousse Cake
This mousse cake is simple to put together, but does take some time to prepare, mostly because it needs to sit or chill at several points in the recipe. It’s worth it, though! You can find more detailed instructions in the recipe card below.
Make the brownie
- Prep: Preheat oven to 350°F. Grease the sides of a 9-inch cake pan and line the bottom with parchment paper.
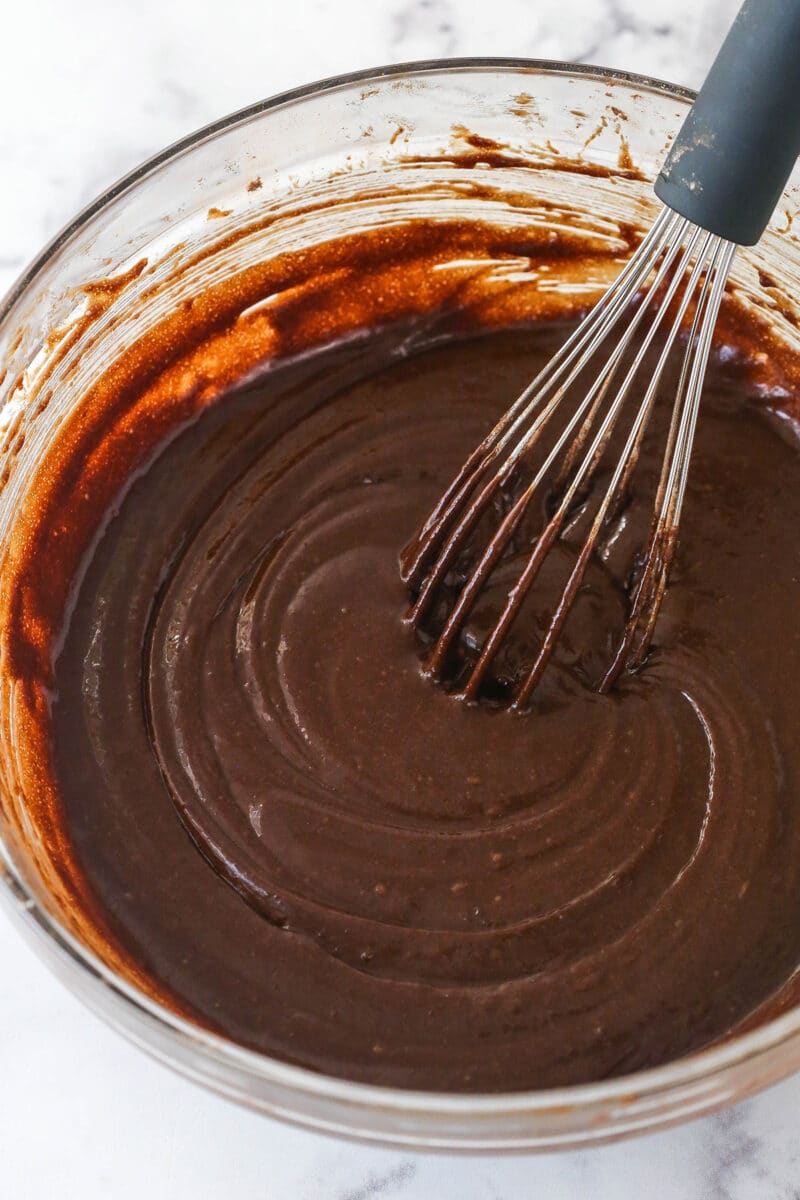
- Make the batter: Combine the dry ingredients and set aside. Combine the oil, sugar and vanilla extract in a large mixing bowl. Add the eggs and mix until well combined, then add the dry ingredients.
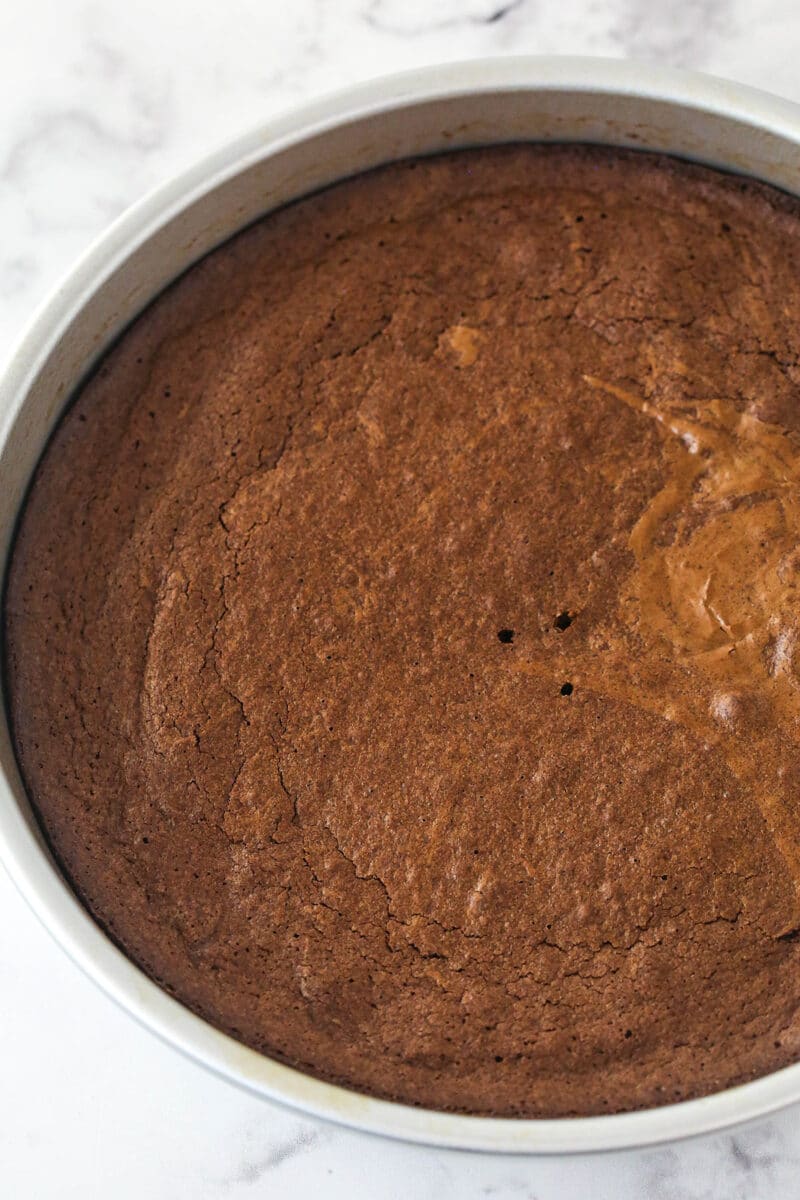
- Bake: Pour the batter into the cake pan and bake for 27-32 minutes, or until a toothpick comes out with a few crumbs. Allow brownie to cool for 3-5 minutes in the pan, then remove to a cooling rack to cool completely.
- Prep brownie: Put the brownie on a cardboard cake round, then use an acetate cake collar and secure it around the brownie. If you’d like, you can also build the cake in a springform pan (with removeable sides). If using a springform pan, I like to line the sides with parchment paper and tuck it down between the sides of the pan and the brownie to keep it in place. It makes it easier to remove the sides of the pan later and then just peel off the parchment paper. You can also let it stick above the sides of the pan about an in higher, in case your cake is a little taller than the sides of the pan. Set aside.
Make the peanut butter mousse
- Prep gelatin: Add the cold water to a small bowl and sprinkle the gelatin evenly over it. Let the gelatin sit and bloom/hydrate for 5 minutes. Then, heat 1 cup of heavy whipping cream until it just starts to boil. Heat the gelatin for about 10 seconds, until melted, then add it to the hot cream.
- Make peanut butter mixture: Add the peanut butter chips to a large bowl and pour the gelatin and cream mixture over the peanut butter chips. Let sit for 2-3 minutes for the peanut butter chips to melt, then whisk until melted and smooth. Cool to about room temperature, about 10 minutes.
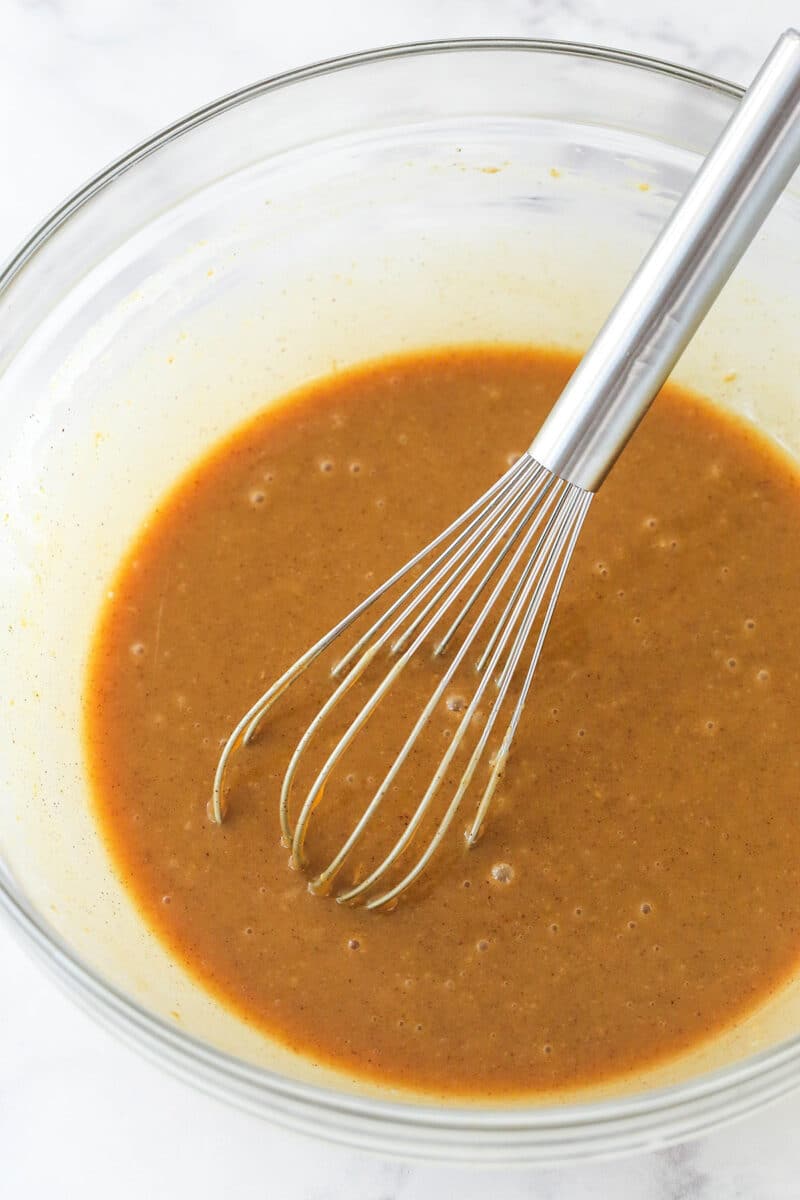
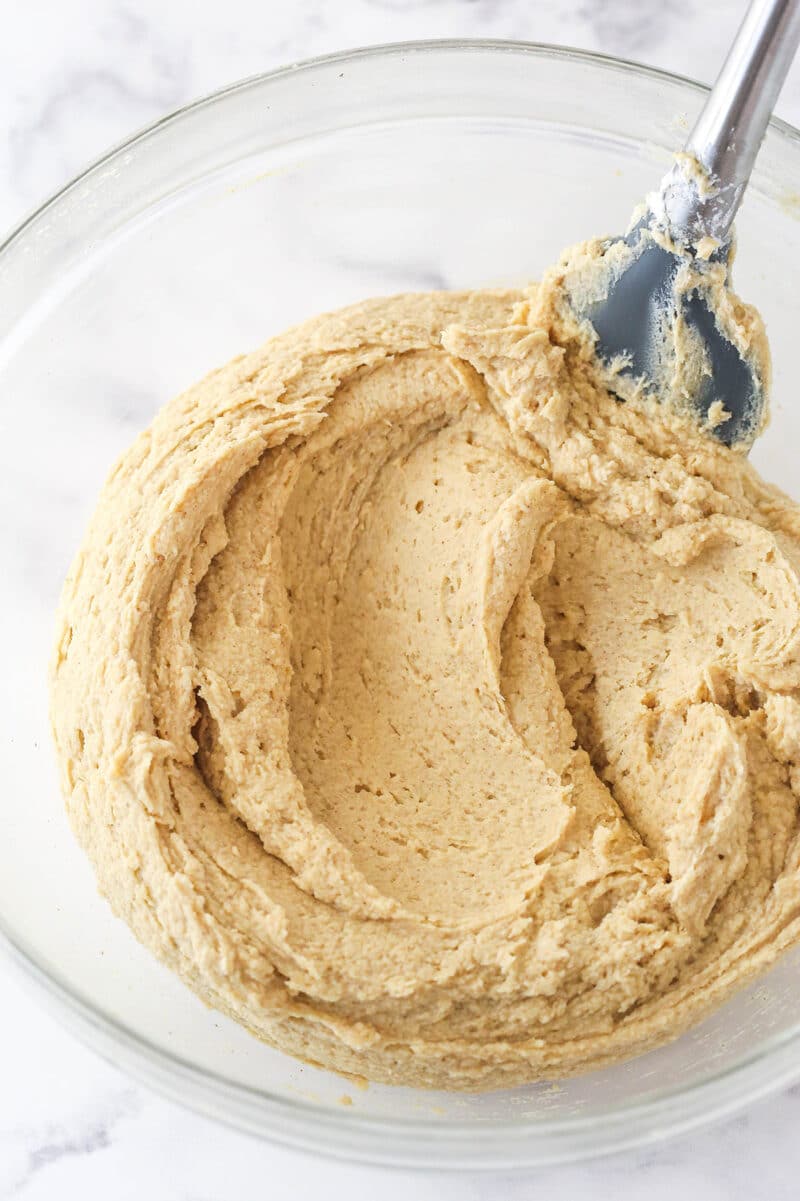
- Whip the cream: Whip the remaining heavy whipping cream and powdered sugar until stiff peaks form. Fold about 1/3 of the whipped cream into the cooled peanut butter mixture, then fold in the rest of the whipped cream.
- Add to brownie: Spread the mousse into an even layer on top of the prepared brownie. Set in the fridge while you make the chocolate mousse.
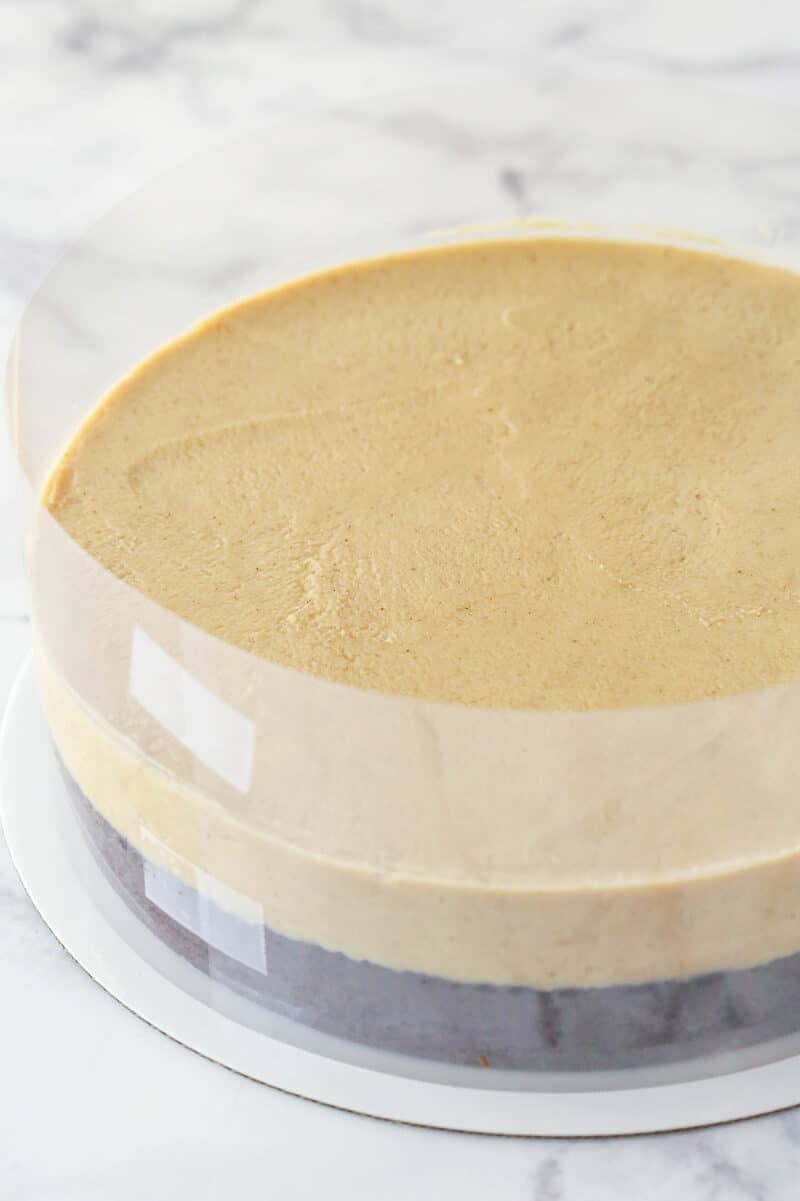
Make the chocolate mousse
- Prep gelatin: Add the cold water to a small bowl and sprinkle the gelatin evenly over it. Let the gelatin sit and bloom/hydrate for 5 minutes. Then, heat 3/4 cup of heavy whipping cream until it just starts to boil. Heat the gelatin for about 10 seconds, until melted, then add it to the hot cream.
- Make chocolate mixture: Add the chocolate chips to a large bowl and pour the gelatin and cream mixture over the chocolate chips. Let sit for 2-3 minutes for the chocolate chips to melt, then whisk until melted and smooth. Cool to about room temperature, about 10 minutes.
- Whip the cream: Whip the remaining heavy whipping cream and powdered sugar until stiff peaks form. Fold about 1/3 of the whipped cream into the cooled chocolate mixture, then fold in the rest of the whipped cream.
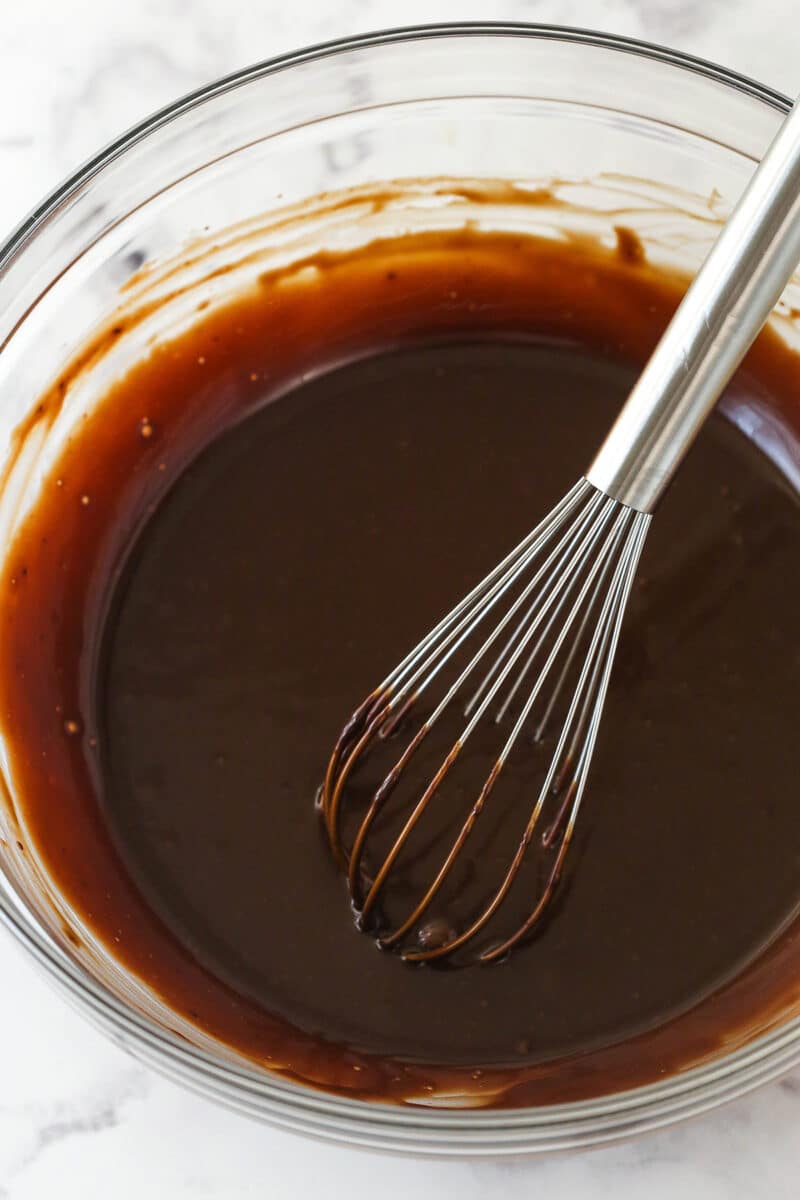
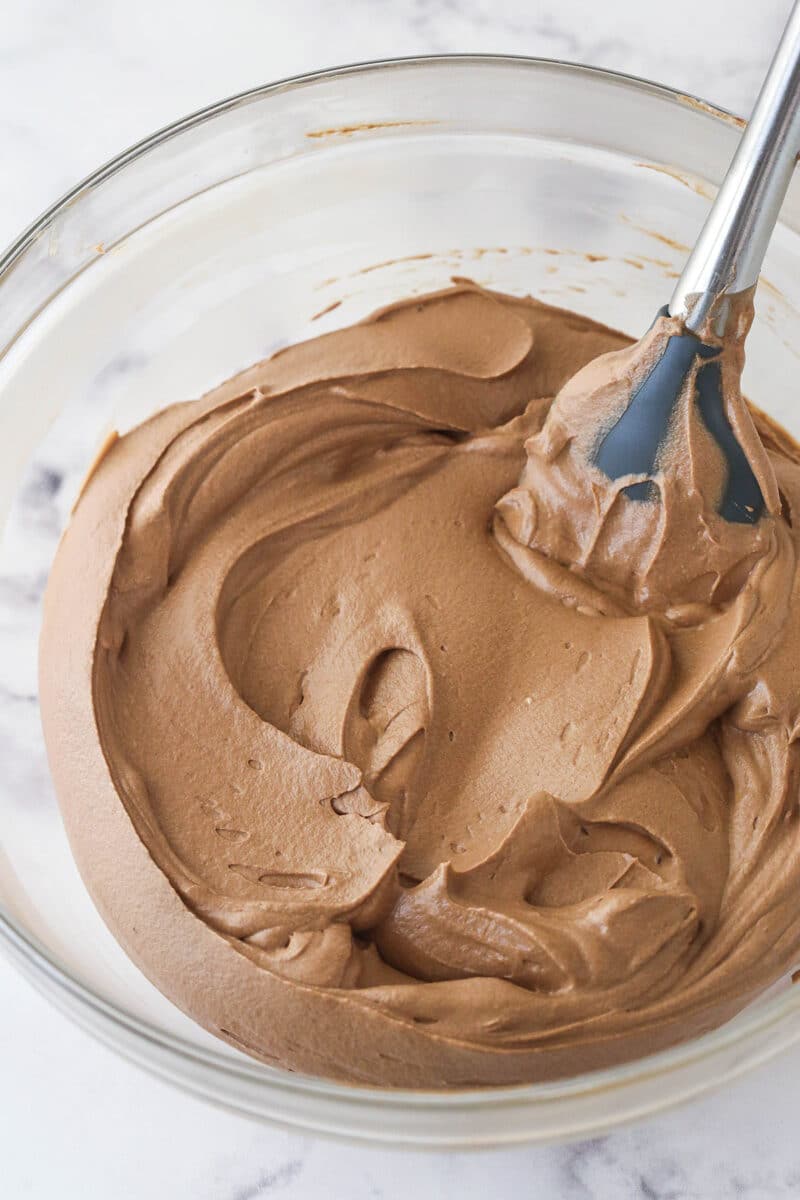
- Add to cake: Spread the mousse into an even layer on top of the peanut butter mousse. Set in the fridge to chill and firm up completely, 3-4 hours.
Finish off the cake
- Make the chocolate whipped cream: Add the of the ingredients to a large mixer bowl and whip on medium speed until medium to stiff peaks form.
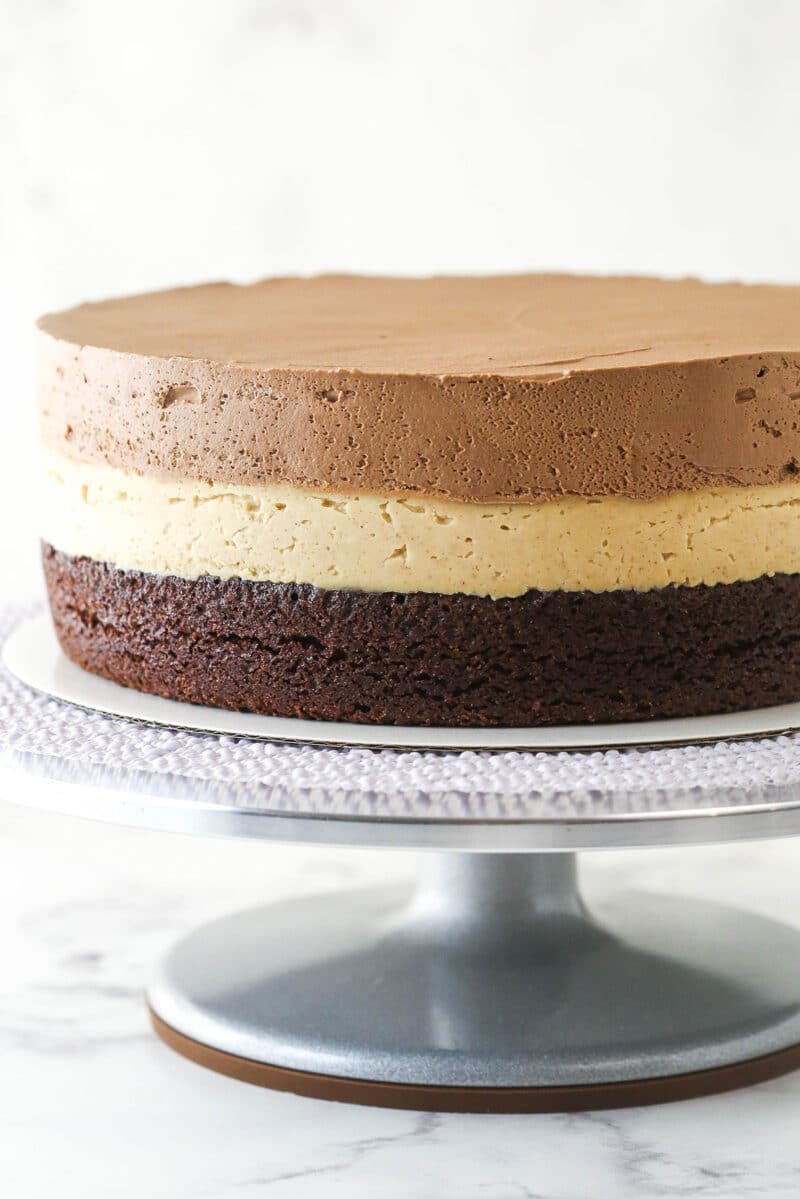
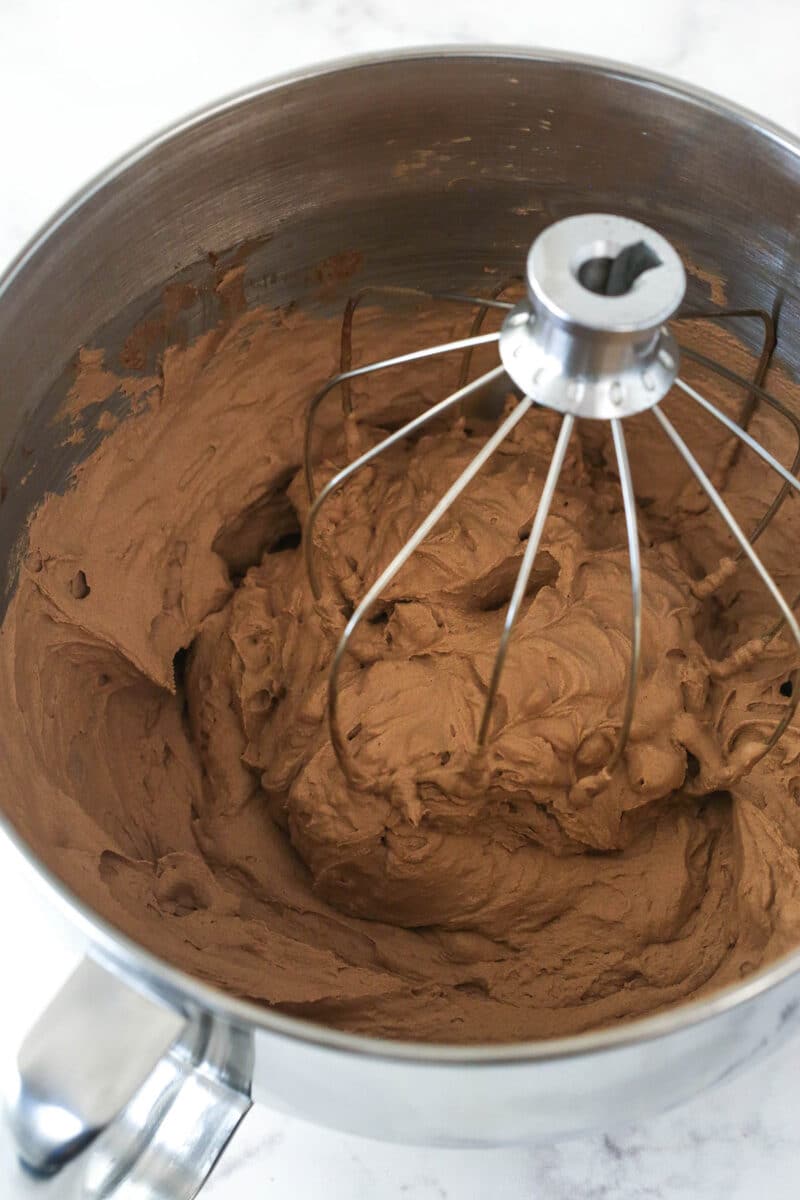
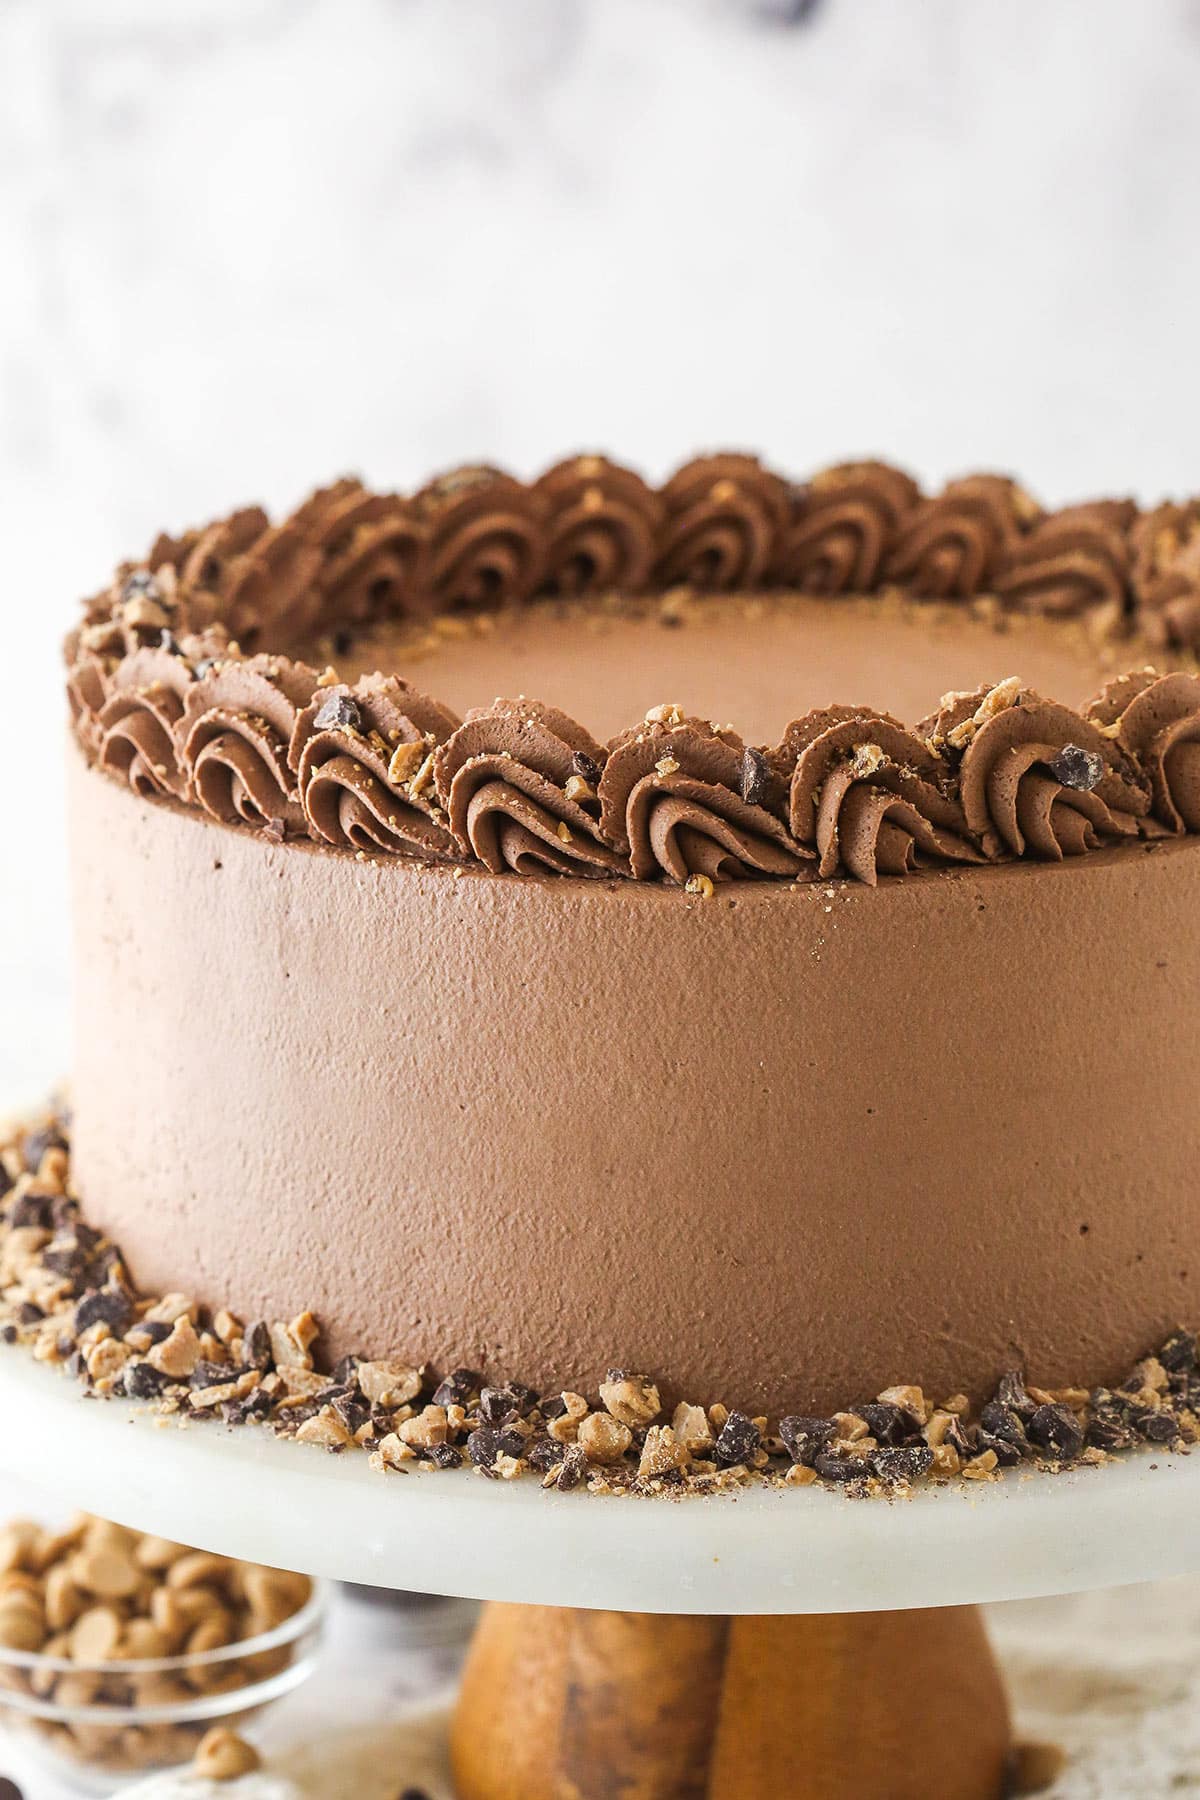
- Decorate: Frost the outside of the cake and pipe a border around the top edge, if desired. I used Ateco tip 847. Decorate the cake with some crushed/chopped peanut butter and chocolate chips, if desired.
- Serve and store. Store cake in the fridge until ready to serve. I like to use an air-tight cake carrier. Best if eaten within 4-5 days.
Pro Tips For The Best Cake
- Avoid lumps. Be sure all of the powdered gelatin touches water, or it won’t activate properly, and you won’t get the full powder of the gelatin and you could end up with lumps that don’t melt fully and incorporate properly. You can stir the gelatin and water mixture to ensure it’s all moistened.
- Use COLD heavy whipping cream. This is essential as it won’t whip up properly otherwise.
- Room temperature. Let the chocolate and peanut butter mixtures cool only until close to room temperature so that the whipped cream doesn’t melt. If it cools too much, it’ll end up lumpy and dense.
- Use the powdered sugar. Don’t leave out the powdered sugar, as this stabilizes the whipped cream, so that it doesn’t wilt.
- Be gentle. Be sure to fold the whipped cream into the chocolate and peanut butter mixtures gently, or can deflate the whipped cream and end up with dense mousse layers.
- Whip slowly. Whip the chocolate whipped cream more slowly. It thickens quickly, so you want it to have time to whip properly and not get too thick too quickly.
Can I Use Regular Peanut Butter?
You can! To swap out the peanut butter chips, replace them with 2 2/3 cups (373g) of creamy peanut butter. You’ll also want to increase the gelatin to 2 teaspoons and use 2 tablespoons of cold water. Everything else, including the method, is the same.
If you make the swap, just keep in mind that the flavor is a little different. Using peanut butter chips gives you a sweeter flavor that is more like the filling of a Reese’s. Using regular peanut butter is less sweet and more nutty.
How To Store
- Fridge: Store in an air-tight container, cake carrier or well covered with plastic wrap in the fridge. Best if eaten within 4-5 days.
- Freezer: You can freeze slices of the cake in an air-tight container. You could also freeze the full cake, just flash freeze it for a couple hours, then wrap it well. Keep in mind that the mousse layers might be a little more dense after freezing. To thaw, unwrap and place in fridge for about 24 hours.
You might also like:
- Peanut Butter Chocolate Layer Cake
- Peanut Butter Cookie Dough Brownie Layer Cake
- Peanut Butter Fudge Brownies
- Mini Reeses Peanut Butter Cheesecakes
- Peanut Butter Chocolate Buckeye Cupcakes
- Loaded Peanut Butter Layer Cake
Watch How To Make It
This post was updated 10/5/2024. For the original recipe, download this recipe PDF.
Print
Peanut Butter Chocolate Mousse Cake
- Prep Time: 1 hour 45 minutes
- Chill Time: 4 hours
- Cook Time: 27 minutes
- Total Time: 6 hours 12 minutes
- Yield: 14-16 Slices
- Category: Dessert
- Method: Oven
- Cuisine: American
Description
This Peanut Butter Chocolate Mousse Cake is made with a layer of homemade brownie topped with peanut butter mousse, and a layer of chocolate mousse. It is rich, delicious, and simple to make!
Ingredients
Brownie
- 3/4 cup (98g) all-purpose flour (measured properly)
- 1/2 cup (57g) natural unsweetened cocoa powder
- 1/4 tsp + 1/8 tsp baking powder
- 1/4 tsp salt
- 3/4 cup (180ml) vegetable oil
- 1 1/2 cups (310g) sugar
- 1 1/2 tsp vanilla extract
- 3 large eggs
Peanut Butter Mousse
- 2 tbsp cold water
- 1 1/2 tsp powdered gelatin
- 3 cups (720ml) heavy whipping cream, divided, cold
- 12 oz | 340g (2 cups) peanut butter chips
- 6 tbsp (44g) powdered sugar
Chocolate Mousse
- 1 1/2 tbsp cold water
- 1 1/8 tsp powdered gelatin
- 2 1/4 cups (540ml) heavy whipping cream, divided, cold
- 9 oz | 255g (1 1/3 cups) semi-sweet chocolate chips
- 1/4 cup (29g) powdered sugar
Chocolate Whipped Cream
- 2 1/2 cups (600ml) heavy whipping cream, cold
- 3/4 cup (68g) powdered sugar
- 1/2 cup (57g) natural unsweetened cocoa powder
- 1 tsp vanilla extract
Instructions
Make the brownie
- Preheat oven to 350°F. Grease the sides of a 9-inch cake pan and line the bottom with parchment paper.
- Add the flour, cocoa powder, baking powder and salt to a medium sized bowl and set aside.
- Add the oil, sugar and vanilla extract to large mixing bowl and mix together until well combined.
- Add the eggs and mix until well combined.
- Add the dry ingredients and mix until well combined, but don’t over mix.
- Pour the batter into the prepared pan and spread evenly.
- Bake for 27-32 minutes, or until a toothpick comes out with a few crumbs.
- Allow brownie to cool for 3-5 minutes in the pan, then remove to a cooling rack to cool completely.
- When the brownie has completely cooled, set it up to be layered with the mousse layers. Put the brownie on a cardboard cake round, then use an acetate cake collar and secure it around the brownie. If you’d like, you can also build the cake in a springform pan (with removeable sides). If using a springform pan, I like to line the sides with parchment paper and tuck it down between the sides of the pan and the brownie to keep it in place. It makes it easier to remove the sides of the pan later and then just peel off the parchment paper. You can also let it stick above the sides of the pan about an in higher, in case your cake is a little taller than the sides of the pan. Set aside.
Make the peanut butter mousse
- Add the cold water to a small bowl and sprinkle the gelatin evenly over it. You want all of the powdered gelatin to be touching water. If it isn’t, give it a stir until it’s all moistened. Let the gelatin sit and bloom/hydrate for 5 minutes.
- Heat 1 cup of the heavy whipping cream in the microwave until it just starts to boil. Remove from microwave and set aside. Heat the gelatin for about 10 seconds, until melted, then add it to the hot cream and stir together.
- Add the peanut butter chips to a large bowl and pour the gelatin and cream mixture over the peanut butter chips. Let sit for 2-3 minutes for the peanut butter chips to melt, then whisk until melted and smooth. Let sit for about 10 minutes, to cool to about room temperature. You don’t want it to be too cool, or the gelatin will begin to firm up, but if it’s too warm, it’ll melt your whipped cream, so keep an eye on it.
- Whip the remaining 2 cups of heavy whipping cream and powdered sugar until stiff peaks form. Fold about 1/3 of the whipped cream into the cooled peanut butter mixture. It will begin to firm up quickly. Fold in the rest of the whipped cream. Be sure there aren’t any streaks of whipped cream remaining.
- Spread the mousse into an even layer on top of the prepared brownie. Set in the fridge while you make the chocolate mousse.
Make the chocolate mousse
- Add the cold water to a small bowl and sprinkle the gelatin evenly over it. You want all of the powdered gelatin to be touching water. If it isn’t, give it a stir until it’s all moistened. Let the gelatin sit and bloom/hydrate for 5 minutes.
- Heat 3/4 cup of the heavy whipping cream in the microwave until it just starts to boil. Remove from microwave and set aside. Heat the gelatin for about 10 seconds, until melted, then add it to the hot cream and stir together.
- Add the chocolate chips to a large bowl and pour the gelatin and cream mixture over the chocolate chips. Let sit for 2-3 minutes for the chocolate chips to melt, then whisk until melted and smooth. Let sit for about 10 minutes, to cool to about room temperature. You don’t want it to be too cool, or the gelatin will begin to firm up, but if it’s too warm, it’ll melt your whipped cream, so keep an eye on it.
- Whip the remaining 1 1/2 cups of heavy whipping cream and powdered sugar until stiff peaks form. Fold about 1/3 of the whipped cream into the cooled chocolate mixture. It will begin to firm up as well, but not as much as the peanut butter mousse. Fold in the rest of the whipped cream. Be sure there aren’t any streaks of whipped cream remaining.
- Spread the mousse into an even layer on top of the peanut butter mousse. Set in the fridge to chill and firm up completely, 3-4 hours.
Make the chocolate whipped cream and finish
- Remove the cake from the fridge and remove the acetate collar, or remove it from the springform pan. Place on a serving plate or platter.
- To make the chocolate whipped cream, add the of the ingredients to a large mixer bowl and whip on medium speed until medium to stiff peaks form. You don’t want it to get too thick too fast. It thickens quickly.
- Frost the outside of the cake and pipe a border around the top edge, if desired. I used Ateco tip 847. Decorate the cake with some crushed/chopped peanut butter and chocolate chips, if desired.
- Store cake in the fridge until ready to serve. I like to use an air-tight cake carrier. Best if eaten within 4-5 days.
Nutrition
- Serving Size: One Slice
- Calories: 591
- Sugar: 44.3 g
- Sodium: 91.9 mg
- Fat: 40.4 g
- Carbohydrates: 54.7 g
- Protein: 8.9 g
- Cholesterol: 102.8 mg




YUMMMM!!! My husband loves peanut butter and mousse. This cake was made for him. Certainly didn’t turn out looking as nice as the picture above, but man was the taste there!! Yes, there are a lot of steps, but they are all easy. I made it over two days with my 3 year old son — even whipped some cream with my 10 month old on my hip. Don’t be intimidated by all the layers, it’s doable and worth it. My husband said it was the best cake he ever had. Thank you Lindsay for another memorable birthday cake =)
Awesome! So glad it was a hit! 🙂
I just made this recipe for a baby shower but did them in cups. I used premade two bite brownies for the bottom layer and just flattened them a bit first. Then the pb layer and chocolate layer and then sprinkled them with dirt (oreo crumbs) as it was lumberjack themed. They were amaaaazing! Thanks for the wonderful recipe! I tripled it and it was still easy and came together beautifully.
What a great idea! Love the brownie shortcut! So glad you enjoyed them!
I love your cakes , every time I see your post I want to run to the kitchen and make it. I have used your chocolate cakes as a base for the cake I design.
Thank you
Thank you! I’m so glad you enjoy the recipes!
Echo others’ comments about how AMAZING this cake is! Have used the chocolate whipped cream as a frosting now a few times using the Hershey’s Special Dark and, while absolutely AMAZING in texture, beautifully pipeable, and wonderful in flavor, it is still a very light brown like the chocolate mousse layer. Like others have said, it is not even CLOSE to the rich dark brown in your pictures. Any idea what you did differently?
So glad you enjoyed it! I really don’t know about the darkness. Maybe it’s just the way the photo captured it? I just used the dark cocoa. I think it also sat in the fridge for a bit before I took the photos and I know that chocolate whipped cream tends to darken as it sits. But otherwise, I didn’t do anything differently.
I’m really not sure or I’d share it. I do believe the whipped cream darkens as it sits in the fridge, so that could deb what happened. I believe it was refrigerated for a day before I took the photos.
I’ve commented on this recipe before, but I just made this for my daughter in laws birthday and for health reasons she’s gluten free. The only thing I did different was swap out the brownie layer for a flourless chocolate cake instead. What a success! Even her son, who swears he “hates” peanut butter actually picked up his plate and licked it clean – right there in the restaurant lol. Ty for helping me let her celebrate without the pain from eating gluten!
Wonderful to hear! Thanks Jane!
I am searching for recipes for a wedding reception. The groom is a big chocolate and peanut butter lover. This looks like a great “cake” but am wondering about transporting this cake in the hot Georgia summer weather. Has anyone frozen this cake after it was made? I am thinking that I will partially freeze all of the cakes to help with transporting. They will thaw by the time they’re in the reception hall. Thanks, in advance, for any advice.
It could be worth trying. The only thing to think about is the condensation from the thawing. It could cause colors to run and things like that.
Made this recipe and it worked great. Everyone was impressed and thought I’d bought it. It was easier than I expected. I did leave it to chill overnight after I added the chocolate mousse layer because it was taking a lot longer to set up than the peanut butter layer. I used the Hershey’s Special Dark cocoa powder as the other comments indicated and it still didn’t turn out as dark but it tasted fine.
I tried to make this cake this afternoon. Although it looks awesome in the pictures, mine was a complete and total failure. I made it to the point of making the peanut butter mousse mixture, but it was so runny that it leaked past the brownie and out of my springform pan all over the counter and floor. I followed the instructions as they were written so I’m not sure what went wrong. I tried to at least salvage the brownies, but we’ll see how they are when I take them out of the fridge again. Hopefully anyone else who tries this will have better luck than I did!!! I will say that I’ve made other cake recipes from this blog (specifically the peanut butter cookie dough brownie layer cake ????) and they have all been great! Maybe I’ll get a different brand of peanut butter chips or whipping cream and try again.
Hmm, it’s hard to say what happened. Did you use the full amount of powdered sugar in the whipped cream? It is used to stabilize it. I’d also make sure you didn’t add too much liquid to the peanut butter chips by accident. That will make a big difference.
Can’t wait to try this cake… one question. My frostings is not dark like the photo. Used 3 cups of whipping cream, 1/2 C powdered sugar, and 1/2 C of cocoa. And it looks lighter then the choc. Mousse layer. Any suggestions?
It’s been a while since I made this cake, but it looks like I used the Hershey’s special dark cocoa. I’m guess you used regular unsweetened cocoa. Either works perfectly, the color is just a little darker with the dark cocoa.
LOVED this cake. Made it for my assistant’s bridal shower at work and everyone kept asking me where I bought the cake. They couldn’t believe it was homemade. It was much easier to make than it looked! Thanks for the recipe…I have 3 more work showers for other co-workers and I will be using your site.
Wonderful! So glad you enjoyed the cake! Thanks Ashley!
Hi Lindsay – going to be out of town for a few days and need to make cake (s) several days in advance. How do you think your Peanut Butter Chocolate Mousse Cake would freeze? I have frozen cakes with stabilized whipped cream before and they were good but sometimes they sweat a bit while thawing. Thanks for your help and beautiful creation. ????
I haven’t frozen it before, but I would think the main concern would be sweating when thawing as you mentioned. I *think* it’d be ok.
Hi Lindsay – absolutely love your site. I’m currently making this cake…awaiting on the pb layer to set. My question is this. I’m using a 9″ springform pan. The layers are so thick that the pb layer is almost to the top. Yes, I have parchment paper around the edge about 1.5 inch above the top. It seems to me that by the time I add the chocolate layer it’s going to be so high. Will it work? lol
Sorry I wasn’t able to respond sooner. Did it all fit in the pan ok?
My 3 year old doesn’t really care for cake (strange, i know)! So, I went in search of a birthday cake recipe for non-cake eaters! I’ve never made a mousse before, and the steps were easy to follow, and the cake turned out exactly like the photo. It is a beautiful cake in real life, the separate layers, really are pretty! And, the taste and texture was absolutely delicious! I served it to 11 people, and EVERYONE went back for more (which is unheard of here)! I shared your recipe with 4 people, and everybody thought it was one of the best cakes, they had EVER had! Pretty high praise, in this house! Thank you so much for sharing, it really is a wonderful recipe!
Wonderful! 🙂 I’m so glad it was a hit!
I decided to splurge this year for my birthday cake and when I saw this recipe I knew it was the one I wanted to try. It is the most delicious, creamy, rich and yet easy cake ever! It got rave reviews from everyone that tried it! I may not make it every week but i WILL make it again! Thanks for a great recipe!
Wonderful! I’m so glad you enjoyed it! Thanks Jane!
Cocoa as in cocoa powder?
Yes, cocoa powder.
This recipe looks awesome! I am going to make it tonight for my boyfriend’s birthday!
I have a question related to finishing off the cake with the chocolate whipped cream: what is the best way to ice this cake, do you use any specific utensil/ baking tool?
Thanks so much!
Here is a tutorial for who I frost my cakes. The tutorial is showing with buttercream, but I do basically the same thing for whipped cream, minus the paper towel part.