This post may contain affiliate sales links. Please read my disclosure policy.
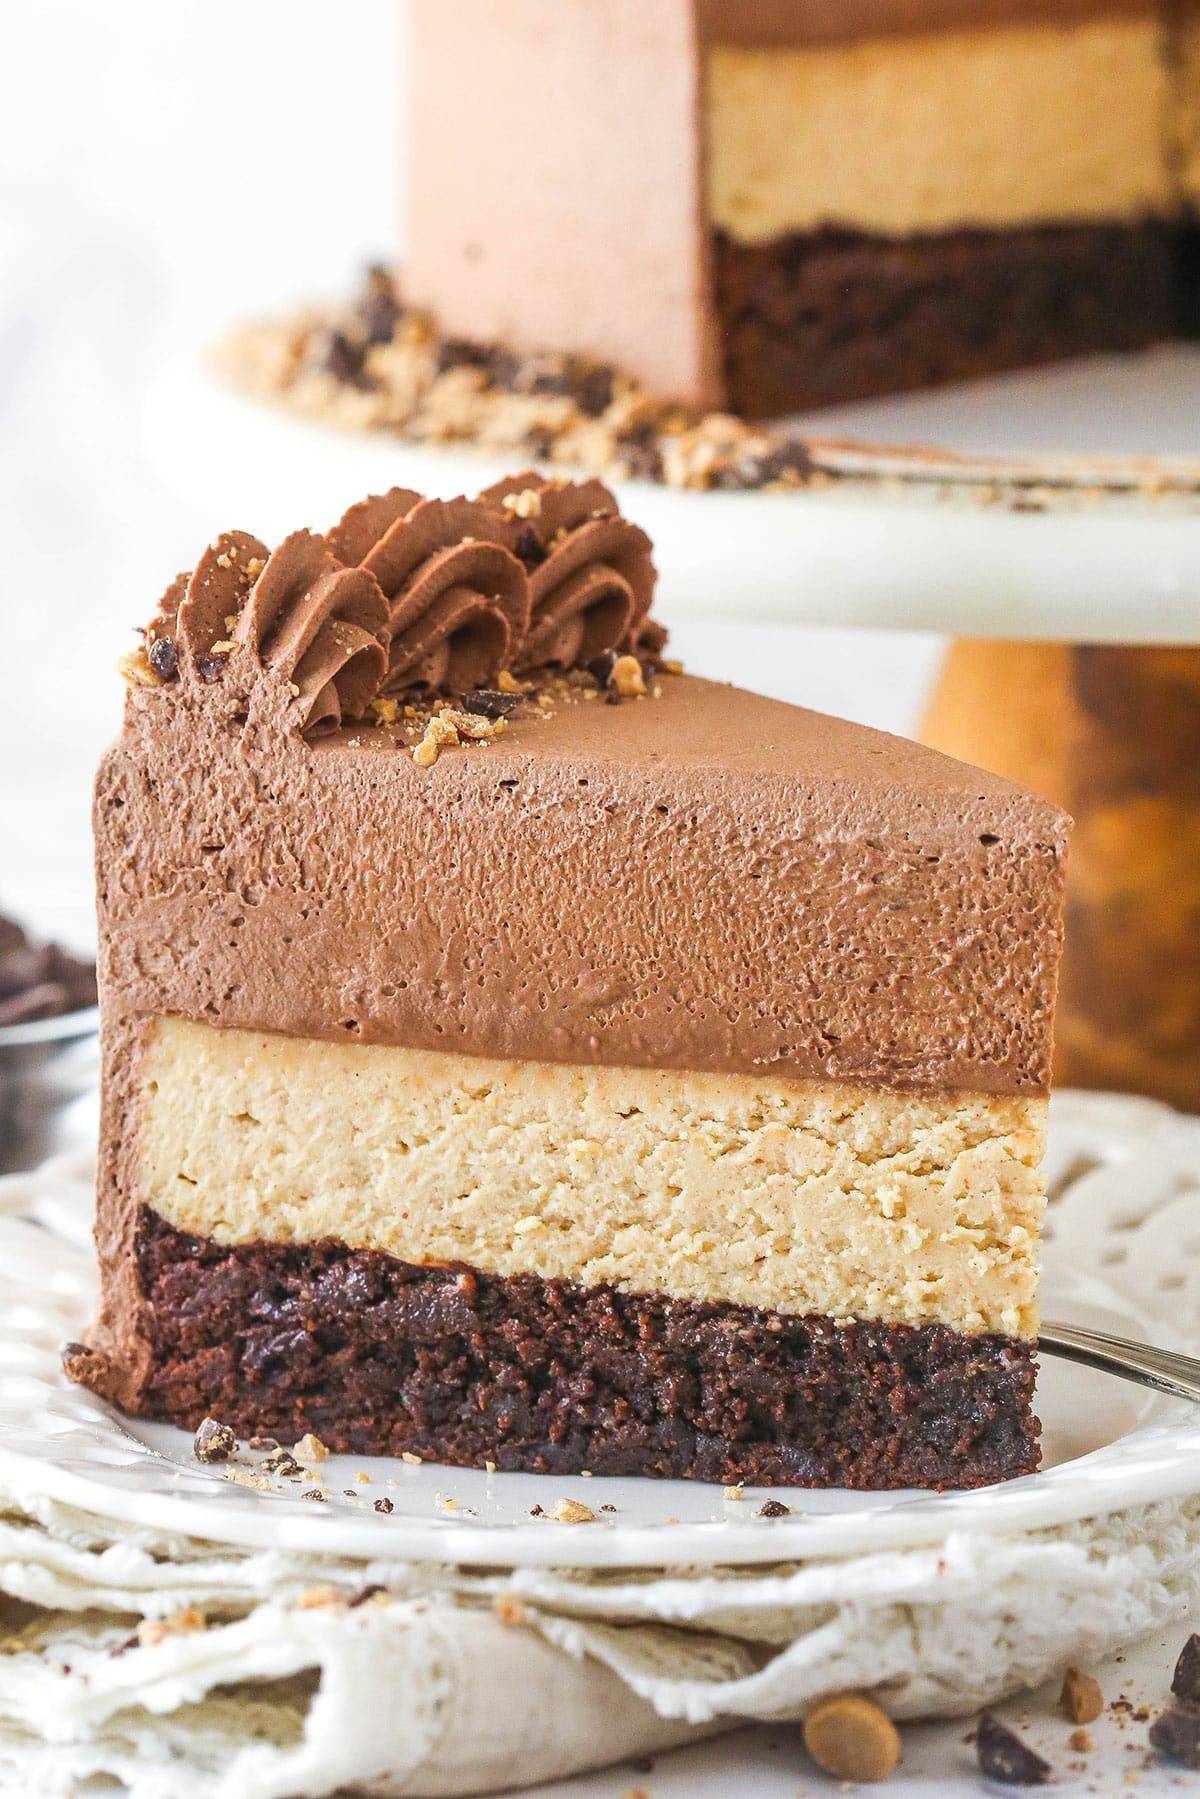
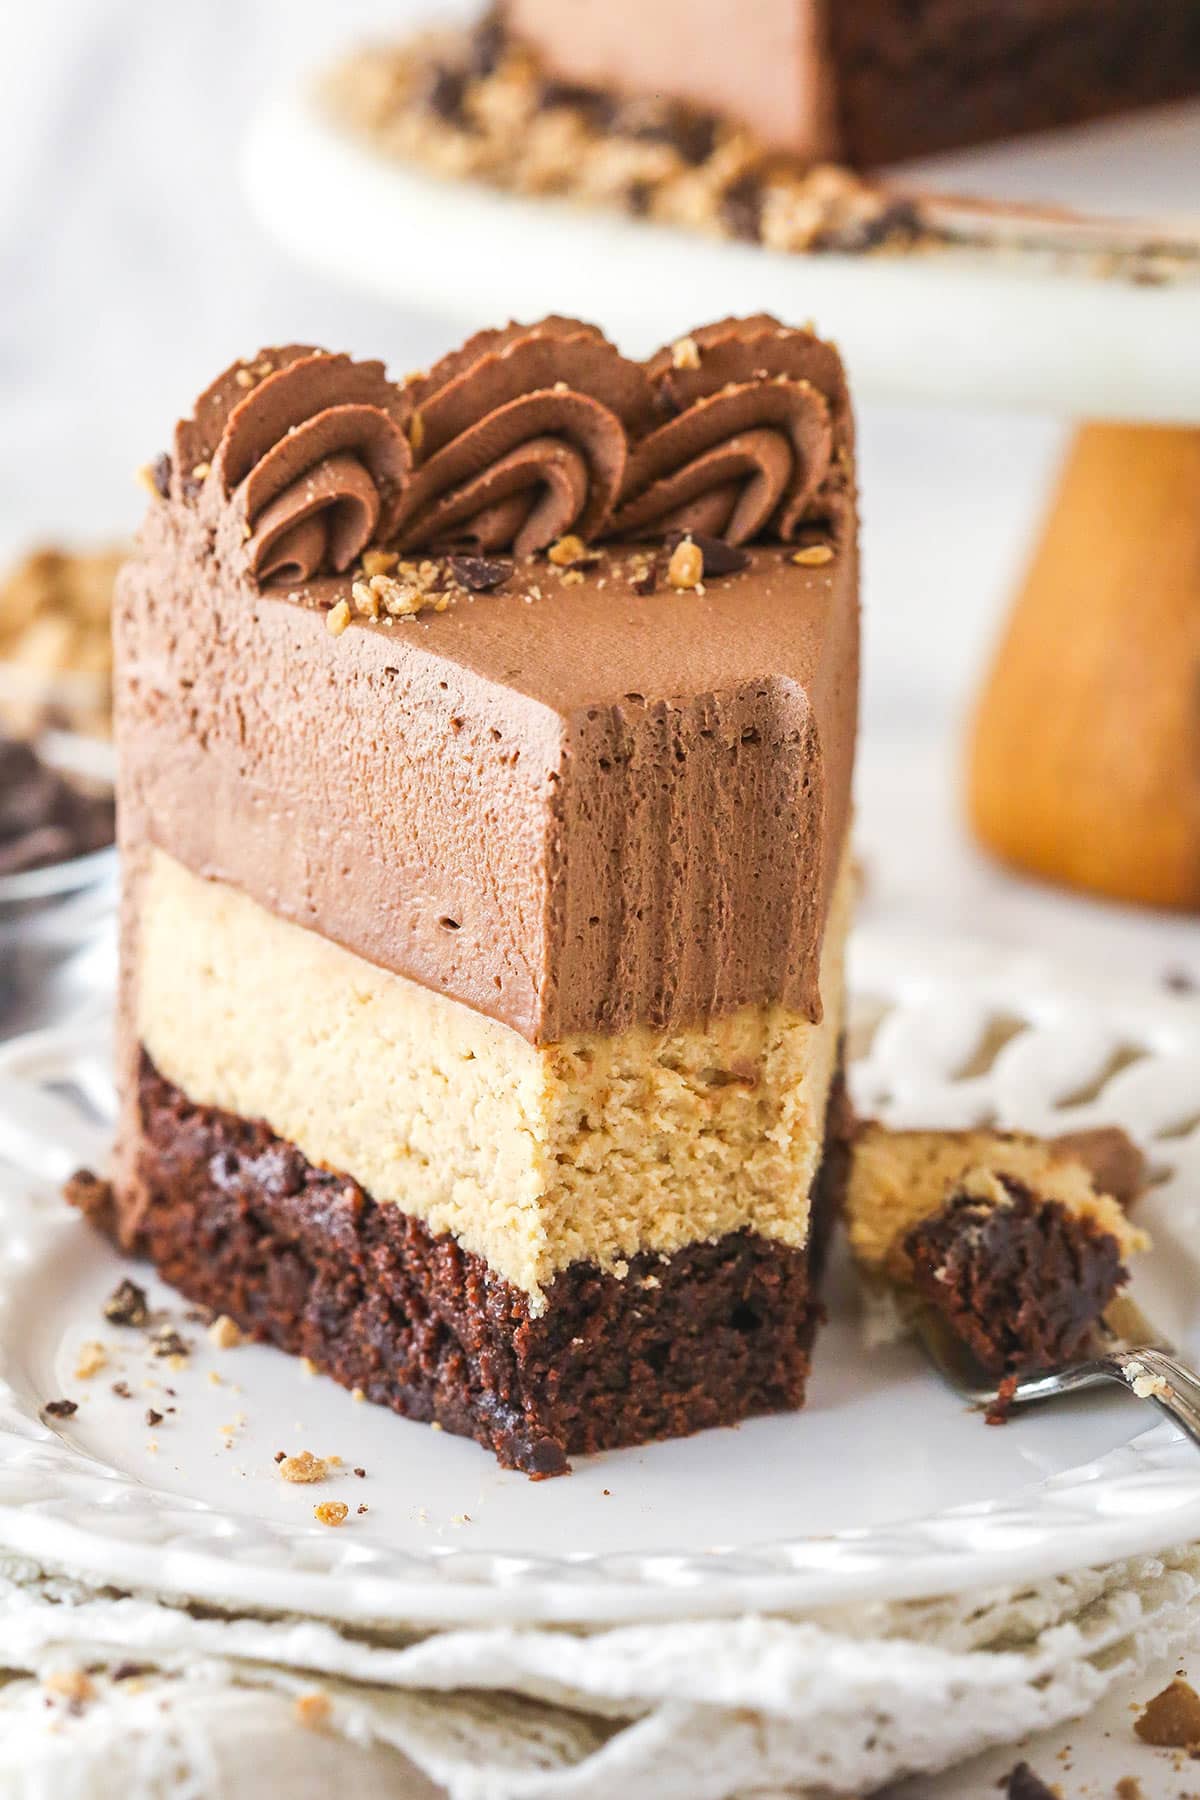
This Peanut Butter Chocolate Mousse Cake is made with a layer of homemade brownie topped with peanut butter mousse, and a layer of chocolate mousse. It is rich, delicious, and simple to make!
Why You’ll Love This Peanut Butter Chocolate Mousse Cake
The unique combination of layers in this cake make it such a fun one to make and enjoy. Here’s all the things I love about it.
- Great texture – The chewiness of the dense brownie and the creaminess of the mousse that melts in your mouth will have you coming back for more.
- Amazing flavor – Who doesn’t love peanut butter and chocolate together? The mousse layer even has a Reese’s-like flavor from the peanut butter chips, that truly makes this cake a little slice of heaven.
- Simple to make – It looks like a work of art, but really isn’t hard to make. Aside from the brownie, there isn’t any other baking involved. There’s no buttercream. Just some simple mousse layers and whipped cream frosting. It just takes a little time.
- Make ahead – Since there aren’t cake layers that dry out and the mousse on top of the brownie helps to keep it moist, it holds up great to making a day or two ahead.
Recipe Ingredients
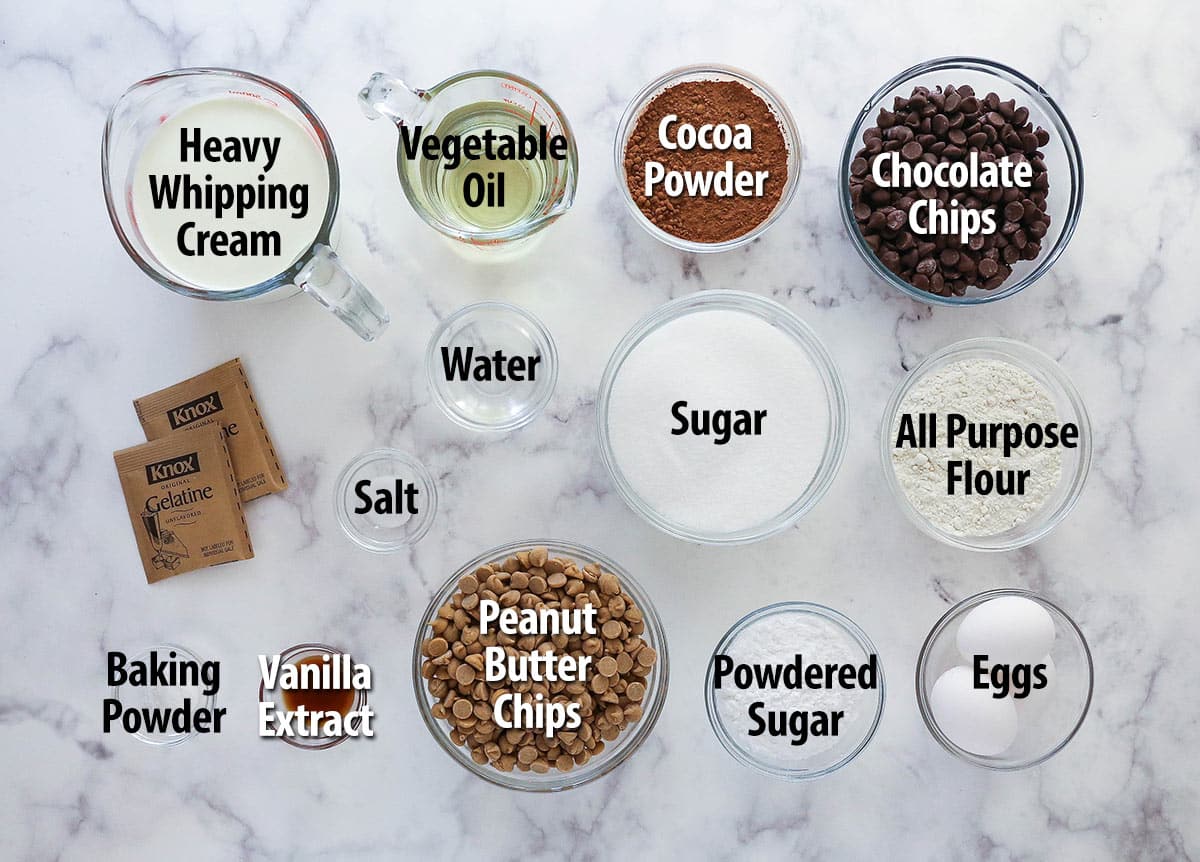
Many of the same ingredients are repeated throughout the recipe, so don’t be intimated by the long list. Scroll down to the recipe card below for the exact measurements.
Brownie
I currently use a homemade brownie recipe, but used to use a box mix. Feel free to take that shortcut, if you prefer. If you are making it from scratch, here’s what you’ll need.
- All-purpose flour – Be sure to measure your flour correctly to avoid a brownie that’s too dry or dense.
- Cocoa powder – Natural unsweetened cocoa powder is best here. You could use Dutched cocoa, but the texture isn’t as nice.
- Baking powder – For just a bit of rise and a bit of a cakey texture.
- Salt – Without a little salt, your brownie would be bland.
- Vegetable oil – I have tried butter in these brownies and while it works, the oil definitely produces the more intended mix of cakey/fudgy texture.
- Sugar – Add sweetness and also moisture.
- Vanilla extract
- Eggs – For binding things together and adding chewiness. Be sure to use large eggs, not medium or extra large.
Peanut Butter and Chocolate Mousse
Both mousse layers use the same ingredients, except for one uses chocolate chips and the other uses peanut butter chips.
- Water – Used to bloom/hydrate the powdered gelatin. Should be cold.
- Powdered gelatin – These mousse layers use powdered gelatin to firm up, rather than cooking eggs.
- Heavy whipping cream – It’s important that the whipping cream stays COLD until it’s time to use it. Otherwise, it won’t whip up properly and hold shape as well.
- Baking Chips – You’ll use peanut butter chips in the peanut butter mousse and semi-sweet chocolate chips in the chocolate mousse. I don’t recommend another type of chocolate, since others can be thicker and/or thinner and will give you a different texture.
- Powdered sugar – To stabilize the whipped cream and add a little sweetness.
Chocolate Whipped Cream
- Heavy whipping cream – Again, this needs to say COLD until it’s time to use it. Otherwise, it won’t whip up properly.
- Powdered sugar – To stabilize the whipped cream so that it won’t wilt and add a little sweetness. Don’t leave it out.
- Cocoa powder – I used natural unsweetened cocoa powder, but you could also use a dark cocoa for a darker color and slightly sweeter/more mild flavor.
- Vanilla extract – Adds a little flavor and softens the bitterness of the cocoa.
How to Use Gelatin
Gelatin isn’t hard to use, but you do need to follow a couple steps. The first is to allow the powdered gelatin to “bloom”, or hydrate. Gelatin needs a cool liquid for this step. So, sprinkle the powder over the cool water and let it sit for about 5 minutes. The gelatin will activate and the water will thicken like gelatin. Microwave it for about 10 seconds to melt it and then you can add it to your mousse layers (or other desserts!).
How To Make Peanut Butter Chocolate Mousse Cake
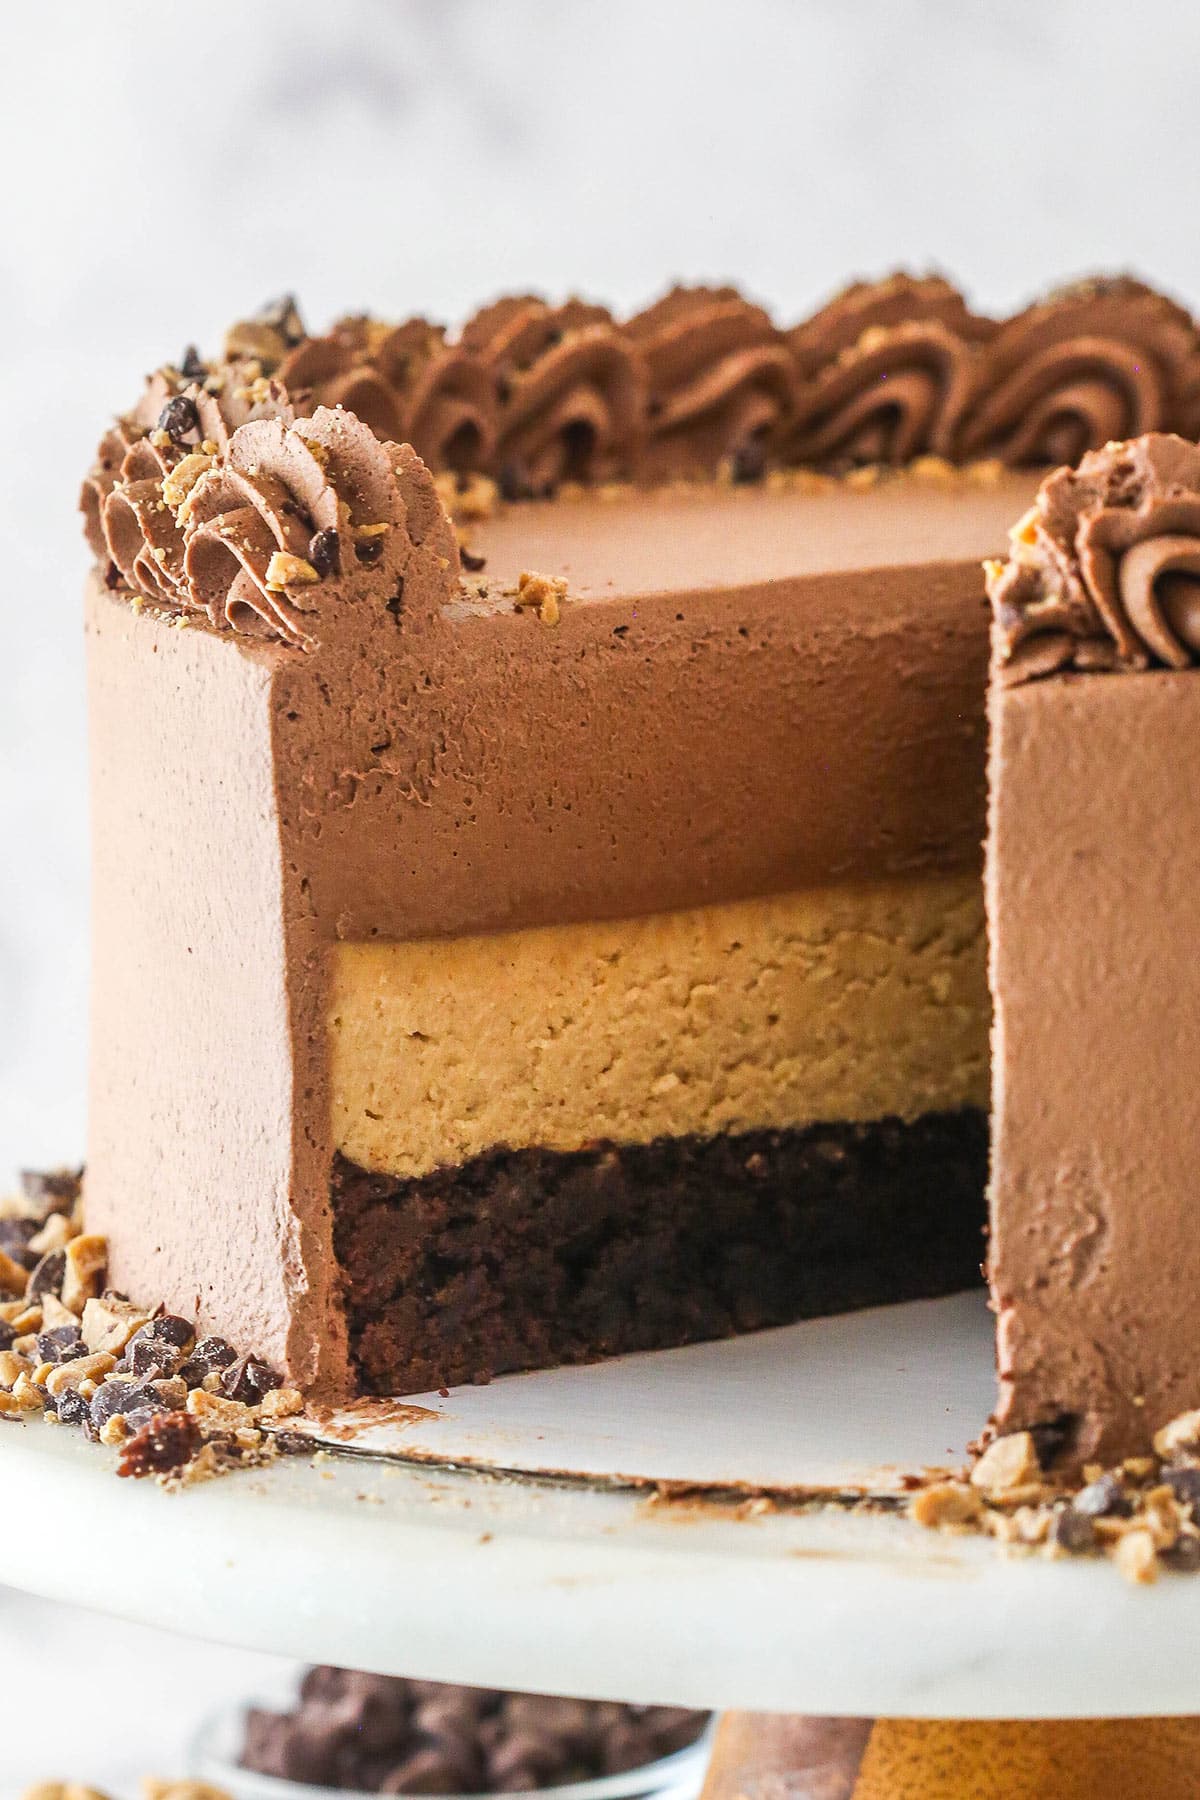
This mousse cake is simple to put together, but does take some time to prepare, mostly because it needs to sit or chill at several points in the recipe. It’s worth it, though! You can find more detailed instructions in the recipe card below.
Make the brownie
- Prep: Preheat oven to 350°F. Grease the sides of a 9-inch cake pan and line the bottom with parchment paper.
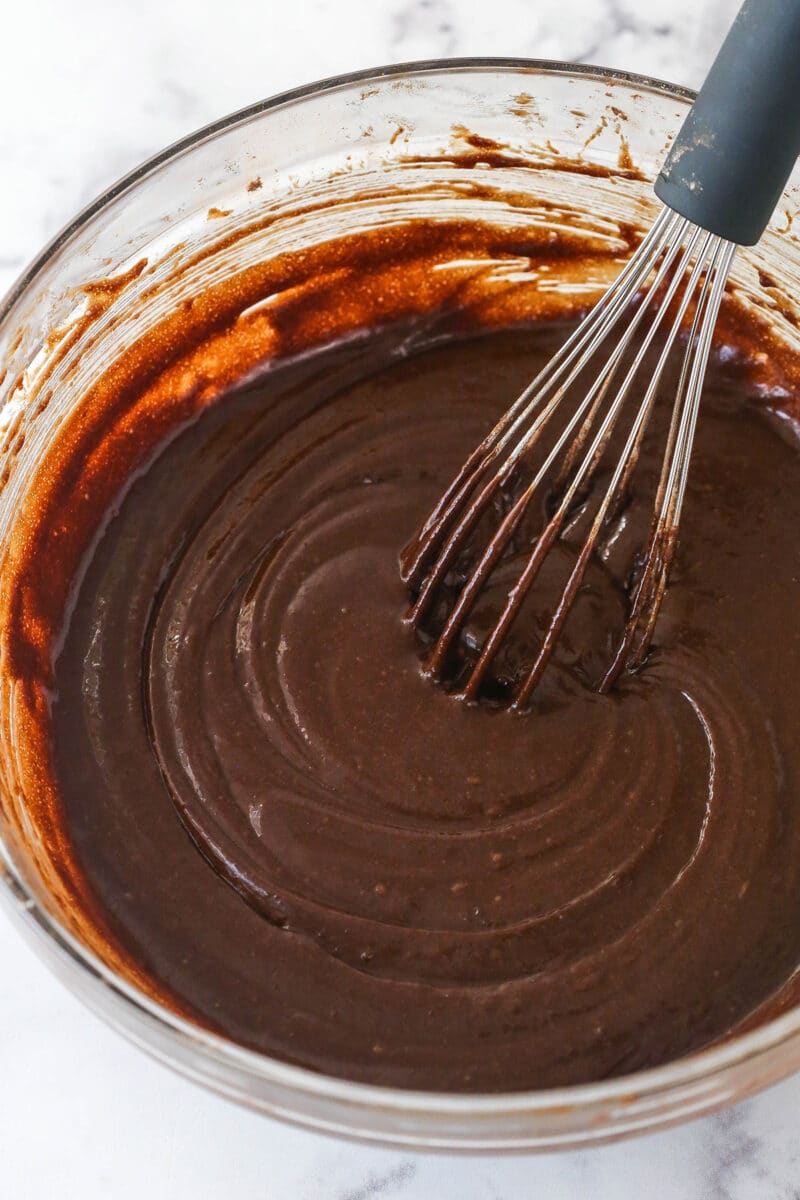
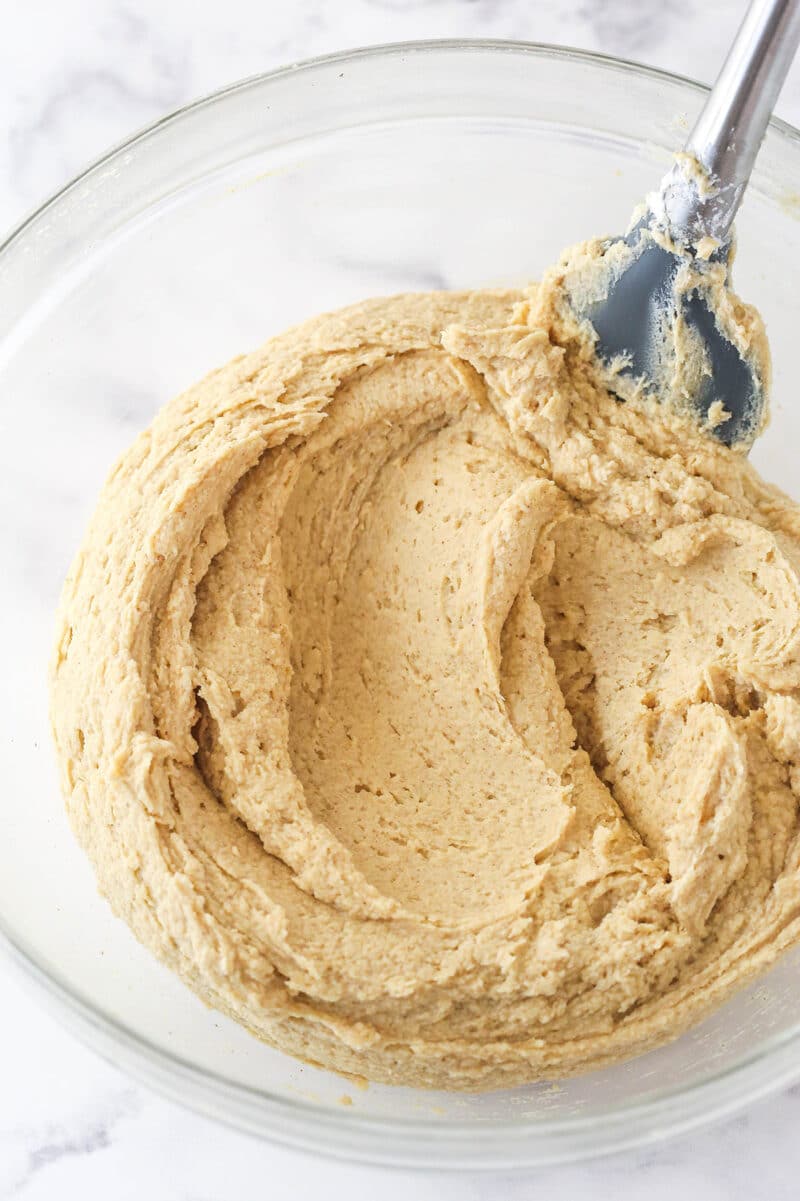
- Make the batter: Combine the dry ingredients and set aside. Combine the oil, sugar and vanilla extract in a large mixing bowl. Add the eggs and mix until well combined, then add the dry ingredients.
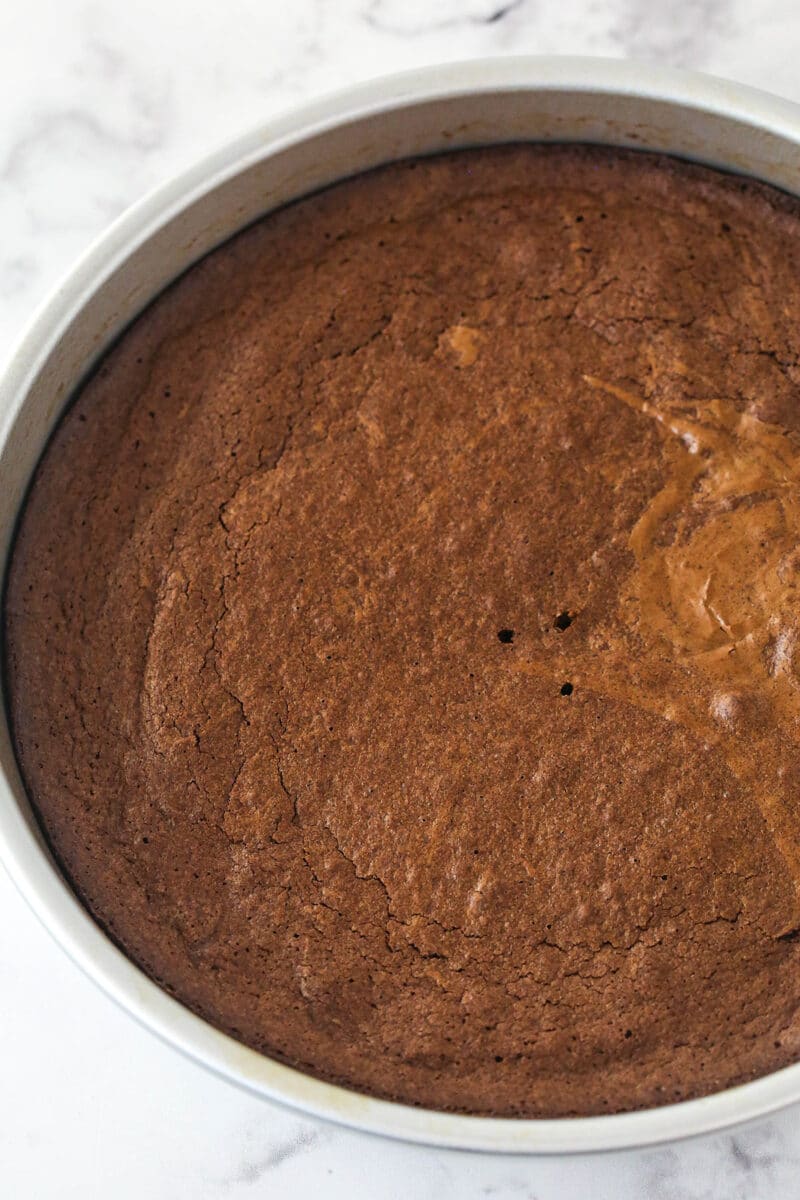
- Bake: Pour the batter into the cake pan and bake for 27-32 minutes, or until a toothpick comes out with a few crumbs. Allow brownie to cool for 3-5 minutes in the pan, then remove to a cooling rack to cool completely.
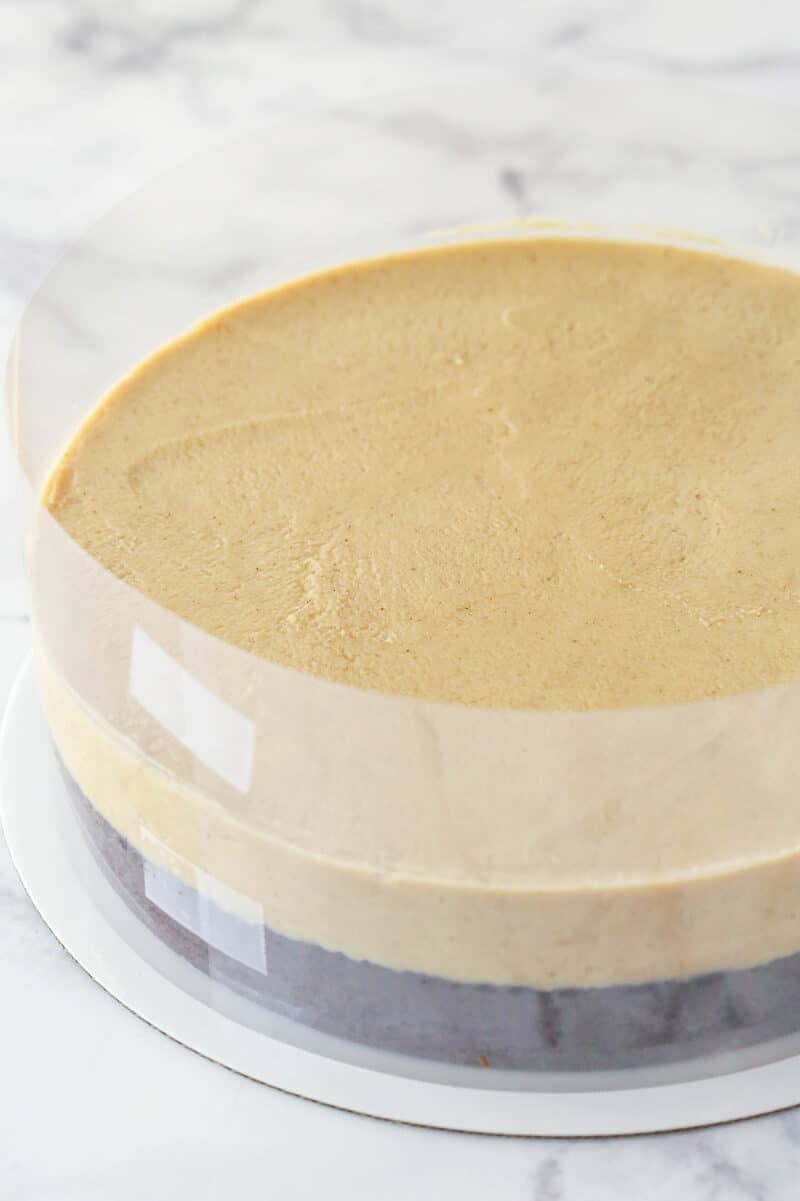
- Prep brownie: Put the brownie on a cardboard cake round, then use an acetate cake collar and secure it around the brownie. If you’d like, you can also build the cake in a springform pan (with removeable sides). If using a springform pan, I like to line the sides with parchment paper and tuck it down between the sides of the pan and the brownie to keep it in place. It makes it easier to remove the sides of the pan later and then just peel off the parchment paper. You can also let it stick above the sides of the pan about an in higher, in case your cake is a little taller than the sides of the pan. Set aside.
Make the peanut butter mousse
- Prep gelatin: Add the cold water to a small bowl and sprinkle the gelatin evenly over it. Let the gelatin sit and bloom/hydrate for 5 minutes. Then, heat 1 cup of heavy whipping cream until it just starts to boil. Heat the gelatin for about 10 seconds, until melted, then add it to the hot cream.
- Make peanut butter mixture: Add the peanut butter chips to a large bowl and pour the gelatin and cream mixture over the peanut butter chips. Let sit for 2-3 minutes for the peanut butter chips to melt, then whisk until melted and smooth. Cool to about room temperature, about 10 minutes.
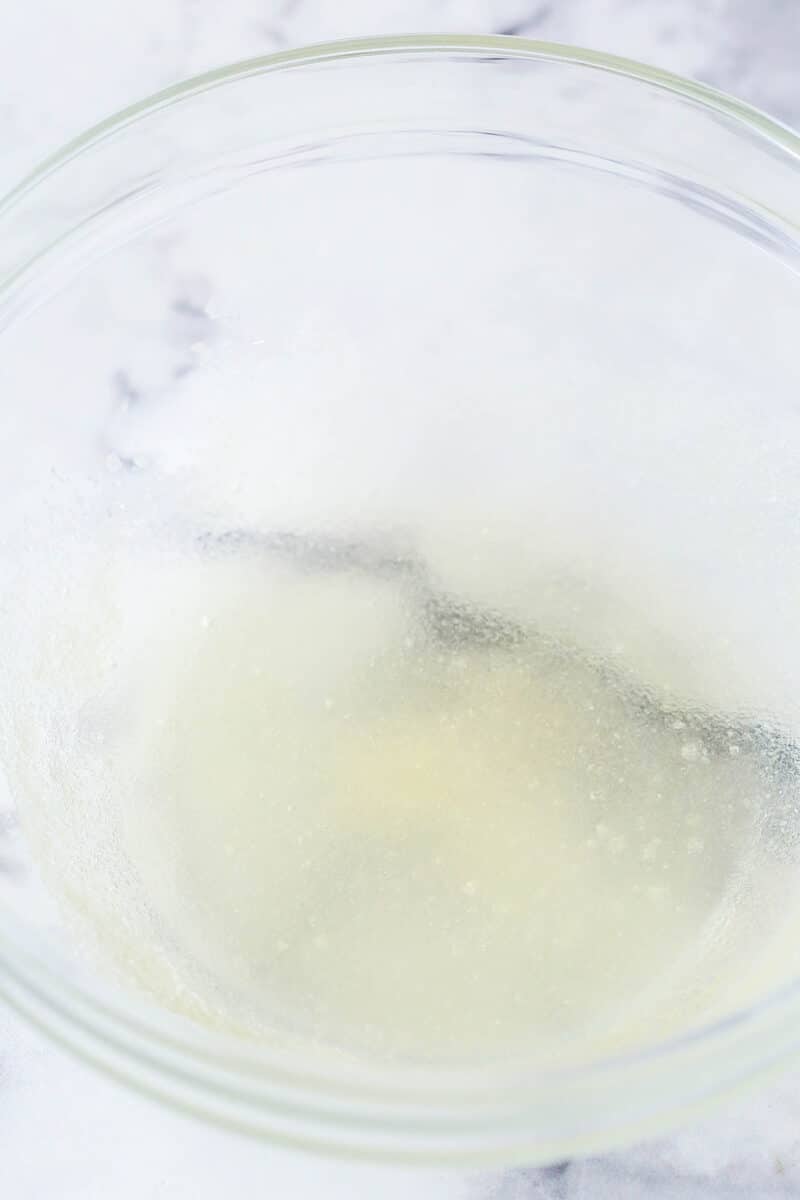
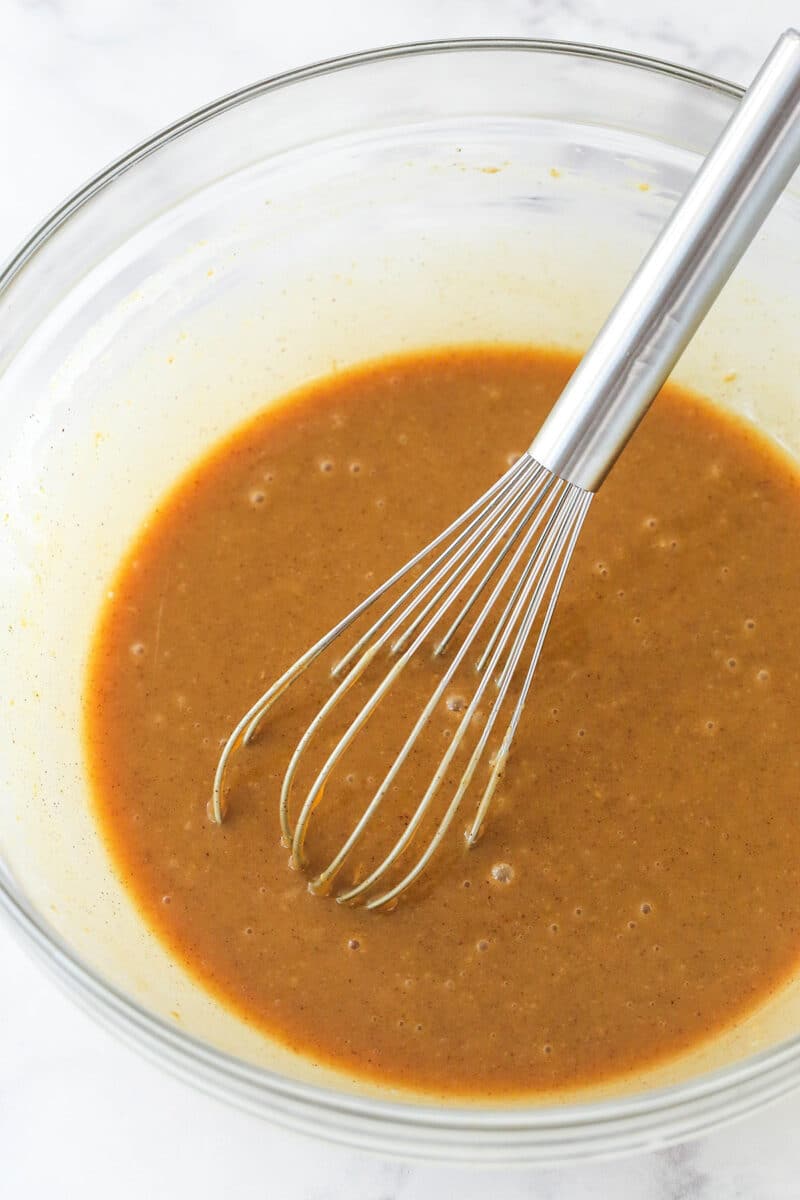
- Whip the cream: Whip the remaining heavy whipping cream and powdered sugar until stiff peaks form. Fold about 1/3 of the whipped cream into the cooled peanut butter mixture, then fold in the rest of the whipped cream.
- Add to brownie: Spread the mousse into an even layer on top of the prepared brownie. Set in the fridge while you make the chocolate mousse.
Make the chocolate mousse
- Prep gelatin: Add the cold water to a small bowl and sprinkle the gelatin evenly over it. Let the gelatin sit and bloom/hydrate for 5 minutes. Then, heat 3/4 cup of heavy whipping cream until it just starts to boil. Heat the gelatin for about 10 seconds, until melted, then add it to the hot cream.
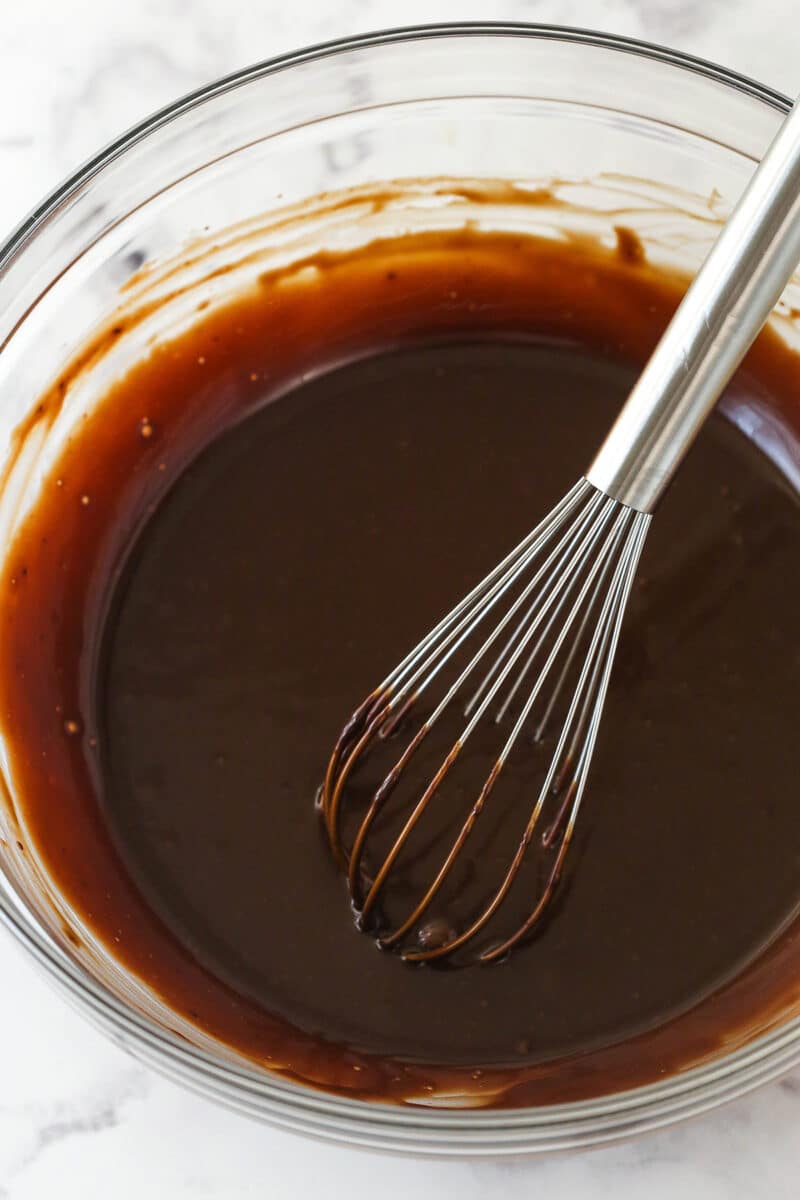
- Make chocolate mixture: Add the chocolate chips to a large bowl and pour the gelatin and cream mixture over the chocolate chips. Let sit for 2-3 minutes for the chocolate chips to melt, then whisk until melted and smooth. Cool to about room temperature, about 10 minutes.
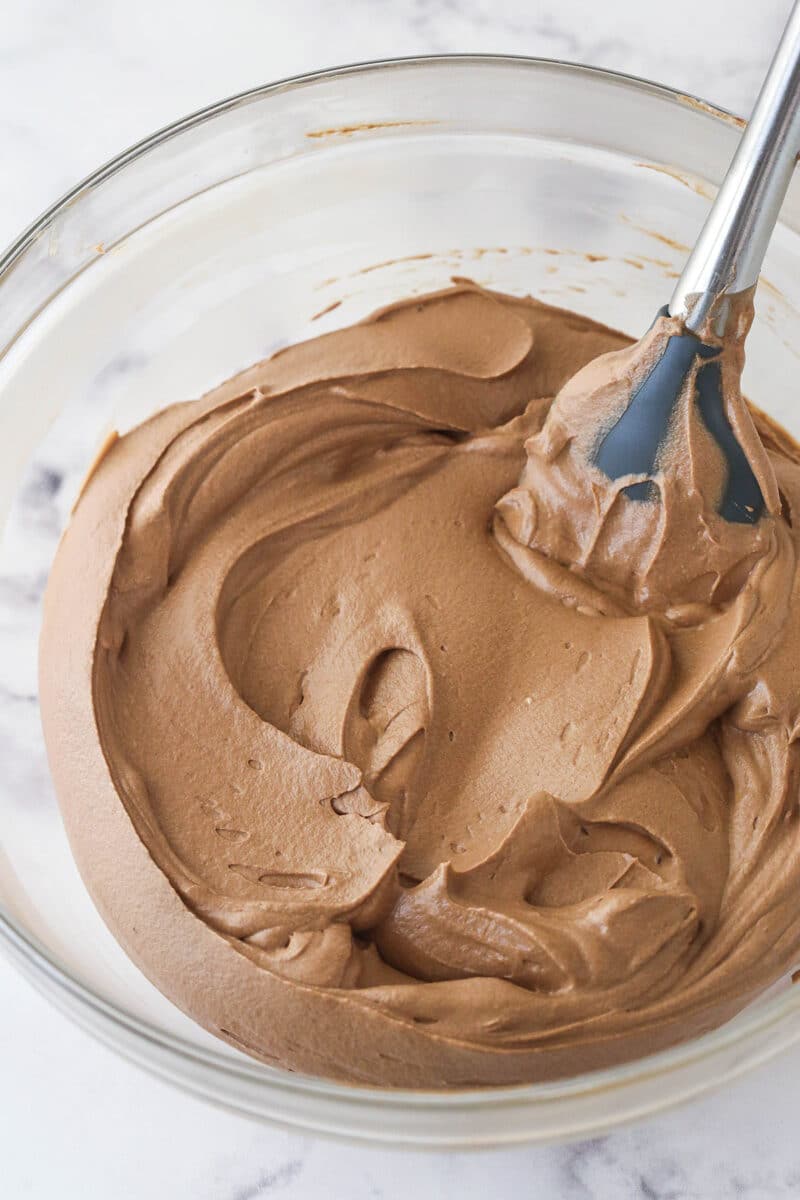
- Whip the cream: Whip the remaining heavy whipping cream and powdered sugar until stiff peaks form. Fold about 1/3 of the whipped cream into the cooled chocolate mixture, then fold in the rest of the whipped cream.
- Add to cake: Spread the mousse into an even layer on top of the peanut butter mousse. Set in the fridge to chill and firm up completely, 3-4 hours.
Finish off the cake
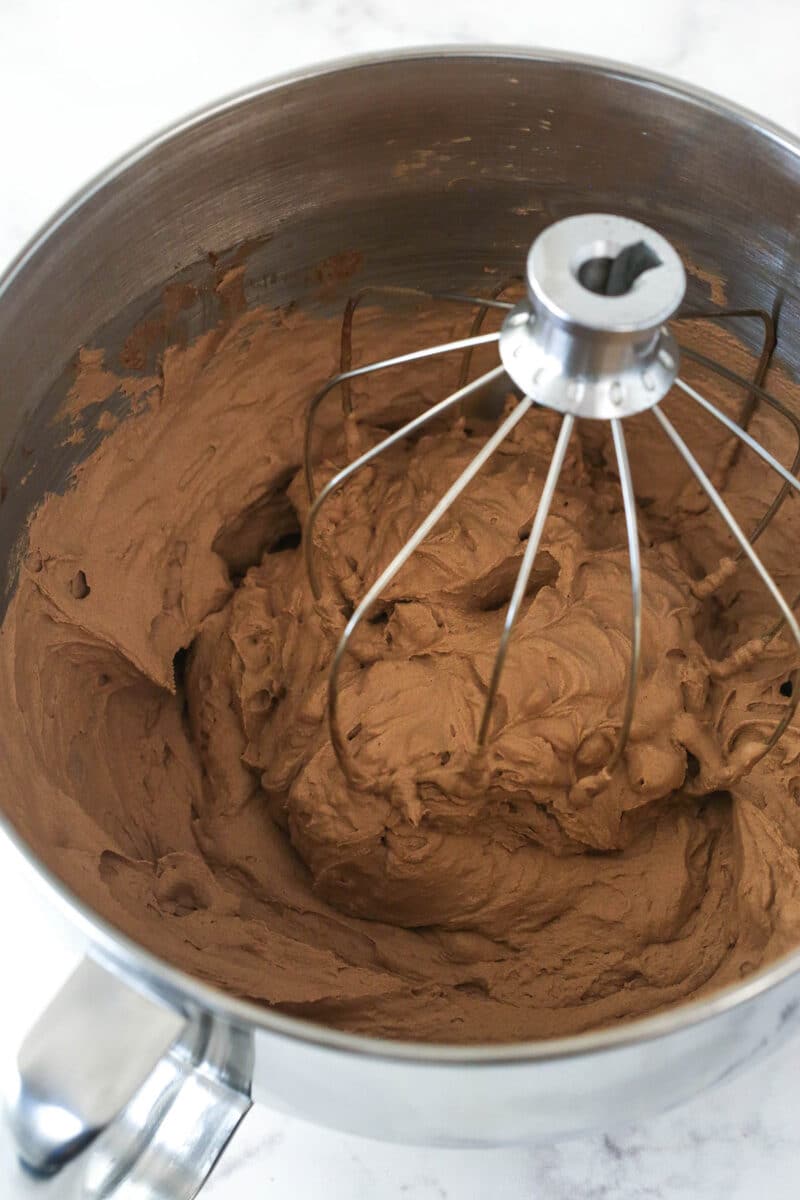
- Make the chocolate whipped cream: Add the of the ingredients to a large mixer bowl and whip on medium speed until medium to stiff peaks form.
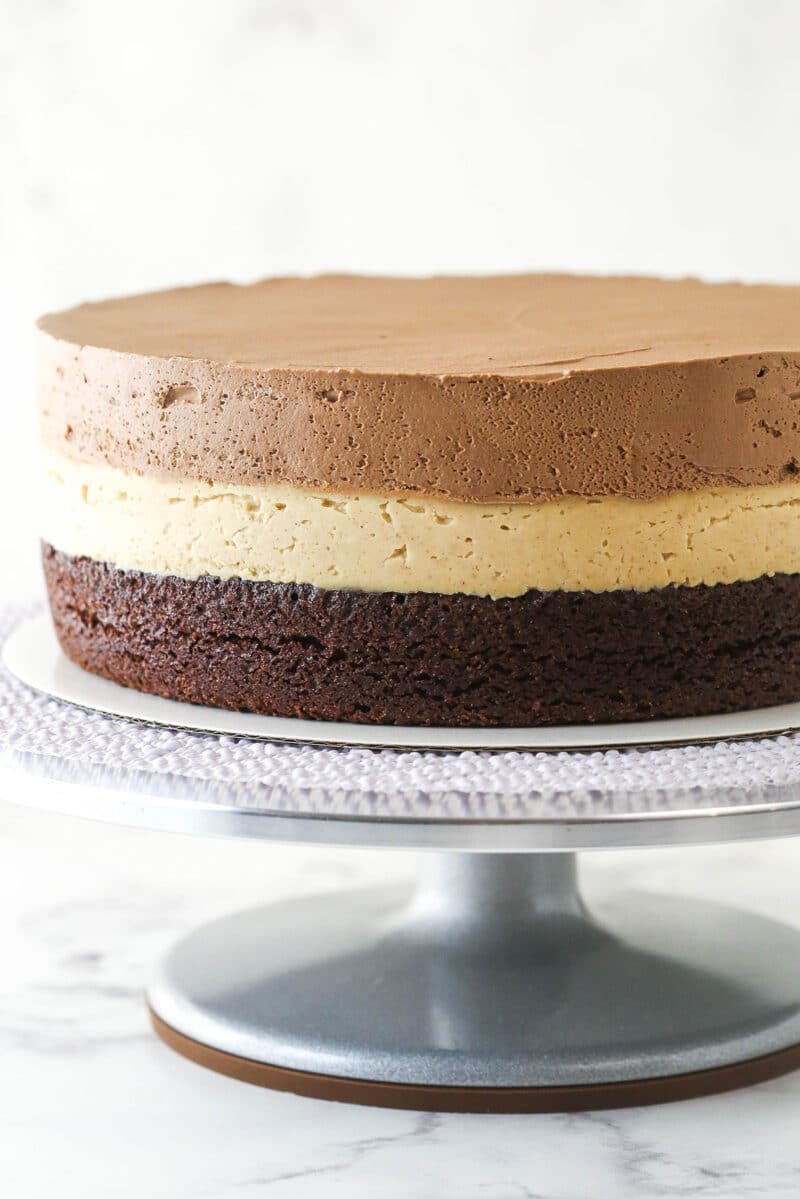
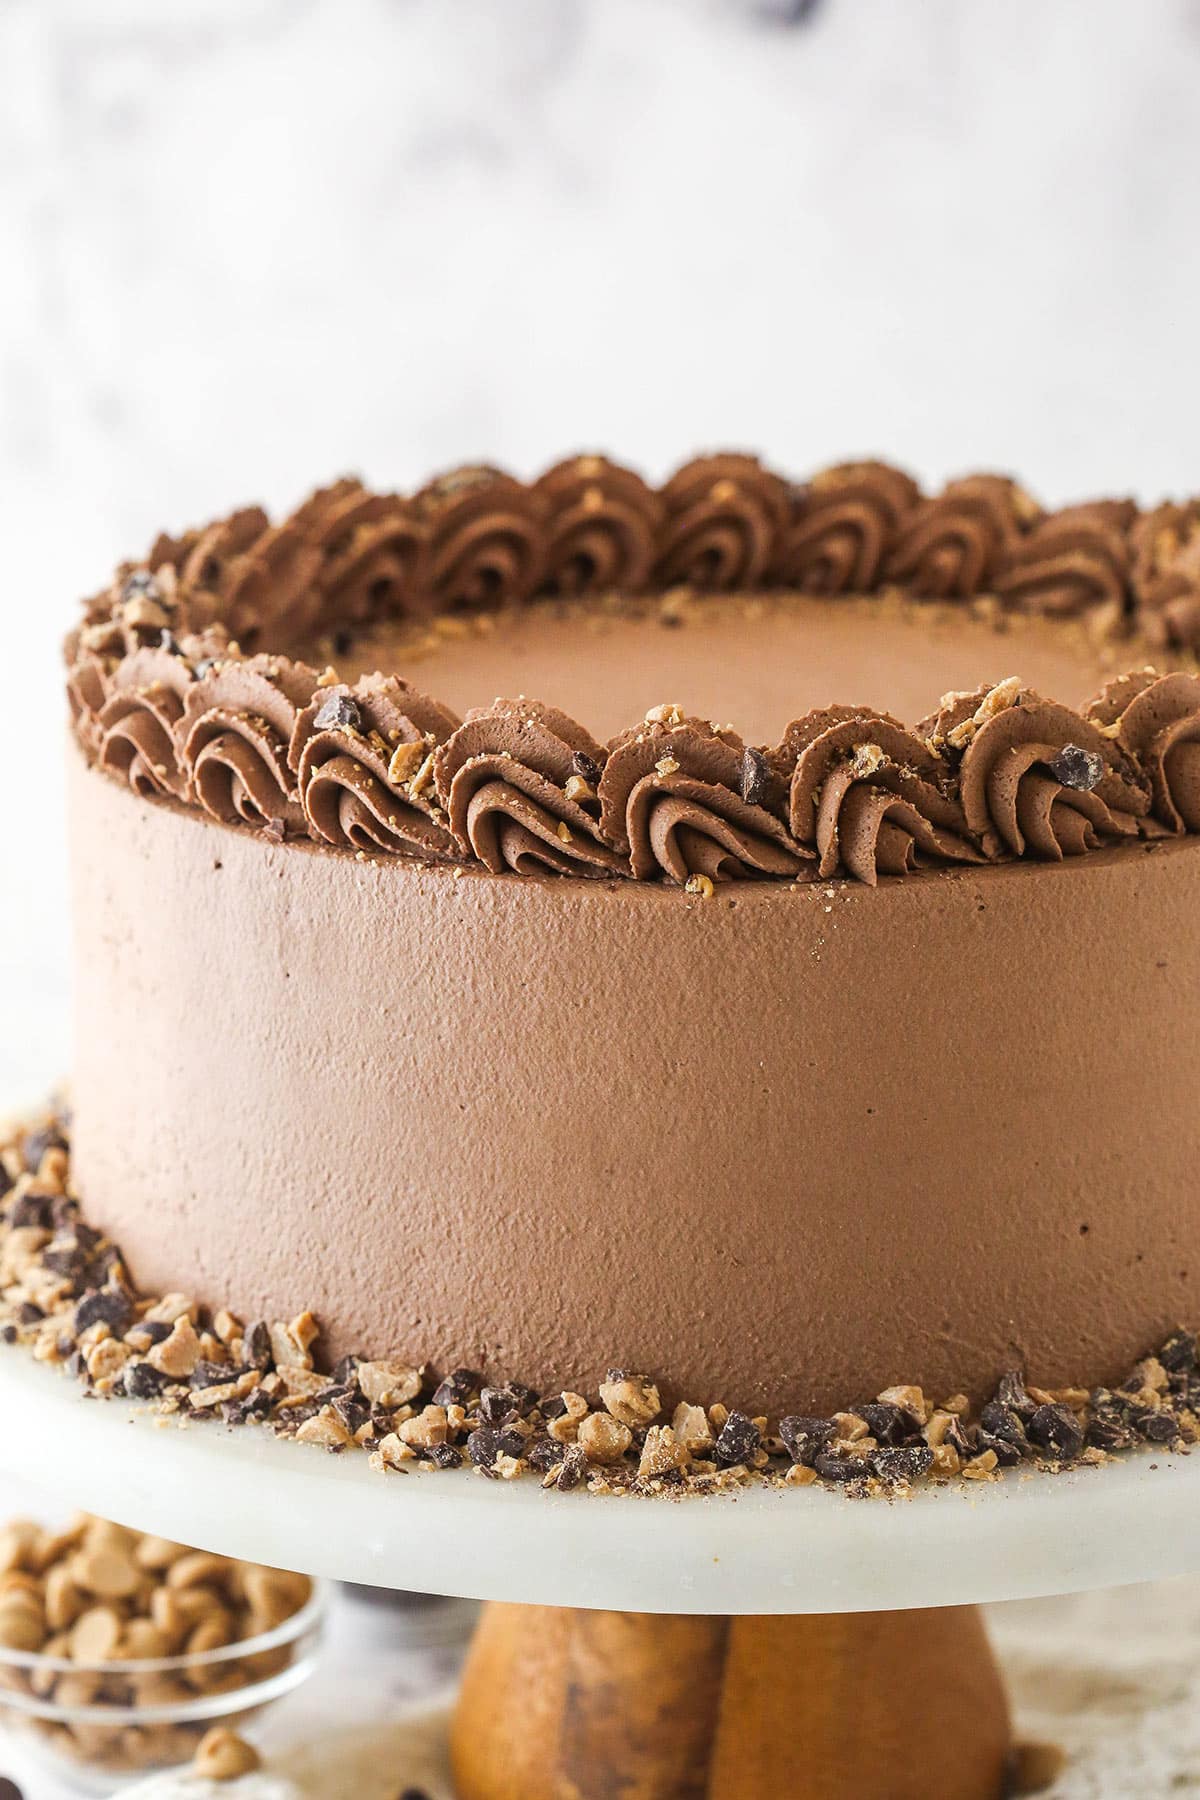
- Decorate: Frost the outside of the cake and pipe a border around the top edge, if desired. I used Ateco tip 847. Decorate the cake with some crushed/chopped peanut butter and chocolate chips, if desired.
- Serve and store. Store cake in the fridge until ready to serve. I like to use an air-tight cake carrier. Best if eaten within 4-5 days.
Pro Tips For The Best Cake
- Avoid lumps. Be sure all of the powdered gelatin touches water, or it won’t activate properly, and you won’t get the full powder of the gelatin and you could end up with lumps that don’t melt fully and incorporate properly. You can stir the gelatin and water mixture to ensure it’s all moistened.
- Use COLD heavy whipping cream. This is essential as it won’t whip up properly otherwise.
- Room temperature. Let the chocolate and peanut butter mixtures cool only until close to room temperature so that the whipped cream doesn’t melt. If it cools too much, it’ll end up lumpy and dense.
- Use the powdered sugar. Don’t leave out the powdered sugar, as this stabilizes the whipped cream, so that it doesn’t wilt.
- Be gentle. Be sure to fold the whipped cream into the chocolate and peanut butter mixtures gently, or can deflate the whipped cream and end up with dense mousse layers.
- Whip slowly. Whip the chocolate whipped cream more slowly. It thickens quickly, so you want it to have time to whip properly and not get too thick too quickly.
Can I Use Regular Peanut Butter?
You can! To swap out the peanut butter chips, replace them with 2 2/3 cups (373g) of creamy peanut butter. You’ll also want to increase the gelatin to 2 teaspoons and use 2 tablespoons of cold water. Everything else, including the method, is the same.
If you make the swap, just keep in mind that the flavor is a little different. Using peanut butter chips gives you a sweeter flavor that is more like the filling of a Reese’s. Using regular peanut butter is less sweet and more nutty.
How To Store
- Fridge: Store in an air-tight container, cake carrier or well covered with plastic wrap in the fridge. Best if eaten within 4-5 days.
- Freezer: You can freeze slices of the cake in an air-tight container. You could also freeze the full cake, just flash freeze it for a couple hours, then wrap it well. Keep in mind that the mousse layers might be a little more dense after freezing. To thaw, unwrap and place in fridge for about 24 hours.
You might also like:
- Peanut Butter Chocolate Layer Cake
- Peanut Butter Cookie Dough Brownie Layer Cake
- Peanut Butter Fudge Brownies
- Mini Reeses Peanut Butter Cheesecakes
- Peanut Butter Chocolate Buckeye Cupcakes
- Loaded Peanut Butter Layer Cake
Watch How To Make It
This post was updated 10/5/2024. For the original recipe, download this recipe PDF.
Print
Peanut Butter Chocolate Mousse Cake
- Prep Time: 1 hour 45 minutes
- Chill Time: 4 hours
- Cook Time: 27 minutes
- Total Time: 6 hours 12 minutes
- Yield: 14-16 Slices
- Category: Dessert
- Method: Oven
- Cuisine: American
Description
This Peanut Butter Chocolate Mousse Cake is made with a layer of homemade brownie topped with peanut butter mousse, and a layer of chocolate mousse. It is rich, delicious, and simple to make!
Ingredients
Brownie
- 3/4 cup (98g) all-purpose flour (measured properly)
- 1/2 cup (57g) natural unsweetened cocoa powder
- 1/4 tsp + 1/8 tsp baking powder
- 1/4 tsp salt
- 3/4 cup (180ml) vegetable oil
- 1 1/2 cups (310g) sugar
- 1 1/2 tsp vanilla extract
- 3 large eggs
Peanut Butter Mousse
- 2 tbsp cold water
- 1 1/2 tsp powdered gelatin
- 3 cups (720ml) heavy whipping cream, divided, cold
- 12 oz | 340g (2 cups) peanut butter chips
- 6 tbsp (44g) powdered sugar
Chocolate Mousse
- 1 1/2 tbsp cold water
- 1 1/8 tsp powdered gelatin
- 2 1/4 cups (540ml) heavy whipping cream, divided, cold
- 9 oz | 255g (1 1/3 cups) semi-sweet chocolate chips
- 1/4 cup (29g) powdered sugar
Chocolate Whipped Cream
- 2 1/2 cups (600ml) heavy whipping cream, cold
- 3/4 cup (68g) powdered sugar
- 1/2 cup (57g) natural unsweetened cocoa powder
- 1 tsp vanilla extract
Instructions
Make the brownie
- Preheat oven to 350°F. Grease the sides of a 9-inch cake pan and line the bottom with parchment paper.
- Add the flour, cocoa powder, baking powder and salt to a medium sized bowl and set aside.
- Add the oil, sugar and vanilla extract to large mixing bowl and mix together until well combined.
- Add the eggs and mix until well combined.
- Add the dry ingredients and mix until well combined, but don’t over mix.
- Pour the batter into the prepared pan and spread evenly.
- Bake for 27-32 minutes, or until a toothpick comes out with a few crumbs.
- Allow brownie to cool for 3-5 minutes in the pan, then remove to a cooling rack to cool completely.
- When the brownie has completely cooled, set it up to be layered with the mousse layers. Put the brownie on a cardboard cake round, then use an acetate cake collar and secure it around the brownie. If you’d like, you can also build the cake in a springform pan (with removeable sides). If using a springform pan, I like to line the sides with parchment paper and tuck it down between the sides of the pan and the brownie to keep it in place. It makes it easier to remove the sides of the pan later and then just peel off the parchment paper. You can also let it stick above the sides of the pan about an in higher, in case your cake is a little taller than the sides of the pan. Set aside.
Make the peanut butter mousse
- Add the cold water to a small bowl and sprinkle the gelatin evenly over it. You want all of the powdered gelatin to be touching water. If it isn’t, give it a stir until it’s all moistened. Let the gelatin sit and bloom/hydrate for 5 minutes.
- Heat 1 cup of the heavy whipping cream in the microwave until it just starts to boil. Remove from microwave and set aside. Heat the gelatin for about 10 seconds, until melted, then add it to the hot cream and stir together.
- Add the peanut butter chips to a large bowl and pour the gelatin and cream mixture over the peanut butter chips. Let sit for 2-3 minutes for the peanut butter chips to melt, then whisk until melted and smooth. Let sit for about 10 minutes, to cool to about room temperature. You don’t want it to be too cool, or the gelatin will begin to firm up, but if it’s too warm, it’ll melt your whipped cream, so keep an eye on it.
- Whip the remaining 2 cups of heavy whipping cream and powdered sugar until stiff peaks form. Fold about 1/3 of the whipped cream into the cooled peanut butter mixture. It will begin to firm up quickly. Fold in the rest of the whipped cream. Be sure there aren’t any streaks of whipped cream remaining.
- Spread the mousse into an even layer on top of the prepared brownie. Set in the fridge while you make the chocolate mousse.
Make the chocolate mousse
- Add the cold water to a small bowl and sprinkle the gelatin evenly over it. You want all of the powdered gelatin to be touching water. If it isn’t, give it a stir until it’s all moistened. Let the gelatin sit and bloom/hydrate for 5 minutes.
- Heat 3/4 cup of the heavy whipping cream in the microwave until it just starts to boil. Remove from microwave and set aside. Heat the gelatin for about 10 seconds, until melted, then add it to the hot cream and stir together.
- Add the chocolate chips to a large bowl and pour the gelatin and cream mixture over the chocolate chips. Let sit for 2-3 minutes for the chocolate chips to melt, then whisk until melted and smooth. Let sit for about 10 minutes, to cool to about room temperature. You don’t want it to be too cool, or the gelatin will begin to firm up, but if it’s too warm, it’ll melt your whipped cream, so keep an eye on it.
- Whip the remaining 1 1/2 cups of heavy whipping cream and powdered sugar until stiff peaks form. Fold about 1/3 of the whipped cream into the cooled chocolate mixture. It will begin to firm up as well, but not as much as the peanut butter mousse. Fold in the rest of the whipped cream. Be sure there aren’t any streaks of whipped cream remaining.
- Spread the mousse into an even layer on top of the peanut butter mousse. Set in the fridge to chill and firm up completely, 3-4 hours.
Make the chocolate whipped cream and finish
- Remove the cake from the fridge and remove the acetate collar, or remove it from the springform pan. Place on a serving plate or platter.
- To make the chocolate whipped cream, add the of the ingredients to a large mixer bowl and whip on medium speed until medium to stiff peaks form. You don’t want it to get too thick too fast. It thickens quickly.
- Frost the outside of the cake and pipe a border around the top edge, if desired. I used Ateco tip 847. Decorate the cake with some crushed/chopped peanut butter and chocolate chips, if desired.
- Store cake in the fridge until ready to serve. I like to use an air-tight cake carrier. Best if eaten within 4-5 days.
Nutrition
- Serving Size: One Slice
- Calories: 591
- Sugar: 44.3 g
- Sodium: 91.9 mg
- Fat: 40.4 g
- Carbohydrates: 54.7 g
- Protein: 8.9 g
- Cholesterol: 102.8 mg







hello there! I absolutely looove your recipies!I have a queston for you…I am from Romania and I can’t find peanut butter chips here..can I make it with just peanut butter?thank you
I haven’t tried that before, but it might work.
I made this and it was surprisingly super simple! My boyfriend and dad said it was hands-down the best dessert they’ve ever had, and they both have a huge sweet tooth!
But quick question – I want to make a smaller version of this cake… how would I adjust this to fit a 6 inch cake?
I’m glad you didn’t find it too difficult and that everyone enjoyed it! 🙂 I’m not exactly sure how to alter the ingredients to fit a 6 inch pan, but you could definitely make it with the same amounts in a 6 inch pan and just have it be taller. If it’s too tall to build in one pan, I’d make the mousse layers, refrigerate them until very firm and then place them onto the cake layer. Does that help?
Hi,
This cake looks so delicious and I want to make it for my daughter-in-law’s birthday but need to hide it. Do you know if it can be frozen and then thawed in the refrigerator before serving?
Thanks,
Paula
I’m not sure about the freezing with the mousse. I’ve never frozen it before.
I just finished with the peanut butter mousse layer and it was liquid. I followed it step by step…it’s been refrigerating but I’m curious if it will firm up? I’m hoping so. So excited to make this for a birthday. I love all your recipes.
It’s been such a long time since I made this recipe, it’s hard for me to remember how it turns out. But it does sound like it will be soft and should firm up. I hope it turns out well!
How do you transfer the cake from the springform pan into a cake plate? I am scared I will ruin it!
You can just leave it on the bottom of the springform pan. The other option would be to place a cardboard cake circle in the bottom of the pan before layering the cake – but that’d be for next time. 🙂
Since this was my first time making something on this level, and the directions don’t really address getting the cake onto the plate. I should have read reviews. I took the brownie layer off the springform bottom and placed it on the final pate. Then continued with that possible disaster out of the way.
Just wondering about nutritional information? Do you know how many calories per slice?
I do not know the nutritional information (though I’m sure it’s up there). There are a lot of online calculators out there though.
Hi! I’m in love with this cake! I want to try it next weekend, but in my country I can’t find peanut butter chips. Can I somehow replace it with creamy peanut butter? Thank you! 😊
I’m sorry, but in this particular recipe you’ll need the peanut butter chips.
Hi Lindsay! I’m making this cake next weekend, but have never bought or really noticed powdered gelatin before. Can I find it in my regular grocery store? Is it generally with the jello mixes?
Yes, it should right by all the mixes. It’s a little weird the first time you use it, but it’s really not hard. 🙂
Hi Lindsay!
You did a beautiful job on this cake! I am trying to make it right now. I just put the chocolate mousse layer on and noticed that when I took the brownie/peanut butter mouse part out of the giant ziplock bag I had it in, there was condensation. So I won’t do that again, but I wonder if the cake should be covered in any way as it is firming up in the fridge? Thanks for your response and for this I-can’t-to-try-this-shizzle cake idea.
I’m sorry I wasn’t able to response sooner. I hope it turned out well. I don’t usually cover it until the cake is done.
Do you think I could cover this cake with chocolate ganache and than put fondant over? I want to make some nice decorations. Would the mousse be too soft to hold up? I would really love to try this recipe, oh my god jummm! 🙂
I’m not sure if that would work well or not. Ganache firms up pretty well, so as long as you keep it refrigerated it might be ok.
Hi! Awesome cake. I just made this and my whipped cream “icing” isn’t any where near as dark as yours. What did I do wrong?? I used Hersheys cocoa powder. Is that the problem?
I’m not sure that you did anything wrong. Did you use regular cocoa? I used Hershey’s Dark Cocoa, which is much darker. Both should be good though.
I had exactly the same problem! Mine came out EXACTLY like the chocolate mousse. Same color, same texture, same taste. I added more cocoa thinking I’d screwed up, and it didn’t do anything to change the overall texture or color. I stopped after I had tripled the cocoa. It was still delicious and got scarfed down like there was no tomorrow, but it wasn’t as pretty as yours.
Same problem here and I used the Hershey dark natural cocoa. Next time I may Try medium size on cups on their sides around the edge (pushed right up against the side of the pan) so they are visible when you remove the ring, and then try a ganache on top and just driZzle it down the sides
It is Thursday nite 5:00 and I just was thinking if I made it tonight. Will the presentation and quality be jeopardized. It’s a special bday nite
It is Thursday nite 5:00. Will this be just as delicious along with presentation for Saturday nite at six o’clock
It should be fine for a couple days.
What a beautiful cake! Do you think the peanut butter mouse would work between cake layers (instead of frosting) in a traditional 3-layer cake?
Hmmm, it might. You’d need the cake layers to be lighter, not real dense. The other thing is that the mousse thickens and firms as it sits in the fridge. If you were going to use it between cake layers, you might want to add it to one layer, refrigerate it, then add the next layer, so that they’re firm.
Holy freaking crap!!! I cannot contain myself I need to get this in my belly.
how long would this cake last? If I need it for Sunday can I make it Friday?
It lasts for several days. If you make it on a Friday, it should still be great on Sunday.
Holy cow that looks incredible! So rich and fudgy…sure wish I had a slice of this right now 🙂
I hope there is a slice of this for me that is frozen in the cake graveyard.
🙁 I don’t have any. I’m sorry!