This post may contain affiliate sales links. Please read my disclosure policy.
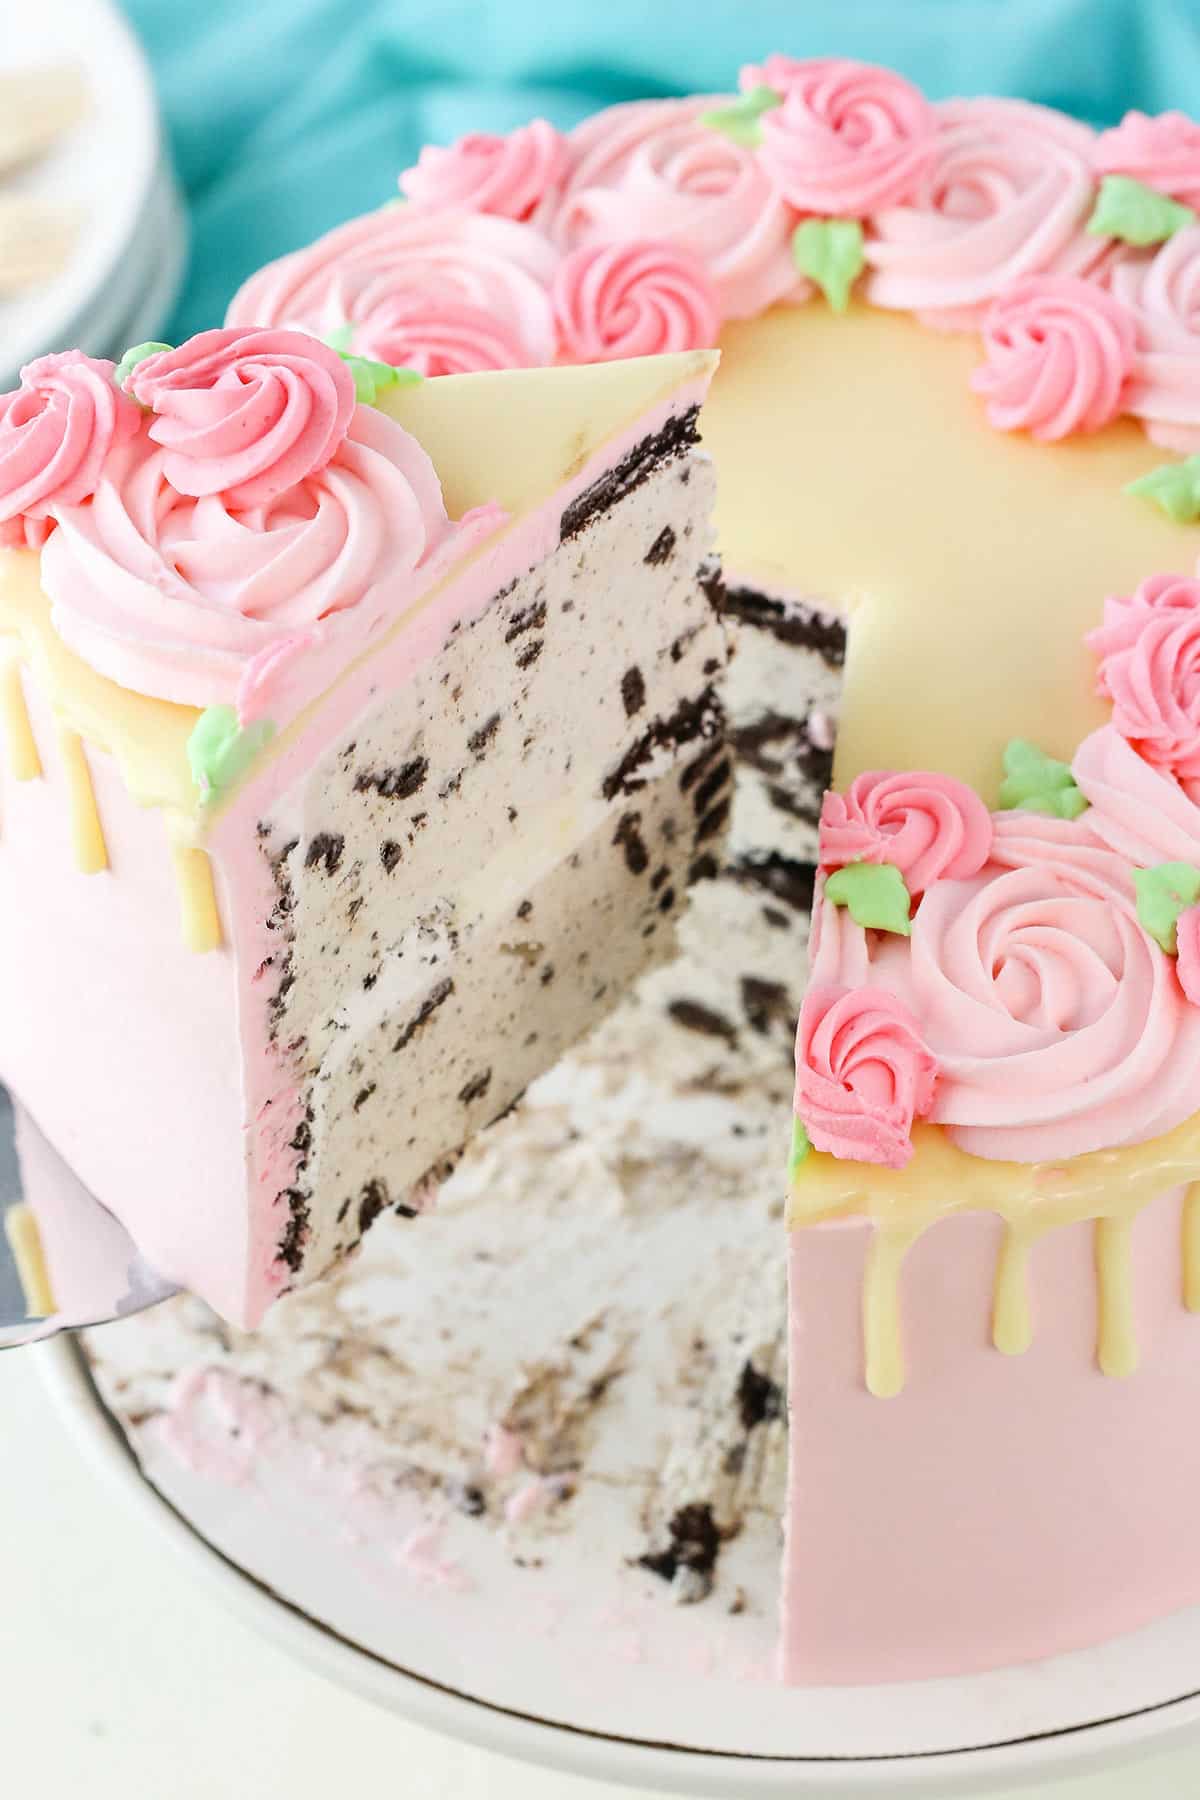
Learn how to decorate a beautiful ice cream cake or regular cake in an hour or less! Personalize any store bought cake with this simple step-by-step Cake Decorating Tutorial!
This post is sponsored by I Love Ice Cream Cakes, but all opinions are my own.
How to Personalize a Store Bought Ice Cream Cake
Can you believe Mother’s Day is just over a week away?! It’s coming quickly and I need to get prepared. I feel like this Mother’s Day is our biggest yet! Not only is it my first Mother’s Day ever – a day I’ve been trying to join in on for years now – but it’s also important to the hubs and I this year to celebrate our mothers. Since having the twins in February, they have been absolutely amazing with all the help they’ve given us. Such great women to celebrate!
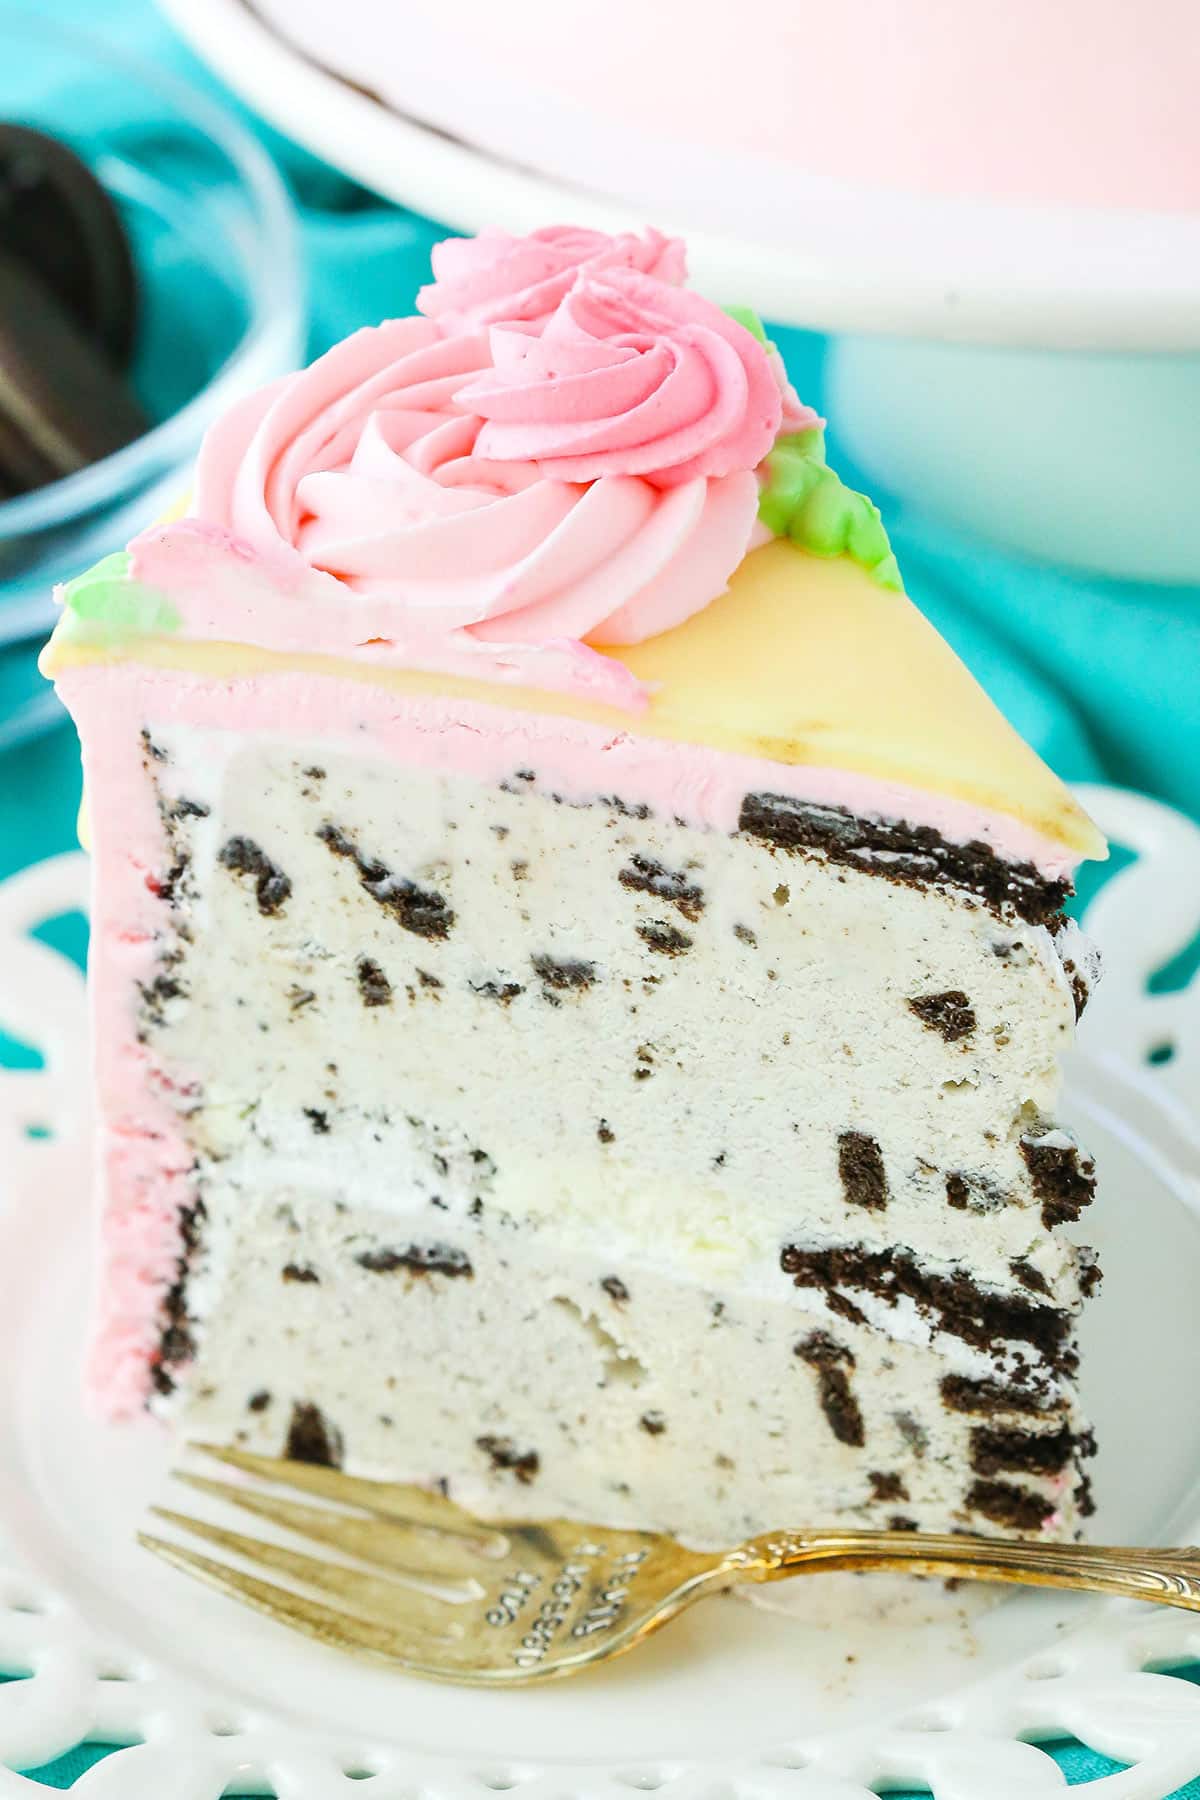
And of course it should come as no surprise that I find cake to be appropriate for celebrating all holidays. Any kind of cake would make me happy, but today is all about putting together a fun ice cream cake for mom. I was totally pumped to work with I Love Ice Cream Cakes – who makes all kinds of ice cream cakes, including the original Carvel® and OREO® – and show you a fun way to decorate them. We’ve been eating Carvel ice cream cakes since I was a kid! They are so classic and so good! Since you can pick them up from the bakery or freezer section at the grocery store (I got mine at Publix), it’s a quick and simple way to put together and decorate a cake for Mother’s Day – or any occasion really.
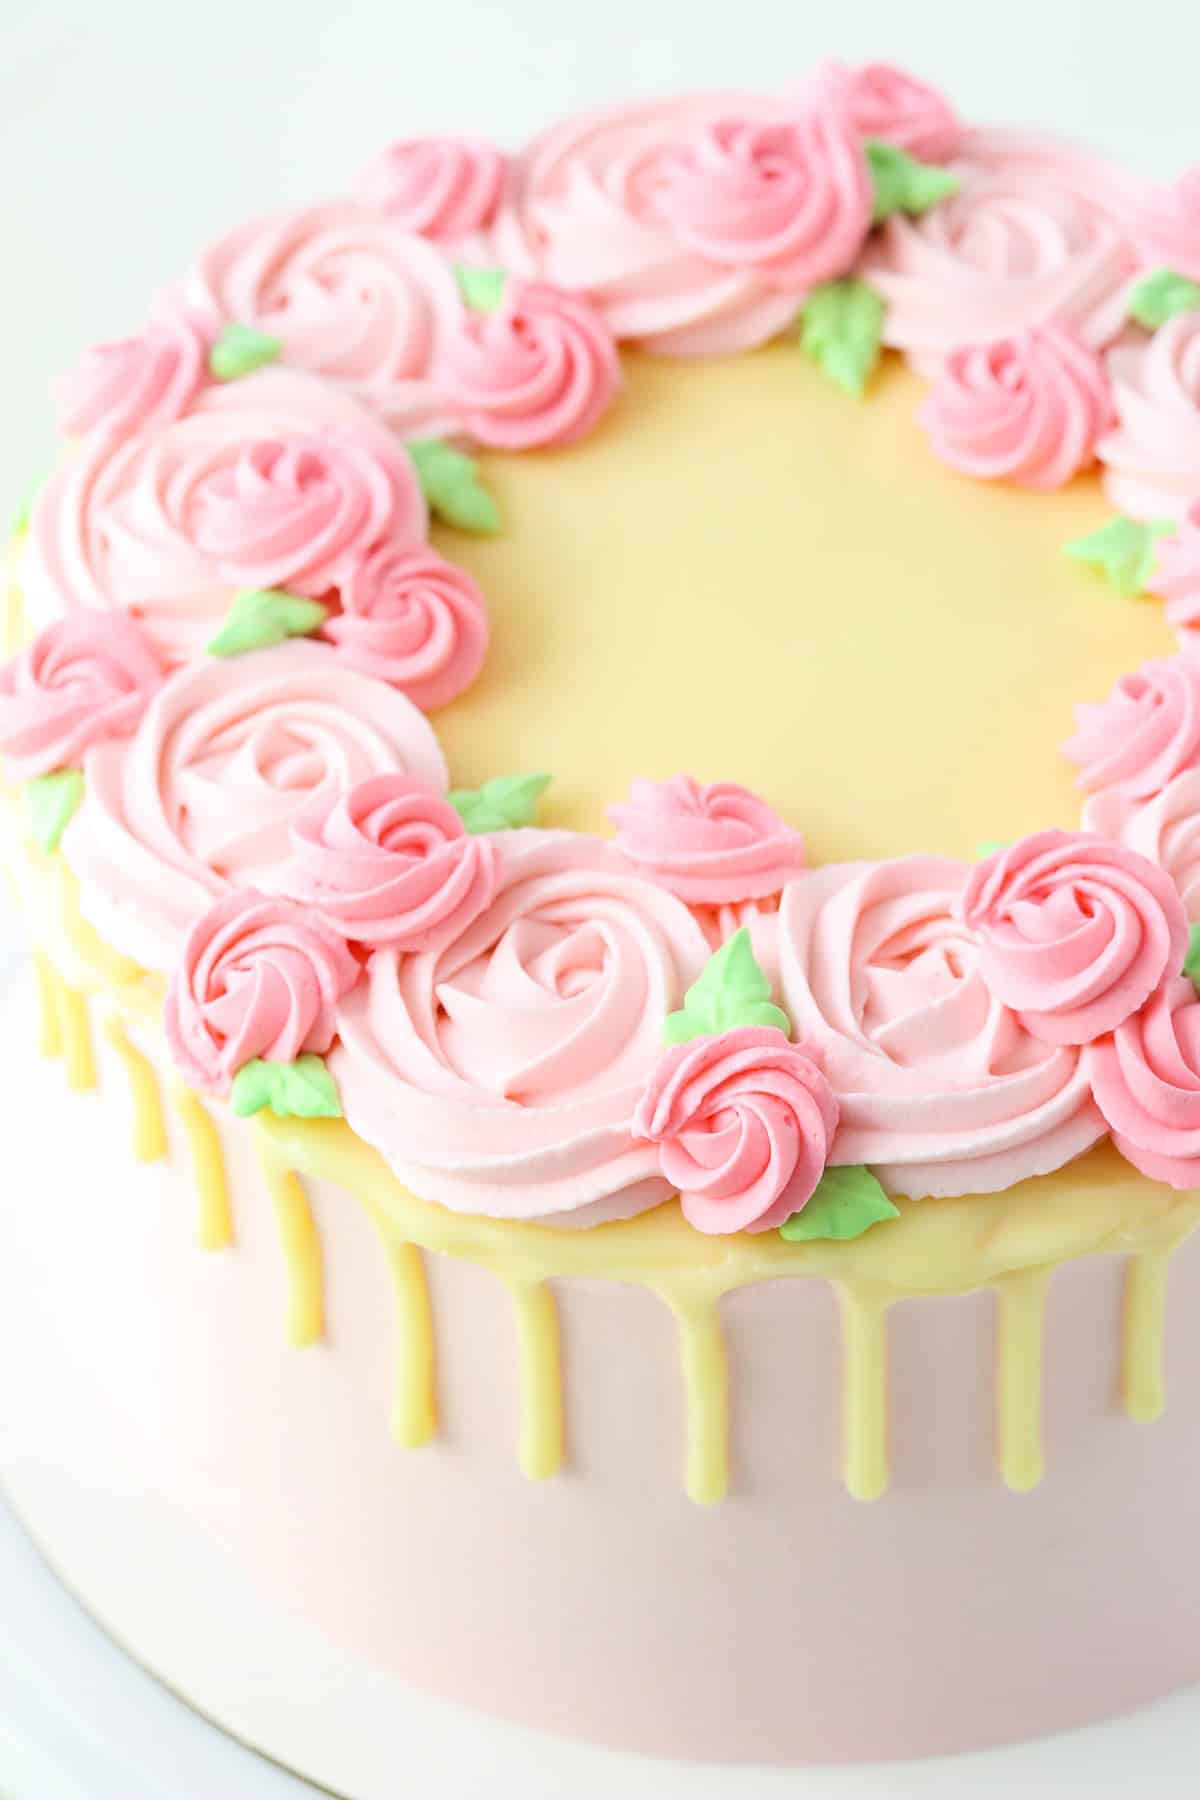
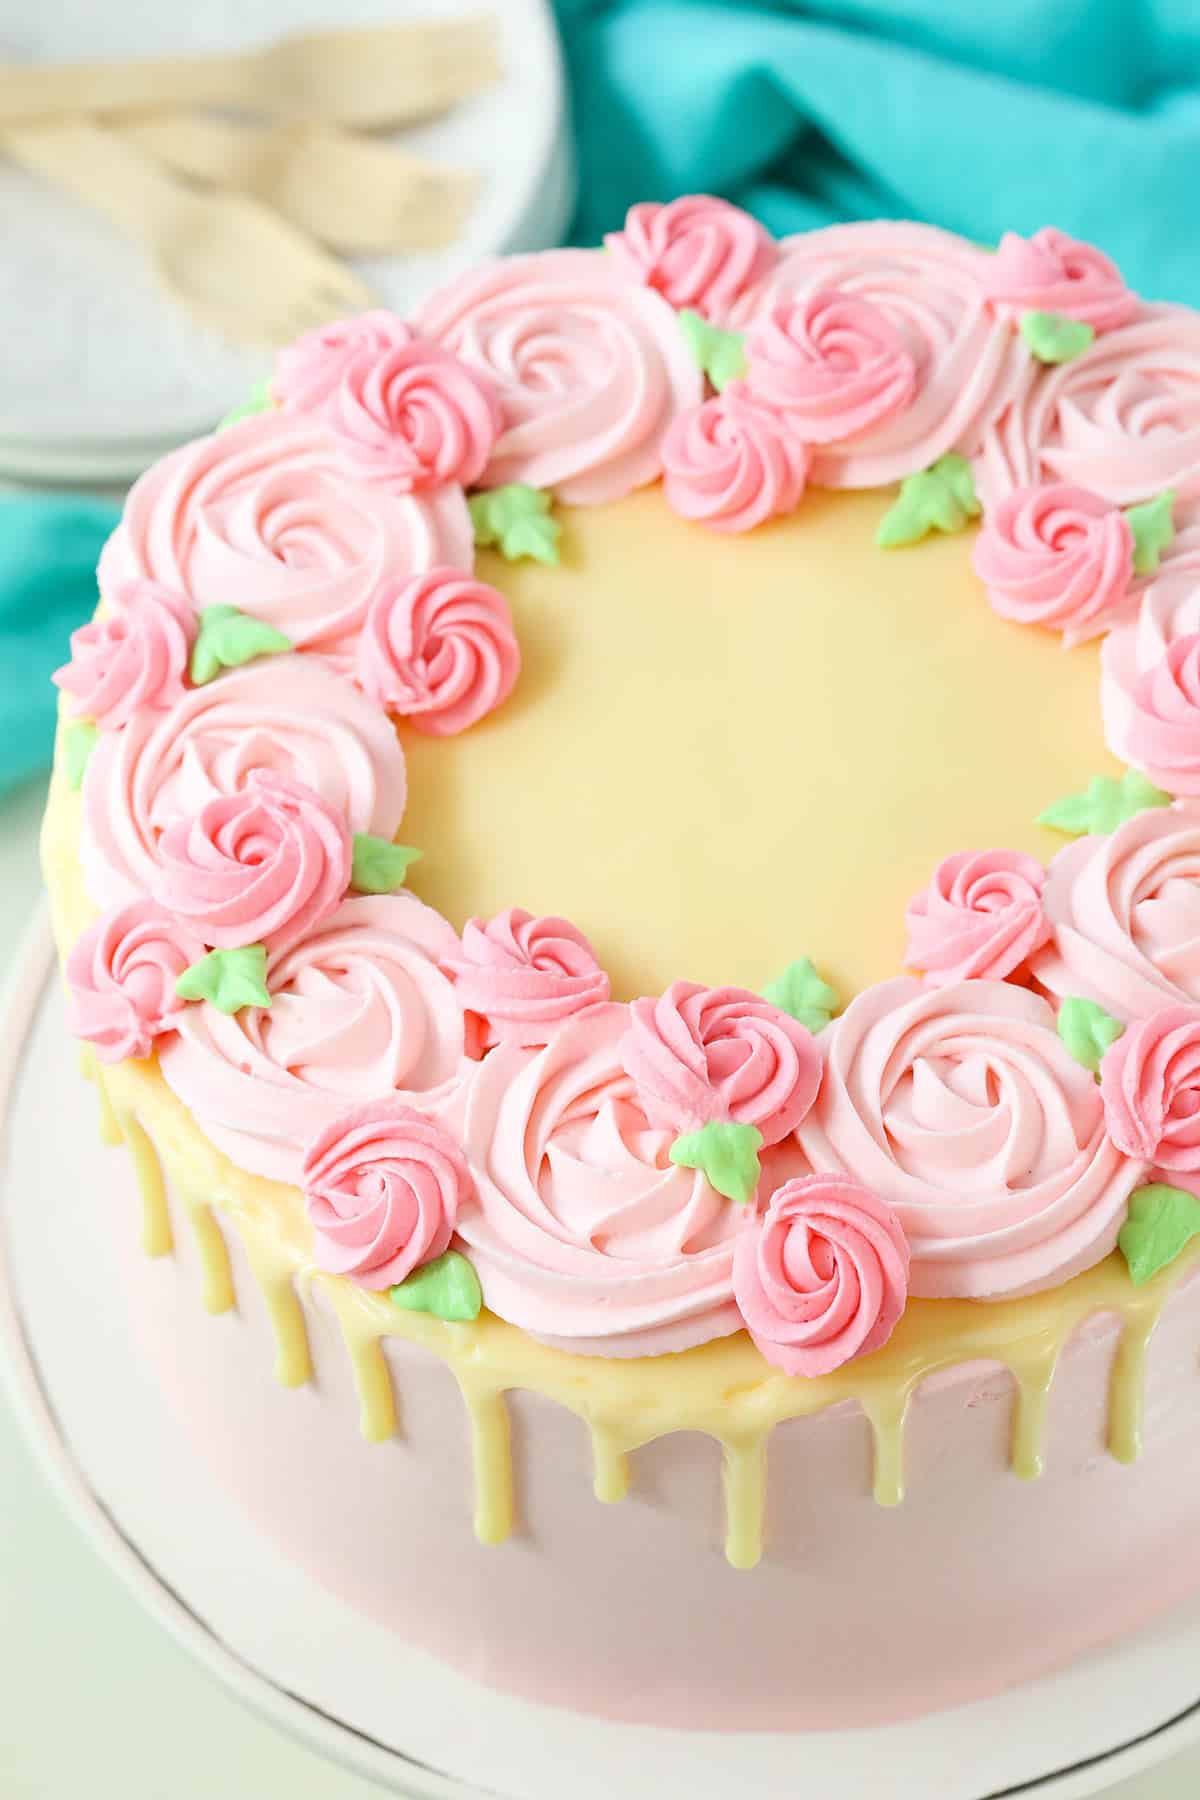
Plus, with these particular decorations, you’ve got flowers and cake all in one! 😉 It’s such a lovely Mother’s Day cake that looks complicated, but really isn’t. It’s just a matter of frosting the cake with whipped cream, drizzling the white chocolate ganache on top and then adding some swirled flowers. It comes together quickly and all you really need is the right piping tips – this one and this one. And since the cake is frozen, you can make it a few days ahead without a problem – score!
How to Decorate a Cake Like a Boss
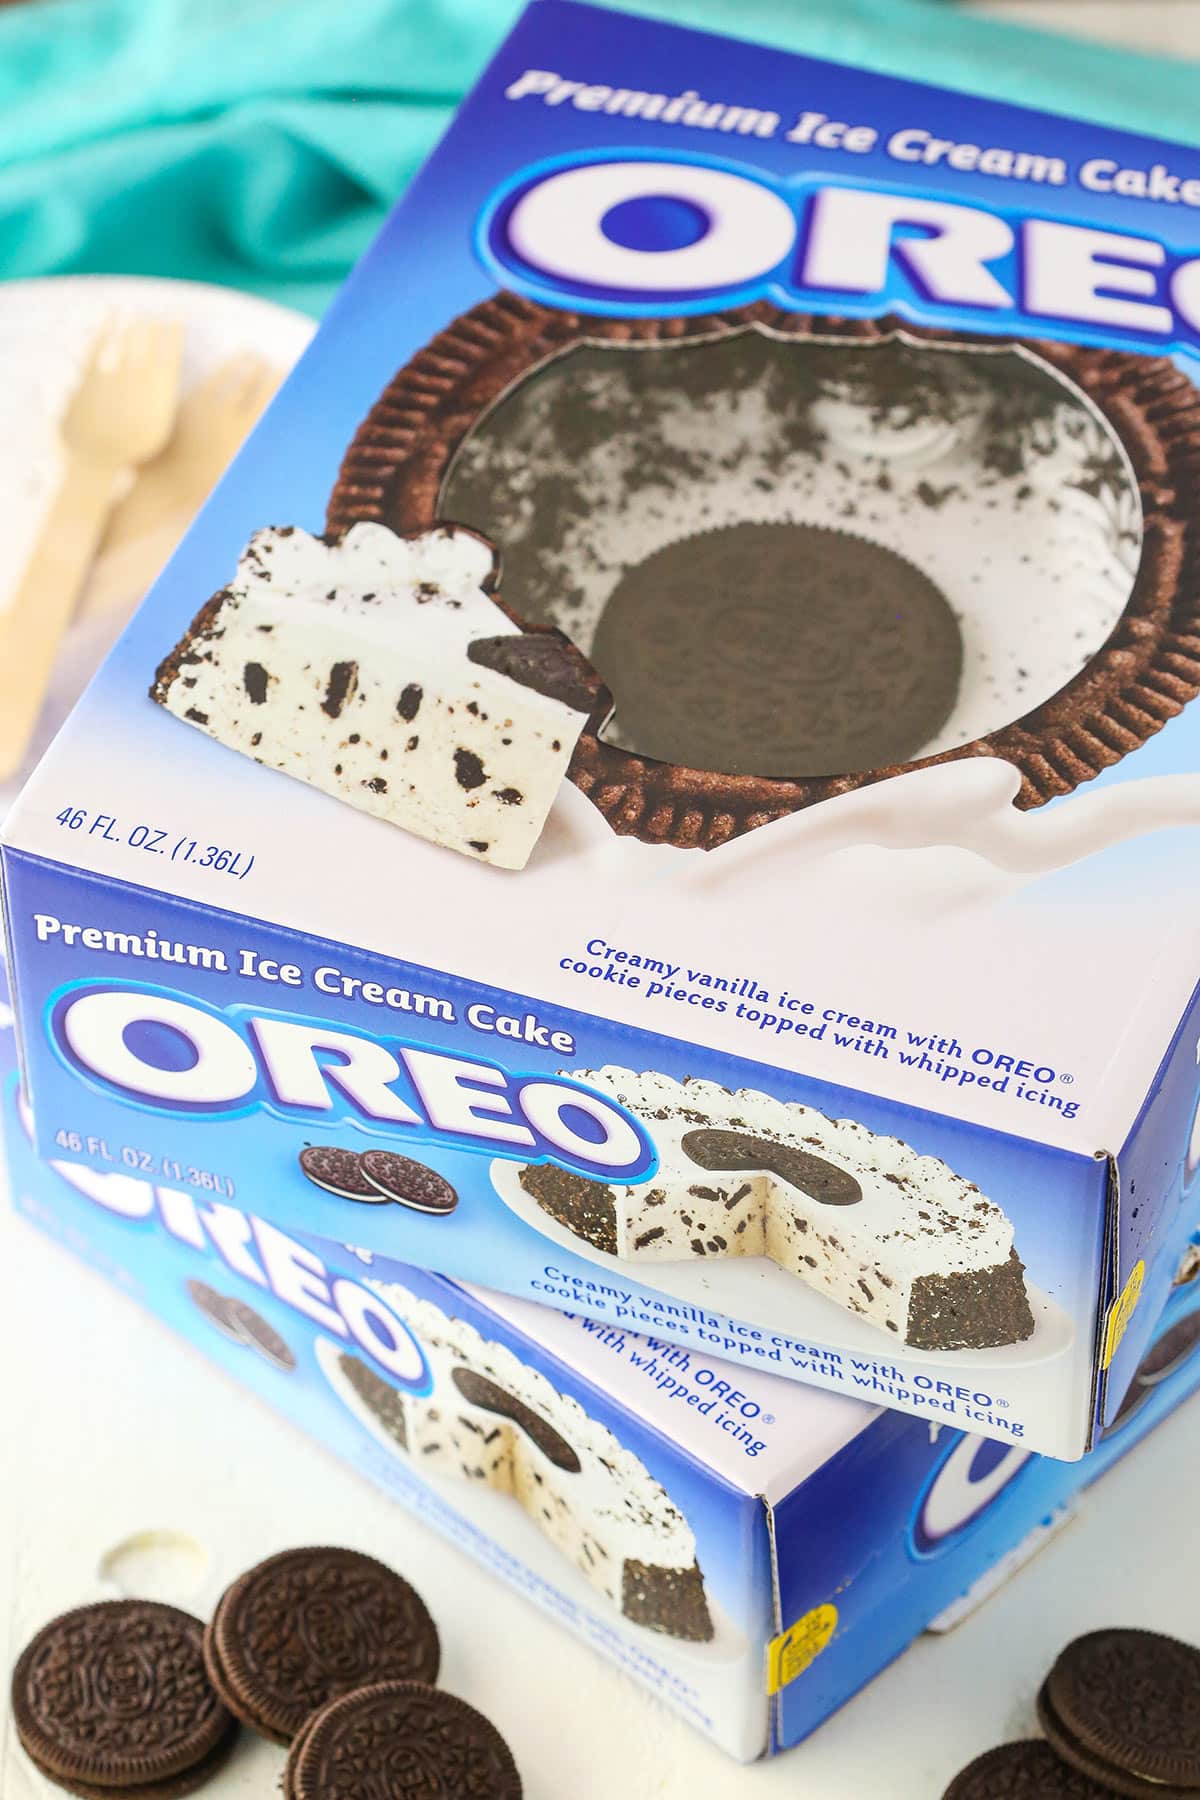
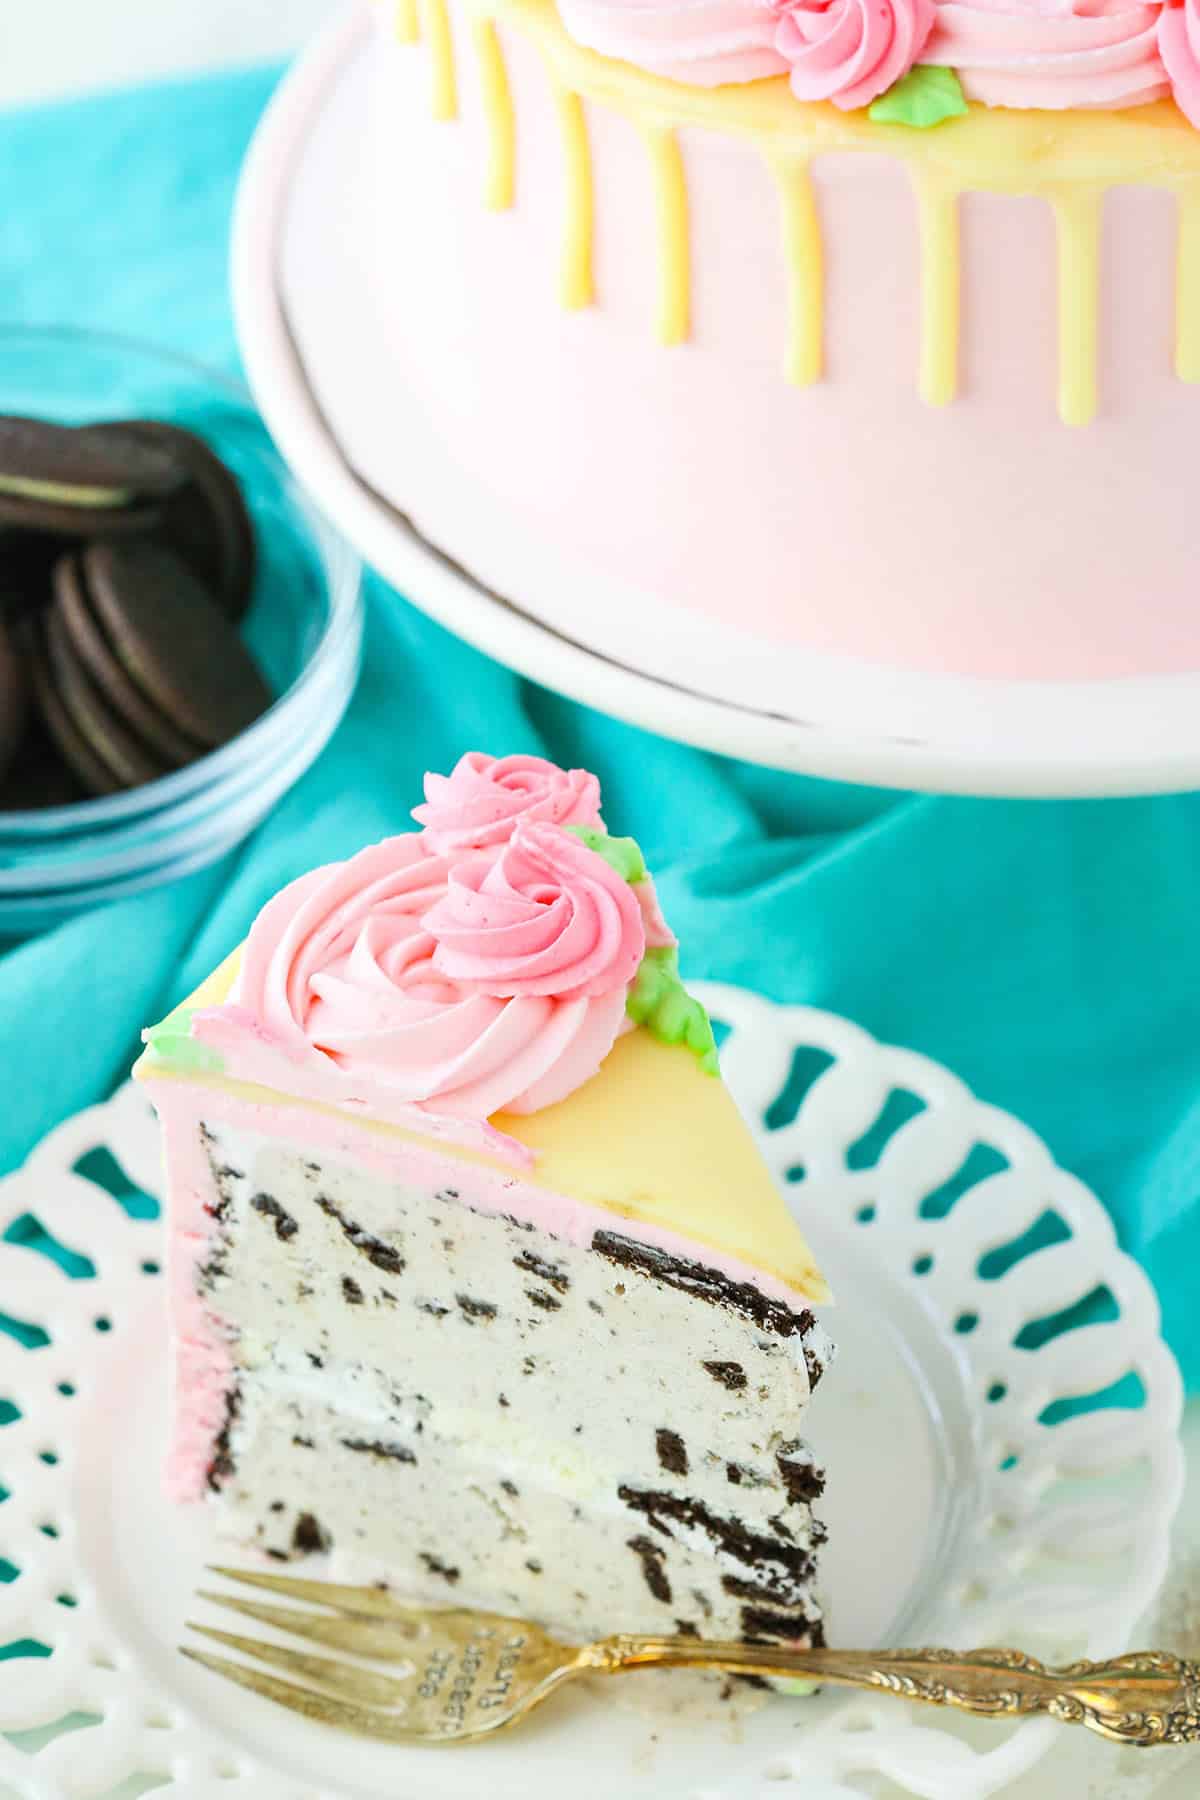
So, let’s look at how you put the cake together. First thing you need is the actual ice cream cakes. I Love Ice Cream Cakes has several yummy options. I used the OREO one, but the original Carvel is obviously a great choice. They also now have ones with chocolate chip cookies, strawberry crunchies and more – such decisions! You’ll want two of whichever cake you choose, so we can stack them.
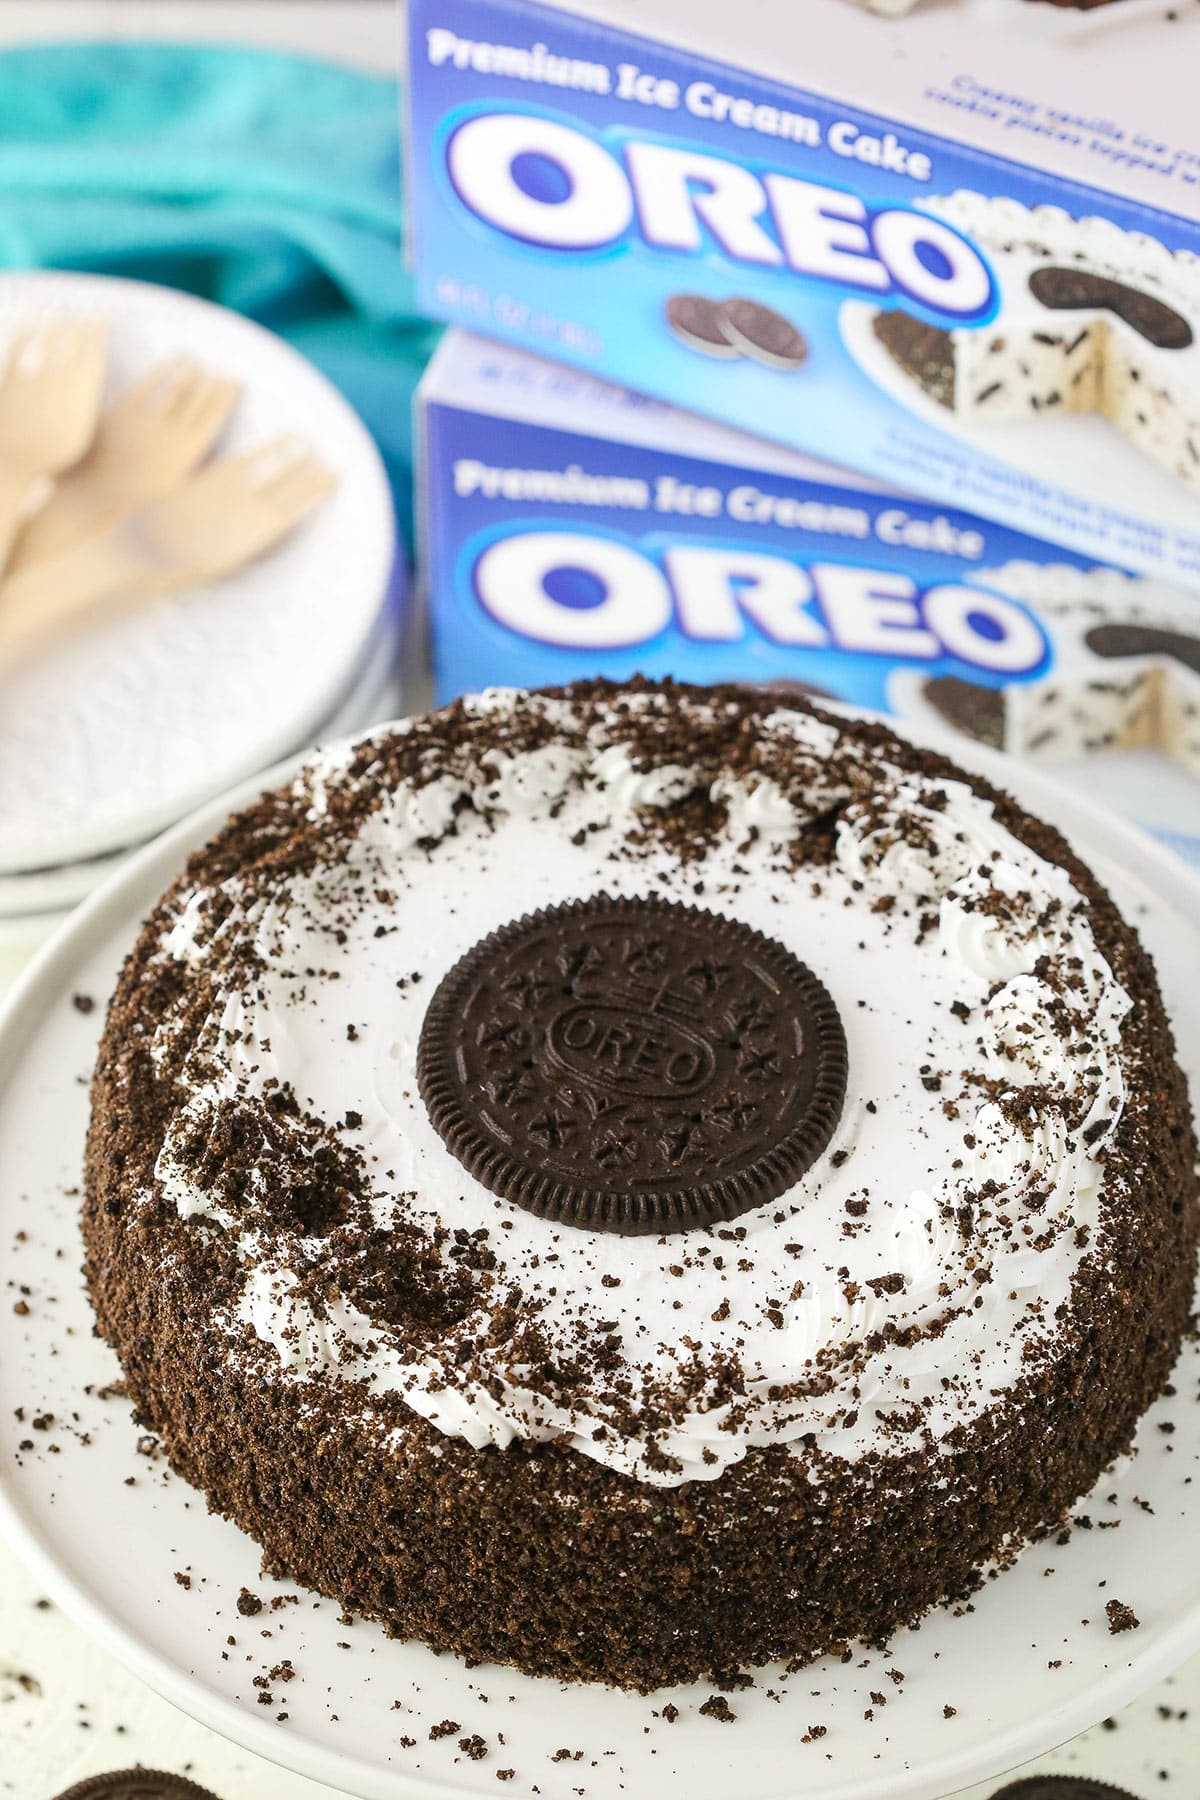
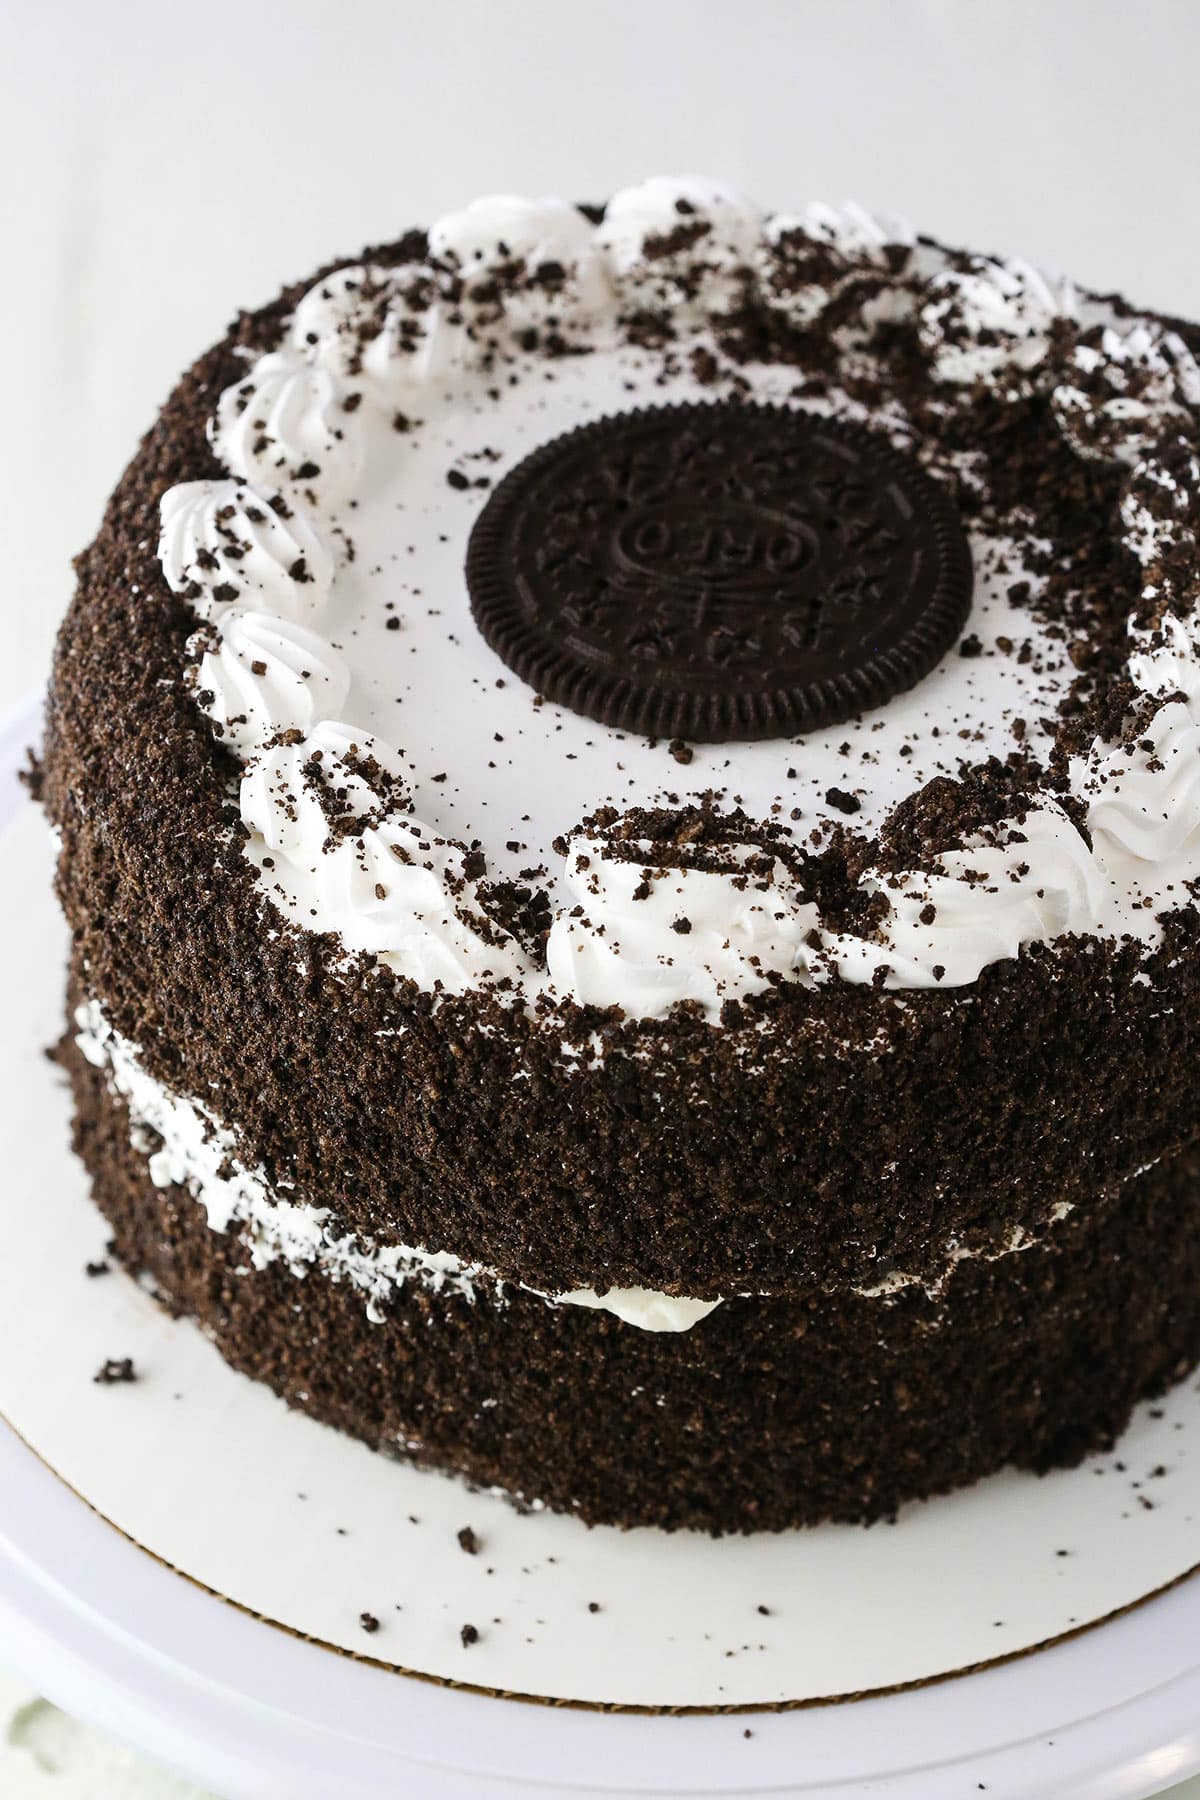
Once you have your cakes, you’ll want to make the whipped cream (recipe below). Spread some whipped cream onto the top of the first ice cream cake, just enough to fill in the center of the piping already on top of the cake. Add the second cake to the top of the first one.
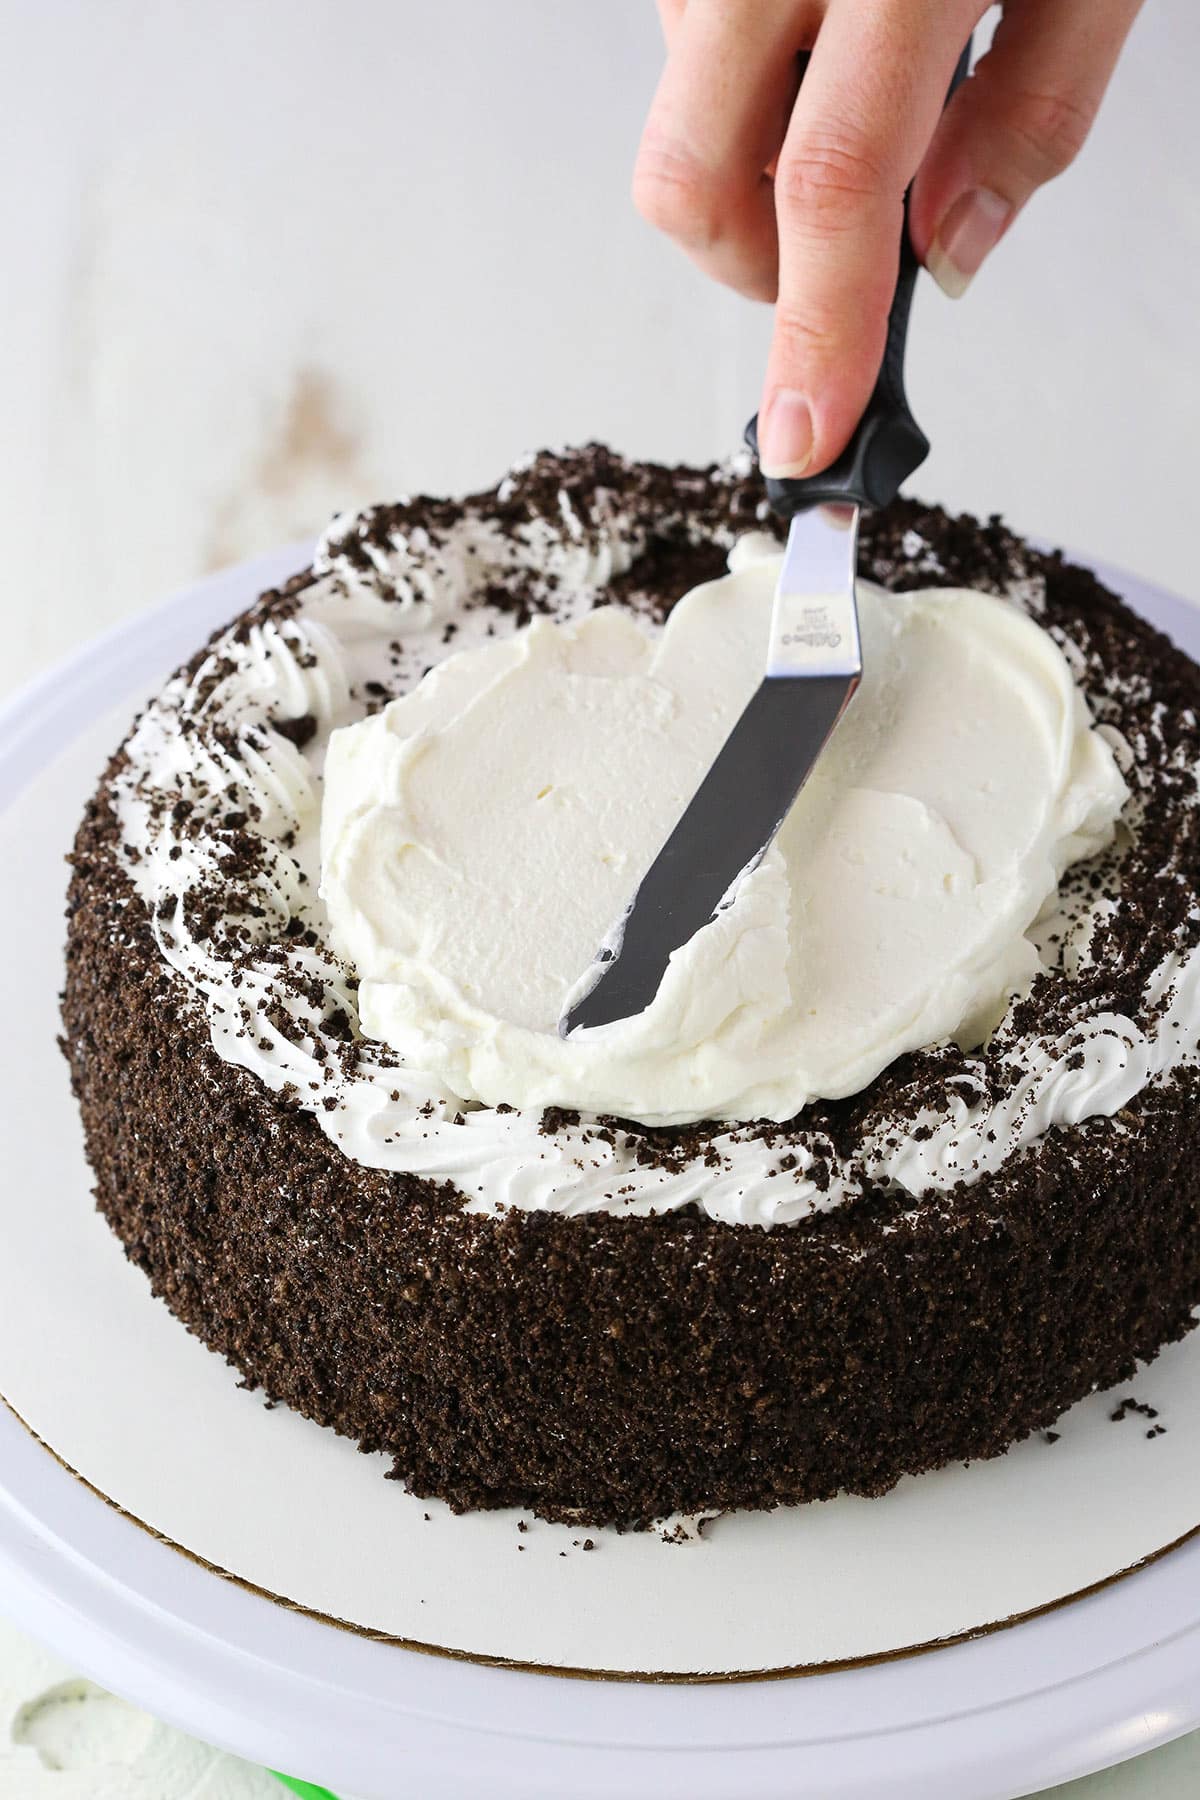
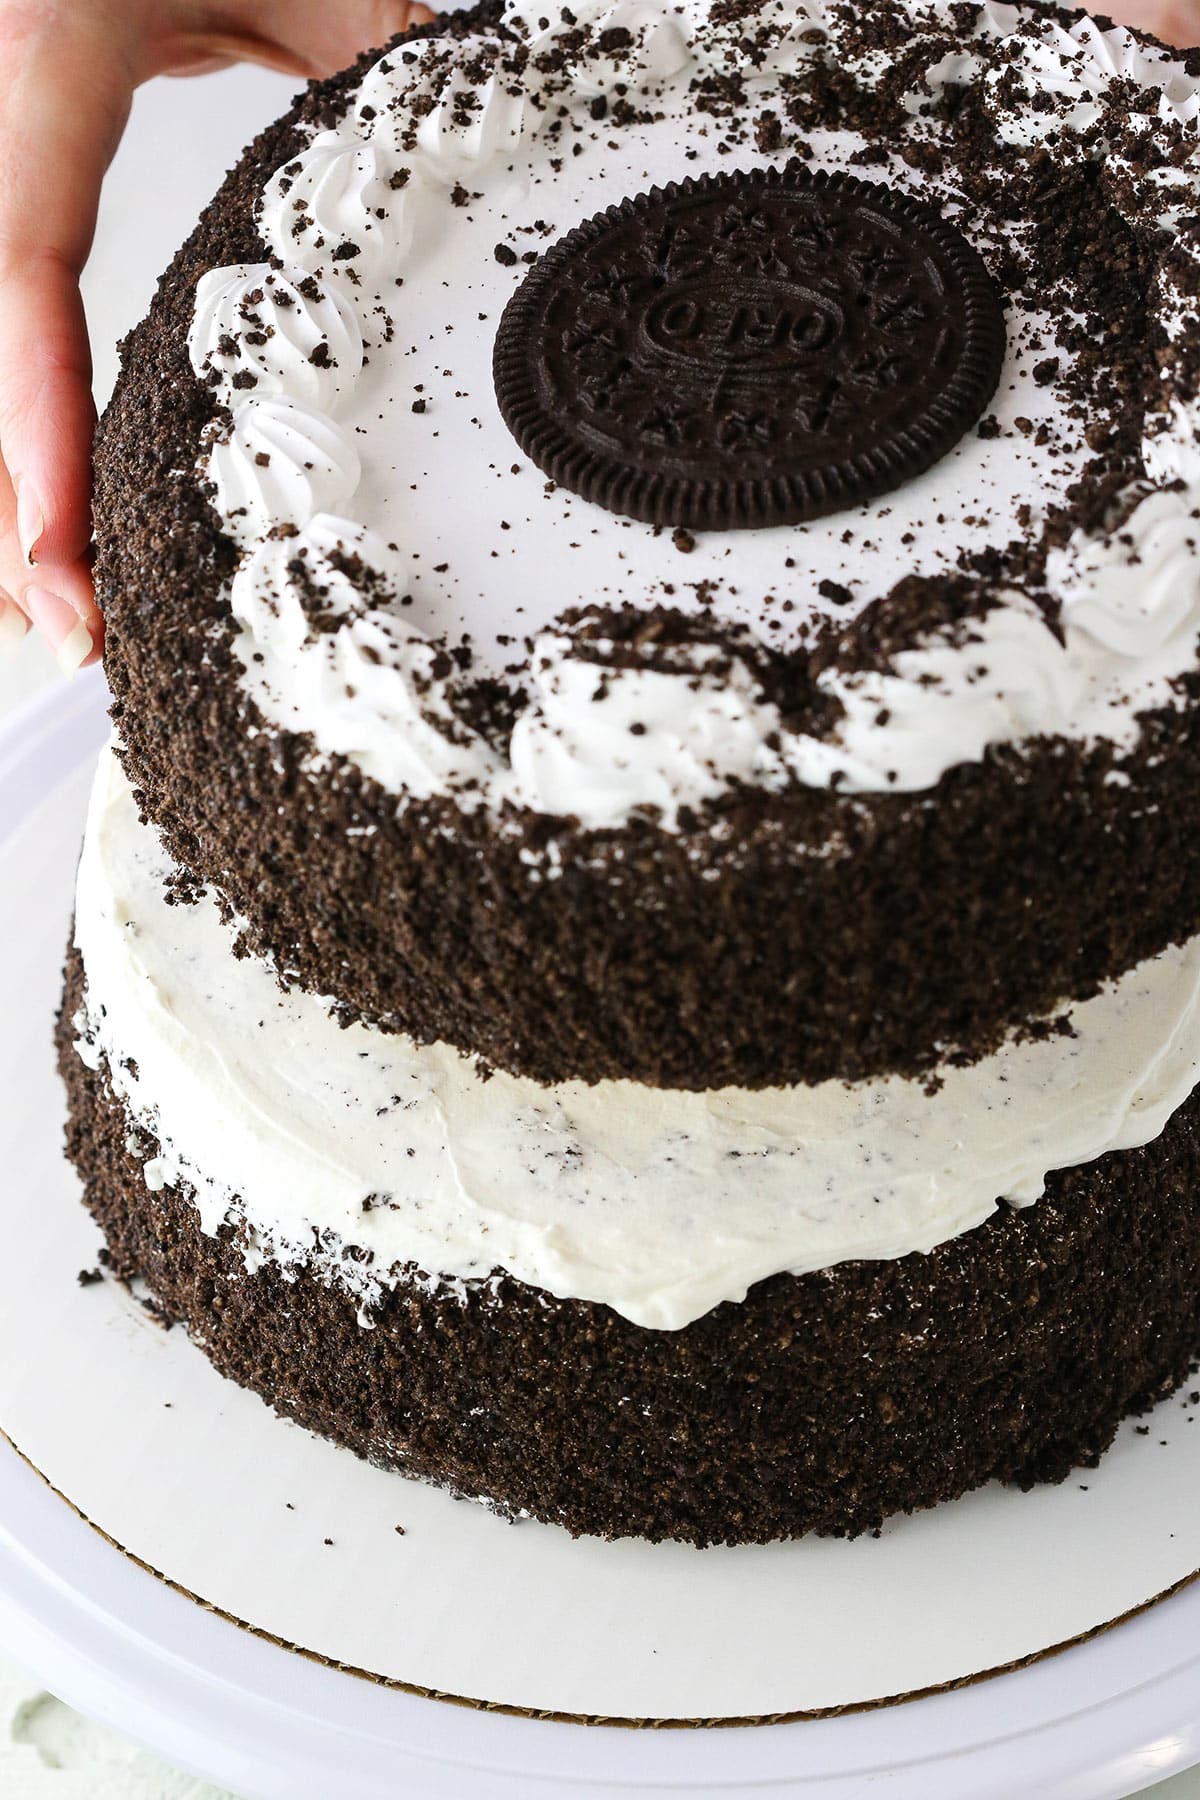
How much do you love seeing two delicious Oreo ice cream cakes stacked on top of each other?! Double the goodness!
Next up – set aside a little bit of the remaining whipped cream and color that with green gel icing color. With the remaining whipped cream, divide it up. Set aside a small amount for the darker shade of pink and then color the rest a lighter shade of pink. I used pink gel icing color and just added a little more to the darker pink.
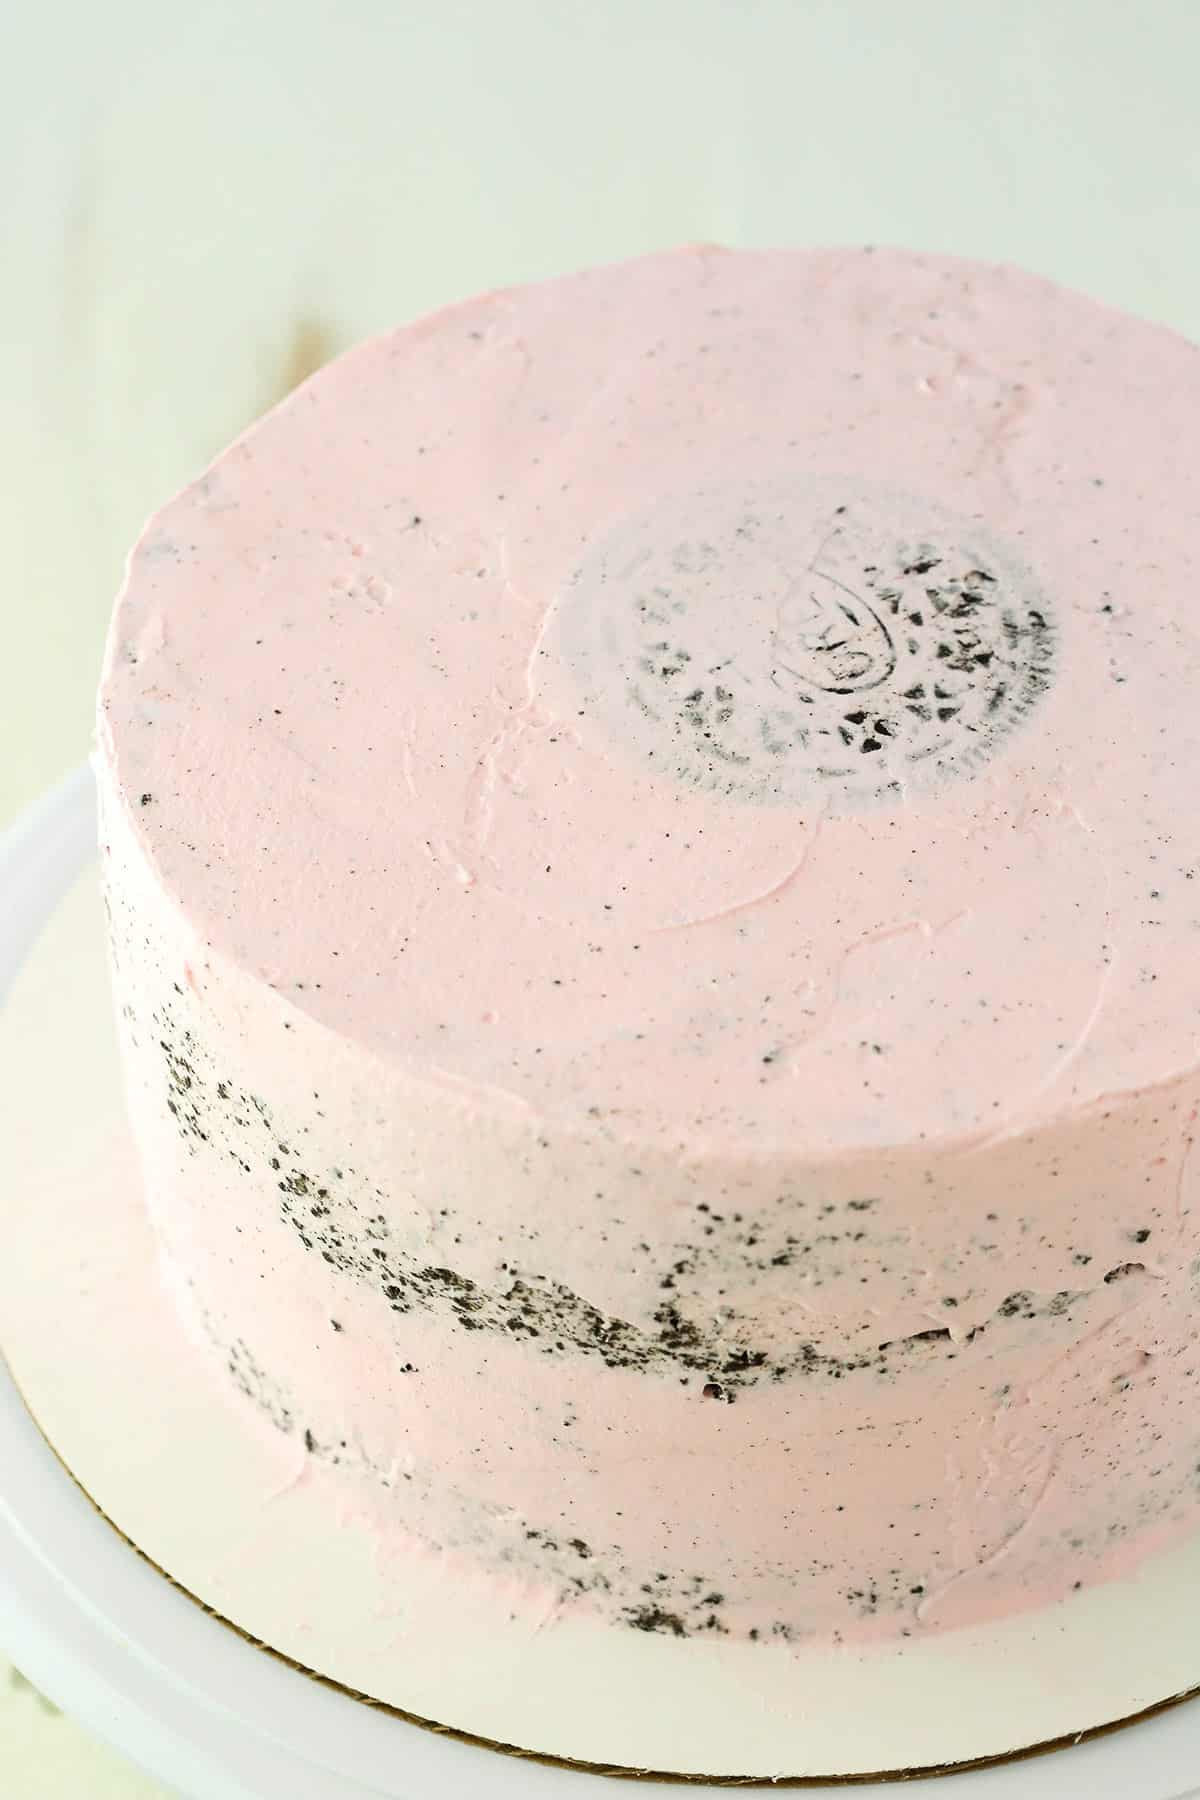
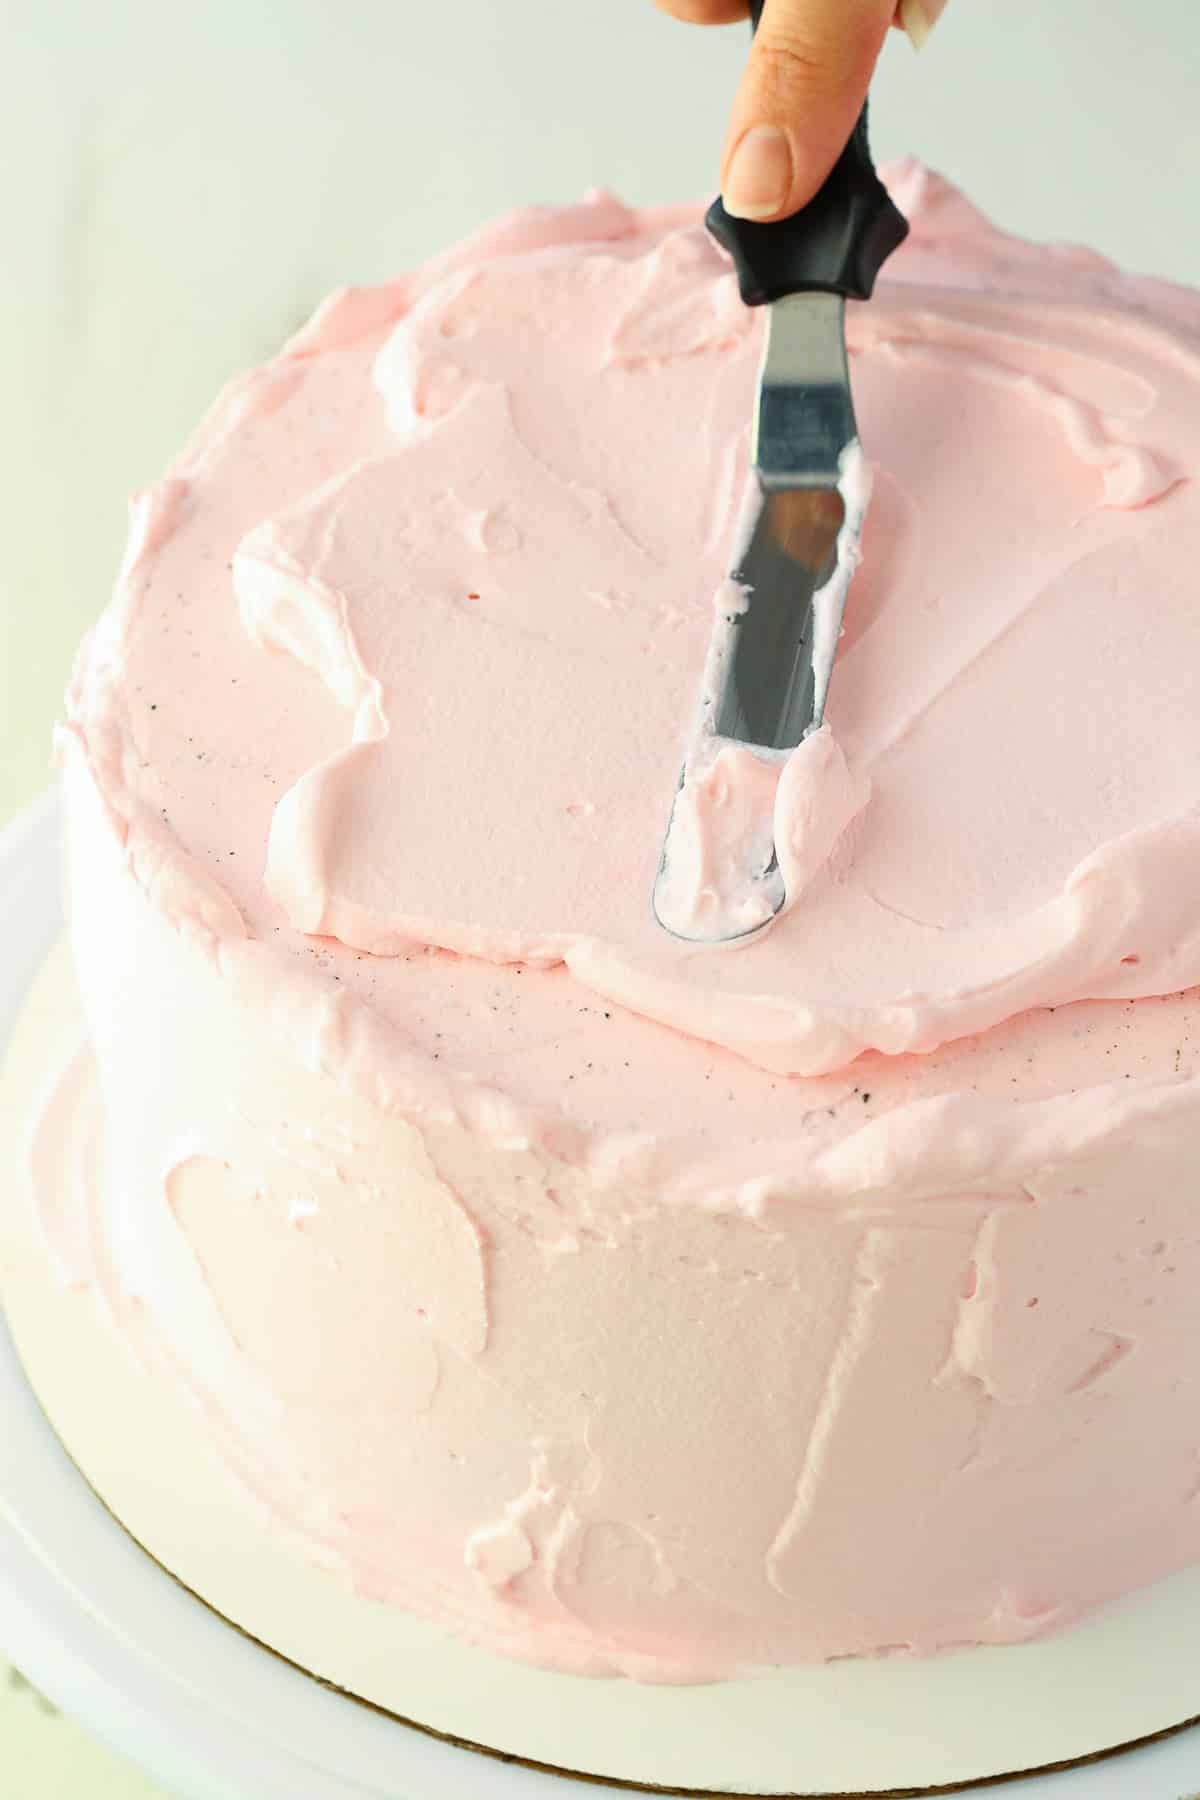
Use the lighter shade of pink frost the outside of the cake. You can simply use an offset spatula to do this, or you can follow my other tutorial for frosting a smooth cake. It’s so simple with the whipped cream, because it’s light and easy to spread. You’ll want to start the frosting process by adding a crumb coat though. It’ll hold in all those delicious OREO bits around the outside of the cake so that they don’t show through on the finished design.
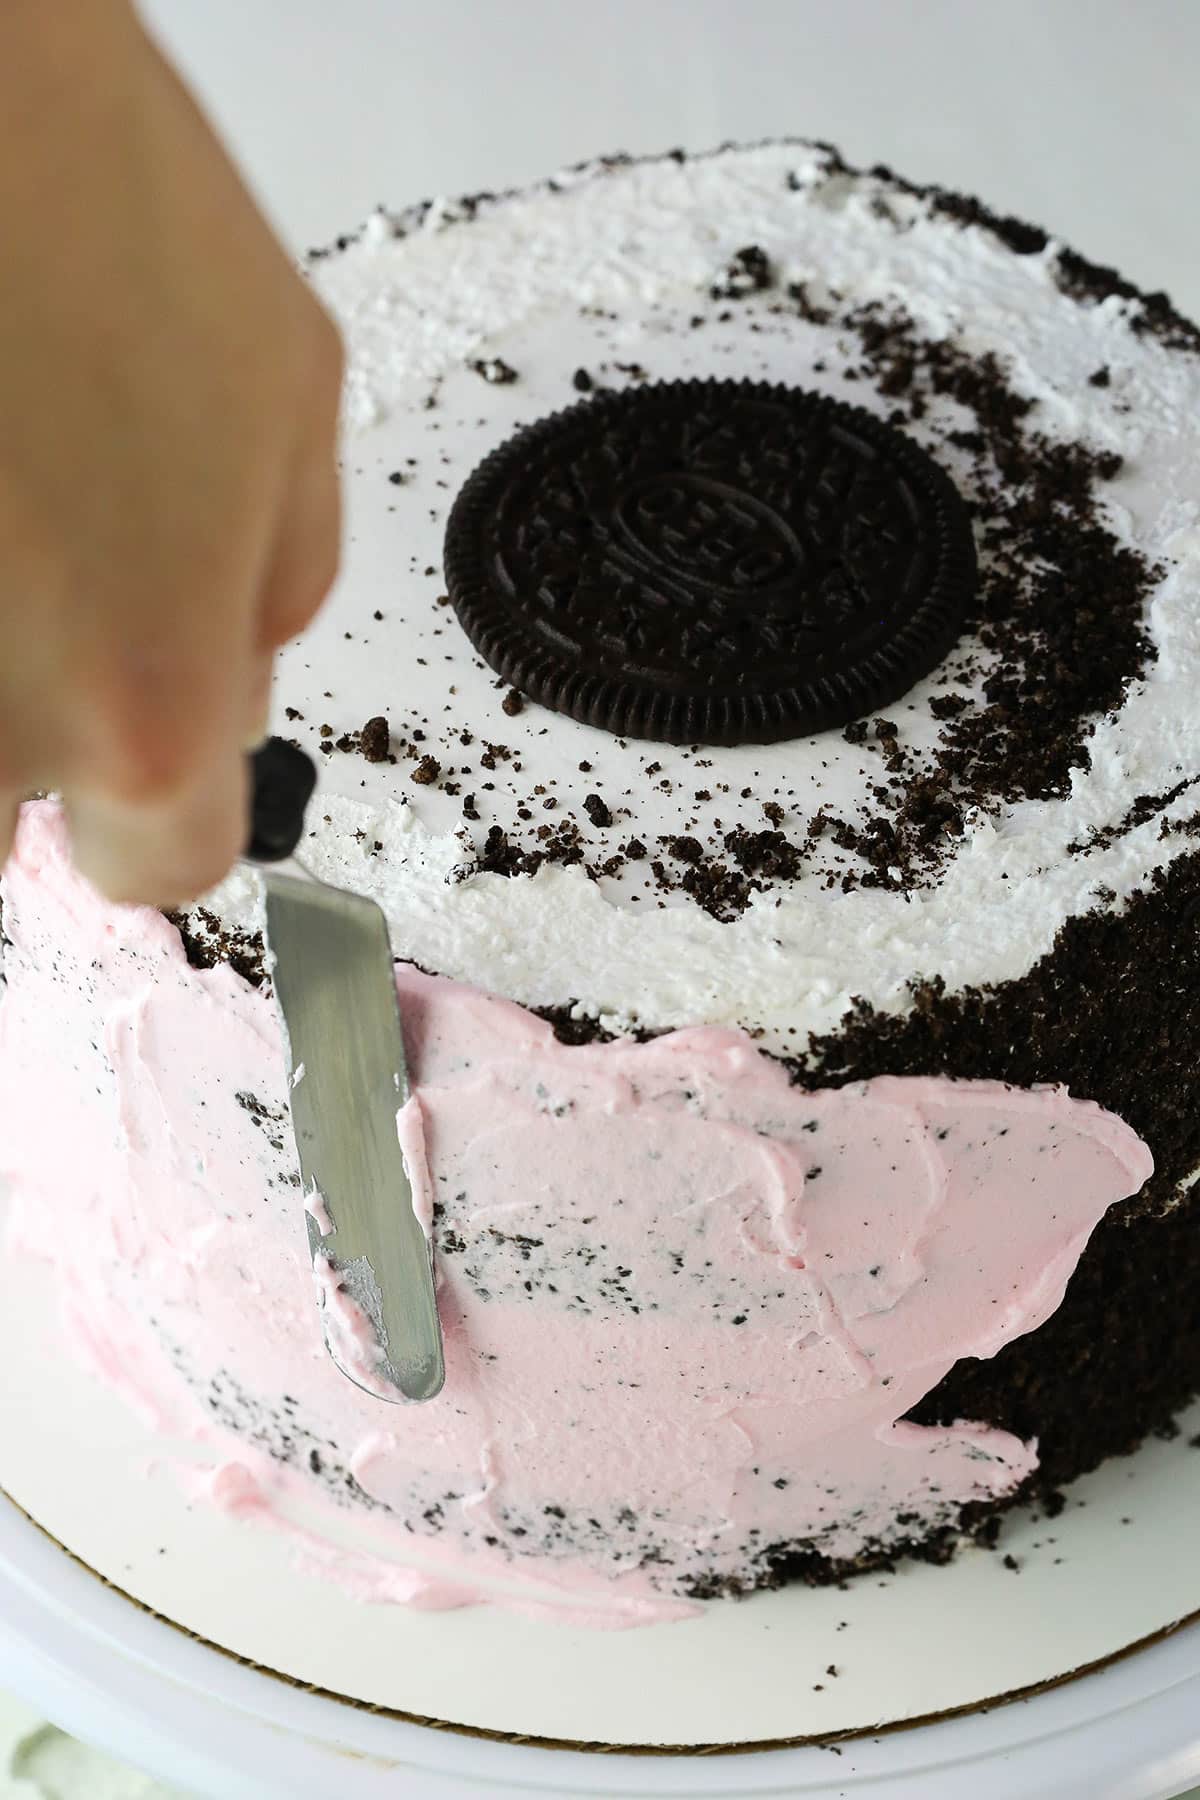
Be sure to pop the cake back in the freezer after the crumb coat has been added so the cake can firm back up a bit. Once it’s ready, add the final coat of whipped cream then pop it back in the freezer for a bit.
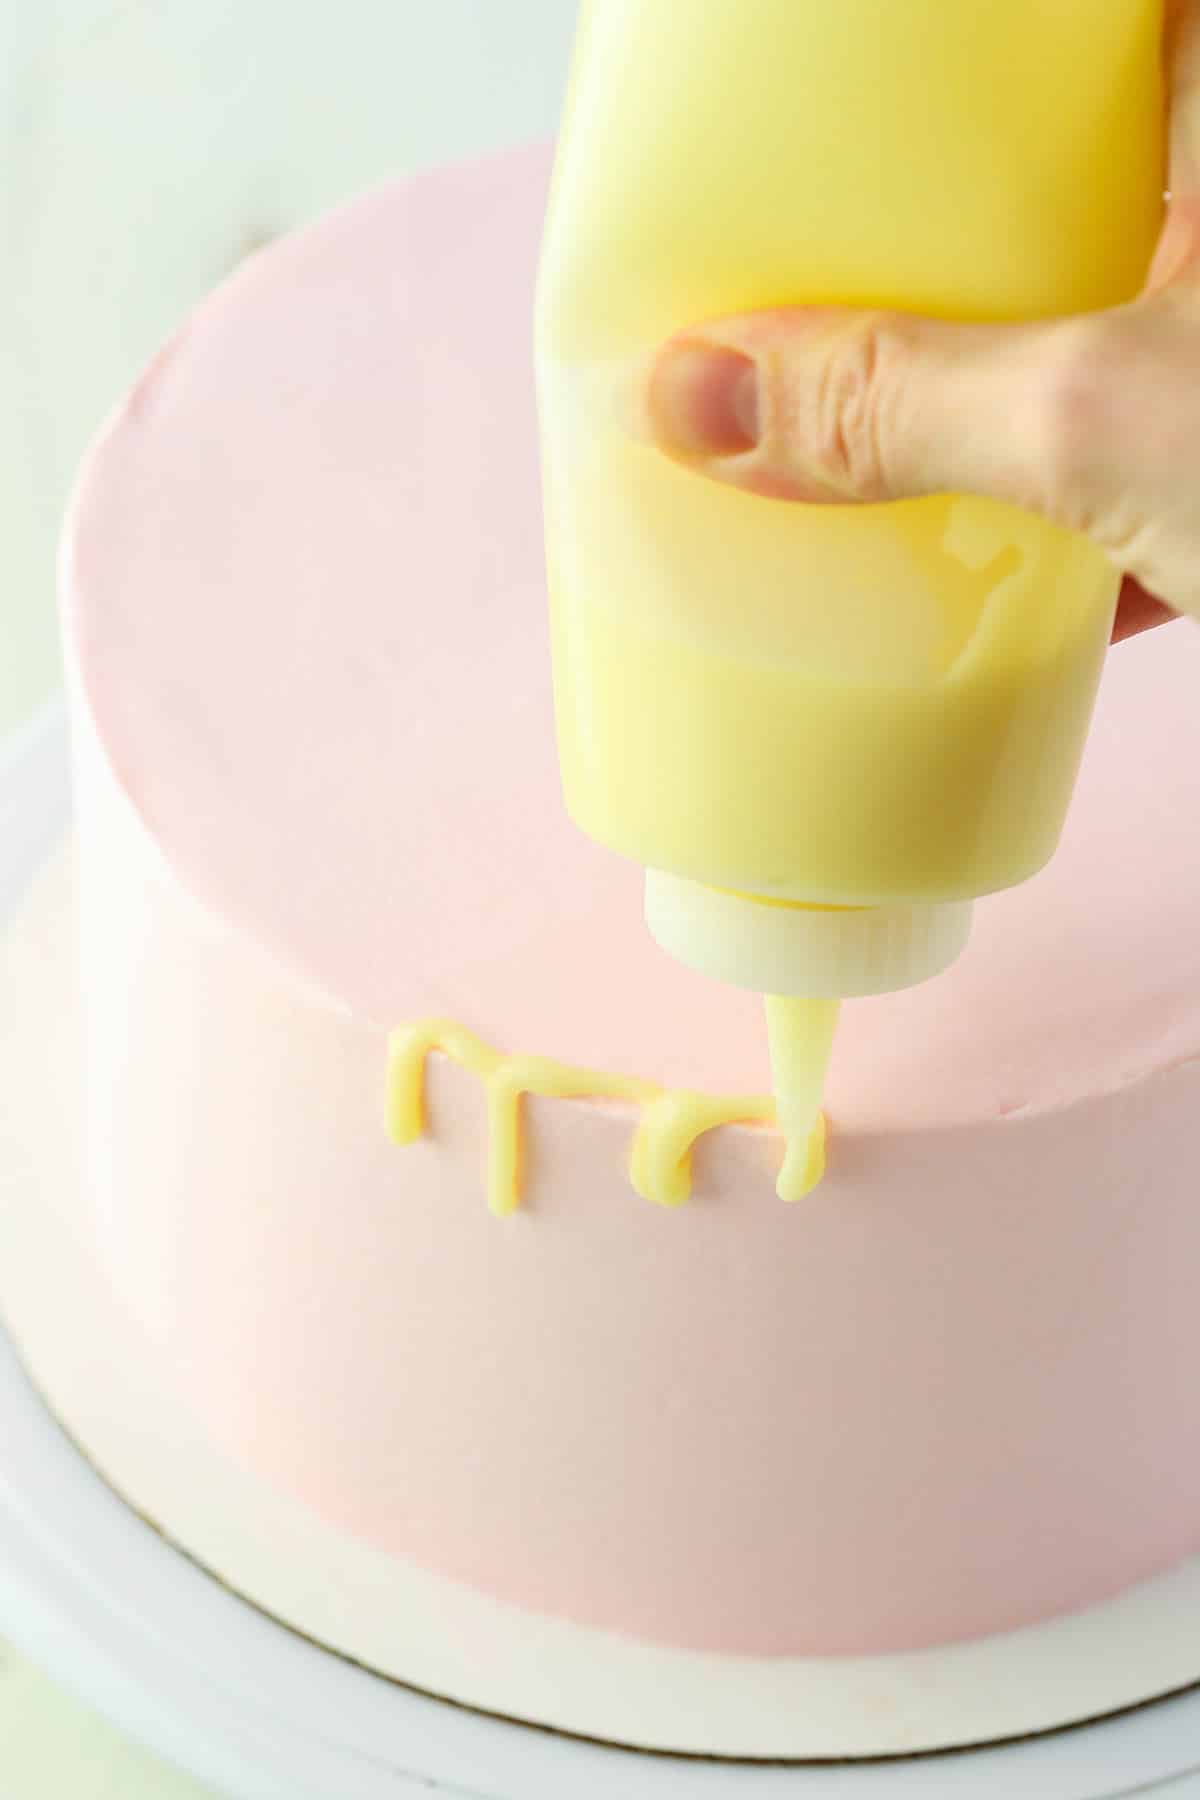
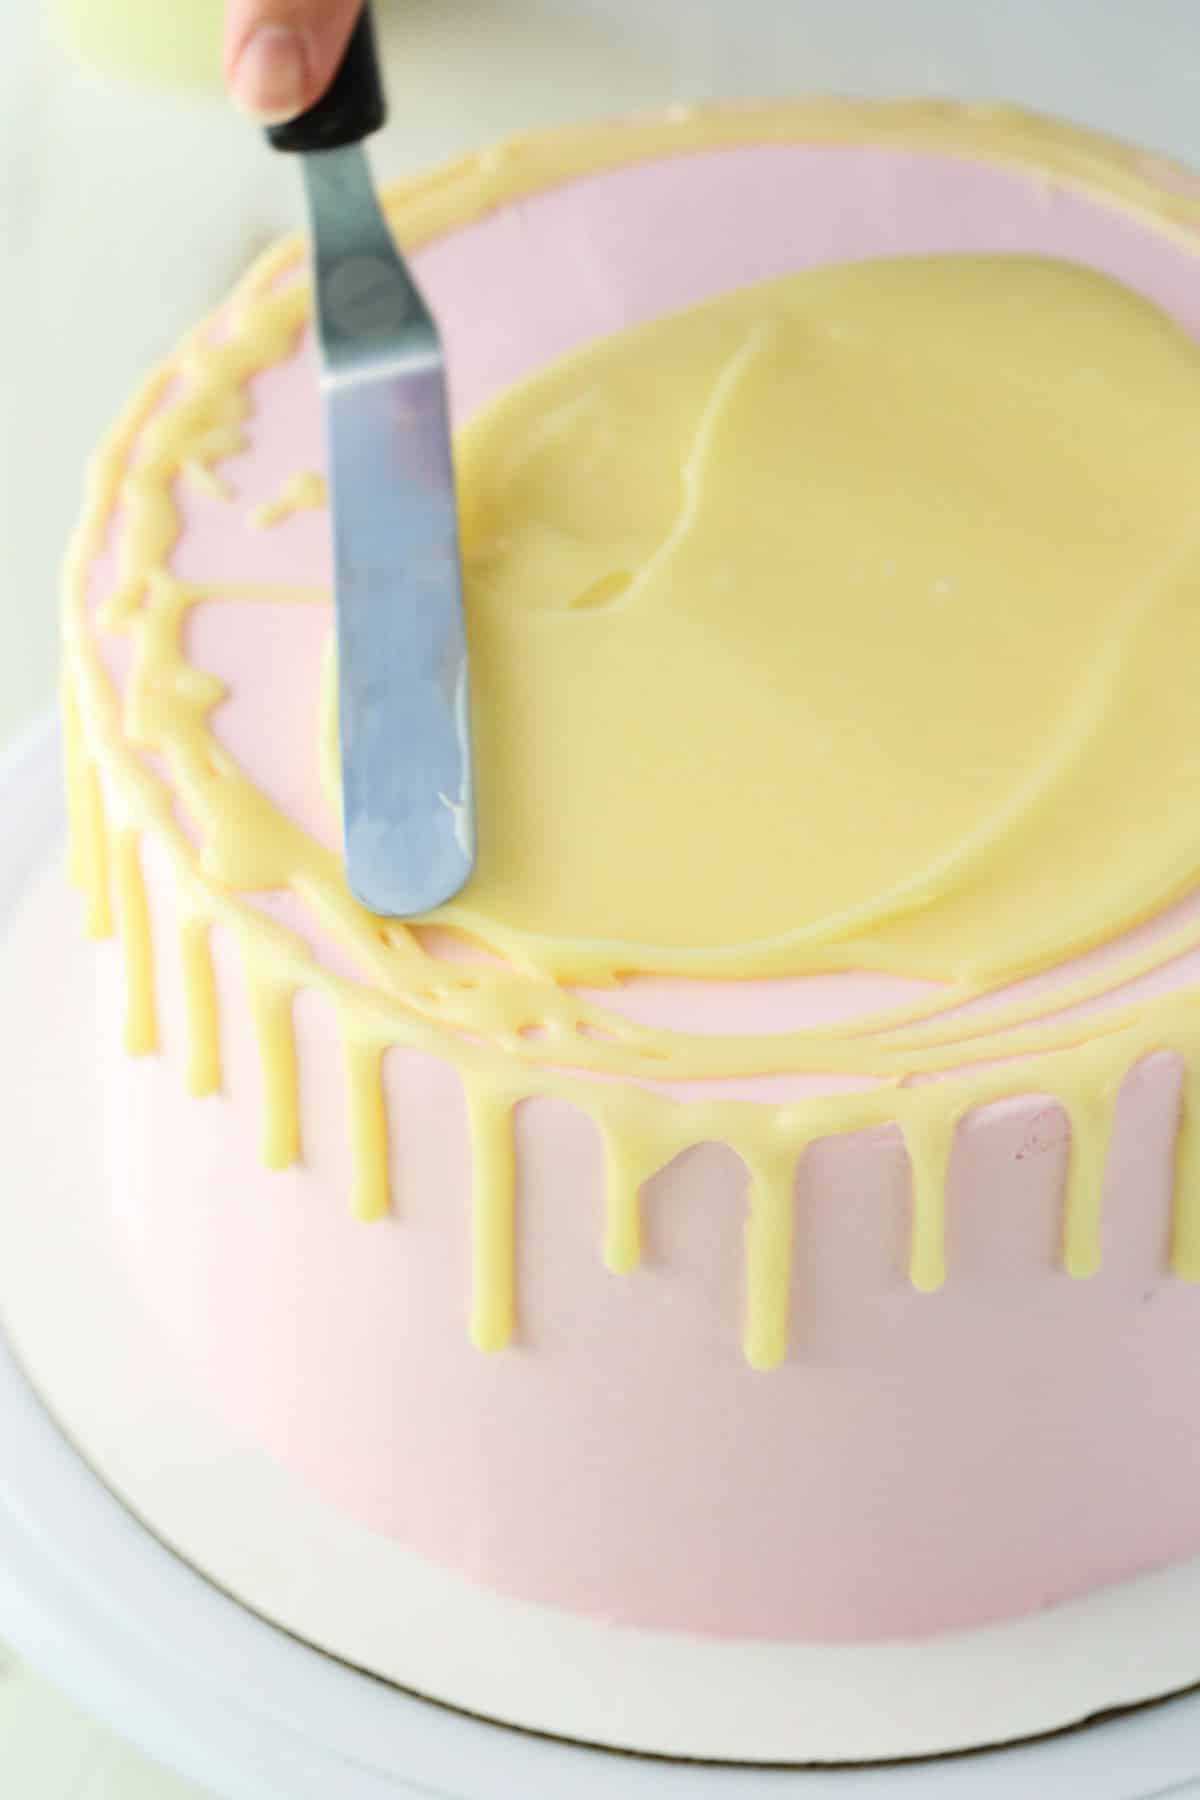
While the cake is in the freezer, make the white chocolate ganache. You just need some white chocolate and heavy whipping cream. You’ll want to make it just before you’re ready to use it. It won’t melt the whipped cream, but it will firm up quickly since the whipped cream will be so cold. Once you’ve made the ganache, drizzle it around the sides of the cake, then pour the rest onto the top of the cake and quickly spread it around to the edges of the cake. Like I said, it’ll firm quickly because of the cold cake, so work fast.
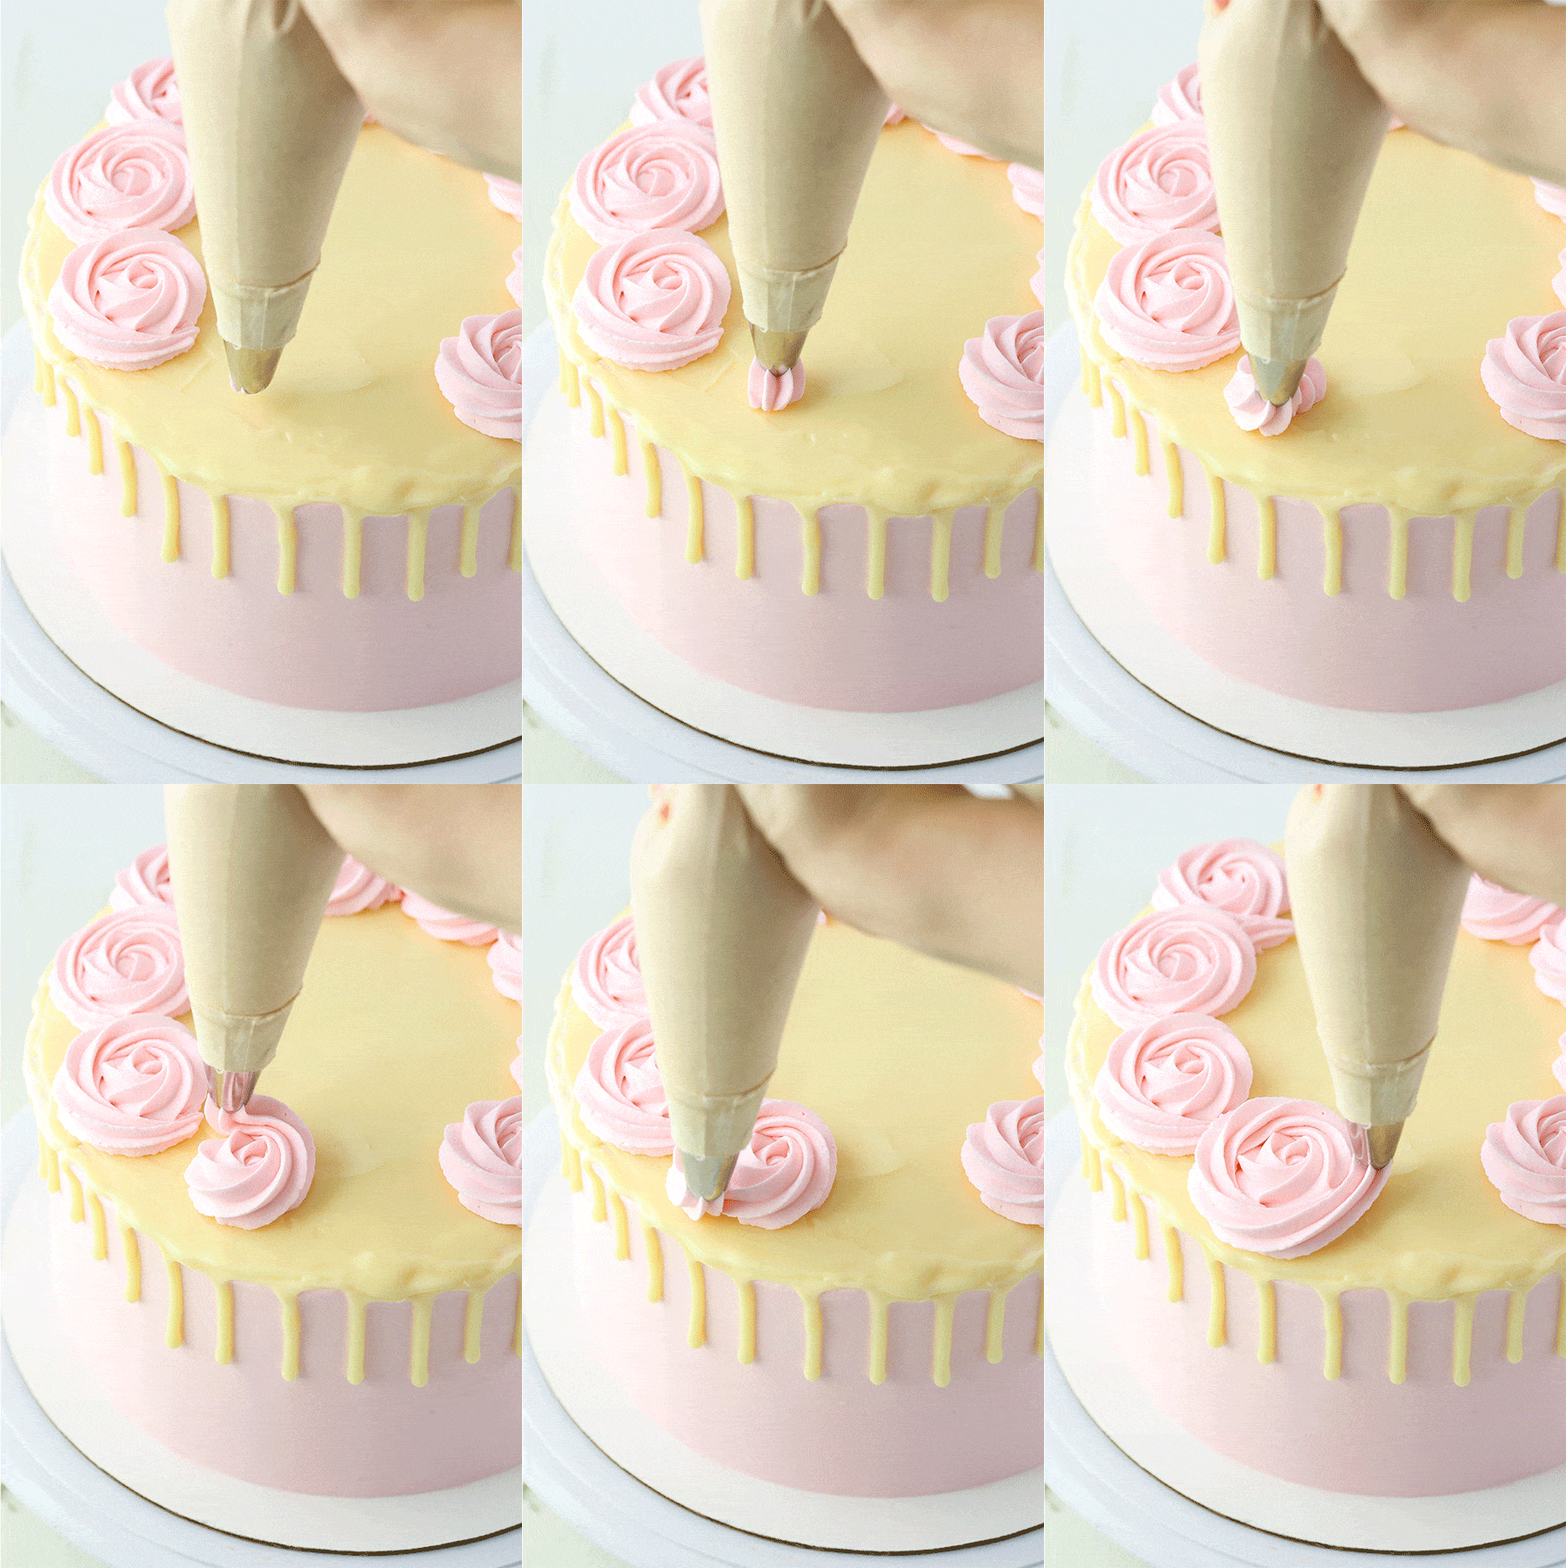
The final few steps are adding the flowers and leaves. Start out by making a ring of flowers around the outside of the cake in the lighter shade of pink, then add in the darker pink flowers.
Once the flowers are in place, pick a few places to add the leaves.

And look at that – all done! What looks like a complicated cake is actually fairly simple to put together and so beautiful! Not to mention delicious! I’m loving all the OREO cookie pieces in this cake. Such a delicious treat for mom on Mother’s Day!
For more ice cream cake inspiration, visit the Party Tips section of the I Love Ice Cream Cakes website. Be sure to join their Crunchie Club for the best product coupons and celebration ideas.
Print
Ice Cream Cake Decorating Tutorial
- Prep Time: 1 hour
- Cook Time: 0 minutes
- Total Time: 1 hour
- Yield: 1 Cake
- Category: Dessert
- Method: Decoration
- Cuisine: American
Description
Learn how to decorate a beautiful ice cream cake or regular cake in an hour or less! Personalize any store bought cake with this simple step-by-step Cake Decorating Tutorial!
Ingredients
WHIPPED CREAM
- 3 cups (720ml) heavy whipping cream, cold
- 1 1/2 cups (173g) powdered sugar
- 2 1/2 tsp vanilla extract
- Pink gel icing color
- Green gel icing color
WHITE CHOCOLATE GANACHE
- 6 oz (1 cup) white chocolate chips
- 1/4 cup (60ml) heavy whipping cream
NECESSARY TOOLS
- Ateco 844 or Wilton 2D piping tip
- Wilton 352 piping tip
- Piping bags
RECOMMENDED TOOLS
- Offset spatula
- Turntable
- Squeeze bottle or piping bag with a small round piping tip
Instructions
1. Add the cream, powdered sugar and vanilla extract to a large mixer bowl fitted with the whisk attachment and whip on high speed until stiff peaks form.
2. Place the first ice cream cake on a cardboard cake circle or serving platter. Spread some whipped cream, about 1/2 cup, on top of the ice cream cake to create an even layer. Place the second ice cream cake on top of the whipped cream. Place the ice cream cake in the freezer.
3. Set about 1/4 cup of whipped cream in another bowl and color with green gel icing color. Place in the fridge until ready to use. Color the remaining frosting with the pink gel icing color.
4. Frost the outside of the cake with the pink whipped cream, starting with a crumb coat to seat in the crumbs on the outside of the ice cream cake. Place the cake back in the freezer.
5. Make the white chocolate ganache. Place the white chocolate chips in a medium sized bowl. Heat the cream in the microwave until it begins to boil, then pour the cream over the white chocolate. Allow to sit for 1-2 minutes, then whisk until smooth. If the white chocolate doesn’t melt completely, heat in the microwave for 10-second increments, stirring between, until smooth.
6. Place the ganache into a squeeze bottle, piping bag with small round tip or a ziplock bag with a corner cut off. Remove the cake from the freezer and drizzle the ganache around the edge of the cake. Pour the remaining ganache into the center of the cake and quickly spread it out to the edges to cover the top of the cake. Place cake back in the freezer.
7. Set about 1/3 of the remaining pink whipped cream into another bowl and add a little more pink gel icing color to get a slightly darker shade of pink. Use the light pink whipped cream and a piping bag fitted with Ateco tip 844 or Wilton 2D piping tip to make an initial circle of roses around the edge of the cake. Use the darker pink whipped cream to add a few smaller roses.
8. Use the green whipped cream and a piping back fitted with the Wilton 352 piping tip to pipe the leaves around the flowers.
9. Place the cake back into the freezer until ready to serve.
This post includes affiliate links.


