This post may contain affiliate sales links. Please read my disclosure policy.
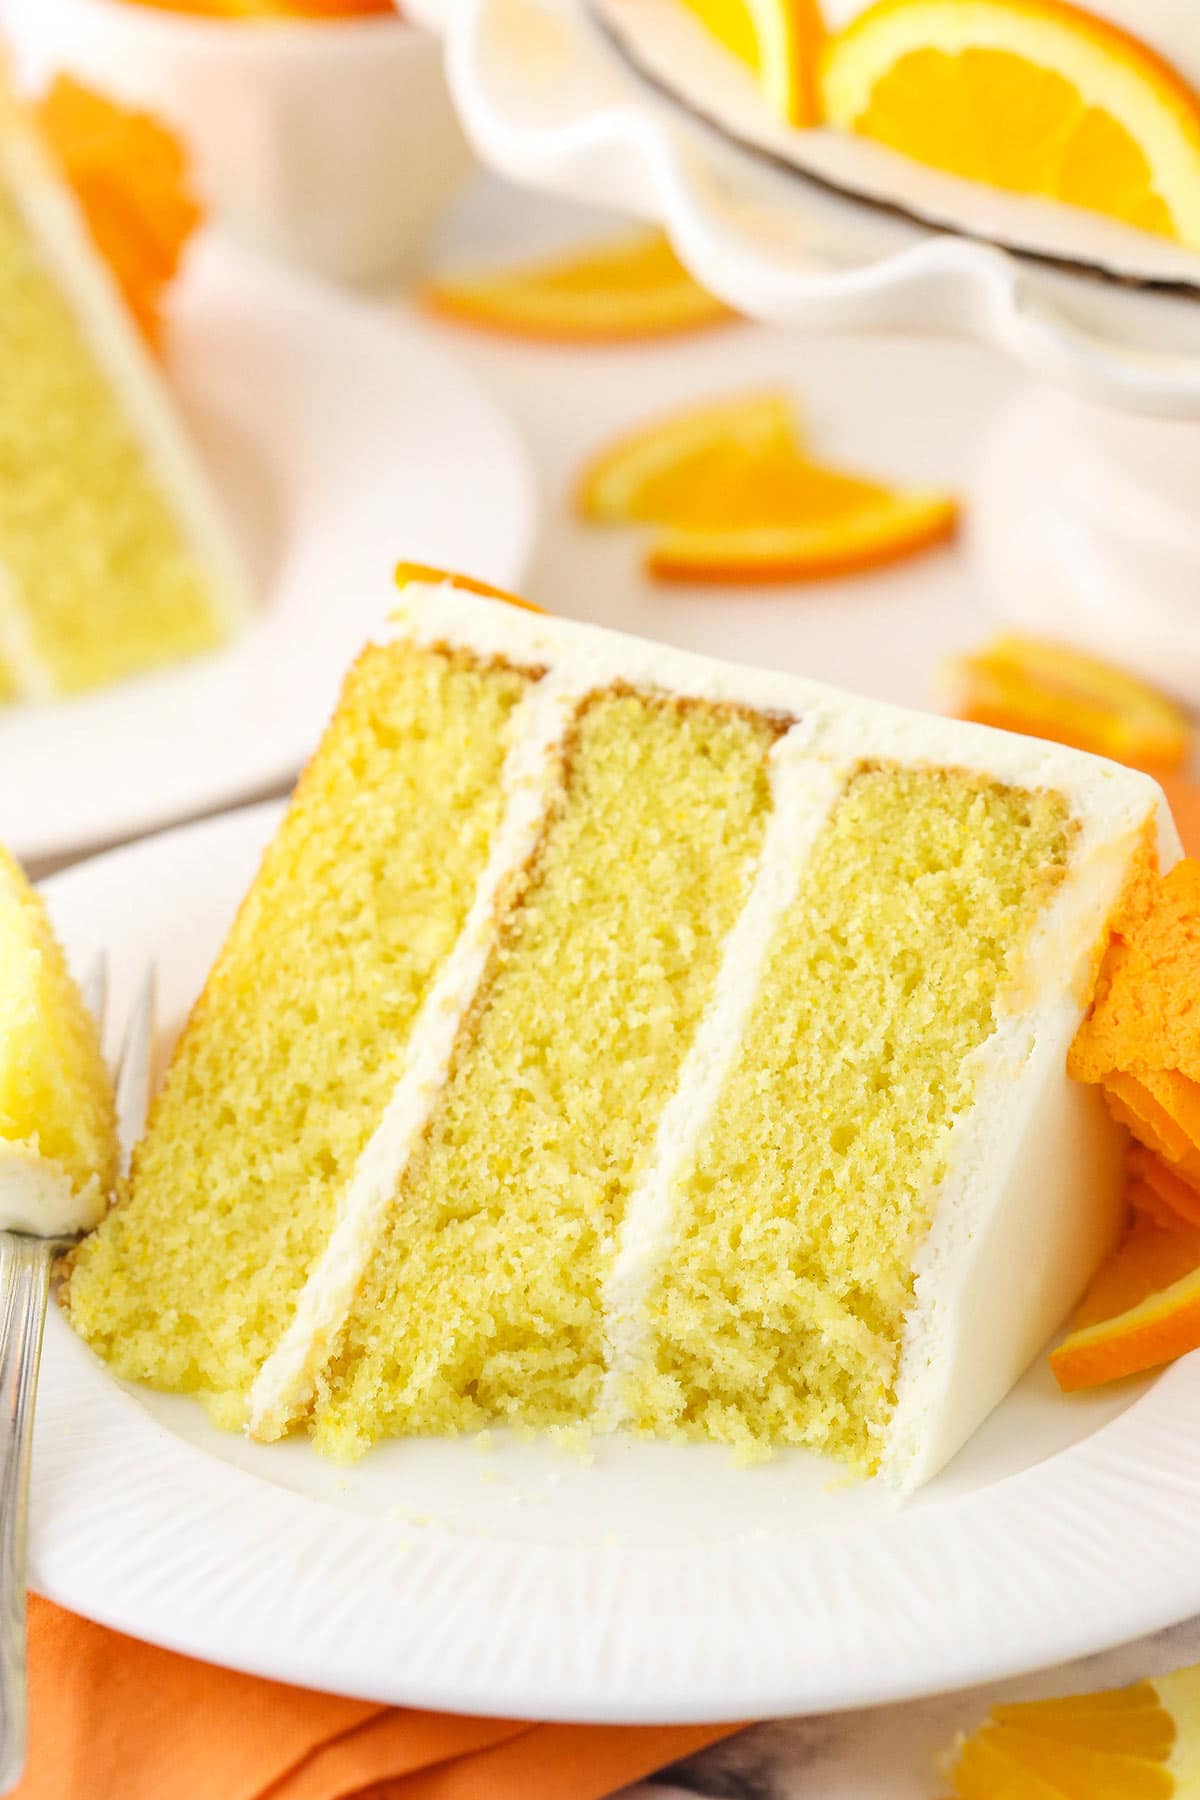
Three layers of fluffy orange cake are drizzled with orange syrup and coupled with whipped cream cheese frosting in this tempting dessert! Fresh citrus flavor graces each and every bite of this easy Orange Layer Cake.
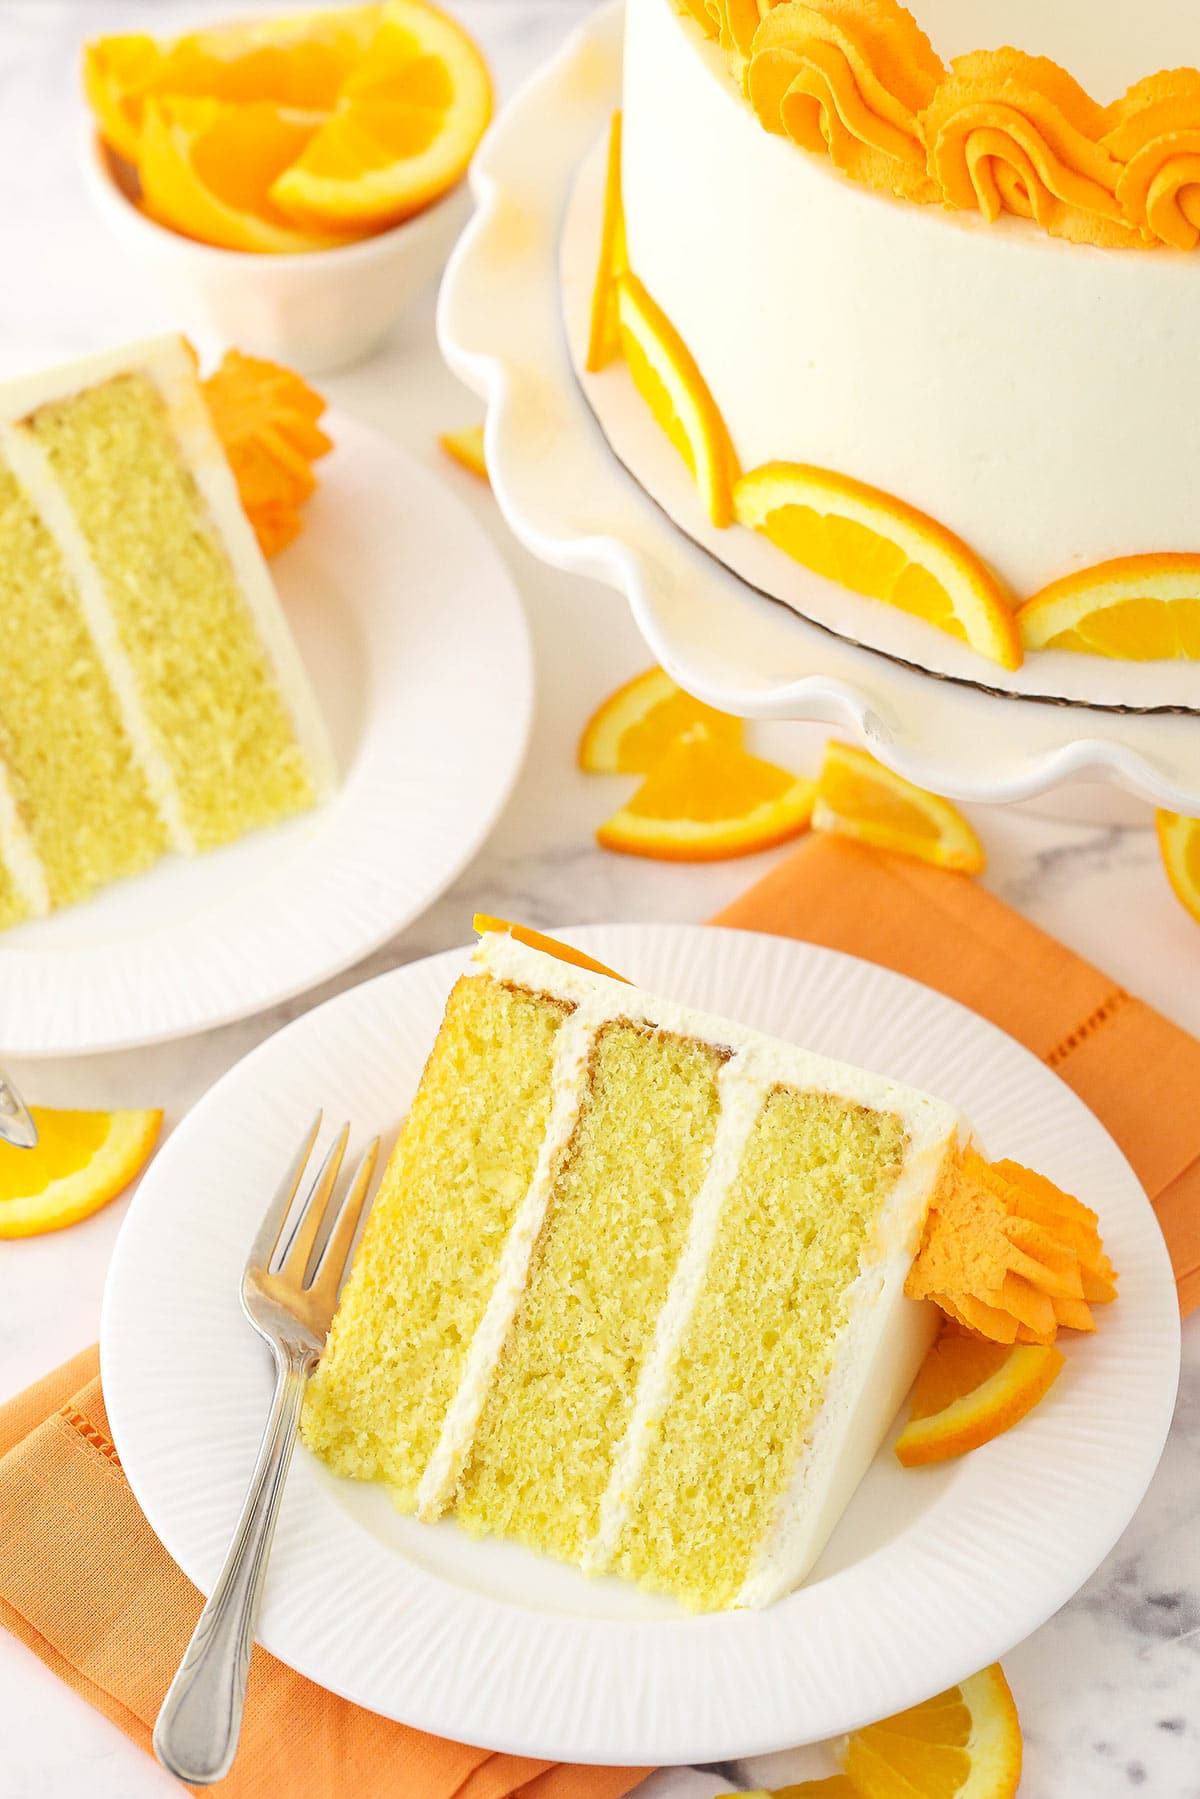
Tender Orange Layer Cake With Cream Cheese Frosting
Orange is such a refreshing flavor, and this scrumptious dessert does it justice. The cake layers are light and fluffy, and the same goes for the tangy whipped cream cheese frosting. The effortless orange syrup infuses the cake with more moisture and even more fresh orange goodness.
Anyone who knows me knows I’m not afraid to go all out for my layer cakes, but this one is surprisingly simple. It has the gourmet feel of an expert-level treat with a beginner-friendly preparation process behind the scenes. That’s what I call the best of both worlds! If you enjoy munching on juicy orange segments or sipping on ice-cold orange juice, you’re going to adore this luscious layer cake.
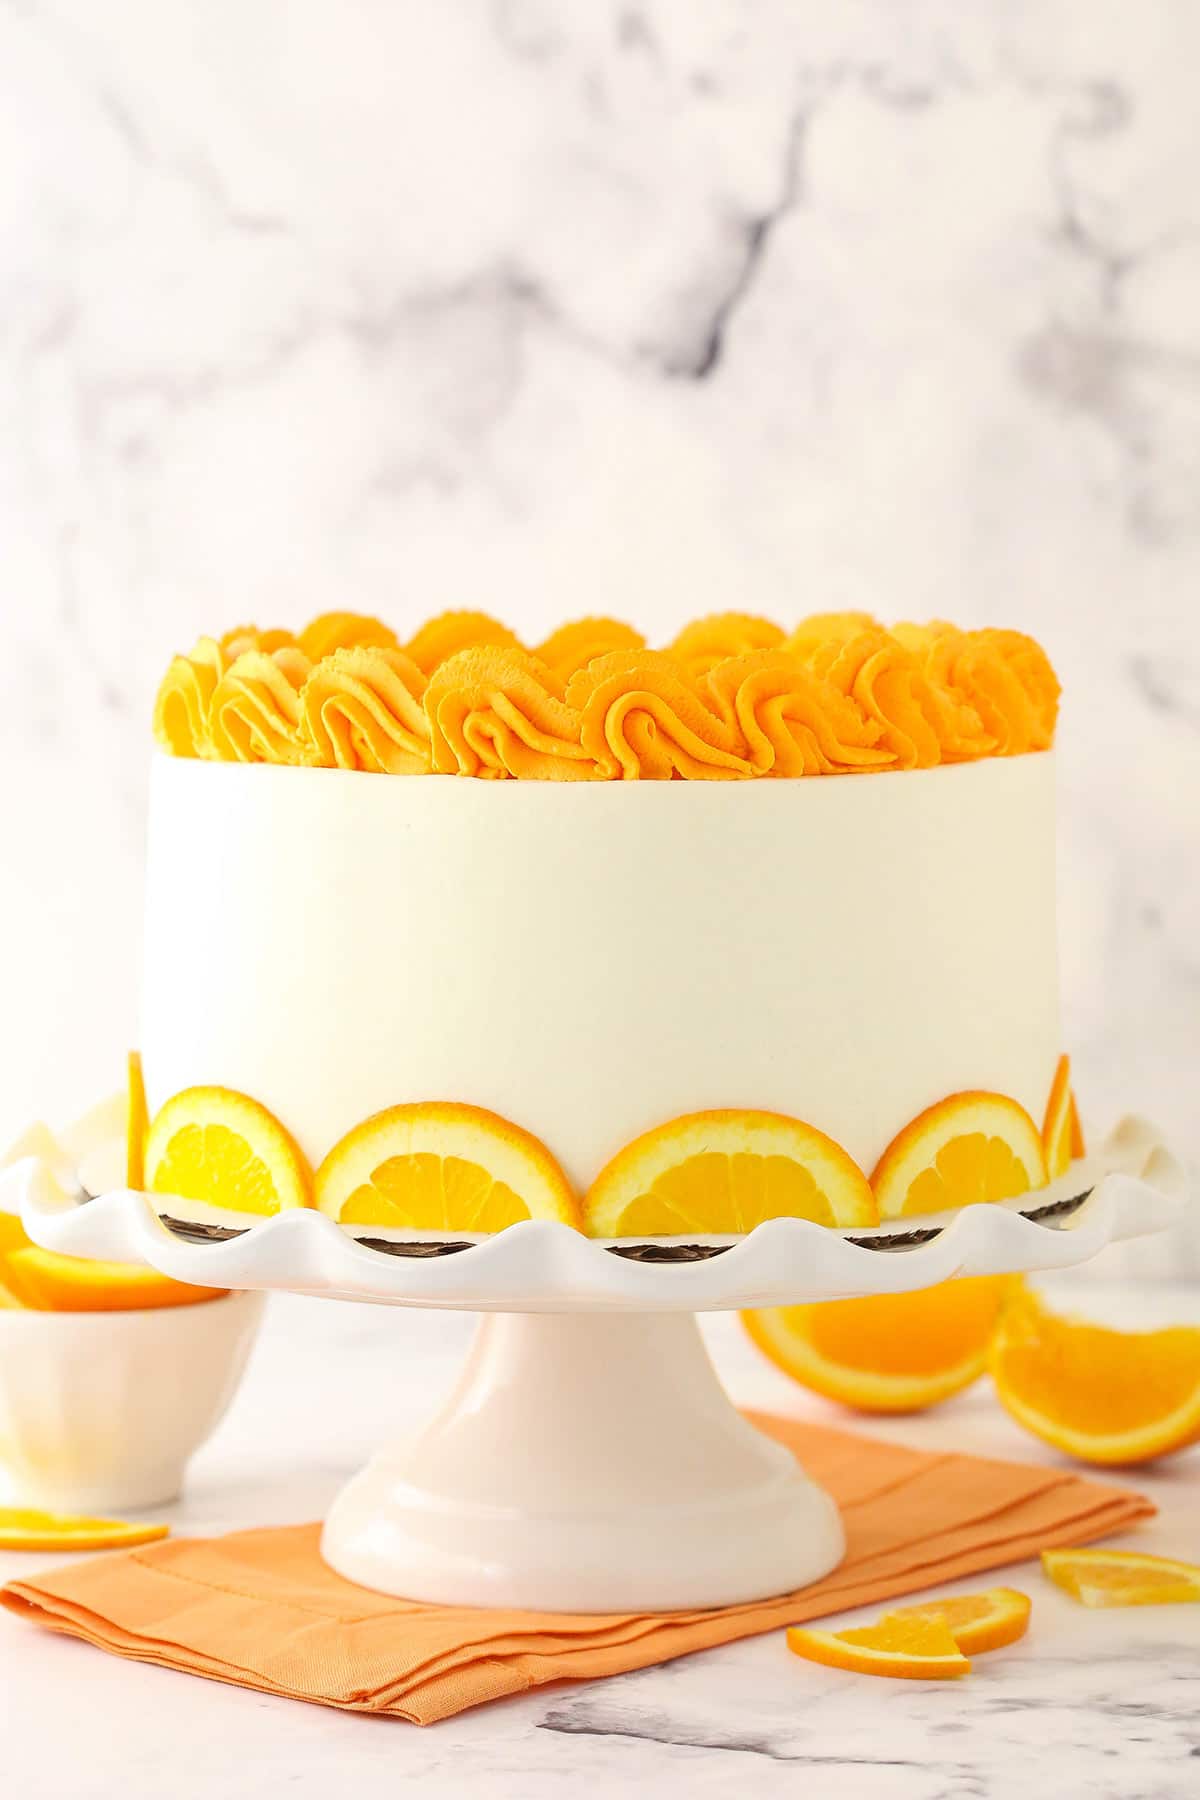
What Is Orange Cake Made Of?
Let’s discuss the ingredients that make this citrus dessert so divine. Be sure to scroll down to the recipe card for the corresponding amounts.
For the Orange Cake
- All-Purpose Flour: Measure with a food scale to ensure accuracy or fluff up the flour and spoon it into your measuring cup bit by bit, then level off with a knife.
- Baking Powder
- Baking Soda
- Salt
- Unsalted Butter: Bring this to room temperature.
- Vegetable Oil
- Sugar
- Vanilla Extract
- Large Eggs
- Milk: I use 2% milk.
- Orange Juice: Freshly squeezed.
- Orange Zest: Don’t forget to zest your oranges before you juice them.
For the Whipped Cream Cheese Frosting
- Heavy Whipping Cream: Keep this chilled until you’re ready to use it.
- Powdered Sugar: For sweetness and to keep the whipped cream from wilting.
- Vanilla Extract
- Cream Cheese: Brought to room temperature.
- Orange Gel Icing Color: Stay away from liquid food coloring, which would thin out the frosting.
- Orange Slices: Optional, to decorate the bottom edge of the cake.
For the Orange Syrup
- Fresh Orange Juice: This cake wouldn’t be the same if it were made with bottled juice.
- Powdered Sugar
How to Juice Oranges
Follow these steps when squeezing your oranges to get as much juice as possible out of each one:
- Warm: When fruit is warm, it releases more juice. If your oranges have been stored in a cool place, go ahead and microwave each one for 20-30 seconds before you work with it.
- Roll: Use the palm of your hand to firmly roll the orange against your cutting board or countertop.
- Cut: Carefully slice the orange in half with a sharp kitchen knife.
- Squeeze: Use your citrus juicer or reamer to extract as much juice as possible from each half.
- Repeat: Repeat the process with additional oranges until you have enough juice. For this recipe, you’ll need around 5-6 total.
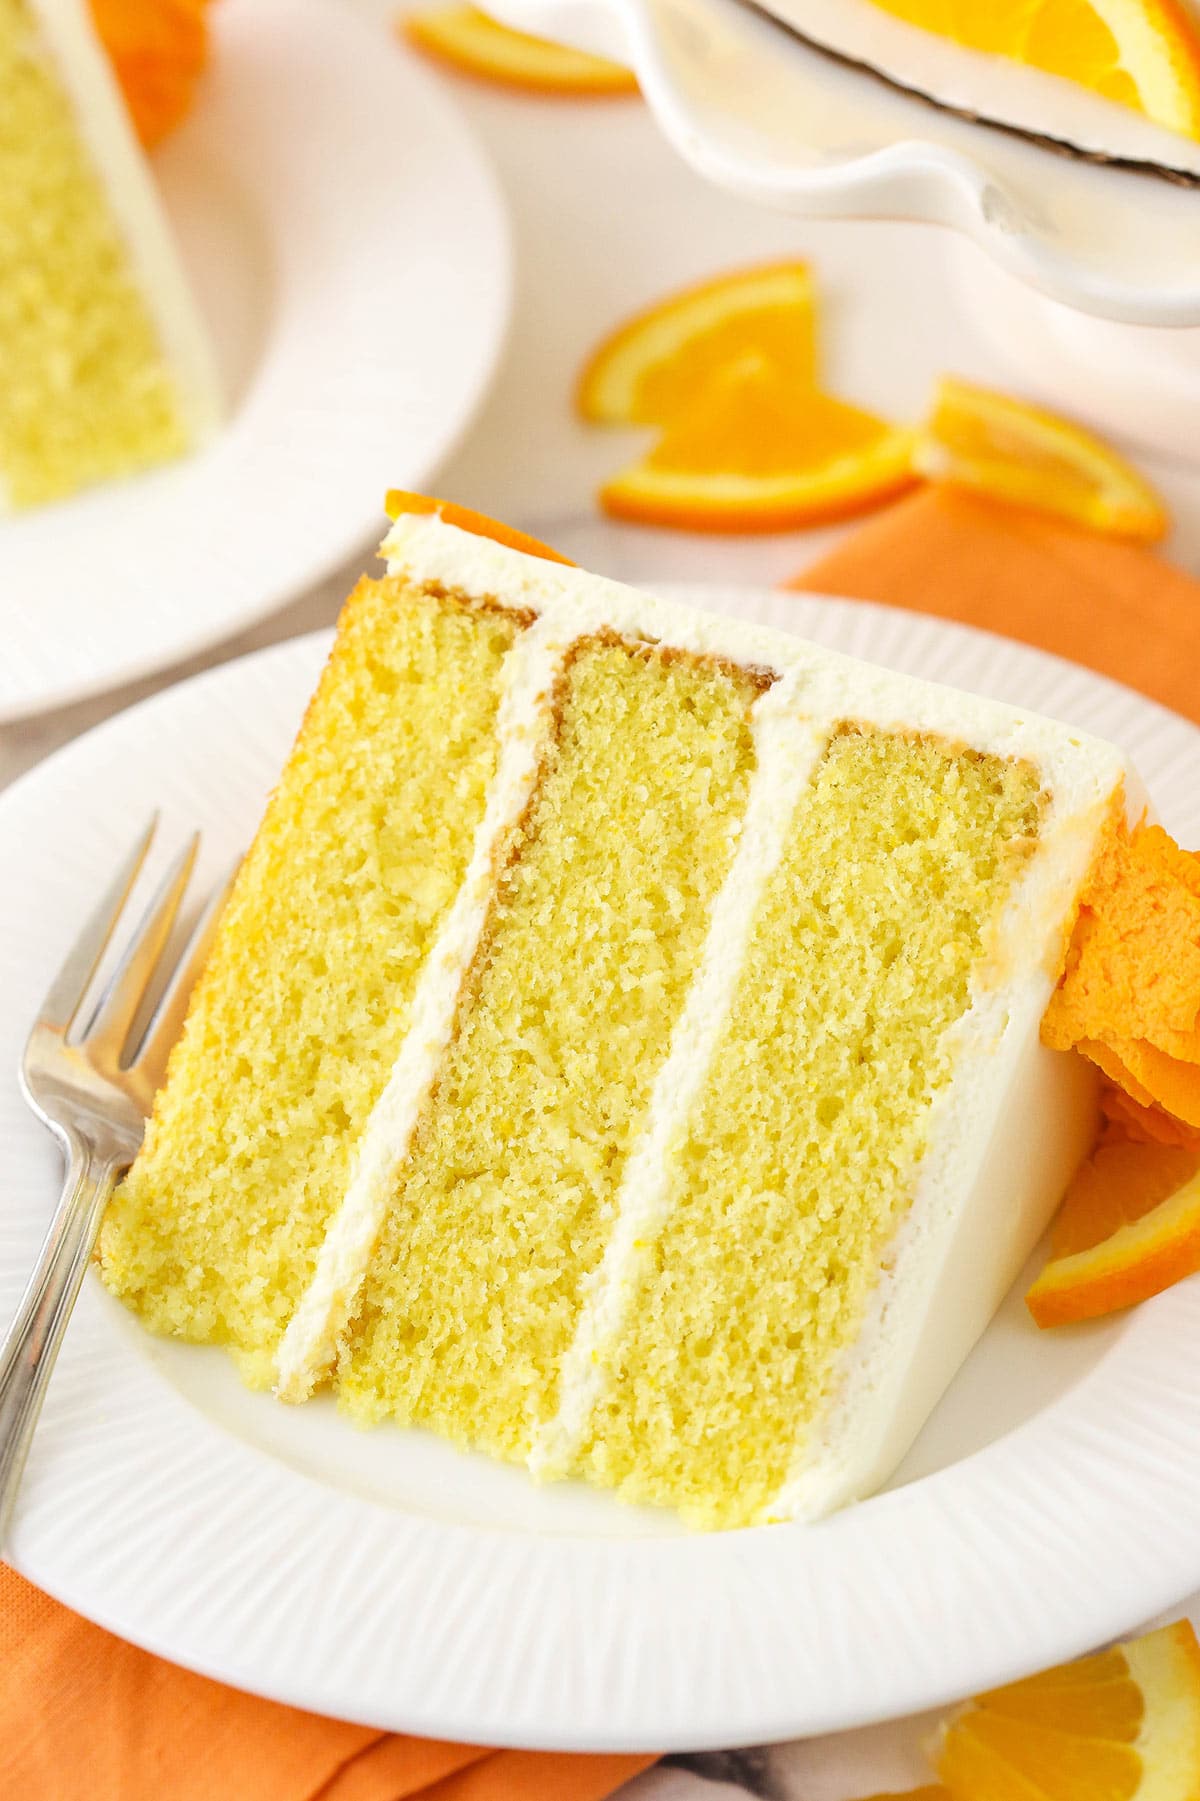
Let’s Get Baking!
Once you have enough orange juice, you’re ready to start on this stunning layer cake. If you’d like to make the cake layers a day ahead of time, let them cool, wrap them tightly in plastic wrap and set them aside or store them in an air tight container until you’re ready to build the cake.
Make the Cake Layers
- Prep for Baking: Preheat the oven to 350°F. Prepare three 8-inch cake pans with nonstick baking spray and parchment circles on the bottom.
- Combine Dry Ingredients: Combine the flour, baking powder, baking soda and salt in a medium-sized bowl. Set the dry ingredient mixture aside.
- Beat Butter, Oil, Sugar & Vanilla: Add the butter, oil, sugar and vanilla extract to a large mixer bowl and beat until the mixture becomes light in color and fluffy, about 2-3 minutes. Do not skimp on the creaming time.
- Add Eggs: Add the eggs one at a time, mixing until mostly combined after each addition. Scrape down the sides of the bowl as needed to ensure that all of the ingredients are well incorporated.
- Start Adding Dry Ingredients: Add half of the dry ingredients to the batter and mix until mostly combined.
- Add Milk, OJ & Orange Zest: Add the milk, orange juice and orange zest, mixing until well combined.
- Finish Adding Dry Ingredients: Add the remaining dry ingredients and mix until the batter is well combined and smooth. Scrape down the sides of the bowl as needed. Do not over-mix the batter.
- Bake: Distribute the batter evenly among the prepared cake pans and bake them for 18-23 minutes, or until a toothpick inserted into the center comes out clean.
- Let Cool: Let the cakes cool in the pans for 2-3 minutes, then flip them out onto cooling racks and let them rest until they reach room temperature.
Make the Frosting
- Combine Heavy Cream, Powdered Sugar & Vanilla: Add the heavy whipping cream, powdered sugar and vanilla extract to a large mixing bowl and whip on high speed until stiff peaks form. Set the whipped cream aside.
- Beat Cream Cheese: Add the cream cheese to a separate mixing bowl and beat it until it’s smooth and creamy.
- Combine Whipped Cream & Cream Cheese: Add about 1/3 of the whipped cream to the beaten cream cheese and fold them together gently to combine them without deflating the whipped cream. Once the mixture is mostly combined, add another third of the whipped cream and repeat, then add the final third and gently fold until everything is completely combined. Set the frosting aside.
Make the Syrup & Build the Cake
- Make Syrup: Combine the orange juice with the powdered sugar in a small bowl. Set the syrup aside.
- Remove Cake Domes: Use a large serrated knife to remove the domes from the tops of the cakes so that they’re flat. These cakes don’t have large domes, but I like to make sure they’re completely flat.
- Start Layering: Place the first layer of cake onto a serving plate or a cardboard cake round. Drizzle it evenly with 4 tablespoons of orange syrup, then spread on about 1 cup of frosting.
- Finish Layering & Frost Exterior: Add the second cake layer, another 4 tablespoons of orange syrup and another cup of frosting. Then add the final cake layer and frost the top and outside of the cake.
- Add Orange Frosting Ring: Dye the remaining frosting with orange gel icing color, then pipe a border around the top rim of the cake.
- Decorate With Orange Slices: Decorate the bottom edge of the cake with some orange slices if desired. Store the cake well-covered in the fridge until you’re ready to serve it. I find that it’s best served cool, but not super cold.
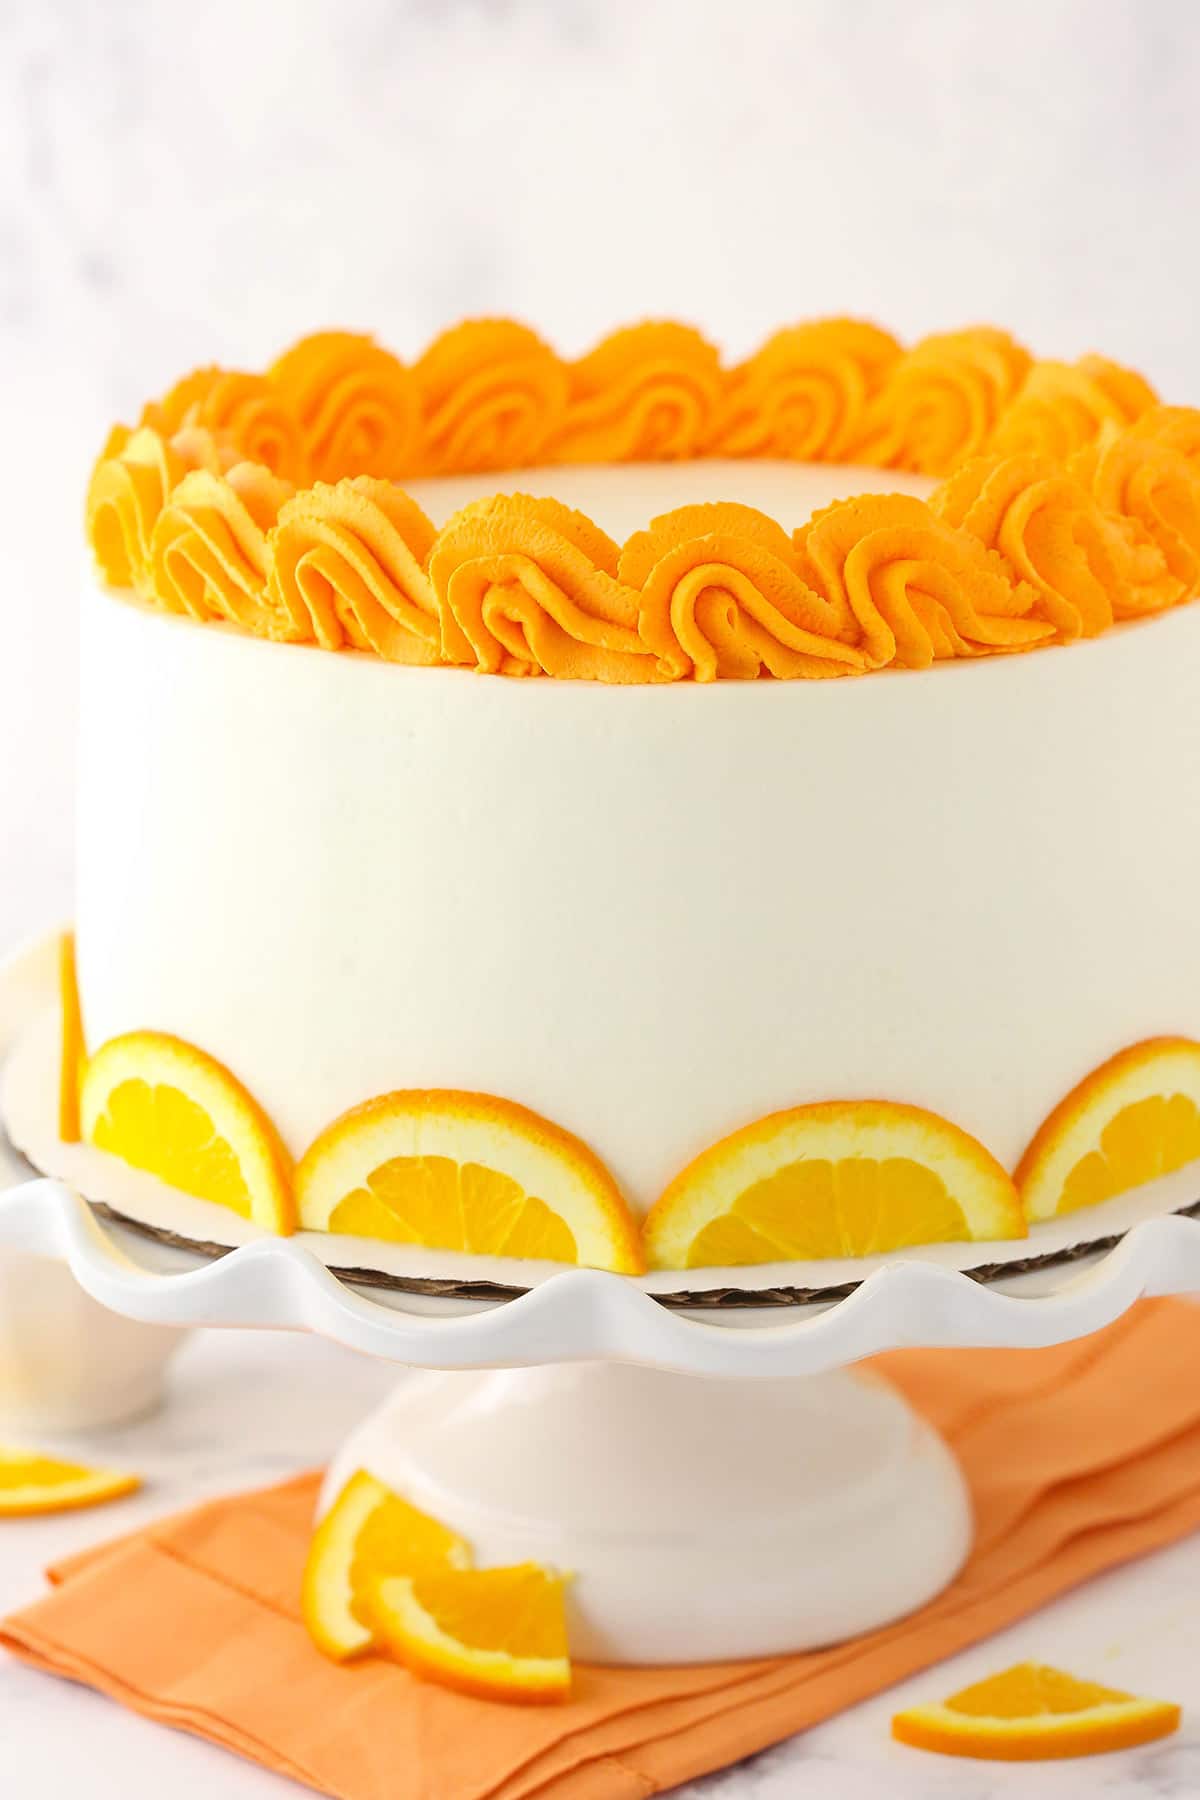
Tips for Success
Want to knock this orange cake out of the park? Be sure to use these tips.
- Temperature Matters: If you don’t bring the butter and cream cheese to room temperature, you’ll have a hard time working with them. Conversely, the heavy whipping cream should be nice and cold.
- Don’t Zest the Pith: Beneath the rind or “skin” of an orange, there’s a stringy white substance called the pith. You don’t want any of this in your orange zest, so make sure you discard it or avoid it altogether.
- Fold With Care: Work slowly and gently when you’re folding the whipped cream into the beaten cream cheese. If you combine them too quickly, the frosting could lose its delightful fluffiness.
- Gel Colors Only: Liquid food coloring is not as vibrant as gel coloring, so you have to use a lot more of it to reach the same shade. This would cause the frosting to become too thin.
Storage Instructions
This cake can be kept in an airtight container in the refrigerator for up to 4 days. I like to remove it from the fridge about 10-15 minutes before I serve it.
Does This Cake Freeze Well?
I don’t typically freeze full cakes, but you can totally make the cake layers ahead of time and freeze them for up to 3 months.
Let them cool completely, then wrap each one in a tight layer of plastic wrap followed by a layer of heavy-duty foil. Freeze the cake layers after using a sharpie to indicate the date they must be used by. Thaw out all of the layers in the fridge before you build the cake.
Print
Orange Layer Cake
- Prep Time: 1 hour 15 minutes
- Cook Time: 18 minutes
- Total Time: 1 hour 33 minutes
- Yield: 14
- Category: Dessert
- Method: Oven
- Cuisine: American
Description
Three layers of fluffy orange cake are drizzled with orange simple syrup and coupled with whipped cream cheese frosting in this tempting dessert! Fresh citrus flavor graces each and every bite of this easy Orange Layer Cake.
Ingredients
For the Orange Cake
- 2 1/2 cups (325g) all-purpose flour
- 1 3/4 tsp baking powder
- 1/4 tsp baking soda
- 1/2 tsp salt
- 1/2 cup (112g) unsalted butter, room temperature
- 1/2 cup (120ml) vegetable oil
- 1 1/2 cups (310g) sugar
- 1/2 tsp vanilla extract
- 4 large eggs
- 3/4 cup (180ml) milk
- 1/2 cup (120ml) fresh orange juice
- 2 tbsp fresh orange zest
For the Whipped Cream Cheese Frosting
- 2 1/2 cups (600ml) heavy whipping cream, cold
- 1 1/2 cups (173g) powdered sugar
- 1 tbsp vanilla extract
- 16 oz (452g) cream cheese, room temperature
- Orange gel icing color
- Orange slices, optional
For the Orange Syrup
- 6 tbsp fresh orange juice, about 2–3 oranges
- 4 tbsp (29g) powdered sugar
Instructions
Make the Cake Layers
- Preheat oven to 350°F (176°C) and prepare three 8 inch cake pans with non-stick baking spray and parchment circles on the bottom.
- Combine the flour, baking powder, baking soda and salt in a medium-sized bowl and set aside.
- Add the butter, oil, sugar and vanilla extract to a large mixer bowl and beat together until light in color and fluffy, about 2-3 minutes. Do not skimp on the creaming time.
- Add the eggs one at a time, mixing until mostly combined after each. Scrape down the sides of the bowl as needed to be sure all ingredients are well incorporated.
- Add half of the dry ingredients to the batter and mix until mostly combined.
- Add the milk, orange juice, and orange zest and mix until well combined.
- Add the remaining dry ingredients and mix until well combined and smooth. Scrape down the sides of the bowl as needed to be sure all ingredients are well incorporated. Do not over mix the batter.
- Pour the batter into the prepared cake pans and bake for 18-23 minutes, or until a toothpick comes out clean.
- Let the cakes cool in the pans for 2-3 minutes, then flip them out onto cooling racks and let them rest until they reach room temperature.
Make the Frosting
- Add the heavy whipping cream, powdered sugar and vanilla extract to a large mixing bowl and whip on high speed until stiff peaks form. Set aside.
- In another mixing bowl, add the cream cheese and beat until smooth and creamy. Add about 1/3 of the whipped cream to the cream cheese and gently fold together to combine so that you don’t deflate the whipped cream. When mostly combined, add another third of the whipped cream and gently fold together, then add the final third and gently fold together until completely combined. Set aside.
Make the Syrup & Build the Cake
- Combine the orange juice and powdered sugar for the syrup in a small bowl. Set aside.
- To build the cake, use a large serrated knife to remove the domes from the top of the cakes so that they’re flat. These cakes don’t have a large dome, but I like to make sure they’re completely flat.
- Place the first layer of cake on a serving plate or a cardboard cake round. Drizzle the cake layer with 4 tablespoons of orange syrup, then spread about 1 cup of frosting on top of the cake layer. Add the second cake layer, another 4 tablespoons of orange syrup and another cup of frosting. Top the cake with the final layer and frost the outside of the cake.
- Color the remaining whipped frosting with orange gel icing color, then pipe a border around the top outer edge of the cake.
- Decorate the bottom of the cake with some orange slices if desired. Store well-covered in the fridge until ready to serve. Cake is best served cool, but not super cold.
Notes
- Makes 12-14 slices.
- To Make Ahead: Let cake layers cool completely, wrap each one tightly in plastic wrap and set them aside until ready to build cake, up to 24 hours. For longer storage, wrap each plastic-wrapped cake layer in heavy-duty aluminum foil and freeze for up to 3 months. Thaw and bring to room temperature before using.
- To Store Extras: Refrigerate extras in an airtight container. Cake is best if eaten within 3-4 days.
Nutrition
- Serving Size:
- Calories: 585
- Sugar: 42.6 g
- Sodium: 242.4 mg
- Fat: 34.9 g
- Carbohydrates: 62.4 g
- Protein: 7.6 g
- Cholesterol: 127.8 mg
Categories
More Easy Orange Dessert Ideas
Loving this zesty layer cake? Try these orange treats next!





This looks so incredible! I’m looking for a yummy nut free cake I can make gluten free for a friend, any possible chance this would work with gluten free flour do you think!? Or is there something else you’d recommend? I love the orange element.. I’ll be making it regardless at some point for myself!
Thank you! I haven’t worked with gluten free flour much, but based on general feedback from when people share that they made that substitution on other recipes, I do think it’d be ok.
Hi Lindsay, Good day, May I use self-raising flour?
I don’t know. I don’t test my recipes with it, since I can’t control the amount or type of leavening used. I wouldn’t recommend it, because I don’t believe you’d get the same results.
Our family loved this so much! Definitely a keeper recipe that has been added to our kitchen!
Awesome! So glad to hear that!
Just wondering if i bake this in a 9X13 pan, would I reduce the amount of frosting?
Yes, I’d probably try cutting it in half. I might also try baking a 9×13 at 325 degrees.
I make orange cake every year from the fruit from our Honeybell tree. This is by far the most delicious recipe ever and was worth the extra steps. I did not cut off domes but drizzled syrup over the bottoms that became my tops. I frosted with a buttercream icing that I made with orange juice and zest. Delicious!
I’m so glad to hear you enjoyed it!
I made it and it was great! Lovely orange flavour. I actually made it twice, once as directed, and once in a 9 x 13 pan and that worked just fine too.
Awesome! So glad you’ve enjoyed it!
I made this recipe became 4 layers, and everybody loved it… it’s beautiful….. thanks so much
So glad you enjoyed it!
This cake tastes amazing! We’re the orange slices glazed or normal? Does it make the icing wet if its normal cut orange slices
I’m so glad you enjoyed it! The ones I used were normal and they can leak moisture if they sit for a while.