This post may contain affiliate sales links. Please read my disclosure policy.
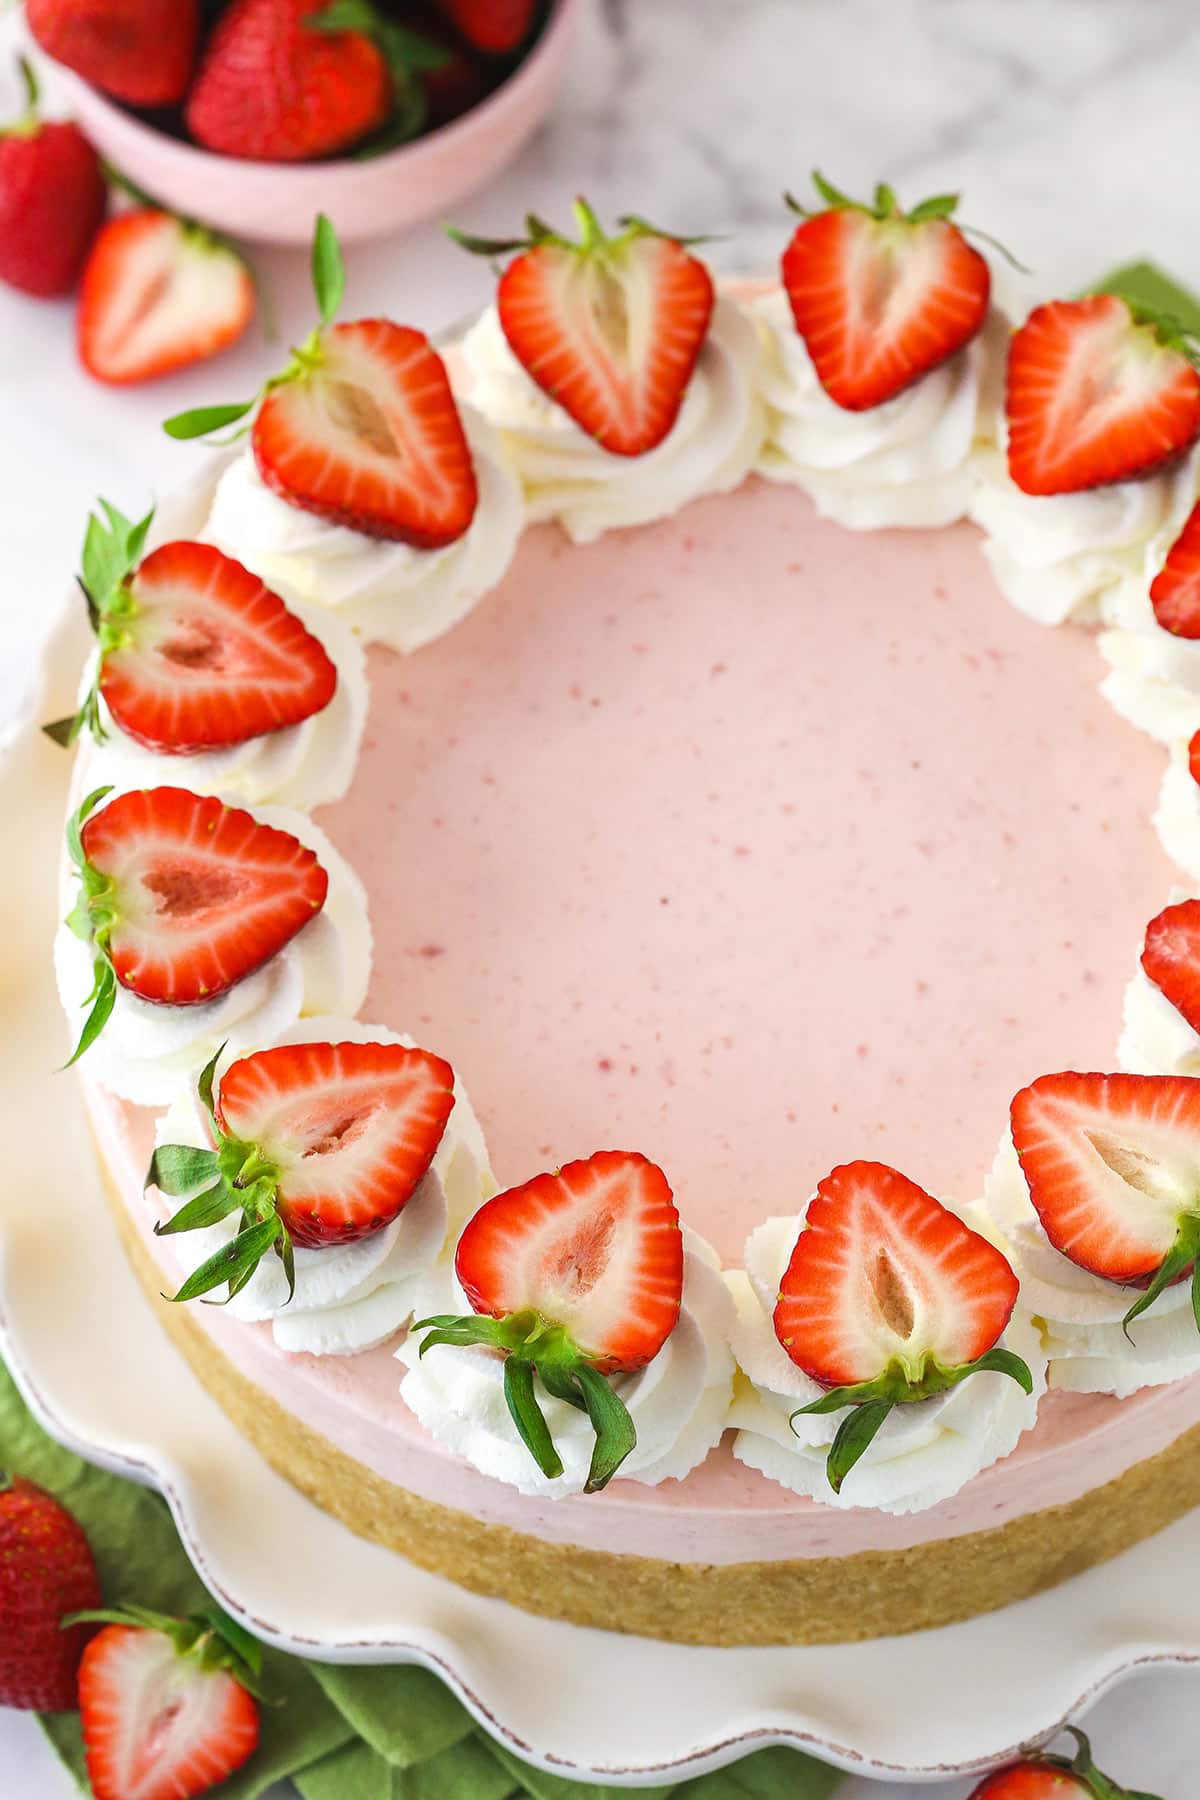
This easy no bake strawberry cheesecake is the perfect summer dessert. It’s made with a vanilla wafer crust and a creamy strawberry filling. It’s loaded with real strawberry flavor and you don’t even have to turn on the oven!
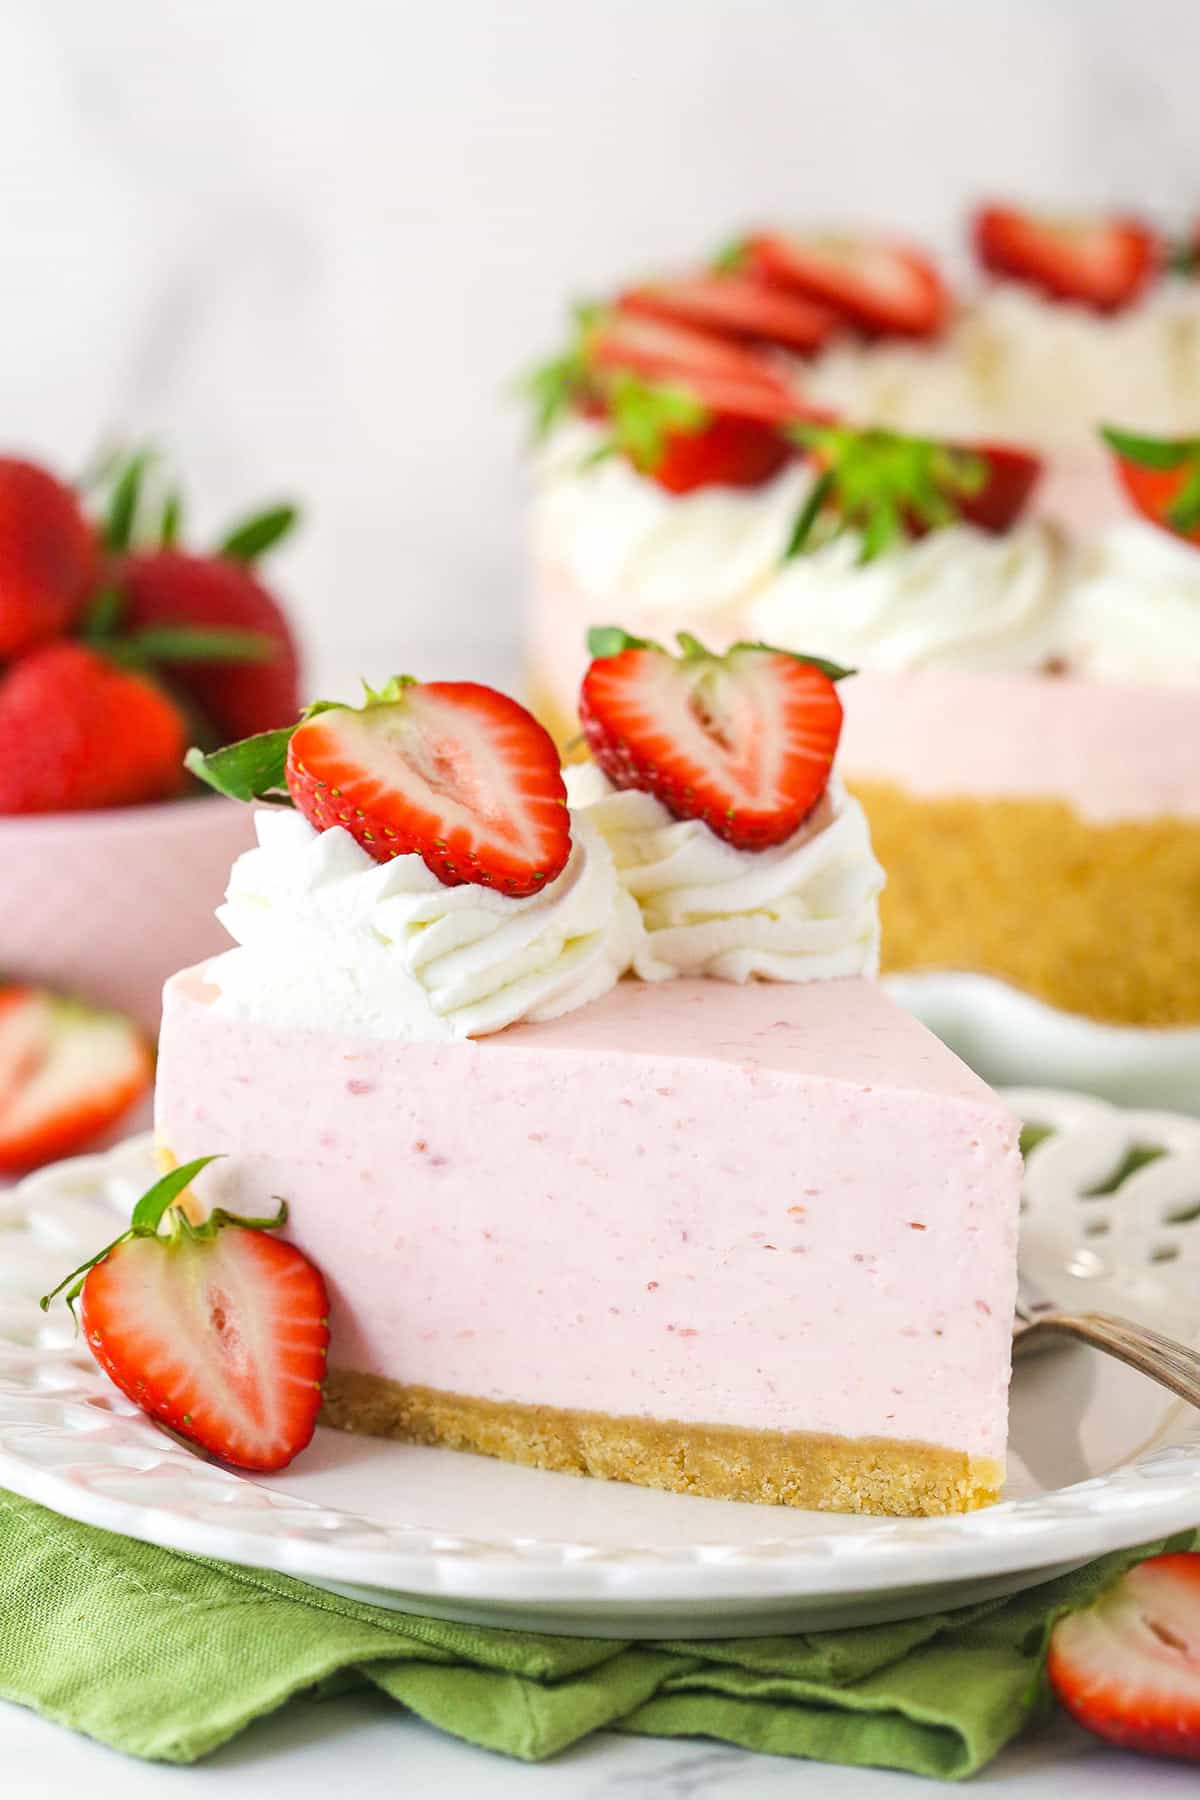
Table of Contents
- Why You’ll Love This No Bake Strawberry Cheesecake
- What You’ll Need
- How to Make No Bake Strawberry Cheesecake
- Can This No Bake Cheesecake Be Prepared in Advance?
- Tips for Success
- How to Store No Bake Strawberry Cheesecake
- Can I Freeze This?
- More No Bake Cheesecake Recipes
- Watch How to Make This Cheesecake
- Get the Recipe
Why You’ll Love This No Bake Strawberry Cheesecake
Summertime is here and there is nothing quite like a strawberry-loaded dessert to celebrate. Not only is this cheesecake loaded with real strawberry flavor but it is also far less labor-intensive than a classic baked cheesecake. Here are several reasons I love this cheesecake.
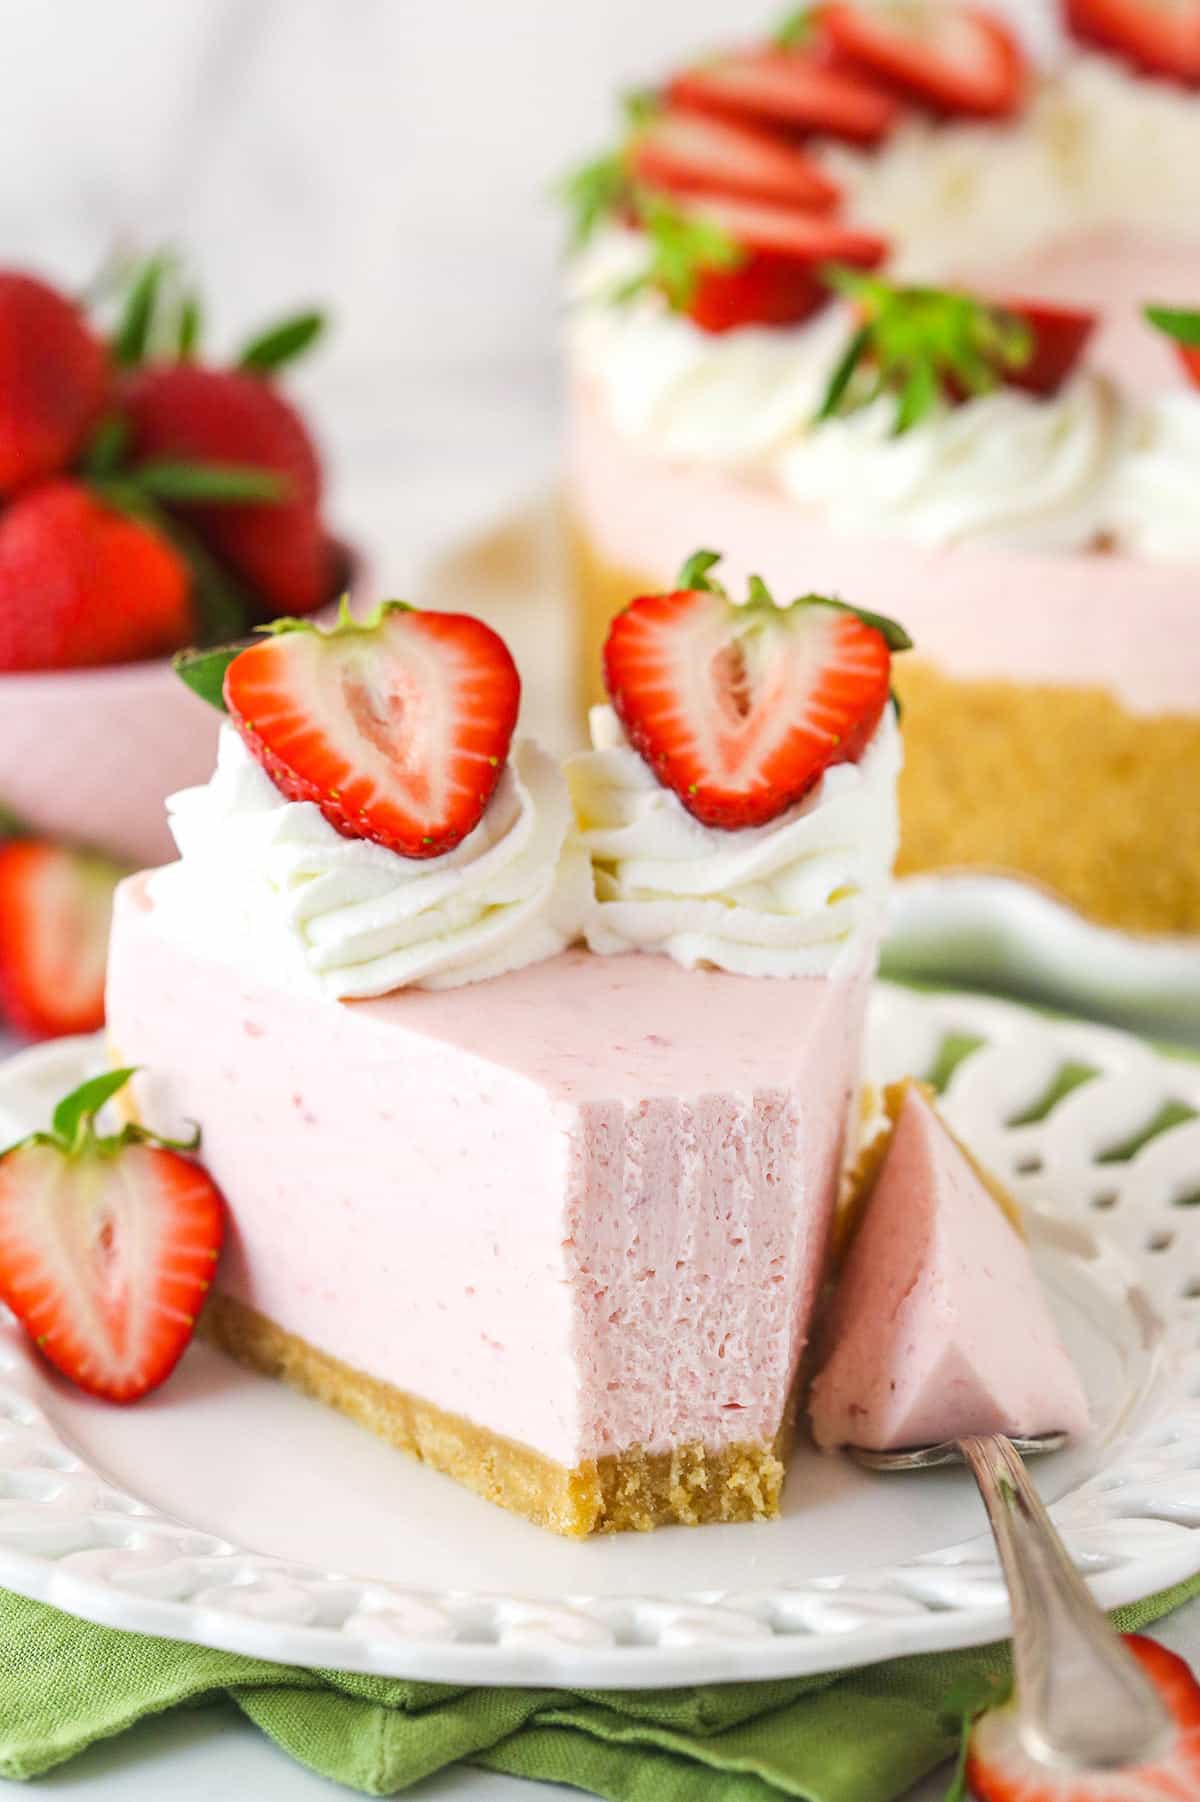
- Thick and creamy. The texture of this no bake dessert is certainly one to write home about. The cream cheese makes it wonderfully thick and creamy while the airy whipped cream folded into it gives it the perfect amount of lightness. The gelatin also helps to thicken and stabilize it, so that you can add plenty of strawberry flavor without sacrificing texture.
- Real strawberry flavor. All of the strawberry flavor in this dessert comes from real strawberries. The berries are cooked down a bit and thickened, causing their natural sugars to bloom into a full, summery flavor that permeates throughout the filling.
- Quick, easy, and no oven necessary. I love making cheesecakes but I know it can be intimidating. No bake cheesecakes are much more accessible and take less time. Spend less than half of the time and effort on this no bake dessert than you would on a classic, baked rendition. The best part? It’s equally as delicious.
What You’ll Need
Here’s a list of ingredients needed to make this summery no bake strawberry cheesecake. Be sure to scroll to the recipe card below for detailed measurements.
Crust
- Vanilla wafer crumbs – You could also swap these out for graham cracker crumbs for a classic graham cracker crust if you prefer.
- Sugar – For a little sweetness.
- Salt – For a touch of flavor.
- Unsalted butter – To hold the crust ingredients together.
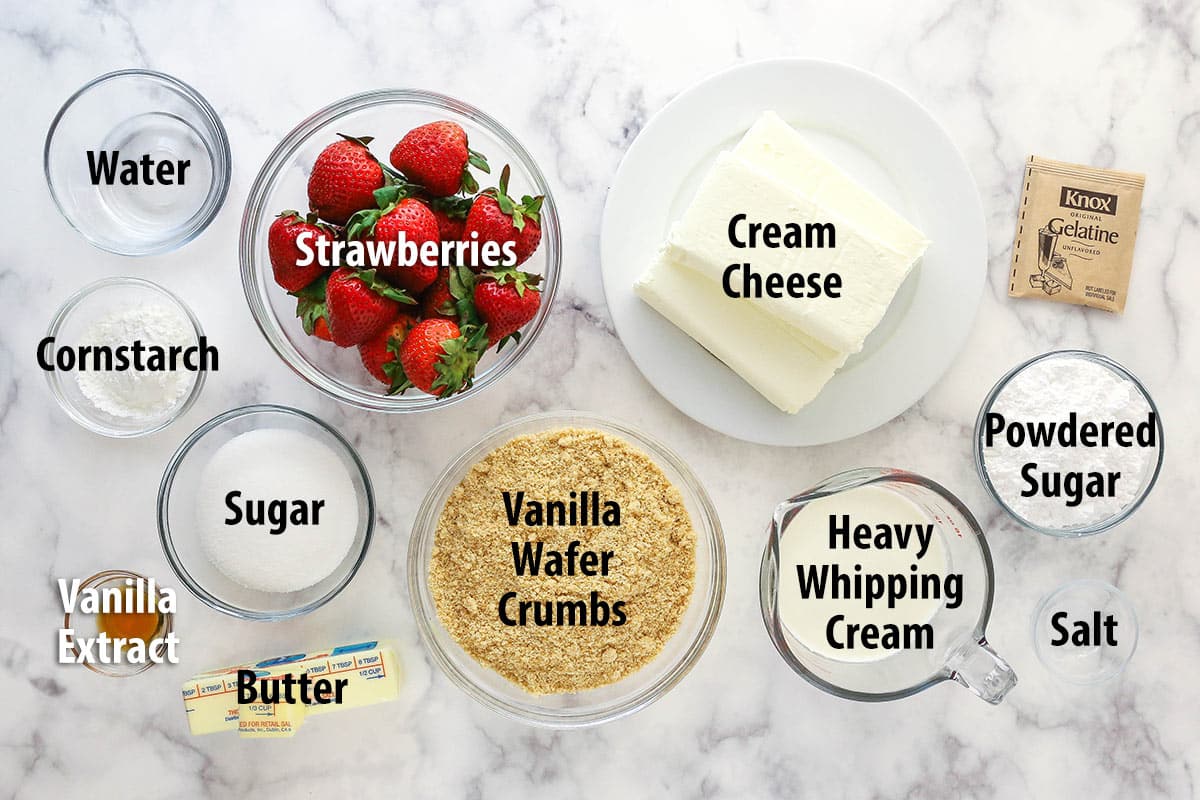
Cheesecake filling
- Strawberries – Real strawberries are wholly responsible for the strawberry flavor here. So make sure you pick out some sweet, ripe, high-quality strawberries.
- Cornstarch – To help thicken strawberry puree.
- Cold water – To dissolve the gelatin.
- Unflavored gelatin – To aid in thickening the filling.
- Cream cheese – The cream cheese should be at room temperature. It will mix much more smoothly and easily with the other ingredients in the filling. You also want to be sure to use brick-style cream cheese, preferably full fat. Reduce fat cream cheese can be a little softer.
- Sugar – For sweetness.
- Heavy whipping cream – The heavy whipping cream must be cold. Otherwise, it will not whip up and hold volume as well, potentially causing your filling to fall flat.
- Powdered sugar – For the whipped cream.
- Vanilla extract – To flavor the whipped cream, and ultimately the cheesecake.
Whipped cream topping
- Heavy whipping cream – The heavy whipping cream used to make the whipped cream topping should also be cold. This will help it whip up and hold volume more easily.
- Powdered sugar – To stabilize the whipped cream so that it won’t wilt.
- Vanilla extract – For flavor.
- Strawberries – For decorating the cheesecake.
How to Make No Bake Strawberry Cheesecake
Here’s a quick rundown of how to make this strawberry cheesecake. Be sure to scroll to the recipe card below for more detailed instructions.
For the crust
- Prep. Line the bottom of a 9-inch springform pan with parchment paper and grease the sides.
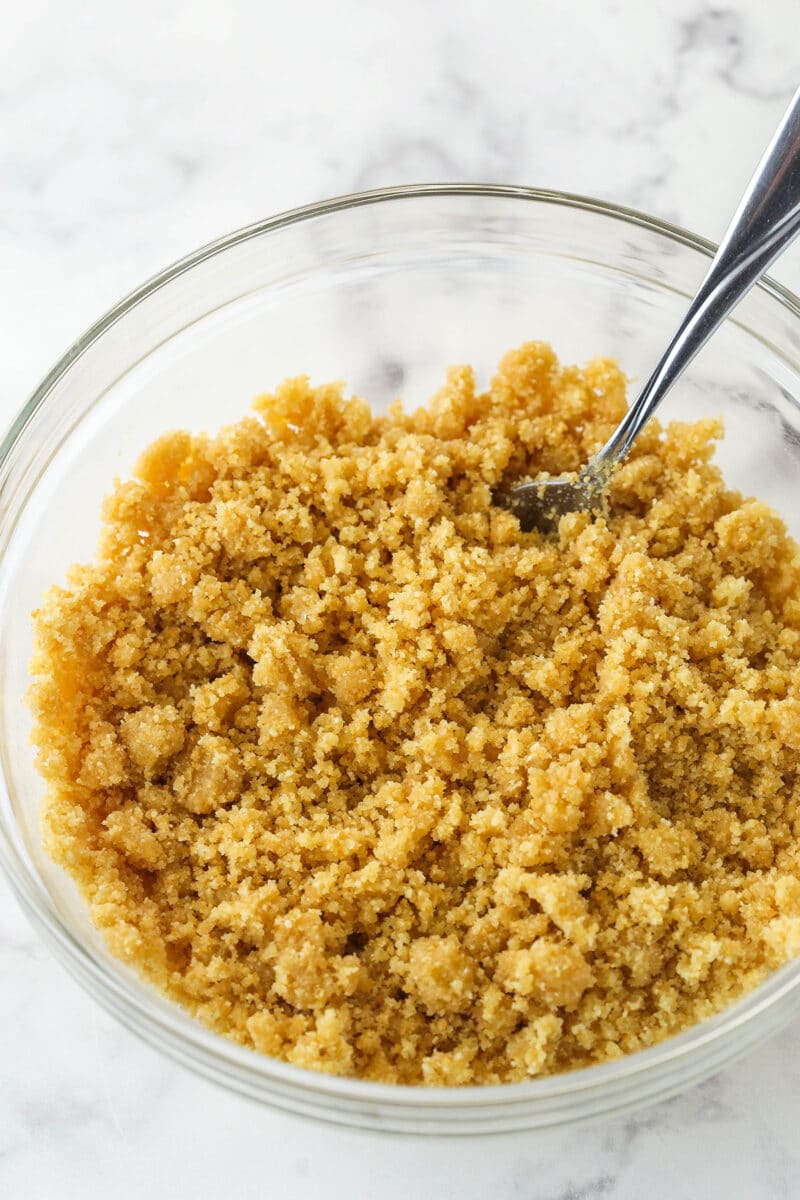
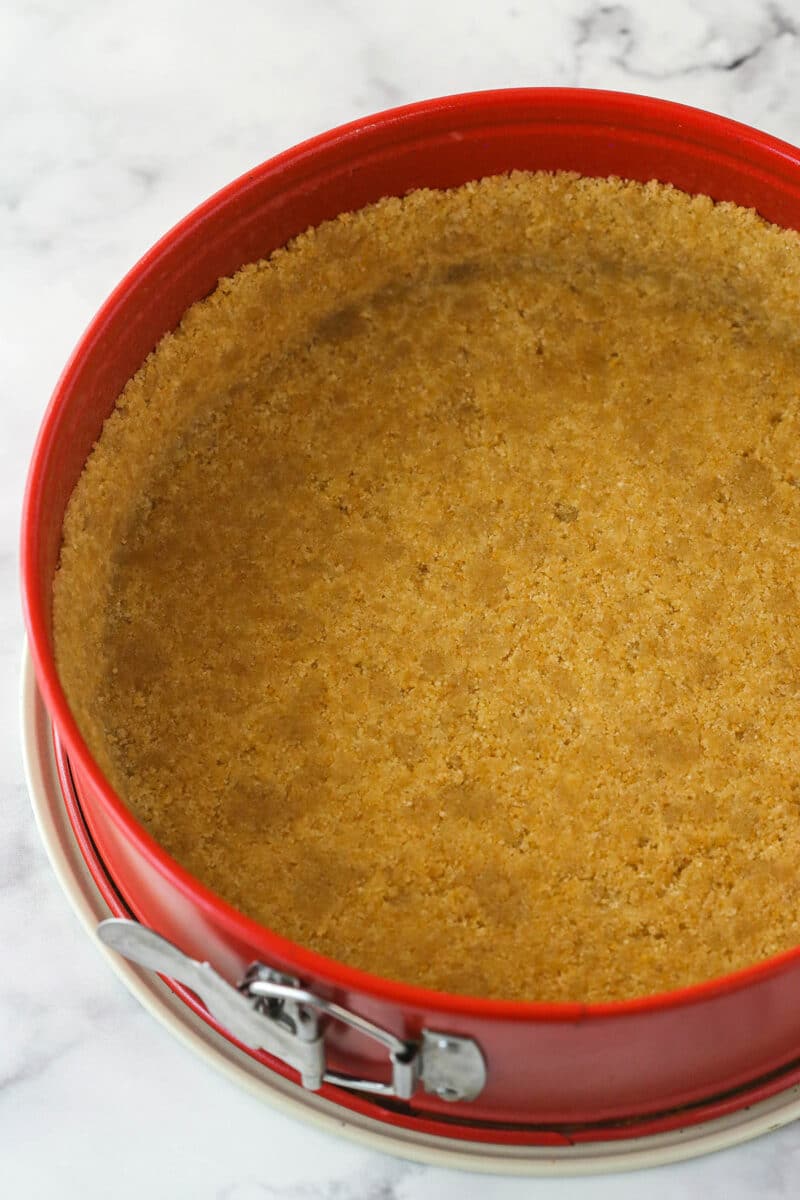
- Combine the crust ingredients and press the mixture into the bottom and up the sides of the pan.
- Chill the crust in the fridge while you make the filling.
For the filling
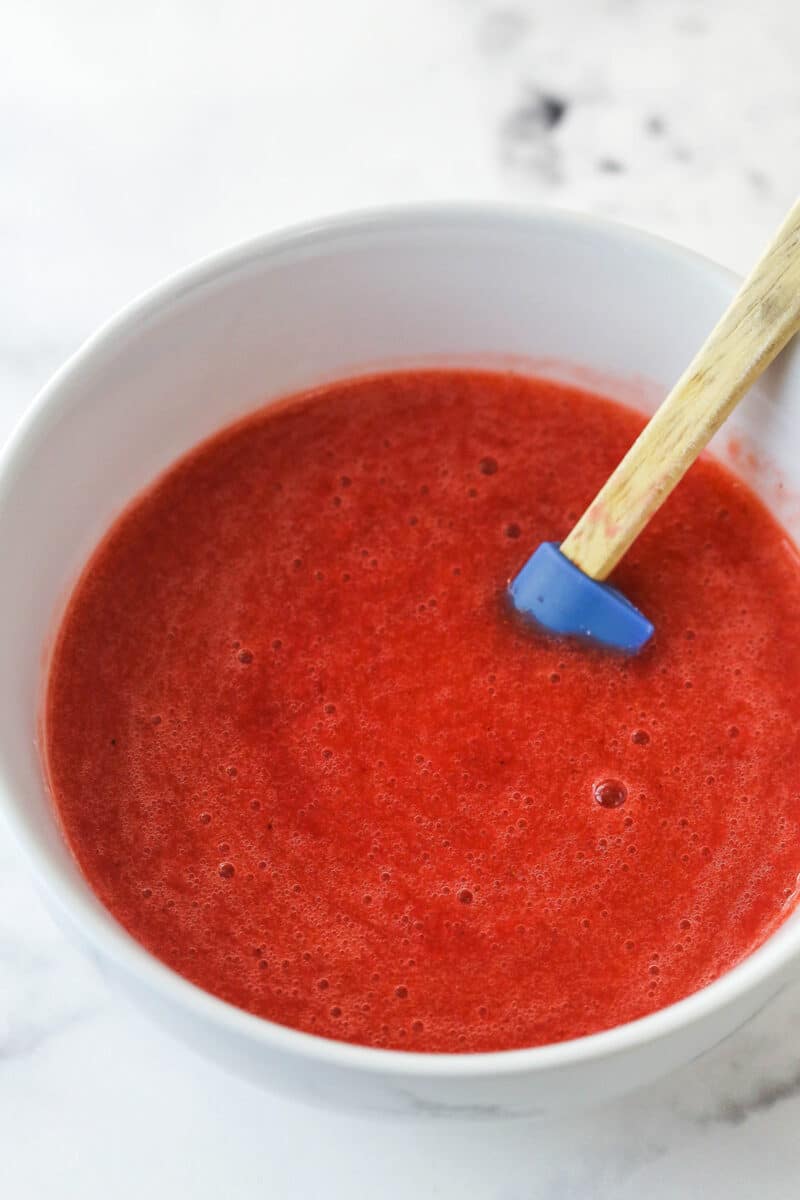
- Puree the strawberries in a food processor or blender.
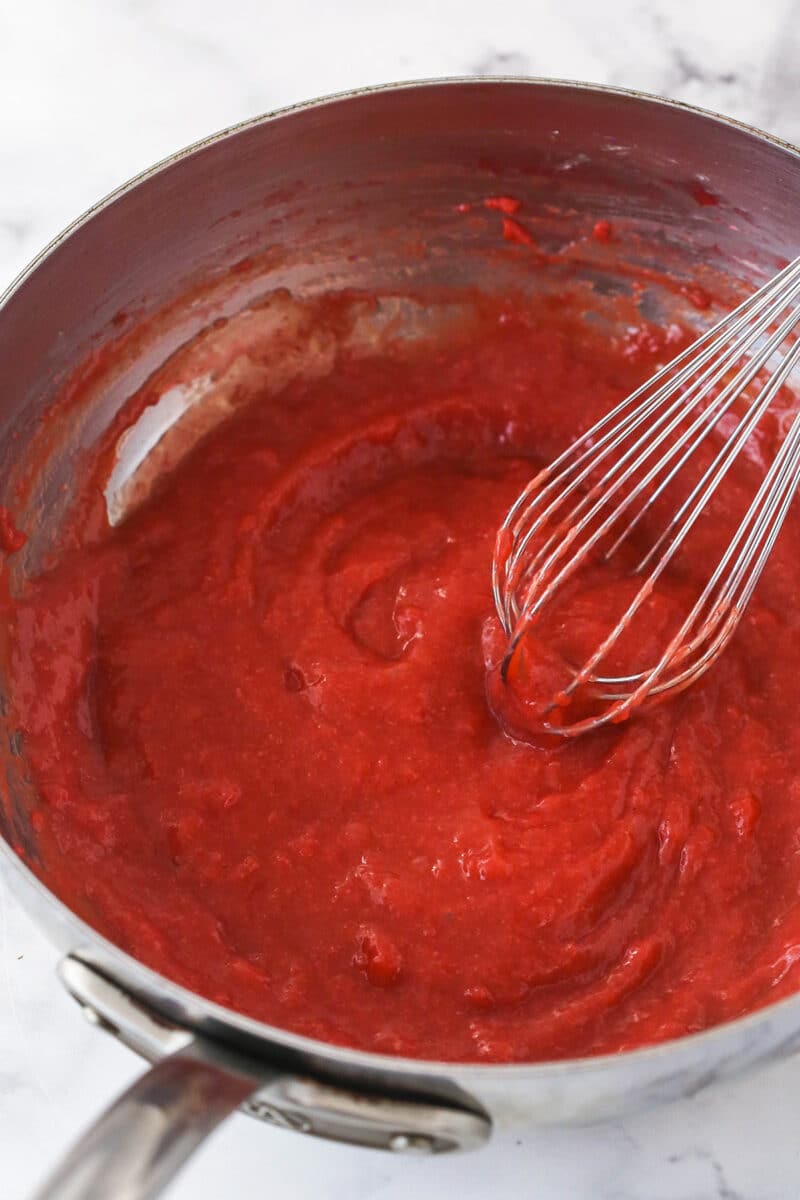
- Cook the strawberry puree with the cornstarch in a pot over medium heat, stirring constantly until the mixture begins to thicken and bubble. Reduce the heat to medium-low. Simmer the strawberry mixture for 1-2 minutes.
- Cool. Transfer the strawberry mixture to a bowl and set it aside to cool.
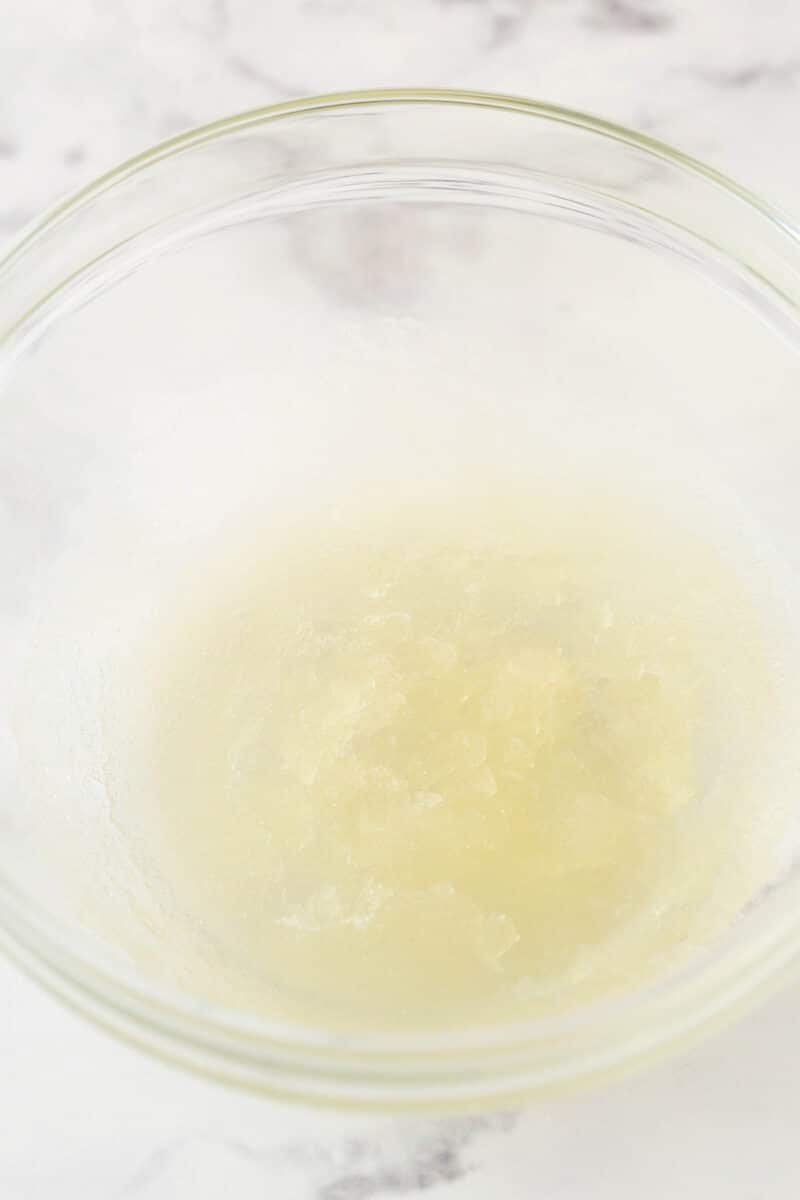
- Activate the gelatin. Sprinkle the powdered gelatin into the cold water and let it sit for 5 minutes. Microwave the gelatin in 10-second increments, stirring between each, until it is melted and smooth.
- Mix the gelatin mixture into the strawberry mixture to combine. Set aside to cool.
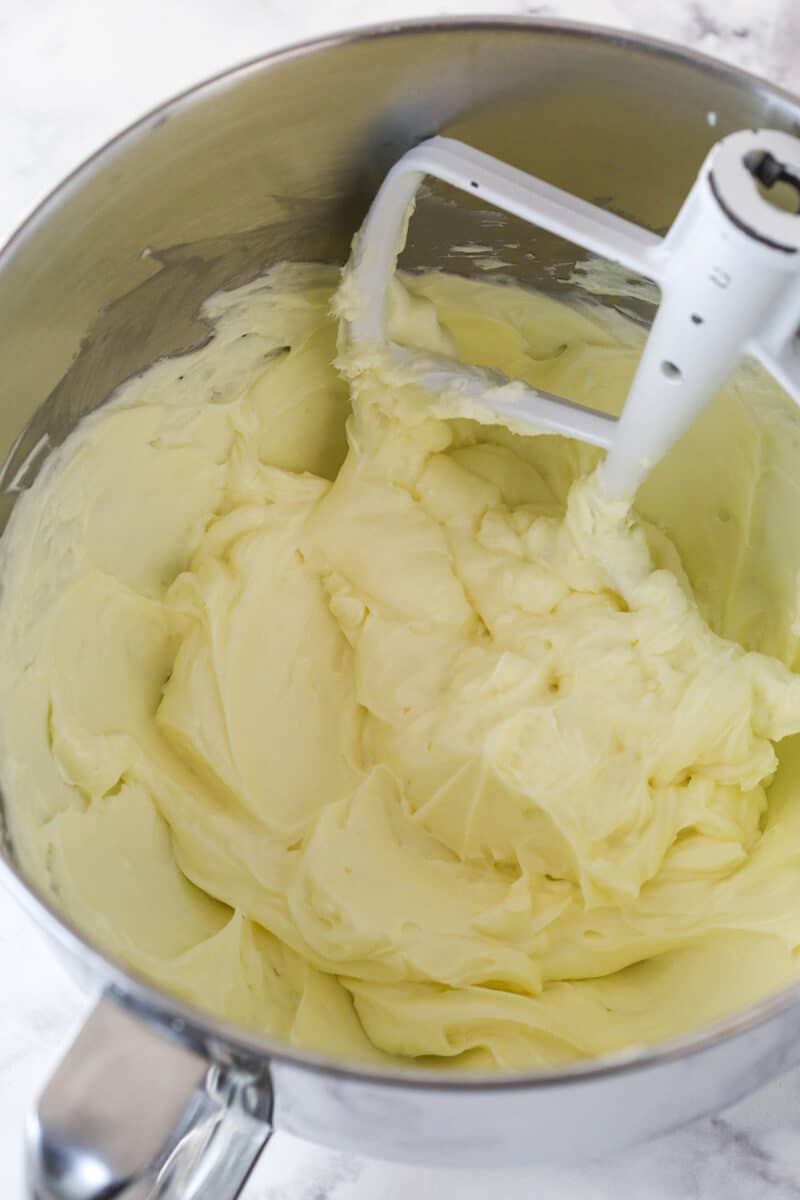
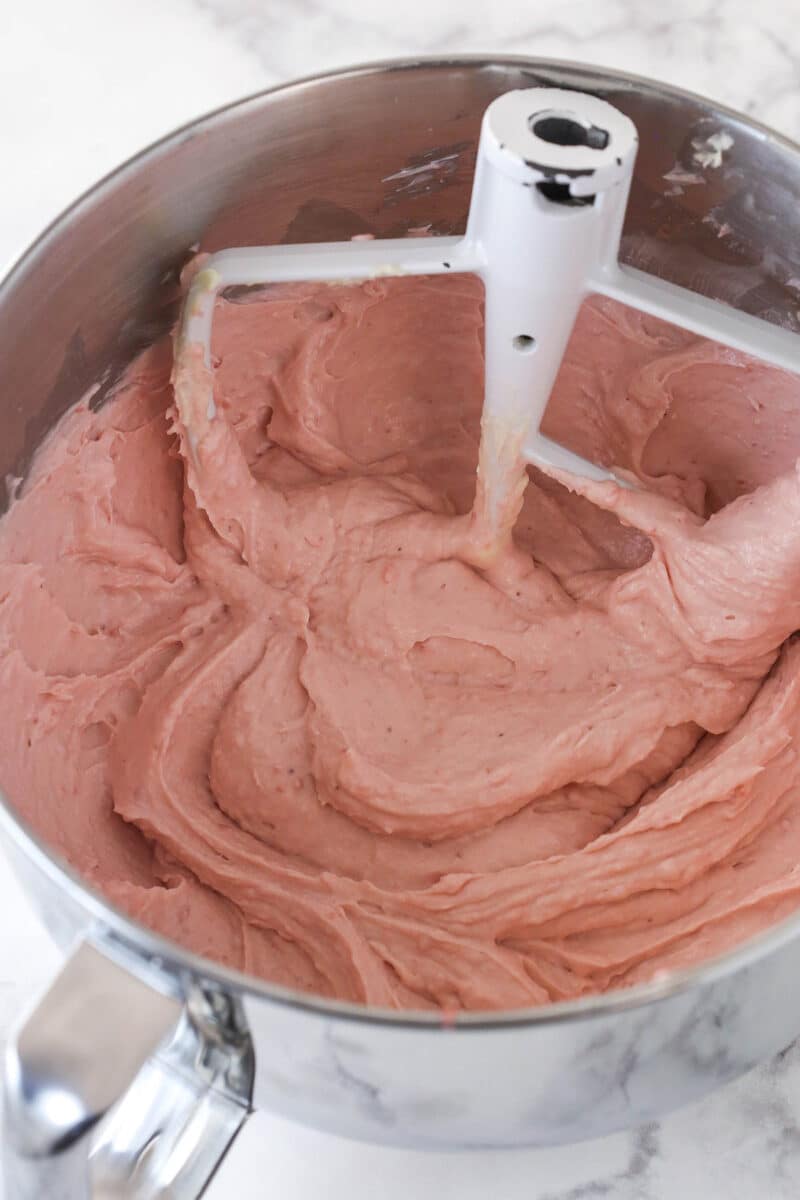
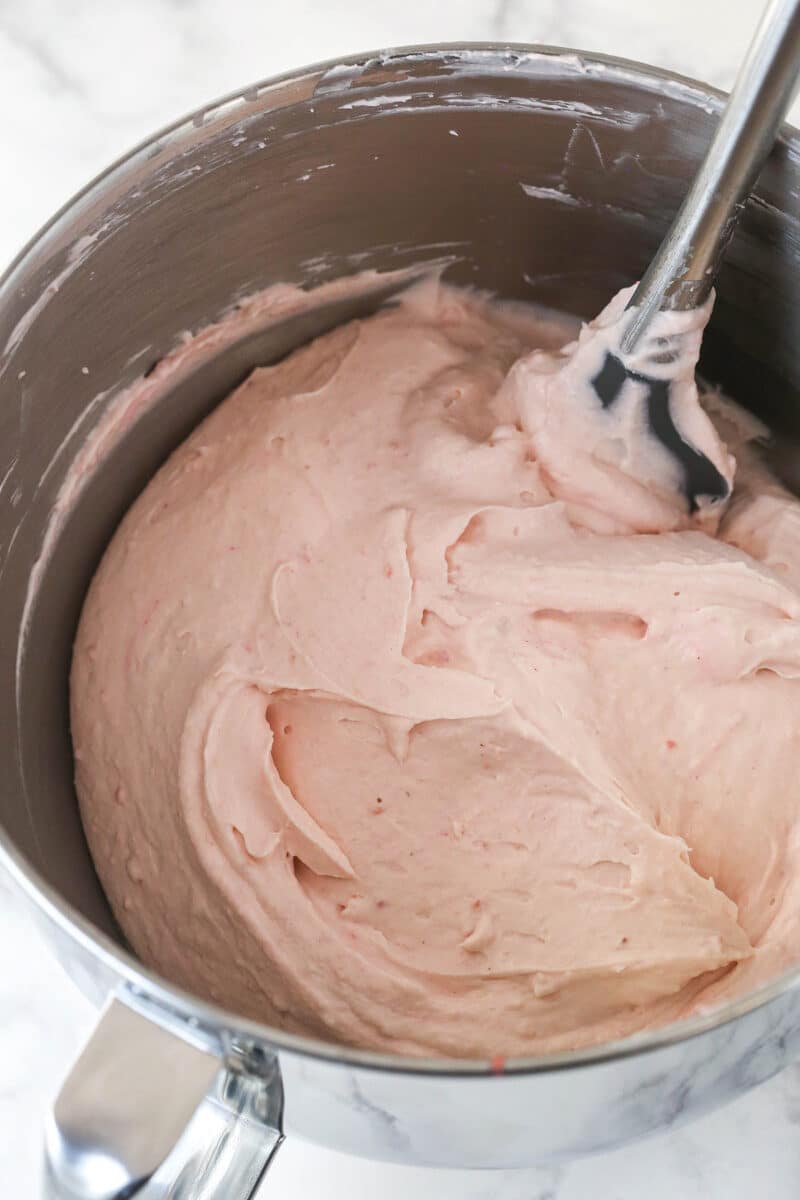
- Beat the cream cheese and sugar together until smooth. Add 1/3 of the strawberry mixture and beat until smooth. Repeat until you are out of the strawberry mixture.
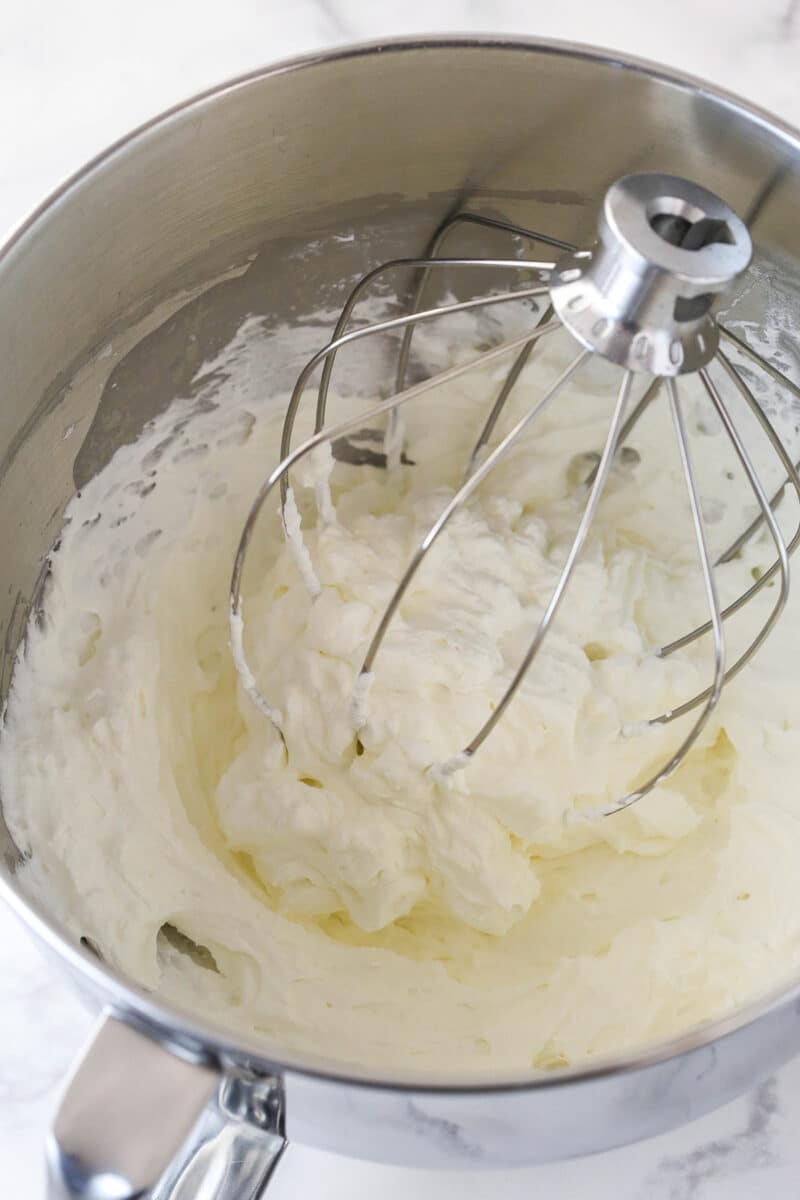
- Whip the heavy whipping cream, powdered sugar, and vanilla extract on high speed until stiff peaks form.
- Fold the whipped cream into the cream cheese/strawberry mixture in two parts until well combined.
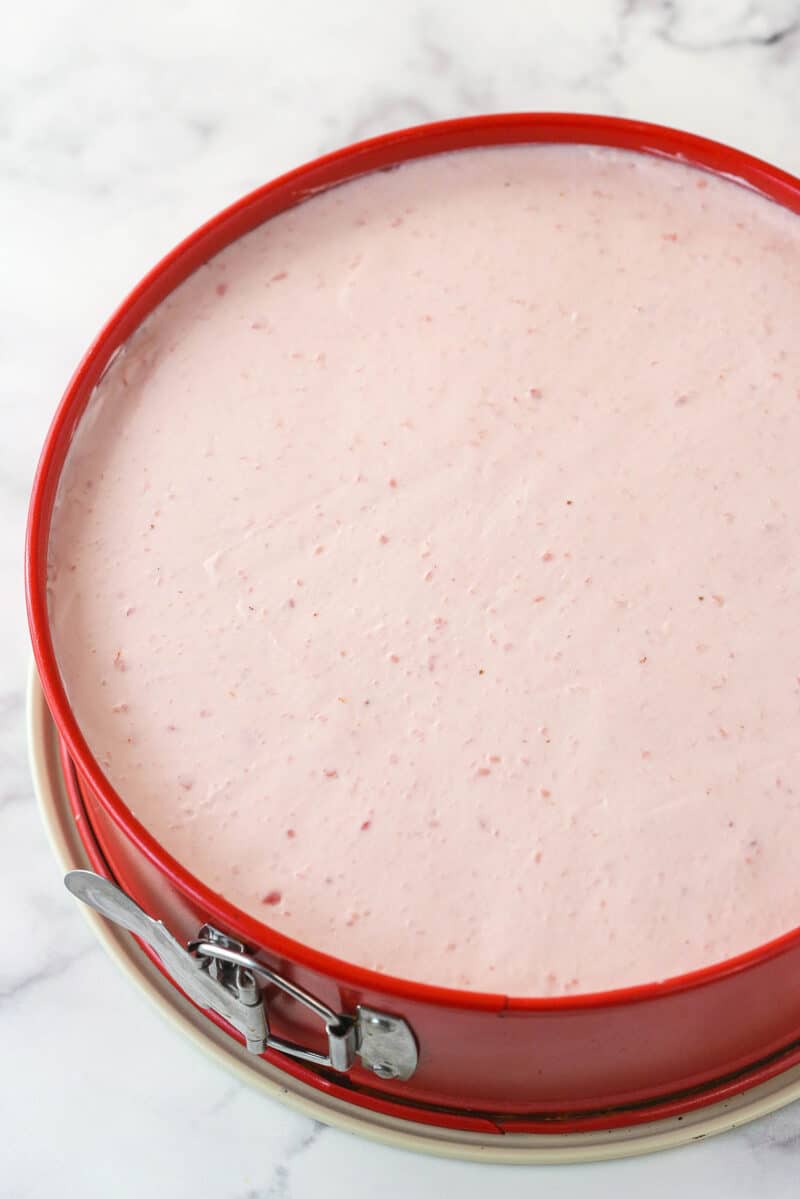
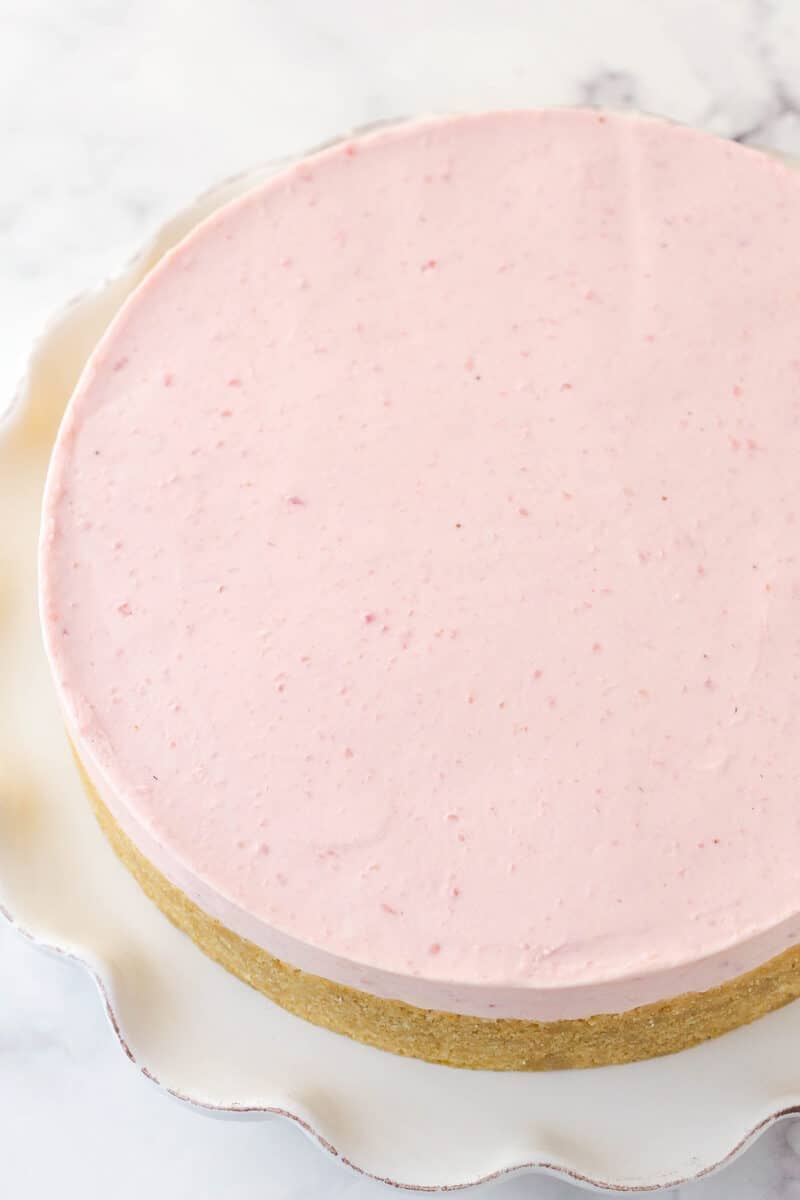
- Chill. Spread the filling over the crust and chill in the refrigerator for at least 5 hours.
For the whipped cream and assembly
- Remove the cheesecake from the pan and set on a serving platter.
- Whip the heavy whipping cream, powdered sugar, and vanilla on high speed until stiff peaks form.
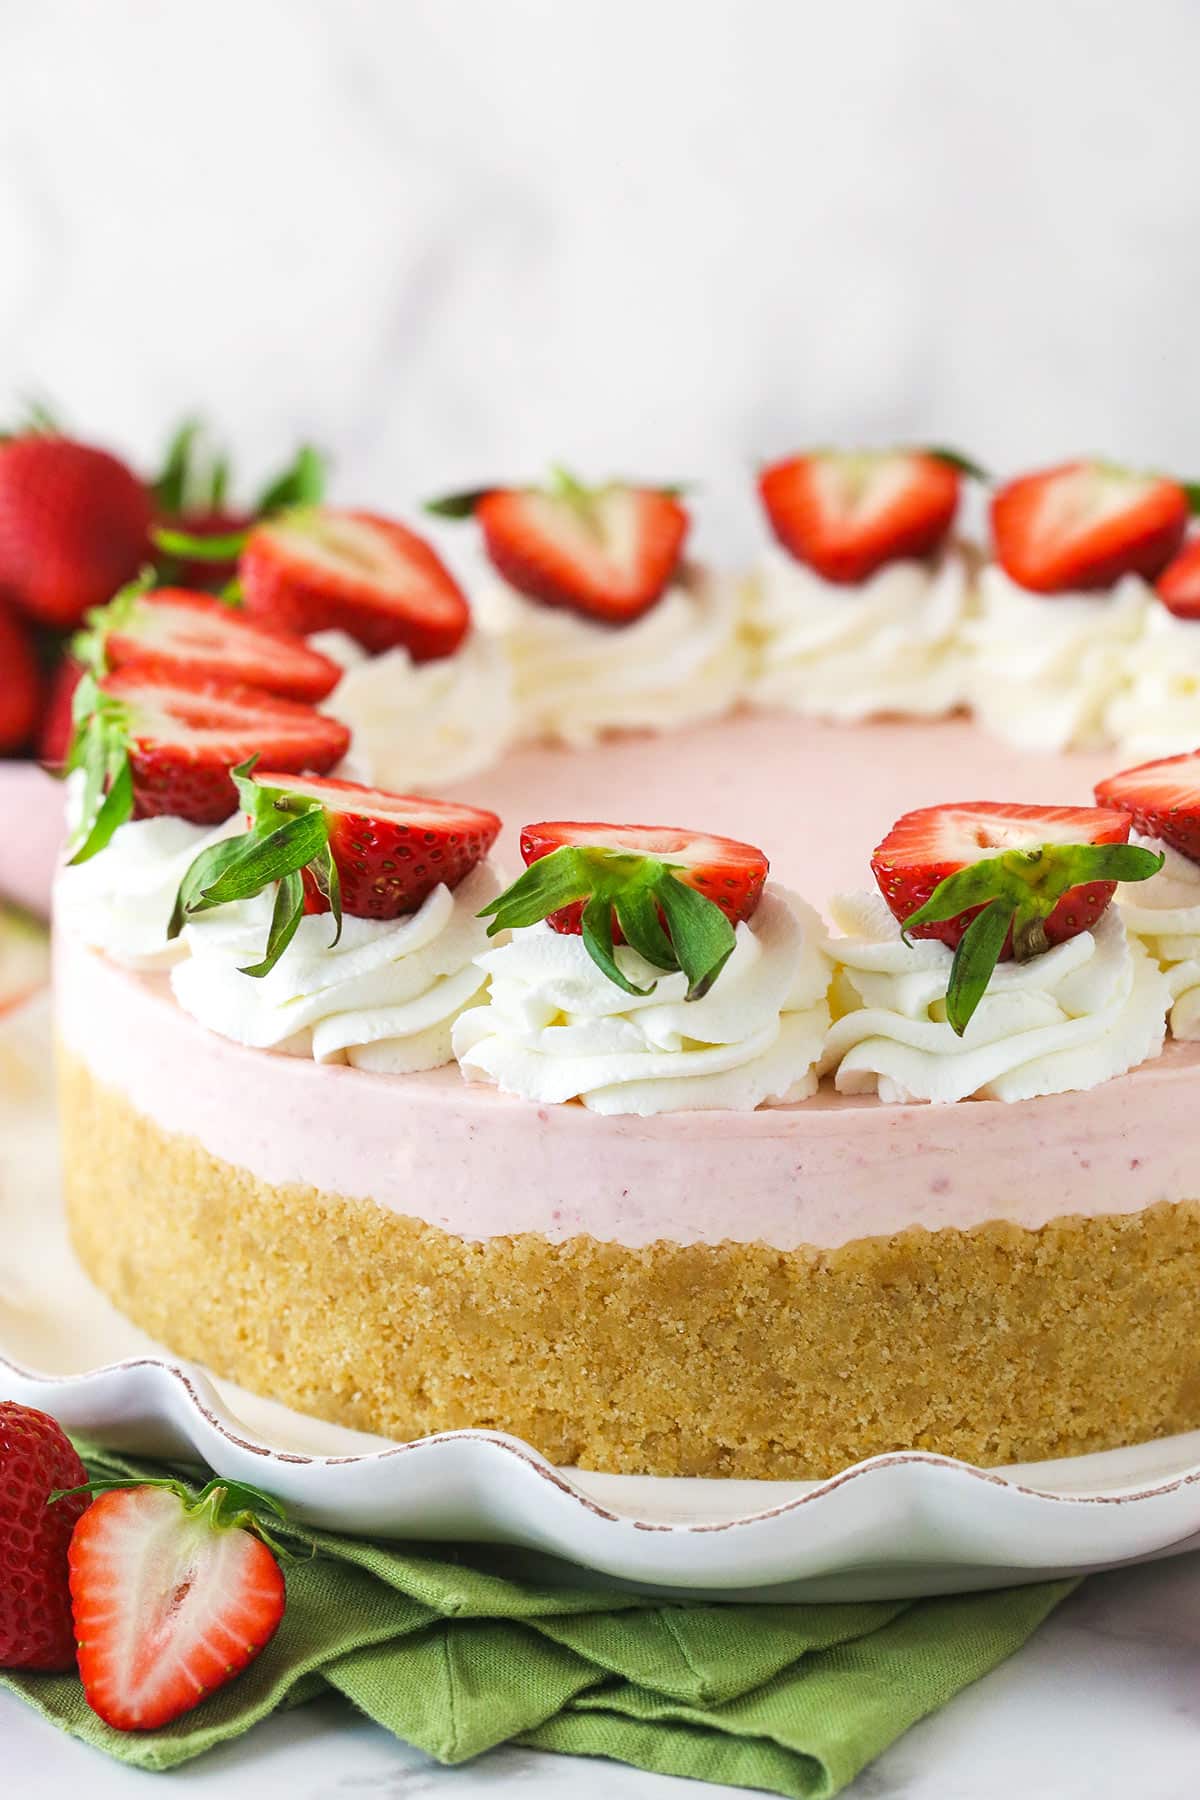
- Decorate. Pipe swirls of whipped cream around the edge of the cheesecake. Top the cheesecake off with some sliced strawberries.
- Chill. Refrigerate the cheesecake until ready to serve.
Can This No Bake Cheesecake Be Prepared in Advance?
Absolutely! Cheesecake keep very well. You can actually assemble the whole cake (aside from the fresh strawberries on top) and store it in the refrigerator for up to 4 days before serving. When you’re ready to serve, top the cake with fresh strawberries.
If you’re worried about the whipped cream collapsing by the time you’re ready to serve, don’t be. It’s very stable and will hold up in the refrigerator. See the section below titled “How to Store” for more detailed instructions.
Tips for Success
Before diving into making this strawberry cheesecake, have a look at these tips and tricks. You’ll be a no bake cheesecake pro in no time.
- Be choosey with your strawberries. All of the strawberry flavor comes from real strawberries here. No extracts needed. So be sure to choose quality strawberries. Look for berries that are bright red and smell good.
- Hot and cold. Getting the temperature right for some of these ingredients is crucial. Be sure that the heavy cream in the whipped cream topping and the cheesecake filling is cold. It will whip up and hold volume much more easily. Also, it is best if the cream cheese is room temperature. It will mix more smoothly and easily with the other ingredients in the filling. This will give you a lump-free filling and will help prevent over-mixing.
- Slow and steady. When folding the strawberry mixture into the filling, do so in parts. It might take a little longer but it will ensure that the strawberry mixture is fully incorporated without leaving any lumps.
- Don’t over-mix. When folding the whipped cream into the cheesecake filling, it is important not to over-mix. This will knock the volume out of the whipped cream, causing your dessert to fall flat.
- Cut some corners. Short on time? Feel free to use Cool Whip instead of homemade whipped cream. Replace the heavy cream, powdered sugar, and vanilla extract with 8 ounces of Cool Whip.
How to Store No Bake Strawberry Cheesecake
Once the cheesecake has fully firmed up in the refrigerator, transfer it to an airtight cake carrier or wrap it in a double layer of plastic wrap. If you go the plastic wrap route, I suggest using toothpicks to prop the plastic away from the whipped cream swirls. Alternatively, slice the cake and arrange the slices in a single layer in an airtight container. Regardless of your chosen method, you can keep the properly stored cake in the refrigerator for up to 4-5 days.
Can I Freeze This?
You can. I suggest doing so before topping it with whipped cream and strawberries, though. Adding those later will make sure they look fresh and the berries don’t get mushy. Pop the undecorated cheesecake in the freezer for a couple of hours to firm up before wrapping it in a double layer of plastic wrap. Already sliced it? Arrange the slices in a single layer in an airtight container. Store the cheesecake in the freezer for up to 3 months. When you are ready to enjoy, thaw the dessert in the refrigerator. If applicable, make the whipped cream topping, pipe swirls of whipped cream, and top with fresh strawberries.
More No Bake Cheesecake Recipes
I have been loving the ease and simplicity of no bake cheesecakes lately. Here are some of my other favorites for you to try out. Enjoy!
- No-Bake Oreo Cheesecake
- Perfect No-Bake Cheesecake
- No Bake Nutella Cheesecake
- No Bake Blueberry Cheesecake
- No Bake Cherry Almond Cheesecake
- No Bake Mini Oreo Cheesecakes
Watch How to Make This Cheesecake
Print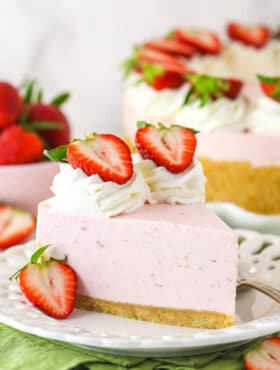
No Bake Strawberry Cheesecake
- Prep Time: 2 hours 15 minutes
- Chill Time: 6 hours
- Total Time: 8 hours 15 minutes
- Yield: 12-14 slices
- Category: Dessert
- Method: No Bake
- Cuisine: American
Description
This easy No Bake Strawberry Cheesecake recipe is full of strawberry flavor! Made with gelatin and cooked strawberries, it has a thick and creamy texture that makes it a totally irresistible cheesecake. The perfect strawberry dessert for spring and summer.
Ingredients
Crust
- 2 1/4 cups (302g) vanilla wafer or graham cracker crumbs
- 2 tbsp (26g) sugar
- Pinch of salt
- 10 tbsp (140g) unsalted butter, melted
Cheesecake filling
- 1 lb strawberries, washed and hulled
- 2 1/2 tbsp (19g) cornstarch
- 2 tbsp cold water
- 2 1/4 tsp | 0.25 oz package unflavored gelatin
- 24 oz (678g) cream cheese, room temperature
- 1/2 cup (104g) sugar
- 1 1/4 cups (300ml) heavy whipping cream, cold*
- 3/4 cup (86g) powdered sugar
- 1/2 tsp vanilla extract
Whipped cream topping
- 1 cup (240ml) heavy whipping cream, cold
- 1/2 cup (58g) powdered sugar
- 3/4 tsp vanilla extract
- Strawberries
Instructions
For the crust
- Line a 9-inch (23cm) springform pan with parchment paper in the bottom and grease the sides.
- Combine the crust ingredients in a small bowl. Press the mixture into the bottom and up the sides of the springform pan.
- Place the crust in the fridge while you make the filling
For the filling
- Add the strawberries to a food processor or blender and puree until smooth.
- Add the strawberry puree and cornstarch to a medium to large saucepan and cook over medium heat, stirring constantly until mixture begins to thicken and bubble, about 5 to 10 minutes.
- Turn the heat to medium-low and allow to the strawberry mixture bubble and simmer for 1-2 minutes, then remove from heat, pour into a bowl and set aside to cool on the counter.
- Add the cold water to a small bowl and sprinkle the powdered gelatin over the water. Let it sit for about 5 minutes.
- Heat the gelatin in 10 second increments, stirring between, until it is melted and smooth. Pour the melted gelatin into the warm strawberry mixture and stir well to combine. Set the mixture aside to cool a little while you work on the rest of the filling.
- In a large mixer bowl, beat the cream cheese and sugar together until well combined and smooth.
- Add about 1/3 of the strawberry mixture to the cream cheese mixture and beat until well combined and smooth. Add another third of the strawberry mixture and beat until well combined and smooth. Add the remaining strawberry mixture and beat until well combined and smooth. The strawberry mixture is added in parts to make sure it’s all incorporated fully without leaving any lumps. Set aside.
- In another large mixer bowl, add the heavy whipping cream, powdered sugar and vanilla extract. Whip on high speed until stiff peaks form.
- Carefully fold the whipped cream into the cream cheese/strawberry mixture in two parts until well combined.
- Add the filling to the crust and spread into an even layer. Refrigerate cheesecake until firm, 5-6 hours or overnight.
For the whipped cream and assembly
- To finish off the cheesecake, remove it from the springform pan and set on a plate or serving platter.
- Add the heavy whipping cream, powdered sugar and vanilla extract for the whipped cream topping to a large mixer bowl. Whip on high speed until stiff peaks form.
- Pipe swirls of whipped cream around the edge of the cheesecake. Top the cheesecake off with some sliced strawberries, if desired.
- Refrigerate cheesecake until ready to serve. Cheesecake is best for 4-5 days.
Notes
NOTE: If you’d like to use Cool Whip instead of homemade whipped cream, replace the heavy whipping cream, powdered sugar and vanilla extract with 8 oz of Cool Whip.
Nutrition
- Serving Size: 1 Slice
- Calories: 445
- Sugar: 28 g
- Sodium: 393.9 mg
- Fat: 31.5 g
- Carbohydrates: 36.1 g
- Protein: 6.3 g
- Cholesterol: 93.5 mg






I love this recipe! Can I use it with strawberry purée instead of fresh strawberries?
I’m sorry, I’m confused by your question. The recipe uses fresh strawberries that are puréed.
I’ve made your FABULOUS Strawberry Layer cake and now I’m wondering if the freeze dried strawberries would work (in place of fresh)for this No Bake cheesecake…? Thinking of making it when fresh berries are not in season, what say you? Love your site!
I’m so glad to hear you enjoy the site, thank you! I imagine freeze dried strawberries would be fine. You wouldn’t need to add the cornstarch and gelatin and everything.
Wow this looks amazing! Do you think it could be made in individual containers?
Thanks! That should be fine.
Hi,
Thank you for the recipe. It tastes very nice! However, my cheesecake is not firm enough even after leaving it in the fridge overnight. So, it was hard to cut. Any suggestion?
You could try putting it in the freezer for maybe 20 minutes and see if that helps with cutting. I’m sorry it’s not firmer. Sounds like something was off.
Can you use frozen strawberries if fresh are out of season?
Sure, just thaw them and remove the excess moisture first.
I make this every spring!! I love making baked cheesecakes but this is my favorite no bake!!!
That’s so awesome to hear! I’m glad you love it!
This looks amazing! I am hosting a shower and wonder if I could make this in small, clear plastic cups as individual cheesecakes. Thoughts?
Sure! I haven’t done it before, but here are my thoughts. You’d probably get about 20-24 cups, depending on how much filling you add to each. I’d divide the crust ingredients between the cups and then pipe the filling on top (piping it will look a little prettier, but you could scoop it too). Then refrigerate them until firm. I hope that helps!
Can you please describe the wafers you use for the base? I’m not sure what they are, and I’ll need to find something similar. Any others Australians baked this? Are they like ice cream wafers? Filled wafer biscuits? Or should I go with something like a digestive?
It’s like these cookies. I’m not really familiar with your options, but I’m thinking the digestive might be best. You just may need to adjust the amount of butter. I’m not sure.
Thanks for sharing this looks amazing can’t wait to try it. Thanks
Hi is 1lb the same as 1kg?an i was thinking to use muffin pan , or do you suggest onli springform pan?
No, it’s not the same.
Hi is it possible to use just cream cheese an no cream
I mean you could do it, but I wouldn’t really recommend it. The cheesecake is going to be far firmer and not be as tall and have a stronger cream cheese flavor.
Can you use blueberries instead of strawberries? This sounds yummy!!
I haven’t tested it with blueberries to be able to say for sure. It would probably turn out OK but in my experience blueberries don’t give as strong of a flavor the same way strawberry’s do. I would actually recommend my no bake blueberry cheesecake. https://www.lifeloveandsugar.com/no-bake-blueberry-cheesecake/
I really want to make this for Friday. I live rurally and unable to get to town but have all other ingredients except gelatine. Could I use jelly powder and if so how much to this qty of water.
I haven’t ever used jelly powder so I’m not sure. Sorry!
Great recipe but it wasn’t easy for me. I am disabled with a lot of pain issues. Can’t stand up very long so by the time I was done it took me almost 4 hours to make it. If you’re healthy I’m sure that it’s a breeze to make.
This is the best recipe! I would have never known to bake the graham cracker crust! It turned out so good..I felt like a professional baker!
Wonderful! So glad to hear that!
This was delicious, one change I’d make is to use regular sugar rather then icing sugar because the icing sugar gives a chalky taste.