This post may contain affiliate sales links. Please read my disclosure policy.
This No Bake Oreo Cheesecake has loads of Oreos throughout. An Oreo crust is filled with a delicious Oreo cheesecake filling, topped with homemade whipped cream, and even more Oreos. You don’t even have to turn on the oven!
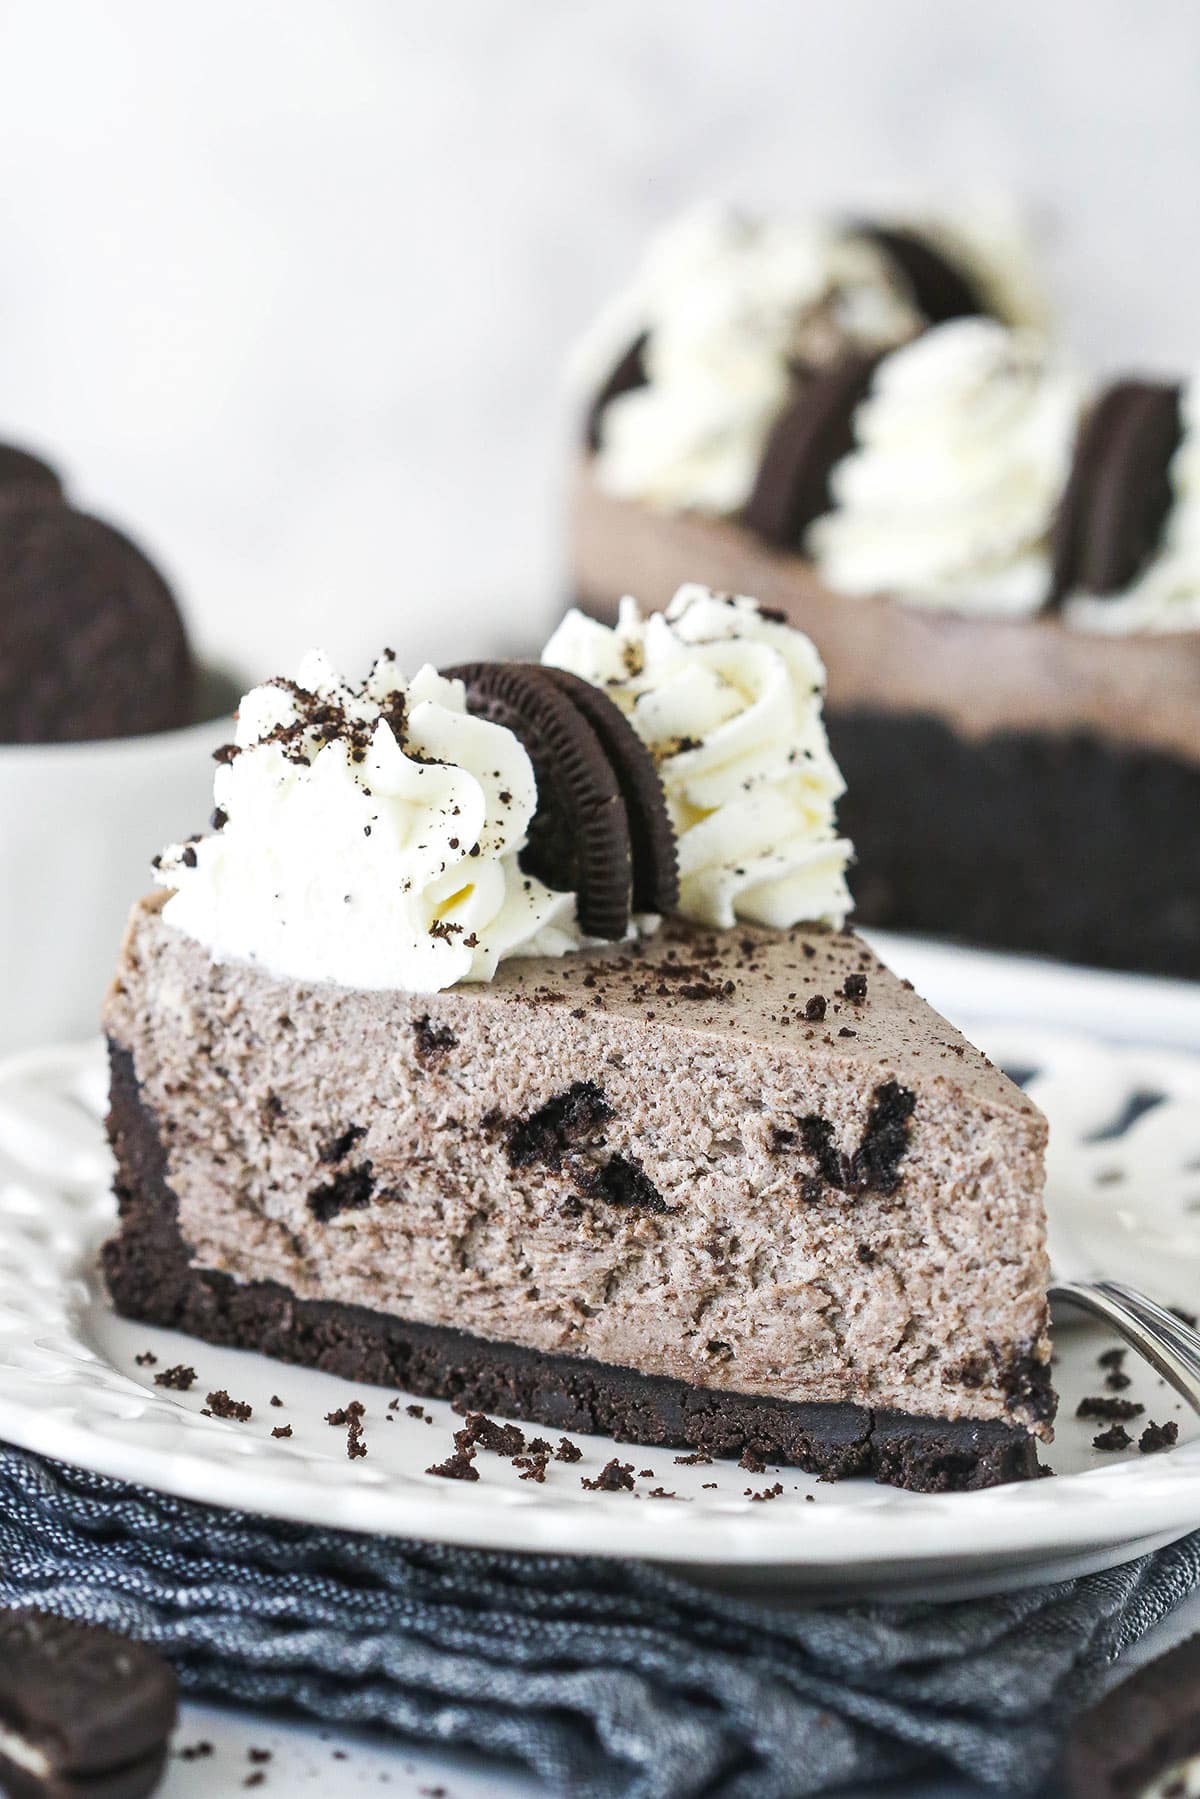
Table of Contents
- Easy No Bake Oreo Cheesecake
- Why You’ll Love this Oreo Cheesecake Recipe
- What You’ll Need
- How to Make No Bake Oreo Cheesecake
- Tips for Making No Bake Cheesecakes
- Can I Make This in a Pie Plate?
- What Kind of Cream Cheese Do I Use?
- Do I Remove The Filling From The Oreos?
- How to Store Leftovers
- Can I Freeze No Bake Cheesecake?
- More Oreo Desserts:
- See How To Make It
- Get the Recipe
Easy No Bake Oreo Cheesecake
I truly love Oreos. Those classic sandwich cookies have my heart and it is my intention to find as many ways to incorporate them into fun desserts as possible. This updated no bake Oreo cheesecake is one of my favorites because it combines two of my favorite things – Oreos and cheesecake.
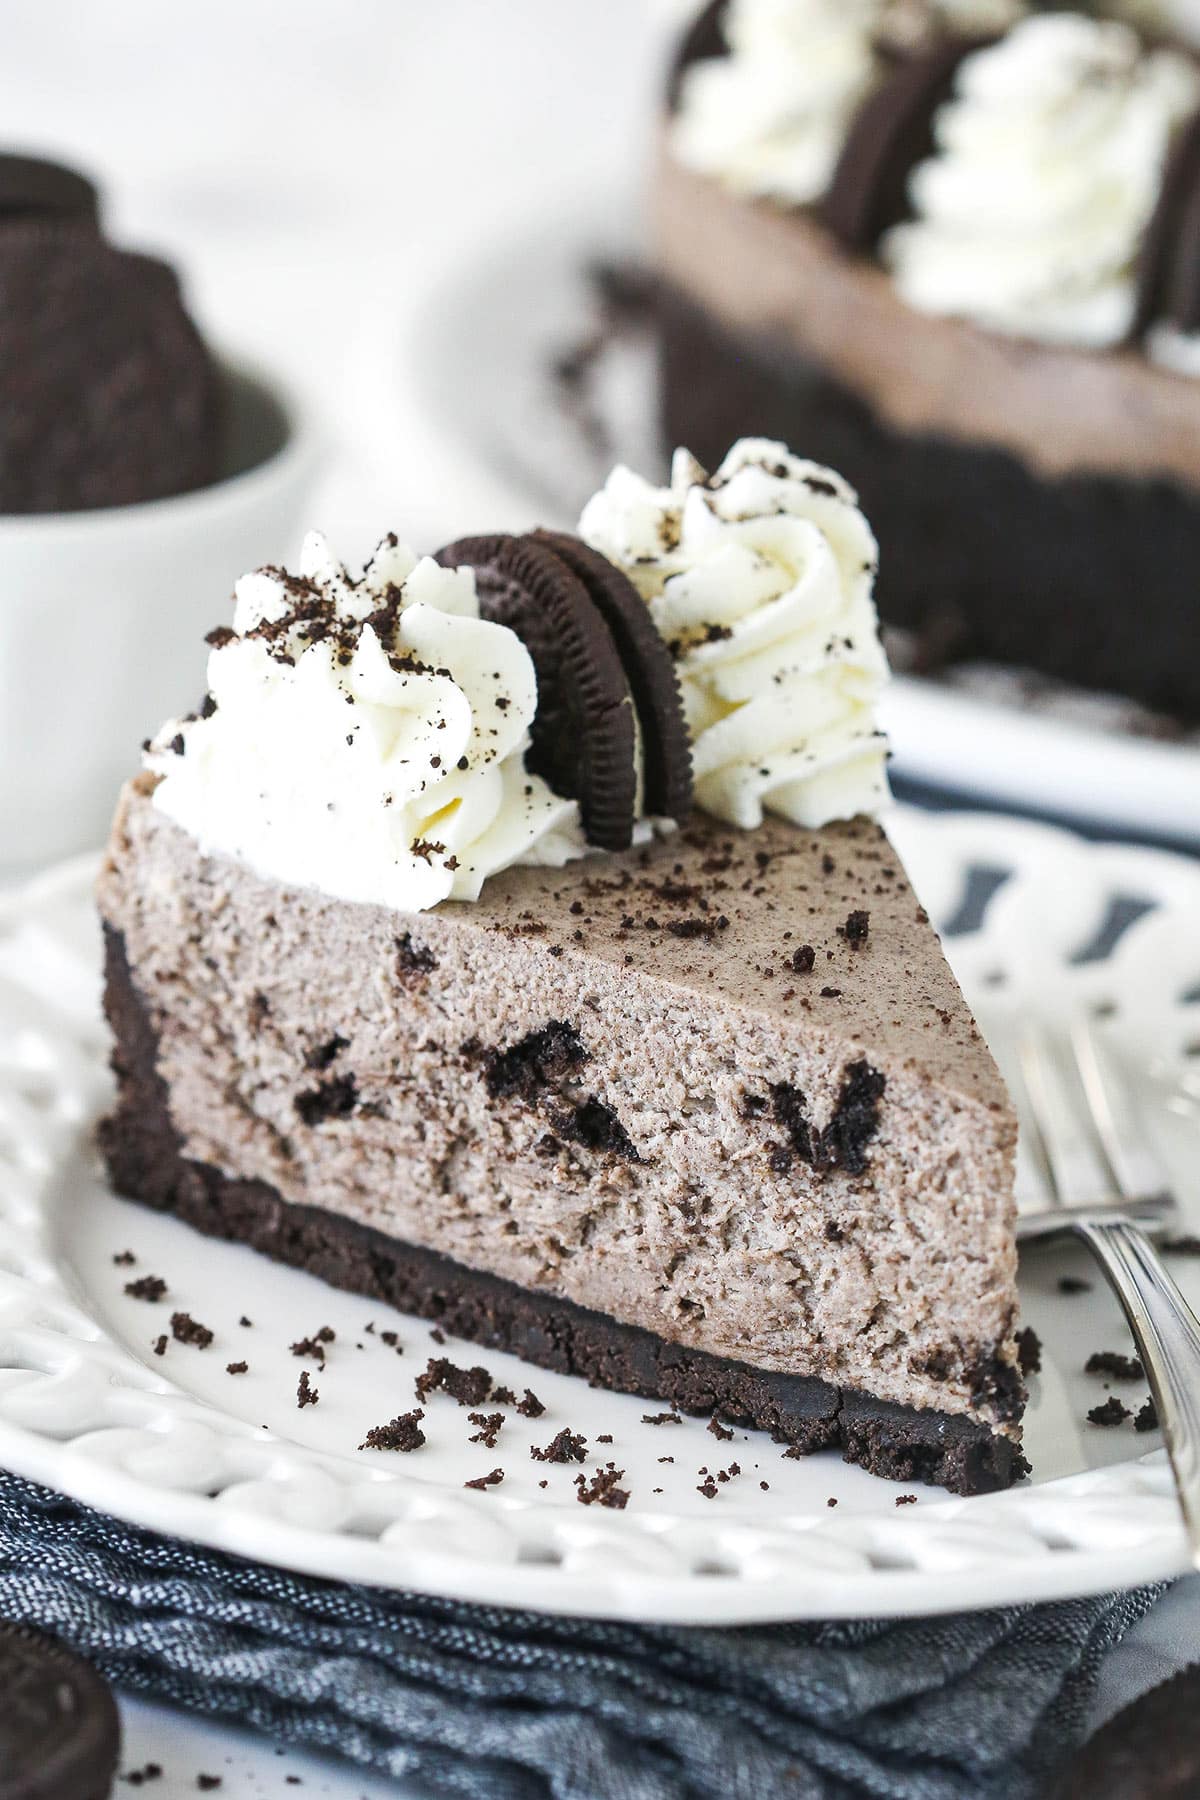
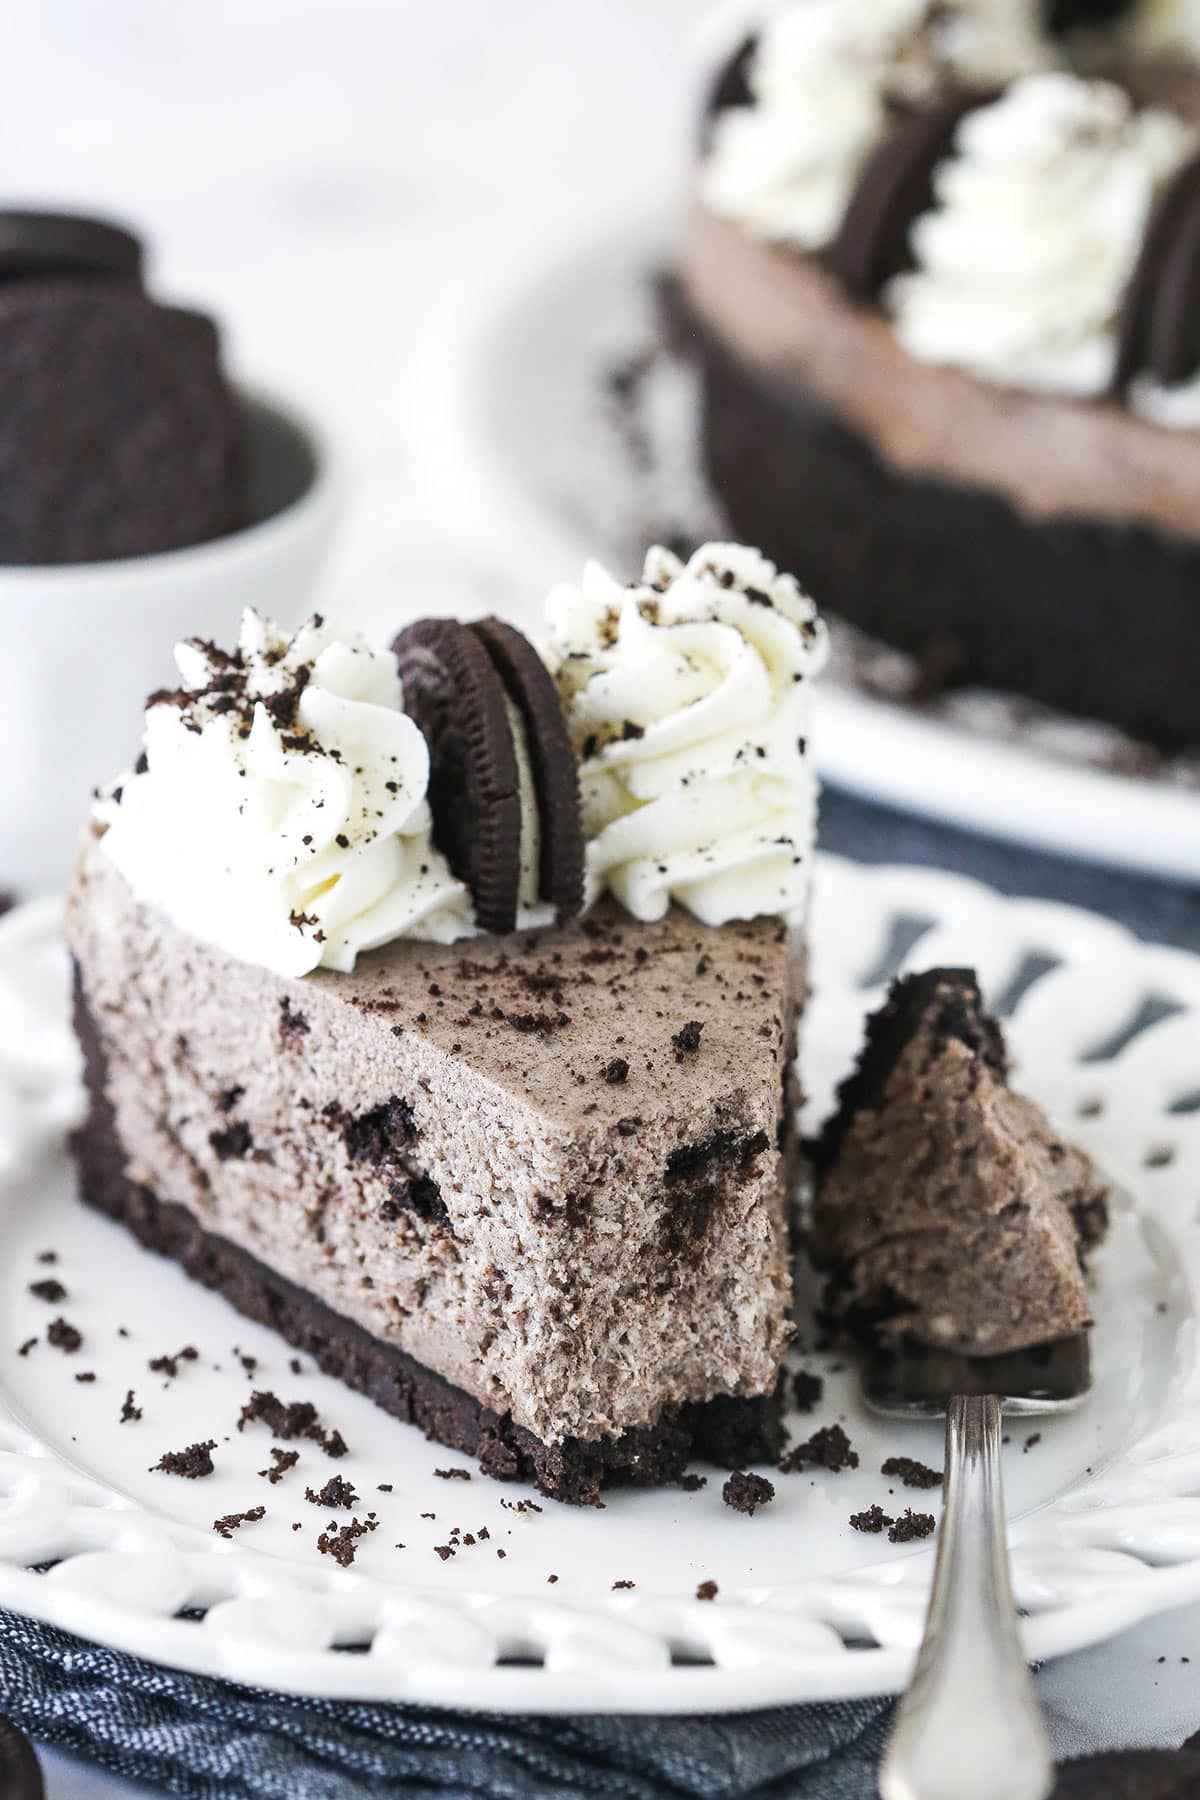
In this crowd-pleasing dessert, a slightly crunchy Oreo crust is topped with a creamy cheesecake filling that is absolutely packed with Oreo flavor. The whole thing is finished off with a light, fluffy whipped cream topping and a smattering of Oreo crumbles. Yum! And, just like all of my other no bake cheesecakes, there is no baking involved. Although you can bake the crust, if you like. I find that helps the crust hold its shape a little better during cutting. As much as I love my Best Oreo Cheesecake, the no bake aspect of this dessert makes preparing a cheesecake less daunting and much more time efficient.
Why You’ll Love this Oreo Cheesecake Recipe
- Easy. Since this is a no-bake cheesecake recipe, it’s incredibly simple to make. No need to turn on your oven or worry about a water bath, just make a perfect cheesecake with minimal effort!
- Packed with Oreo flavor! There are Oreos in every single piece of this recipe. If you’re an Oreo fan and enjoy creamy homemade cheesecake, you are going to love this recipe.
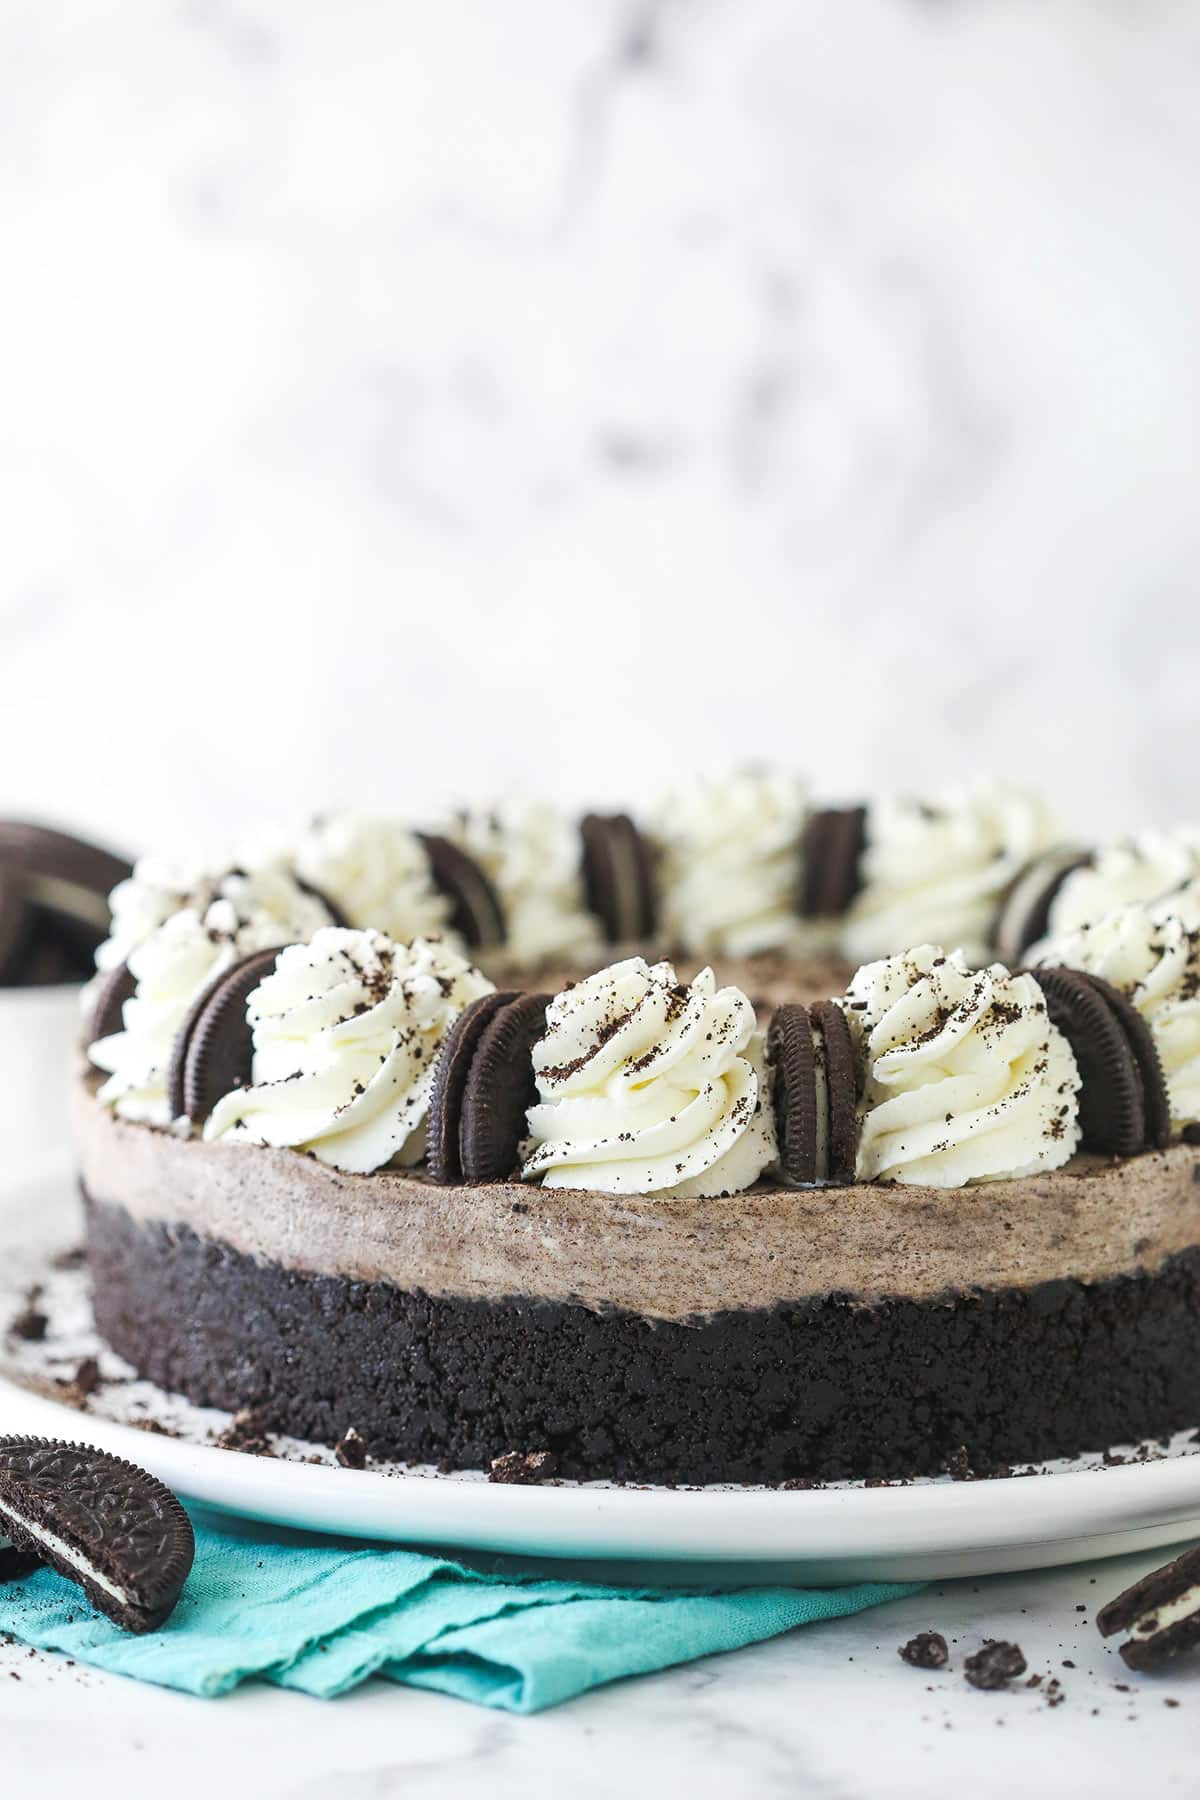
- Elegant. Despite its simplicity, this cheesecake is totally gorgeous when put together. This is the perfect dessert idea for bringing to gatherings where you want to wow everyone without putting a crazy amount of effort in!
- Make Ahead. This cheesecake needs about 4-5 hours to set I’m the fridge, so it’s perfect for making ahead. I often make it the day before serving.
What You’ll Need
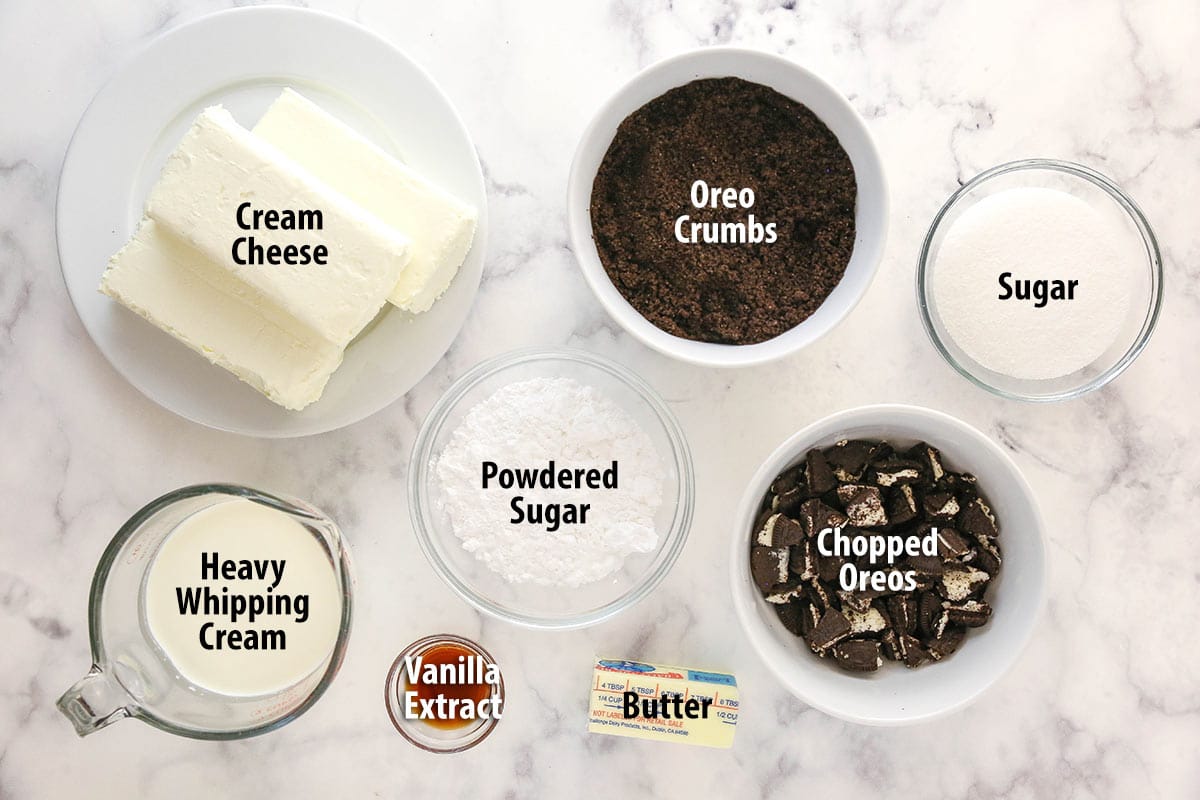
You basically need a lot of Oreos…and a few other things too. But it’s far less than it’s baked counterpart. Here is the list of ingredients needed to make no bake Oreo cheesecake. Scroll to the recipe below for detailed measurements.
For the crust
- Oreo crumbs – I suggest using classic Oreos here, but you could also play with other flavors. Leave the cream filling in the Oreo when you crush them. I’d avoid double stuf or similar ones with more filling. If using those, you would need to just the amount of butter.
- Butter – Melted. Salted or unsalted would work.
For the filling
- Cream cheese – The cream cheese must be at room temperature. If it is too cold, it will not incorporate well with the other ingredients, leaving you with a clumpy filling.
- Sugar – Granulated sugar is best here.
- Vanilla extract – For flavor.
- Heavy whipping cream – The whipping cream must be cold. If it is too warm it will not hold volume or whip as well.
- Powdered sugar – Do not try to use a different kind of sugar here, the filling will fall flat.
- Oreo crumbs – I used traditional Oreos here, but feel free to play around with your favorite version of the sandwich cookie.
- Chopped Oreos – You could also play around with different flavors here.
For the whipped cream topping
- Heavy whipping cream – If the whipping cream is not cold, it will not hold volume as well, making it difficult to achieve the correct consistency for the whipped cream.
- Powdered sugar – This stabilizes the whipped cream. Don’t leave it out.
- Vanilla extract – For flavor.
- Oreo crumbs – Again, feel free to play around with your favorite Oreo flavors.
- Oreos – For decorating.
How to Make No Bake Oreo Cheesecake
This no bake Oreo cheesecake is super simple to put together without having to bake it. And it comes together so quickly. Scroll to the recipe below for more detailed instructions.
Make the Crust
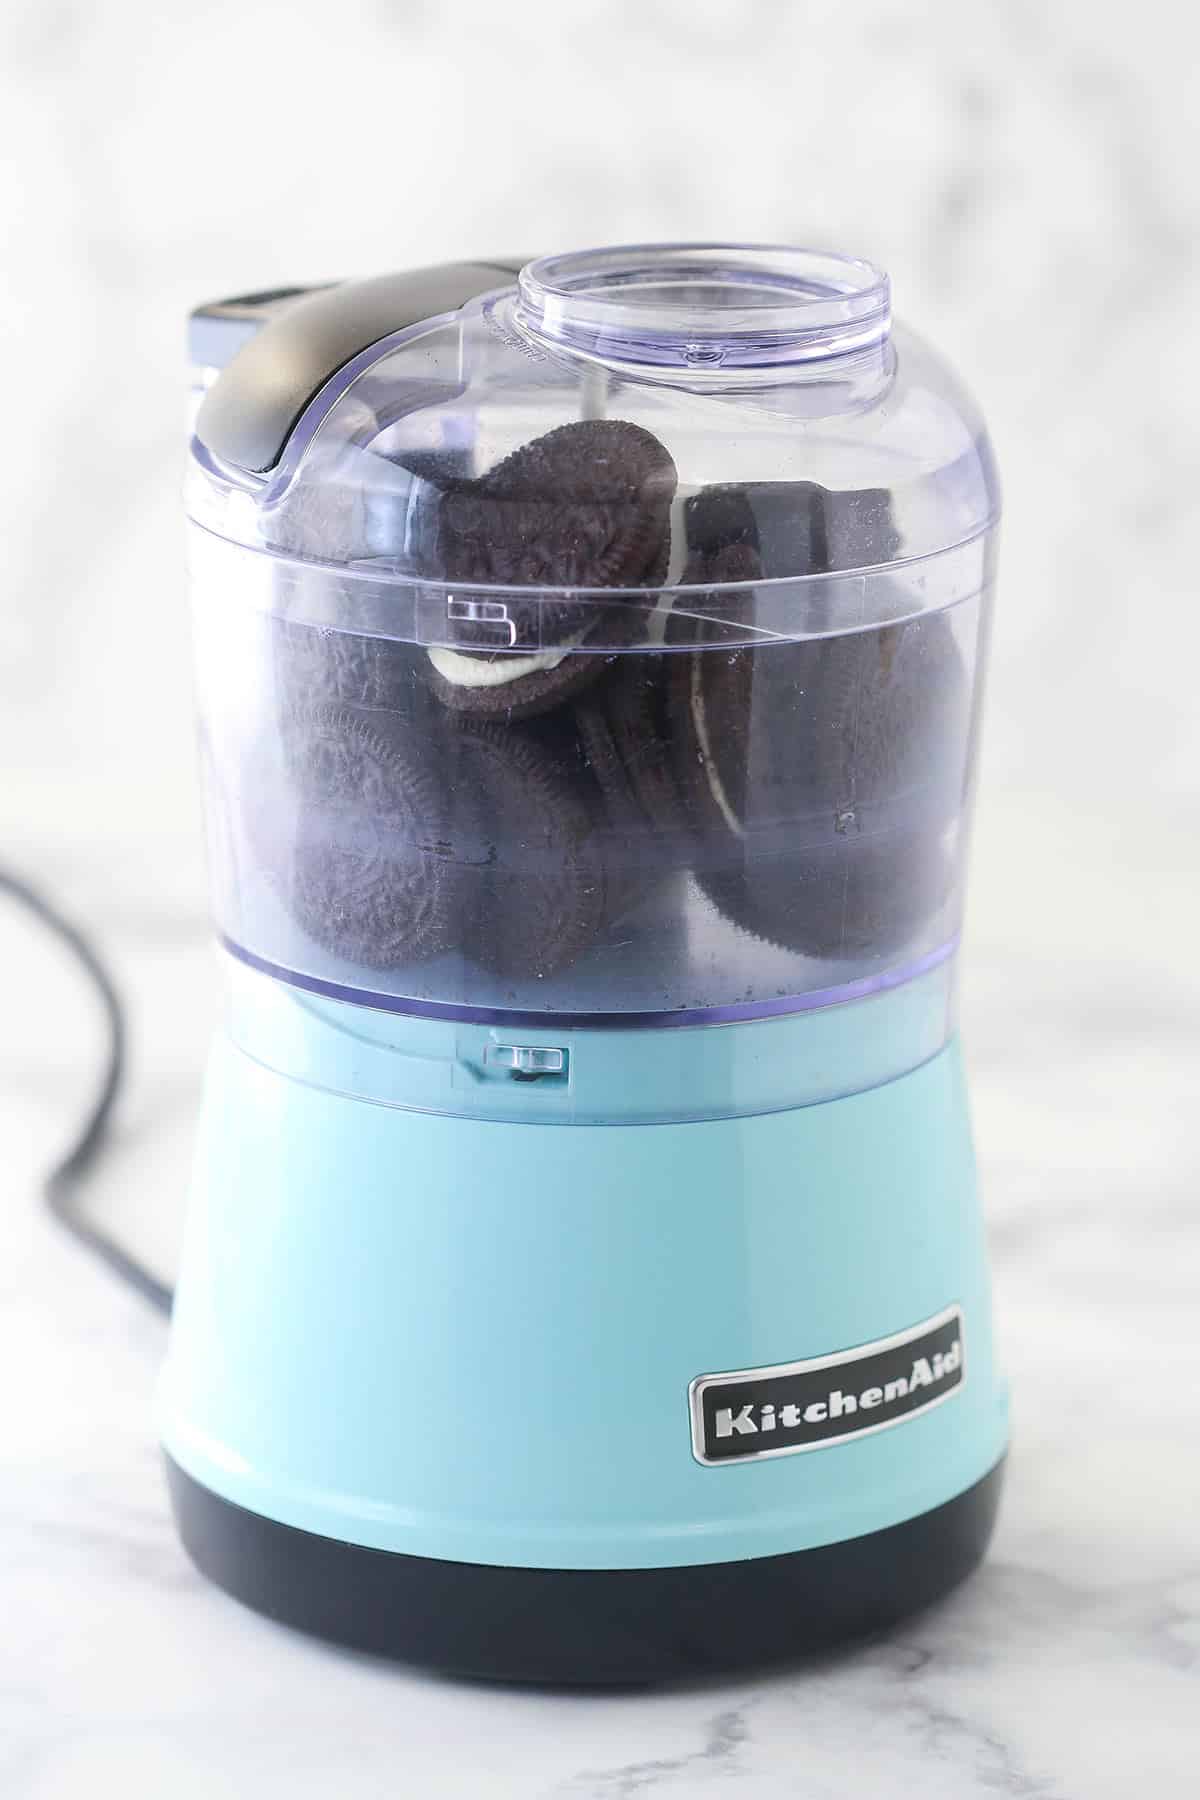
- Combine the Oreo crumbs and the melted butter.
- Press. Line the bottom of a 9-inch springform pan with parchment paper and press the crust mixture into the bottom and halfway up the sides.
- Chill. Place the crust-filled pan in the refrigerator to set.
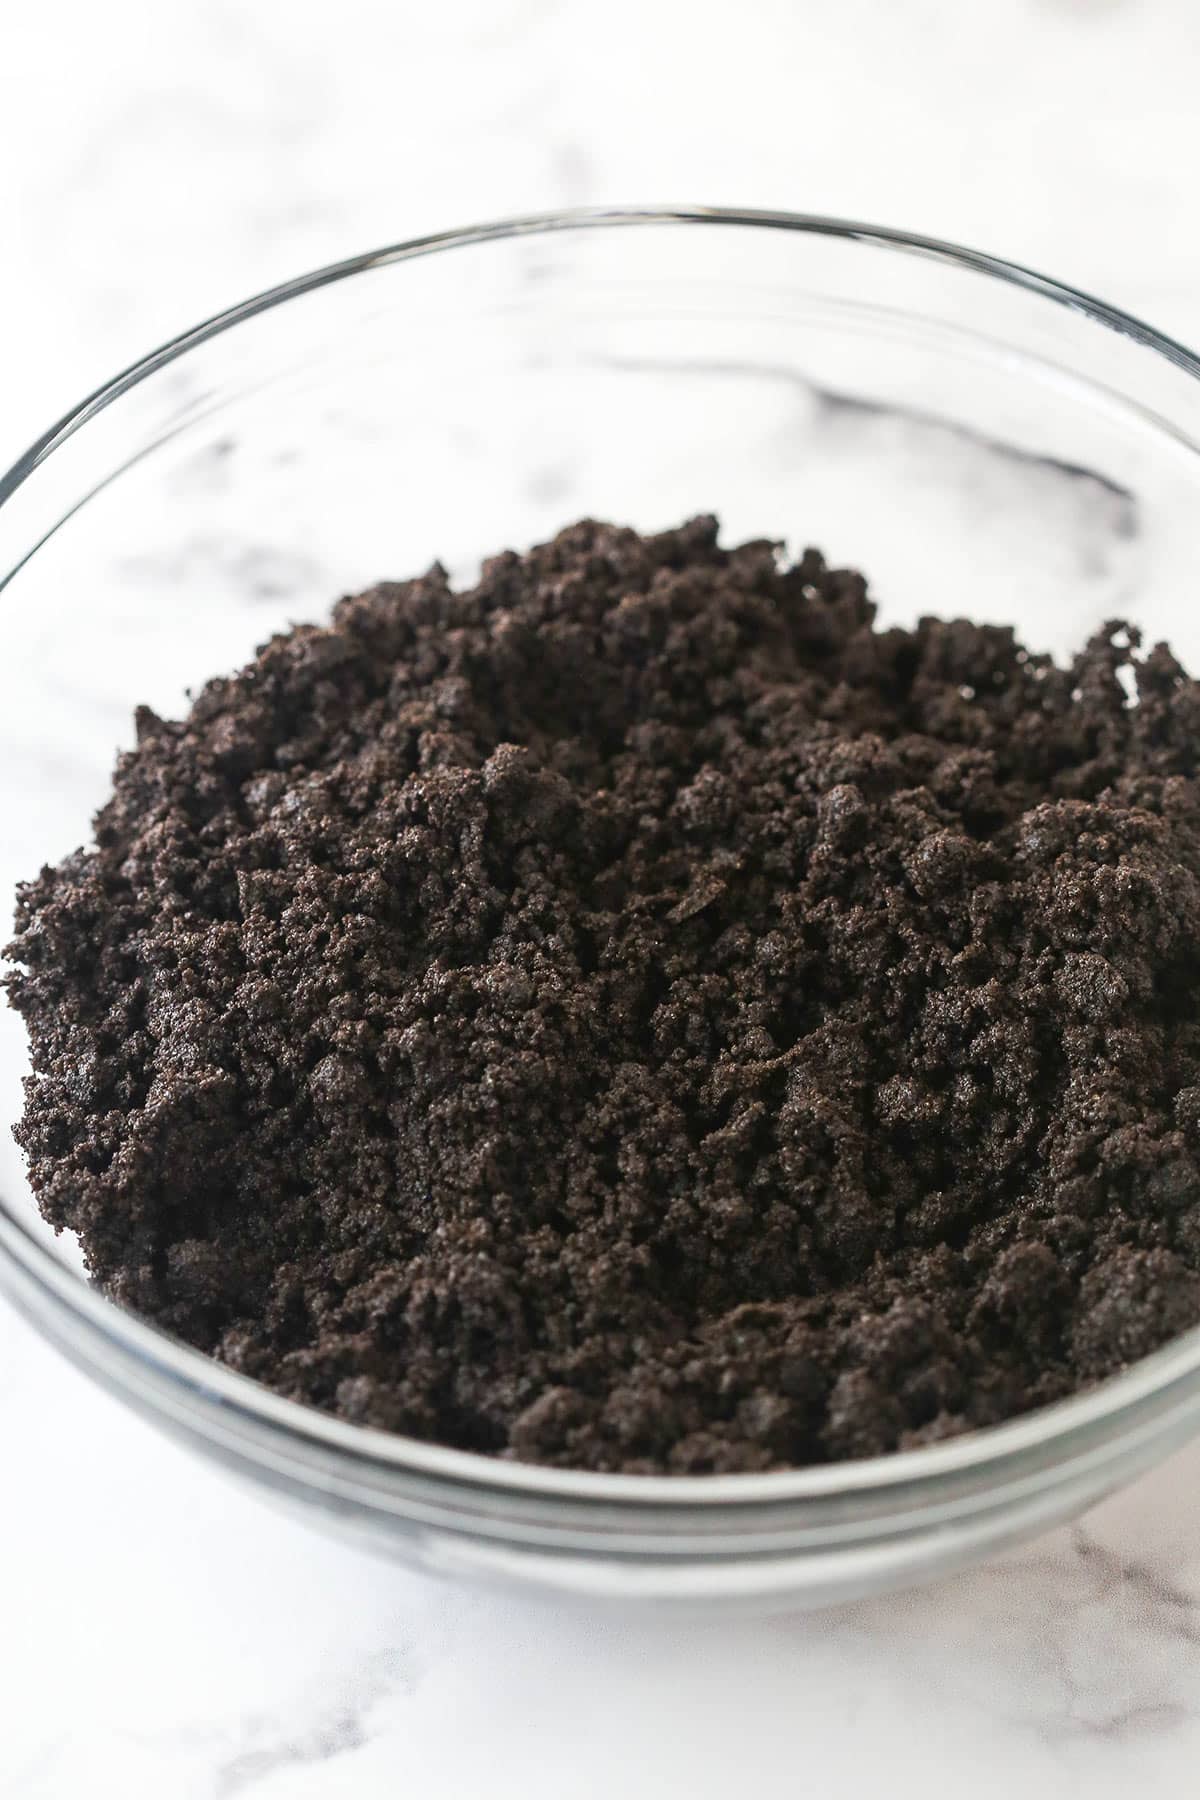
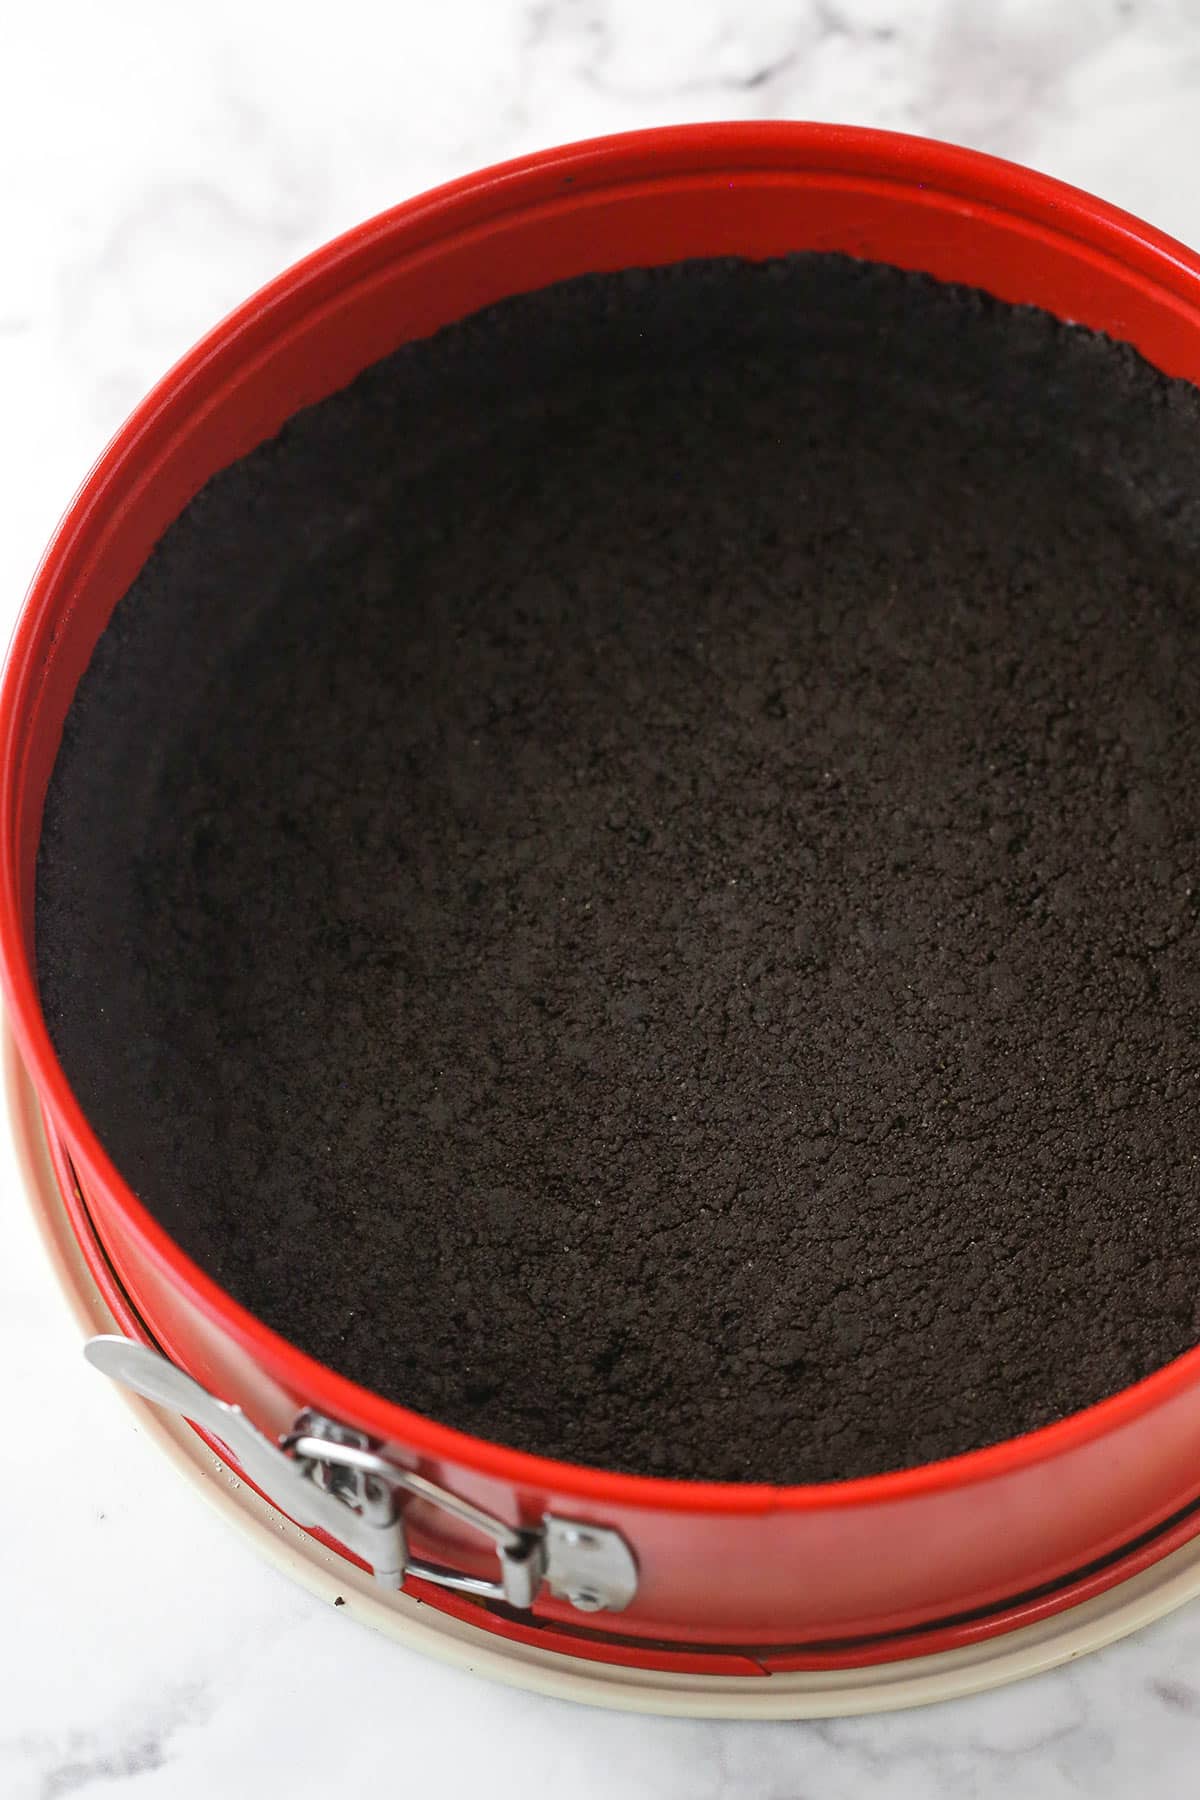
For the filling
- Mix the cream cheese, sugar, and vanilla until smooth.
- Whip the heavy whipping cream and powdered sugar until stiff peaks form.
- Fold the whipped cream into the cream cheese mixture followed by the Oreo crumbs and chopped-up Oreos.
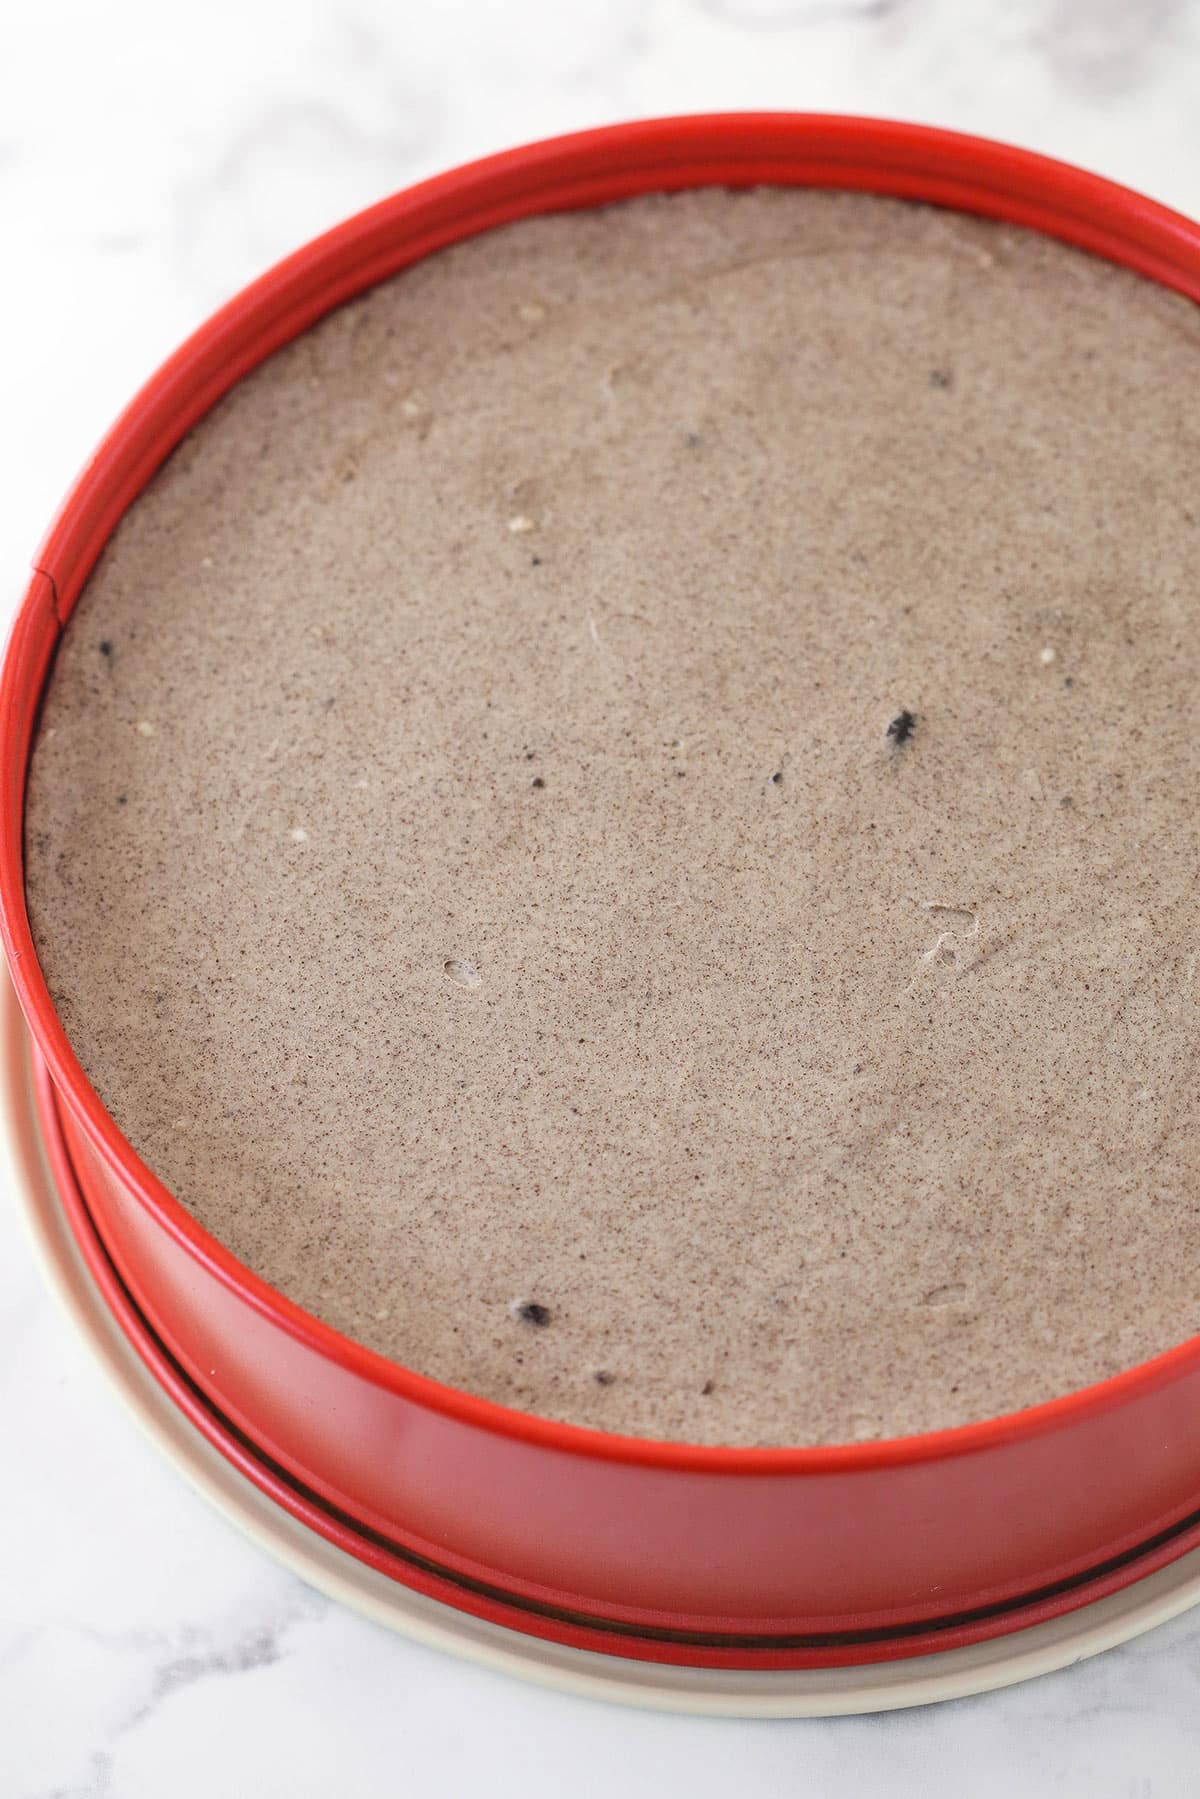
- Spread the Oreo cheesecake filling over the prepared crust
- Chill the cake in the refrigerator for 4-5 hours.
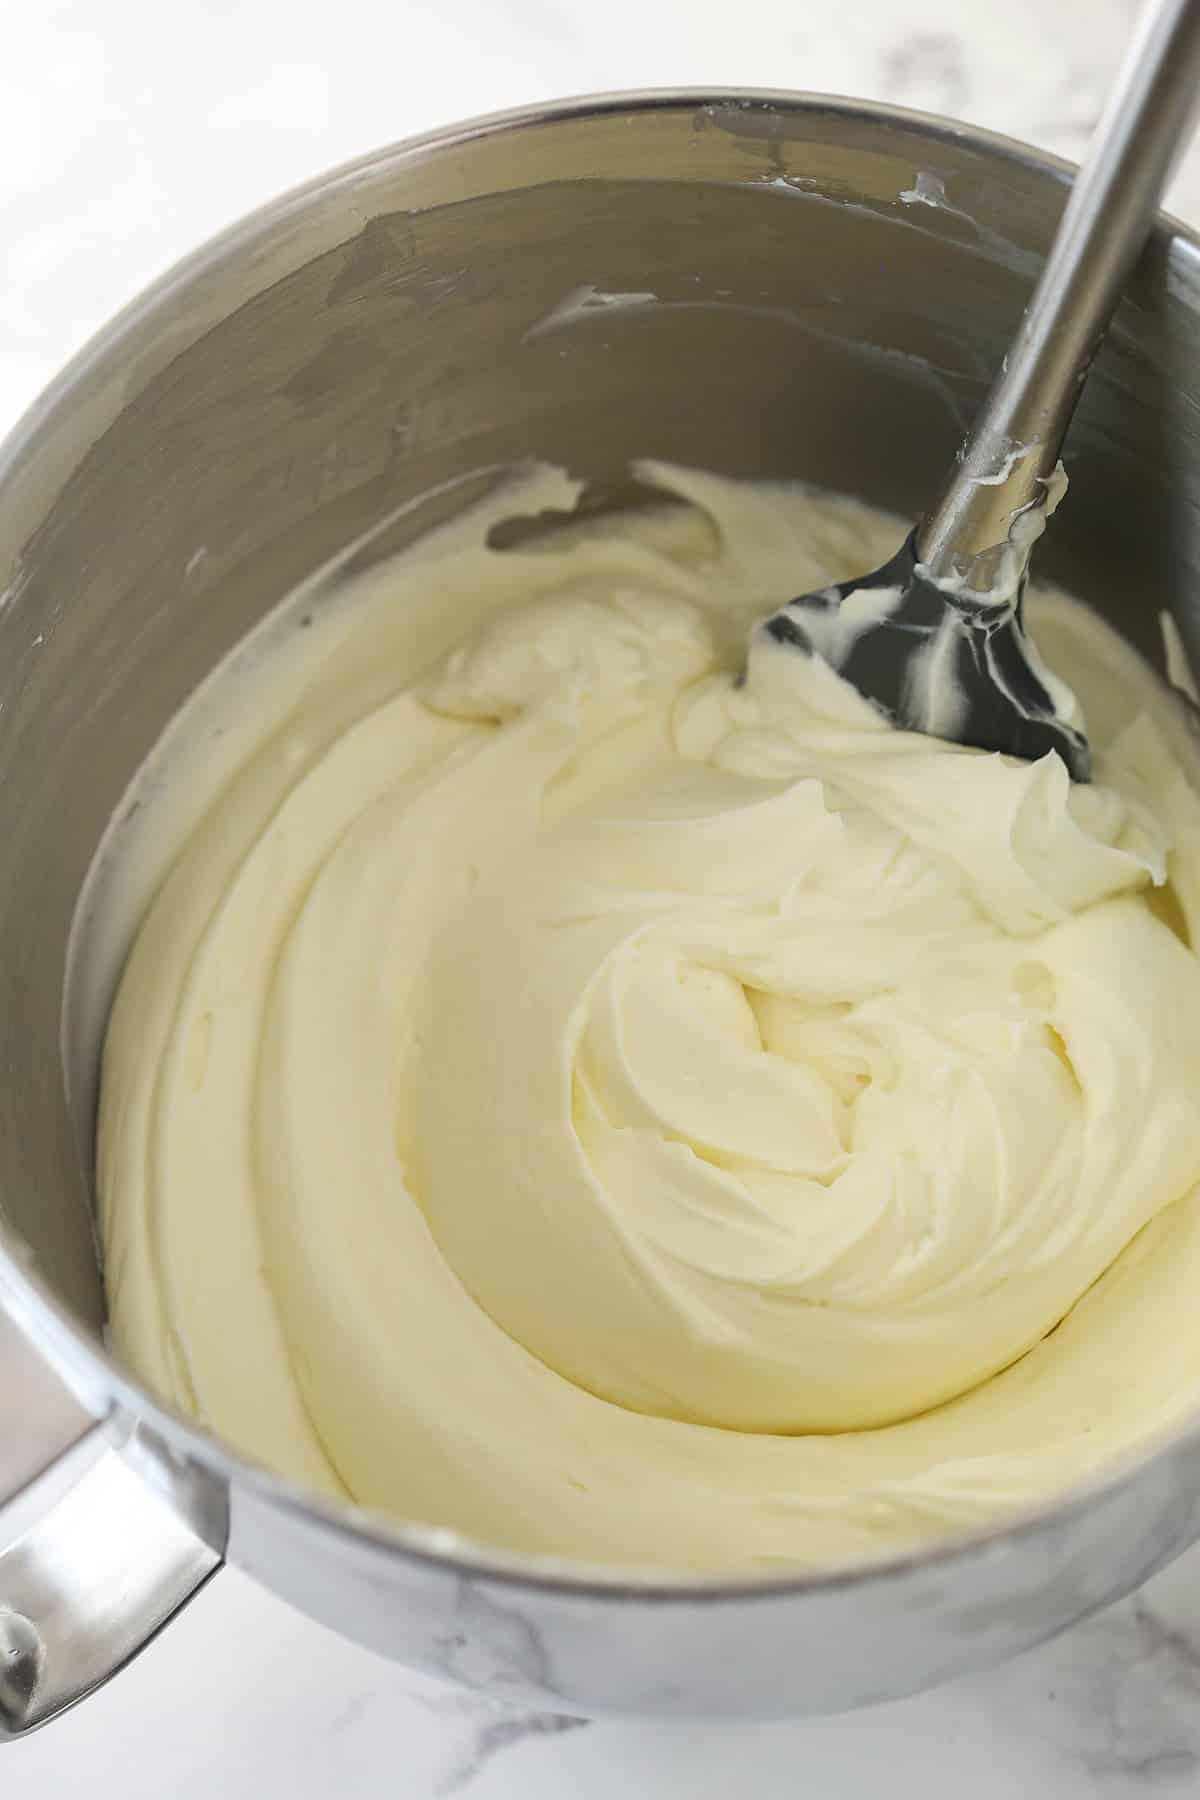
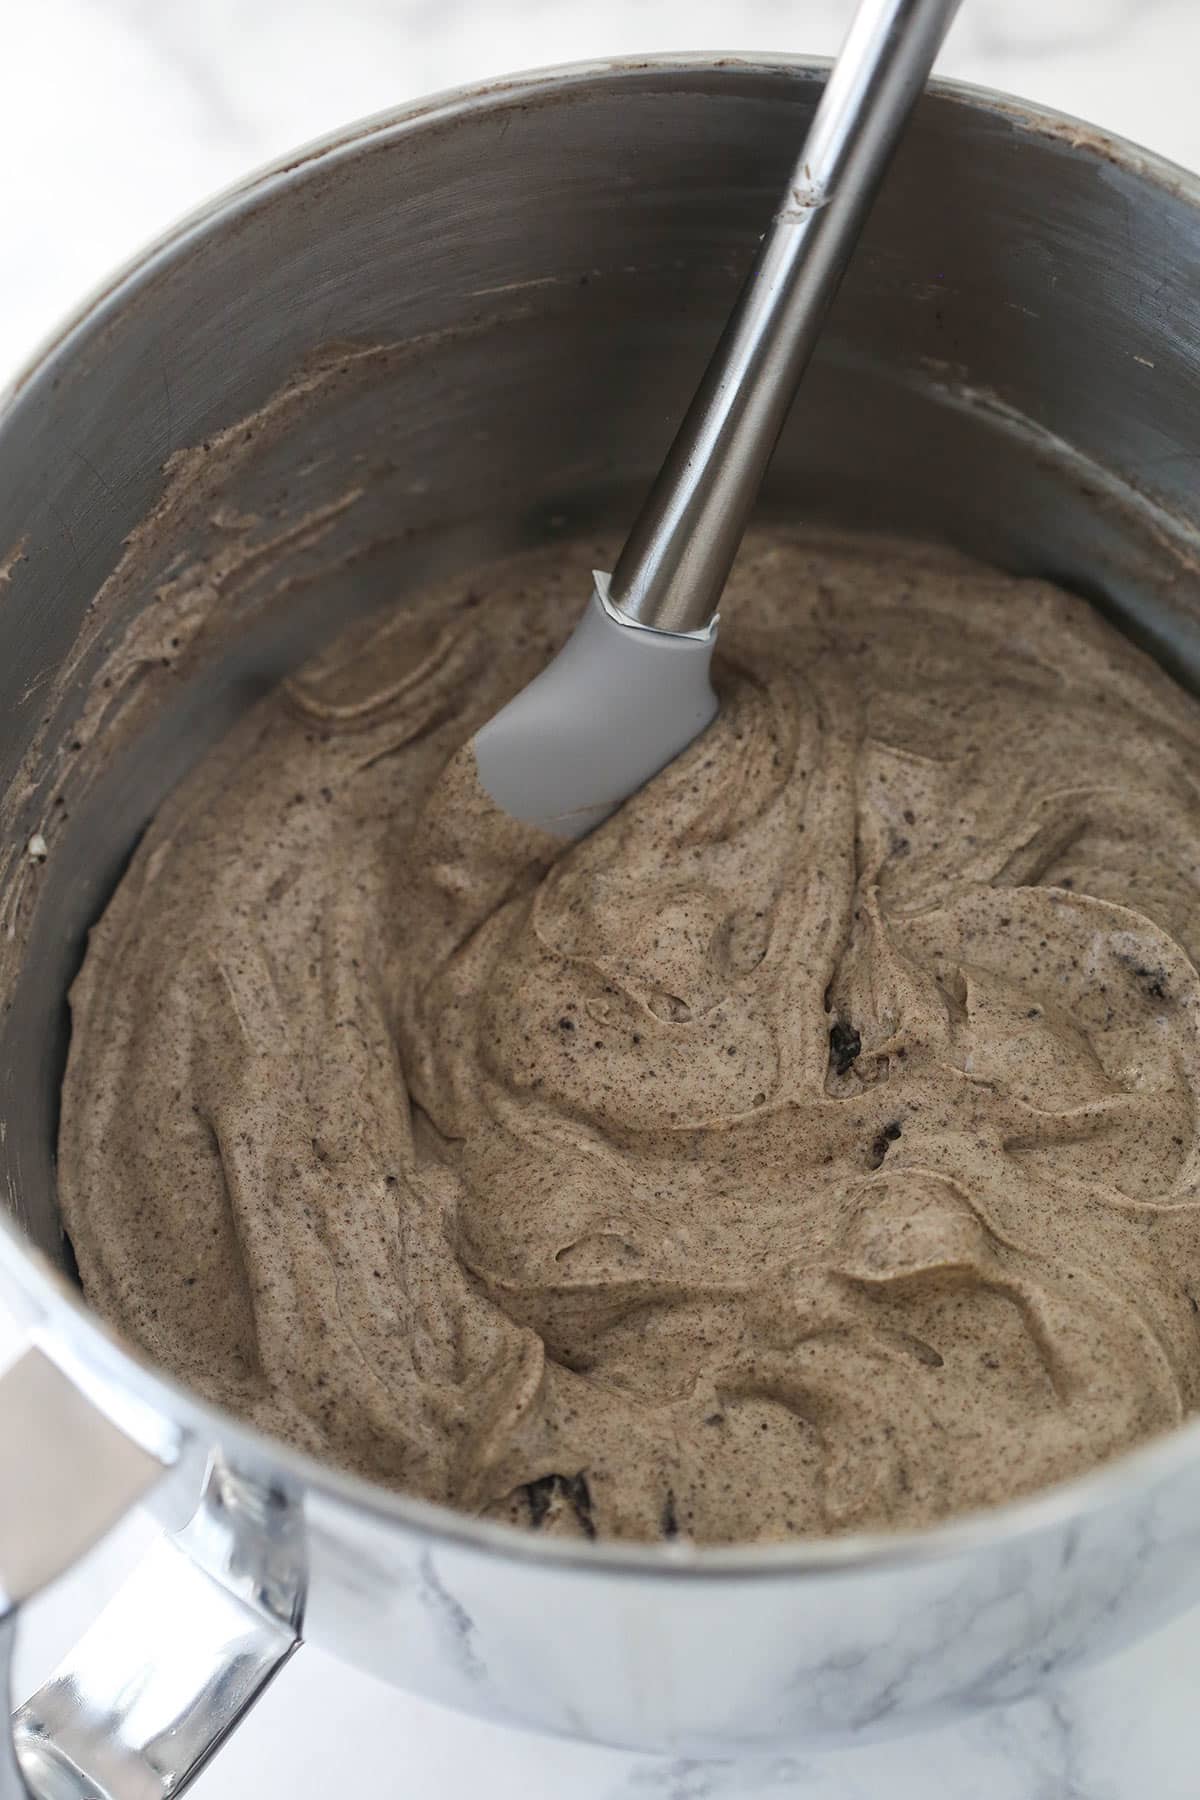
For the whipped cream topping
- Whip the heavy whipping cream, powdered sugar, and vanilla extract until stiff peaks form.
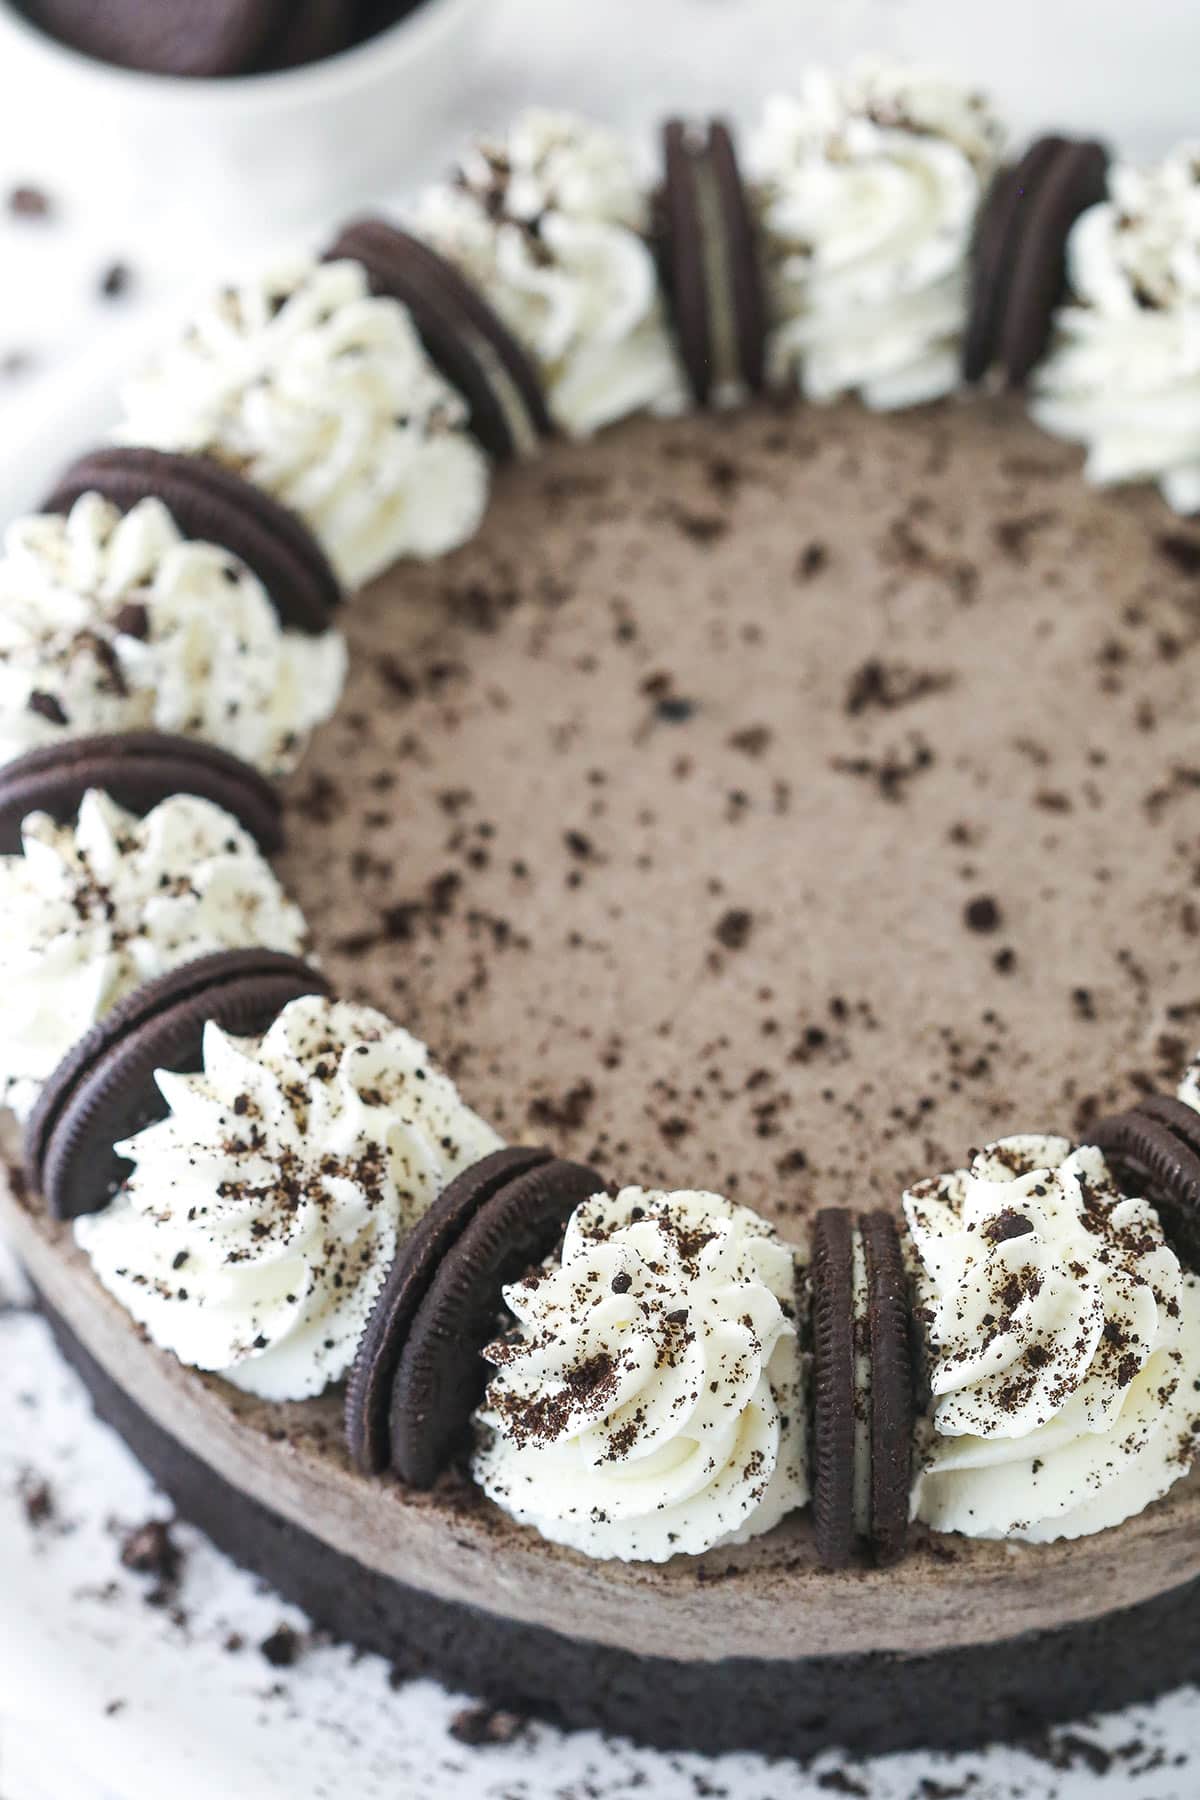
- Assemble. Top the filled cheesecake with whipped cream and more Oreos.
Tips for Making No Bake Cheesecakes
Yes, I have tips and tricks for you! Follow these gems of cheesecake wisdom to your perfect no bake Oreo confection.
- Use a drinking glass. You can use your hands but you will achieve a firmer, more consistent crust if you use the bottom of a glass to press the crust into the bottom of the pan.
- Line the bottom of the springform pan with parchment paper. You will thank me for it later. This makes it so much easier to remove the cake from the pan when it’s time to serve.
- Start with room-temperature cream cheese. It will incorporate with the other ingredients more easily than would cold cream cheese, helping you avoid a clumpy cheesecake filling.
- Don’t skimp on powdered sugar. When making the whipped cream mixture for the cheesecake filling and topping, it is important to use the prescribed amount of powdered sugar. The sugar stabilizes the whipped mixture, which is important in ensuring that your cake doesn’t fall flat.
- Fold gently. When folding the whipped cream into the cheesecake filling, work slowly and gently to ensure that you maintain as much volume as possible.
- Sub in Cool Whip. Although making your own whipped cream is always preferable, if you are short on time, you can use Cool Whip in the cheesecake portion and/or the topping portion of this dessert.
Can I Make This in a Pie Plate?
You can, but you’ll want to reduce the Oreo crust to the pie measurements in my crust recipe. You’ll also want to cut the filling in half. Otherwise you’ll have too much.
What Kind of Cream Cheese Do I Use?
You’ll want to use full fat brick-style cream cheese. Cream cheese in a tub will end up too soft. Reduced fat cream cheese can be a bit of a gamble because it can end up giving you a softer filing. Go for the good stuff and grab the full fat cream cheese.
Do I Remove The Filling From The Oreos?
No, there’s no need to remove the filling from the Oreos. In the crust, it helps hold everything together. In fact, if you remove it, you would need to add a little additional butter. And in the filling, it adds to the great Oreo flavor!
How to Store Leftovers
If you find yourself with leftovers, cover the cheesecake with plastic wrap or store it in an air-tight container. It will keep in the refrigerator for 4-5 days.
Can I Freeze No Bake Cheesecake?
Yes, you can! Well, almost. Save the whipped cream topping for when you are ready to serve but feel free to wrap the un-topped dessert in 2 layers of plastic wrap and store it in the freezer for up to 3 months. When you are ready to enjoy the cake, allow it to thaw in the refrigerator overnight before topping with whipped cream and Oreos.
More Oreo Desserts:
Oreos are one of my favorite store-bought cookies. So, naturally, I have lots of ideas on how to incorporate them into desserts. Here are some of my favorite Oreo-centric recipes.
- Chocolate Oreo Cake
- Ultimate Oreo Cheesecake
- Mini No Bake Oreo Cheesecakes
- Best Oreo Cheesecake
- Oreo Chocolate Poke Cake
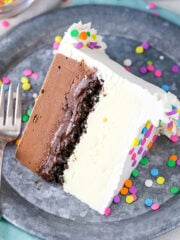
- No-Bake Funfetti Oreo Birthday Cake Cheesecake
See How To Make It
Print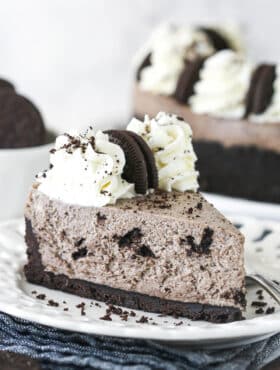
No Bake Oreo Cheesecake
- Prep Time: 45 Minutes
- Total Time: 5 Hours 45 Minutes
- Yield: 12-14 Slices
- Category: Dessert
- Method: No Bake
- Cuisine: American
Description
You’ll love this easy No Bake Oreo Cheesecake recipe! Made with an Oreo crust and a simple cheesecake filling that’s packed with Oreo crumbs & chunks of Oreo! Go on, make all your Oreo dreams come true and make this amazing cheesecake.
Ingredients
For the crust
- 3 cups (403g) Oreo crumbs (from about 35 Oreos)
- 5 tbsp (70g) butter, melted
For the filling
- 24 oz (678g) cream cheese, room temperature
- 1/2 cup (104g) sugar
- 2 tsp vanilla extract
- 1 1/4 cups (300ml) heavy whipping cream, cold*
- 3/4 cup (86g) powdered sugar*
- 1 1/2 cups (162g) Oreo crumbs (from about 16 Oreos)
- 7–10 Oreos, chopped, optional
For the whipped cream topping
- 3/4 cup (180ml) heavy whipping cream, cold
- 6 tbsp (44g) powdered sugar
- 1/2 tsp vanilla extract
- Oreo crumbs for the top, optional
- Oreos, cut in half
Instructions
For the crust
- Line a 9-inch (23cm) springform pan with parchment paper in the bottom and grease the sides.
- Combine the crust ingredients in a small bowl. Press the mixture into the bottom and up the sides of the springform pan.
- Place the crust in the fridge while you make the filling.
For the filling
- In a large mixer bowl, beat the cream cheese, sugar and vanilla extract together until well combined and smooth. Set aside.
- In another large mixer bowl, add the heavy whipping cream and powdered sugar and whip on high speed until stiff peaks form.
- Gently fold the whipped cream into the cream cheese mixture in two parts until well combined..
- Gently fold the Oreo crumbs and chopped up Oreos into the cheesecake filling.
- Spread the Oreo cheesecake filling over the prepared crust and refrigerate cheesecake until firm, 5-6 hours or overnight.
For the whipped cream topping
- Add the heavy whipping cream, powdered sugar and vanilla extract to a large mixer bowl and whip on medium speed until stiff peaks form.
- Remove your cheesecake from the springform pan and set it on a plate or serving platter, then pipe the whipped cream around the rim of the cheesecake.
- Place Oreo halves between each whipped cream swirl and finish it off with a sprinkle of Oreo crumbs.
- Store the cheesecake in the fridge until ready to serve. Cheesecake is best if eaten within 4-5 days.
Notes
*Both of these ingredients can be left out and replaced with 8 oz of Cool Whip, if you prefer.
Nutrition
- Serving Size: 1 Slice
- Calories: 550
- Sugar: 33 g
- Sodium: 299.6 mg
- Fat: 39.7 g
- Carbohydrates: 44.6 g
- Protein: 5.8 g
- Cholesterol: 98.5 mg







Hi there! Im trying your recipe right now and the cheesecake has been setting in the fridge now for 5 hrs. But when i touched it, its not setting hard. Did i do something wrong here or it just needs a little more time in the fridge? Thank you so much for the wonderful recipe! Cant wait to try it.
Hi Lyana! Did it ever set for you? It’s hard to say if you did anything wrong or not. Did you use Cool Whip or homemade whipped cream?
Hi! I tried the recipe but it doesn’t set as well. Left it overnight and the following day, its still soft when cut. Please advise! Tks
It’s really hard for me to say. It won’t be as firm as a baked cheesecake, but should be firm enough.
Hi,
I am trying this recipe. It is setting now in the fridge.
I see some no bake cheesecake has gelatine… but I noticed yours don’t have. Does it set firmly?
Thanks and Regards from Abu Dhabi
Eden
Hi Eden, yes it sets very firmly. I chose not to do a gelatin based cheesecake because I wanted to make sure I maintained that creamy cheesecake texture. I hope you like it!
Hi can I substitute whipped cream wf sour cream? Thx
I haven’t tried it, but I’d think the texture would still be fine. The taste will be a little different though.
Can’t wait to try making this fabulous cheesecake. Question – when you talk about Oreo crumbs, do you mean with or without the filling? Thanks!
You can leave the filling in the Oreos. Enjoy the cheesecake!
1 oz is how many grams ?
About 28.3 g
I don’t have access to Cool Whip so is the bottled whip cream just the same?
I’m not sure about the bottled whipped cream, but you can make your own whipped cream with heavy whipping cream and that would work. I have a recipe and instructions for that here.
Hi!
I was just wondering, if I was to add some Bailey’ to this recipe, would it change the texture of the cheesecake at all? After making your Bailey’s cookies I have a thing for adding it to desserts.
Thanks!
It would loosen it up a bit, so it wouldn’t be quite as thick. It would still taste great though! You can also buy irish cream extract, which wouldn’t mess up the texture at all. I’m so glad you enjoyed the cookies too – I love them!
how long do i have to leave the base to set ?
I usually leave it overnight, so I’d say around 5-6 hours.
Hi! I was wondering if I could just use store bought whip cream instead of cool whip. We don’t have cool whip here in Indonesia. Thanksies 🙂
I’ve never tried it, but I think that should be fine as long as the whipped cream is fairly thick. If it’s a brand that gets kind of liquid, it may not work well.
Hi! Greetings from Singapore! 🙂 just wanna ask whether this recipe will work as well if I separate it into cupcakes instead of doing it as one whole cake?
Hi Dawn! I haven’t tried it before, but I’d think it would be fine in cupcake liners. It’s pretty thick.
Okay thank you! I’ll try it out ^^
Hi Dawn, did you try out on cupcake liners? How did it go? And how many cupcakes can this recipe make?
Hi, can you suggest a substitute for Cool Whip that will work with the taste and with holding it together? Cause I live in the Philippines and we don’t have Cool Whip in here. 🙁
Hi Gia! You could try using homemade whipped cream (recipe here). This recipe for Homemade Cool Whip looks good too and might work as a substitute.
hi Lindsay thanks for posting great recipe’s. I am going away for Christmas & wondered if I could freeze this for couple days? Merry Christmas & Happy New Year!!
Hi Lindsey, I’ve never tried freezing it before, so I’m not sure. I’d think it’d be ok though.
Just tried making this today and my was it good! Super easy to assemble, and still tastes a million bucks. Thanks for uploading this recipe!
Can you make this oreo cheesecake using the Golden Oreos??
Definitely! It’d change up the flavor, but I love Golden Oreos too. 🙂
What will happen If I put too less whip cream,
It’ll probably be little thicker and more cream cheese tasting.
Tried this today ; soooooo good!
In fact it’s bedtime but my husband’s in the kitchen helping himself to another slice
Thanks for sharing Lindsay!
Will be trying more of your other recipes soon.
Ps : hello from Singapore!
I’m so glad you both like it! How cool that you are all the way in Singapore! Thank you for reading 🙂
Hi, I have a question in regards to this cheesecake. It looks great and I plan on making it tonight but I was wondering, what kind of Pan should I have it set in? Can I use a typical spring form pan with the sides that remove? Or should I be placing crisco or what not around it so it dsnt stick?
Should I also be placing something under the crumbs at the bottom so it is simple to remove?
Please let me know.
Thanks.
Hi Elyssa! You’ll need a 9 inch spring form pan. You can put parchment paper in the bottom of the pan if you want, but it usually doesn’t stick.