This post may contain affiliate sales links. Please read my disclosure policy.
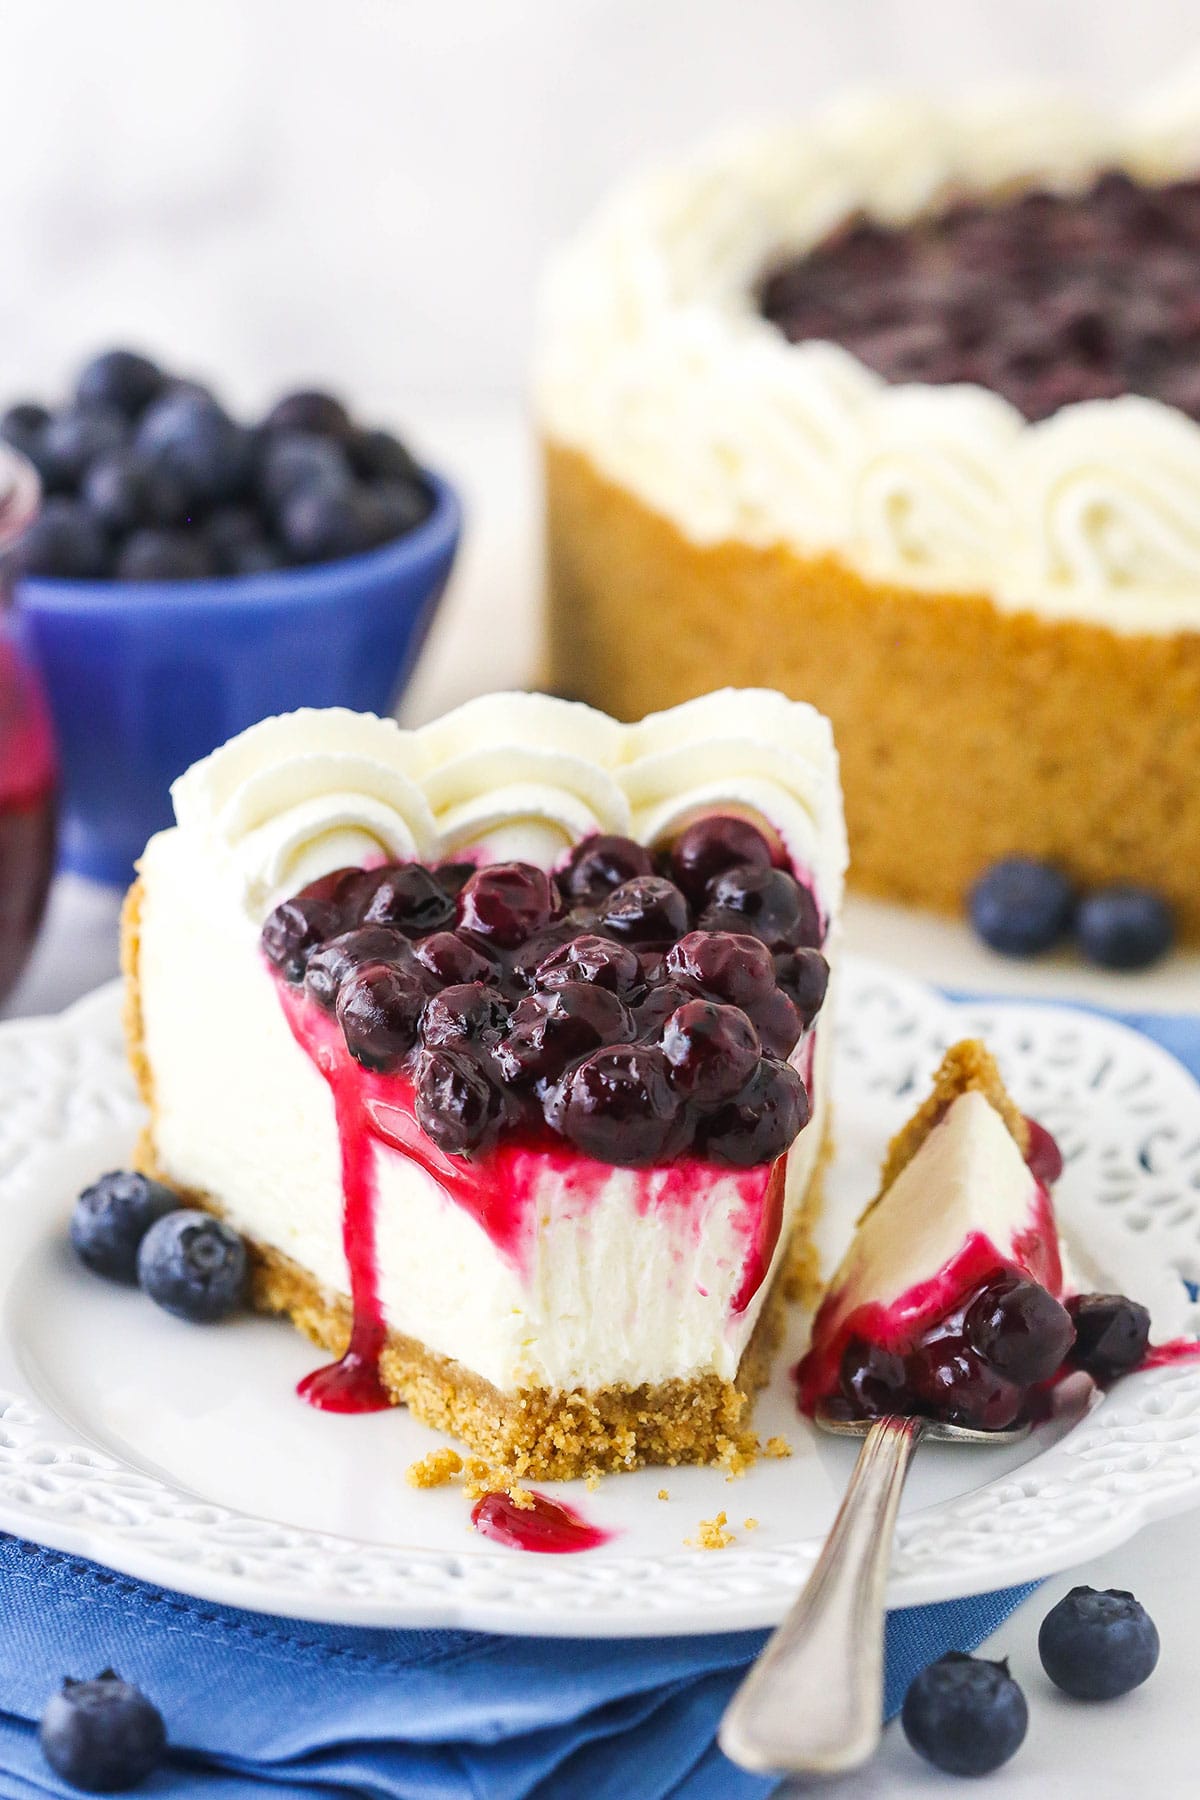
This No Bake Blueberry Cheesecake is made with a classic graham cracker crust, a smooth and creamy cheesecake filling, a sweet blueberry topping and a fluffy 3-ingredient whipped cream! Plus, it’s nice and easy to put together!
If you’re looking for more cheesecake recipes, this vanilla no-bake cheesecake is always a good place to start!
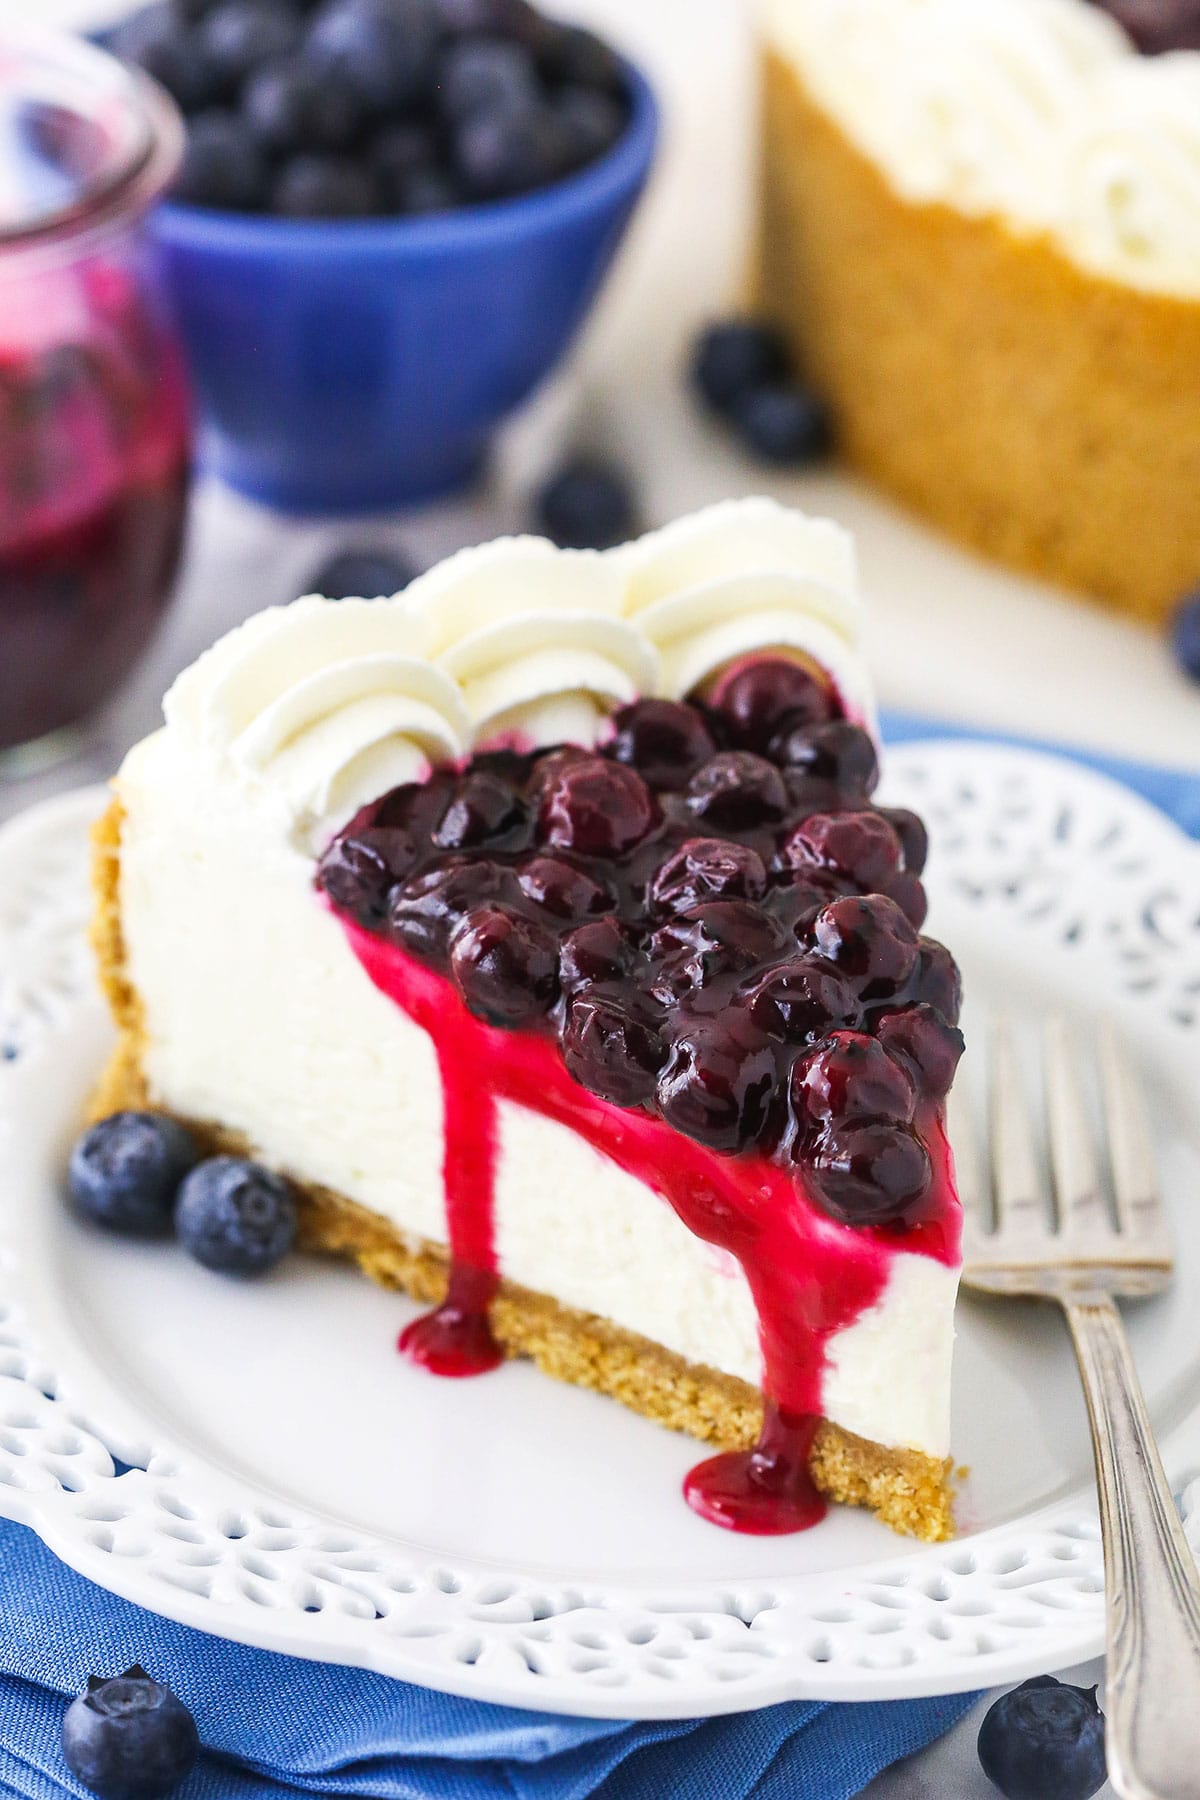
Creamy No Bake Blueberry Cheesecake
This bright and beautiful cheesecake is seriously hard to stop eating. It’s a delightfully refreshing treat that you’ll be whipping up all spring and summer long! It may be simple, but that only adds to its charm. In fact, there are many things to love about this recipe: the crunchy graham cracker crust, the creamy filling and the sweet homemade blueberry sauce, to name just a few. Add pillowy whipped cream on top and you’ve got yourself dessert perfection.
The flavors and textures in this cheesecake complement each other perfectly, and each component comes together in a snap. There’s no need to worry about a lengthy baking process or a finicky water bath with this bad boy. The only hard part is finding the patience to let it set!
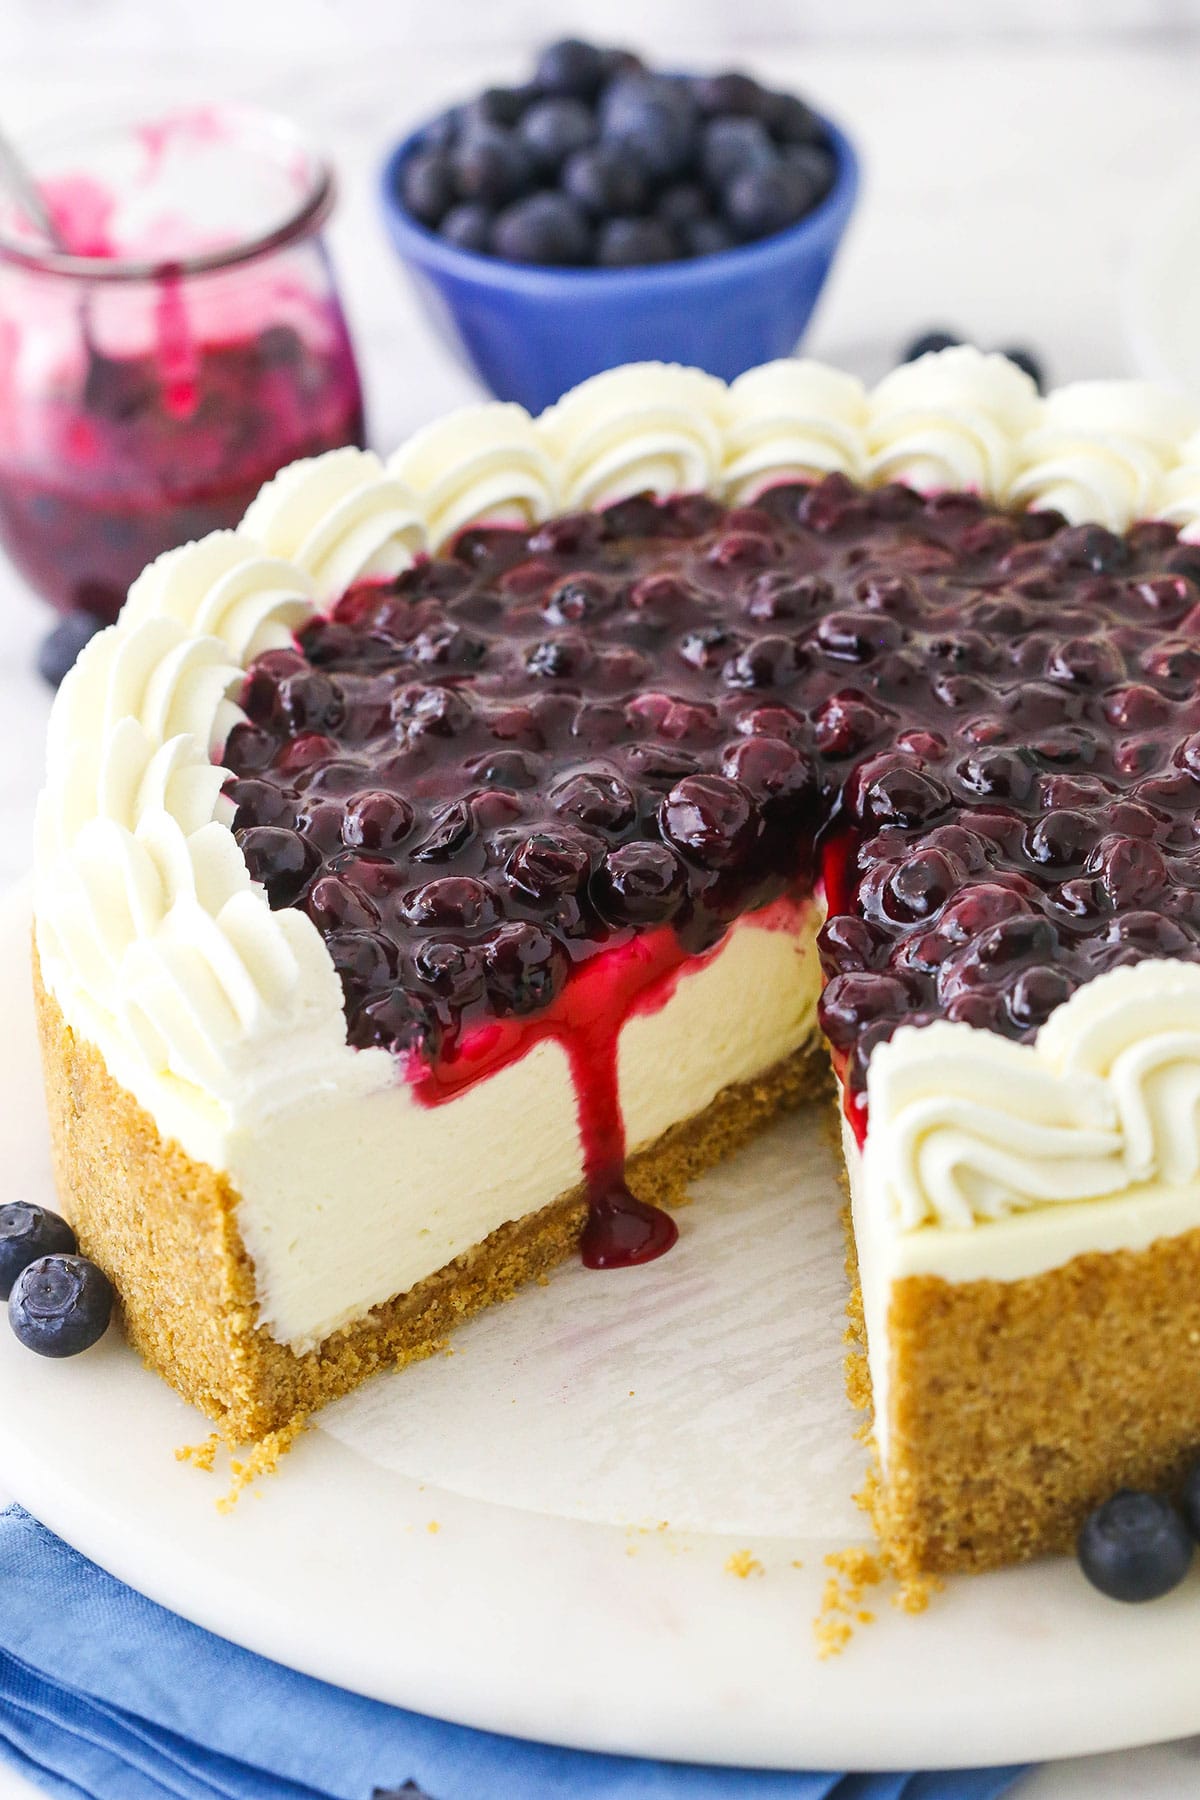
What You’ll Need
Let’s talk ingredients. Here’s the lineup from crust to whipped cream:
For the Graham Cracker Crust
- Graham Crackers: Crushed into crumbs – I recommend utilizing your food processor.
- Sugar
- Salt: This enhances the flavor of the crust.
- Unsalted Butter: Melted.
For the No Bake Cheesecake Filling
- Cream Cheese: Brought to room temperature. Be sure to use the full fat version.
- Sugar
- Sour Cream: This adds flavor and also works with the lemon juice to thicken the filling.
- Lemon Juice: Freshly squeezed.
- Heavy Whipping Cream: This should be nice and cold.
- Powdered Sugar: To stabilize the whipped cream.
- Vanilla Extract: I recommend using a high-quality extract to ensure the best flavor.
For the Blueberry Sauce
- Water: Some of the water will be used to make a cornstarch slurry, which thickens the sauce.
- Cornstarch: For thickening the sauce.
- Sugar
- Lemon Juice: To enhance the natural flavor of the blueberries.
- Blueberries: You can either use fresh berries or thaw out some frozen ones.
For the Whipped Cream
- Heavy Whipping Cream: Make sure it’s cold.
- Powdered Sugar: Don’t leave it out – it endures the whipped cream stays intact and doesn’t wilt.
- Vanilla Extract
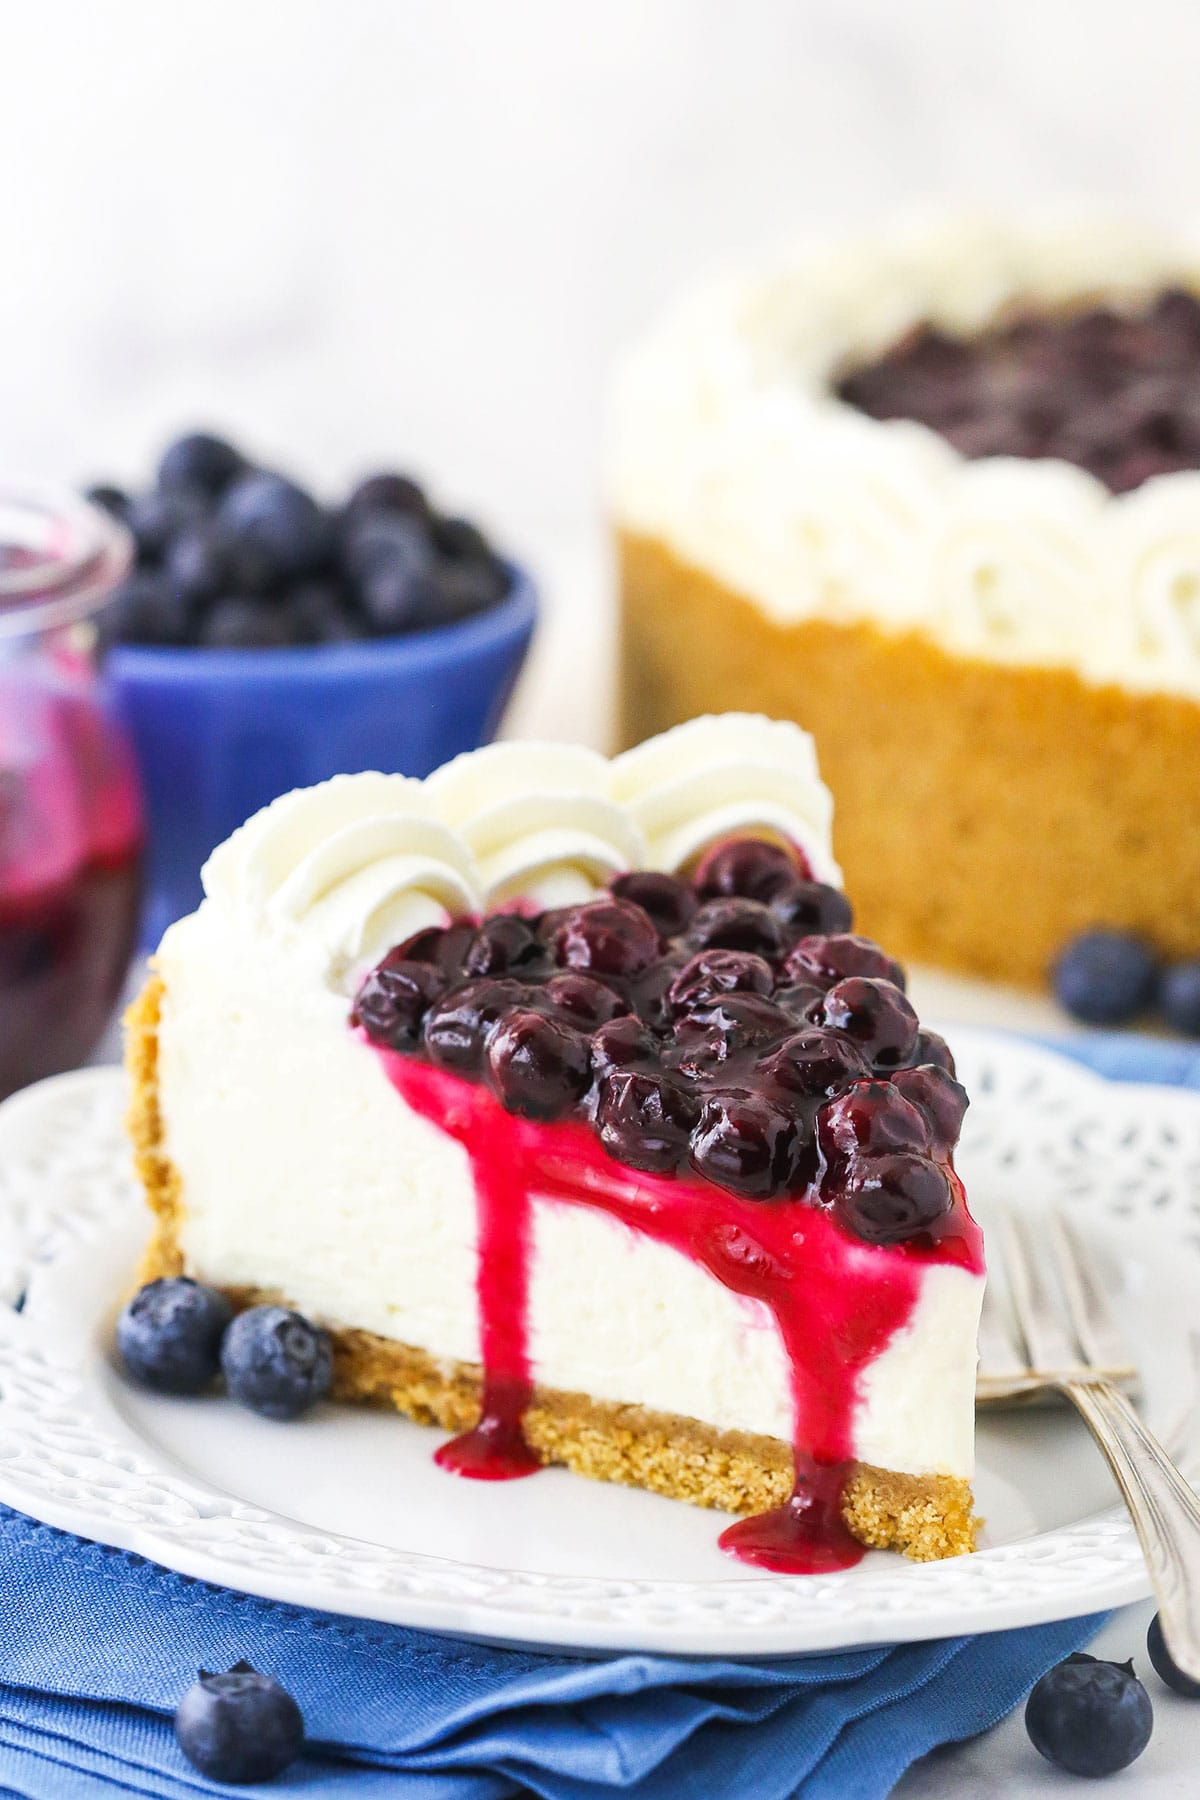
How to Make No Bake Blueberry Cheesecake
Clear out a spot in your fridge that comfortably fits your springform pan. It’s time to get cracking on this cheesecake!
Make the Crust
- Combine Ingredients: Transfer all of the crust ingredients to a medium-sized bowl and mix well to combine everything completely.
- Chill: Press the crust mixture into the bottom and up the sides of a 9-inch springform pan. Set the crust in the fridge to chill while you make the filling.
Make the Filling
- Beat Cream Cheese & Sugar: Beat the cream cheese and the sugar in a large mixer bowl until they’re well combined and smooth.
- Add Sour Cream: Add the sour cream and mix until well combined and smooth.
- Add Lemon Juice: Add the lemon juice and mix until smooth. Set the mixture aside.
- Combine Heavy Cream, Powdered Sugar & Vanilla: Add the heavy whipping cream, powdered sugar and vanilla extract to another large mixing bowl. Whip on high speed until stiff peaks form.
- Fold Into Cream Cheese Mixture: Carefully fold the whipped cream into the cream cheese mixture in two parts until the filling is well combined.
- Add to Crust: Pour the filling into the crust and spread it out in an even layer.
- Chill: Refrigerate the cheesecake until it’s firm. This will take around 5-6 hours.
Make the Sauce
- Make Cornstarch Slurry: Whisk a tablespoon of water and the cornstarch together in a small bowl. Set the mixture aside.
- Heat Sugar, Water & Lemon Juice: Combine the sugar, remaining water and lemon juice in a medium-sized saucepan over medium heat and stir to combine. Heat the mixture until the sugar is melted.
- Add Berries: Add the blueberries and continue to cook. Let the blueberries start to soften and release their juices.
- Add Slurry: Once the blueberry juices have released and the mixture is starting to look more sauce-like, pour in the cornstarch slurry.
- Finish Cooking & Transfer to Fridge. Continue cooking the sauce until it thickens up enough to coat the back of a metal spoon. Remove it from the heat and refrigerate it until it has cooled completely.
- Prepare for Assembly: Remove your cheesecake from the springform pan and set it onto a plate or a serving platter.
Make the Whipped Cream & Assemble
- Combine Ingredients: Add all of the whipped cream ingredients to a large mixer bowl and whip them together on high speed until stiff peaks form.
- Pipe Onto Cheesecake & Add Sauce: Pipe the whipped cream around the outer edge of the cheesecake, then fill in the center with the blueberry sauce.
- Serve or Store: Refrigerate the cheesecake until you’re ready to slice and serve it.
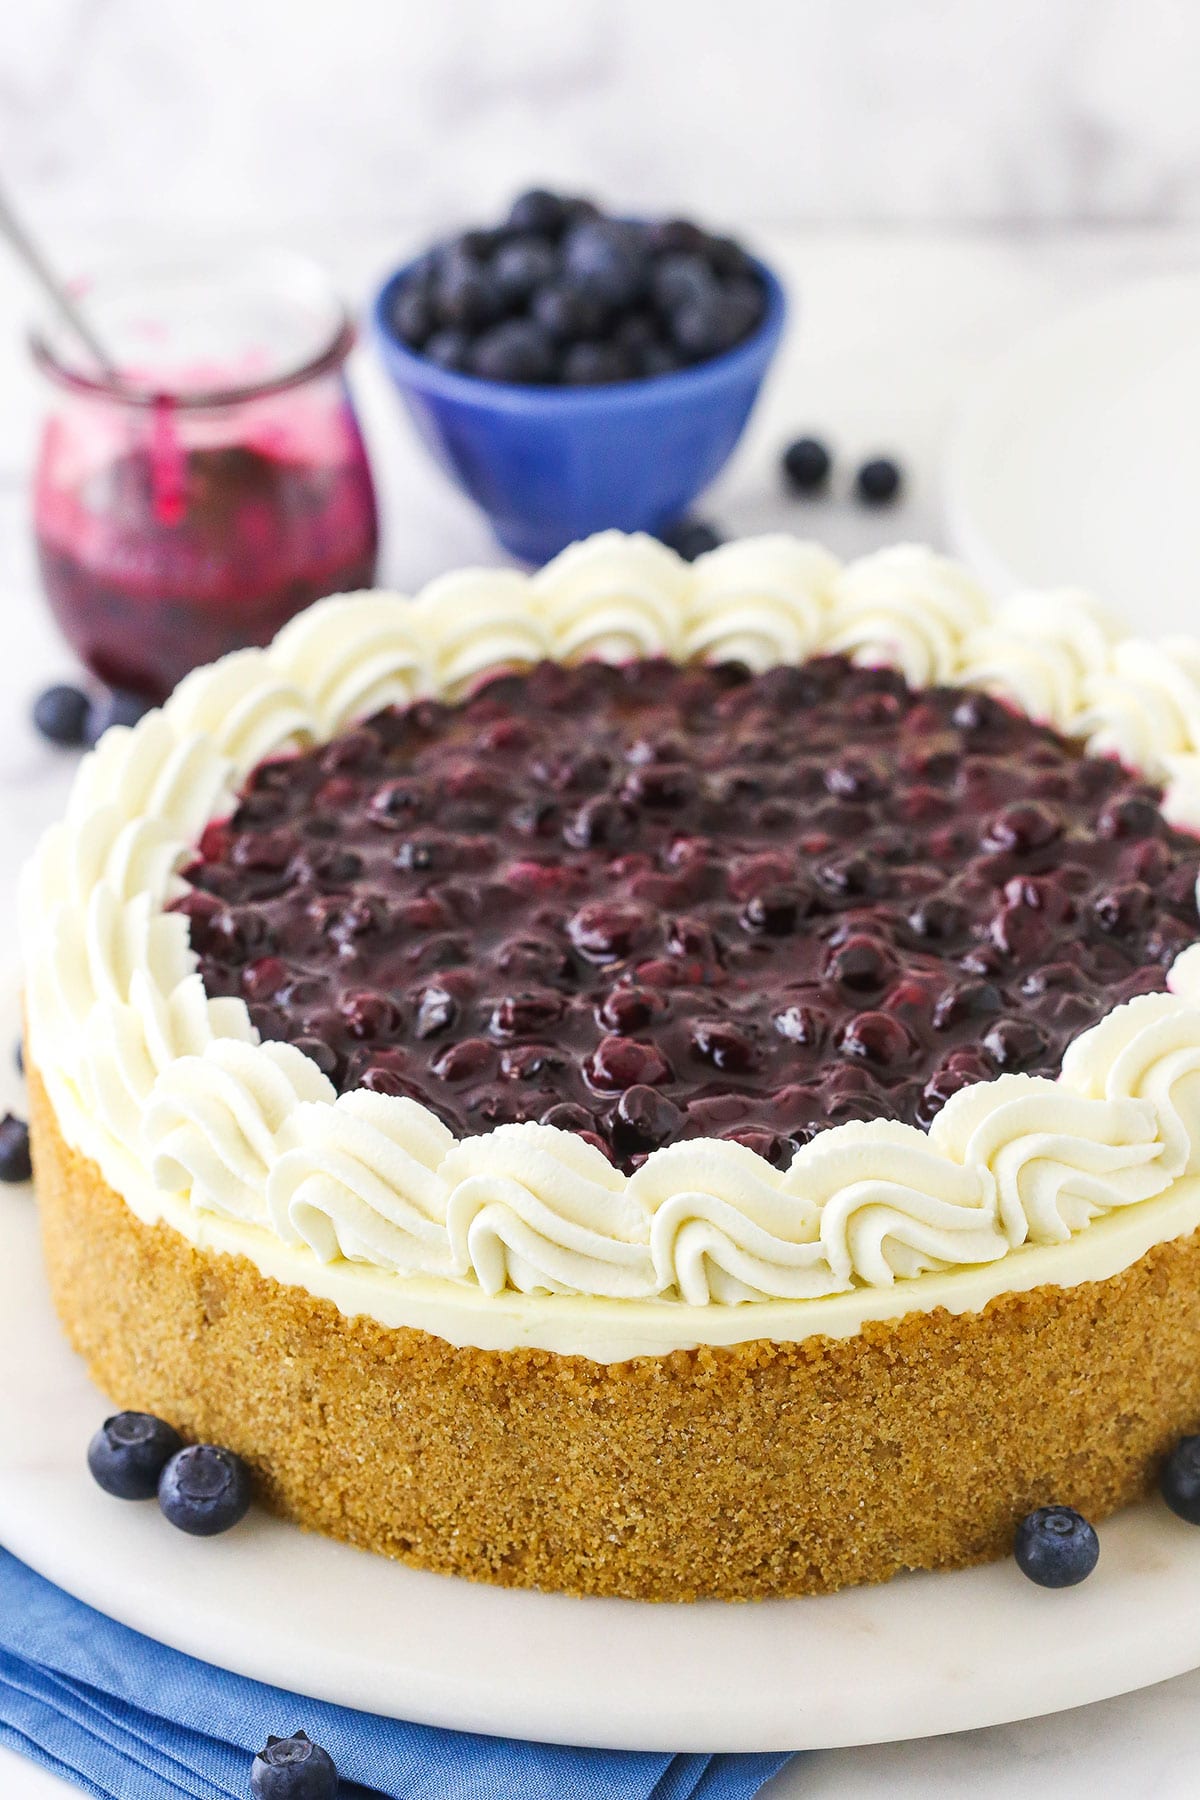
How Long Does This Cheesecake Take to Set?
In order to fully firm up, this cheesecake must be chilled for a minimum of 5 hours. I prefer to refrigerate it overnight before I cut and serve it – I find that it has the best consistency after chilling for a longer period of time.
Tips for Success
The tips and tricks below will help you achieve no-bake cheesecake perfection.
- Use Room Temperature Cream Cheese: If you don’t bring your cream cheese to room temperature before you use it in the filling, you could end up with a lumpy cheesecake. Feel free to pop it into the microwave for a few seconds at a time if you want to speed things up.
- Fresh Lemon Juice is Best: The lemon juice interacts with the sour cream to help thicken the cheesecake filling – since there’s no baking involved, this is super important. It’s best to use freshly-squeezed lemon juice.
- Cook the Sauce Over Medium Heat: Make sure your burner is set to medium heat while you’re cooking the sauce. A higher temperature could cause the sauce to thicken before the fruit has had a chance to soften properly and release its juices.
Storage Instructions
Be sure to store your cheesecake in an airtight container in the fridge. Enjoy it within 3-4 days for the best results.
Does This Freeze Well?
Yes – this cheesecake freezes quite well if you leave off the whipped cream and blueberry sauce. Wrap it tightly in a layer of plastic wrap followed by a layer of heavy-duty foil. Defrost it in the fridge overnight before adding the toppings. It will stay good in the freezer for up to 2 months.
Print
No Bake Blueberry Cheesecake
- Prep Time: 1 hour 30 minutes
- Cook Time: 15 minutes
- Total Time: 1 hour 45 minutes
- Yield: 14
- Category: Dessert
- Method: No Bake
- Cuisine: American
Description
This No Bake Blueberry Cheesecake is made with a classic graham cracker crust, a smooth and creamy cheesecake filling, a sweet blueberry topping and a fluffy 3-ingredient whipped cream! Plus, it’s nice and easy to put together!
Ingredients
For the Graham Cracker Crust
- 2 1/4 cups (302g) graham cracker crumbs
- 5 tbsp (65g) sugar
- 1/8 tsp salt
- 10 tbsp (140g) unsalted butter, melted
For the No Bake Cheesecake Filling
- 24 oz (678g) cream cheese, room temperature
- 1/2 cup (104g) sugar
- 1/4 cup (58g) sour cream
- 3 tbsp fresh lemon juice
- 1 1/4 cups (300ml) heavy whipping cream, cold
- 3/4 cup (86g) powdered sugar
- 1 tbsp vanilla extract
For the Blueberry Sauce
- 1/2 cup + 1 tbsp water, divided
- 1 1/2 tbsp cornstarch
- 6 tbsp (78g) sugar
- 2 tbsp fresh lemon juice
- 2 cups (277g) blueberries
For the Whipped Cream
- 1/2 cup heavy whipping cream, cold
- 1/4 cup (29g) powdered sugar
- 3/4 tsp vanilla extract
Instructions
Make the Crust
- In a medium bowl, combine the crust ingredients and mix well to combine completely.
- Press the mixture into the bottom and up the sides of a 9-inch springform pan. Set in the fridge to chill.
Make the Filling
- In a large mixer bowl, beat the cream cheese and sugar together until well combined and smooth.
- Add the sour cream and mix until well combined and smooth.
- Add the lemon juice and mix until well combined and smooth. Set mixture aside.
- In another large mixer bowl, add the heavy whipping cream, powdered sugar and vanilla extract. Whip on high speed until stiff peaks form.
- Carefully fold the whipped cream into the cream cheese mixture in two parts until well combined.
- Add the filling to the crust and spread into an even layer.
- Refrigerate cheesecake until firm, 5-6 hours or overnight.
Make the Sauce
- Whisk 1 tablespoon of water and the cornstarch together in a small bowl. Set aside.
- Combine the sugar, remaining 1/2 cup of water and lemon juice in a medium-sized saucepan over medium heat and stir to combine. Heat the mixture until the sugar is melted.
- Add the blueberries and continue to cook. Let the blueberries start to soften and release their juices.
Once the blueberry juices have released and the mixture is starting to look more sauce-like, add the cornstarch mixture. - Continue cooking and remove from heat when the sauce begins to thicken and can coat the back of a metal spoon. Refrigerate until cool.
- To prepare for assembly, remove your cheesecake from the springform pan and set it on a plate or serving platter.
Make the Whipped Cream & Assemble
- Add all the whipped cream ingredients to a large mixer bowl and whip on high speed until stiff peaks form.
- Pipe the whipped cream around the outer edge of the cheesecake, then fill in the center with the blueberry sauce.
- Refrigerate until ready to serve.
Notes
- Makes 12-14 slices.
- Cheesecake is best refrigerated in an airtight container and should be eaten within 3-4 days.
Nutrition
- Serving Size:
- Calories: 442
- Sugar: 31.3 g
- Sodium: 217.9 mg
- Fat: 31.4 g
- Carbohydrates: 37.7 g
- Protein: 4.3 g
- Cholesterol: 89.3 mg
Categories
More Easy Blueberry Treats to Try
Craving more blueberry goodness? You’ve gotta try the following recipes next.




Can frozen blueberries be used ?
That would be fine. I would thaw them and drain them before using though.
Can this No-Bake Blueberry Cheesecake be made in a 9″ glass deep pie dish?
You may need to cut down on the amounts for it to fit into a pie dish.