This post may contain affiliate sales links. Please read my disclosure policy.
These soft chocolate-covered cookie balls are the boozy dessert you need in your life! Made in a snap with just 5 ingredients, these No-Bake Baileys Irish Cream Cookies are perfect for Saint Patrick’s Day.
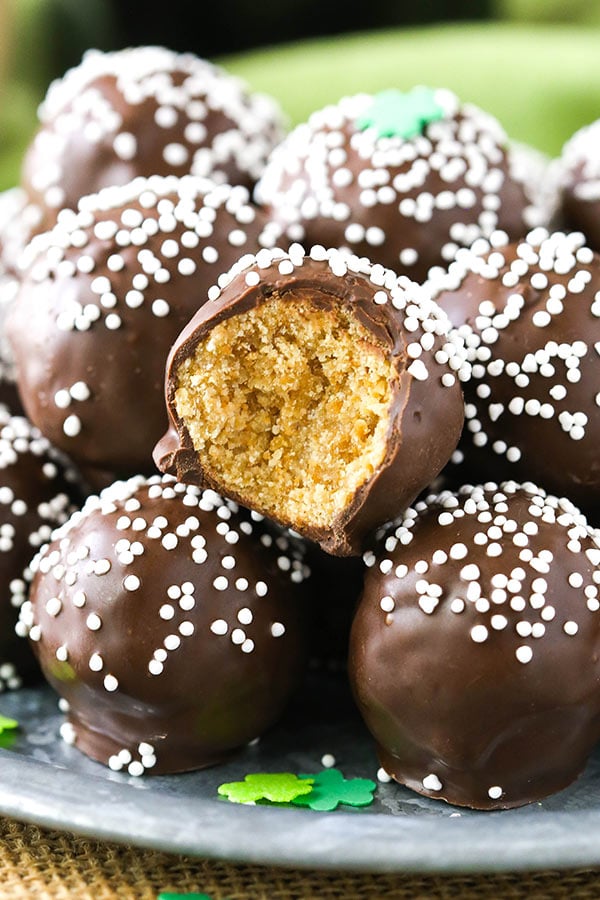
Spiked with Baileys Irish Cream and covered in a silky layer of chocolate, these no-bake cookies are delightful little balls of joy. They’re a cross between fancy liqueur truffles and soft, melt-in-your-mouth cookies. And you only need 5 ingredients!
You simply crush up some vanilla wafers, mix them with powdered sugar, Baileys and corn syrup, cover them in melted chocolate and wait for the chocolate to set. It’s a super simple process that’s easy to master on your first try. One of the best things about these cookies is that the wafer crumbs soak up the flavor and moisture from the Irish Cream as they sit. So they taste even better the day after they’re made!
What Kind of Alcohol is Baileys Irish Cream?
Baileys Irish Cream is a classic liqueur that combines Irish whiskey, cream and cocoa. It’s known for its sweet, dessert-like flavor, and it’s one of the most popular liqueurs in the world. You can add Baileys to all sorts of desserts, but none of them are as quick and easy as these no-bake cookies!
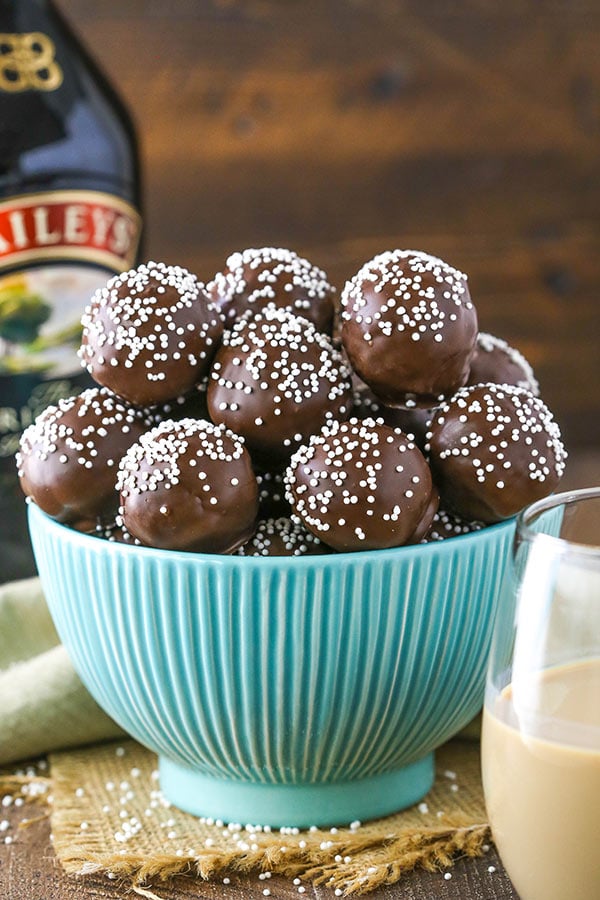
Recipe Ingredients
Let’s take a moment to go over each ingredient used in these cookie balls. You probably already have everything you need!
- Vanilla Wafers: Crushed in a food processor.
- Powdered Sugar
- Corn Syrup: Or you could try Lyle’s Golden Syrup.
- Baileys Irish Cream
- Chocolate Candy Coating: Such as candy melts or candiquick.
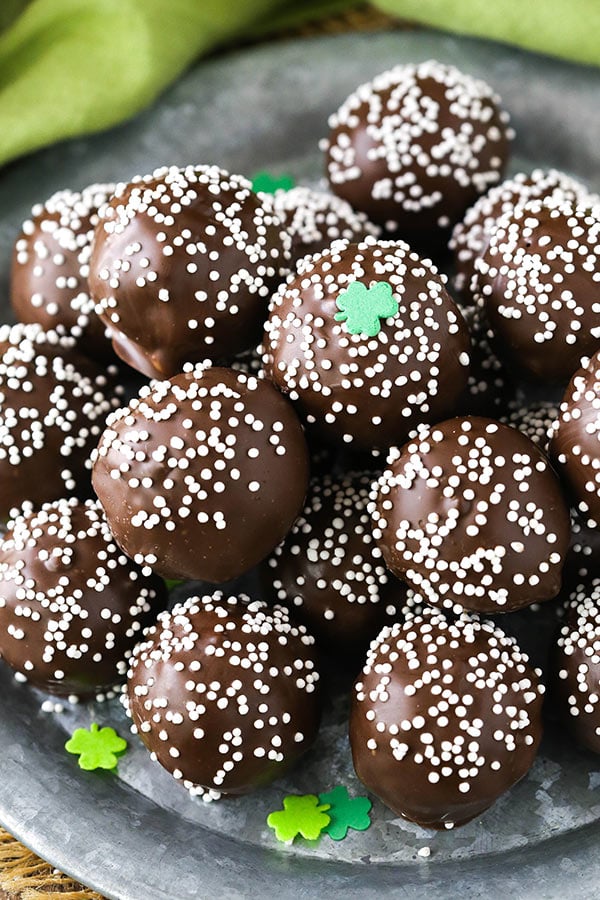
One thing that sets these cookies apart from other no-bake cookie balls is that they don’t need to be chilled. As soon as the balls are formed, they’re ready for the chocolate coating!
- Combine Wafer Crumbs & Powdered Sugar: Combine the vanilla wafer crumbs and powdered sugar in a large bowl.
- Add Corn Syrup & Baileys: Add the corn syrup and Irish cream and mix well. The mixture may seem kind of crumbly, but it does hold its shape very well when you mush it together to form the balls.
- Form Cookies: Make balls of about 1 tablespoon of cookie dough each. Shape the balls with your fingertips and set them aside. The dough might become sticky – you can dust your fingertips with powdered sugar to help with the stickiness.
- Melt Chocolate: Microwave the chocolate candy melts in increments of about 45 seconds, mixing after each increment and reducing the microwave time as needed to avoid burning the chocolate.
- Coat Cookies: Dip each cookie ball into the melted chocolate to coat. You can rest the balls on a fork or use a toothpick.
- Let Set: Place the coated cookie balls onto a sheet of parchment or wax paper and allow the chocolate to set.
Tips for Success
Even though this recipe is easy as can be, it’s always helpful to have a few tricks up your sleeve. Here are all of mine!
- Use Chocolate Made for Melting: Although it’s possible to melt down regular chocolate chips for your cookie ball coating, I recommend using chocolates that are specifically designed for melting and hardening. They’re easier to work with and less likely to burn.
- Stop the Dough from Sticking: Due to the warmth of your fingers, the cookie dough can stick to them and get messy as you work with it. I like to prevent this by dusting my fingertips with powdered sugar when I’m rolling the dough into balls.
- Avoid Burning the Chocolate: Once your chocolate starts to get melty, lower the microwave time to keep it from burning. And don’t forget to stir after each increment. I usually start at 45 seconds and end up somewhere around 10. To simplify the melting process, use a candy melting pot instead of the microwave.
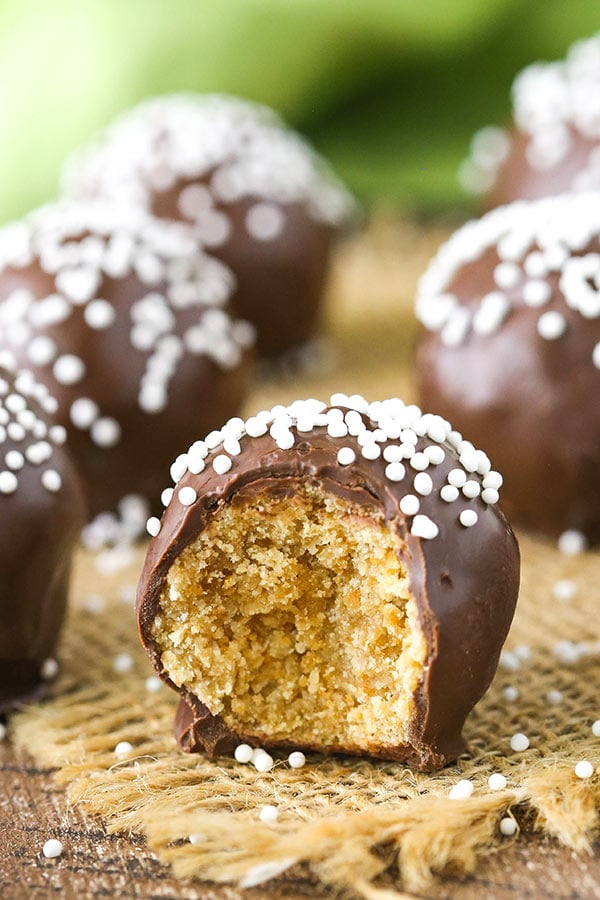
- Make These a Day in Advance: I encourage you to make these cookie balls the day before you plan to enjoy them. They will still be delicious if you eat them right away, but the wafer crumbs will be more distinct rather than fully incorporated and melt-in-your-mouth awesome.
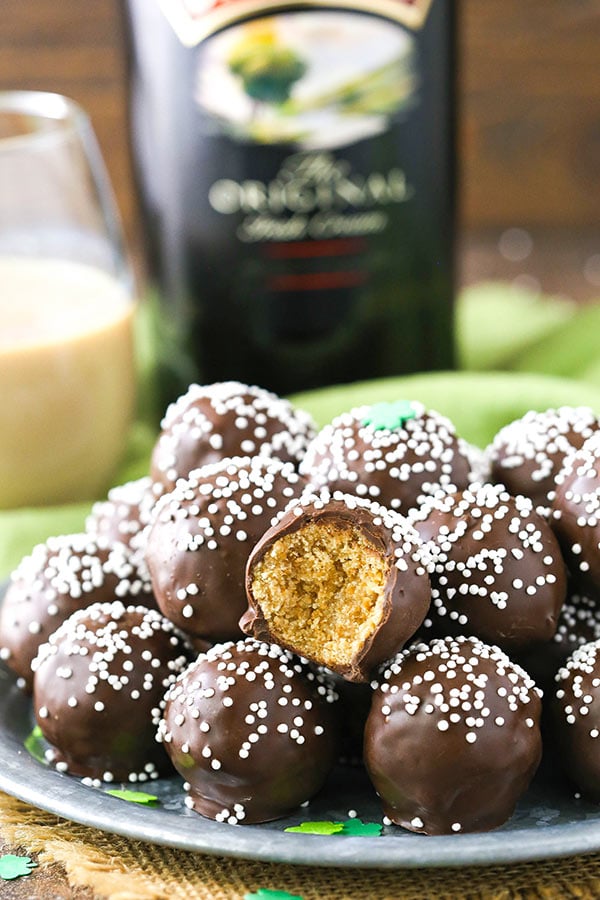
It’s time to talk about finishing touches! There are tons of simple yet elegant ways to decorate your cookie balls.
- Top with Nonpareil Sprinkles: I love decorating my cookie balls with those little round sprinkles known as nonpareils. Sprinkle them over the cookies before the chocolate coating has set so that they stick.
- Add a Chocolate Drizzle: If you’d like to add a chocolate drizzle to your cookies, wait until the chocolate coating has set. Once it has fully hardened, drizzle additional melted chocolate over each ball.
- Decorate with Sanding Sugar: Want to add some green to your truffles to avoid getting pinched by a leprechaun? Try sprinkling the cookies with green sanding sugar before the chocolate sets.
- Top with Oreo Crumbs: Crushed Oreos are another tasty topping for these cookie balls. Once again, you should sprinkle them on before the chocolate hardens.
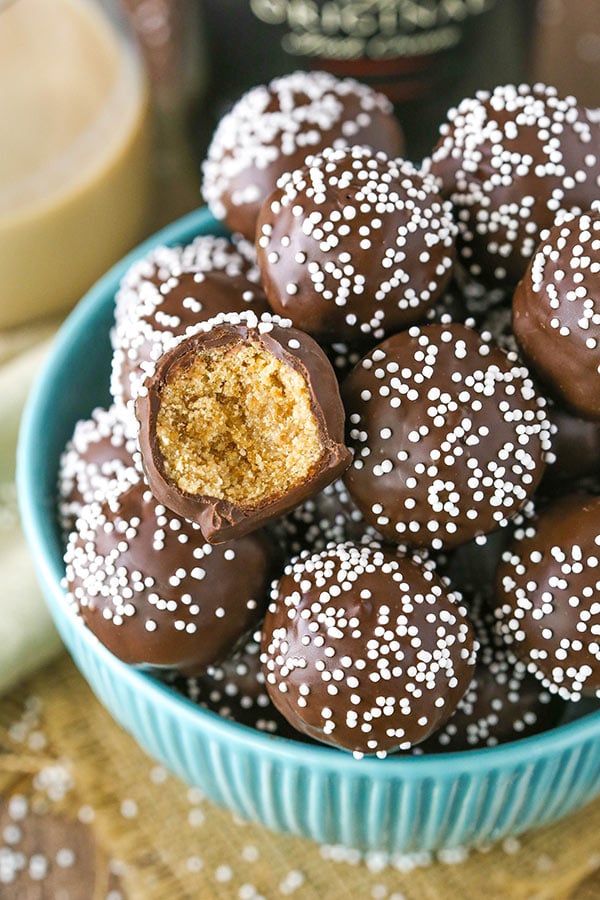
Storage Instructions
It’s totally okay to keep your cookies at room temperature for 24 hours or so, but if you’re storing them for longer, refrigerate them in an airtight container. They will last this way for up to a week! Feel free to let them come to room temperature before enjoying them if you’d like.
Can I Freeze These?
Absolutely! These cookies can be stored in the freezer for up to 3 months. Keep them in a freezer-safe storage bag or airtight container. Thaw them out in the fridge or on the counter before chowing down.
Watch How To Make Them
Print
- Prep Time: 1 hour 30 minutes
- Cook Time: 0 minutes
- Total Time: 1 hour 30 minutes
- Yield: 22
- Category: Dessert
- Method: No Bake
- Cuisine: American
Description
These soft chocolate-covered cookie balls are the boozy dessert you need in your life! Made in a snap with just 5 ingredients, these No-Bake Baileys Irish Cream Cookies are perfect for Saint Patrick’s Day.
Ingredients
- 3 cups vanilla wafer crumbs
- 1 cup (115g) powdered sugar
- 1/3 cup (80ml) corn syrup
- 1/3 cup (80ml) Baileys Irish Cream
- 12 oz candy melts
Instructions
- Combine vanilla wafer crumbs and powdered sugar in a large bowl.
- Add corn syrup and Irish cream and mix well. Mixture will be crumbly.
- Make balls of about 1 tablespoon each of the vanilla wafer mixture. Shape balls with your fingertips and set aside. Dough might become sticky – you can dust your fingertips with powdered sugar to help with the stickiness.
- Melt candy melts in a bowl in the microwave using short time increments of about 15-45 seconds (more explanation on how I do that above).
- Dip each ball into the chocolate (you can rest the balls on a fork, or use a toothpick) and set on a piece of parchment paper to dry.
Notes
- Makes 20-24 cookie balls
- To Store: These cookies can be kept at room temperature for 24 hours or so, but if you’re storing them for longer, refrigerate them in an airtight container for up to 1 week. Bring them to room temperature before enjoying if desired.
- To Freeze: Freeze in a freezer-safe storage bag or airtight container for up to 3 months. Thaw in the fridge or on the counter before enjoying.
- Recipe modified from Fabulous Foods
Nutrition
- Serving Size: 1 Cookie Ball
- Calories: 155
- Sugar: 20.2 g
- Sodium: 36.9 mg
- Fat: 6 g
- Trans Fat:
- Carbohydrates: 25.1 g
- Protein: 1.6 g
- Cholesterol: 3.1 mg
Categories
More Boozy Treats to Try
Craving more sweet treats that incorporate alcohol? Be sure to check out the following recipes.






Well I have made these twice in the past month…and have had no issues…I did not use a food processor but used a freezer bag and a rolling pin to crush the cookies and turn them into crumbs…these are delicious….I used the chocolate cherry Bailey’s
For those having issues with the cookies going flat…I wouldn’t add all the liquid at one time…I would hold some in reserve…mix the karo and Bailey’s together first before adding to the crumbs…also I used domno powder sugar…which does not contain cornstarch…some other powder sugars do contain cornstarch
One other note…I make these a bit smaller and get about 28 to 30 cookies…for me that is a perfect size and I think the smaller size helps the cookies to maintain it’s roundness
Thanks for sharing your tips and I’m so glad you enjoyed!
Hi! Do you think I could just crush the Nilla wafers with a rolling pin or do you think I’d have to use a food processor? Thanks!
I’d suggest the food processor. You want nice crumbs that will hold together well. A rolling pin will likely give you larger chunks of cookie.
I was just wondering if anyone has tried freezing these, and if they freeze well?
I haven’t tried freezing them, but they should be fine.
Brenda, did you try freezing them? I’d like to make 10 dozen or so for the holidays, so I would need to freeze them for sure.
Just made these this weekend – twice actually! First for 18 women in my BUNCO group RAVE REVIEWS! Second for my camping Halloween weekend (I put neon green spiders on them!) for 60 men and women – again, LOVED THEM! Asked over and over for the recipe and was once even accused that I didn’t really make them (Betty Crocker I’m not!). I added the 1/3rd cup of Bailey’s, however I make my own, and wish they were a little stronger. As you changed the recipe a bit, I wonder if I can add more Bailey’s or if I should make my Bailey’s stronger to begin with. I had absolutely NO PROBLEM with the consistency or them rolling fine. And didn’t particularly stick to my hands either. Thanks so much for this “keeper”!
I would just experiment with it a bit. You could try adding an additional teaspoon or so at a time, then roll a ball and see how it does.
Secret to making chocolate bars/chips into dipping chocolate is addition of paraffin. The correct ratio is 1 oz paraffin (1/4 bar) to 6 oz chocolate. Thr other option is using Crisco or coconut oil instead of paraffin (coating will not be as firm) – using slightly less 2 Tablespoons per 6oz chocolate.
The trick is to heat the flow agent (paraffin, Crisco, coconut oil) first and then stir in chips or broken up chocolate bars.
Note to anyone getting too moist of dough: the addition of rice flour, instant potato flakes or corn starch (ingredient in powder sugar besides the sugar) will firm up dough. Add in small qualities, giving 5 minutes for moist to absorb) potatoe flakes in my opinion not only firmed up the dough but improved the recipe – less cakey, more creamy.
Some tried and liked non-alcoholic versions:
1/4 cup orange juice + 1.5 tablespoons almond extract
1/3 carmel syrup (sticky, potatoe flakes needed) + 1/4 cup fine chopped walnuts
1/3 canned pumpkin + 1 tablespoon pumpkin spice
How long will they hold in the refrigerator, I like to do my holiday baking 1 week before when possible.
I would think they’d be ok. I actually think these get better after they sit for at least 24 hours anyway. 🙂
I made these for Saint Patrick’s Day, delicious!!!!My friend’s also loved them. I did n’t have a problem making these. I followed the recipe and all went well. Will make again. Thank You !!!!Lorraine
I’m so glad you enjoyed them!
I just wish it was more clear that Nilla wafers were different from the sugar vanilla wafers. Since the recipe mentioned vanilla wafers, I ended up using the sugar ones and it turned out to be overly sweet 🙁
Oh gosh, I’m sorry. I hadn’t even really thought about that cookie confusion. Those definitely would create a very different textured cookie ball. I hope you get a chance to try them with the correct Cookie because they really are good.
I actually just looked at the recipe more closely and saw that I already linked to the correct cookies. But still, I’m sorry for the confusion.
Well, I just made these little gems, and it is a humid day and I think that contributes to how they turn out. I made them in my food processor, grinding the Nilla wafers in it, then adding all the other ingredients in it. It all came together well. I used a small ice cream type scoop to for m them into balls, then used my hands using powdered sugar as suggested and it worked. The only problem I had was dipping in chocolate, that was a mess and I think it was the humidity. Mine are not pretty like the picture so they are in the fridge for now hardening. All in all I would say this recipe worked for me but I let the processor do the work. It is very similar as some others said to a rum ball recipe of old.
After going back and reading the preface to the recipe, I see that even though the recipe calls for chocolate chips OR chocolate melts, the preface recommends not using chocolate chips. I used chocolate chips and didn’t have good luck so maybe it wasn’t the humidity, don’t know why that would be in the recipe if it is not recommended. If I make these again ( the jury is still out) I will use the melts.
Looking forward to making these for a fundraiser tomorrow! I have two questions for you, before I make them tonight:
(1) May I ask why you recommend against chocolate chips, in favor of melts? Hoping to spare myself an extra trip to the store.
(2) Have you by any chance made with a non-alcoholic substitute for the Bailey’s? I’d like to make two batches, one for the kids and one for the adults.
I think at the time I just preferred the chocolate chips. They do give you a softer chocolate coating. But the candy melts are totally fine and can be easier to work with. If you have those, definitely go with those. I haven’t made a non-alcoholic version, but one option is to get the Baileys flavored coffee creamer and use that in place of the alcohol.
You wrote in the recipe that you do NOT recommend choc chips. I’m confused.
It’s hard for me to see what comment you’re responding to because of how I see things on the backend. But I would recommend something more like almond bark or the Ghirardelli melting chocolate. You could use chocolate chips, but they’ll likely be a little harder to work with.
How many balls does this recipe make?
20-24 balls.
Hi Lindsay, I might have a silly question for you. I love to try the recipe but I also would like to give it to my kids. Is this something I can give my kids since there is alcohol involved?
I wouldn’t recommend giving this to your kids since it has unbaked alcohol.
I need these in my life. Like yesterday! 😉
Hi. Thanks for the yummy recipe.
In my county we don’t have corn syrup. Can you suggest substitute for that?
Can I mix sugar with water?
Yes, I think a sugar water that’s been thickened should be fine.
These turned into a messy pile of goo that were not workable, even after letting them chill. I will not be coming back to you for recipes again and I wish I had read all of the negative feedback on these ones before wasting my time.
TOO MUCH BAILEYS! should be no more than a half a cup, plus one half cup pecans or walnuts. Refrigerate before rolling. Wish I would have used my regular rum ball recipe and just substituted the baileys.
Care to share your rum ball recipe???
So mine did not turn out to look like this at all. I used light corn syrup though. Could that have messed it up?
That shouldn’t make a difference. I’m sorry.