This post may contain affiliate sales links. Please read my disclosure policy.
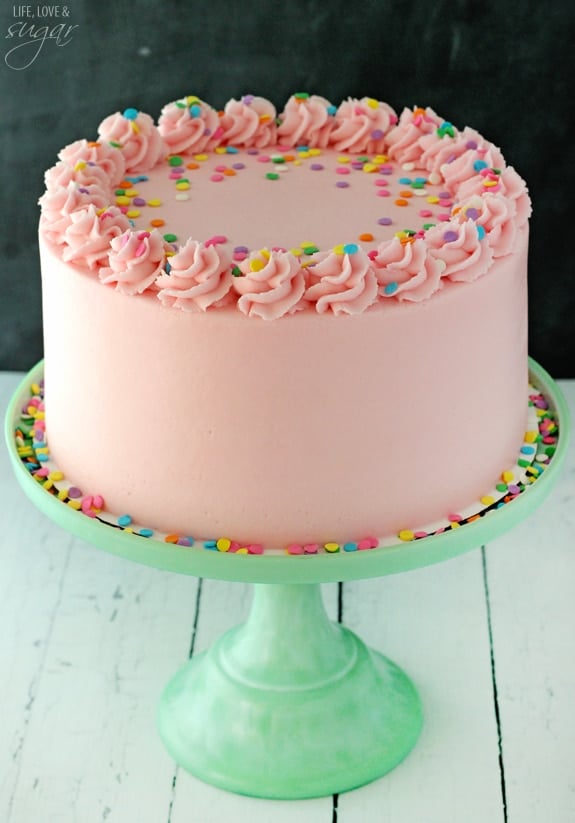
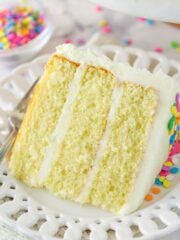
I am so excited to share this recipe for a Moist and Fluffy Vanilla Cake with you today! It’s a cake I’ve been making for years, but wanted to tweak and it’s finally ready!
For those who know me and see me regularly, they know that I play with vanilla recipes like it’s my job. I kind of feel like you are only as good as your best vanilla cake. It is super important to have a wonderful one, and yet it seems to be the hardest for people to find. Plus everyone has their own idea of what makes it “the best”. I think I might have made it my life’s mission to make the best vanilla cake for everyone. It may not be that there’s one “best” recipe for all, but maybe a couple recipes that you can choose from. Bottom line – I make a lot of vanilla cake. And it’s all for you. 🙂
So let’s talk a little about this recipe. You may or may not have seen/made my vanilla cupcakes. They have been quite popular and it’s a recipe I go back to time and time again. I love it and so many others love it too.
But it always amazes me how people love different things about cakes. Many people have agreed that they are perfect, moist and fluffy and it’s their new favorite. Yet some think they are too dense. To be fair, when you bake it as a cake, it is fairly dense. And yet, every time I do a taste comparison with a larger group (usually our church group), it’s their favorite – whether a cake or cupcakes. Funny, right?
But I am someone who likes options. I don’t want to feel limited and I’m sure I’m not the only one. And since I’ve loved this cake for so long, I decided it was time to share it so you could have more options. 🙂 The only reason I haven’t shared it sooner is that I wanted to tweak a few things. One thing being that the original recipe didn’t do well as cupcakes. They separated from the liners as they cooled, so I wanted to fix that (and I did!).
Of course, now it begs the question of how this recipe is different from the other one. Neither is necessarily better than the other. That really depends on your preference. But any time I see multiple options for a particular flavor (like vanilla) on someone’s site, I’m always curious about the differences so I know which one I want to try. So I want to break down some of the differences and similarities for you.
First, let’s talk about the ingredients. Just like with the other recipe, I wanted to have simple ingredients that most people usually have on hand. The original recipe calls for cake flour and I wanted to replace that with all purpose flour. That, plus some other tweaks to account for the change, and you now have a pretty normal ingredient list. Score!
Second, there’s the mixing method. The other recipe is very simple. Basically a throw everything together and mix method, which is wonderfully easy. This cake uses the creaming method. The steps are more involved and definitely need to be followed.
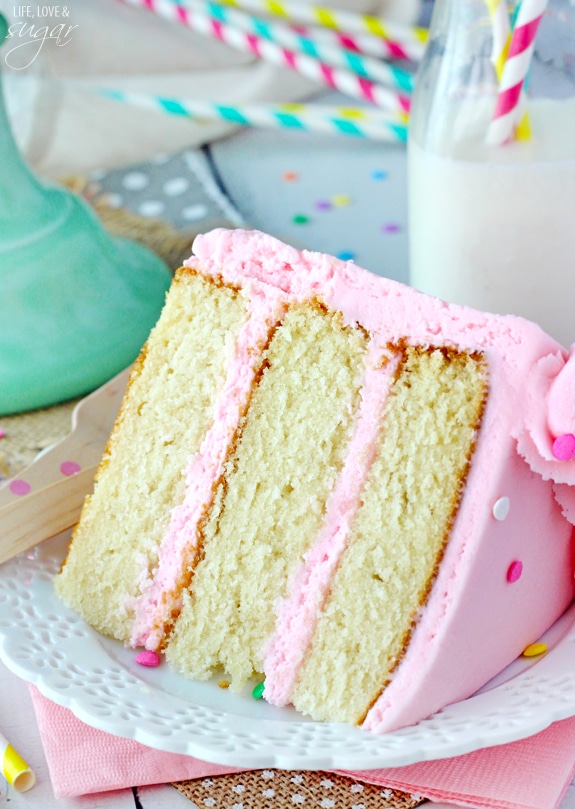
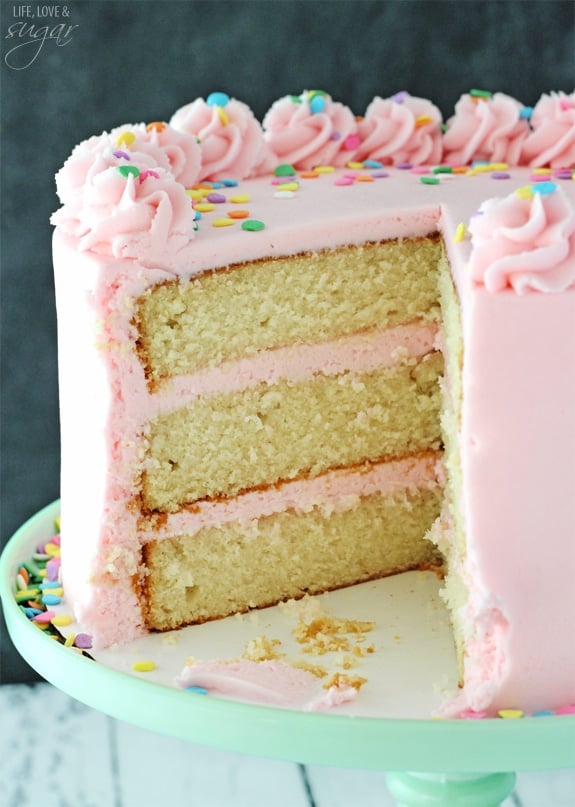
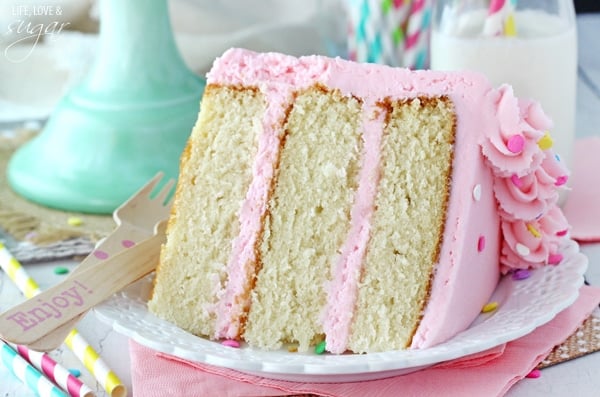
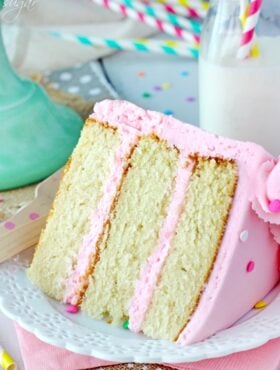
Third is the final cake taste and texture. Again, this is very subjective in terms of which is better. I love them both. They both have excellent vanilla flavor. This cake is flatter on top when baked. As for which is denser, or fluffier, I think they’re both fluffy and dense. Confusing, right?
This cake manages to be a little denser-seeming, as there aren’t as many air pockets in the baked cake. But when you bite into it, it actually has a super fluffy taste and feel to it. I feel like the other recipe is actually the denser one, especially when made as a cake, but it has more air pockets and also manages to seem fluffy. Both are very moist.
Personally, I like the other recipe for cupcakes (they’re still my perfect cupcake!) and this one for a cake. But both can be used as a cake or cupcakes and both are delicious.
Hopefully that explanation was more helpful than confusing. 🙂
The bottom line is that you can’t go wrong with either, though you might end up preferring one over the other if you try them both.
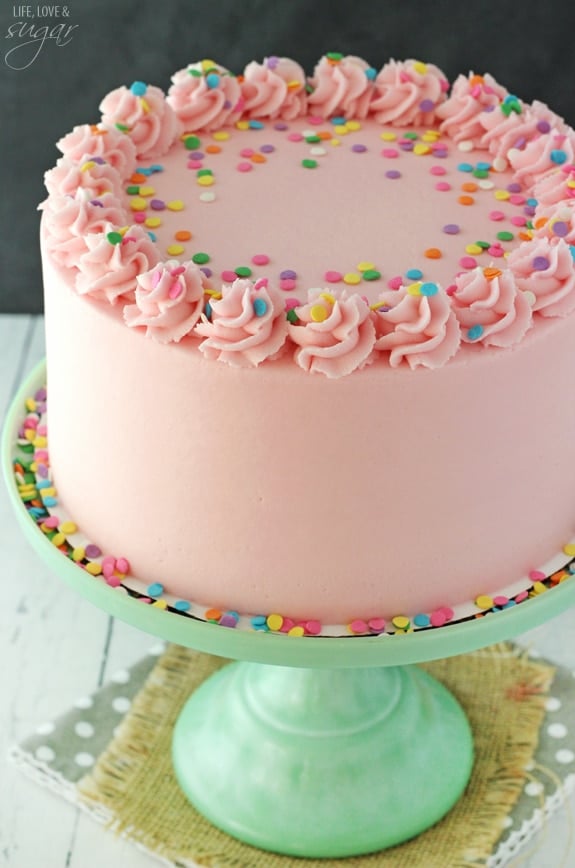
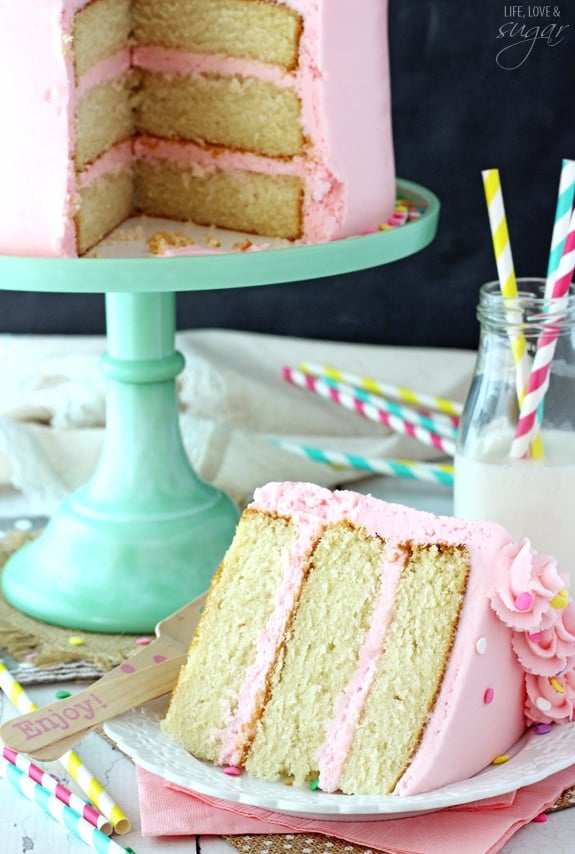
I love the texture of this cake. It is absolutely wonderful when layered and iced and I find it very hard to not want to eat the entire cake. It really is a very soft and moist cake. I recently shared it with a friend who wanted to make a vanilla cake for her daughter’s birthday and they loved it!
So there you have it – another vanilla cake/cupcake recipe. Decisions, decisions. If you give them both a try, I’d love to know what you think. 🙂
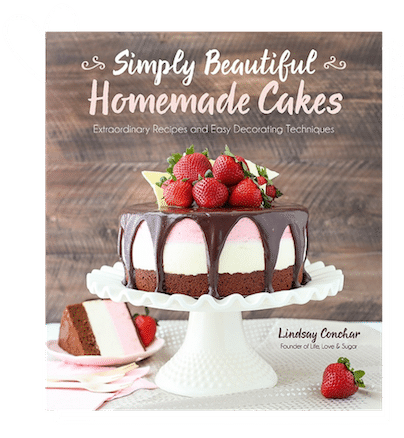
SHOP THE RECIPE

You might also like:
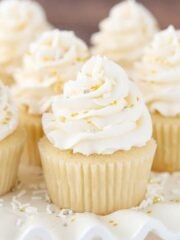
Moist Vanilla Cupcakes (new!)
Perfect Moist and Fluffy Vanilla Cupcakes
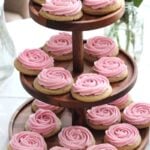
Rose Water Vanilla Cake
How to frost a smooth cake with buttercream
Homemade Vanilla Cake Mix
Moist and Fluffy Vanilla Cake
- Prep Time: 20 minutes
- Cook Time: 33 minutes
- Total Time: 53 minutes
- Yield: 12-14 Slices, or 36 Cupcakes
- Category: Dessert
- Method: Oven
- Cuisine: American
Description
This is a cake I’ve been making for years, but wanted to tweak and it’s finally ready!
Ingredients
CAKE
- 1 1/2 cups (336g) salted butter, room temp (I use Challenge Butter)
- 2 1/4 cups (466g) sugar
- 4 egg whites
- 3 tsp vanilla extract
- 3 cups (390g) all purpose flour
- 1/4 tsp baking soda
- 2 3/4 tsp baking powder
- 1 1/2 cups (360ml) milk
FROSTING
- 1 1/2 cups (336g) salted butter
- 1 1/2 cups (284g) shortening
- 12 cups (1380g) powdered sugar
- 1 tbsp vanilla extract
- 6–7 tbsp (90-105ml) water or milk
Instructions
1. Preheat the oven to 350°F (176°C). Line three 8-inch cake pans with parchment paper in the bottom and grease the sides.
2. Beat the butter and sugar in a large bowl on medium speed about 2 minutes, until light and fluffy. Scrape down the sides of the bowl.
3. Add the egg whites and vanilla and beat on medium speed for about 1 minute, no more. The texture of the batter will change and become thicker and may seem a little curdled.
4. Combine the flour, baking soda and baking powder in a medium sized bowl.
5. Add about one-third of the flour mixture to the batter and beat on medium speed until incorporated.
6. Add about half of the milk and beat on medium speed until incorporated.
7. Continue alternating adding dry and wet ingredients, scraping down the sides of the bowl as needed, and beating until incorporated after each addition. There should be three total additions of dry ingredients and two total additions of milk. End with the dry ingredients. The batter will be thick and glossy.
8. Divide the batter evenly between the cake pans and spread evenly.
9. Stagger the cake layers on the oven racks so that no layer is directly over another. Bake for 30-33 minutes, or until a toothpick inserted into the middle of the cakes comes out clean. Don’t be alarmed if the tops are a little browned, that is normal.
10. Remove cakes from oven and allow to cool for 3-5 minutes.
11. Remove cakes from pans to cooling racks and cool completely before frosting.
12. To make icing, combine butter and shortening and mix until smooth.
13. Add 6 cups of powdered sugar and mix until smooth.
14. Add vanilla extract and 4 tbsp of water or milk and mix until smooth.
15. Add remaining powdered sugar and mix until smooth.
16. Add more water or milk until desired consistency is reached.
17. To assemble cake, place first layer of cake on your cake stand or plate. NOTE: The cake layers shouldn’t have a rounded dome on top of them, but if they do, cut them off before stacking.
18. Add about 1 1/2 cups icing and spread into an even layer.
19. Add second layer of cake and another 1 1/2 cups of icing.
20. Top cake with remaining layer of cake.
21. Use the rest of the icing to ice the outside of the cake. For instructions on icing a smooth cake and the piping, here is a tutorial on How to Frost a Smooth Cake.
TO MAKE CUPCAKES:
Follow instructions above through number 7. Fill cupcake liners about 1/2 way. Bake at 350 degrees for about 16-18 minutes. Allow to cool in pan for 2-3 minutes, then remove to cooling rack to cool completely. Recipe makes about 36 cupcakes.
Nutrition
- Serving Size: 1 slice
- Calories: 1200
- Sugar: 123.7 g
- Sodium: 419.1 mg
- Fat: 66.5 g
- Carbohydrates: 146.3 g
- Protein: 8.8 g
- Cholesterol: 119.2 mg
Filed Under:
Recipe modified from this recipe.
Enjoy!

This cake looks amazing. I was wondering if you bake with true convection or just reg. bottom heat when you bake your cakes? I am noticing a huge difference when I use one or the other so I want to have the same crumb as yours. Thanks for taking the time to answer all these questions.
I have a convection oven that I use the bake setting on. The heat source comes from the top of the oven. I hope that helps!
I am having trouble deciding what recipe of yours to use.. you have another recipe that’s more yellow and uses 4 eggs. What is the differences between the two?? I want a fluffy and airy cake but still moist
Gosh, hard to describe and I think preference really depends on the person. But I do think this cake has a tighter crumb than the Moist Vanilla Cake. If I had to guess, I’m thinking you’d probably prefer that one.
I’m sad to say it but this cake was pretty bad. It tasted kind of like cornbread. It looked really good and was cooked nicely but it still was bad. I used a store bought frosting and that made it a little better.
Hello, What happened to the recipe? i don’t see it anymore.
I’m so sorry for the trouble! There was an issue today that affected thousands of sites – mine included. It looks like it’s been resolved, so you should be able to access it here now. Sorry about that!
Hello Lindsay. I absolutely love your blog an those wonderful recipes. There are just a few things that are difficult to buy here in Europe as shortening. Is there a substitute for shortening?
Butter can be used as a substitute for shortening.
Hi Lindsay!
Would it be okay if I used Lactose free milk?
I haven’t ever tried it, but imagine it would be ok.
It tastes like corn bread in like a really bad way. Won’t be making this again
Have made this a few times and it always comes out great! My question is, I use your method to get the smooth frosting. But for some reason it always settles quickly and I can see the rings around the outside of the cake where the layers of frosting inside are. Is there any way to get rid of this?
How high would you say this cake is when made with the 8 inch pan and three layers?
I’m not sure, I haven’t measured the cake before.
I plan on trying this out for my daughters birthday in a couple months. I had two questions if you made this as a bottom for a two tier cake what round size would you use for the top tier? With that I currently live at a high altitude would you add anything to help keep the cake moist things tend to cook faster and dry out a little faster during cooking.
I would think you could use just about any size that was smaller. Perhaps a 5 inch top with an 8 inch bottom would be best. I really don’t know much about high altitude baking, I’m sorry.
I hate to say it, but this cake was horrible! Came out of the oven properly and was perfectly done but the taste and texture were awful. Everyone thought it tasted like cornbread (now I’m seeing other similar comments like this). Such a waste of all organic ingredients and time!! I’ve never made a cake that people didn’t like and we ended up throwing it out. Such a disappointment since it was for a special occasion. I know better now to stick to professional, tested recipes. I hate to post negative comments but just want to warn others so they don’t make the same mistake.
Slightly crispy exterior, reminiscent of corn bread. Not bad, just not quite as advertised.
Love this recipe!!! I set a timer while mixing the vanilla and everything, Felt like cooking with my grandma! I mean that as the highest compliment! My husband walked in and asked what I was doing and when I said “following directions to my his delicious cake!” He chuckled and said “you never follow directions” ???? this one was fun and easy! Cakes in the oven now but the batter was so good the kids and I almost wanted to just eat the whole bowl! Thanks for sharing!!
Love it! I’m glad you enjoyed making the cake! 🙂
I made this cake on today. After reviewing the recipe and reading the comments I made the following changes. I used 1 1/2 tablespoons of vanilla bean paste, 1 cup of buttermilk and 1/2 cup of milk and 1/8 teaspoon of pink Himalayan salt. The cake was moist, flavorful and delicious. Thank you for an AWESOME base of a recipe.
I’m so glad you enjoyed!
Hi Lindsay!
Just made this cake for my daughter’s 1st birthday and it was absolutely Amazing!!! Everyone couldn’t stop eating it! I’m making it again for a party next week but Serving with fresh whipped cream and berries! Thank you!!!
Amy
I’m so glad you enjoyed it! Thanks Amy!
I made this cake for my daughters 1st birthday (decorated it unicorn style) and everyone said how amazing it tasted. I’m so pleased and can not wait to try your other recipes!!!
Awesome! So glad you enjoyed it!