This post may contain affiliate sales links. Please read my disclosure policy.
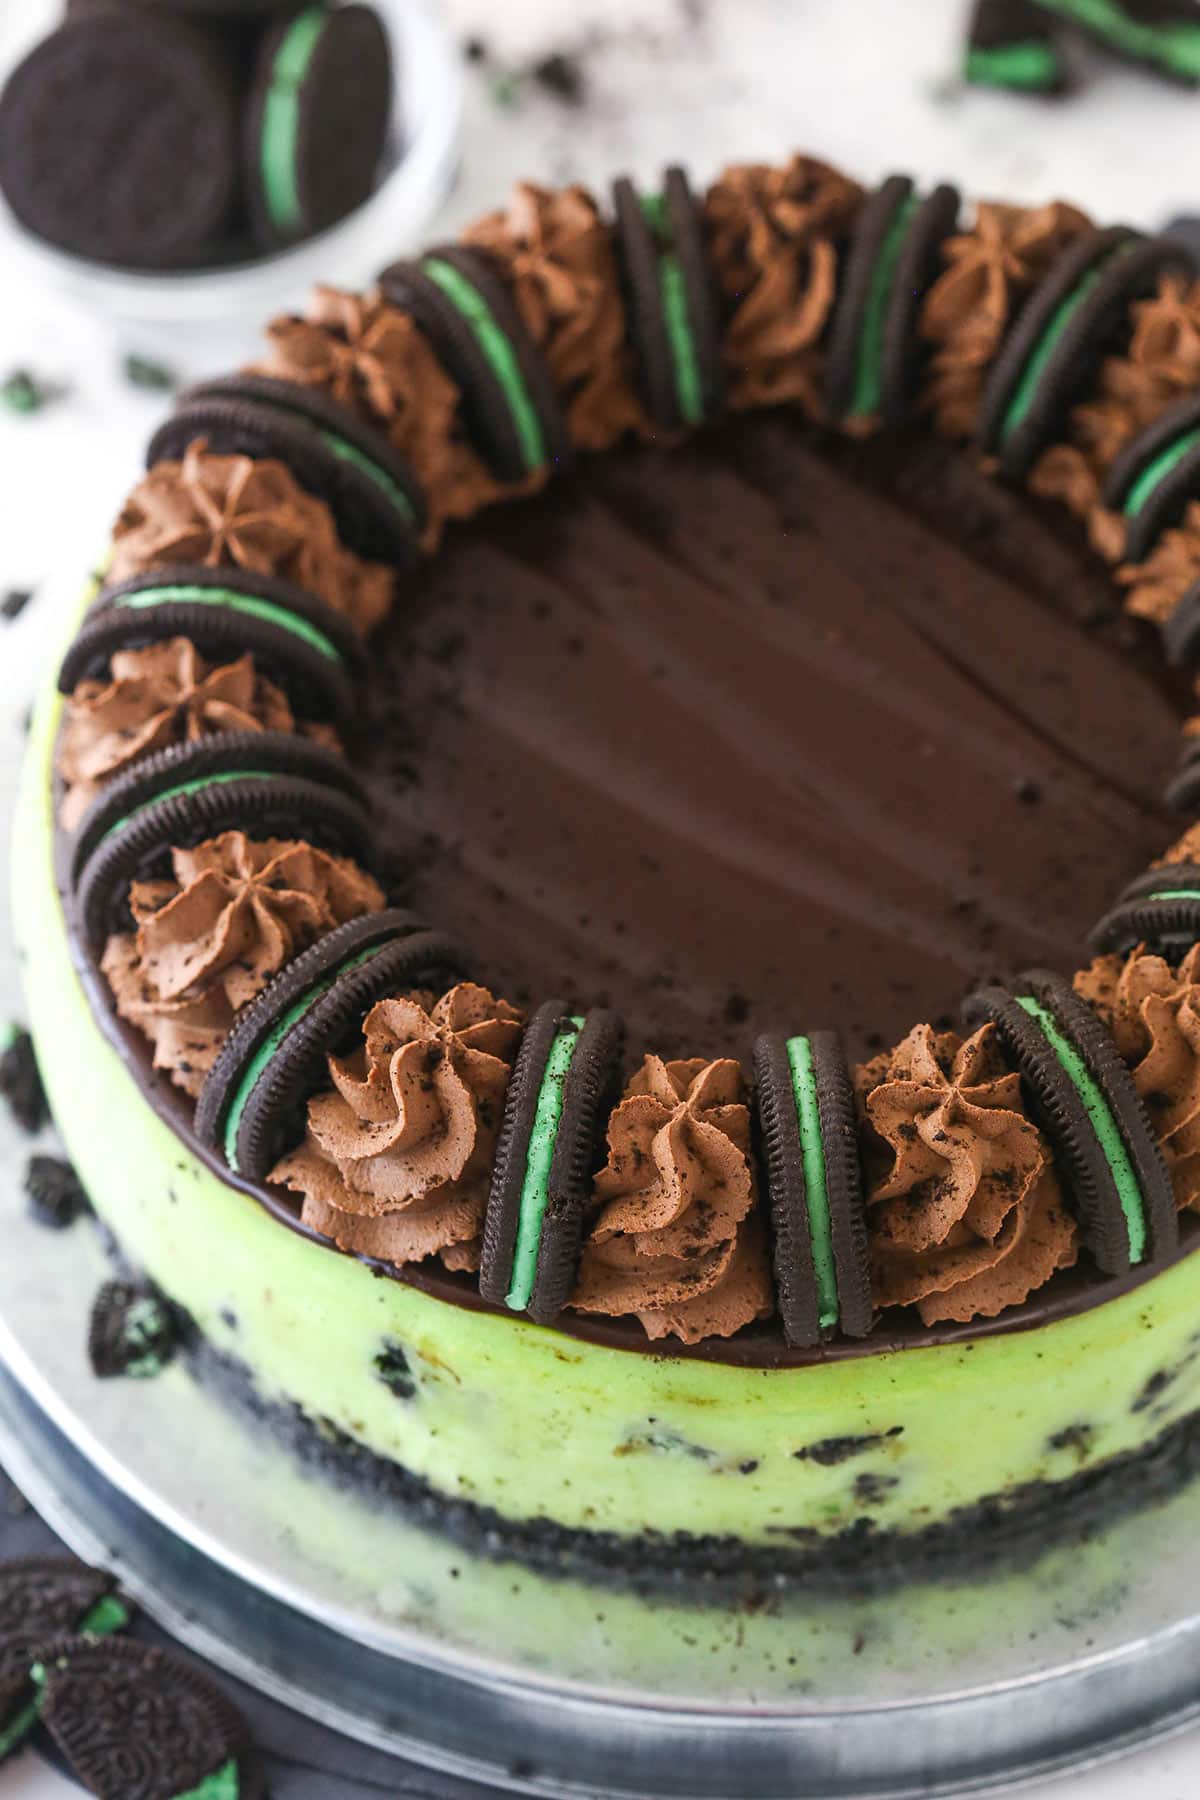
This Mint Oreo Cheesecake has a mint Oreo crust with a creamy, minty cheesecake filling loaded with mint Oreos and chocolate sauce. The whole thing is topped with rich chocolate ganache and chocolate whipped cream. It’s a mint-chocolate lover’s dream.
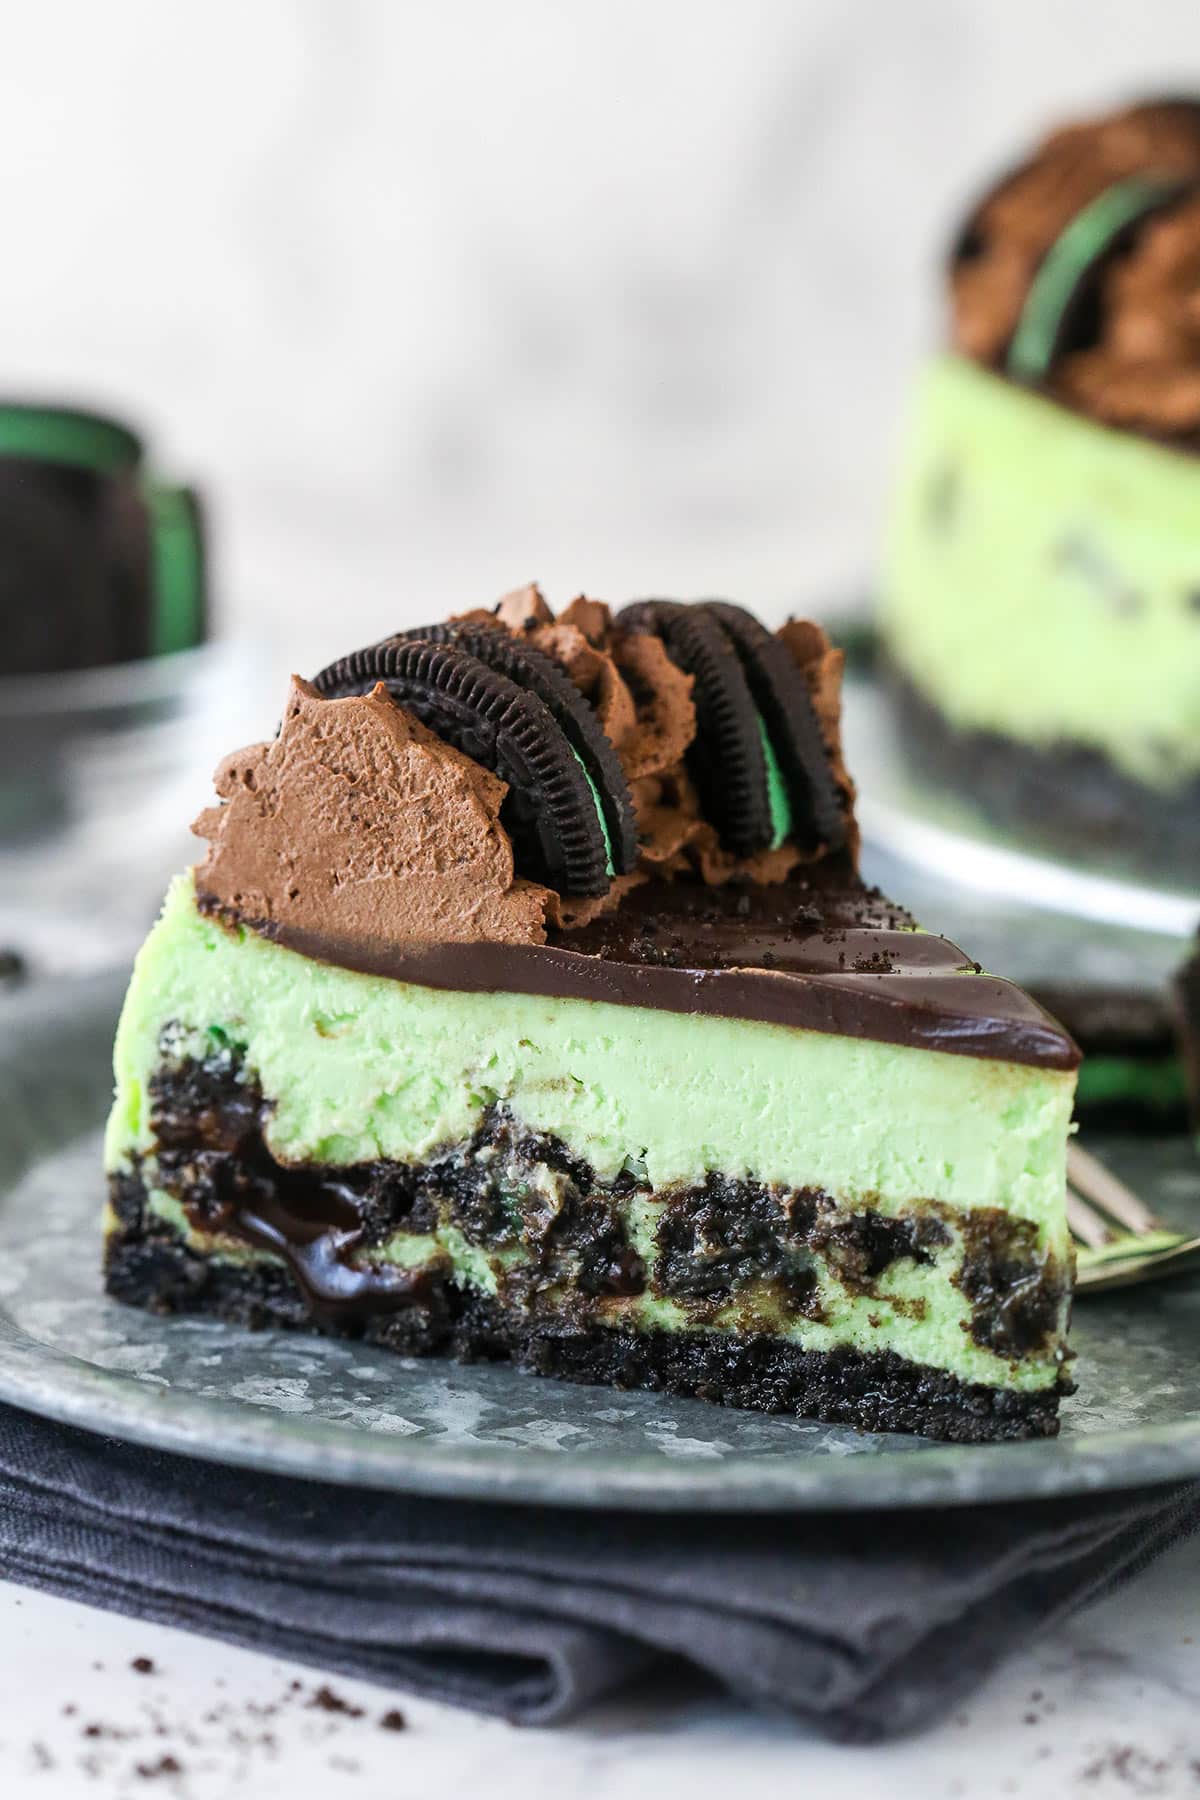
Decadent Mint Oreo Cheesecake Recipe
Cheesecake has always been a favorite of mine. I love the thick and creamy texture of it. And making various flavors of cheesecake is also a favorite. This mint chocolate version is such a wonderful way to enjoy those flavors. You’ve got the crunchy chocolate Oreo crust, the rich, creamy mint cheesecake filling layered with mint Oreos and gooey chocolate sauce, and then finally the chocolate ganache and chocolate whipped cream. Every bite is full of flavor and texture and should be savored.
And mint and chocolate are easily one of the most classic flavor combinations. You can find it in many forms on my site from recipes like my Mint Chocolate Chip Cupcakes and Mint Chocolate Layer Cake, to my Mint Oreo Icebox Cake. I even have a mini version of this cheesecake with these Mini Mint Oreo Cheesecakes. Every one is wonderful and worth your attention, but this Mint Oreo Cheesecake is the star today.
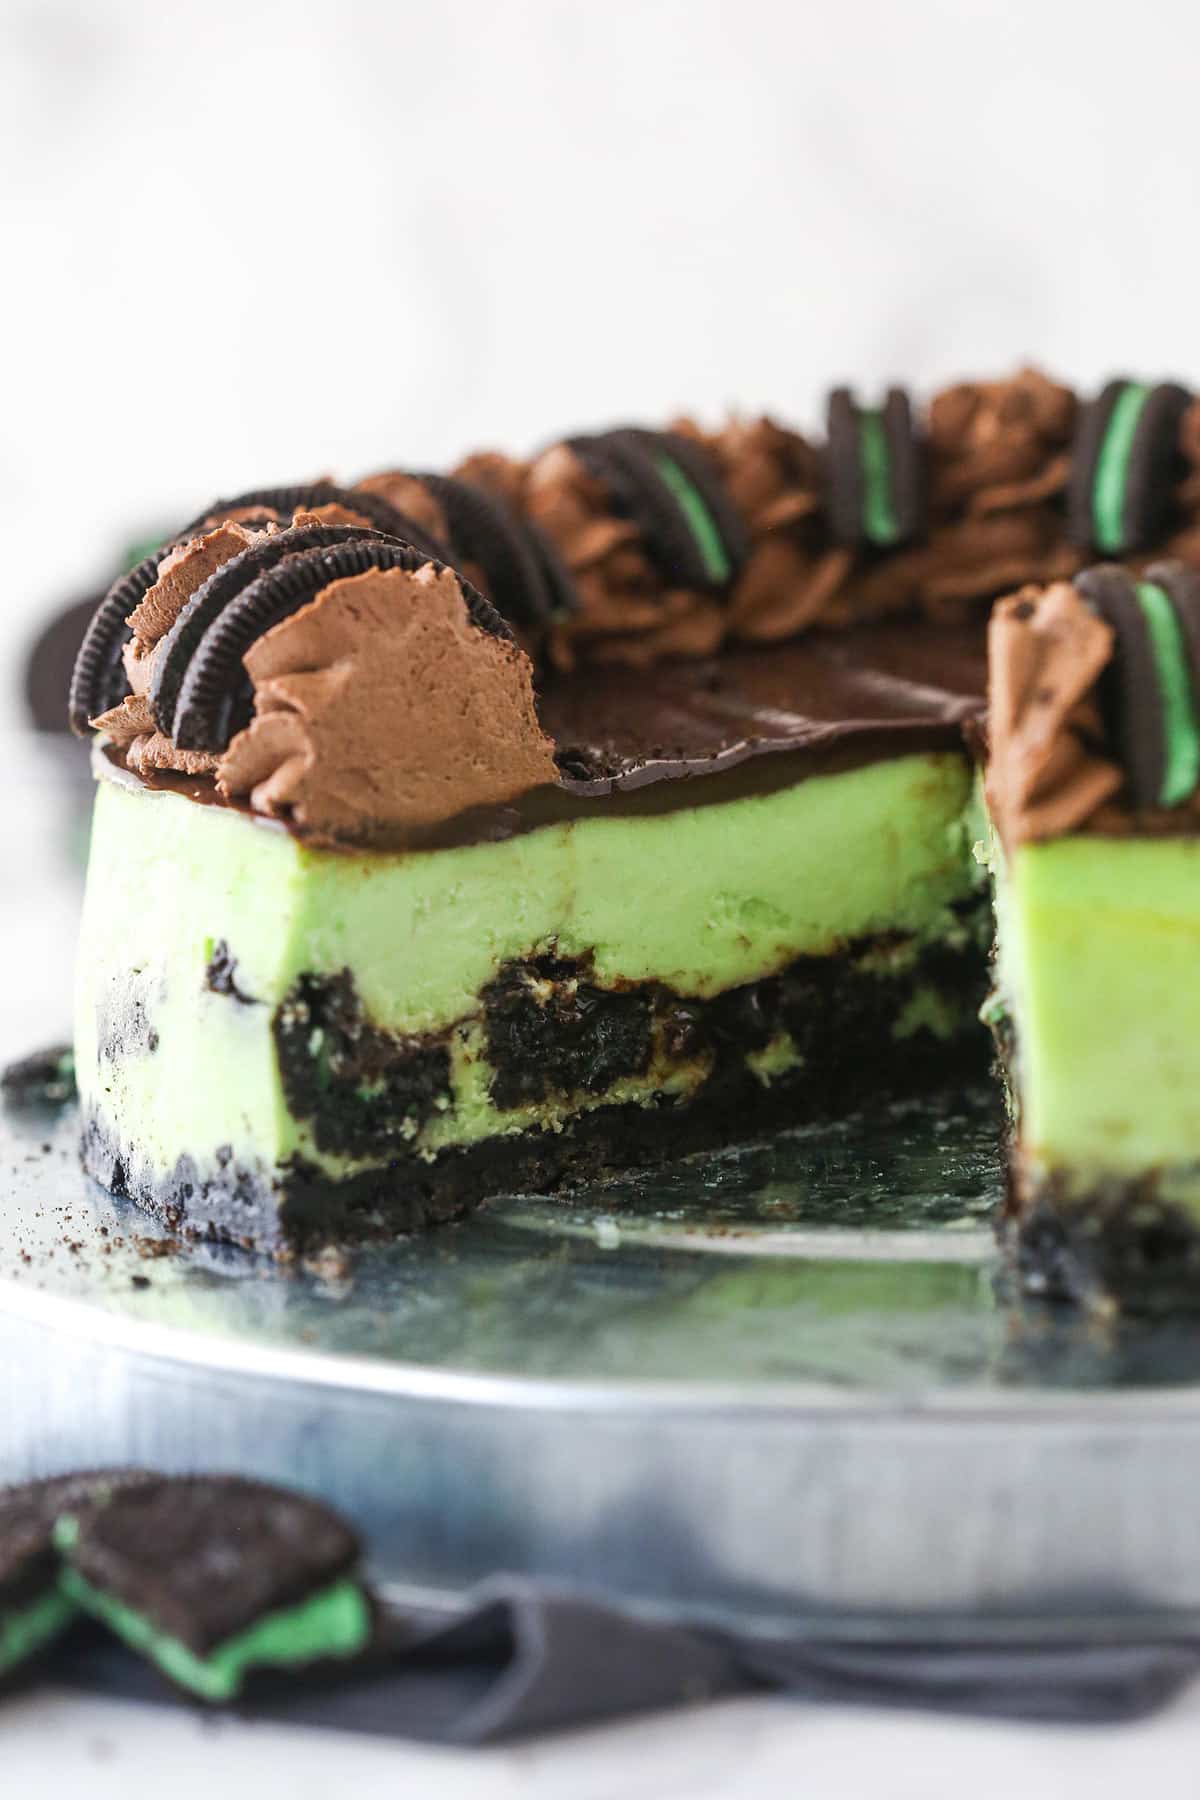
Why You’ll Love This Oreo Mint Cheesecake
Still need a little convincing? Here are some of the reasons I love this recipe, and I know you’ll love it too.
- Texture. I love the way the chocolate sauce mingles with the mint Oreos between layers of cheesecake filling. It makes them wonderfully soft and gooey while still maintaining some of their crunch. Combined with the thick, creamy cheesecake filling, the texture of this dessert is unbeatable.
- Chocolate-mint combo. Ahh the universally loved classic flavor combo. This cheesecake captures it beautifully. I made sure to incorporate lots of minty flavor into the filling itself and to layer it not only with minty, chocolaty Oreo cookies but also with rich chocolate sauce and chocolate ganache. Delish!
- Not too minty. The cheesecake filling contains a combination of mint extract and vanilla extract. The mint shines through loud and clear but the vanilla helps to cut down the almost toothpaste-like taste that you often find in mint-flavored desserts.
What You’ll Need
Here’s what you’ll need to make this beautiful and delicious Oreo mint cheesecake. Don’t forget to scroll to the recipe card below for exact measurements.
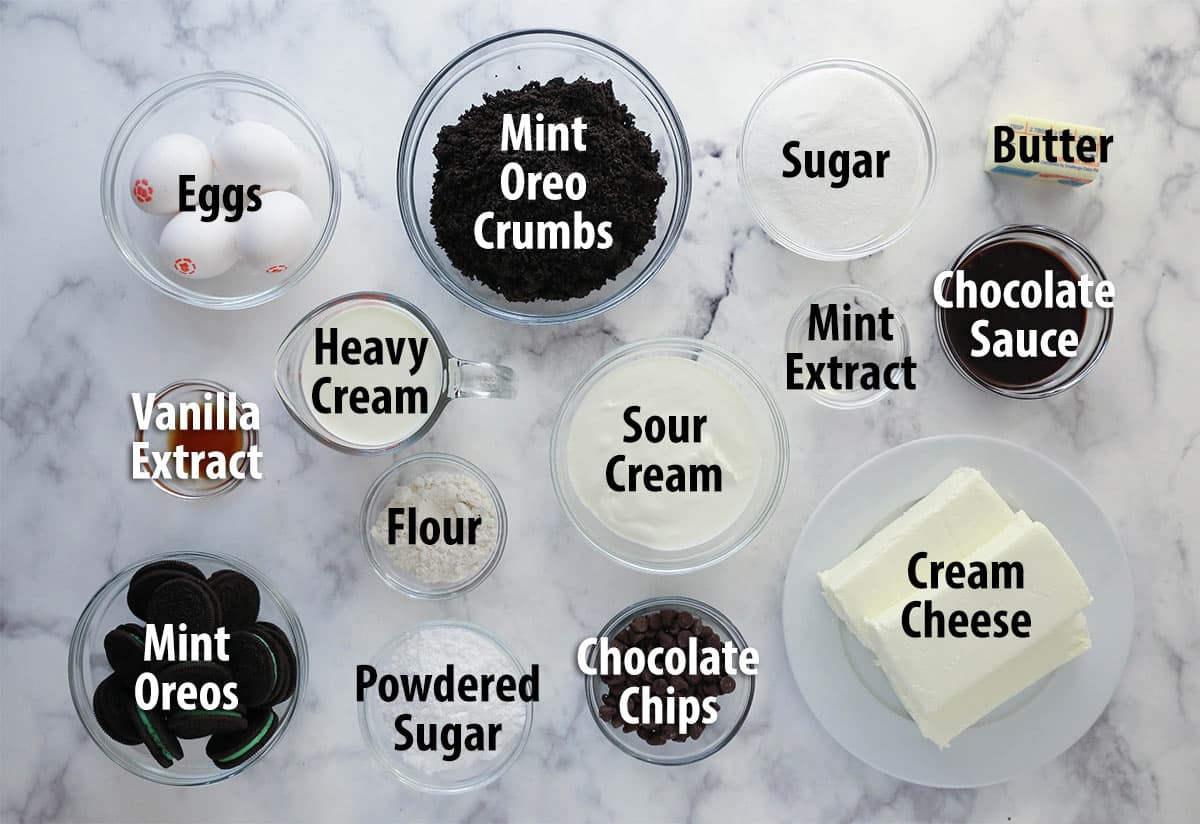
Oreo Crust
- Mint Oreo crumbs – I used Mint Oreos to carry the mint flavor all the way through, but feel free to swap them out for regular Oreos.
- Butter – You can use unsalted or salted butter. I used unsalted.
Mint Oreo Filling
- Cream cheese – The cream cheese should be at room temperature. Cold cream cheese will not mix smoothly and easily with the other ingredients. Also be sure to use brick-style cream cheese that’s full fat. Tub-style cream cheese and reduced fat cream cheese are not as thick.
- Sugar – For some sweetness.
- All-purpose flour – The starch prevents the egg proteins from over-coagulating, giving a creamier texture and helping prevent any cracks. If you’re looking for a gluten free option, gluten free all-purpose flour or cornstarch will work, just use half the amount if using cornstarch.
- Sour cream – It’s best if the sour cream is at room temperature. It will mix more smoothly and easily with the other ingredients, helping prevent over-mixing. If you need an alternative, heavy cream would also work, you just may need a few minutes more bake time.
- Extracts – Mint and vanilla extract are needed here. The vanilla helps soften the mint a bit, so that it doesn’t taste too toothpaste-like.
- Eggs – Make sure that the eggs are at room temperature. If they are too cold, they won’t mix easily with the other ingredients. They should be large in size, not medium or extra large.
- Chopped Mint Oreos – For more flavor and a bit of texture.
- Chocolate sauce – The chocolate sauce is optional but I’m a huge fan. It doesn’t get firm, so it’s kind of oozy and yummy and it softens the Oreos in the center of the filling just the right amount while still allowing them to maintain their crunch. I used Smucker’s Chocolate Sundae Syrup.
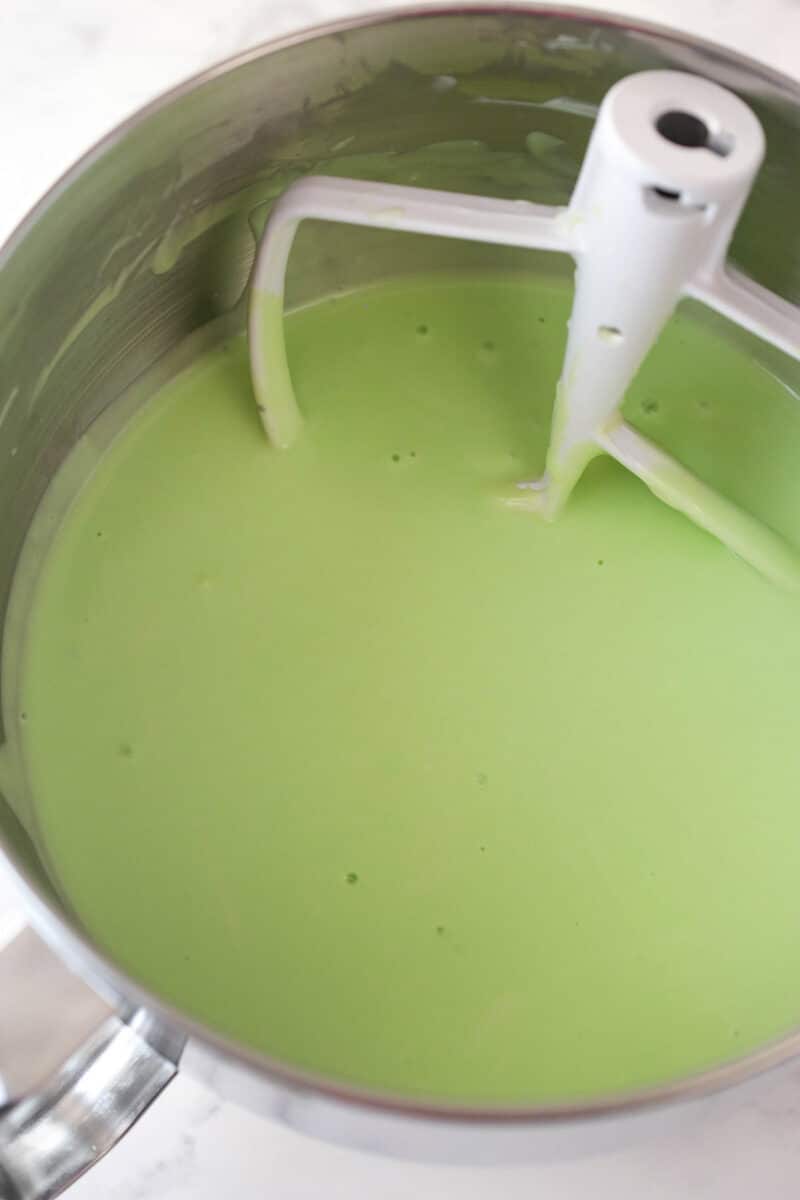
- Green gel icing color – This is optional but it certainly adds to the visual appeal of the dessert.
Chocolate Ganache Topping
- Semi-sweet chocolate chips – Dark chocolate chips or milk chocolate chips would also work here, but keep in mind that dark chocolate chips will be a touch thicker and milk chocolate will be a touch thinner.
- Heavy whipping cream – To thin out the chocolate and create the spreadable ganache consistency.
Chocolate whipped cream
- Heavy whipping cream – Make sure your heavy whipping cream is nice and cold. Otherwise, it won’t whip up and hold volume properly.
- Powdered sugar – The powdered sugar sweetens the whipped cream a bit, but more importantly, it stabilizes it so that it will never wilt.
- Natural unsweetened cocoa powder – For flavor.
- Vanilla extract – To help soften the cocoa a bit.
- Mint Oreos – For decorating.
How to Make Mint Oreo Cheesecake
Here’s a general overview of how to make this minty chocolaty dessert. Be sure to scroll to the recipe card below for more detailed instructions.
Make the Crust
- Prep. Preheat oven to 325°F, line the bottom of a 9-inch (23cm) springform pan with parchment paper, and grease the sides.
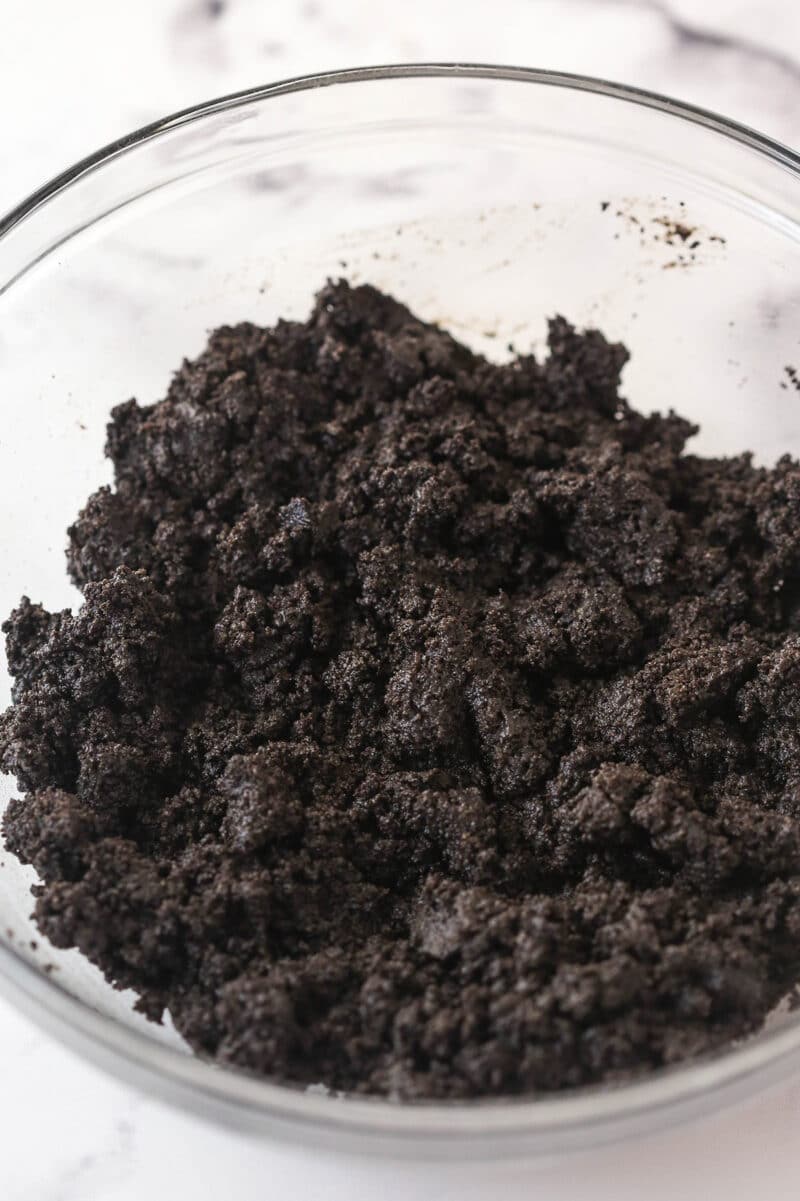
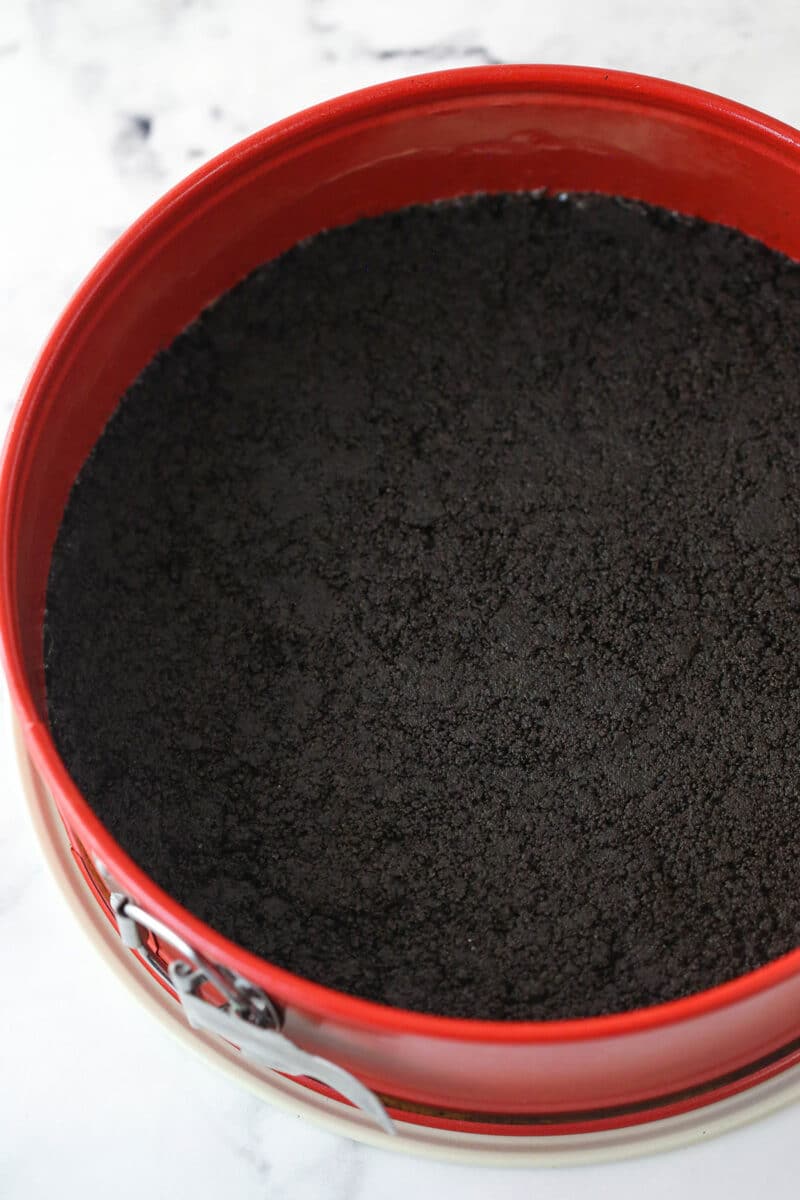
- Form the crust. Combine the crust ingredients and press the mixture into the bottom and up the sides of the pan.
- Bake. Bake for 10 minutes.
- Waterproof your springform pan. Wrap the outsides of the pan with aluminum foil.
Make the Filling & Assemble Cheesecake
- Prep. Reduce oven temperature to 300°F.
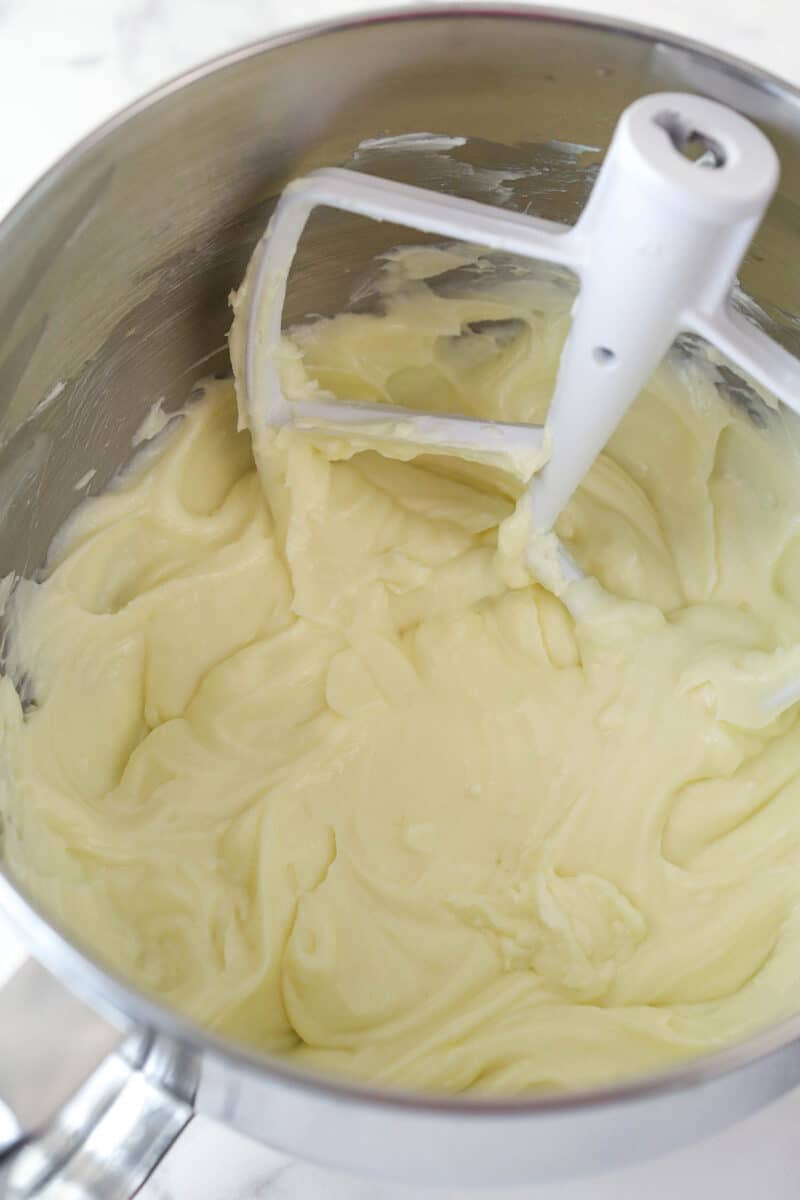
- Make the cheesecake filling. Beat together the cream cheese, sugar and flour on low speed until smooth. Mix in the sour cream, mint extract and vanilla extract.
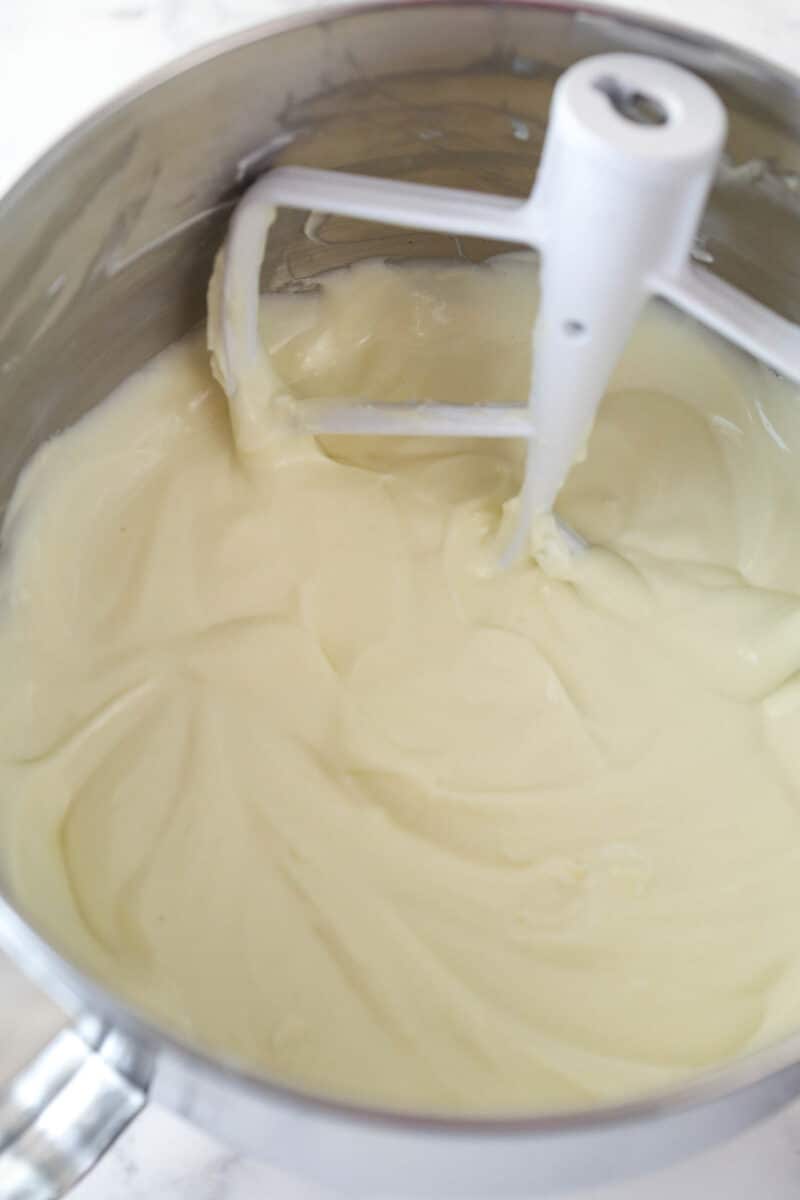
- Add the eggs. Mix in the eggs, one at a time followed by the green gel icing.
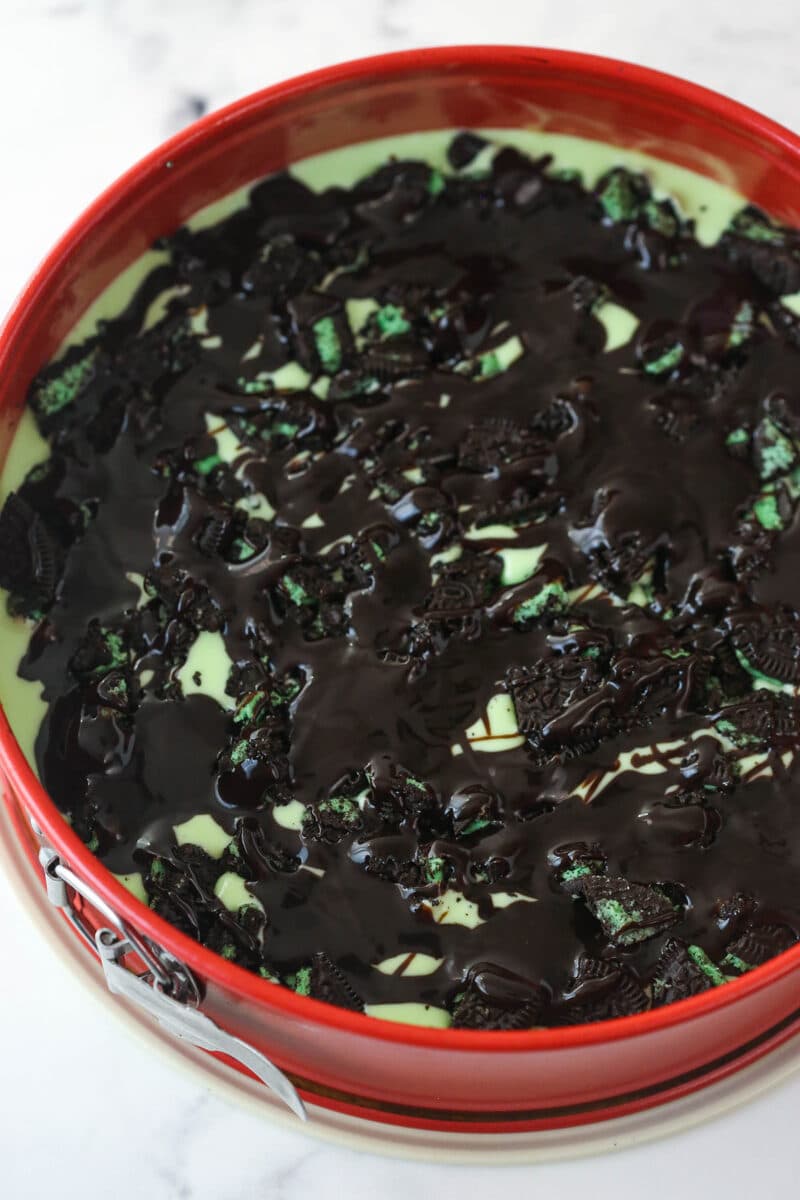
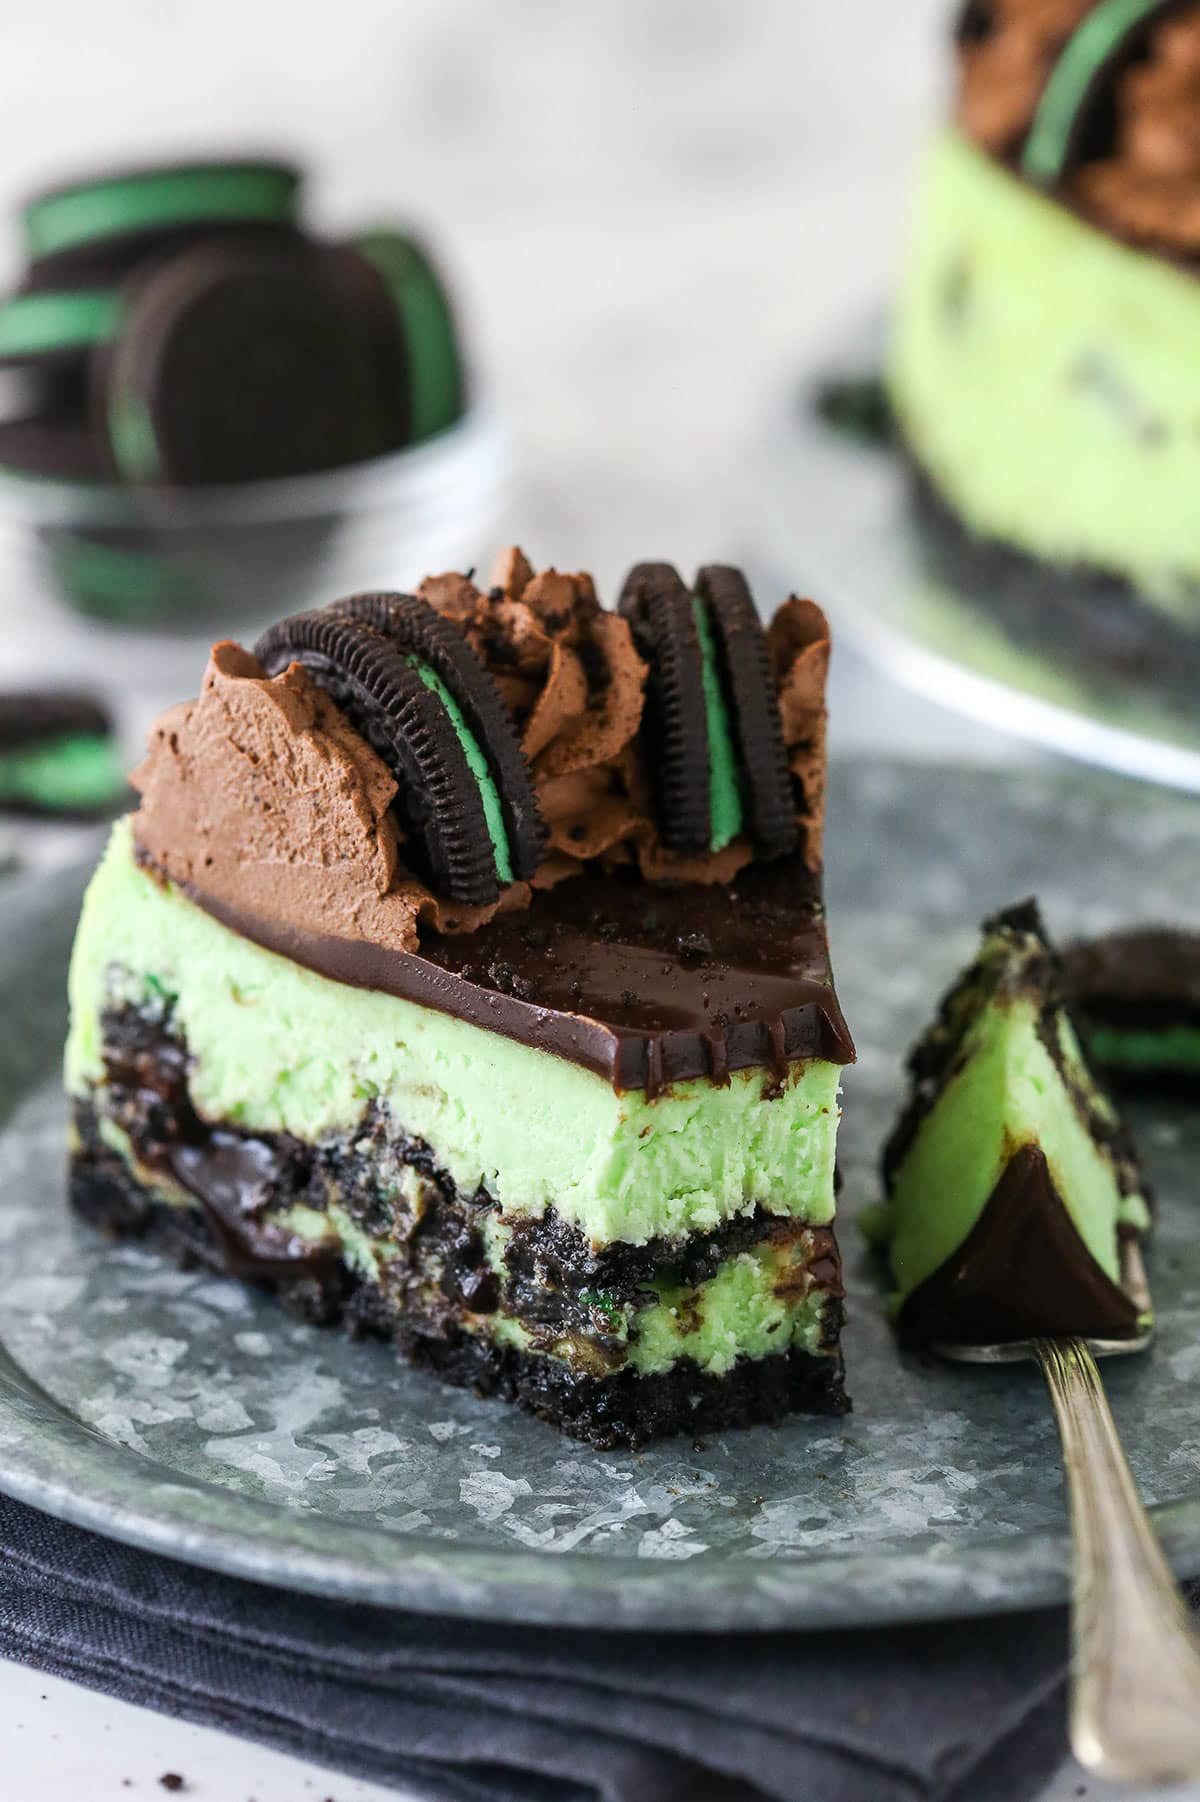
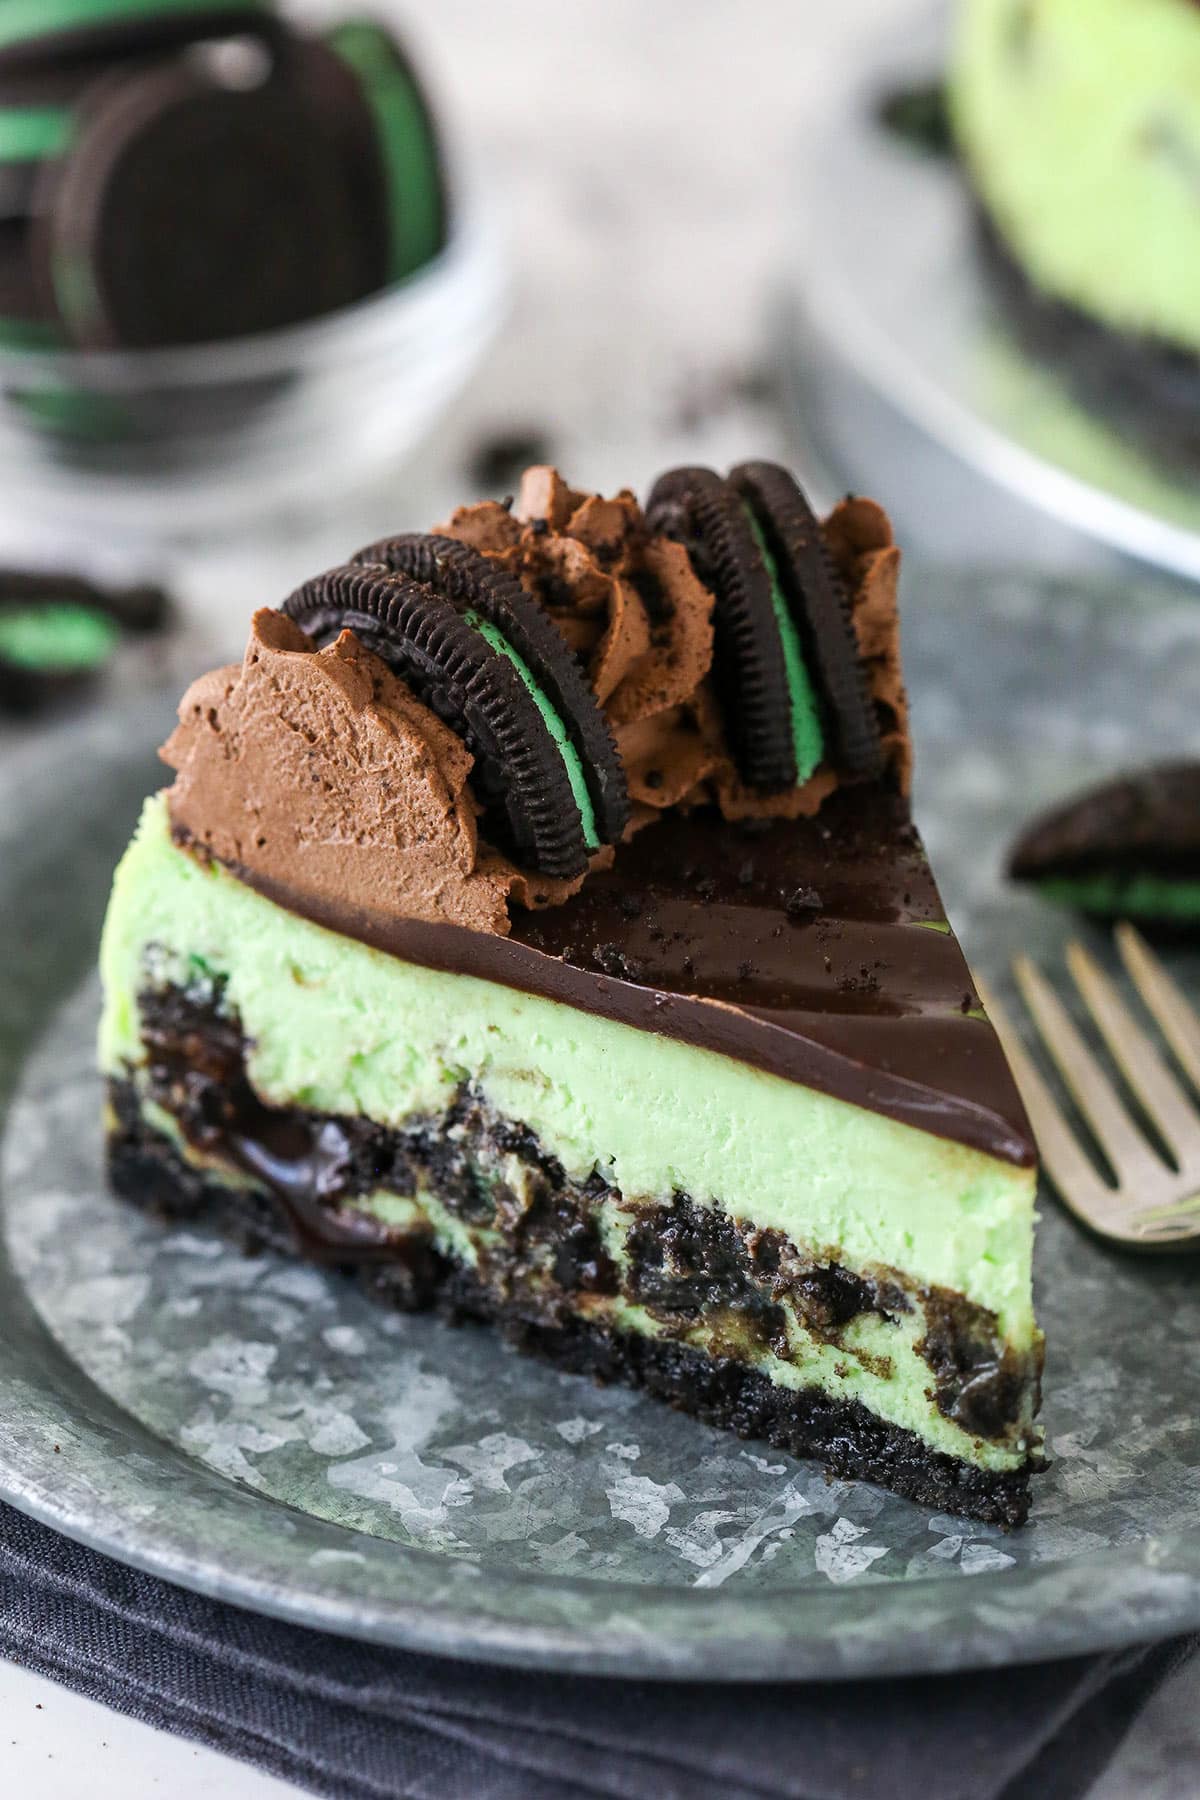
- Layer. Pour a third of the cheesecake filling into the crust, top with the chopped Oreos, and drizzle with chocolate sauce. Add the remaining cheesecake filling and spread evenly.
- Bake. Place the springform pan in a water bath and bake for 1 hour 10-20 minutes.
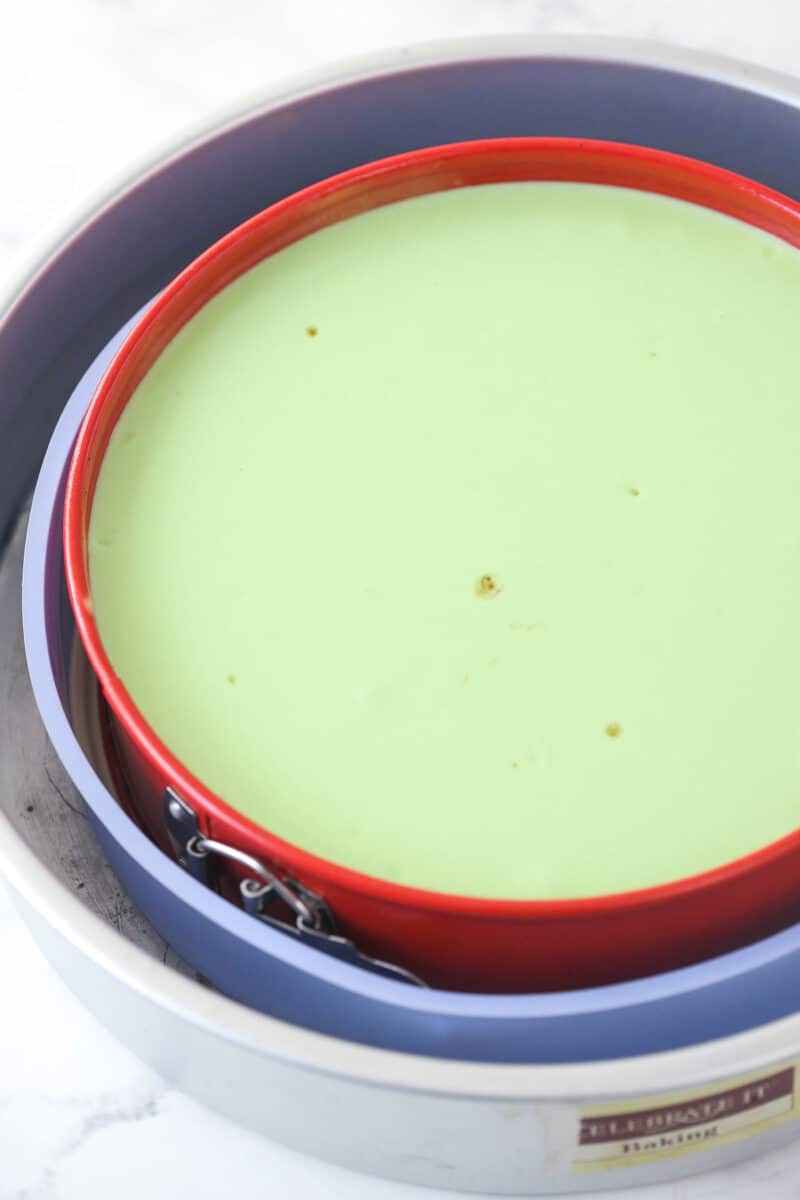
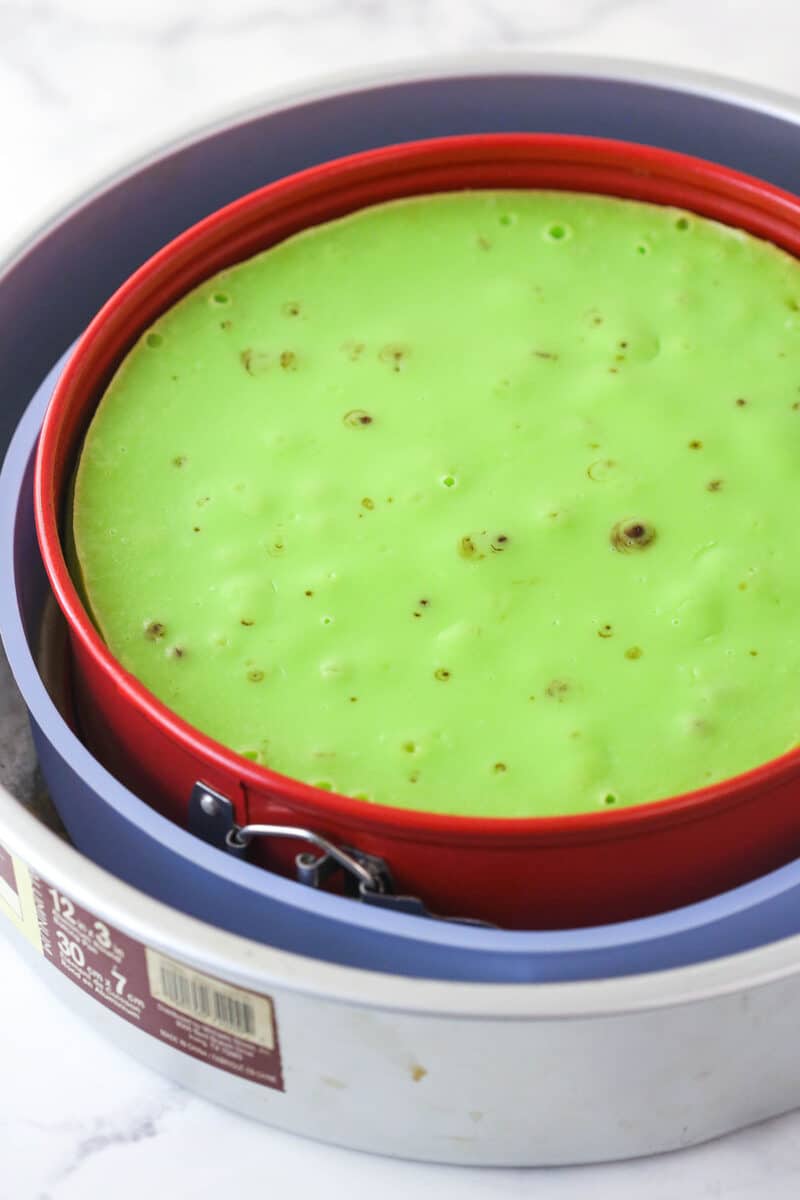
- Cool slowly. Turn off the oven and allow the cheesecake to cool in the closed oven for 30 minutes. Crack the door and leave the cheesecake inside for an additional 30 minutes.
- Chill. Remove the cheesecake from the oven and water bath wrapping and refrigerate for 5-6 hours.
- Prepare to decorate. Remove from the springform pan and place on a serving platter.
Add the Topping and Finish Cheesecake
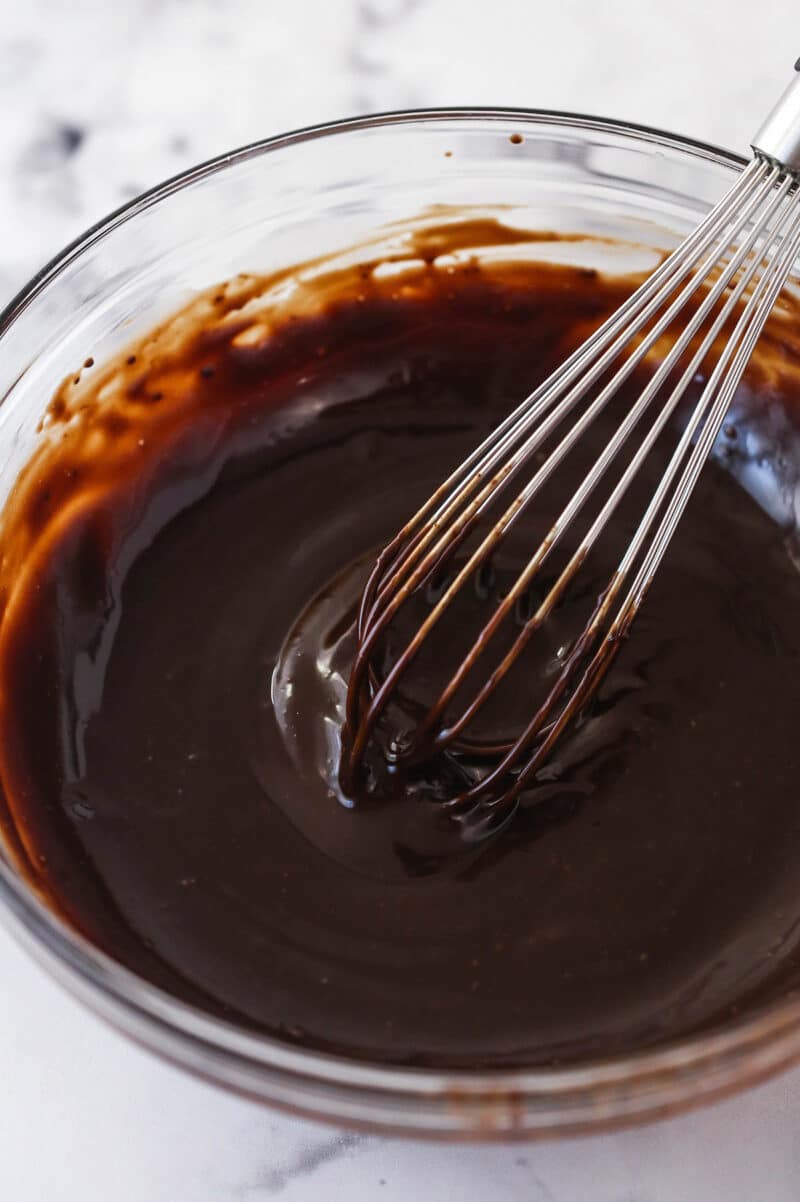
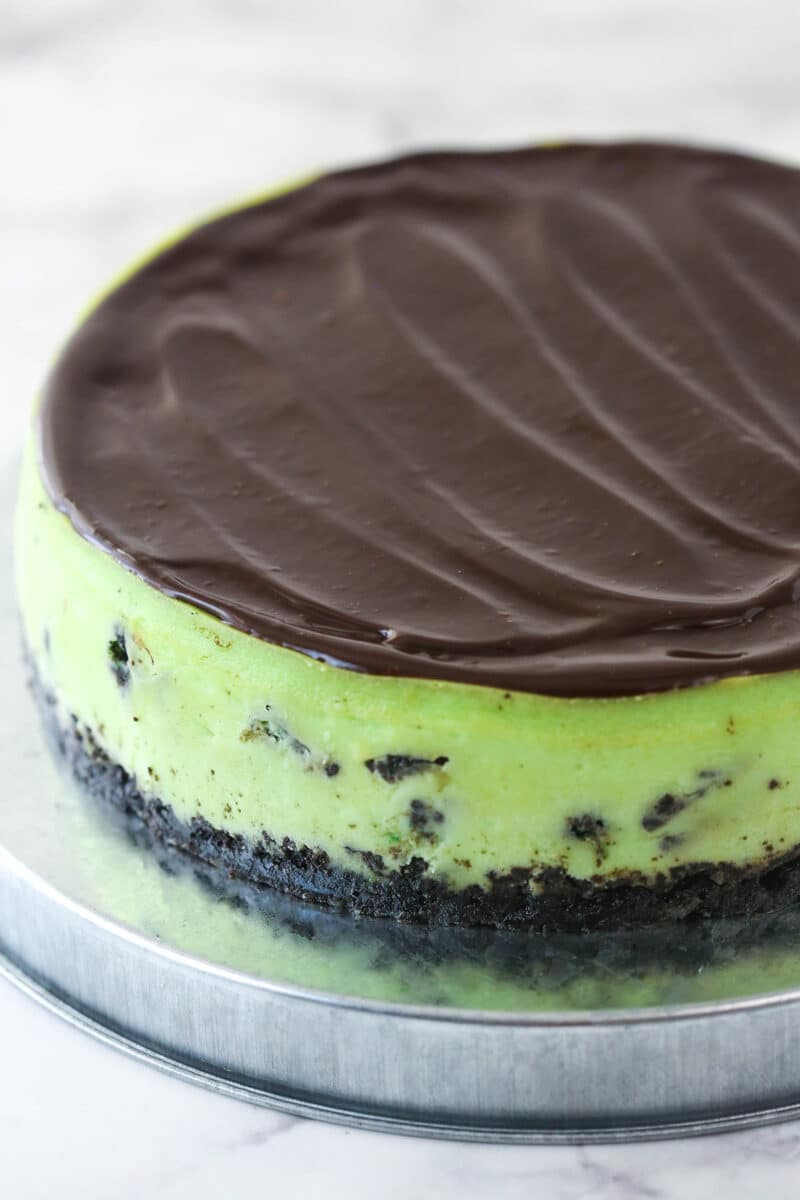
- Make the chocolate ganache. Microwave the heavy cream until it just begins to boil, pour it over the chocolate chips, allow the mixture to sit for 2-3 minutes, then whisk until smooth.
- Spread. Allow the ganache to cool for 5 minutes, then spread it over the top of the cheesecake.
- Make the whipped cream. Whip heavy whipping cream, powdered sugar, cocoa powder and vanilla extract together on high speed until stiff peaks form.
- Decorate. Pipe the swirls of whipped cream onto the top outer edge of the cake and place Oreo halves between each swirl.
- Chill. Return the cheesecake to the fridge until you are ready to serve.
Tips for the Best Cheesecake
I want to help you make the best cheesecake possible. Pay attention to these tips and ticks and you’ll be on your way. Want more? Check out my post on How to Make a Perfect Cheesecake: 10 Tips and Tricks.
- Room temperature ingredients. Cold cream cheese, sour cream, and/or eggs will not incorporate as easily with the other ingredients, which can lead to unwanted over-mixing.
- Don’t over-mix. Over-mixing cheesecake batter or mixing at too high a speed can incorporate excess air into the cheesecake which can cause air bubbles and, thus, a cracked cheesecake.
- Scrape down the sides of the bowl. While adding and mixing ingredients into the cheesecake batter, it’s a good idea to scrape down the sides of the bowl intermittently to ensure all of the ingredients make it into the filling and you don’t end up with lumps of ingredients that weren’t fully mixed..
- Sub-surface Oreos. The Oreos have a tendency to float to the surface of the cheesecake, especially if you jostle it too much. Surface Oreos will cause cracks in the finished product, so use a toothpick to poke them back down.
- Knock out the air bubbles. The Oreos in the middle of this cheesecake will likely create air pockets in the batter, which can cause cracks in the cheesecake. I suggest dropping the filled pan on the counter a few times to knock out some of the air bubbles before baking.
- Use a water bath. I know they can be a pain but they really aren’t that bad and they will help keep your cheesecake from falling in the center and developing cracks on the surface. Be sure to check out my post on how to bake a cheesecake in a water bath before getting started. There are ways to make it a very easy process.
- Don’t over-bake. There will still be about a 3-inch ring in the center of the cheesecake that looks jiggly and undercooked at the end of the baking time. That’s totally fine. Don’t bake it past this point. It will continue to cook a bit and firm up as it cools.
- Cool slowly. Allow the cheesecake to cool in the closed oven (after you’ve turned it off) for 30 minutes before cracking the door and allowing it to cool for an additional 30 minutes. The cheesecake will continue to cook and firm up during this process and the slow cooling will help prevent cracks.
- Cold heavy cream. The heavy cream used in the chocolate whipped cream must be cold. It will not hold volume properly if it is not properly chilled.
How Do You Know When Your Cheesecake Is Done Baking?
Great question! I encourage you to check out my post on How To Tell When Your Cheesecake Is Done but let’s go through the basics here. When the baking time is up, give it a quick jiggle. The outer 2-3 inches should appear firm and set while the center should jiggle a little. Not slosh. Jiggle. Once the cheesecake reaches this point, allow it to go through the slow cooling process (30 minutes in the closed oven, 30 minutes in the cracked oven) before chilling it in the fridge.
You can also use an instant-read thermometer inserted into the center of the filling. Once it reads 150 degrees F, you can begin the slow cooling process. I don’t love this method because you have to poke a hole in your cheesecake.
How to Store
- Refrigerator. Seal the dessert in an airtight cake carrier or wrap it in a double layer of plastic wrap. I suggest using toothpicks to prop the plastic away from the lovely whipped cream swirls. If you already sliced the cake, arrange the slices in a single layer in an airtight container. Store the cheesecake in the fridge for up to 5 days.
- Freezer. Pop the cheesecake in the freezer for a couple of hours to firm up before wrapping it in a layer of plastic wrap and a layer of foil. You could also arrange slices in a single layer in an airtight container. You can store Oreo mint cheesecake in the freezer for up to 3 months. Allow it to thaw in the fridge before serving.
For a more in-depth look at the best practices for storing cheesecakes, check out my post on How To Store Cheesecake.
More Oreo Cheesecake Recipes
Oreos and cheesecake? Two of my favorite things! Good thing there are about a million ways you can combine the two to make a glorious dessert. Here are some of my favorites.
- No Bake Oreo Cheesecake
- Best Oreo Cheesecake
- Ultimate Oreo Cheesecake
- Oreo Cookies and Cream Cheesecake Cake
- Oreo Brookie Cheesecake
- No-Bake Funfetti Oreo Birthday Cake Cheesecake
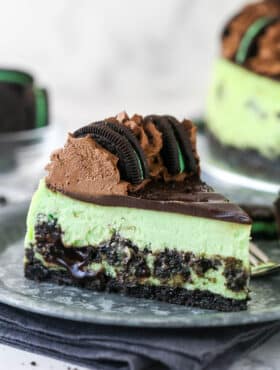
Mint Oreo Cheesecake
- Prep Time: 35 minutes
- Chill Time: 5 hour
- Cook Time: 2 hours 10 minutes
- Total Time: 7 hours 45 minutes
- Yield: 12-14 Slices
- Category: Dessert
- Method: Oven
- Cuisine: American
Description
Mint Oreo Cheesecake is made with an Oreo crust filled with chopped mint Oreos, chocolate sauce and mint cheesecake! It’s a mint chocolate lover’s dream!
Ingredients
Oreo Crust
- 2 cups Mint Oreo crumbs (about 20 Oreos)
- ¼ cup unsalted butter, melted
Mint Oreo Filling
- 24 oz cream cheese, room temperature
- 1 cup (207g) sugar
- 3 tbsp (24g) all-purpose flour
- 1 cup (230g) sour cream, room temperature
- 1 1/2 tbsp mint extract
- 2 tsp vanilla extract
- 4 large eggs, room temperature
- 2 ¼ cups (210g) chopped Mint Oreos (about 15 Oreos)
- 1/2 cup (120ml) chocolate sauce (I used Smucker’s Chocolate Sundae Syrup)
- Green gel icing color, optional
Chocolate Ganache Topping
- 4 oz (113g | 2/3 cup) semi-sweet chocolate chips
- 6 tbsp (90ml) heavy whipping cream
Chocolate Whipped Cream
- 1 cup (240ml) heavy whipping cream, cold
- 4 tbsp (29g) powdered sugar
- 3 tbsp (21g) natural unsweetened cocoa powder
- 1 tsp vanilla extract
- 8–10 Mint Oreos, cut in half, optional
Instructions
Make the Crust
- Preheat oven to 325°F (163°C). Line a 9-inch (23cm) springform pan with parchment paper in the bottom and grease the sides.
- Combine the crust ingredients in a small bowl. Press the mixture into the bottom and up the sides of the springform pan.
- Bake the crust for 10 minutes, then set aside to cool.
- Cover the outsides of the pan with aluminum foil so that water from the water bath cannot get in (see how I prepare my pan for a water bath). Set prepared pan aside.
Make the Filling & Assemble Cheesecake
- Reduce oven temperature to 300°F (148°C).
- In a large bowl, beat the cream cheese, sugar and flour on low speed until well completely combined and smooth. Be sure to use low speed to reduce the amount of air added to the batter, which can cause cracks. Scrape down the sides of the bowl.
- Add the sour cream, mint extract and vanilla extract and mix on low speed until well combined.
- Add the eggs one at a time, mixing slowly to combine after each addition. Scrape down the sides of the bowl as needed to make sure everything is well combined.
- Pour a third of the cheesecake filling into the crust and spread evenly.
- Add the chopped Oreos evenly over the filling, then drizzle the chocolate sauce evenly over the Oreos.
- Add the remaining cheesecake filling and spread evenly. It should be a thick enough layer to keep the Oreos from floating to the top. Try not to jostle the cheesecake around too much, or the Oreos will come to the surface. You want to avoid that so that you don’t end up with cracks in the top of your cheesecake. If some Oreos surface, use a toothpick to push them back down.
- Place the springform pan inside another larger pan. Fill the outside pan with enough warm water to go about halfway up the sides of the springform pan. The water should not go above the top edge of the aluminum foil on the springform pan.
- Bake for 1 hour 10-20 minutes. The center should be set, but still jiggly. (see how to tell when your cheesecake is done baking).
- Turn off the oven and leave the door closed for 30 minutes. The cheesecake will continue to cook, but slowly begin cooling as well.
- Crack the door of the oven for 30 minutes to allow the cheesecake to continue to cool slowly. This process helps prevent cracking.
- Remove the cheesecake from the oven and water bath wrapping and refrigerate until firm, 5-6 hours or overnight.
- When the cheesecake is cool and firm, remove from the springform pan and place on a serving platter.
Add the Topping and Finish Cheesecake:
- To make the chocolate ganache topping, put the chocolate chips in a heat proof bowl.
- Microwave the heavy whipping cream until it just begins to boil, then pour it over the chocolate chips. Allow it to sit for 2-3 minutes, then whisk until smooth.
- Allow the ganache to cool a bit (about 5 minutes, until thickened but still pourable and spreadable), then pour the ganache onto the top of the cheesecake and spread evenly.
- To make the whipped cream, add the heavy whipping cream, powdered sugar, cocoa powder and vanilla extract to a large mixer bowl. Whip on high speed until stiff peaks form.
- Pipe the whipped cream onto the top outer edge of the cheesecake. I used Ateco tip 844.
- Finish the cheesecake off by adding an Oreo half between the piped whipped cream swirls.
- Refrigerate until ready to serve. Cheesecake is best if eaten within 4-5 days.
Notes
- Oreos: You’ll need 2+ containers of mint Oreos (about 30 oreos per container). Feel free to use regular Oreos, as well.
- Water bath: In the photos above, I place my springform pan inside a silicone pan for the water bath, instead of using aluminum foil.
- To store the cheesecake in the fridge, seal the dessert in an airtight cake carrier or wrap it in a double layer of plastic wrap. I suggest using toothpicks to prop the plastic away from the lovely whipped cream swirls. If you already sliced the cake, arrange the slices in a single layer in an airtight container. Store the cheesecake in the fridge for up to 5 days.
- To freeze the cheesecake, pop it in the freezer for a couple of hours to firm up before wrapping it in a layer of plastic wrap and a layer of foil. You could also arrange slices in a single layer in an airtight container. You can store Oreo mint cheesecake in the freezer for up to 3 months. Allow it to thaw in the fridge before serving.
Nutrition
- Serving Size: 1 Slice
- Calories: 520
- Sugar: 35.9 g
- Sodium: 377.5 mg
- Fat: 30.5 g
- Carbohydrates: 54.6 g
- Protein: 8.7 g
- Cholesterol: 117.1 mg
This post contains affiliate links.




Just to clarify, are you saying to still add the 2 1/2 tbs of the mint extract alongside 1-2 tsp of vanilla extract OR just cut the amount of mint extract to only 1-2 tsp?
I’m not sure where I mentioned vanilla extract in the recipe?
In a previous comment, Lindsay mentioned how she added vanilla extract to some of her minty desserts to offset that “toothpaste-y” taste that many desserts can get when mint extract is added. I was just curious how much vanilla extract she adds and how much mint extract she would currently recommend for this delicious cheesecake!
Ahh, that makes sense. I’d probably add 1 teaspoon of vanilla extract. I hope you enjoy it!
there is Vanilla in the recipe. 🙂
This recipe sounds fantastic! When crushing up the Oreos for the crust, do you crush up the whole cookie or just the chocolate wafers? I’d think the latter but I just want to be sure. Thanks!
I crush the whole cookie – filling and all.
Thanks for sharing! How far ahead of time could I make it?
This looks so good! What a perfect combination of flavors and textures for a hot summer day!
What flour is it
I use all purpose
Ok thanks
Made it last night and served it just now. Good reviews. I only added about 5 tsp of peppermint extract. Instead of 2.5 Tbsp. That seemed about right to my taste. It was a little drier than I liked but maybe I went too long in the oven as it didn’t jiggle in the middle when I tested it.
Tasted great but as I was filling my pan I realized I had skipped the green food coloring step, but it wasn’t in the instructions.
Sorry about that, it is optional.
Can I do this recipe with just regular oreo cookies and no mint
Yes you can, I’d just use vanilla extract in place of the mint.
I made this cheesecake and the mint aftertaste was horrible. I think there may be a typo in the amount of mint extract. The recipe calls for 2 1/2 TBS of mint extract and probably should have been 2 1/2 tsp. Everyone I served this to said it was WAY too minty.
The tablespoons is correct. That said, this is an older recipe and I tend to also add vanilla extract to mint recipes now. It helps to cut down on that toothpaste-y taste it can get. I’d try 1-2 tsp of it.
This is my most requested cheesecake. I make it EXACTLY as written & it’s absolutely delicious. Great recipe Linds- Thanku for sharing it.
So glad to hear that!
Does the springform pan need to be greased? Most cheesecake recipes say to, but I did not find it with yours.
I’d recommend it, yes.
Am I reading correctly, Regular Oreos? Not mint? I can’t wait to try this!!
You could use either, but mint would probably be best. I updated the recipe to be more clear. Thanks!
Wow! I may have to make one now to practice and another for St. Patrick’s day.
2 1/2 TABLESPOONS of mint extract? Really?
Yep, really. Cream cheese has a very strong flavor and I felt it needed that much in order to really get the minty flavor I wanted.
I made this recipe for a school luncheon. I received rave reviews. It was very tasty, and it smelled incredible while baking. Our small grocery store only had peppermint extract instead of mint. Two and a half tablespoons sounded like a lot (especially since one comment said peppermint was stronger than mint), so I wimped out and only used two tablespoons. It was great, and I’m certain it would’ve been great as written. Glad I found this recipe. I’ll be seeing it in my oven again someday. 🙂
Hi Katie! I’m so glad you enjoyed it! It can be surprising how much flavoring is needed in some cheesecakes, but the cream cheese flavor can be really strong so sometimes a little extra flavoring is needed. 🙂
I tried adding the 2and a half tablespoon s of mint extract but when I served it to thirty people no one liked it.
It seems like alot of mint extract to me (2 1\2 Tbs.). Just making sure that’s correct. Making this beautiful looking cheesecake for my daughter’s 18th birthday.
Yes, it is quite a bit. The cream cheese in cheesecake is very strong though so I find I need more extract than in a cake to get the flavor to come through.