This post may contain affiliate sales links. Please read my disclosure policy.
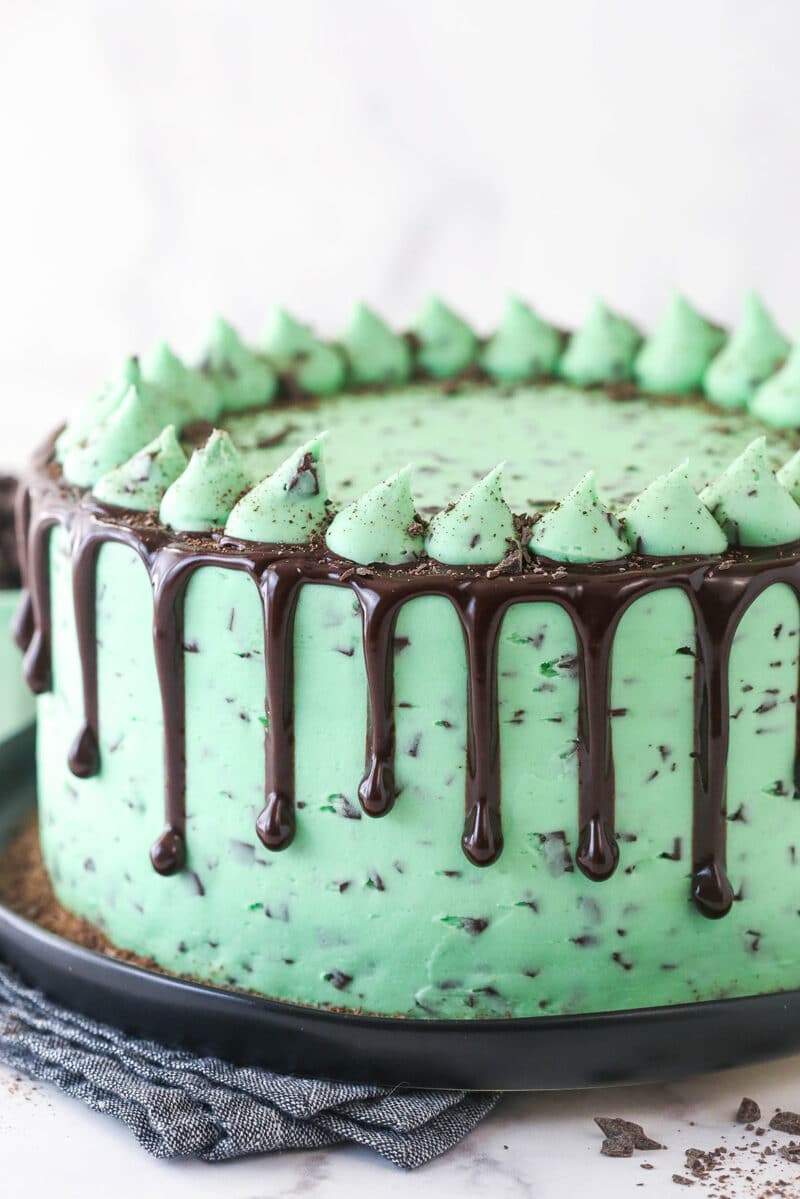
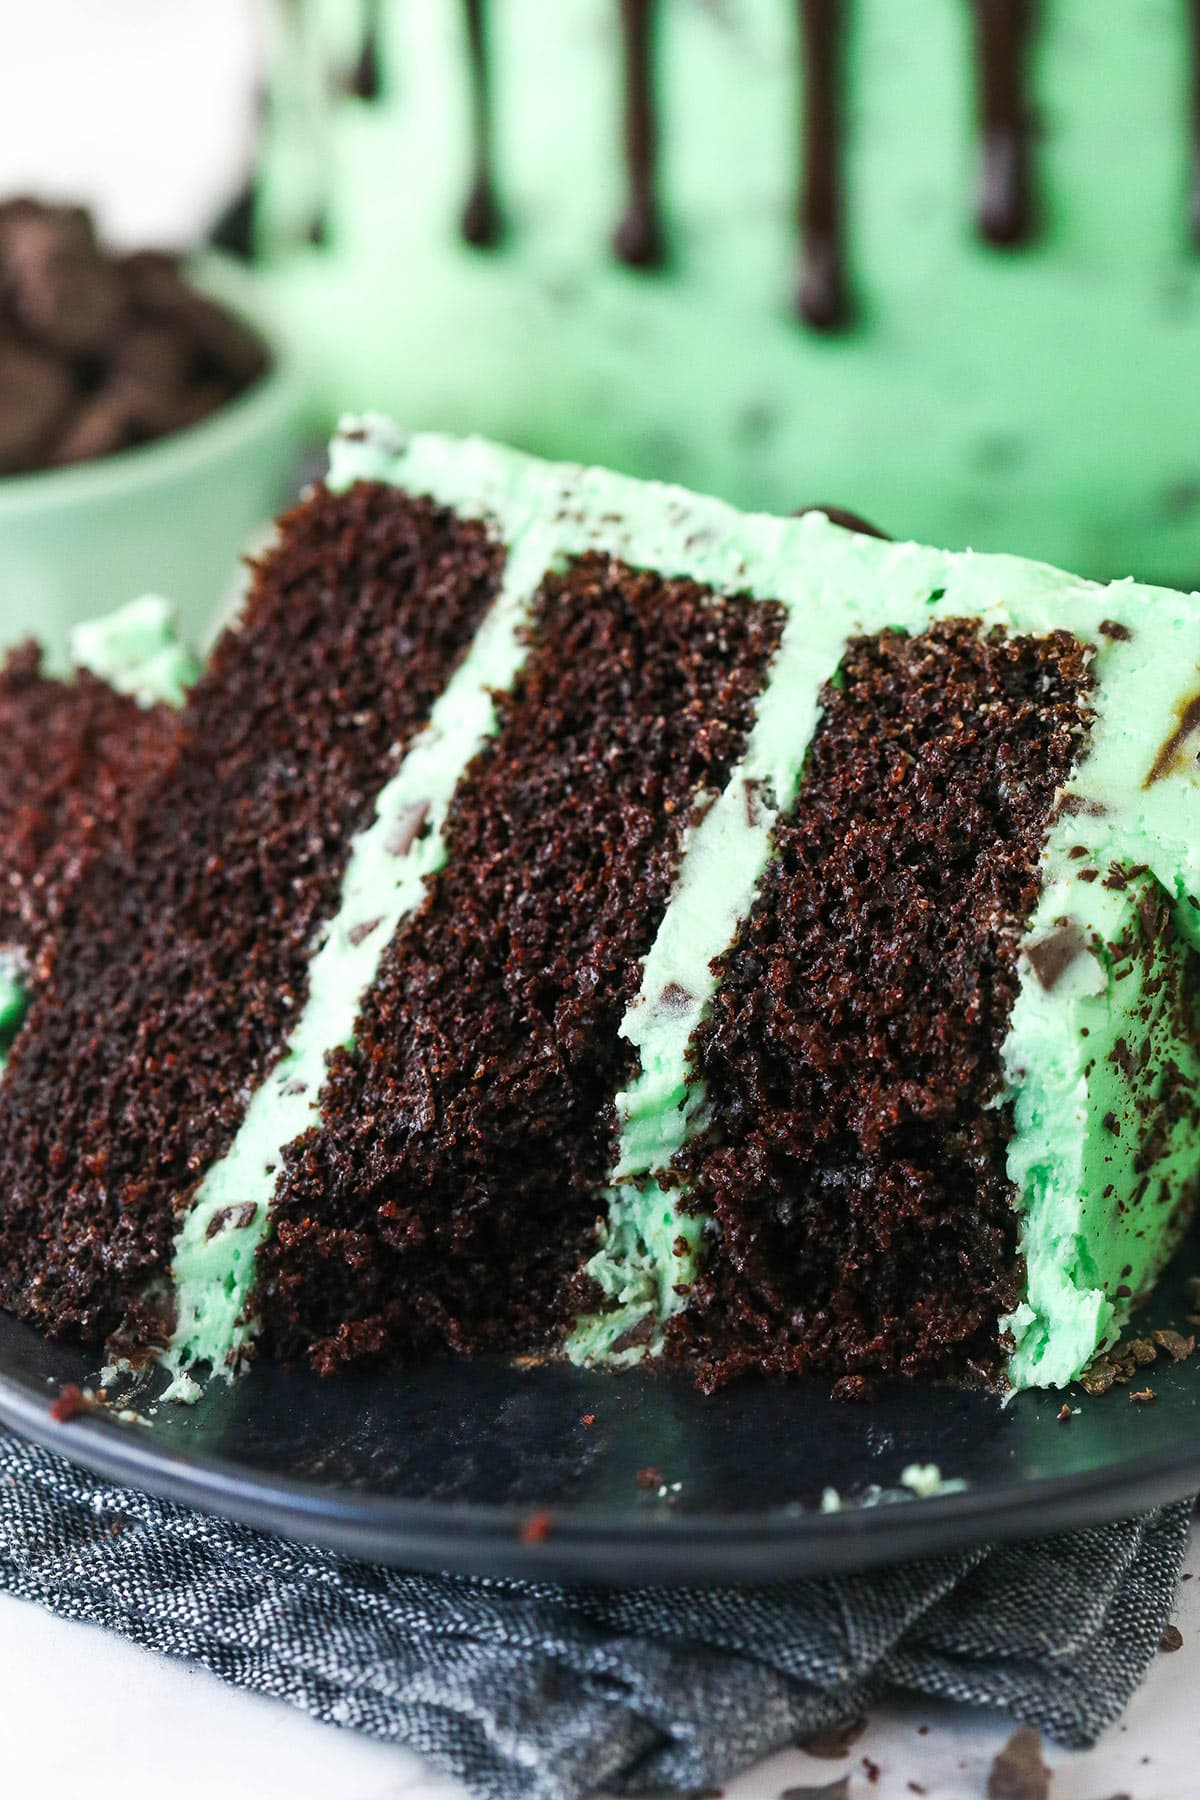
This mint chocolate cake is made up of 3 layers of perfectly moist chocolate cake filled and frosted with a sweet, refreshing mint buttercream dappled with chopped chocolate! It’s so delicious and a mint-chocolate lover’s dream!
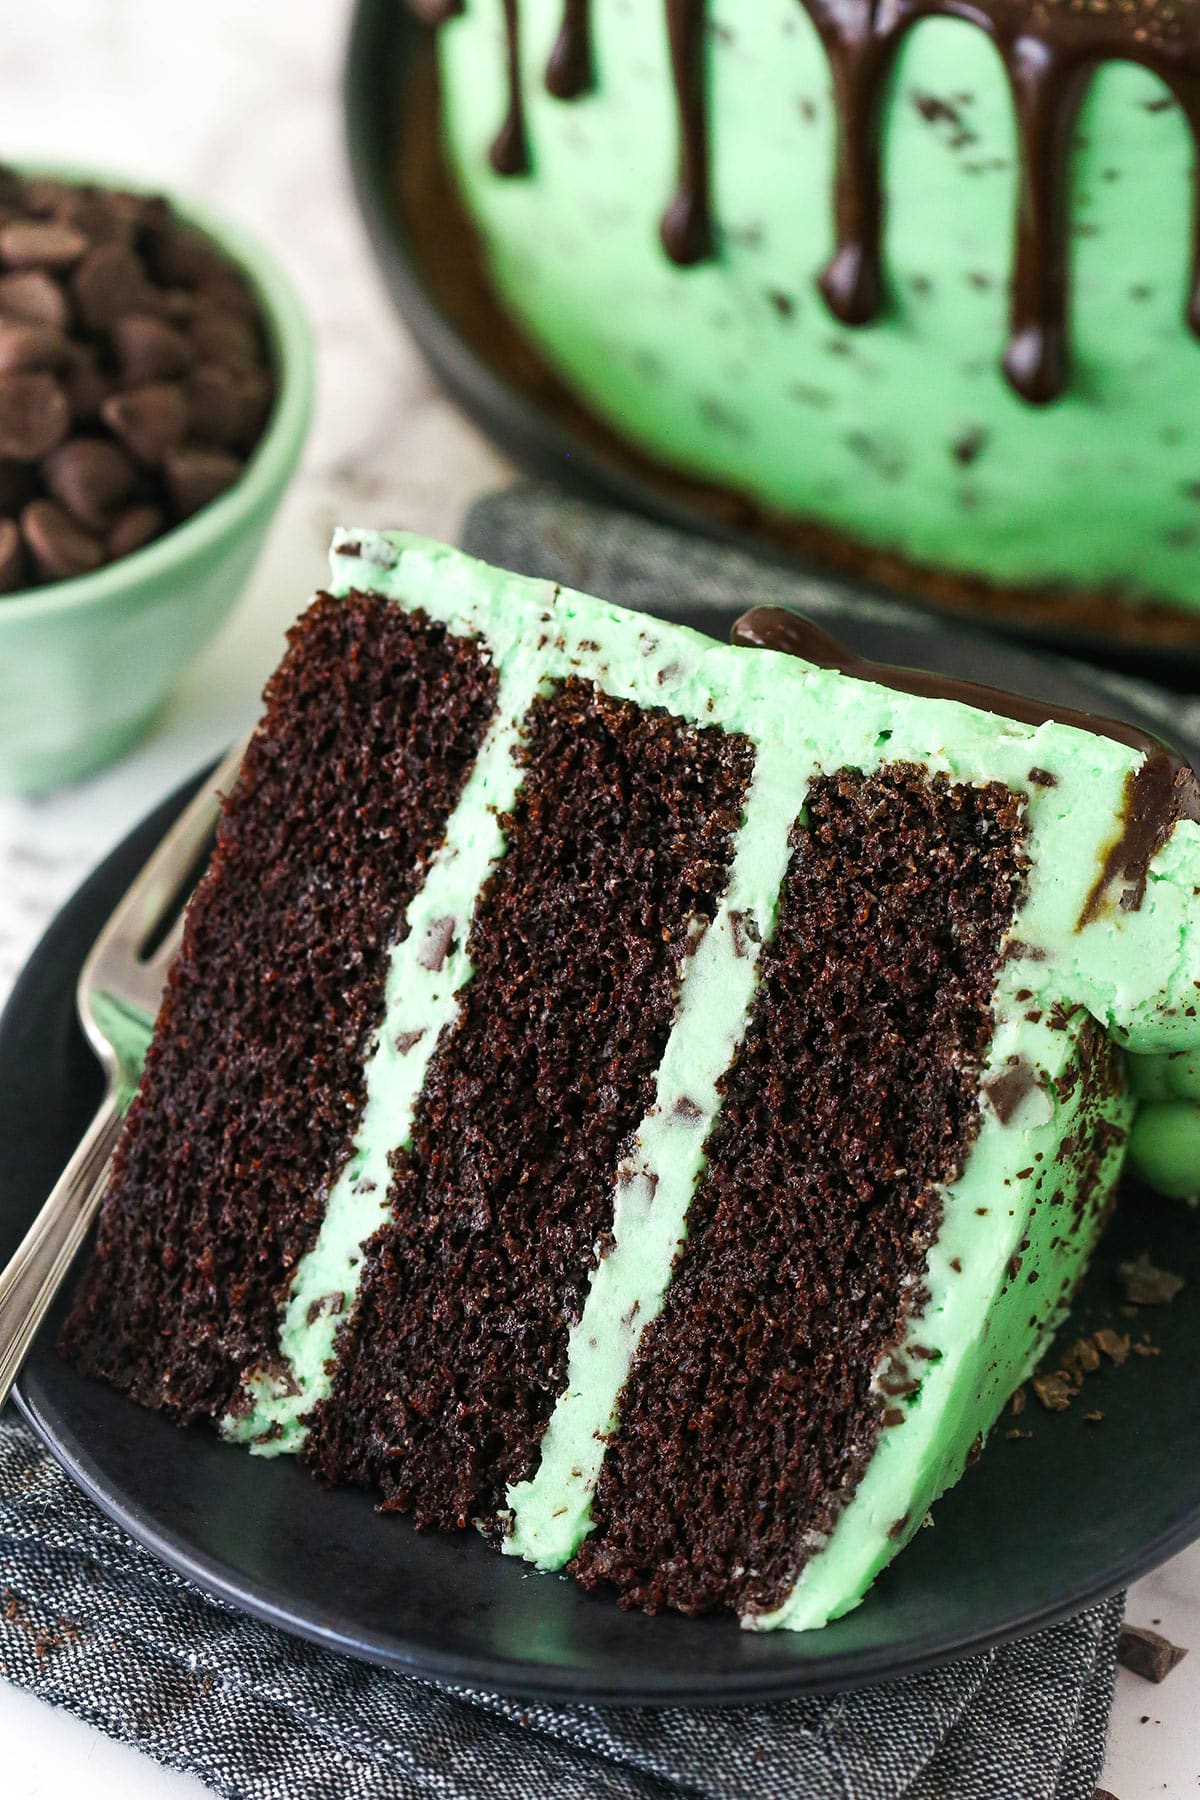
Why You’ll Love This Mint Chocolate Cake Recipe
Mint and chocolate is a wonderful flavor combination and this mint chocolate cake turns it into the most amazing cake. It has the most amazing flavor and just melts in your mouth. It’ll have everyone coming back for seconds. Here are just a few reasons this mint chocolate chip cake should be the next one you make.
- Irresistible flavor combo. When cooling mint and nostalgic chocolate come together, magic happens. And this cake does it so well. The wonderfully moist, rich chocolate cake pairs with the refreshing mint buttercream like something out of a dream.
- So moist. I used my favorite chocolate cake here. It’s so moist and flavorful.
- Simple mixing method. This is one of the easiest cakes out there in terms of mixing method. No fancy beating or creaming and it’s all done in one bowl!
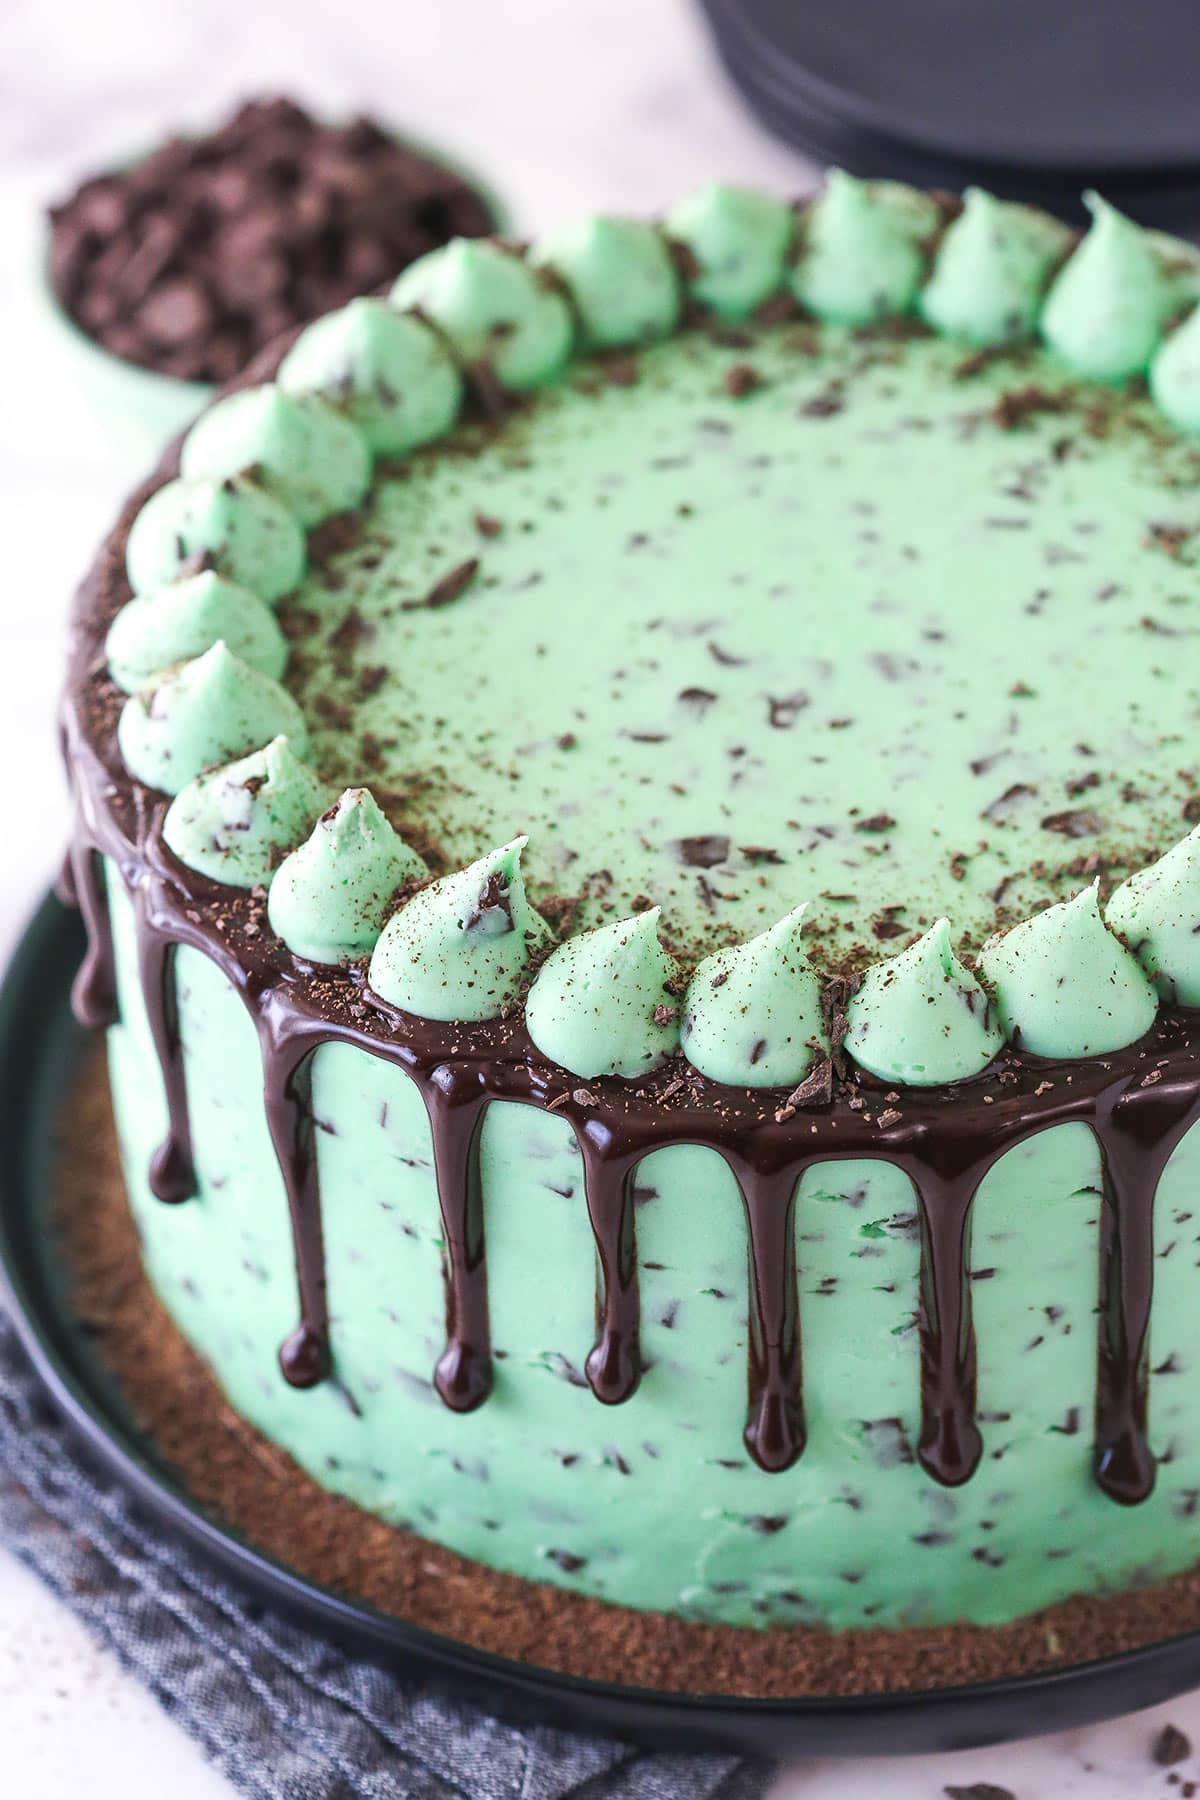
- A site to see. The beautiful minty green of the chocolate-speckled frosting next to the deep brown, almost black, of the chocolate ganache is hard to keep your eyes off of.
Ingredients You’ll Need
Head on over to the store and grab the following ingredients for this mint chocolate cake recipe. Here are a few notes about the most important ones. You’ll find exact measurements in the recipe card below.
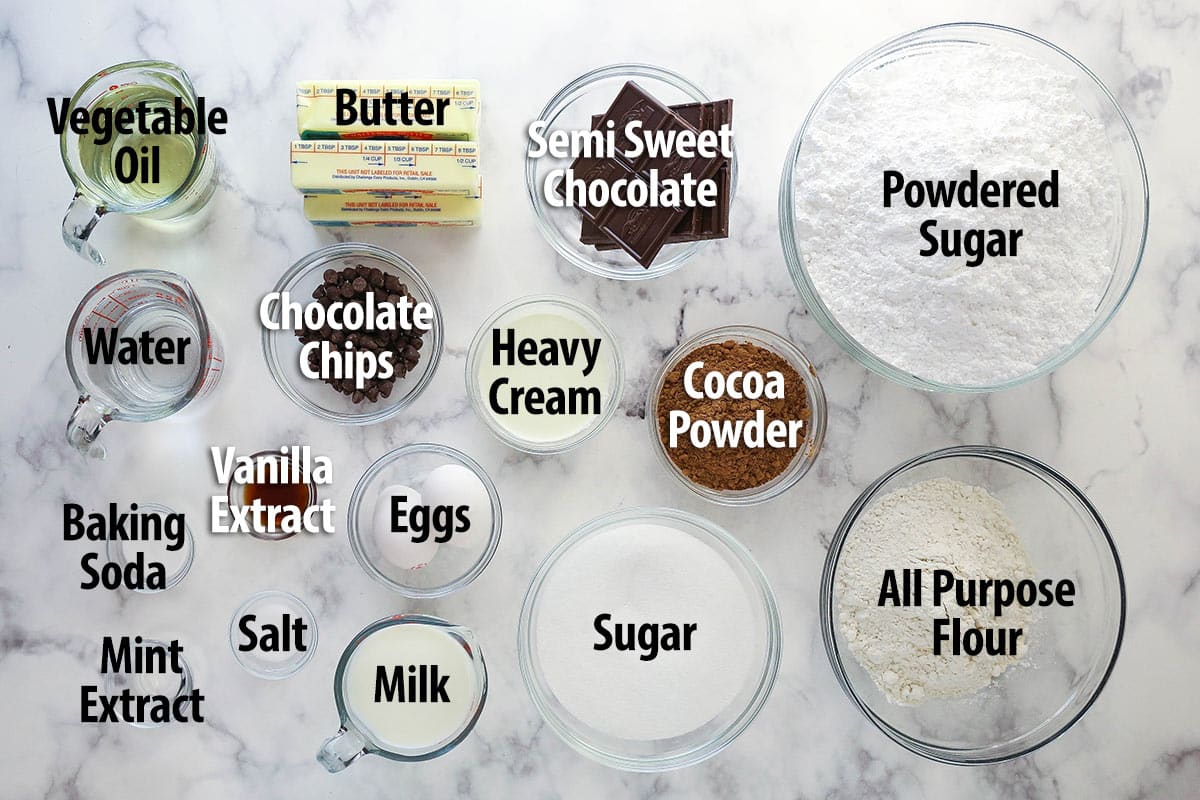
Chocolate Cake Layers
- All-purpose flour – Be sure to measure your flour accurately for best results. I always recommend a food scale, but the spoon and level method is the next best.
- Natural unsweetened cocoa powder – You could use Dutch-processed cocoa powder for a richer, deeper chocolate flavor, but keep in mind that the layers may not rise quite as much.
- Baking soda – The baking soda gives this cake the perfect rise and texture. No need for baking powder here.
- Eggs – Be sure to use large eggs, not medium or extra large.
- Milk – I use 2%, but you can also use whole milk, or even buttermilk.
- Vegetable oil – The vegetable oil in this cake makes it so wonderfully moist. Do not swap it out for melted butter. The result isn’t the same.
- Hot water – The hot water helps the chocolate bloom into full flavor.
Mint Frosting
- Unsalted butter – Start with room temperature butter. If it’s too cold, you’ll find yourself with a lumpy frosting.
- Powdered sugar – For a great frosting and piping consistency, I recommend using the amount listed in the recipe. However, you can reduce the amount if’d you like to. You just don’t want the buttercream to be too thin to keep the cake layers in place. If you want to reduce it, I’d recommend reducing everything else as well, in equal parts.
- Vanilla extract and mint extract – Using both helps keep the mint from being too much and giving toothpaste vibes.
- Salt – You don’t have to add salt, but it can help to cut down on the sweetness.
- Semi-sweet chocolate – Another type of chocolate would be fine too. You could even use Andes mint pieces.
Chocolate Drip
- Semi-sweet chocolate chips – I would stick with semi-sweet chocolate. Another type can change the ganache consistency.
- Heavy whipping cream – Don’t swap for milk or something else. The fat content of the heavy cream is important here.
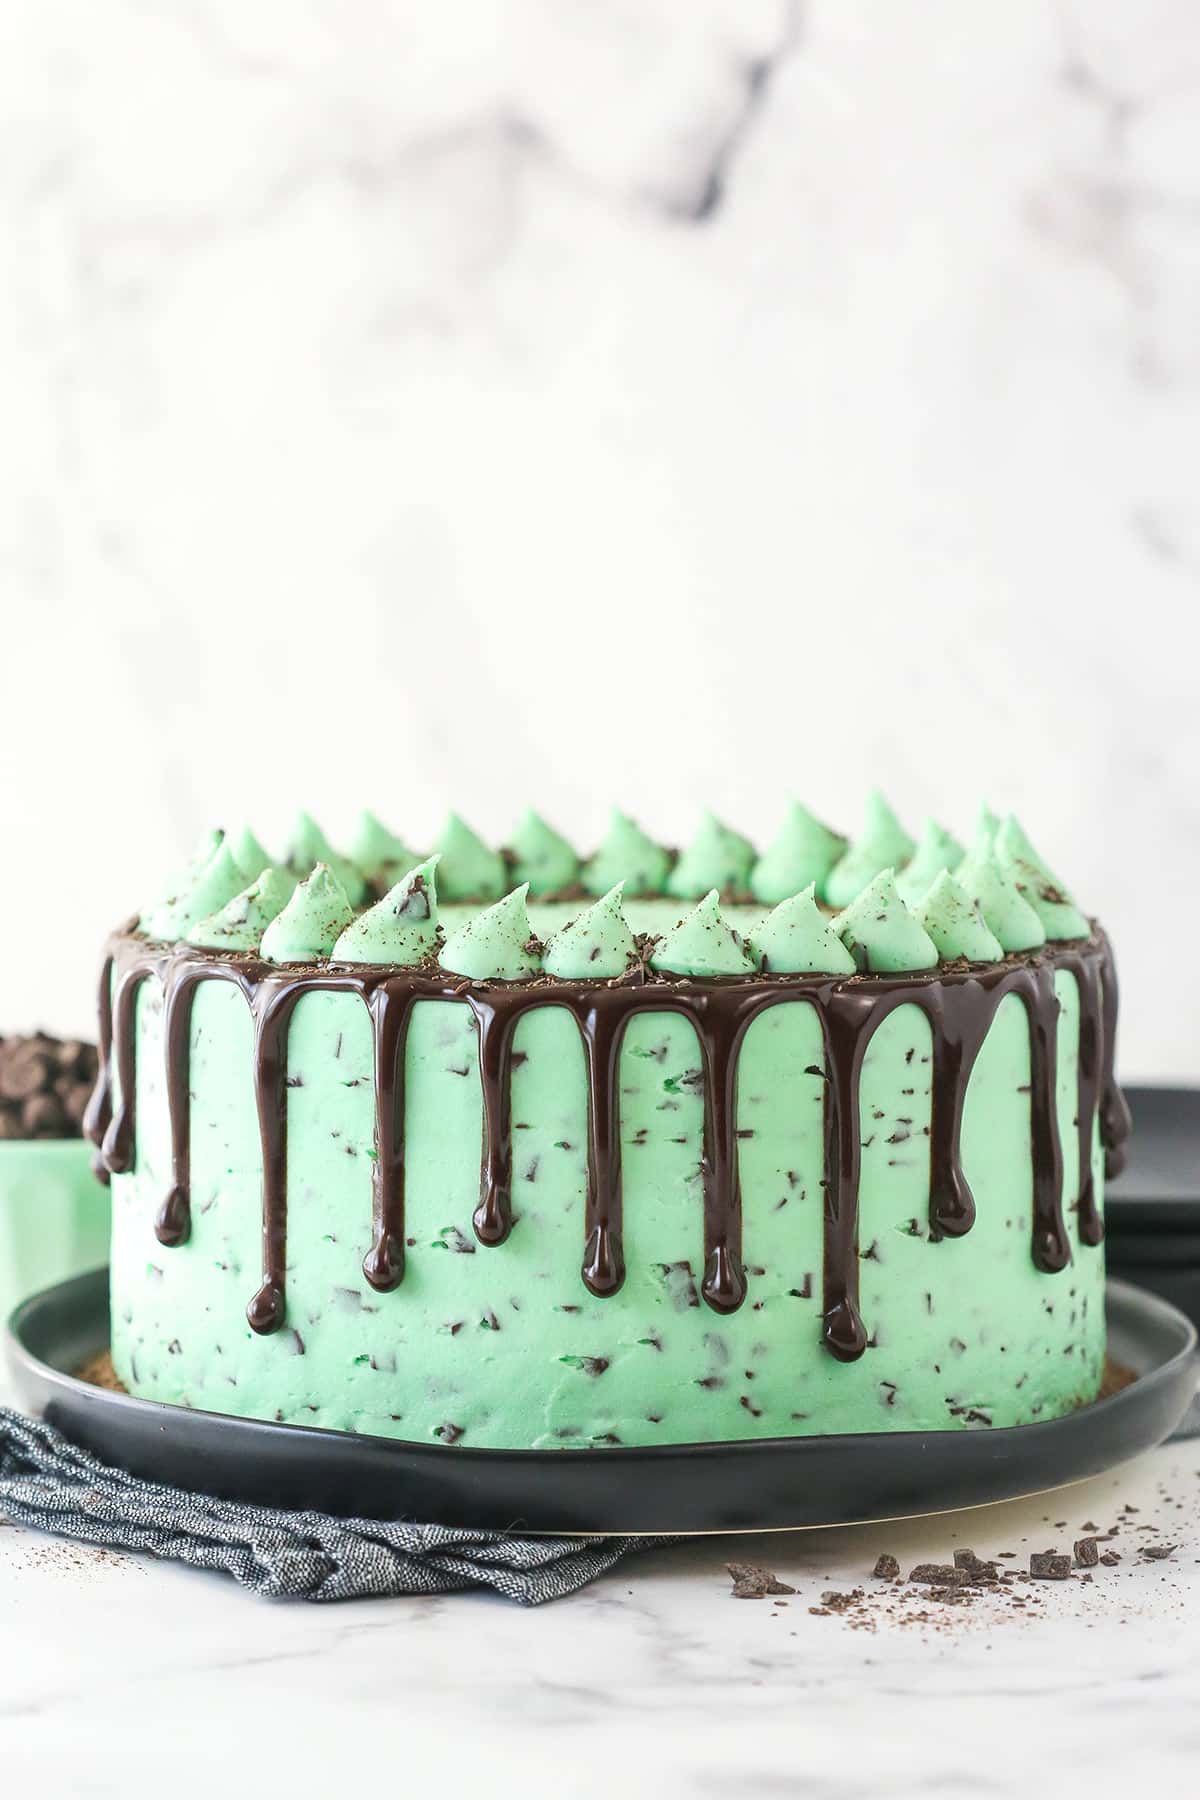
How to Make Mint Chocolate Cake
Here’s a basic rundown of how to make this minty, chocolaty layer cake. Don’t forget to scroll to the recipe card below for more detailed instructions.
Make the Cakes
- Prep. Preheat the oven to 300°F, line the bottoms of three 8-inch cake pans with parchment paper, and grease the sides.
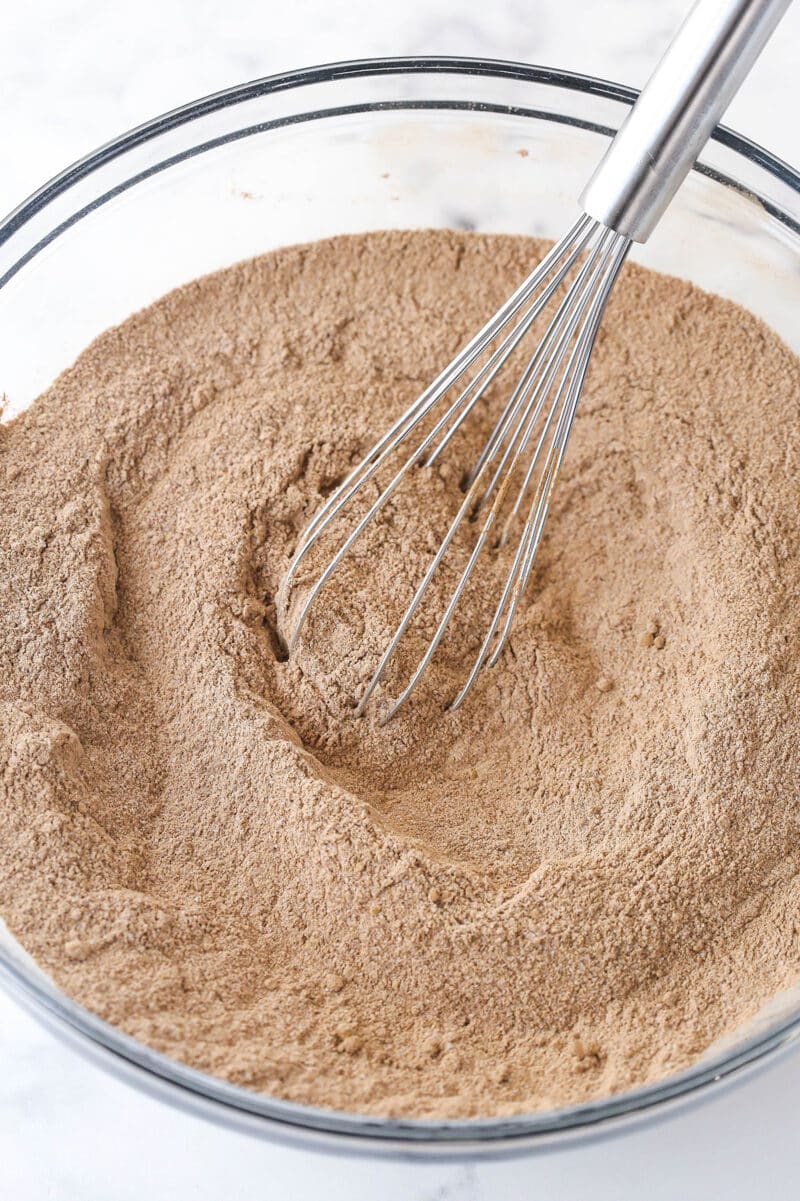
- Combine the dry ingredients. Whisk together the flour, sugar, cocoa powder, baking soda, and salt.
- Add the wet ingredients. Mix in the eggs, milk, and vegetable oil. Mix together the vanilla and hot water and then mix it into the batter.
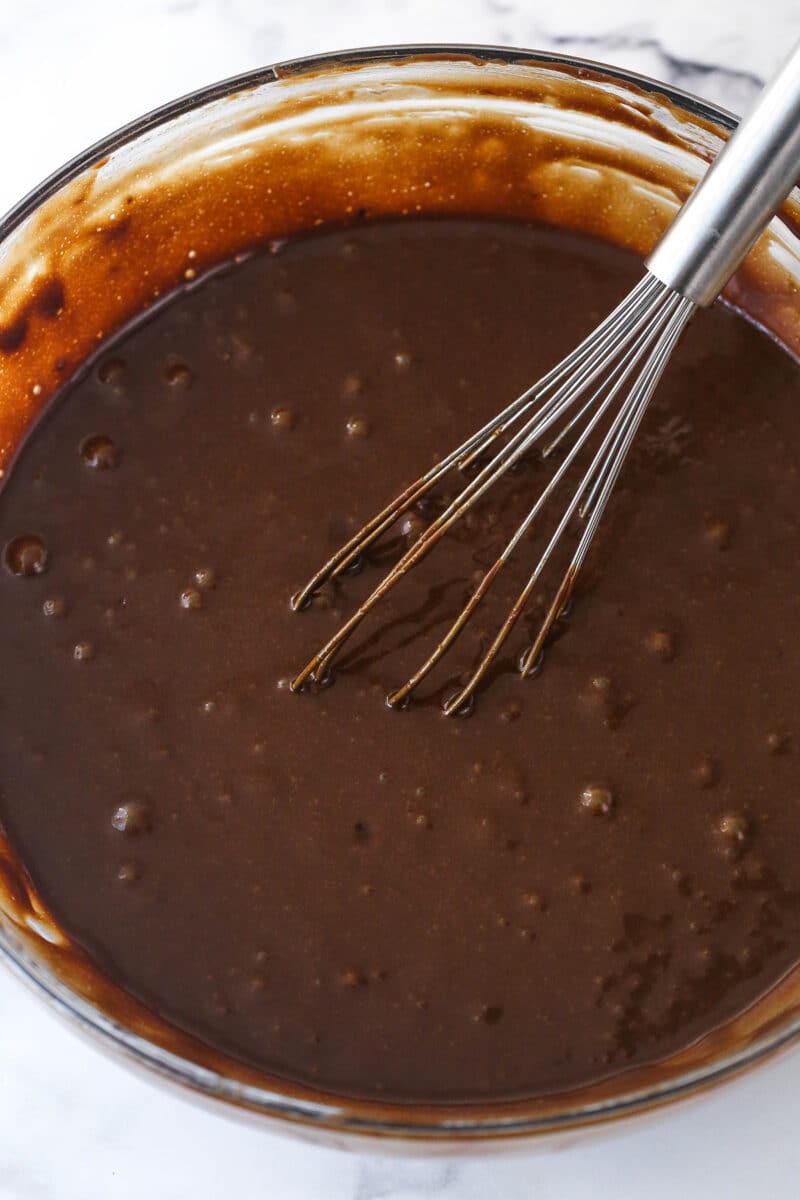
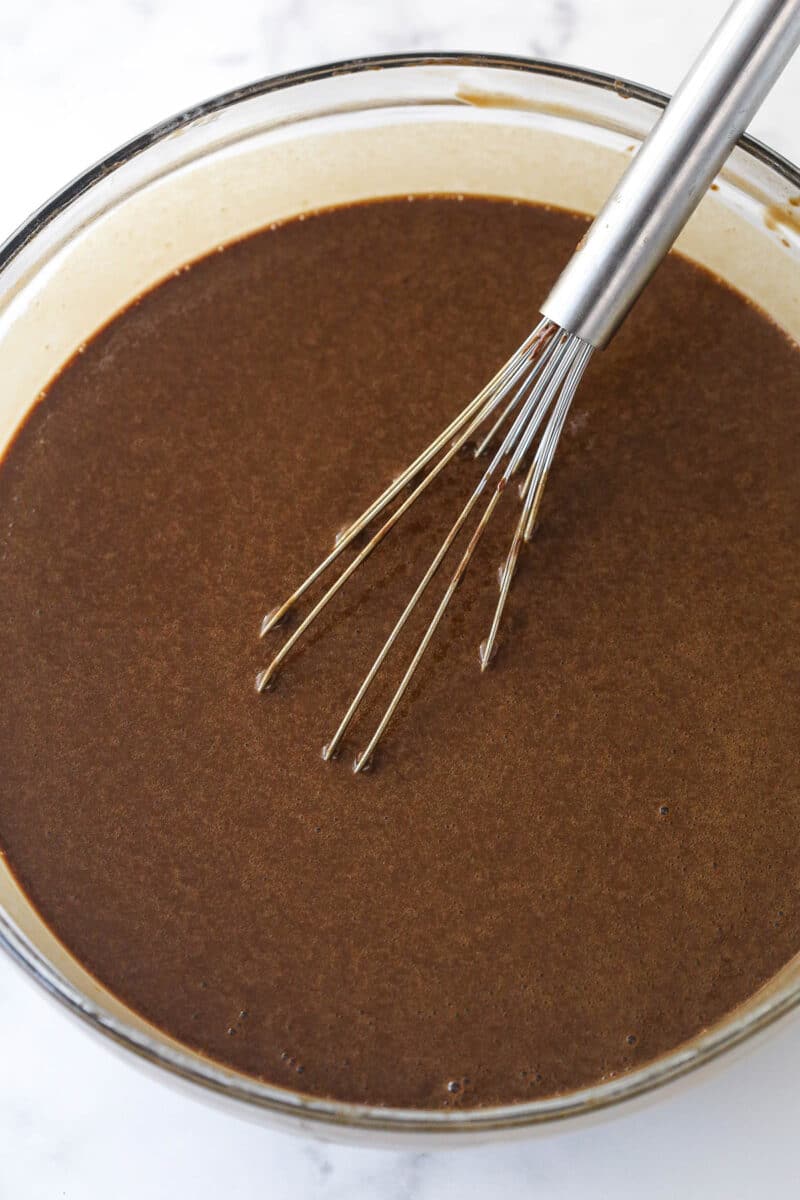
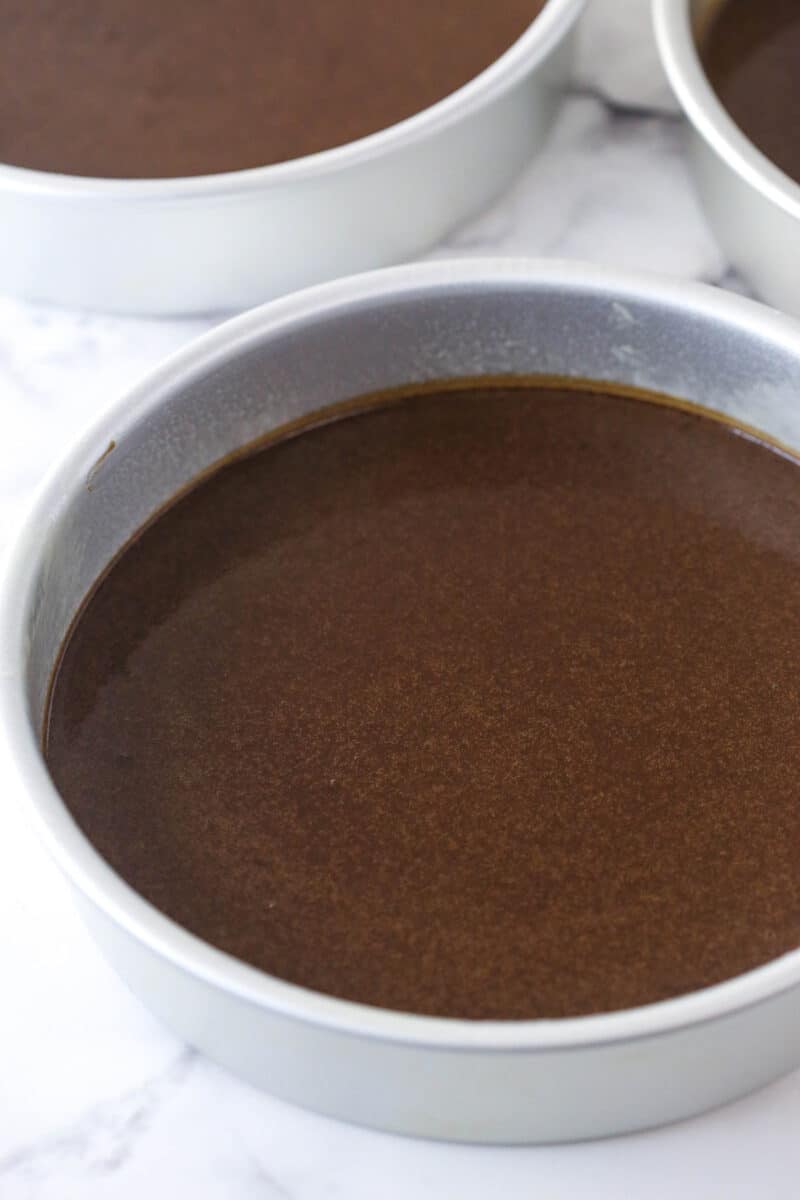
- Bake. Divide the batter between the cake pans and bake for 30-33 minutes.
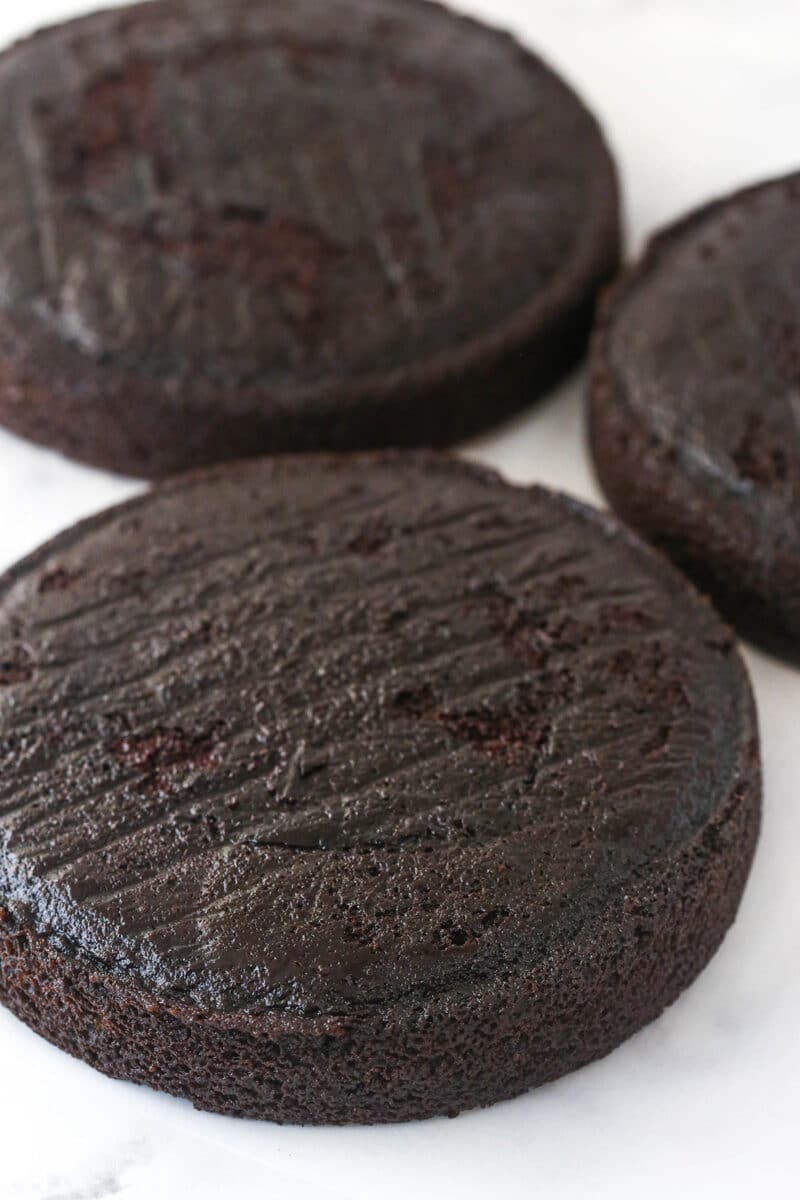
- Cool. Allow the cakes to cool in their pans for 10 minutes before transferring to cooling racks to cool completely.
Make the Buttercream
- Make the buttercream base. Beat the butter until smooth and then mix in half of the powdered sugar followed by 3 tablespoons of heavy cream, the vanilla extract, and the mint extract. Mix in the remaining powdered sugar and salt followed by a little extra heavy cream if your frosting is too thick.
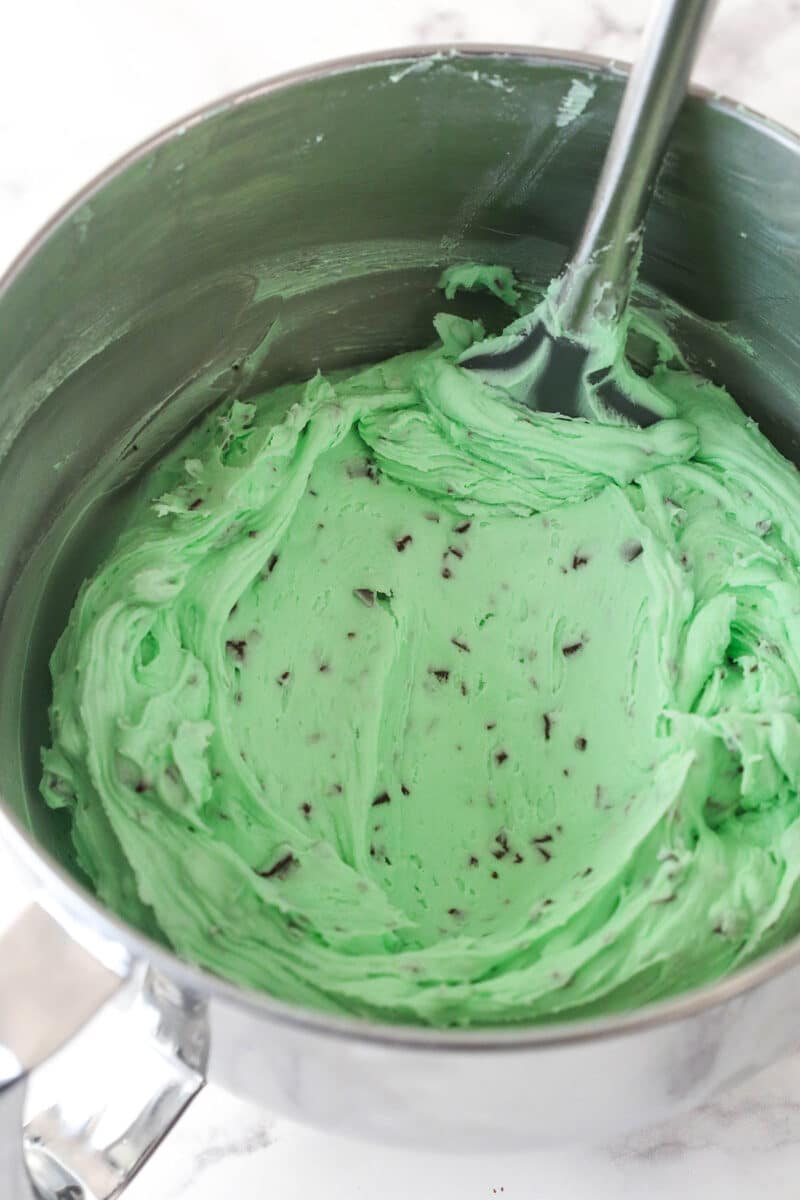
- Make it colorful. Mix the gel icing color to color into the buttercream.
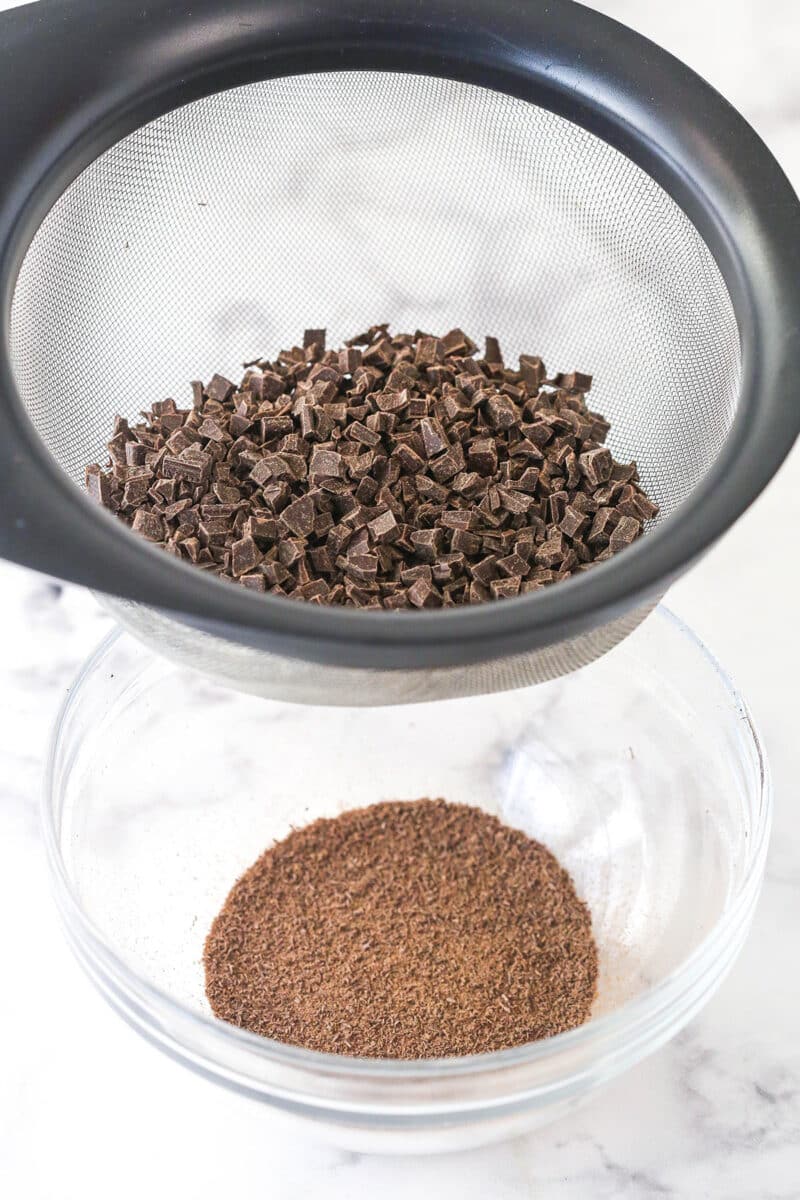
- Add the chocolate. Sift out any powdered pieces from the chopped chocolate and then mix the chopped chocolate into the buttercream.
Assemble and Decorate the Cake
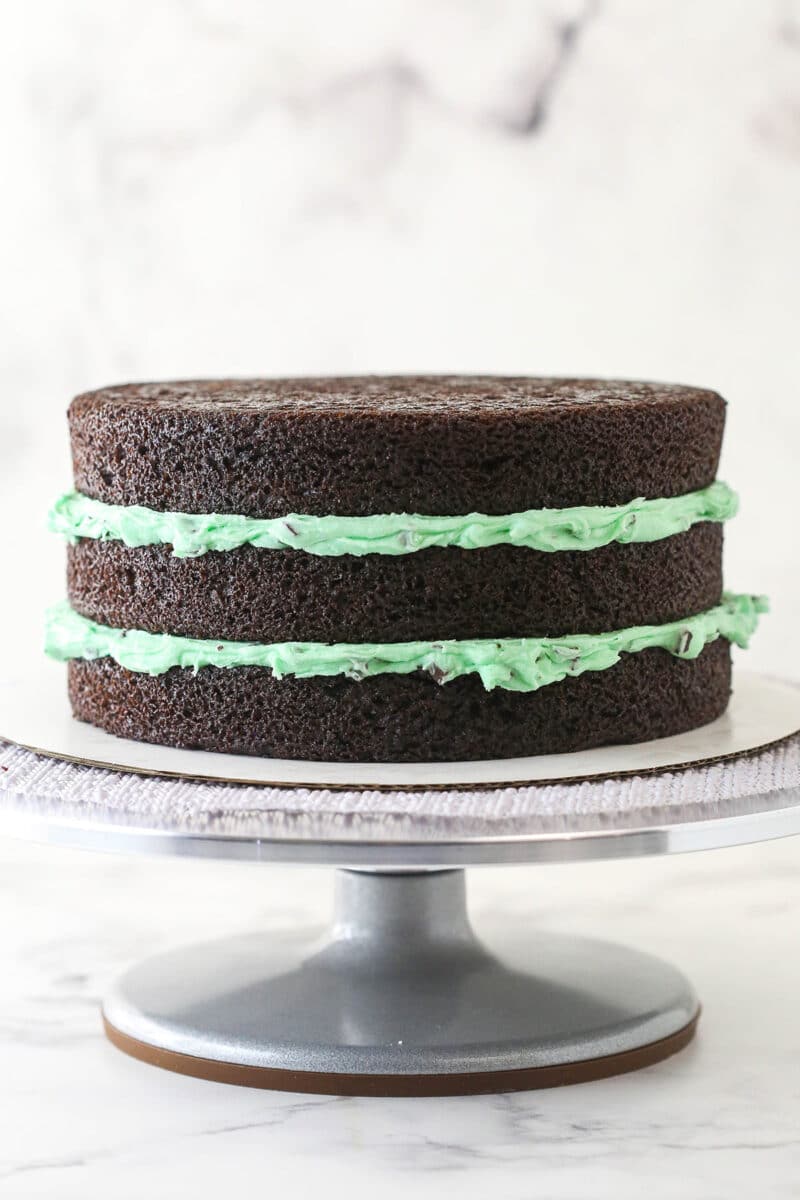
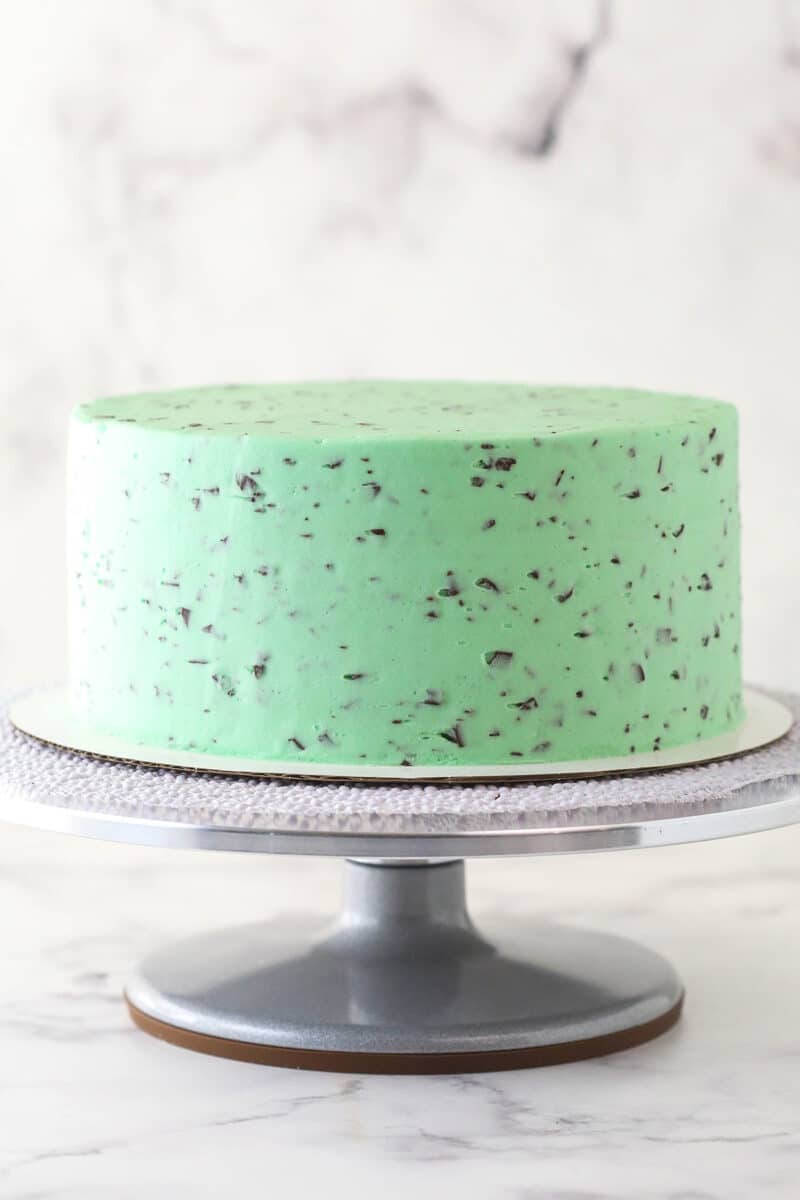
- Stack, fill, and frost. Remove the domes from the cooled cake layers, place one layer on a cake plate, and spread 1 cup of frosting over it. Top with the second cake layer and frost that layer with 1 cup of frosting. Repeat with the last layer. Frost the outside of the cake.
- Make the chocolate ganache. Heat the heavy cream until just boiling and pour it over the chocolate chips. Let them sit for 2-3 minutes and then whisk until smooth.
- Decorate. Drizzle the chocolate ganache around the edge of the cake, then spread the remainder over the top of the cake. Once the ganache has firmed up a bit, pipe the remaining frosting around the top edge of the cake. Garnish with extra chopped chocolate, if desired.
Tips for Success
- HOT water. The temperature of the water plays a crucial role in helping bring out the full chocolate flavor of the cocoa powder.
- Get the frosting right. Don’t be afraid to add a little extra heavy cream to thin out the frosting if needed. Have a read through my post on how to get the right frosting consistency for more.
- Perfectly colored buttercream. I like to run the chopped chocolate for the frosting through a mesh sieve to remove any powdery chocolate bits that might discolor the buttercream.
- Cool completely. Do not attempt to frost the cake layers until they have cooled completely. The frosting will melt and slide off.
- Make it pretty. I highly encourage you to do a little studying before you stack, frost, and decorate this cake. My posts on how to level a cake and how to stack a cake will help you achieve a symmetrical layer cake. In addition, this tutorial for frosting a smooth cake and my post on making a chocolate drip cake will teach you how to decorate like a pro.
- Allow the ganache to firm up. After decorating the cake with chocolate ganache, allow it to firm up a bit before piping the remaining frosting around the top edge. If the ganache is too runny, it will adhere to the frosting and make a bit of a mess.
How to Store Mint Chocolate Chip Cake
- Counter or refrigerator. Store the cake in an air-tight cake carrier or wrap it in a double layer of plastic wrap. If you go the plastic wrap route, use toothpicks to prop the plastic away from any decorations. Alternatively, arrange slices in a single layer in an airtight container. Once airtight, you can leave this cake out at room temperature for up to 24 hours or store it in the fridge for up to 5 days.
- Freezer. Pop the cake in the freezer for a couple of hours to firm up before wrapping the whole thing in a double layer of plastic wrap. You can also arrange slices in a freezer-safe, airtight container and store it that way. It will keep in the freezer for up to 3 months. Allow the cake to thaw in the fridge before diving in.
More Mint Chocolate Desserts
If you love the combination of cooling mint and rich chocolate as much as I do, you have to try these other recipes as well. Happy baking!
- Mint Chocolate Chip Cupcakes
- Mini Mint Chocolate Oreo Cheesecakes
- Mint Oreo Cheesecake
- Mint Chocolate Cookie Cups
- Andes Mint Cookies
- No Bake Mint Oreo Icebox Cake
Mint Chocolate Cake
- Prep Time: 1 hour 15 minutes
- Cook Time: 35 minutes
- Total Time: 1 hour 50 minutes
- Yield: 12-14 Slices
- Category: Cake
- Method: Oven
- Cuisine: American
Description
This mint chocolate cake is made up of 3 layers of perfectly moist chocolate cake filled and frosted with a sweet, refreshing mint buttercream dappled with chopped chocolate! It’s so delicious and a mint-chocolate lover’s dream!
Ingredients
Chocolate Cake Layers
- 2 cups (260g) all-purpose flour
- 2 cups (414g) sugar
- 3/4 cup (85g) natural unsweetened cocoa powder
- 2 tsp baking soda
- 1 tsp salt
- 2 large eggs
- 1 cup (240ml) milk
- 1 cup (240ml) vegetable oil
- 1 1/2 tsp vanilla
- 1 cup (240ml) boiling water
Mint Frosting
- 2 1/2 cups (560g) unsalted butter, room temperature
- 10 cups (1150g) powdered sugar
- 3–6 tbsp (45ml-90ml) heavy whipping cream
- 2 tsp vanilla extract
- 2–3 tsp mint extract
- Pinch of salt
- Green and blue gel icing color
- 6 oz semi-sweet chocolate, finely chopped
Chocolate Drip
- 3 oz (1/2 cup | 85g) semi-sweet chocolate chips
- 1/4 cup heavy whipping cream
Instructions
Make the Cakes
- Preheat oven to 300°F (148°C). Prepare three 8-inch cake pans with parchment paper circles in the bottom, and grease the sides.
- Add flour, sugar, cocoa powder, baking soda and salt to a large bowl and whisk together.
- Add the eggs, milk and vegetable oil to the dry ingredients and mix until well combined.
- Add vanilla to the hot water, then pour into the batter. Mix until well combined. The batter will be very thin.
- Divide batter evenly between cakes pans and bake for 30-33 minutes, or until a toothpick comes out with a few crumbs.
- Remove cakes from oven and allow to cool for about 10 minutes, then remove to cooling racks to cool completely.
Make the Buttercream
- Add the butter to a mixer bowl and beat until smooth.
- Add about half of the powdered sugar and mix until well combined and smooth.
- Add 3 tablespoons of heavy cream, the vanilla extract and the mint extract and mix until well combined and smooth.
- Carefully add the remaining powdered sugar and mix until well combined smooth. Add the salt and additional heavy cream, as needed, to get the right consistency of frosting.
- Add the gel icing color to color the buttercream.
- Before adding the chopped chocolate to the buttercream, try to move all the tiny little powdery bits of chocolate, so they don’t discolor the buttercream. I used a fine mesh sieve.
- Add the chopped chocolate to the buttercream and stir together until well combined.
Assemble and Decorate the Cake
- Once cakes are cool, remove cake domes from top with a large serrated knife. See my tips on how to level a cake and how to stack a cake. Place first layer of cake on cake plate.
- Spread about 1 cup of buttercream on top in an even layer.
- Add second layer of cake and another cup of buttercream. Spread buttercream into an even layer.
- Add final layer of cake on top and frost the outside of the cake with the remaining buttercream. Feel free to use my tutorial for frosting a smooth cake. Set cake aside.
- To make the chocolate ganache, add the chocolate chips to a medium sized bowl (see my tips on making chocolate ganache).
- Heat the heavy whipping cream in the microwave just until it begins to boil, then pour it over the chocolate chips. Allow it to sit for 2-3 minutes, then whisk until smooth.
- Drizzle the chocolate ganache around the edge of the cake, then pour the remainder of the ganache on top of the cake and spread evenly. I like to use a squeeze bottle for drizzling around the edges. See my tips on making a chocolate drip cake.
- Allow the ganache to firm up a bit, then pipe the remainder of the frosting around the top edge of the cake. I used Ateco tip 809. Finish off the cake some additional chopped chocolate, if desired.
- Store the cake in an air-tight cake carrier or well covered. You can leave it at room temperature for up to 24 hours, then refrigerate the cake. The cake is best when served at room temperature and holds up well for 4-5 days.
Nutrition
- Serving Size: 1 Slice
- Calories: 1069
- Sugar: 124.2 g
- Sodium: 372.3 mg
- Fat: 56.5 g
- Carbohydrates: 143.3 g
- Protein: 6 g
- Cholesterol: 118.3 mg




Us it really 11 1/2 cups if powdered sugar for the frosting?
That is what I used, yes. I use a decorator style buttercream, which is typically about 4 cups of powdered sugar to 1 cup of butter (or butter and shortening). You can certainly reduce it, but it does change the consistency of the frosting.
Would it work to put ice-ream in between the cakes, and just put frosting on the outside, and if so, how much would you reduce the frosting by?
Yes, you could use the cake layers to make an ice cream cake. I did something similar with this ice cream cake. Personally, I’d use whipped cream for the frosting, rather than buttercream, as it won’t be so firm when frozen.
1138 calories per slice??!!
Okay. I have another question though and it has to do with the frosting.
Hi Lindsay!
I was just wondering if the cakes are supposed to have a dent in them after they are done baking.
No, not really. If anything I would say that they should have a slight dome on top.
Hello Lindsay! I am new to cake baking and was wondering what function the boiling water has? Thank you for this fun recipe, excited to try!
You could use cold water if you wanted, but the heat helps the cocoa bloom to bring out more a intense chocolate flavor.
Hi! I cant wait to try this!! How do u get the mint pieces so evenly around the outside of the cake? It looks so pretty!
I wish I had a secret, but I really just cup them in my hand/fingers and press them against the cake.
could i possibly use the same recipe for a 10 inch cake pan? or would i have to change it?
How many layers would you be making? Still three? If you’re making a 3 layer 10 inch cake, you might want to increase the recipe a bit – maybe even double it.
Hi Lindsay! This cake is awesome! I modified it to make a two-layer cake instead of three and featured it on my blog (giving you recipe credit, of course)! https://alovelettertofood.com/recipe/chocolate-mint-layer-cake/ Thanks for the perfect chocolate mint combo.
I’m so glad you enjoyed it! It looks great! Thanks for linking back!
My daughter is also making this recipe for a 4-H project. She’s already made it once and it’s delicious. Is this your original cake and frosting recipe or are they from another source. Thanks!
I’m so glad you’ve enjoyed it! The cake is one I’ve had for years and don’t know the original source. The frosting is mine.
Hi Lindsay,
I don’t find much time to go on-line with being a working mom. But I wanted to bake a cake with my kids. I found your website and blog and I can’t stop reading your recipes and admiring the beauty of your wonderful creations! I really want to make this Mint Chocolate Chip Layer Cake. I am short on time and do not have time to order all the things from Amazon that you cited in the beginning. Can I find all those it me at Target or the grocery store? Also, can I use an electric hand mixer? I do NOT have a Kitchen Aid Mixer. If I wanted to make 2 layers instead of 3, can you please please tell me how to adjust everything for the cake and frosting? Can I find the 8 inch pans at the store? Can I use food coloring instead of the gel? Thank you SO much! I need to make this amazing cake fast and do not have time to order things online. I want to be able to find everything in my pantry and the store,
Thank you so much!
I’m not sure which things you say I mention in the beginning that you’d need to order? I mention my cookbook in the post, but you don’t need that for this recipe. You should be able to find all the ingredients readily at the grocery store. Sometimes the mint chips are hard to find, but usually Walmart has them, along with the other baking supplies you’d need including the cake pans and green gel icing color. Food coloring doesn’t give as strong as a color without adding a lot, which thins out your frosting. You could do it, but you’d have to be aware of the consistency. A hand mixer is just fine. I hope that helps!
Hi Lindsay, I see here you said mint chips are sometimes hard to find.. for this receipe we do not need them correct? thank you 🙂
Correct. That comment was from a previous version of this recipe that used those.
I loved how it’s easy and straightforward. Just one bowl. Also, I made this gluten free replacing the flour for the same amount of a homemade pre-mix* and 3/4 tsp of xantan gum. I’ll be using this recipe from now on! Thank you so much.
Pre-mix: 300 gr of rice flour, 300 gr of manioc starch and 400 gr of cornstarch. Just mix everything and store in a container.
Can I make this in a 13×9 pan?
Sure, you just won’t need as much frosting.
My daughter made this recipe for her local youth fair. It took OVERALL GRAND CHAMPION! Thank you for sharing it.
So fun! Glad it was a hit!
i only have 2 (6 inch) round pan, what changes do i need to change?
When you say shortening what do you mean is it an American term?
It’s a butter replacement, basically. If you don’t have something similar, you can use all butter.
Just wanted to say a big thanks for this recipe! I made it this past week for our eldest’s eleventh birthday, and it was a huge hit. Wonderful recipe – thanks!!
Diana
So glad you enjoyed it!
Why doesn’t this recipe have butter for the cake?
This cake is soooo shit it tastes extremely salty I nearly threw up when I tasted it
Did you empty an entire can of salt into it? That could be why. 🙂
Made this cake with my five old. Reply nice recipe will be cutting it today. Will let you know how it came out. Big fan of your blog. Thank you for all the lovely recipes