This post may contain affiliate sales links. Please read my disclosure policy.
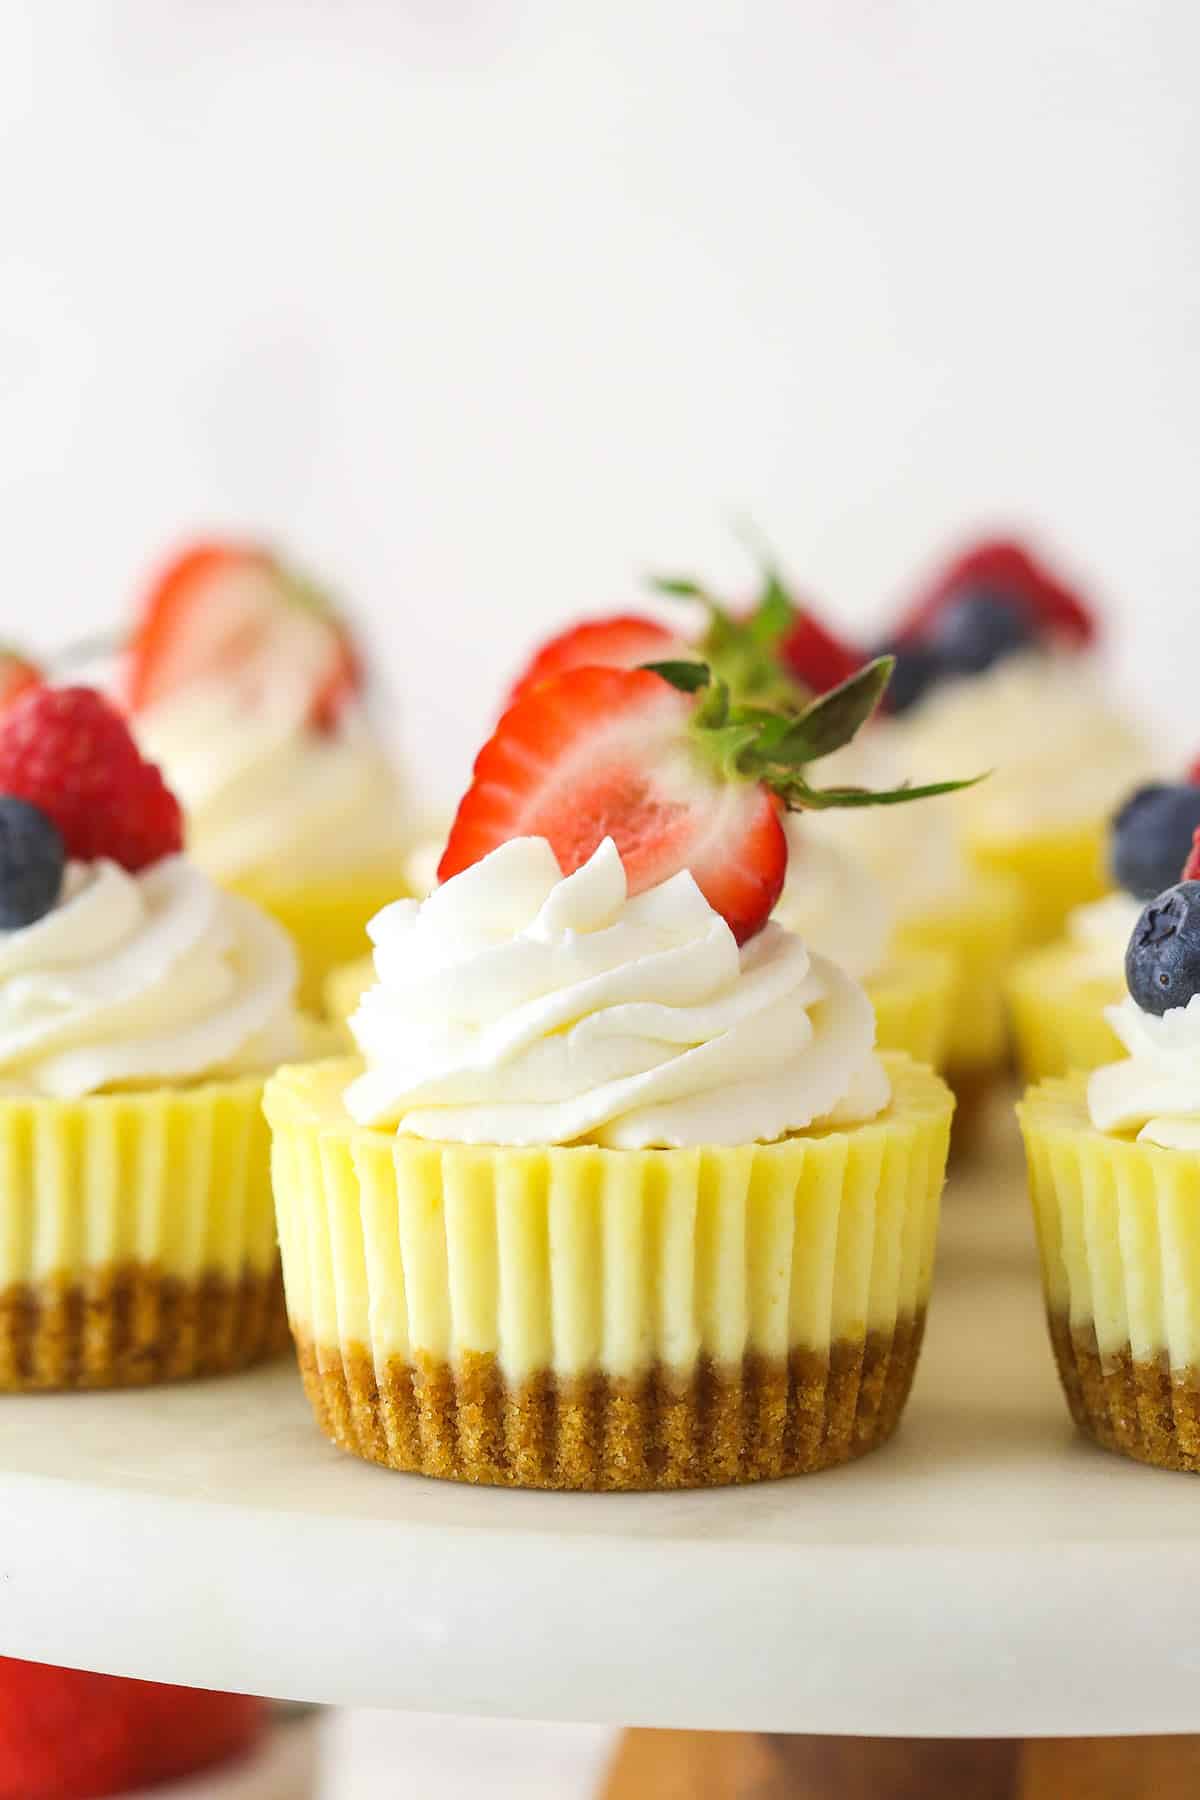
These mini cheesecakes have a smooth, creamy filling that sits in a buttery graham cracker crust. Each cheesecake is topped with fresh whipped cream and berries for a classic little treat! Their mini size makes them perfect for transporting and sharing!
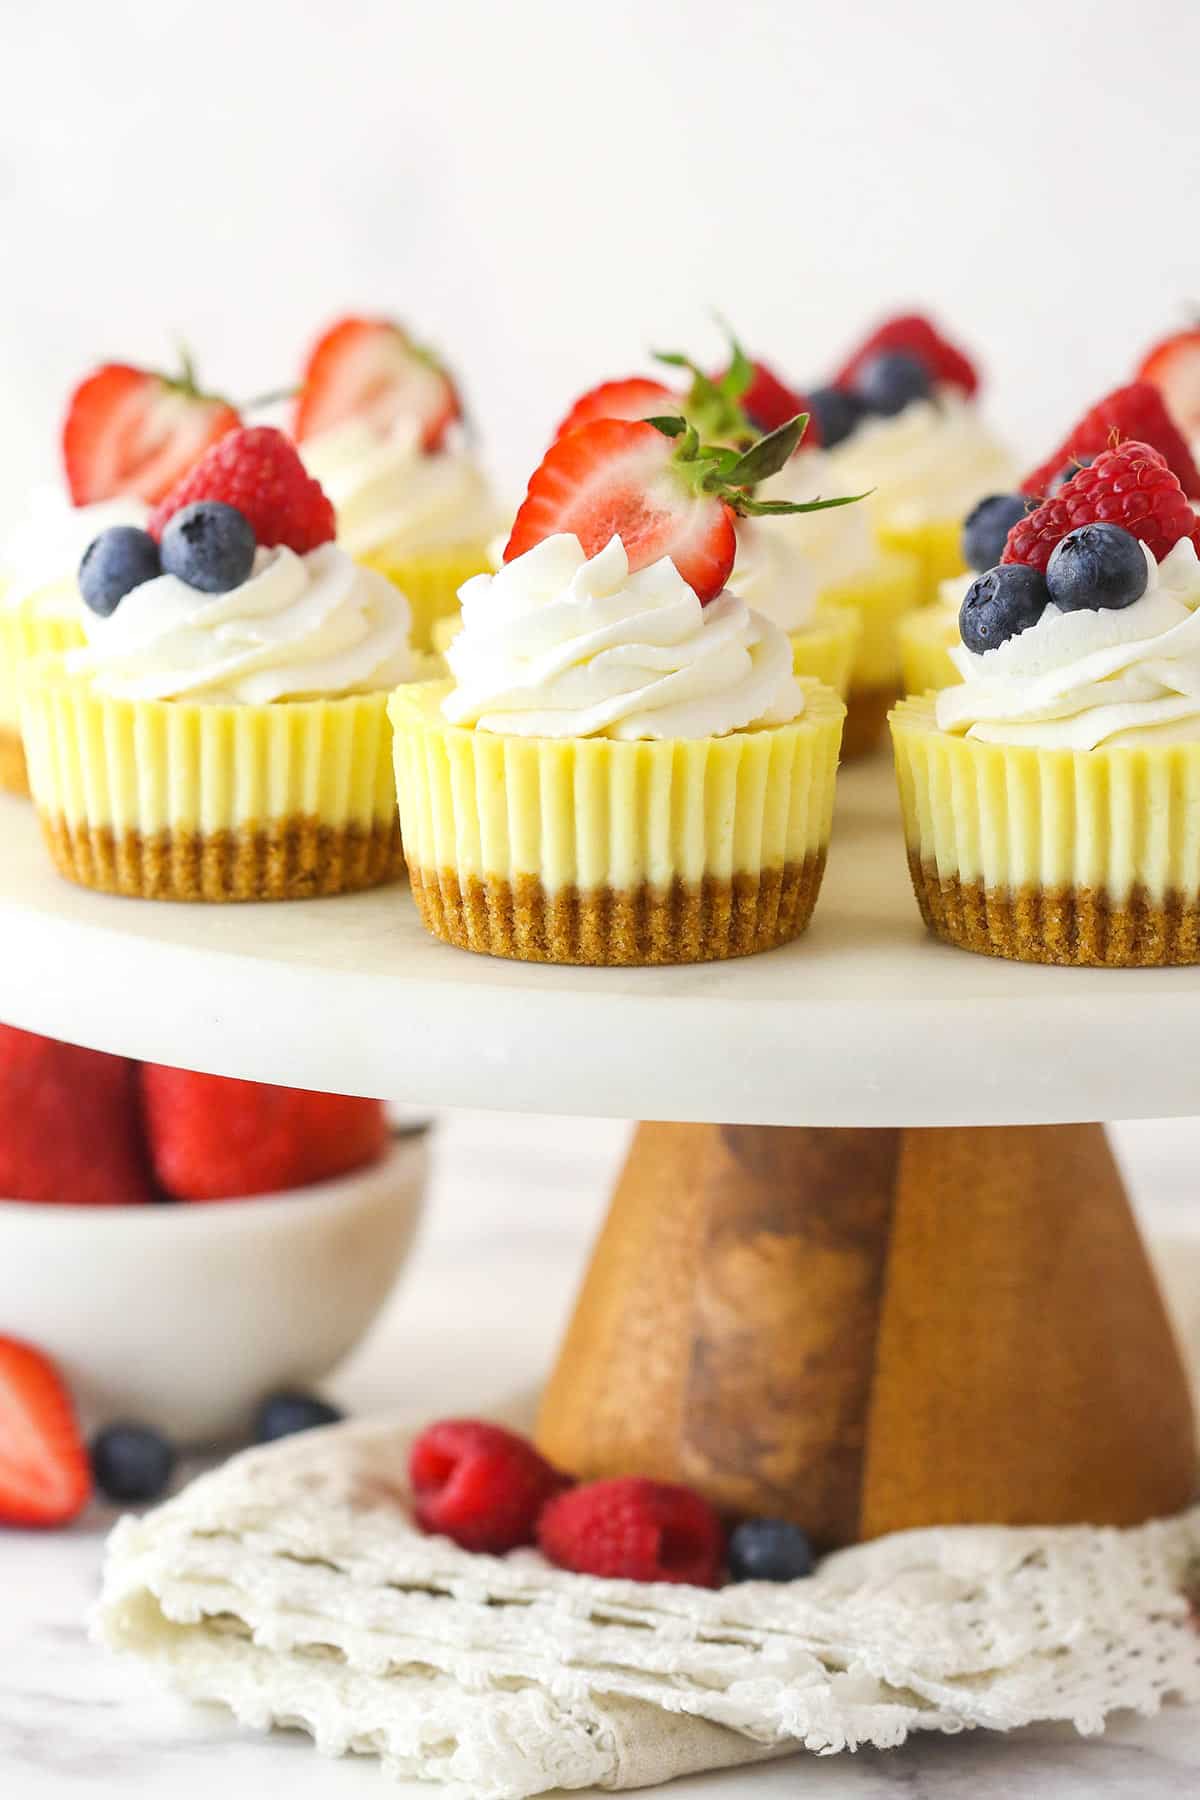
Table of Contents
- Easy Mini Cheesecake Recipe
- Why You’ll Love These Individual Cheesecakes
- What You’ll Need
- How to Make Mini Cheesecakes
- Tips for Success
- How Do You Know When Mini Cheesecakes Are Done?
- Cheesecake Topping Ideas
- Proper Storage
- Can I Freeze These Individual Cheesecakes?
- More Mini Cheesecake Recipes
- Watch How to Make Mini Cheesecakes
- Get the Recipe
Easy Mini Cheesecake Recipe
These easy mini cheesecakes are the perfect sharable dessert. The way the rich, creamy filling combines with the subtle crunch of the buttery graham cracker crust makes them utterly irresistible. The filling has the nicest little tang to it, too, that I just can’t get enough of. They are topped with classic homemade whipped cream and a smattering of fresh berries. The perfect, elegant mini dessert.
If you haven’t made mini desserts in the past, now is a great time to start. They are easily shareable and transportable. Plus, they’re easy to make (usually) and they feel so much more guilt-free than your average, full-sized treat. This classic vanilla mini cheesecake is no exception. You’re going to love it.
Why You’ll Love These Individual Cheesecakes
This might just become your new go-to cheesecake recipe. It’s so quick, easy, and delicious. Here are some of the reasons I love it so much.
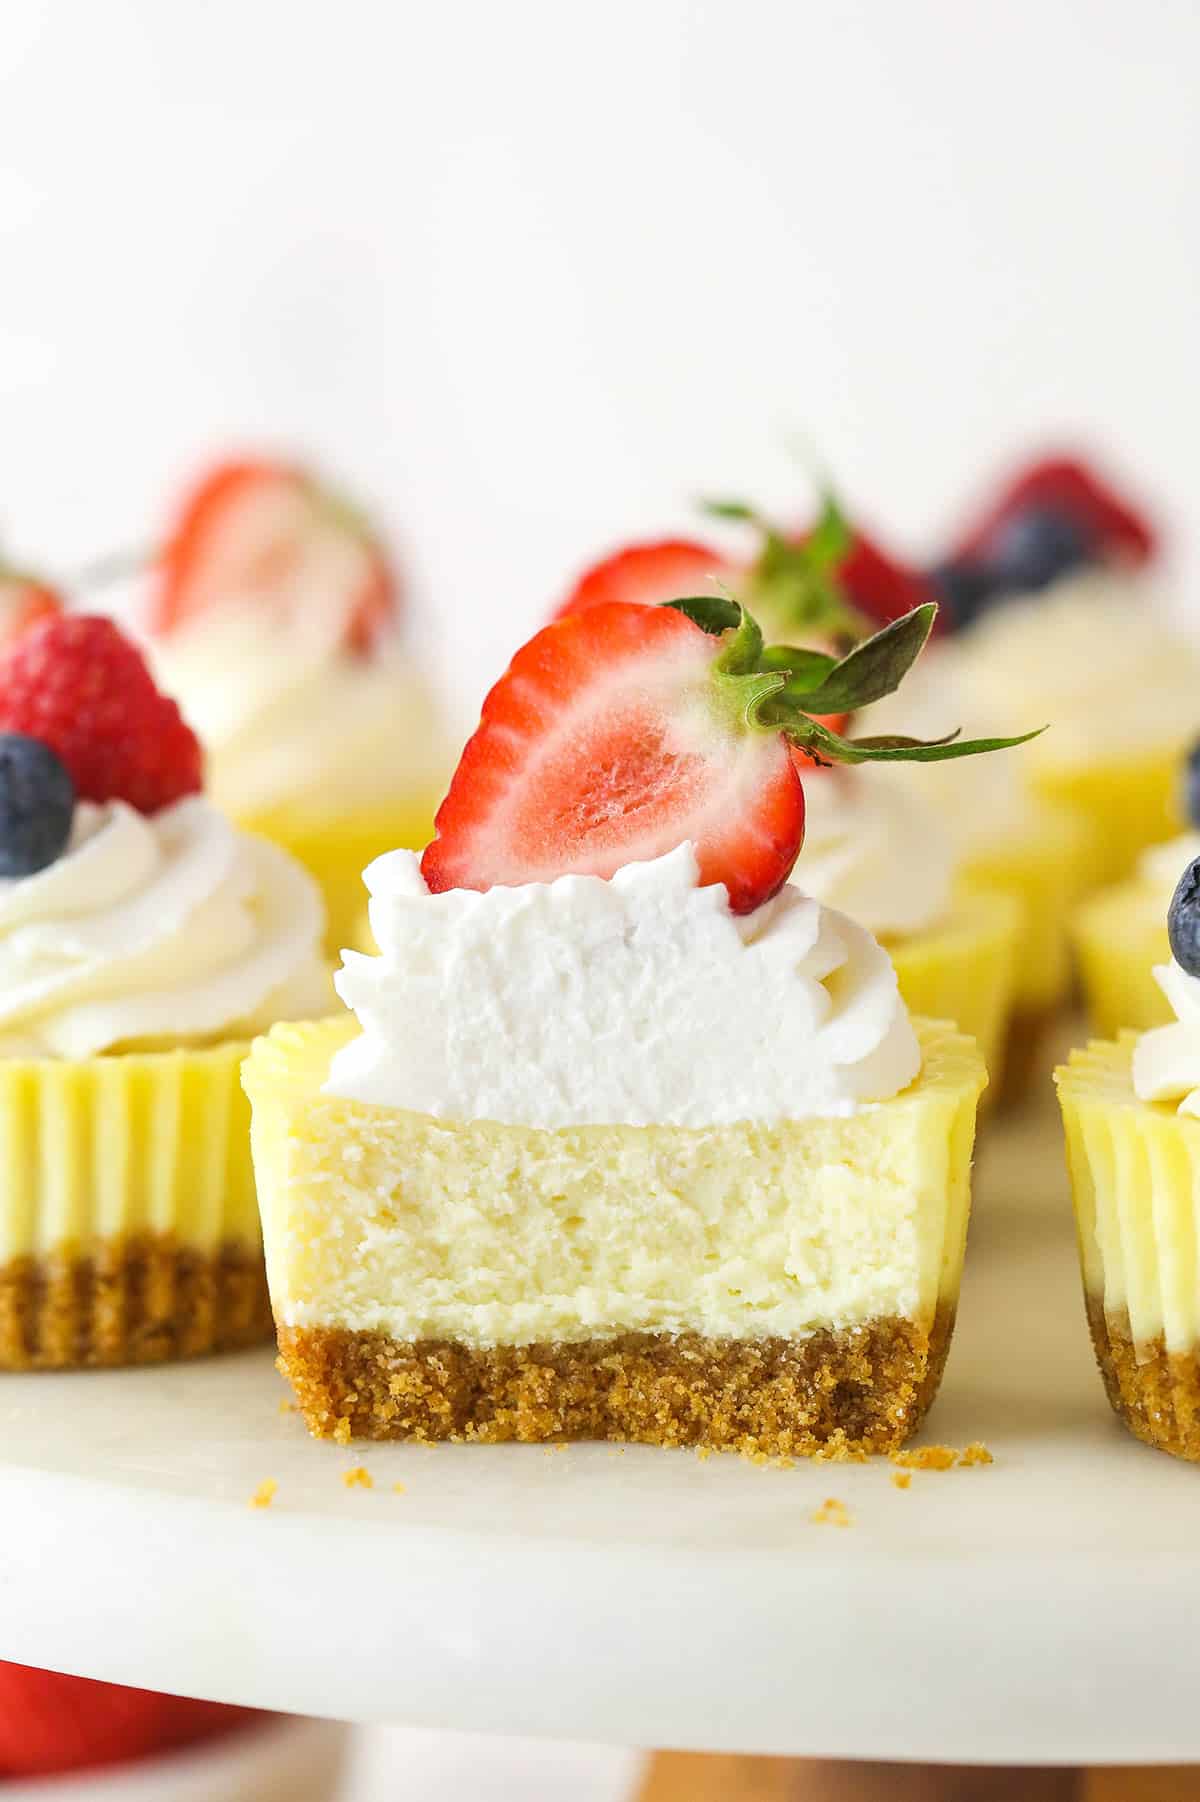
- Texture. The filling for these cheesecakes is some of the thickest, creamiest and smoothest I’ve ever tasted. Combine it with a buttery graham cracker crust that has the perfect flavor and you’ve got yourself the perfect bite.
- Tang. The addition of sour cream to the filling breaks up the richness of the cream cheese beautifully and adds a subtle tang that I just love.
- No fuss. Unlike my full-sized vanilla cheesecake, these mini cheesecakes do not require a water bath. Score! You can bake them right in a cupcake pan with cupcake liners.
- Quick. Craving cheesecake but short on time? These mini cheesecakes are the perfect solution. They go through the baking and cooling process in just 40 minutes. That’s record time when compared to the 2 hours or so that a standard cheesecake needs.
- Single-serve. These cheesecakes are the perfect sharable dessert to bring to your next gathering. No messy slicing and serving. Each portion is conveniently packaged in its own little wrapper.
What You’ll Need
This mini cheesecake recipe is wonderfully simple. All you need is a handful of ingredients, many of which you are likely to have on hand already. Here they are. Be sure to scroll to the recipe card below for precise measurements.
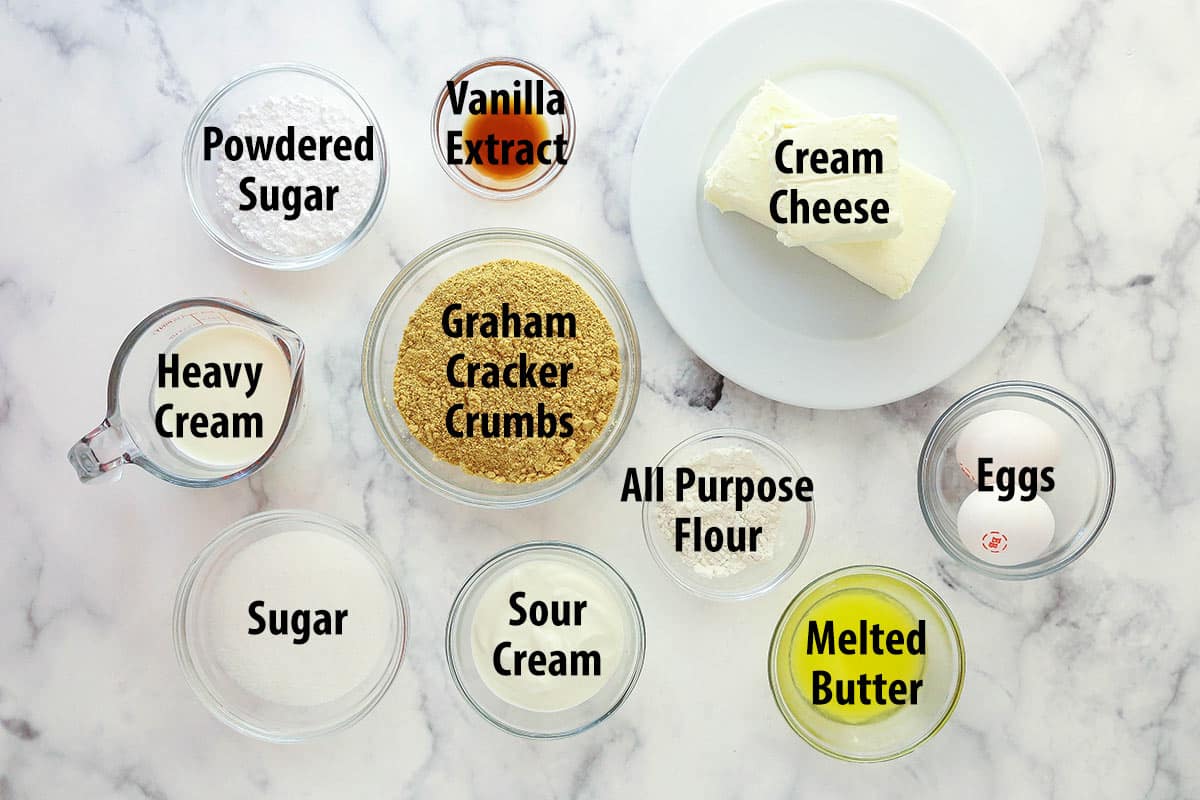
- Graham cracker crumbs – Vanilla wafer cookie crumbs would work just as well.
- Sugar – To sweeten the crust and filling.
- Unsalted butter – The melted butter is added to the graham cracker crumbs to hold the crust together.
- Cream cheese – The cream cheese should be at room temperature so that it doesn’t get all lumpy in your batter. You also want to be sure to use brick-style full-fat cream cheese. Cream cheese in a tub and reduced fat cream cheese are both softer and will lend a less thick cheesecake.
- All-purpose flour – The starch prevents the egg proteins from over-coagulating, giving you a creamier texture and helping you prevent any cracks. If you are looking for a gluten free alternative, cornstarch will work too. Use half as much cornstarch as you would flour.
- Sour cream – The sour cream softens up the texture of the cheesecake and lends some moisture, while also adding a nice pop of tangy flavor.
- Vanilla extract – For flavor.
- Eggs – To firm up the cheesecake and add richness.
- Heavy whipping cream – For the whipped cream topping. It is best if the heavy whipping cream is cold. It will whip up and hold volume much more effectively.
- Powdered sugar – To sweeten and stabilize the whipped cream. It will keep your whipped cream from wilting – forever.
- Fresh fruit – For topping.
How to Make Mini Cheesecakes
Here’s a quick look at how to make these individual cheesecakes. For more thorough instructions, scroll to the recipe card below.
Crust
- Prep. Preheat oven to 325°F and line a cupcake pan with cupcake liners.
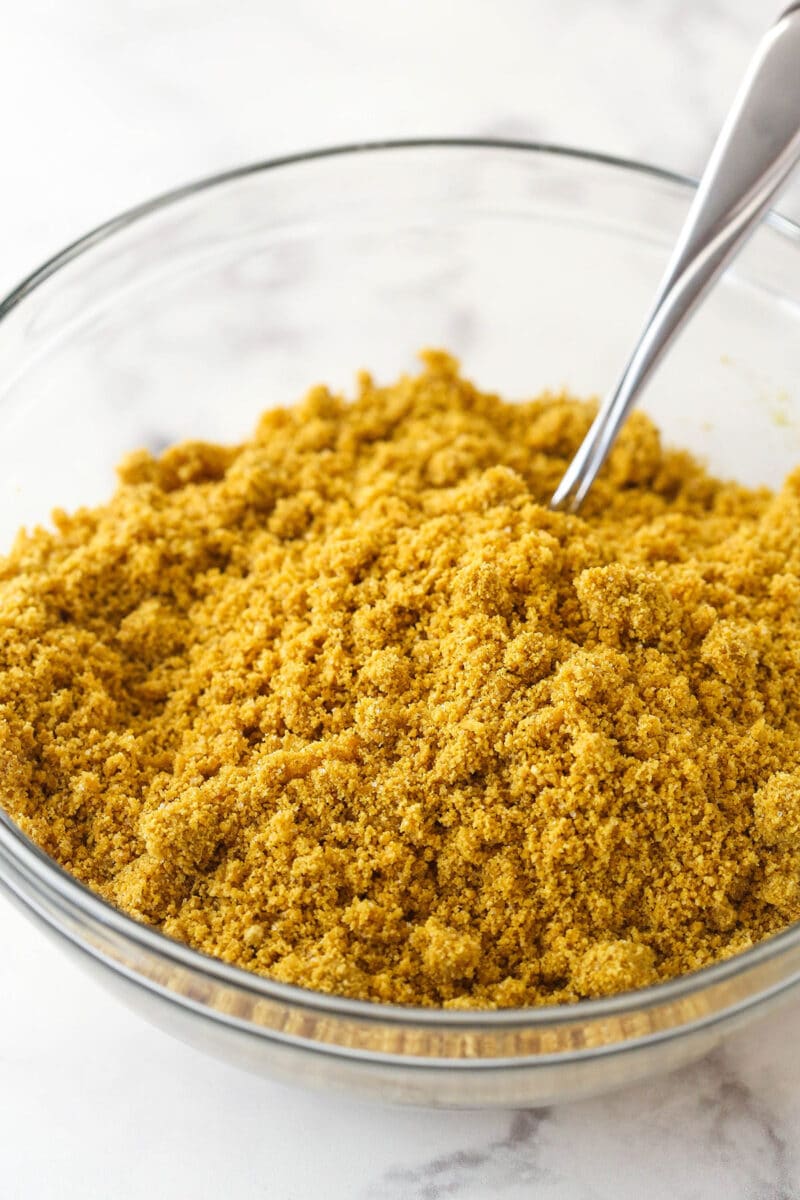
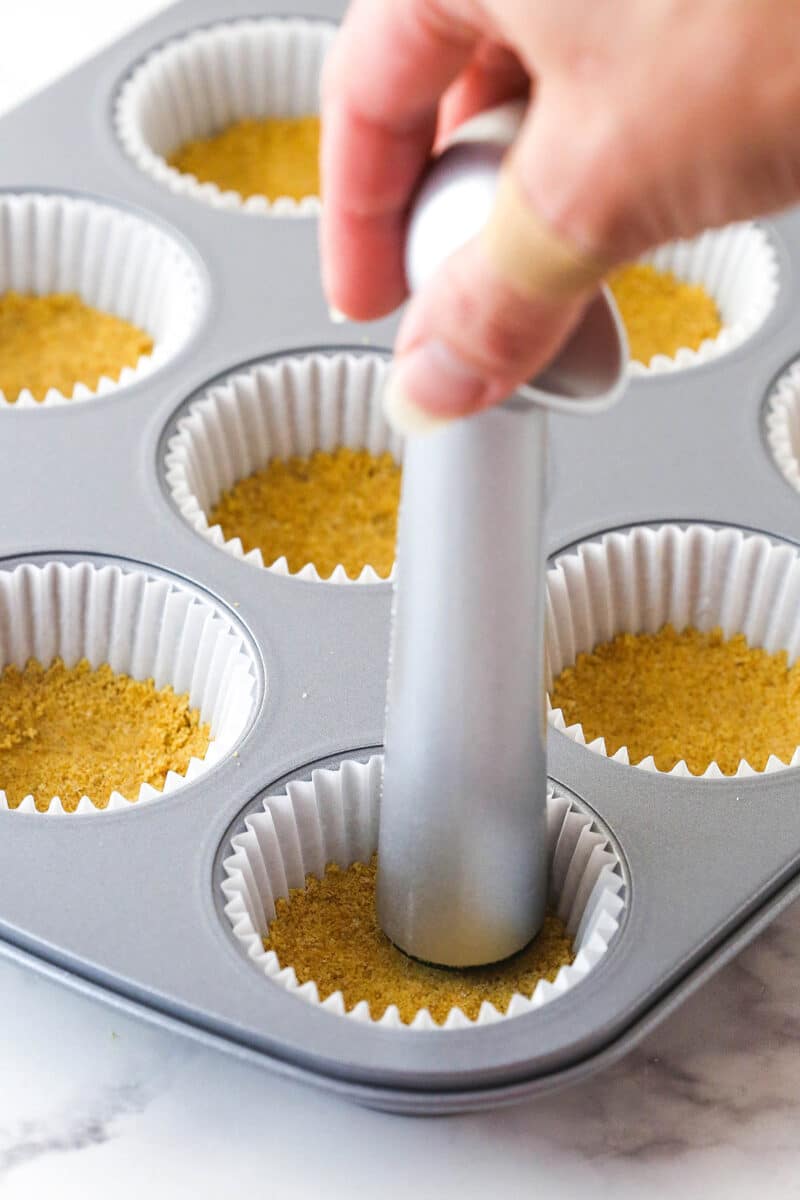
- Make the crust mixture. Combine the ingredients for the crust and press about 2 tablespoons worth into the bottom of each cupcake liner.
- Bake. Bake the crusts for 5 minutes. Cool on the countertop.
Filling
- Prep. Reduce the oven to 300°F
- Make the batter. Mix together the cream cheese, sugar, and flour. Add in the sour cream and vanilla followed by the eggs, one at a time, mixing until smooth after each addition.
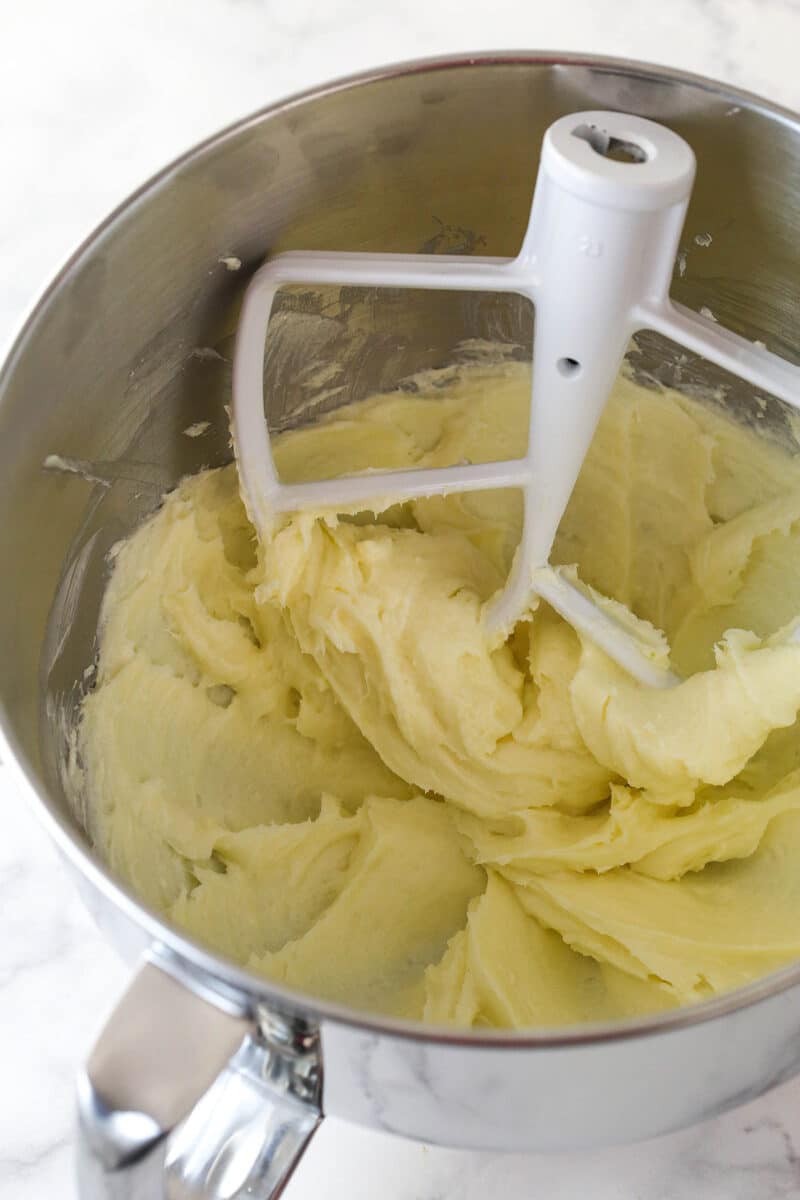
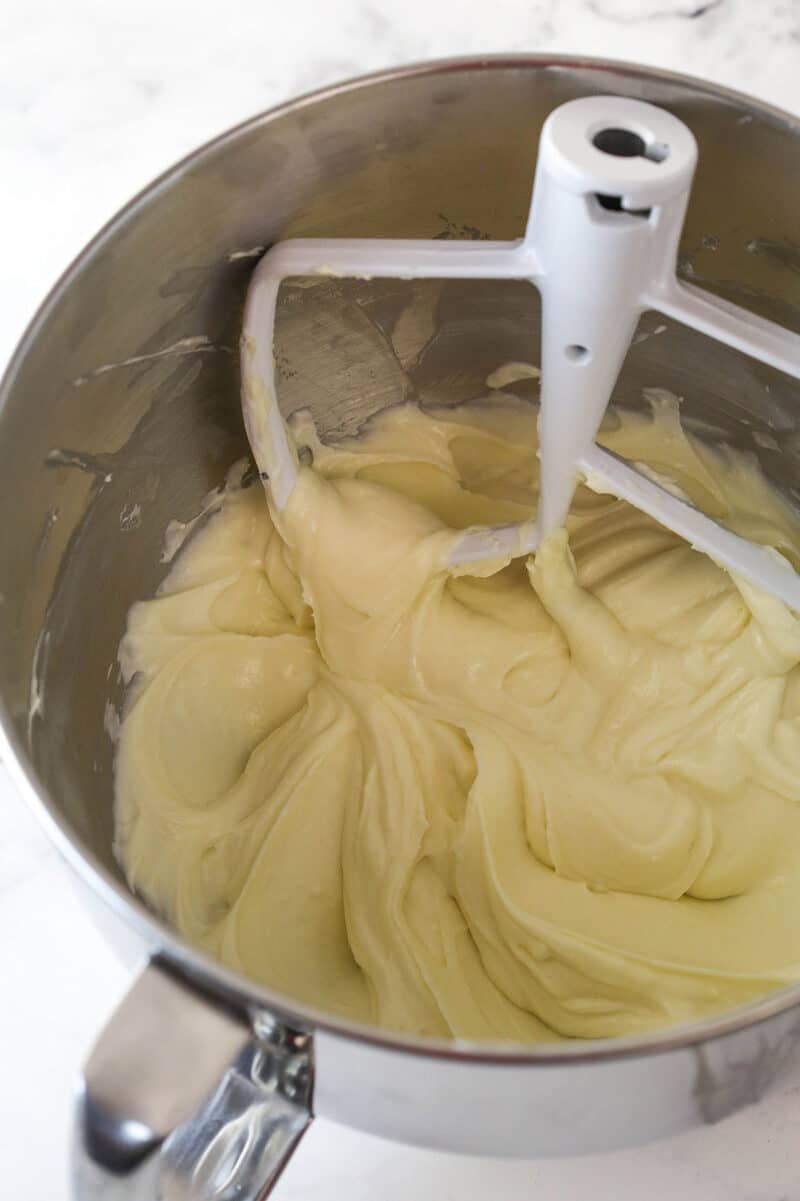
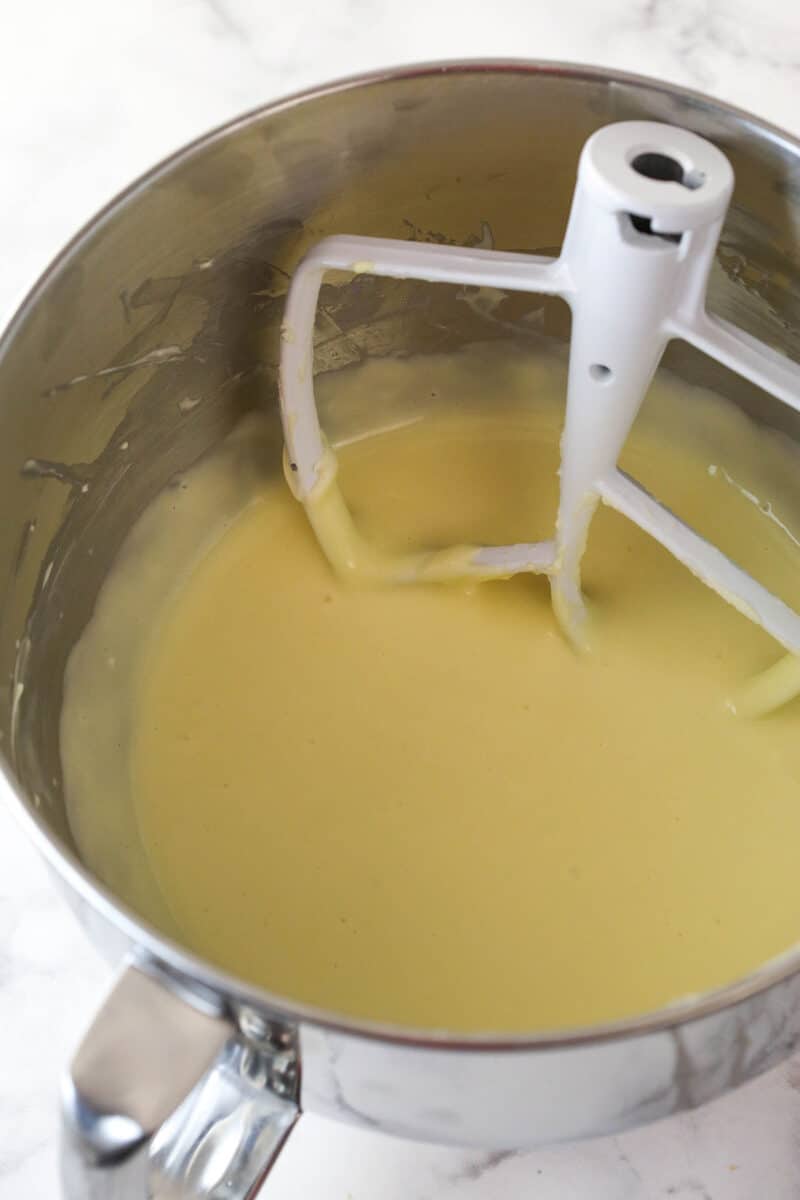
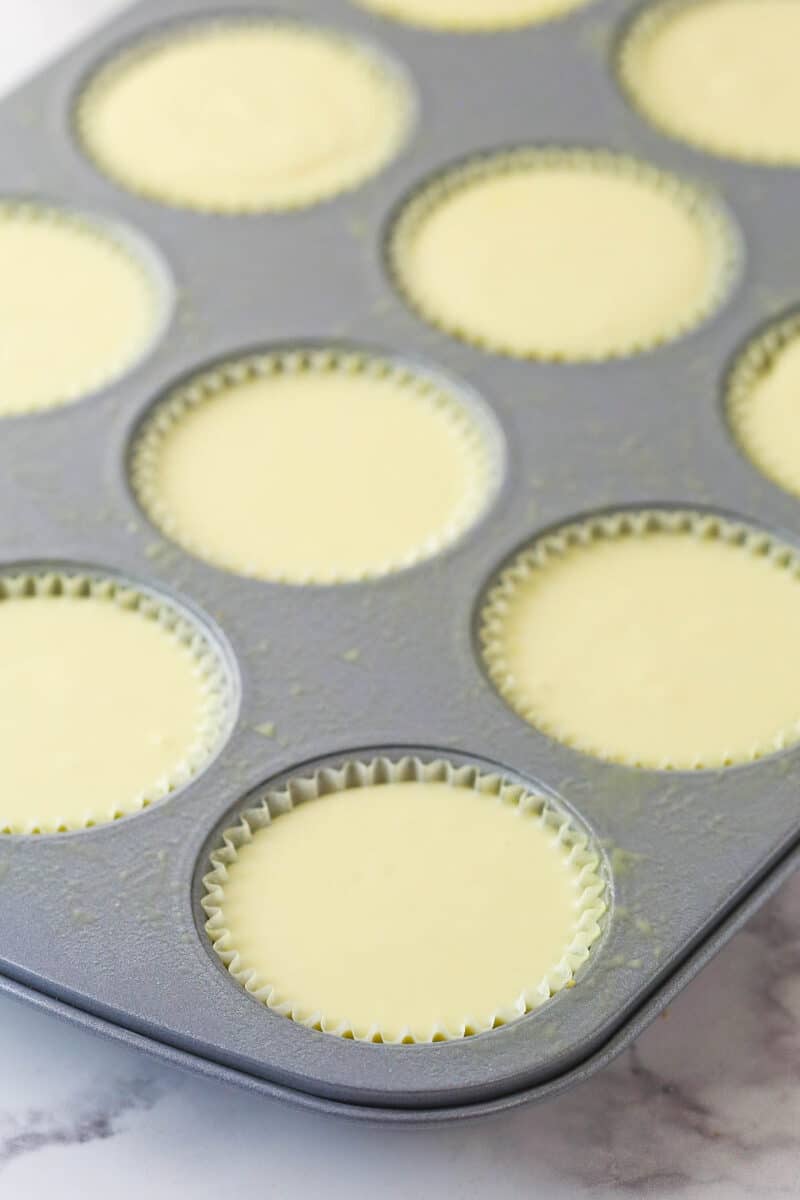
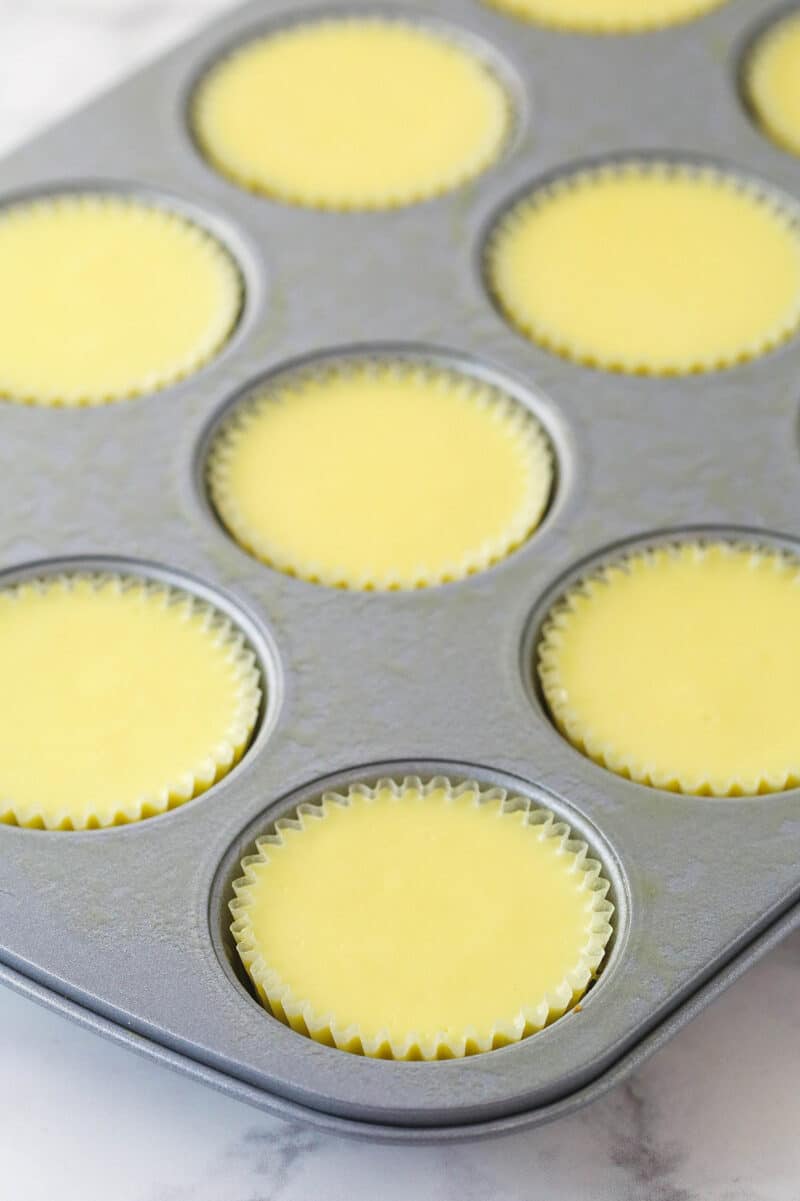
- Bake. Divide the filling between the liners and bake for 15 minutes.
- Cool slowly. Turn the oven off and leave the cheesecakes inside for 10 minutes. Then crack the door and leave the cheesecakes inside for 15-20 minutes. Transfer them to the refrigerator to finish cooling. Remove the cooled cheesecakes from the pan.
Topping
- Make the whipped cream. Whip the heavy whipping cream, powdered sugar, and vanilla extract on high speed until stiff peaks form.
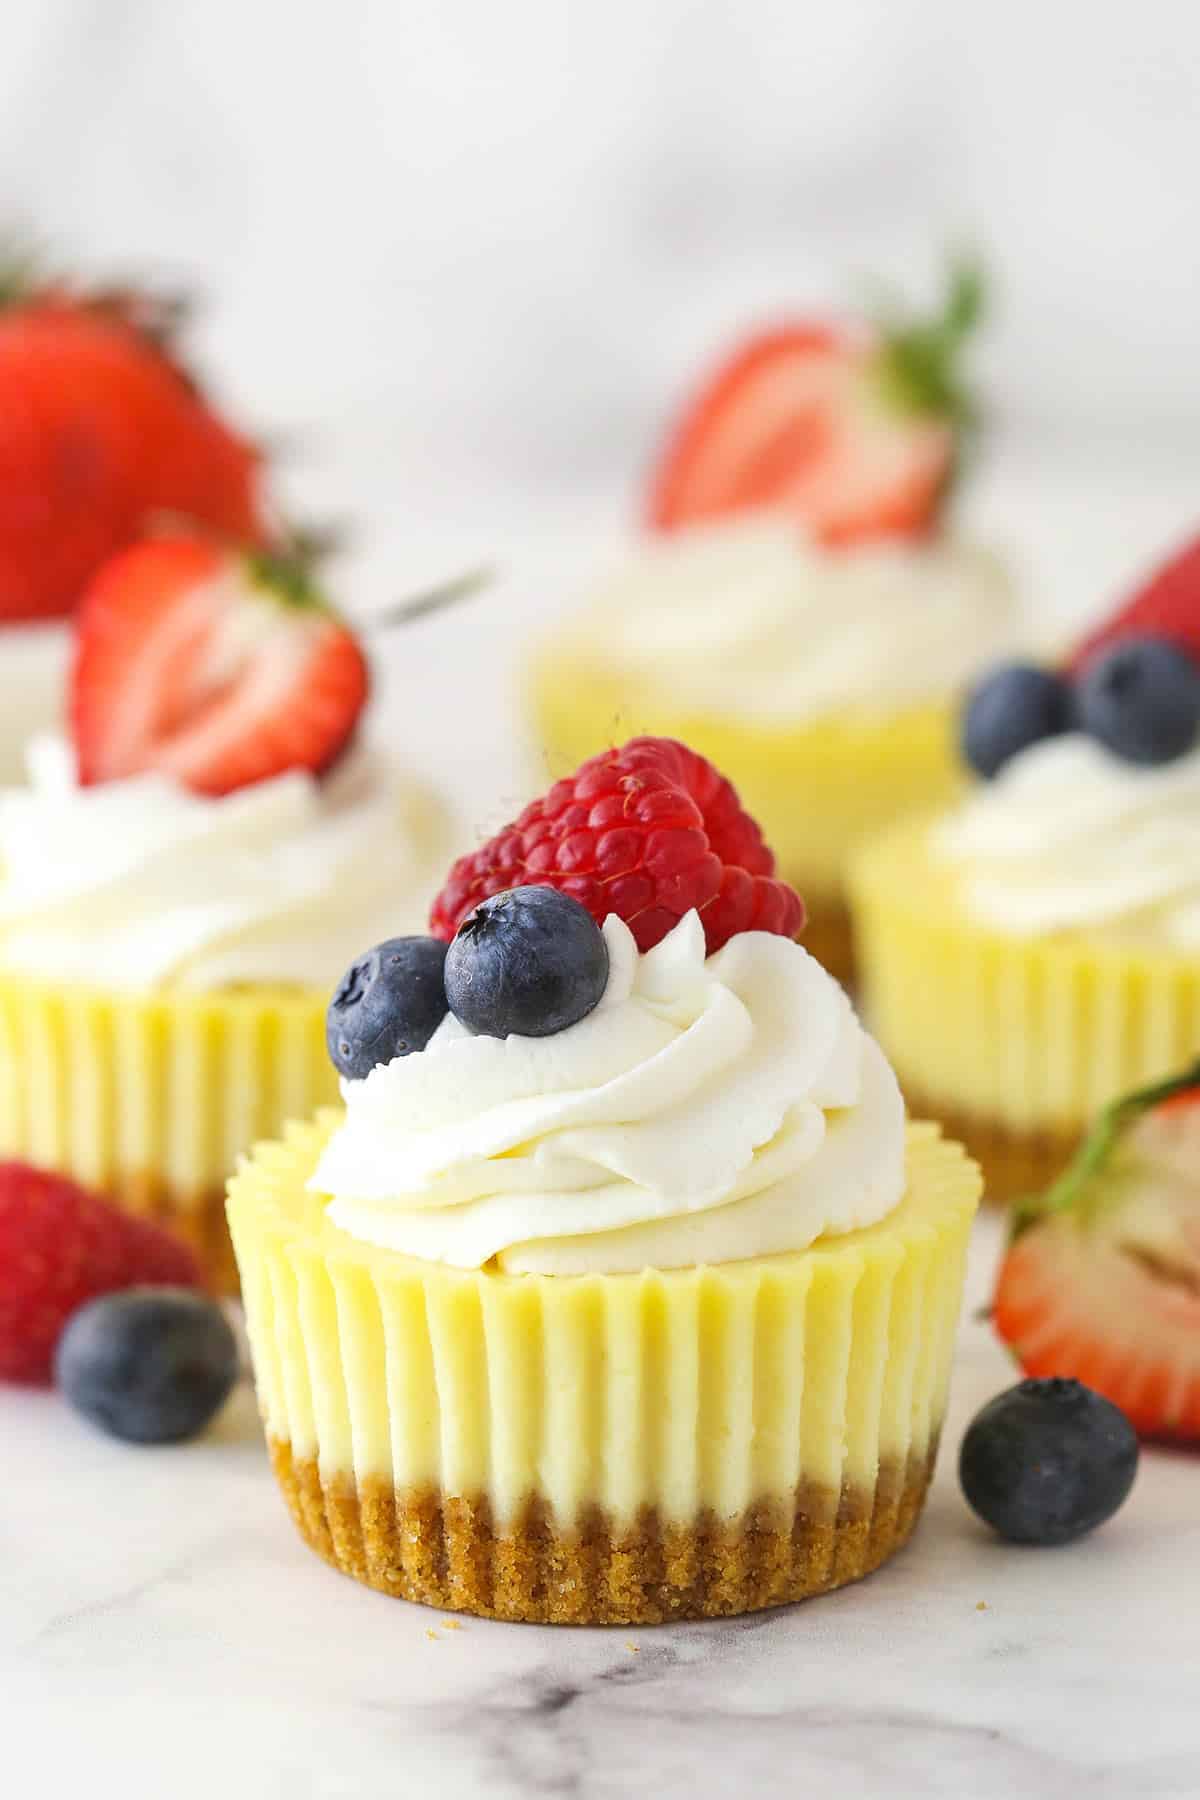
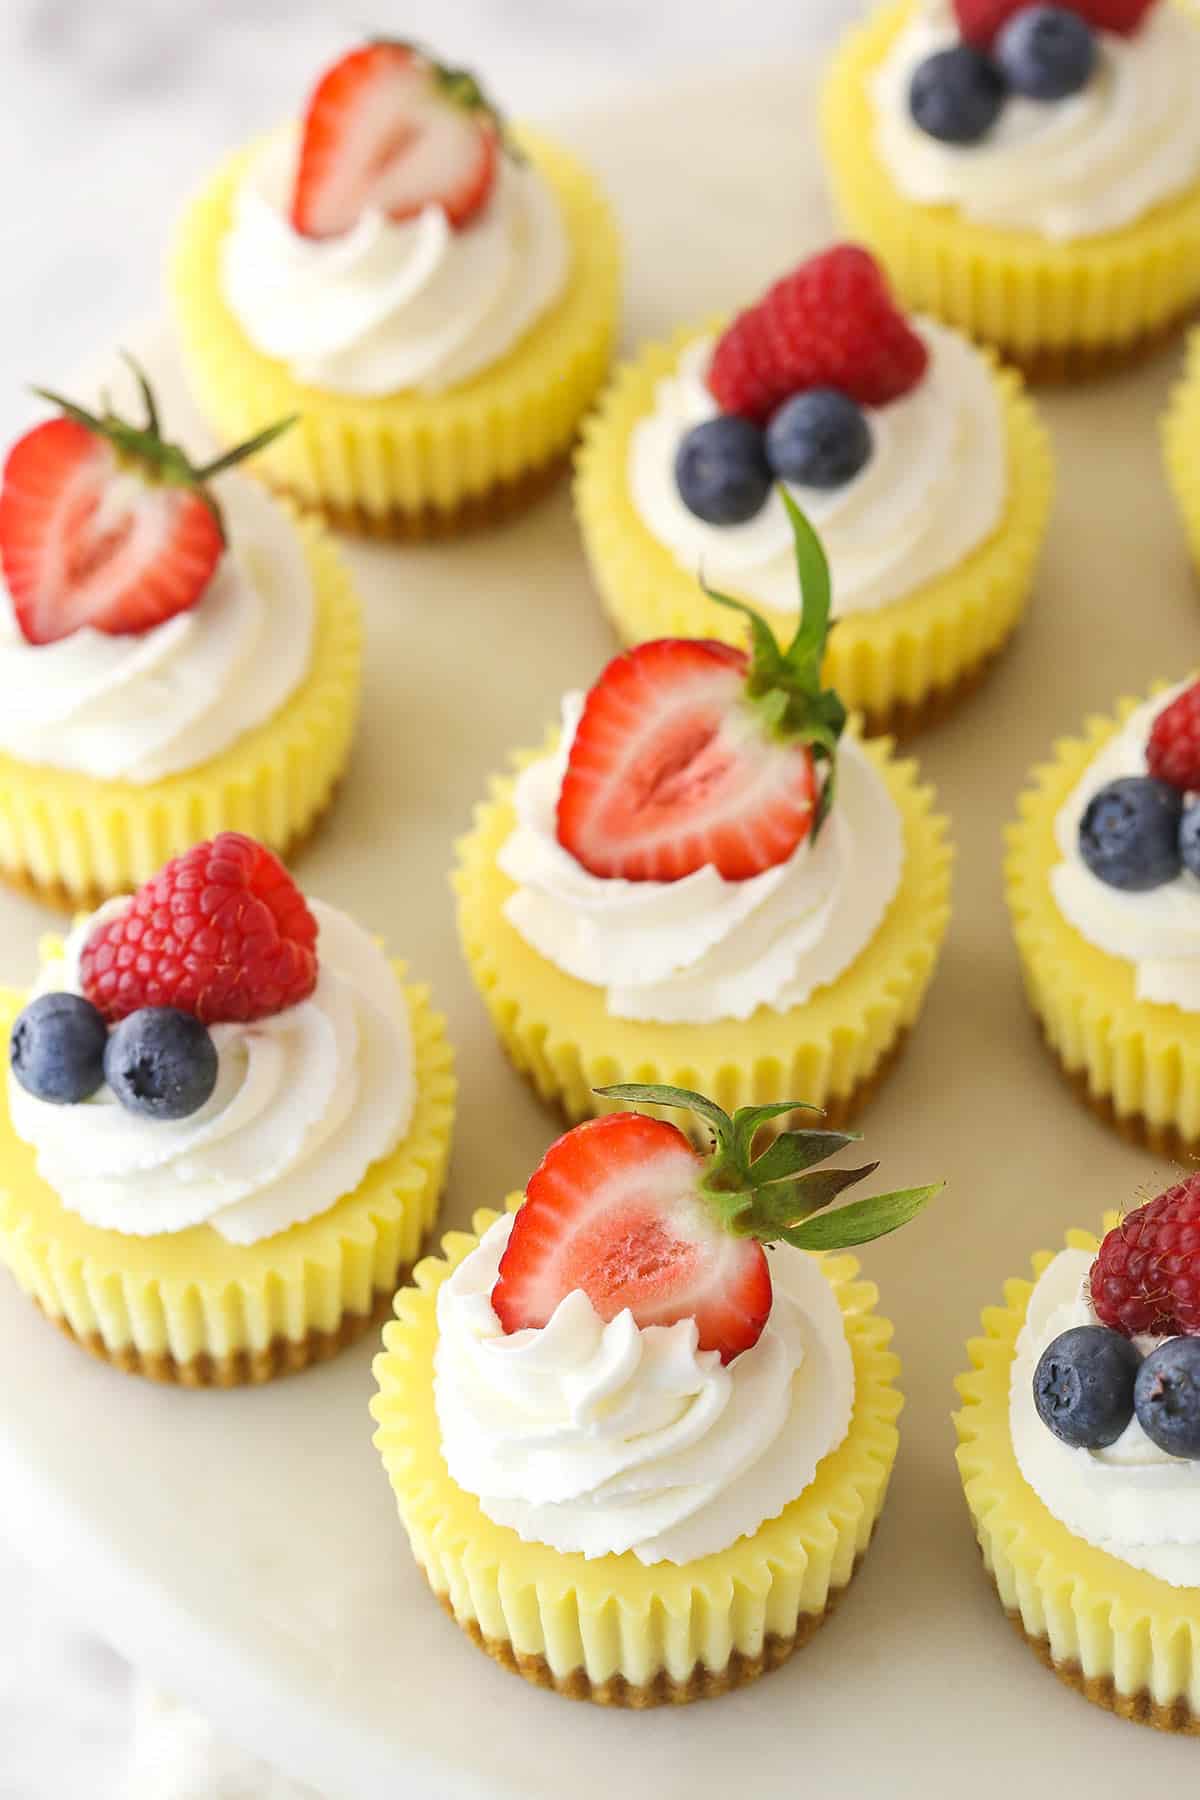
- Decorate. Pipe the whipped cream onto the tops of the cheesecakes and top with fresh fruit.
- Chill. Keep the cheesecakes in the fridge until you are ready to serve.
Tips for Success
Go into making this mini cheesecake recipe prepared with these helpful tips and tricks and you’ll be on your way to making the best mini desserts you’ve ever tasted.
- Room temperature cream cheese. Take the cream cheese out of the fridge an hour or so before beginning. You want it to be at room temperature. Otherwise, you will likely find yourself with a lumpy filling. To speed up the process, cut it into cubes or slices.
- Mix slowly and not too much. When making the cheesecake filling, mix on low speed and just until everything is incorporated. Mixing at too high of a speed will introduce air into the batter. So will mixing for too long. Excess air in the batter can cause the cheesecakes to crack.
- Scrape the bowl. As you add and mix ingredients into the cheesecake batter, use a rubber spatula to scrape down the sides of the bowl intermittently. This will help ensure that all of the ingredients make it into the batter and are well incorporated.
- Cool gradually. Allowing the individual cheesecakes to cool in the closed oven and then in the ajar oven helps to ensure that their tops do not crack. The cheesecakes will also continue to cook and firm up during this cooling process. So don’t skip it unless you want cracked and/or underdone cheesecakes.
- No peeking. As the cheesecakes bake and then cool gradually in the oven, resist the temptation to open the oven and peek. This will disrupt the baking process and can lead to sunken, cracked cheesecakes.
- Cold heavy whipping cream. The whipping cream should be cold. Otherwise, it will not hold volume properly and you’ll find yourself with a flat whipped cream topping.
How Do You Know When Mini Cheesecakes Are Done?
You will know your mini cheesecakes are done when they look firm around the edges but still jiggle ever so slightly in the center. If you open the oven to check for doneness, give it just a minute to heat back up before you turn the oven off and start the cooling process. Opening the oven door releases the heat that you need for the beginning of the cooling process.
Cheesecake Topping Ideas
I chose fresh whipped cream and berries here but feel free to play with any of the following fun topping ideas.
- Add a sauce. Drizzle a fruity sauce over the tops of these individual cheesecakes. Raspberry Sauce, Blueberry Sauce, Strawberry Sauce, or even this Easy Lemon Curd would be perfect. Not in a fruity mood? Try my Hot Fudge Sauce or this Salted Caramel Sauce.
- Flavored whipped cream. I love the classic whipped cream on these cheesecakes but you could just as easily use Strawberry Whipped Cream, Mascarpone Whipped Cream or even the chocolate whipped cream from this Chocolate Mousse Cake recipe.
- Frosting. Swap out the whipped cream for a swirl of Whipped Cream Cheese Frosting, Vanilla Buttercream Frosting, Chocolate Buttercream Frosting, or this Strawberry Frosting.
- Candy. Exchange the fruit for chopped-up Snickers or Heath Bar.
- Cookie crumbles. Crumble up your favorite cookie and sprinkle it over the top of these mini cheesecakes in place of fresh fruit. These Chewy Chocolate Chip Cookies or my Lemon Sugar Cookies would be great. Crumbled graham crackers would work too.
Proper Storage
Arrange the cooled and topped cheesecakes in a single layer in an airtight container. Close the container and store them in the refrigerator for up to 4 days. You can take the wrappers off of the cheesecakes or leave them on. It won’t make a difference.
Can I Freeze These Individual Cheesecakes?
You can! Top the cheesecakes with the whipped cream (leave off the fresh fruit) and arrange them in a single layer in an airtight container. Seal the container and store it in the freezer for up to 3 months. Allow the desserts to thaw in the refrigerator before topping them with fresh fruit and serving.
More Mini Cheesecake Recipes
When life gets busy, mini cheesecakes are a great alternative to full-sized renditions. They are quicker, less fussy, and they satisfy that cheesecake craving equally well. Here are some of my other favorite individual cheesecake recipes for you to try.
- Mini Chocolate Cheesecakes
- Mini Rainbow Cheesecakes
- Mini Banana Pudding Cheesecakes
- Mini Reeses Peanut Butter Cheesecakes
- Mini Strawberry Cheesecakes
- Mini S’mores Cheesecakes
- Mini Cherry Almond Cheesecakes
- Mini Cinnamon Roll Cheesecakes
- Mini Mint Chocolate Oreo Cheesecakes
- Mini Strawberry Champagne Cheesecakes
- Mini Blackberry Lavender Cheesecake
- Mini Lemon Cheesecakes
Watch How to Make Mini Cheesecakes
Print
Mini Cheesecakes
- Prep Time: 45 minutes
- Cook Time: 35 minutes
- Total Time: 1 hour 20 minutes
- Yield: 12-14 Mini Cheesecakes
- Category: Dessert
- Method: Oven
- Cuisine: American
Description
These mini cheesecakes have a smooth, creamy filling that sits in a buttery graham cracker crust. Each cheesecake is topped with fresh whipped cream and berries for a classic little treat! Their mini size makes them perfect for transporting and sharing!
Ingredients
Crust
- 1 cup (134g) graham cracker crumbs (or vanilla wafer cookie crumbs)
- 2 tbsp (26g) sugar
- 4 tbsp (56g) unsalted butter, melted
Filling
- 12 ounces (339g) cream cheese, room temperature
- 1/2 cup (104g) sugar
- 2 tbsp (16g) all-purpose flour
- 1/2 cup (115g) sour cream
- 1 1/2 tsp vanilla extract
- 2 large eggs, room temperature
Topping
- 1/2 cup (120ml) heavy whipping cream, cold
- 5 tbsp (36g) powdered sugar
- 1/2 tsp vanilla extract
- Fresh fruit
Instructions
Crust
- Preheat oven to 325°F (162°C). Add cupcake liners to a cupcake pan. Spray liners with non-stick spray, if desired.
- Combine the vanilla wafer cookies crumbs, sugar and melted butter. Divide the mixture between the cupcake liners (about 2 tablespoons per cup) and press into the bottoms.
- Bake the crusts for 5 minutes then remove from oven. Allow to cool while you make the filling.
Filling
- To make the filling, reduce oven to 300°F (148°C). In a large bowl, mix the cream cheese, sugar, and flour until combined (Use low speed to keep less air from getting into the batter, which can cause cracks). Scrape down the sides of the bowl.
- Add the sour cream and vanilla extract. Beat on low speed until well combined.
- Add the eggs one at a time, beating slowly and scraping the sides of the bowl after each addition.
- Divide the filling between the cheesecake cups until the cups are mostly full.
- Bake the cheesecakes for 15 minutes, then turn off the oven and leave the door closed for another 10 minutes.
- Crack the oven door and allow cheesecakes to cool for 15-20 minutes, then put in the fridge to finish cooling.
- When cheesecakes are cooled, remove them from the pan.
Topping
- To make the whipped cream, add the heavy whipping cream, powdered sugar and vanilla extract to a large mixer bowl fitted with the whisk attachment. Whip on high speed until stiff peaks form.
- Pipe the whipped cream onto the tops of the cheesecakes and top with fresh fruit.
- Refrigerate in an air-tight container until ready to serve. Best if eaten with 4-5 days.
Nutrition
- Serving Size: 1 Mini Cheesecake
- Calories: 194
- Sugar: 15.6 g
- Sodium: 154.9 mg
- Fat: 11.1 g
- Carbohydrates: 19.7 g
- Protein: 4.1 g
- Cholesterol: 53.2 mg





I was wondering why there needs to be flour in the cheesecakes? i’ve never made any with flour?
It’s a texture thing. You could certainly leave it out, but if you’ve never tried it why not give it a shot once?
Can you store the cream cheese batter over night and assemble the next day?
I have honestly never tried that, but since the cream cheese would firm back up again in the fridge, it seems like that would make it difficult to work with the next morning.
Any need to have a steam source to keep thr minis from cracking?
Not with the minis. I mean, you could use something if you like, but it’s not necessary.
So if I did want to use the actual mini cupcake pan not the standard cupcake size can I still use the same cooking time?
Since they are about half the size, you would want to reduce the baking time. I haven’t made any that small to know what that should be, but roughly half the baking time might be a place to start.
Can I use a kitchenaid stand mixer? Also, with the Paddle attachment or the whisk attachment?
Yes, that is what I use. You would use the paddle attachment for the cheesecake and the whisk for the whipped cream.
These came out awesome! I topped them with
Whipped cream and chocolate covered strawberries… they were amazing. Thank You!
So glad to hear it! Thanks Kelly!
How can I replace eggs in this recipe?
I haven’t worked with egg replacements before. I’ve seen some at the grocery store on the baking aisle though, if you wanted to try one of those.
Thank you.. Will try and let you know what works❤️
I made these for mothers day. Used silicone muffin cups and pan and they worked great, popped out nicely after cooling. With the exception that didn’t add sugar to the crust (try to reduce sugar for my mom) I followed the recipe to a tee.
When I opened the oven to cool I was a little worried as they didn’t look set in the middle. But by the time they finished cooling they were perfect!
This is definitely the best cheesecake I’ve ever made, and possibly the best I’ve tasted.
These are so quick and easy to make. I used silicone baking cups and topped half with mini semi-sweet chocolate chips and toffee bits before baking. They look so professional and taste amazing! The baking/setting times were spot on. Thank you for such a great recipe!
I’m so glad you enjoyed them!
Hi, I’ve made several of your recipes. They have all been successful.
I plan on making the cheesecake cupcakes today.
If I don’t want to use the sour cream, can I increase on the cream cheese?
Typically I would suggest replacing the sour cream with yogurt. I haven’t tried using additional cream cheese before.
Hi Lindsay. I’m from India where sour cream isn’t readily available. What could we use as an alternative? Will yogurt/curd work as well ?
Yes, yogurt should be fine
Hi! Just check my cheesecakes after the 10 min being in the oven off, is it normal that they’re very watery like pudding texture?
No, that’s not normal. When you turn off the oven to start the cooling process, the centers should already be set.
Hi LIndsay,
I use many of your mini and regular size cheesecake recipes, they are the best! Thank you. I was wondering, I would like to try making a few of your mini cheesecake recipes in a mini cupcake pan. To make them two bite size, for a shower. What do you suggest I change the baking time to? Thank you in advance.
Hmm I haven’t ever made them that small. I’d try cutting the time by about half. So glad to hear you’ve enjoyed them!
How long will the whipped cream stay before breaking down? I am making these for a bridal shower and was wondering if I piped the whipped cream in the morning would it last until the afternoon?
Yes, as long as you use the full amount of powdered sugar to stabilize it, it’ll last just fine.
Made these Sunday to test them out before making a batch for a fundraiser! May I say the best ever and my coworkers loved them also!
I’m so glad you enjoyed them!
Hi would you happen to know the nutrition information on these? I’m dieting now, and love cheesecake. These would be a great evening snack! Thanks!
I don’t, I’m sorry. There are a lot of online calculators though that might be helpful.
Hi there! Just wondering what kind of liners you use (silicone, paper, foil)? And do you remove them yourself before serving?
I use paper liners. You could remove them or leave them on – really a preference. I’d probably leave them on, just because it’s a little cleaner and easier to pick up/transport.
I made this recipe all ready for our church picnic, and they devoured them. I used a dollop of cool whip, and a cherry or two from canned pie filling, they were beautiful as well as delicious. Getting ready to make them again for our March birthdays get together. Your recipe taste like when you go to a fine restaurant and order cheesecake from the menu. This will always be my favorite recipe
Thank You for sharing it. When I made them the first time, it was my first time on this site.
Wonderful! I’m so glad you all enjoyed!