This post may contain affiliate sales links. Please read my disclosure policy.
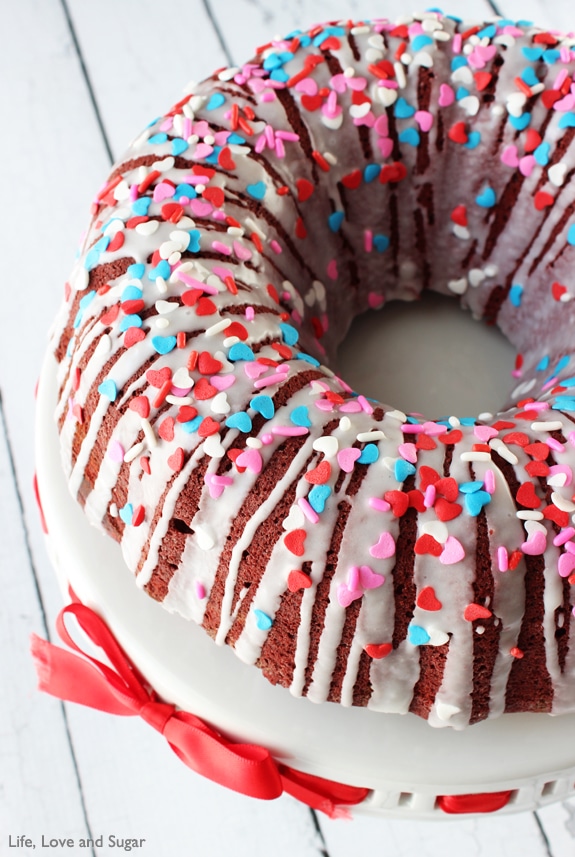
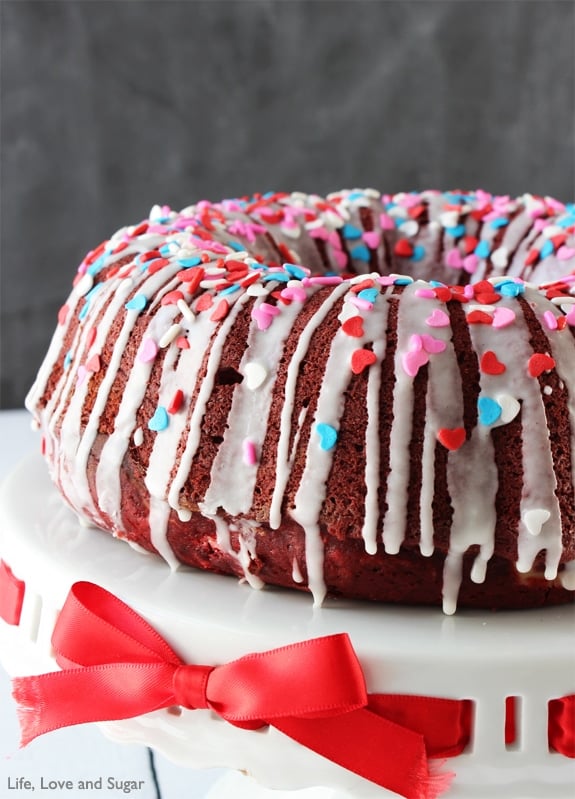
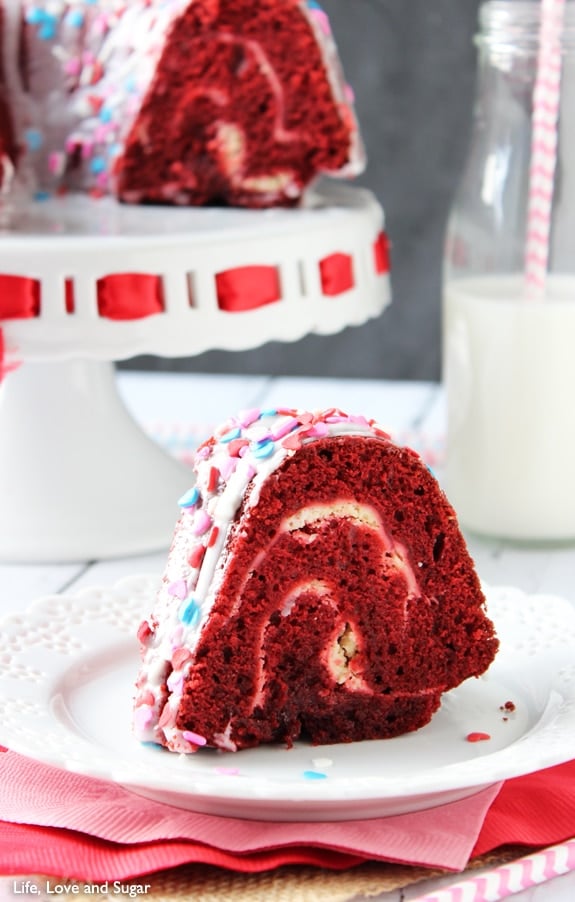
This Layered Red Velvet Cheesecake Bundt Cake is the best red velvet cake ever! Perfectly moist and tasty, the cheesecake swirl layered in it makes it even better! Red velvet and cheesecake is a match made in heaven.
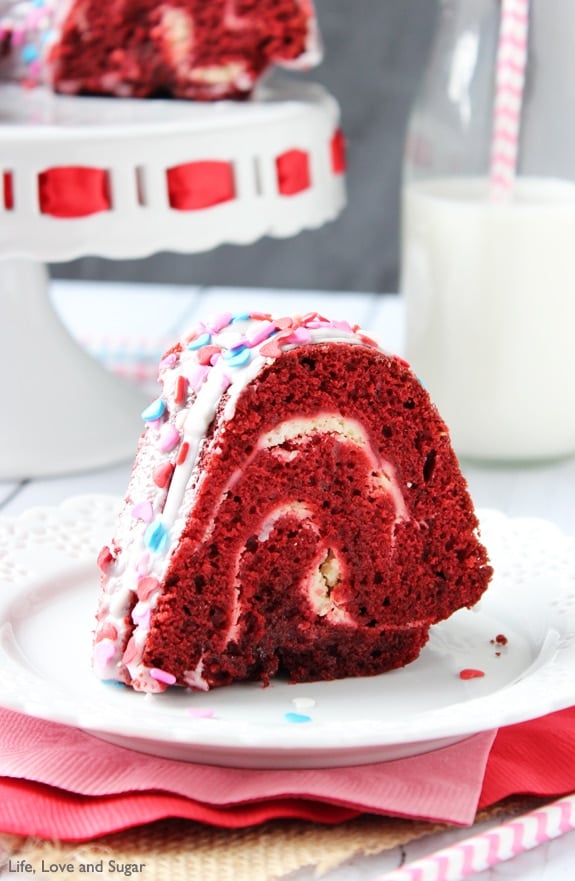
Red Velvet Cheesecake Bundt Cake
But before I dive into the recipe, I must tell you about what happened when shopping with the hubs this weekend. Nothing ground breaking, but he always manages to surprise me – and make me laugh. 🙂
We were running a marathon of errands. And no errand run would be complete without a trip to Target. Is it even possible to walk out of Target without buying something you didn’t go in planning to buy? Nope! Especially with that little section near the door where you can always find super cute sprinkles for $1.
For once, I’d almost made it!
BUT! As the hubs and I are walking through the store to go check out, he all of sudden stops and turns around to go back to an aisle we just passed. Confusion!
I go to follow him and where does he end up? Standing in front of the hair dryers.
Whaaa? That may not seem strange to all – some men do use them. But this man does not. He’d find that too girly.
Of course, I got this confused look on my face and just kind of looked at him and said, “Do you need a hair dryer?”
Without hesitation, he looks at me, “No, you do.”
Huh? “I have one.” More confusion.
“One that’s not a fire hazard,” he says.
Insert raised eyebrow here.
He then goes on to tell me that my hair dryer has so much stuff in the grill (or whatever it’s called) that it’s going to burn our house down.
And to add insult to injury, he goes on to say that he was going to clean it for me but when he went to pick it up, the top just fell over (yes, it’s broken at the hinge that connects the head and handle). AND he’s had it on his to-do list to get me a new one.
I had to laugh. I mean really? He cracks me up.
And while he may have a point, I hate buying things when I have something that works perfectly fine (in my opinion at least). I rather buy a super cute new top. 🙂
But if it was THAT important to him, I figured why argue.
So I got a new one.
The best part is that it comes with a diffuser – one of the big round things that hooks onto the end and it looks like a massager.
I have no interest in actually using it when drying my hair, but when I opened up the box at home, I started massaging my head with it. Totally awesome! So I walked up behind the hubs and massaged his head. When I stopped, he was all, “No! Keep going.”
We are quite a pair. 🙂
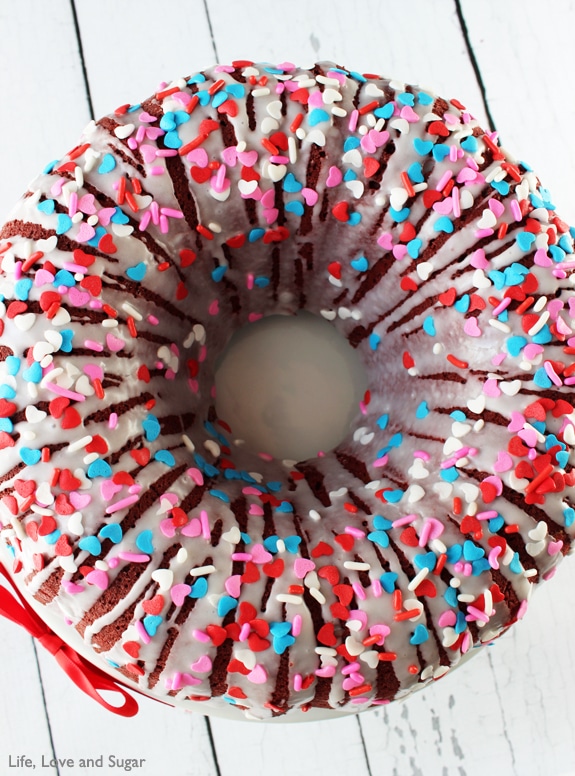
Anyways, back to the cake. I made this sucker 3 times before I had it just right.
I started with this recipe from Jocelyn at Inside BruCrew Life. Have you seen her site? Love it!
Because it was originally an apple cake, I had work to do to get it into red velvet form. Why not just use some other red velvet recipe? Because I wanted to start with a base and do it my way. 🙂
I messed around with moisture, baking time, and how to add the cheesecake.
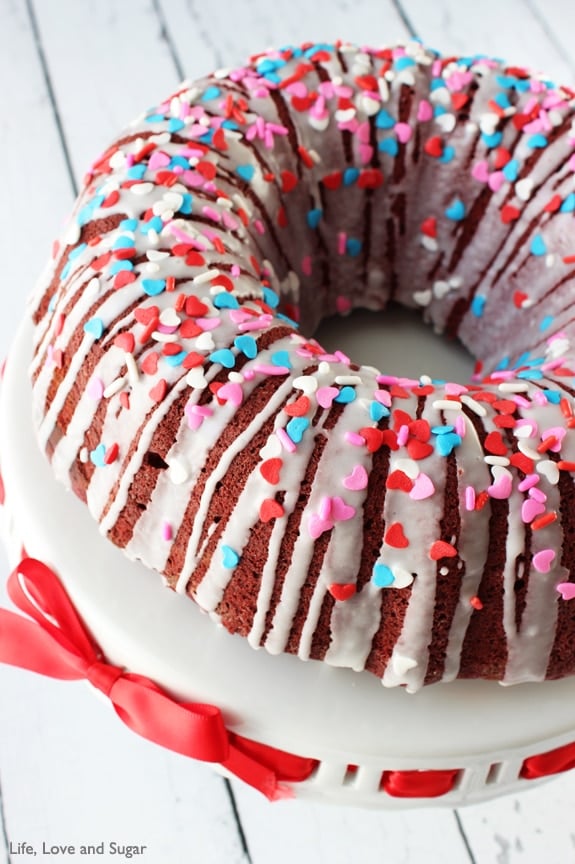
Initially I just had one layer of cheesecake, but there was so much moisture in one spot that the top of the cake cooked through before the bottom, resulting in a dry top part of the cake. Plus, when you’d eat it, the cheesecake wasn’t mixed into every bite. Had to fix that.
So I finally settled on a layered cheesecake. And with some additional changes, it is super moist and flavorful. Truly tasty! And a big hit with some of my favorite taste testers.
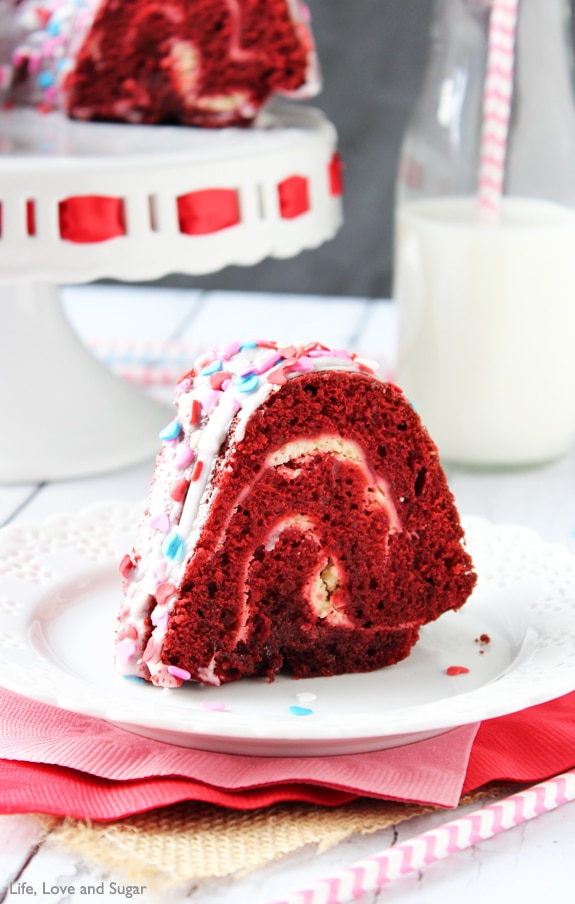
I’ve said before that I’m a bit picky about the flavor of my red velvet and I hit the nail on the head with this. My red velvet loving co-worker said it might even be better than the red velvet cupcake he had from Sprinkles Cupcakes the weekend before! Talk about a major compliment! (Did you see my picture of the Sprinkles Cupcake ATM on instagram? Awesome!)
Clearly you need to make this if you are a red velvet lover. I’d love to know what you think!
You might also like
- Red Velvet Cheesecake Pops
- Red Velvet Cupcakes with Cream Cheese Frosting
- Caramel Macchiato Chocolate Nutella Cupcakes
Layered Red Velvet Cheesecake Bundt Cake
- Prep Time: 20 minutes
- Cook Time: 40 minutes
- Total Time: 1 hour
- Yield: 12-15 Slices
- Category: Dessert
- Method: Oven
- Cuisine: American
Description
This Layered Red Velvet Cheesecake Bundt Cake is the best red velvet cake ever! Perfectly moist and tasty, the cheesecake swirl layered in it makes it even better! Red velvet and cheesecake is a match made in heaven.
Ingredients
CHEESECAKE FILLING
- 1 package cream cheese, softened (8oz)
- 1/4 cup sugar
- 1 egg
- 1 tsp vanilla
CAKE
- 3 cups flour
- 1 1/4 cup sugar
- 1 tbsp + 1 tsp cocoa
- 1 tsp baking soda
- 1 cup oil
- 3/4 cup buttermilk
- 1 tsp vanilla
- 2 eggs
- 1 oz red food color
- 2 tsp vinegar
GLAZE
- 1 1/2 cups powdered sugar (plus more if needed for thickness)
- 3 tbsp milk
- 1/2 tsp vanilla extract
- sprinkles, optional
Instructions
Nutrition
- Serving Size: 1 Slice
- Calories: 413
- Sugar: 31.8 g
- Sodium: 160.9 mg
- Fat: 21.7 g
- Carbohydrates: 51.8 g
- Protein: 5.3 g
- Cholesterol: 53.9 mg
Categories
Enjoy!




Lindsay,
I love your website and I have made many of your recipes. This is the first time that I have been disappointed. The red velvet batter turned out very thick and sticky and was very difficult to work with. What did I do wrong?
I’m sorry to hear that. This recipe was posted a very long time ago and I haven’t made it since then to be able to advise on what the batter would be like. Did you bake it? Did it turn out alright? Based on some previous reviews, it seems like it usually turns out well for people. I hope it baked well!
I made this cake and it was so dry and the cake batter was so thick couldn’t pour or spread it. I followed recipe the way it was wrote out.
I would love to try this for my birthday ..but first may I ask what size of the pan should I use? thanks in advance
I believe Bundt pans are all a pretty standard size.
I was very disappointed with this recipe… I followed the instructions to an exact tee and it didn’t even come out red. I noticed the batter wasn’t red so I added more food coloring and it still wasn’t enough. It was a pink brown color. And the cake was not the best tasting. I would definitely recommend a different recipe.
This cake turned out so pretty, thank you!
Glad you enjoyed it!
I usually use buttercream to “glue” the front and back halves of the skull together but it really doesn’t taste consistent with the rest of the cake. Anything else sticky that may work better?
Hmmm, you could try something like a clear piping gel, which I know Wilton sells. It would think it’d hold it together alright without adding much flavor or color.
I’ve made this several times and it’s turned out great–the alternating layers have a macabre effect when I use my skull bundt pan.
Oh I love the idea of it in a skull pan! So fun!
Lindsay, do you think this recipe would work just as well in mini bundts? I have a pan that makes the individual sized bundt cakes and would love to make these for Valentine’s Day!
I have’t ever tired it, but they would probably work fine.