Description
Let’s talk about how to make a water bath for a cheesecake! They aren’t hard to set up and the extra step will give you a beautiful, creamy cheesecake free of cracks! Plus, I’ll share with you my tricks for no leaks!
Ingredients
- Springform pan
- Aluminum foil, optional depending on method
- Slow cooker bags, optional depending on method
- Large silicone pan, optional depending on method
- Large pan (Like a roasting pan or a 12 inch cake pan)
Instructions
- Make your crust: The first thing you need to do for any cheesecake is properly prep your pan and add your crust. I typically use a graham cracker crust or Oreo crust. I typically pre-bake my crust a bit.
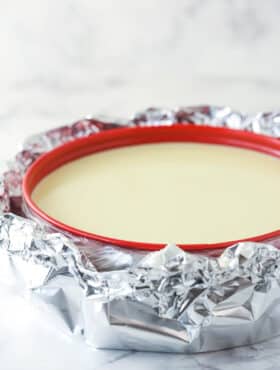
- Prep your pan for the water bath: After you bake your crust, you can go ahead and prep your pan for a water bath using one of the 3 methods discussed above. You can either: 1. Wrap your pan in two or three layers of aluminum foil, 2. Wrap you pan in a slow cooker bag and one layer of foil, or 3. Place your springform pan in a slightly larger silicone pan. Place your springform pan into the larger roasting pan or cake pan.
- Add cheesecake filling: Now you can make your cheesecake filling and add it to the crust.
- Add hot water: Bring your pan close to the oven so prevent moving a pan full of water all over the place, then add the hot water to the outer large pan.
- Bake cheesecake: Place your cheesecake and it’s water bath in the oven and bake as directed.
- Cool Cheesecake: When your cheesecake has baked, you can remove it from the water bath, but leave it in the springform pan. You can set the cheesecake on a cooling rack to cool to room temperature and then refrigerate it, or just place it straight in the fridge to cool completely. If you don’t want any condensation forming on top, let it cool to room temperature before refrigerating it.
