This post may contain affiliate sales links. Please read my disclosure policy.
Learn to make a Chocolate Drip Cake with this easy method! All you need is chocolate ganache, a frosted cake and a few simple tools. You’ll be on your way to an impressive yet easily decorated cake in no time!
How to Make a Chocolate Drip Cake
Chocolate drip cakes create such a fun and impressive look, it’s no wonder they’ve become so popular. With a little time and not too much effort, you can turn any cake into a statement piece. I’ve made quite a number of chocolate drip cakes including, but not limited to, my Reese’s Peanut Butter Chocolate Cake, Red Wine Chocolate Cake, Nutella Chocolate Cake and my Best Chocolate Cake. All are some of my favorites.
Tools Needed to Decorate a Drip Cake
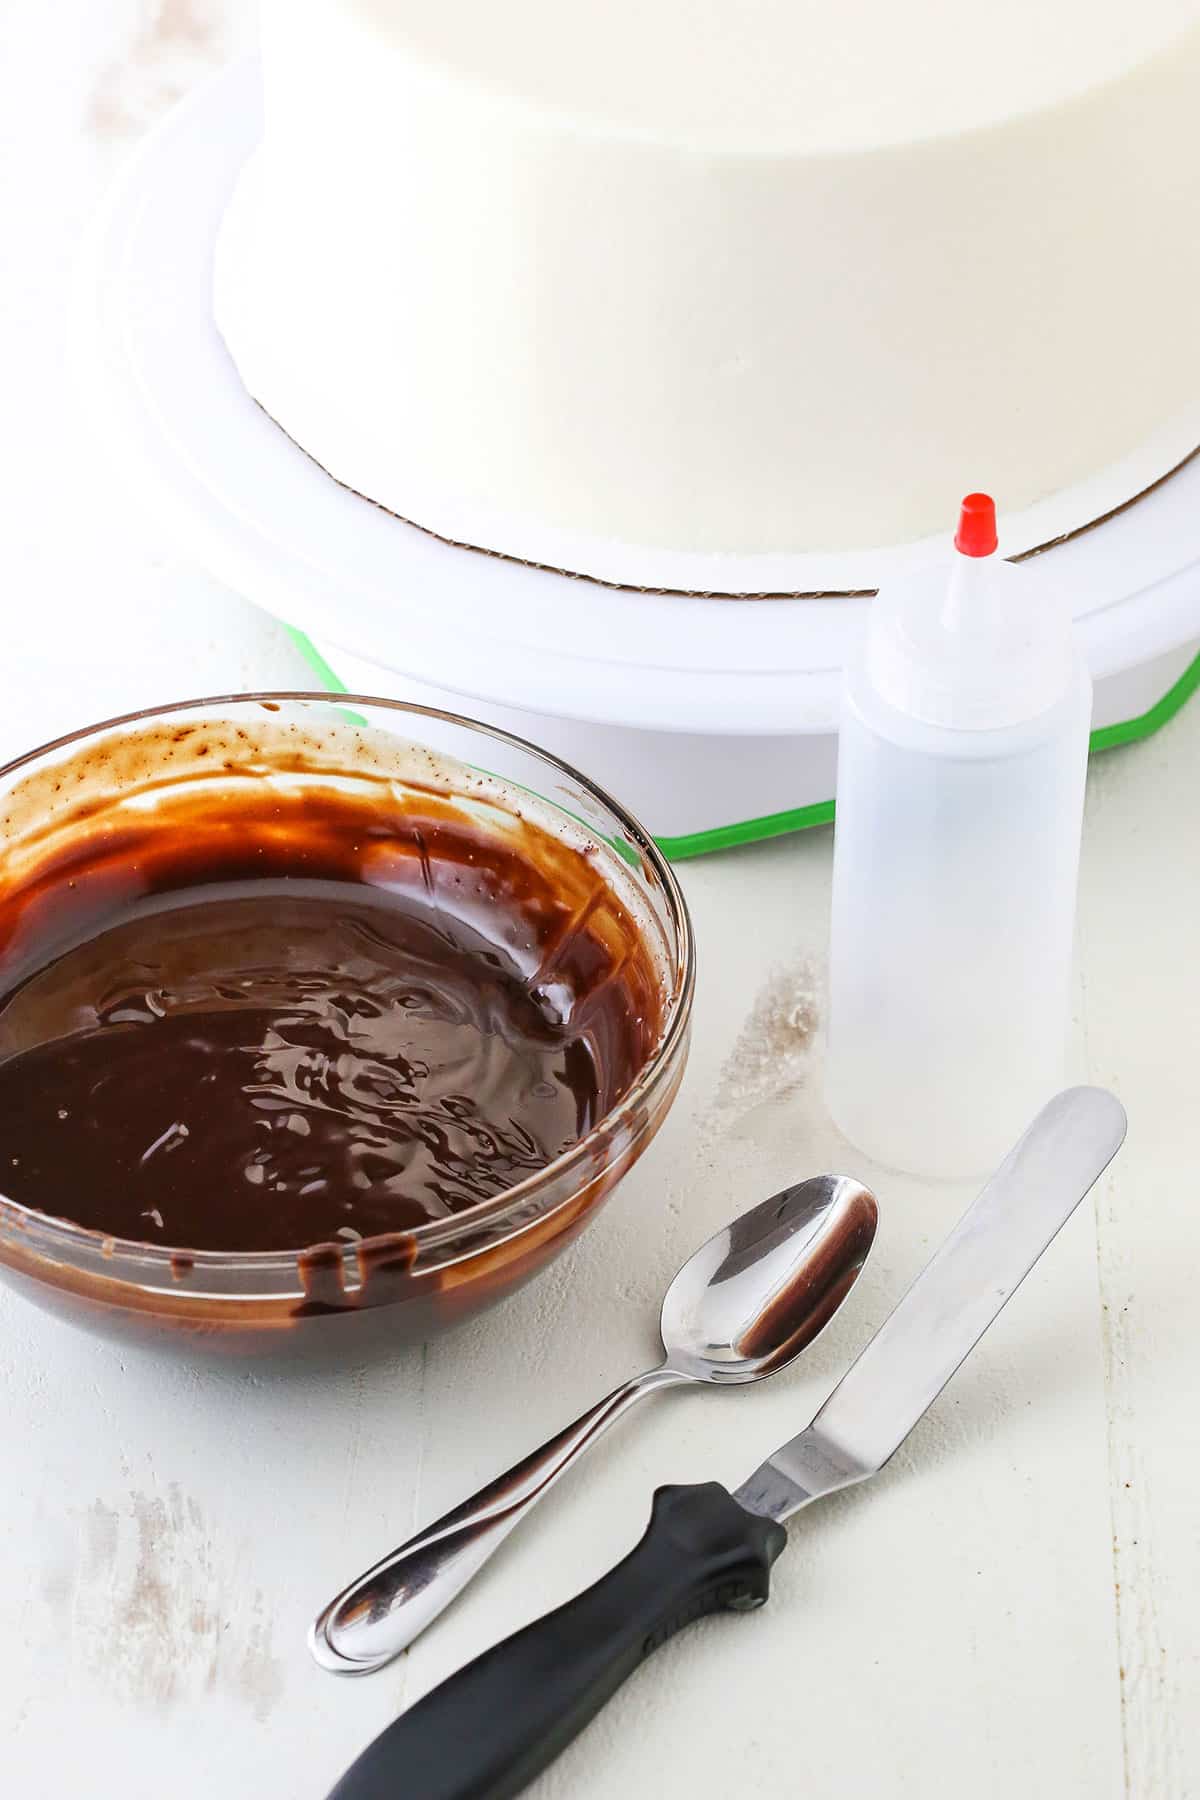
So to get started, you’ll need a few simple things.
Turntable
Squeeze bottle OR spoon
Frosted cake
Offset Spatula
Chocolate ganache
DRIP CAKE DECORATING METHODS
There are two methods you could use for making a chocolate drip cake. I prefer the look and ease of the squeeze bottle method, but if you don’t have one the spoon method will work as well.
No matter which method you use, you’ll need to start by making the chocolate ganache. Feel free to check out my blog post on how to make it and learn more about adjustments you can make. Once your ganache is made, let it sit for about 10 minutes to cool a bit.
SQUEEZE BOTTLE METHOD
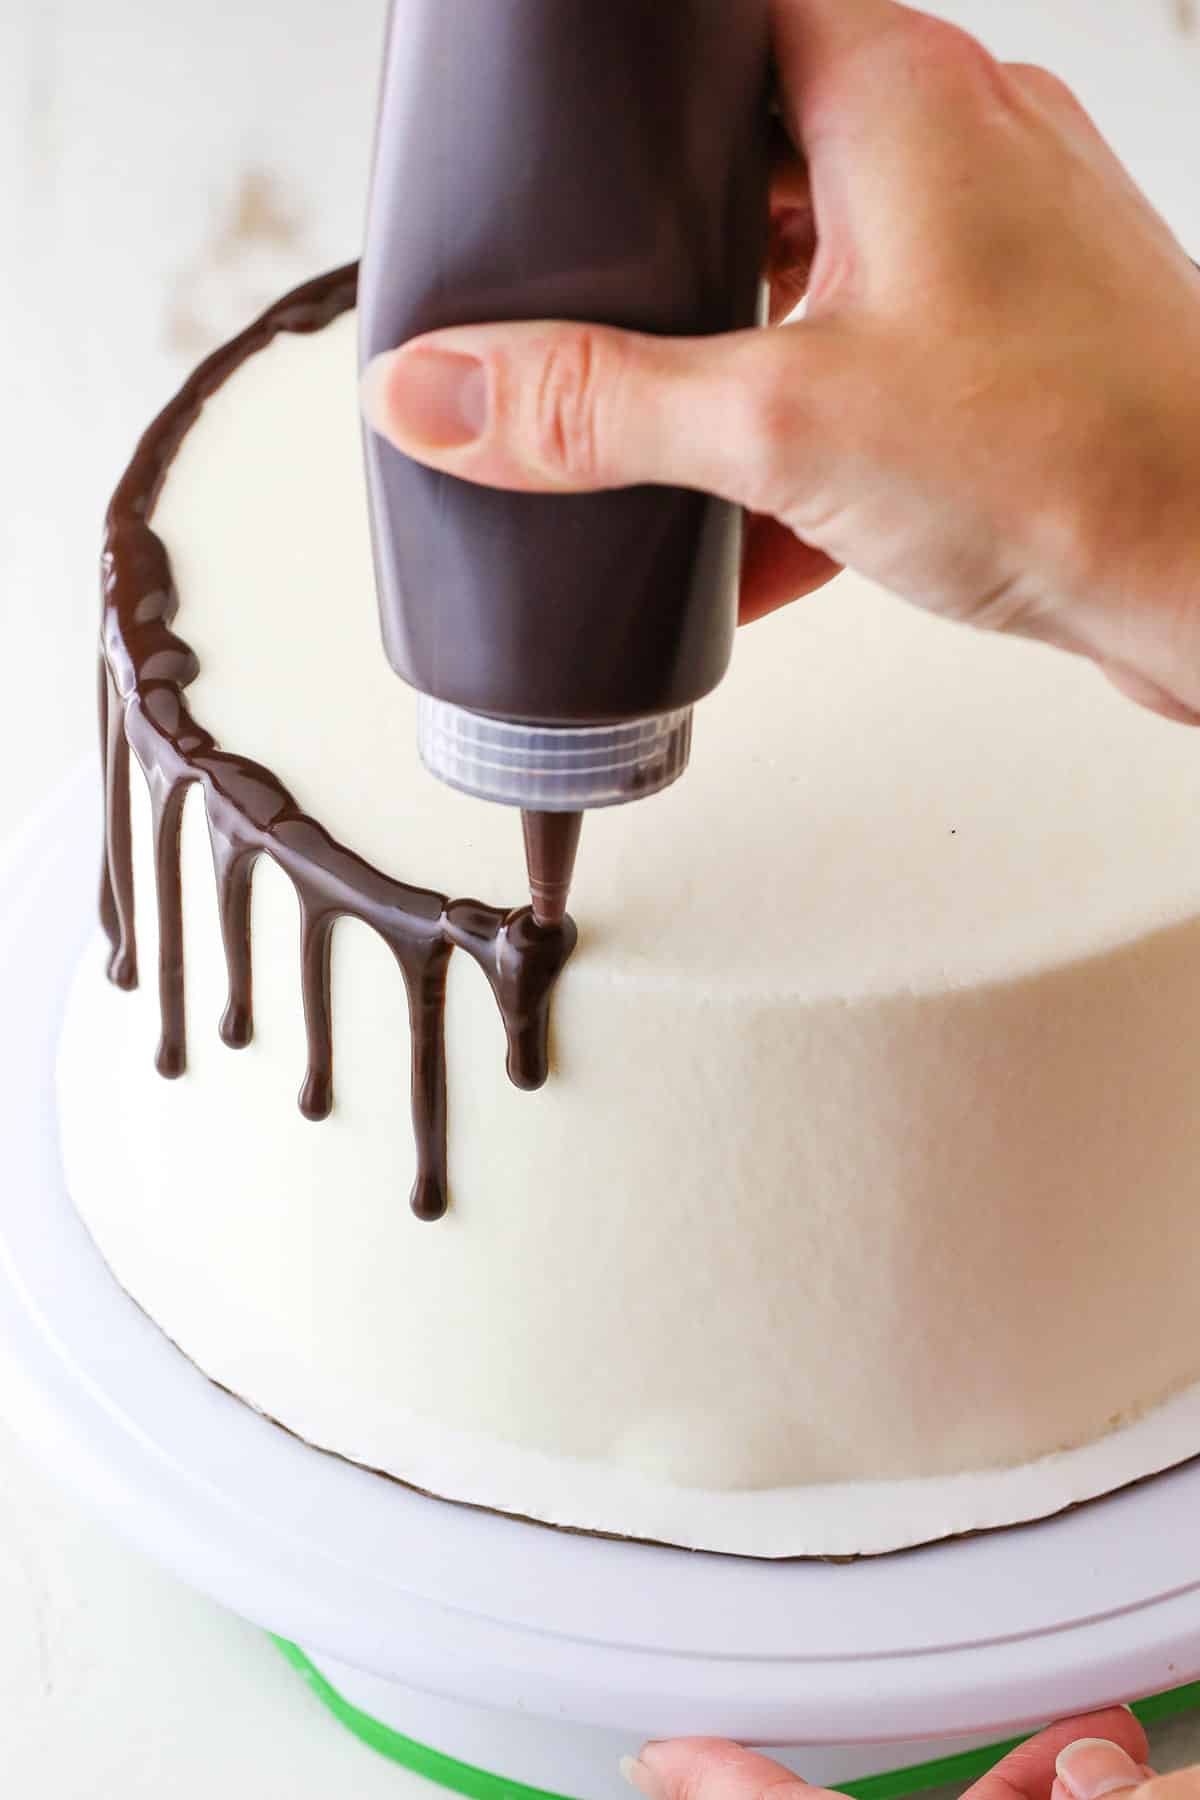
To use the squeeze bottle method, add the chocolate ganache to your bottle. Place the tip of the bottle just a couple centimeters above the top edge of the cake and gently squeeze the bottle to release the ganache. Release the pressure on the bottle when you’ve added enough of a drip, leaving just a little pressure to fill in the gap as you move to the next drip, turning the turntable as you go. Keep in mind that the more chocolate you add, the longer the drip will be. Test out a drip or two to get a feel for the amount of chocolate to use per drip, if needed.

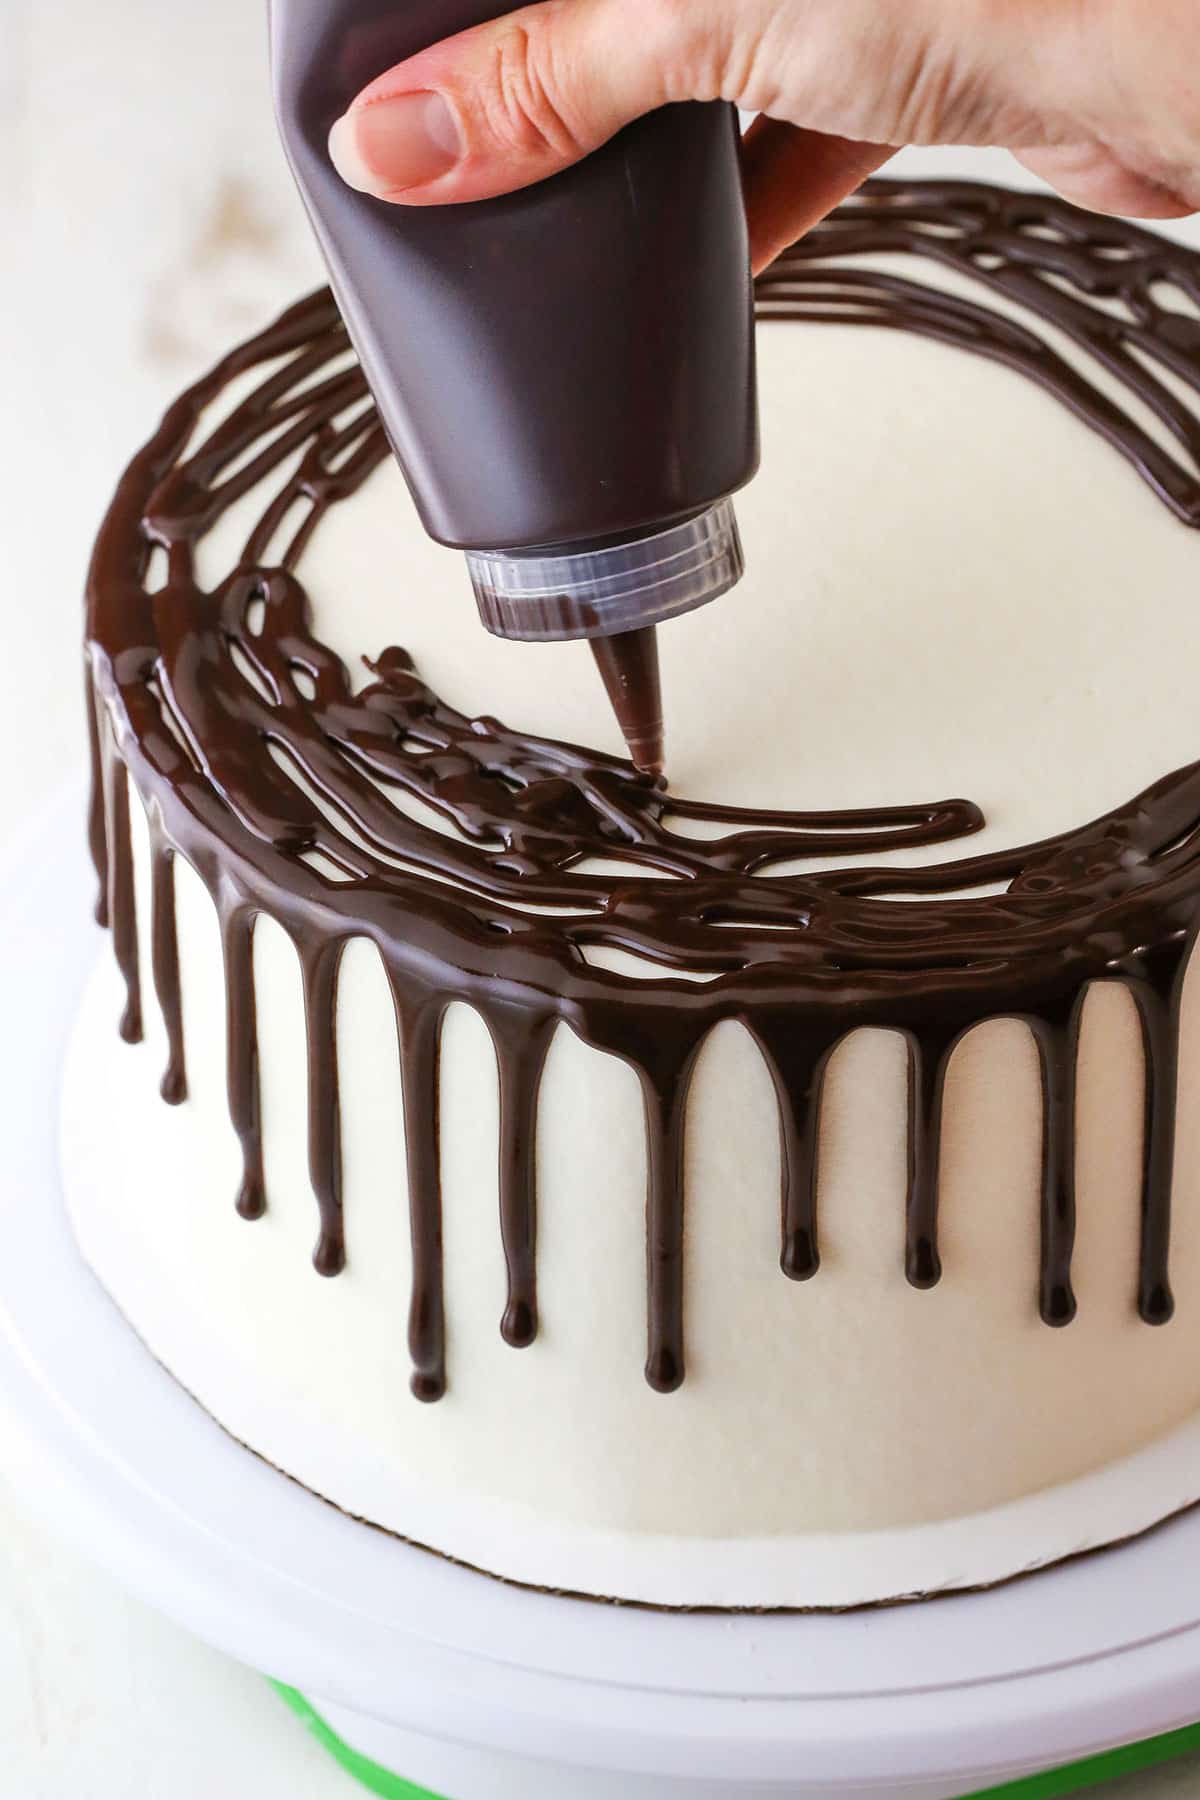
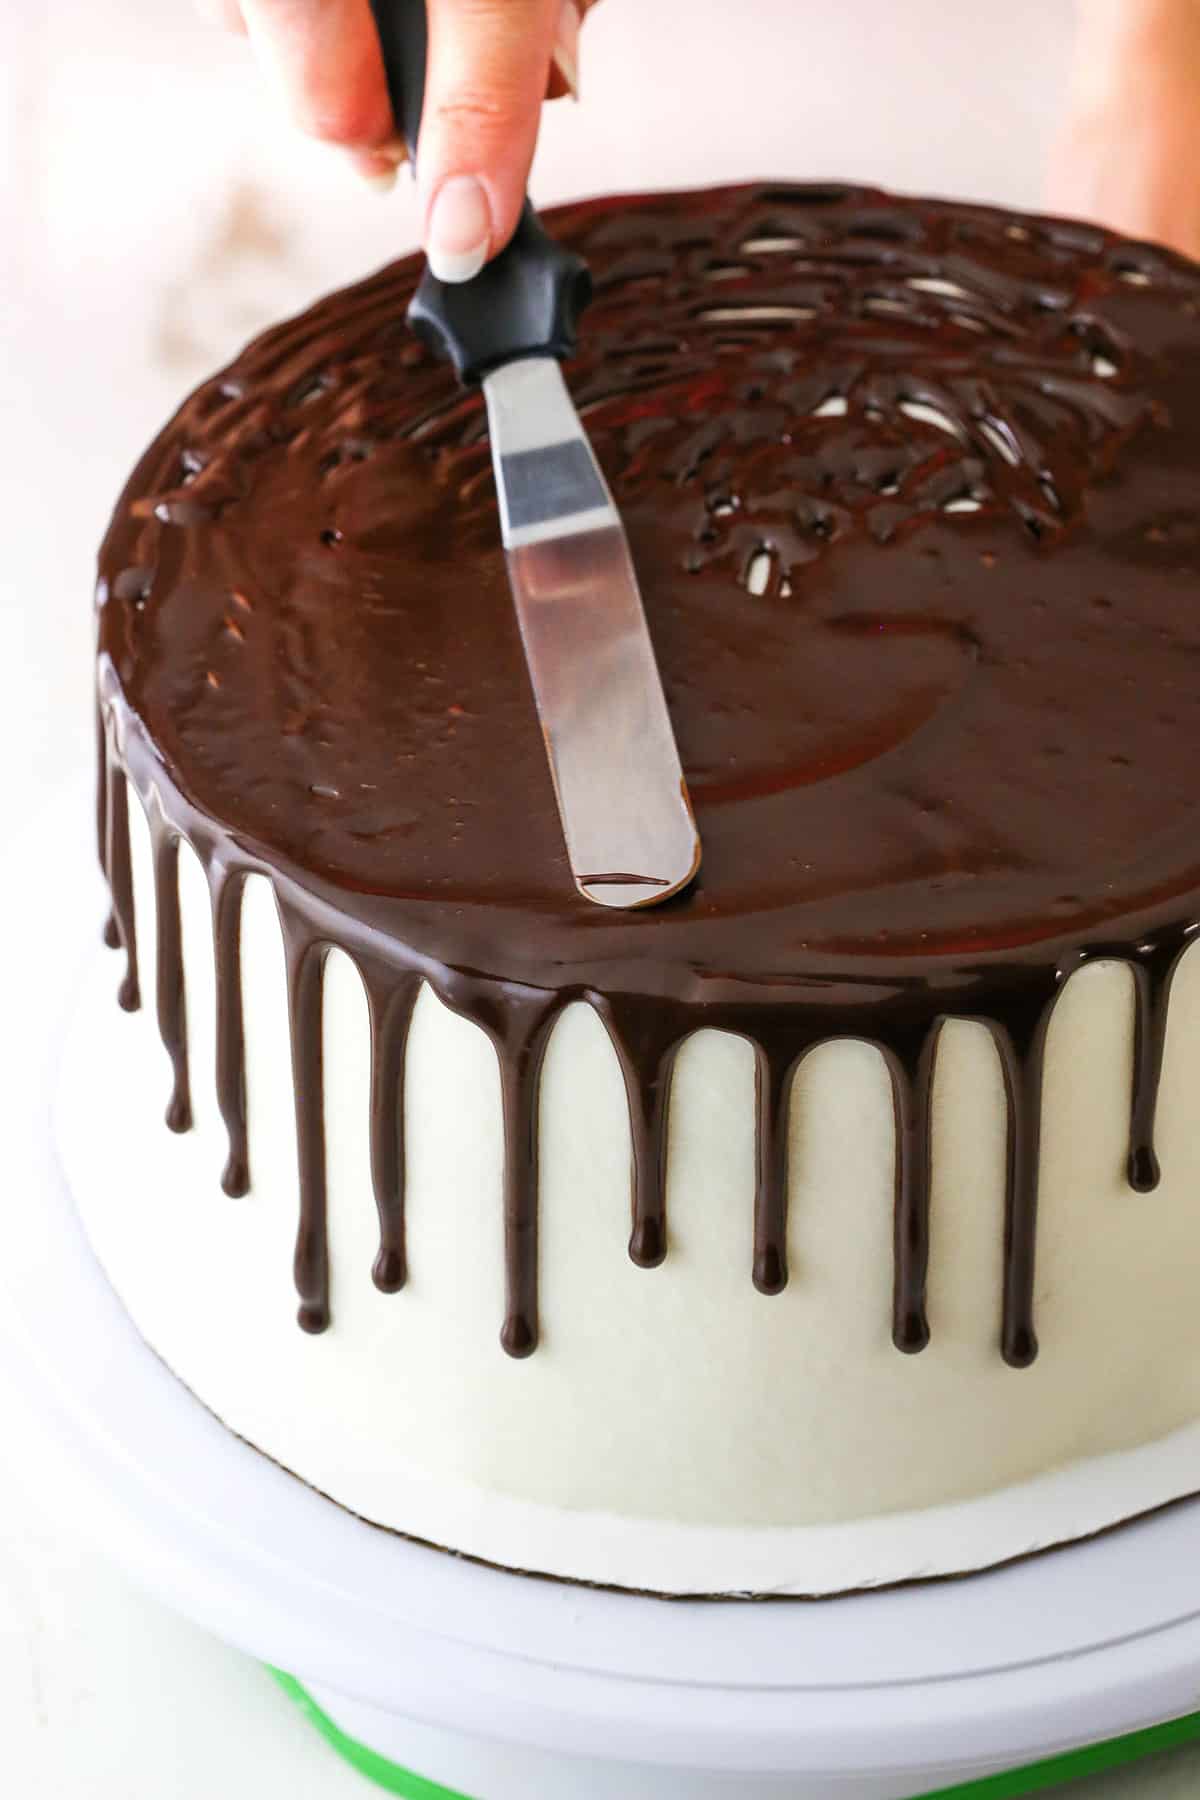
After adding drips around the top edge of the cake, fill in the center. You want to work quickly so that the ganache doesn’t firm up too much. I usually just use my squeeze bottle, but you could also just pour the chocolate into the center of the cake. You can heat it up for 10-15 seconds before adding it, if needed. Use your offset spatula to spread the chocolate ganache evenly.
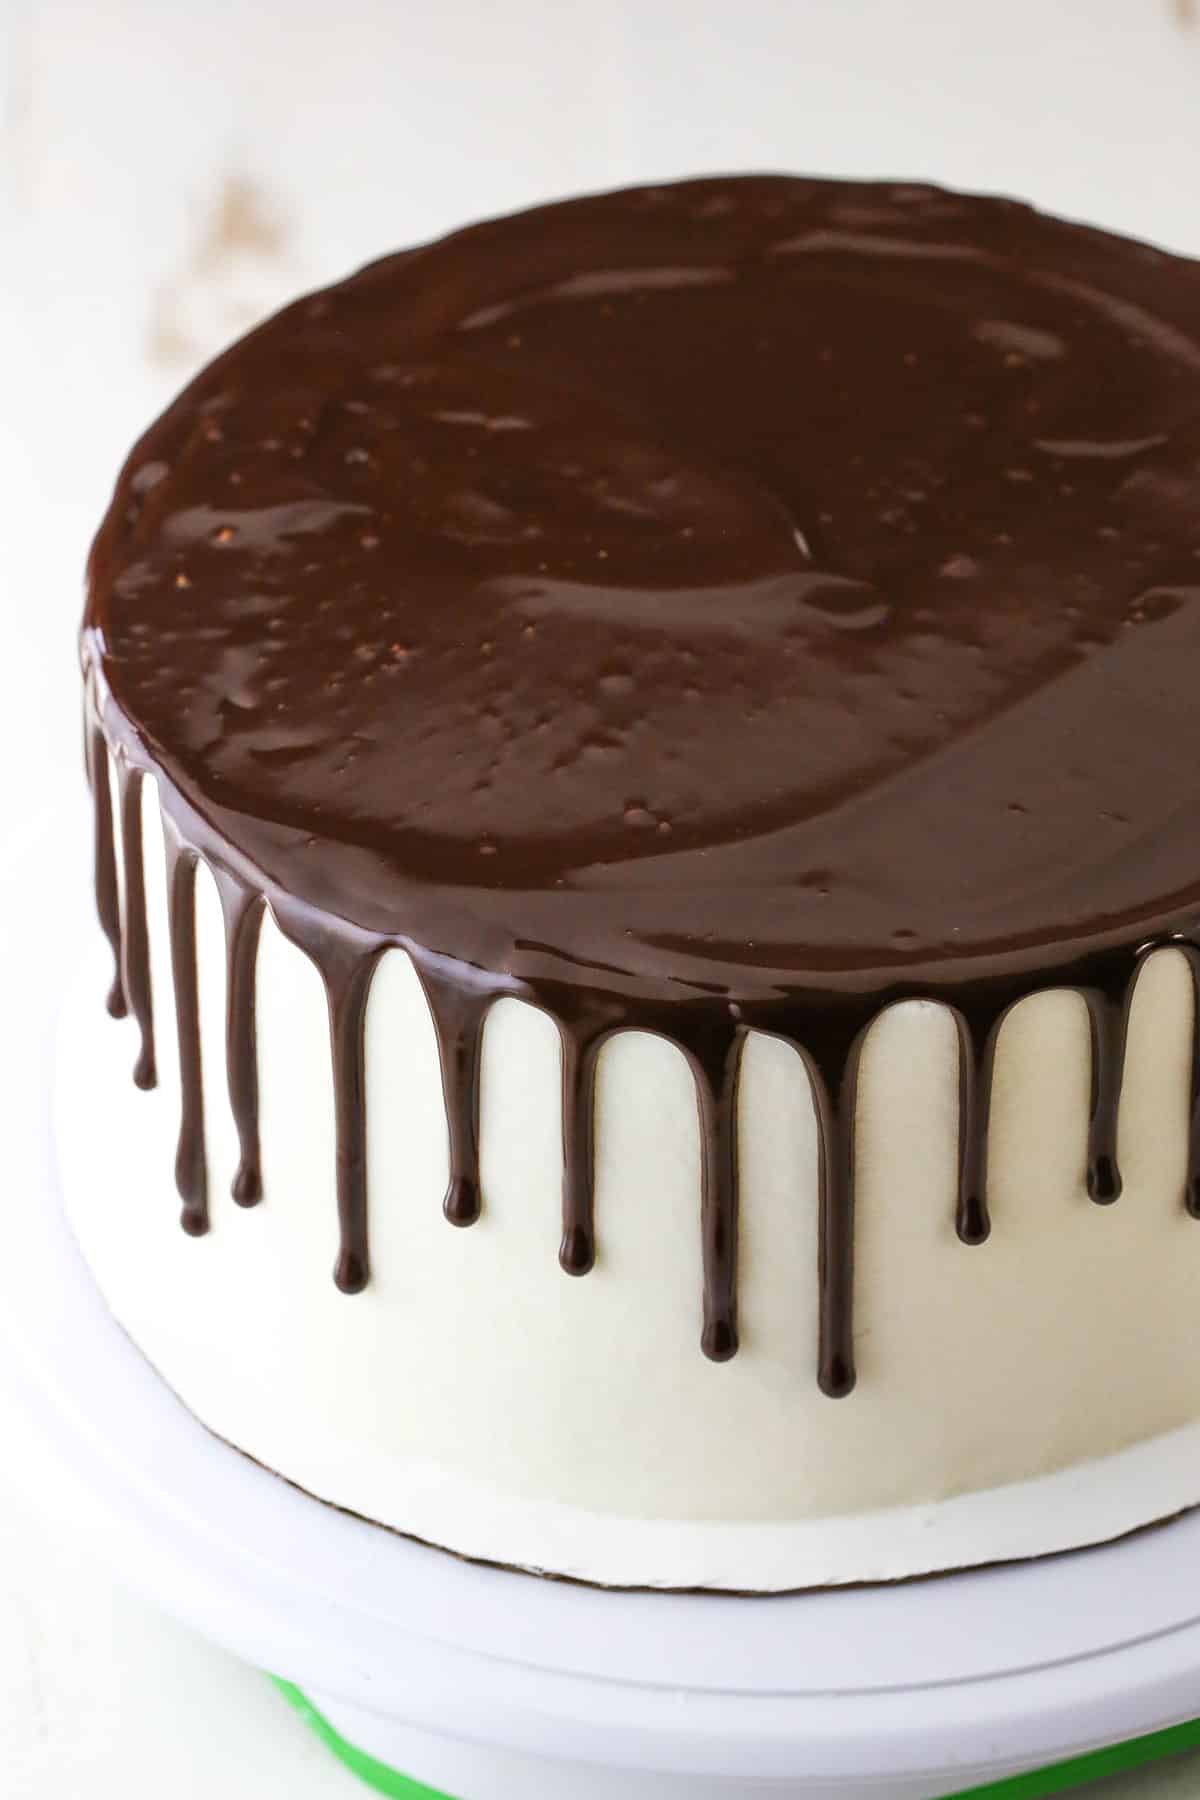
THE SPOON METHOD
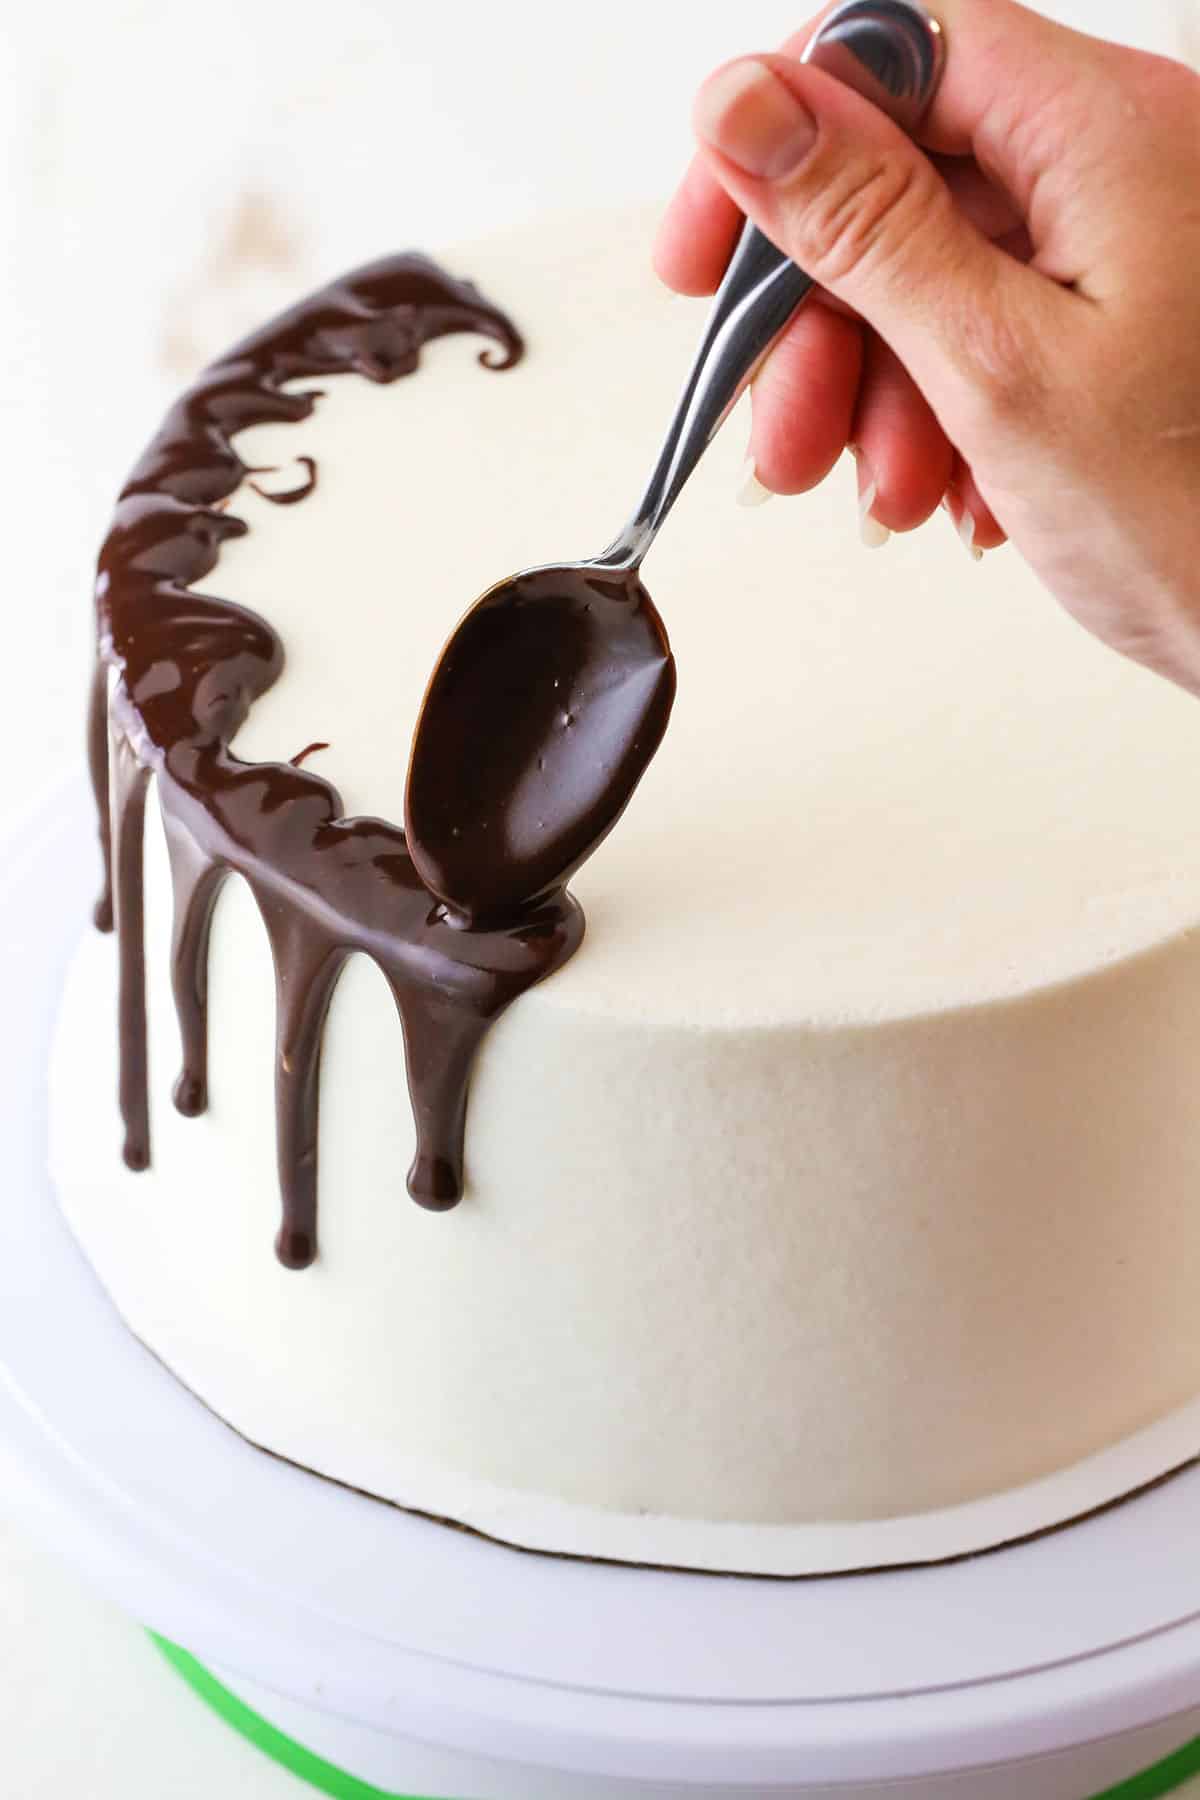
If you decide you’d rather not work with a squeeze bottle, you can use a spoon. Use your spoon to add the chocolate to the edges of the cake and gently push it over the edge so that it falls, creating a drip. Continue adding drips around the outer edge until you’ll gone all the way around.
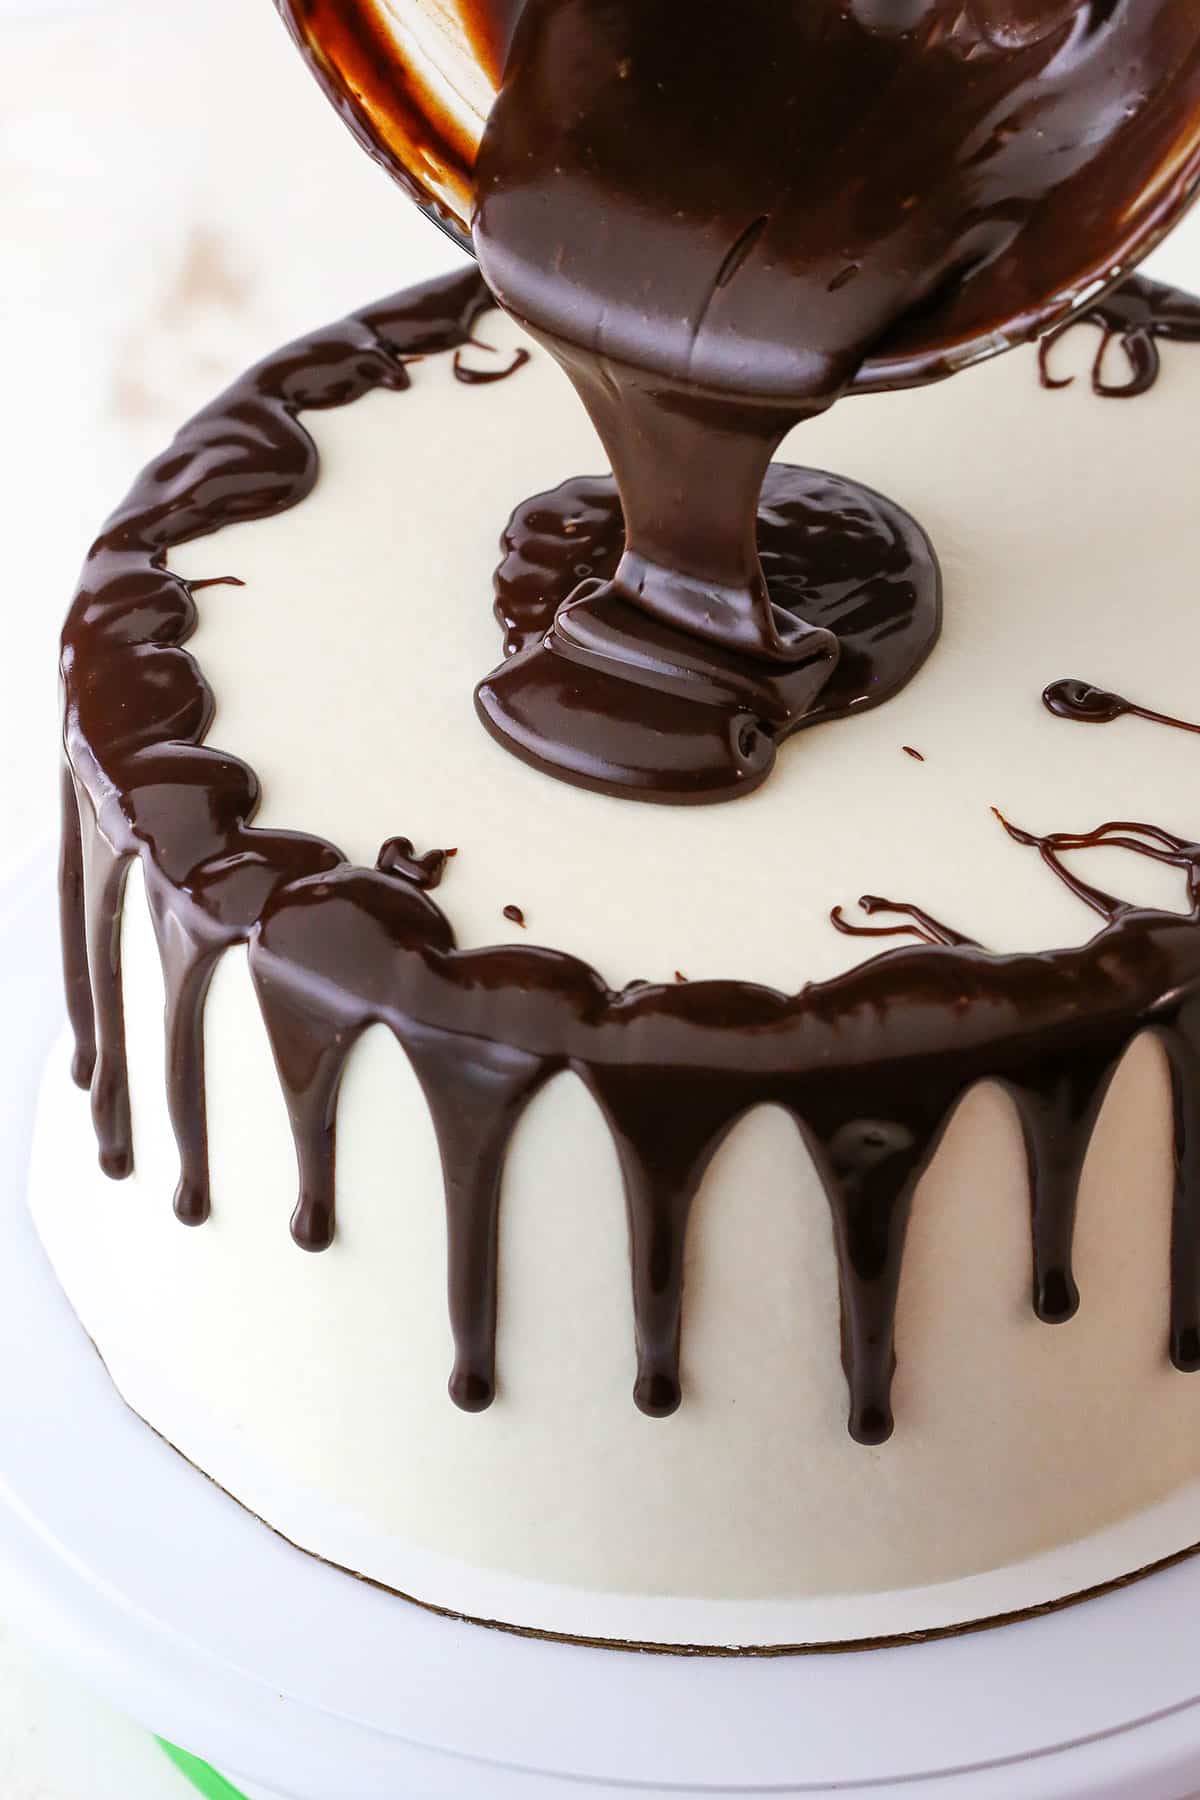
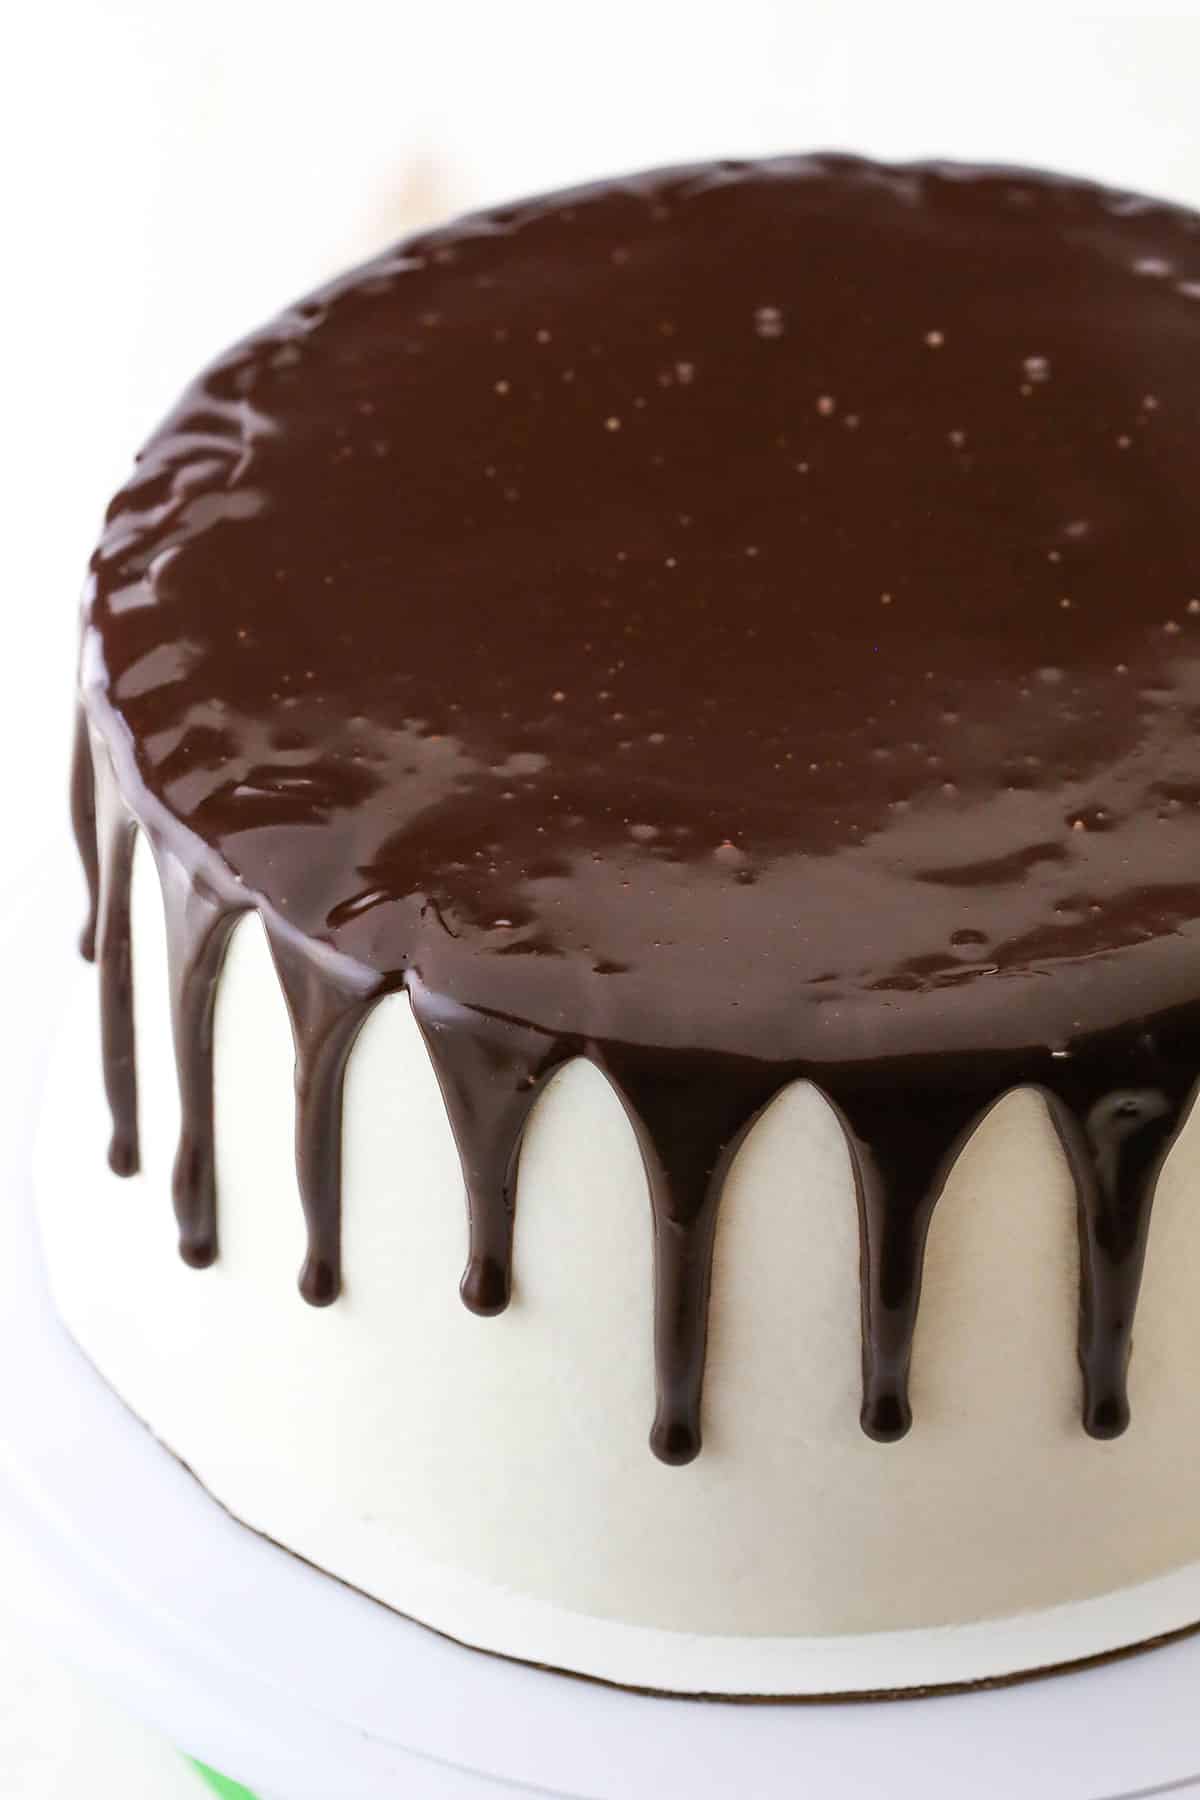
To fill in the center, pour the remaining chocolate ganache onto the top of the cake and use your offset spatula to spread it evenly.
TIPS FOR THE PERFECT CHOCOLATE DRIP CAKE
As with anything, perfecting the chocolate drip look takes a little practice and few good tips. To make the perfect chocolate drip cake, there are a few things you want to keep in mind:
1. Chocolate temperature matters. The temperature of your chocolate ganache determines how thick or thin it is. After I make my chocolate ganache, I let it sit for about 10-15 minutes to thicken up just a bit before I use it for a drip cake. I don’t want the chocolate to drip too far down the sides of the cake, but I also don’t want it to sit in a blob at the top of the cake.
To test the temperature and thickness of my ganache, I often use a spoon to drip some down the side of a bowl to get an idea of just how quickly it drips. If it drips too quickly, I’ll let it sit a little longer. If it’s too slow, you could heat it back up. When it seems just about right, go for it.
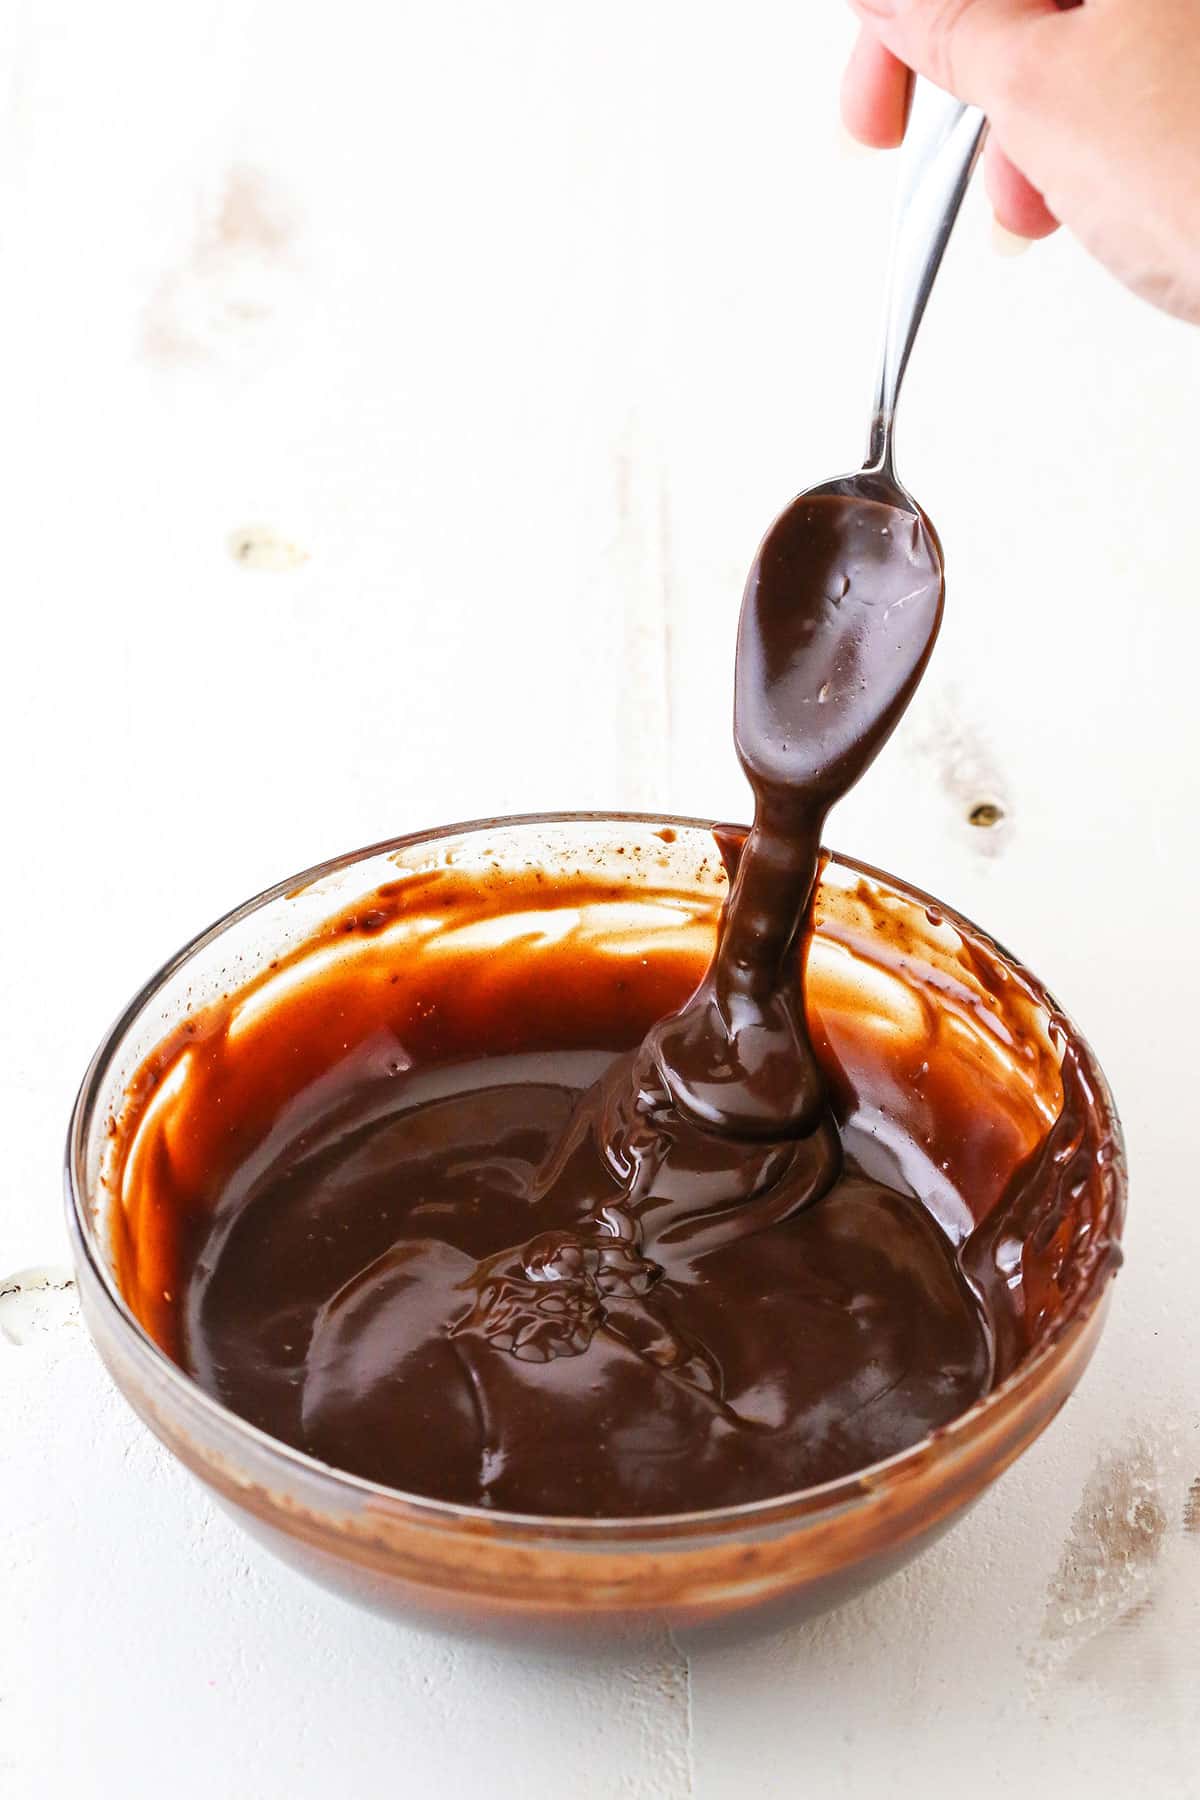
2. Cake temperature matters. When thinking about the temperature of your chocolate, you also want to keep in mind the temperature of your cake. I usually work with a room temperature cake, so testing the chocolate on the side of a room temperature bowl works. But if your cake has been in the fridge, the chocolate is going to start cooling even more quickly as soon as it touches the cold cake. In that case, you’ll want your chocolate a little warmer when you use it so that it will still drip nicely.
3. Amount of heavy cream. I tend to use a little less cream in my chocolate ganache. I prefer to work with it a little thicker, but you could add an extra tablespoon or two of cream if you wanted. With the thicker ganache, you have slightly thicker drips and with thinner ganache, they’ll naturally be thinner drips.
WHITE CHOCOLATE DRIP CAKE
You can also use white chocolate to make a drip cake, like on my Hot Chocolate Cake. The amount of heavy cream in your white chocolate ganache can be reduced significantly, since the white chocolate is naturally thinner when melted. Rather than half a cup of heavy whipping cream for 6 ounces of chocolate chips, you’ll use 3 tablespoons of heavy whipping cream for the same amount of white chocolate.
Print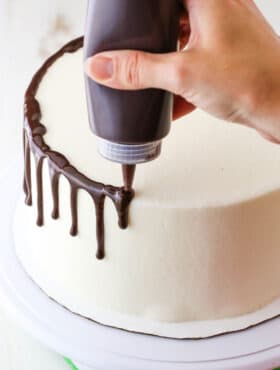
Chocolate Drip Cake
- Prep Time: 5 minutes
- Total Time: 5 minutes
- Category: Dessert
- Method: Microwave
- Cuisine: American
Description
Learn to make a Chocolate Drip Cake with this easy method! All you need is chocolate ganache, a frosted cake and a few simple tools. You’ll be on your way to an impressive yet easily decorated cake in no time!
Ingredients
Semi-Sweet Chocolate
- 6 oz (1 cup | 169g) semi sweet chocolate chips
- 1/2 cup heavy whipping cream
White Chocolate
- 6 oz (1 cup | 169g) white chocolate chips
- 3 tbsp heavy whipping cream
Instructions
1. Add the chocolate chips to a medium sized bowl and set aside.
2. Add the heavy whipping cream to a microwave safe bowl or measuring cup and heat for about 1 minute, keeping an eye on it. If it heats up too much, it’ll end up everywhere. Remove from the microwave just before it bubbles up.
3. Pour the warm cream over the chocolate chips and allow to sit for 3-5 minutes. You can cover the bowl with some clear wrap to trap in the heat, if you like.
4. Gently stir the cream and chocolate together until they come together to a smooth consistency. Try not to whisk too vigorously, which can add air bubbles to the ganache.
5. If making white chocolate ganache and you have some lumps remaining, heat in 10 second increments, stirring between, until ganache is smooth.
6. Allow ganache to cool for about 10 minutes, give or take, prior to using.





Hi! Can I use single cream instead? What would the ratio be with single cream? 😁
Could I make the ganache in advance, put it in the fridge and use 2 days later? Would it work as well? Making it for my brothers 21st so want it to be perfect!
I tried this today and it was a disaster. I used the exact quantities and directions and it was too thick to drip. Tried adding more cream until it would drip and then it ended up looking curled. I’ve no idea why it went so horribly wrong.
It’s possible that there wasn’t enough cream, but if you following the ingredients listed, that shouldn’t have been it. More likely is that you let it cool a little too long so it had thickened up too much.
Thanks Lindsay, but it wouldn’t drip even from the moment it was fully combined. I kept the squeeze bottle in a jug of hot water to try and loosen it. I just don’t know! Chocolate can be so temperamental!
It’s possible that water somehow found it’s way into your bottle and separated your chocolate! Chocolate is very temperamental lol but even more so with even the slightest drop of water.
Thank you so much Lindsay for sharing ure knowledge I’m a new spiring baking lover I really love u recipes and videos 😘😘😘 God blessed
I’m so glad you’re enjoying them!
Hey Lindsay, i am hug fan of your blog and recipes, I don’t have a squeeze bottle, and am wondering if I could use a piping bag instead? Thanks Lindsay of ratios helpful tutorial!
You can certainly use a piping bag, it’s just a little harder to control the flow of chocolate.
Hello, I followed your recipe and tips for the squeeze bottle on my first drip cake and it’s LOVELY!
Thank you. Wish I could send you a picture.
Wonderful! I’m so glad to hear that!
can you do the drip method on a sugar paste covered cake?
I’ve honestly never tried it to be able to speak from experience. I think it would be fine.
Mine was terrible! I melted Chocolate chips and tried to Drip, but no way did it drip. Too thick. I’m so mad at myself! First time dripping.
Did you add the cream to the melted chocolate?
When you decorate the cake from everything do you put it in the fridge.
With a chocolate ganache drip, I do typically refrigerate the cake. I also prefer to serve cakes at room temperature, so you could let the cake sit out for a couple hours before serving.
Can I decorate a fondant wrapped cake with chocolate drip gnash
Hi Lindsay,
I’m just wondering if the type of frosting on the cake affects the chocolate drip? – Do you think it would be possible to do a white chocolate drip on a mascarpone frosted cake rather than buttercream?
Thank you!
The only thing I’ve ever been concerned about was using a whipped cream frosting with chocolate ganache, but even that never caused an issue. I can’t think of an instance where the type of frosting is going to be a problem. Certainly a mascarpone-based frosting should be fine.
Have you ever done a drip cake with caramel or dulce de leche? I am making a browned butter cake later today and wanted to decorate with the drip effect but don’t want to use chocolate.
I haven’t really done a caramel drip. I imagine that similar to the chocolate, it’s all about the right consistency.
Can you color this chocolate ganache?
It would probably be quite difficult to color the chocolate since it’s already brown. Are you planning on using white chocolate?
No. I was planning on coloring this chocolate ganache to a red color for Halloween.
You wouldn’t really see the red color in the chocolate. I would suggest checking out the red ganache that I used this cake. https://www.lifeloveandsugar.com/peppermint-chip-layer-cake/
Thank you for this very helpful tutorial! I’ve been baking for a while but I had never done a chocolate drip cake before because I was worried about it sliding straight off the cake. Your step-by-step tutorial was really helpful in making my mickey mouse cake a success.
Awesome! I’m so glad it was helpful!
Lindsay, thanks to this tutorial, the chocolate drip on my mom’s birthday cake turned out beautifully! I don’t have a squeeze bottle, but found the spoon method to be perfectly fine. Again, thanks so much for this oh-so-helpful tutorial!:D
Awesome! I’m so glad it helped!
Thanks for the tutorial! We all know you make the prettiest cakes so it’s great to have an insight into one method of how to do it 🙂
Thank you SO much for posting this, Lindsay! Most helpful tutorial ever 🙂 I really want to perfect chocolate drips, and all these wonderful tips and tricks will help sooooo much! My mom’s birthday is this weekend and she wants a chocolate cake, so I have the perfect excuse to practice my chocolate drip!
Awesome! I hope it helps with the cake this weekend!
looks good. Be lovely to had got the recipe for the cake as well!
I just used my vanilla cake, but you can use this tutorial for any cake.