This post may contain affiliate sales links. Please read my disclosure policy.
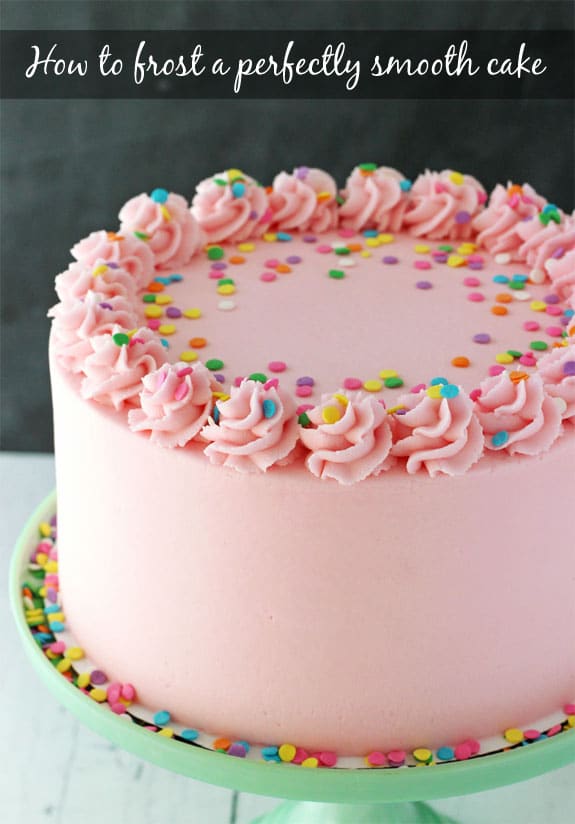
Today’s tutorial is all about how to frost a smooth cake. Getting that nice, smooth finish when icing a cake can take some practice, but I have been asked so many times about how I get my icing so smooth, I’ve finally put together some instructions that I hope will be helpful. Just remember you have to be patient. My first cake did not look like my current cakes. It took practice – and the right tools.
Want to frost cupcakes? See my post on how to beautifully frost your cupcakes!
Watch How To Do It
So to start, let’s talk about the tools you’ll need:
Icing tips (Wilton #789 for icing the sides and Ateco 844 for piping the border)
Icing bags
Turntable (I use Wilton Trim-N-Turn Ultra Cake Decorating Turntable)
Icing smoother (I 100% recommend Ateco Decorating Comb over any other)
9 inch offset spatula (I use Wilton Angled Spatula)
Fondant smoother (I use Wilton Easy Glide Fondant Smoother)
Viva paper towels (Viva brand specifically)
Let’s talk about that icing smoother for a second. I linked to it above, but it’s an Ateco smoother that costs less than $5. It is the best money I have ever spent on a tool. I used to use another one, but it was big and clunky and I had no idea how much it hindered my ability to get a nice, smooth cake until I tried this one. It’s lightweight, small and easy to use.
In addition to those tools, you’ll obviously need a cake and some icing. I used regular American Buttercream (American Buttercream recipe here). For my cakes that are about this size, I go through about 2 1/2 recipes worth.
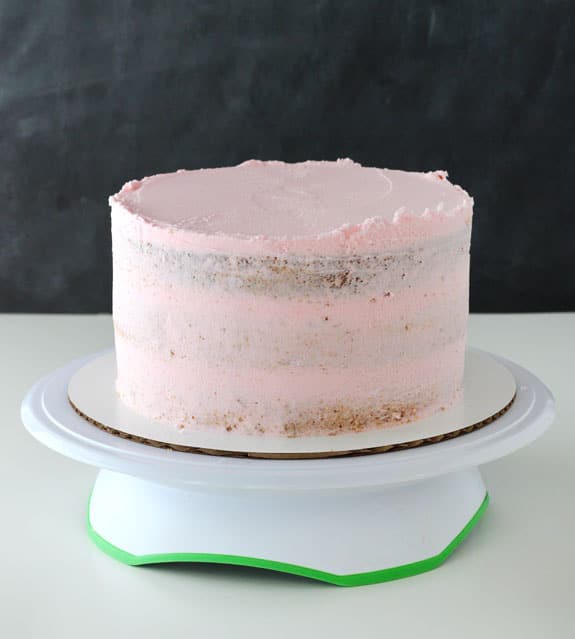
For this tutorial, I started with a cake that was already crumb coated and had a layer of icing on the top of the cake. It’s important to already have the top layer on the cake and get it as smooth as you can with your offset spatula. It’ll get further smoothed later, but it’s best to have it smooth now too.
The crumb coat isn’t entirely necessary for every cake. Typically chocolate cakes are more likely to need them, since they tend to have more crumbs. But because of the way I add my icing, it’s not always necessary. I use an icing tip and bag, which reduces crumbs mixing into the icing.
How to Frost a Cake
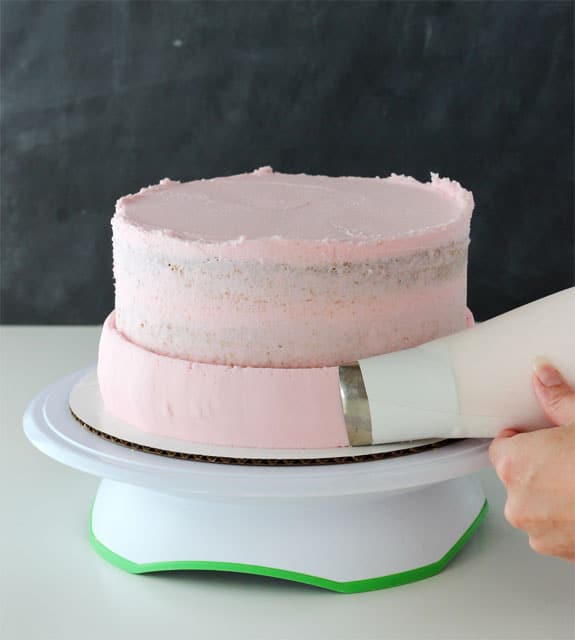
So to get started from here, you’ll want your icing bag fitted with the Wilton #789 icing tip and filled with icing. Starting from the bottom of the cake, pipe icing around the edge, trying to keep even pressure on the bag so that the layer of icing is even.
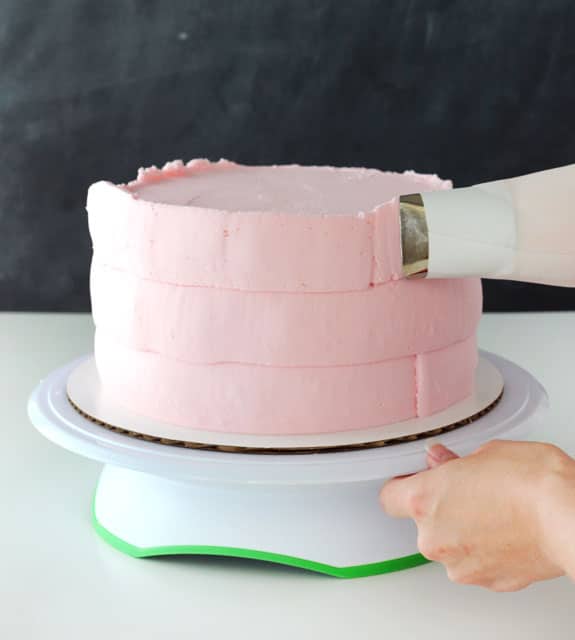
You’ll have multiple layers of piped icing, depending on the height of your cake. The top layer needs to stick above the top edge of the cake. This will be important later for smoothing the top edges/corners of the cake.
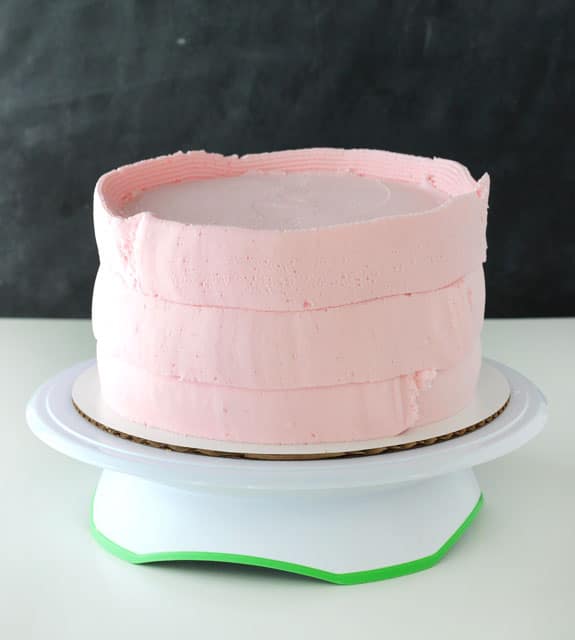
When you are done applying the icing to the sides of the cake, it’s time to smooth it. This is where the icing smoother comes in. Place it against the side of the cake. You want to hold it straight up and down, as straight as possible. Hold your icing smoother in the same place and use your other hand to turn the turntable. Continue to turn the turntable, scraping the icing off of the smoother occasionally so that there isn’t too much buildup. I clean off my smoother regularly and when I scrape the excess icing off of it, I usually also wipe it with a paper towel, so that there isn’t anything left on there that will mess up the icing once I place it back on the side of the cake.
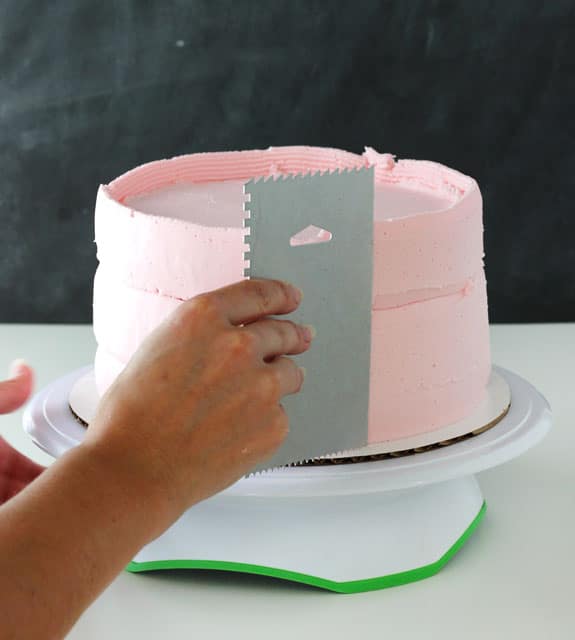
Here is an image showing the angle at which I hold the smoother. I really believe the angle makes a big difference in the way the icing smooths. Do not hold it at 90 degrees. The tighter the angle (like shown), the better the excess icing pulls around the cake and fills in gaps.
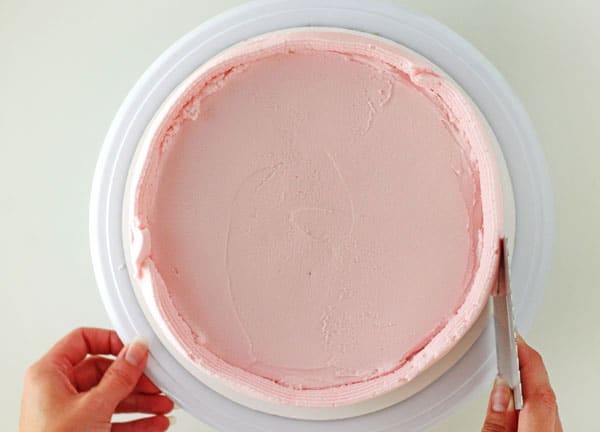
After doing a few turns of the turntable, you’ll notice some gaps that are deeper and should probably be filled in. I usually notice it at the “seems” where the three layers of icing were piped on. At this point, use your offset spatula to add some icing to the gaps. You’ll want to have a little excess icing, rather than too little.
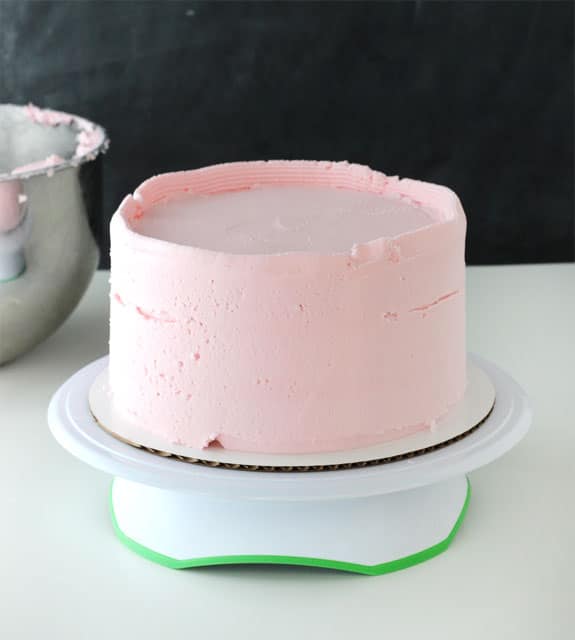
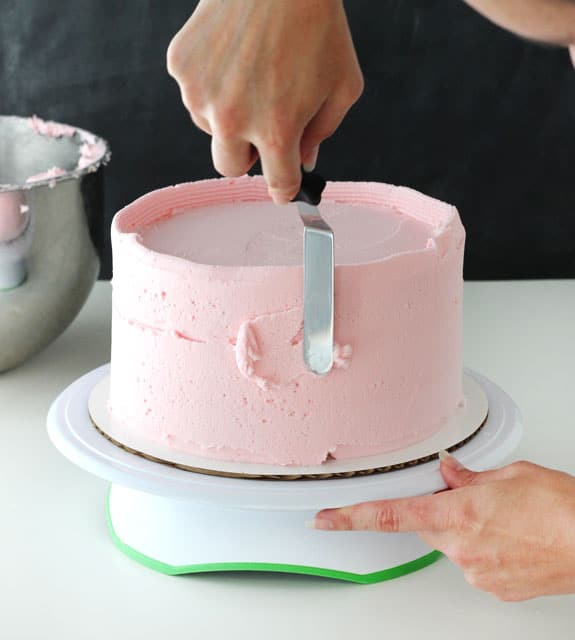
Begin smoothing the sides again, pulling the excess icing around the cake to fill in gaps, then wiping off the icing smoother as needed.
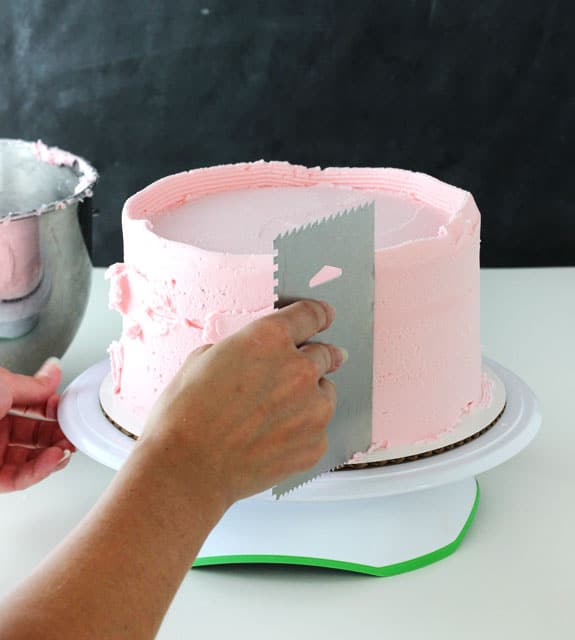
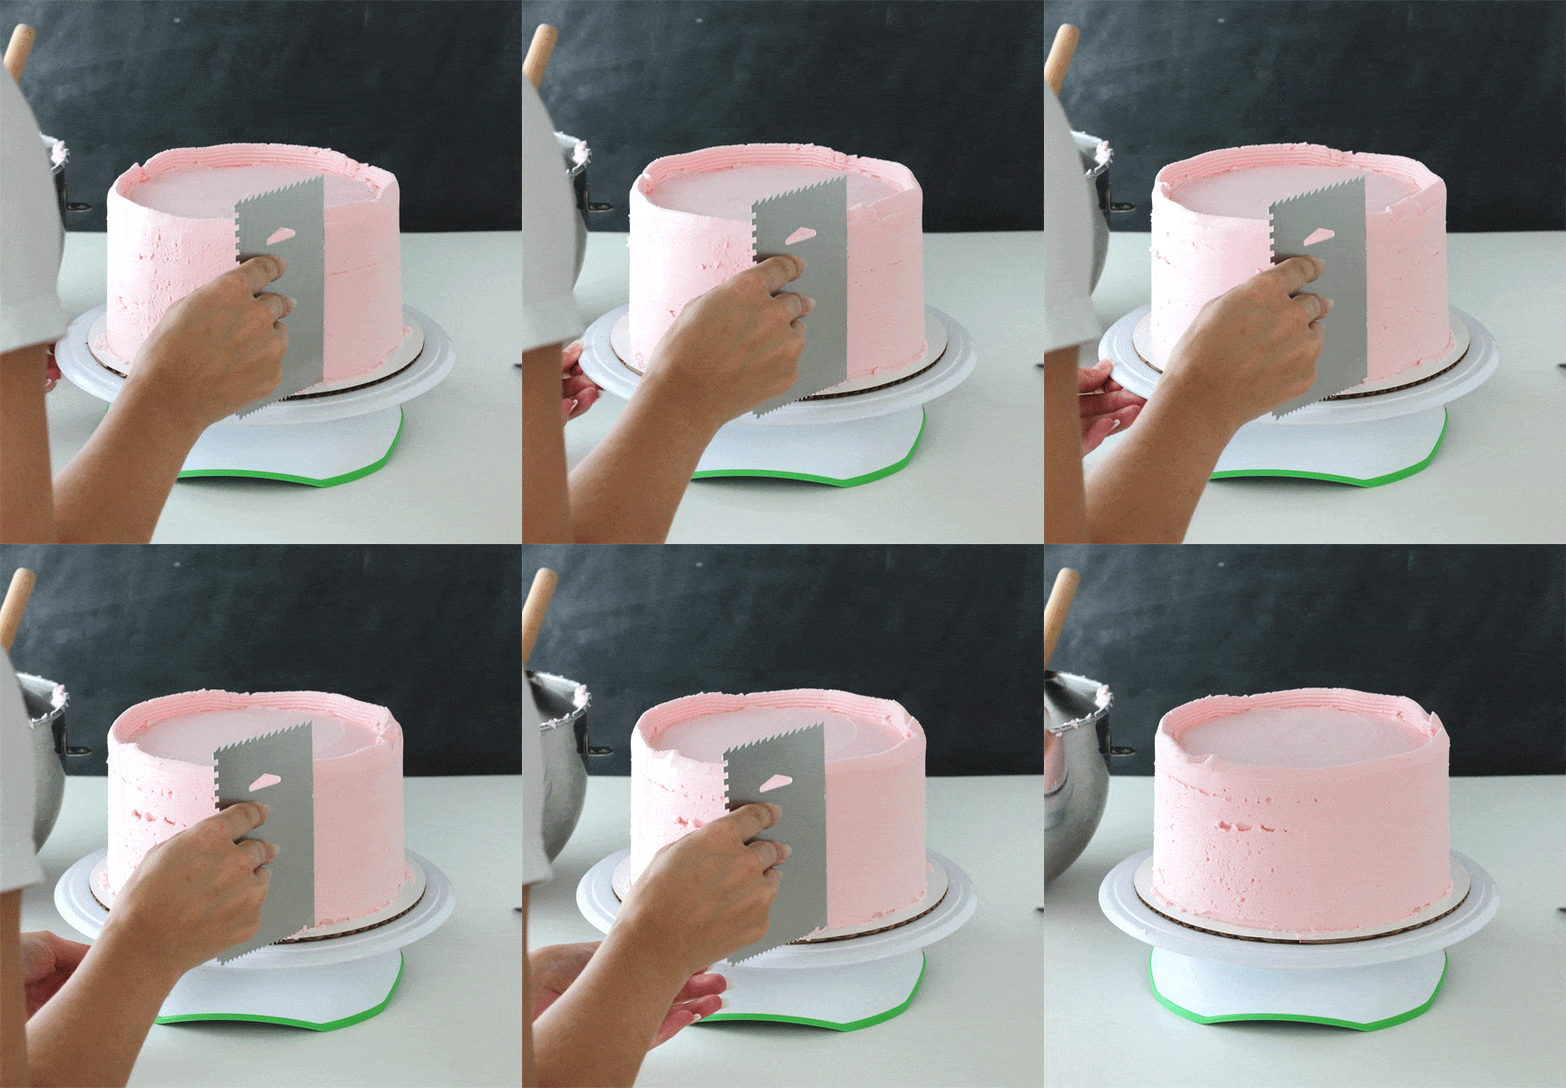
Continue working around the outside of the cake, pulling the icing, then scraping it off of the icing smoother. You can fill in more gaps if needed, just keep working the sides until you are happy with it.
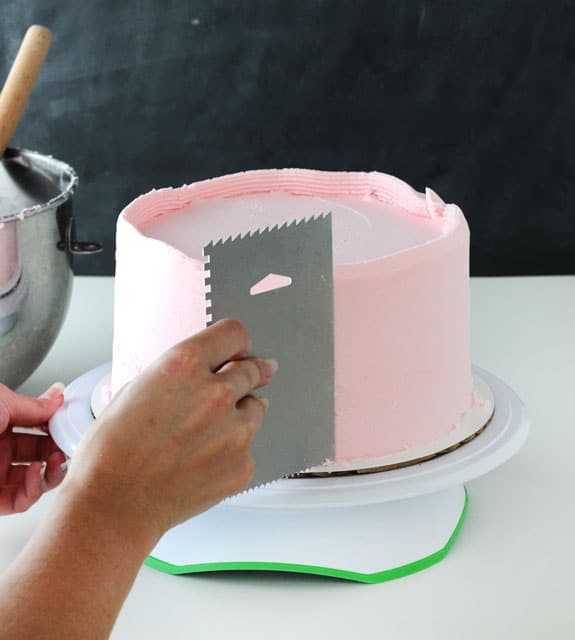
You should end up with a cake that looks like this. The sides are mostly smooth and the excess icing from the top is still sticking up above the cake. In some places you may have tiny little holes from the air in the icing. The angle that you hold the icing smoother can make a difference in how many of those you end up with. Again, tighter angle is better. Also, some of those will fill in as we smooth the sides again later with a paper towel.
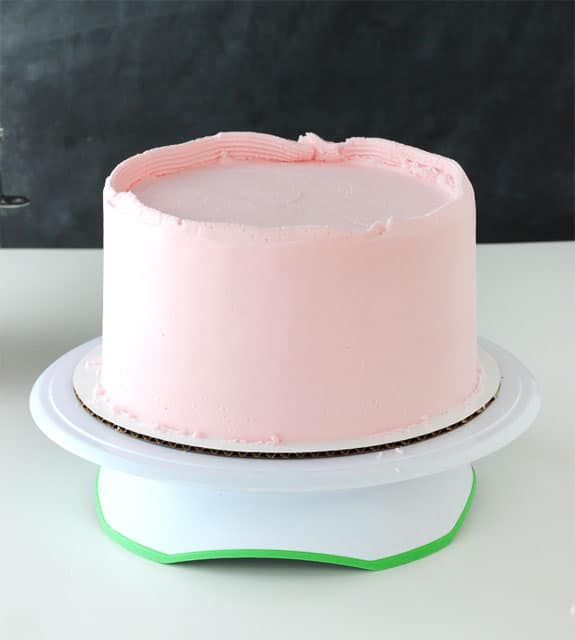
Next is always the scariest part! The top edges/corners. It was even harder to do these while taking photos. 🙂 The whole icing process took longer than normal, so my icing started to crust a bit and so it’s a little drier in the photos than yours should be at this point. You want to work as quickly as you can. If the icing starts to crust, it’s harder to work with.
To do the edges, you can use the icing smoother or the offset spatula. I use either, depending on my mood, though often I do feel like the offset spatula gives me more control. Pull the icing in towards the middle of the cake, making the corner level with the top of the cake. The spatula should be at about a 45 degree angle. The excess icing should help fill in any uneven-ness on those top corners as you pull it in.
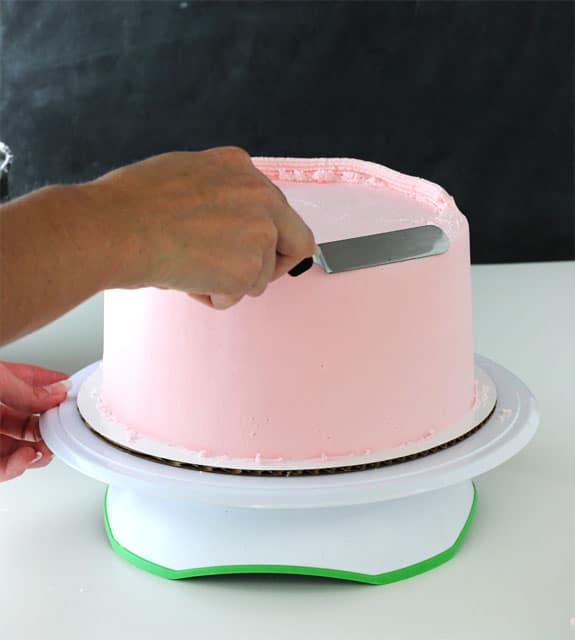
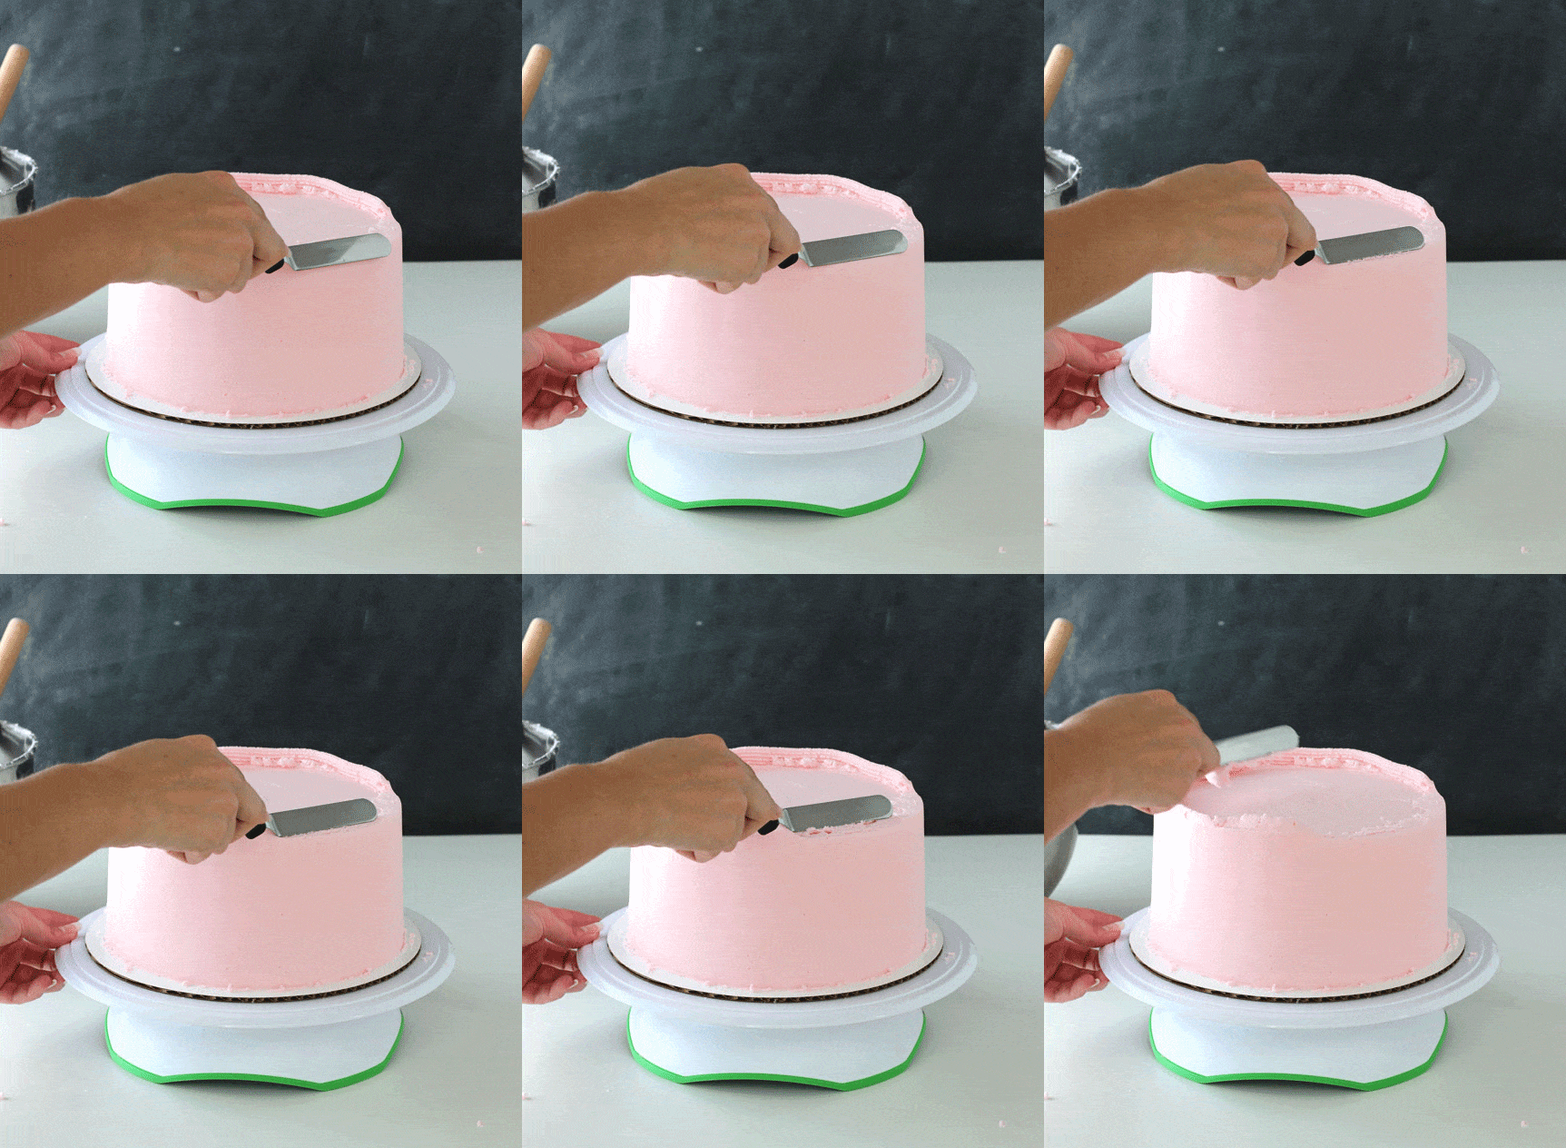
Go all the way around the cake, until it looks like the one below. Again, my icing is a bit drier than yours should be. Hopefully, your cake top is a bit smoother.
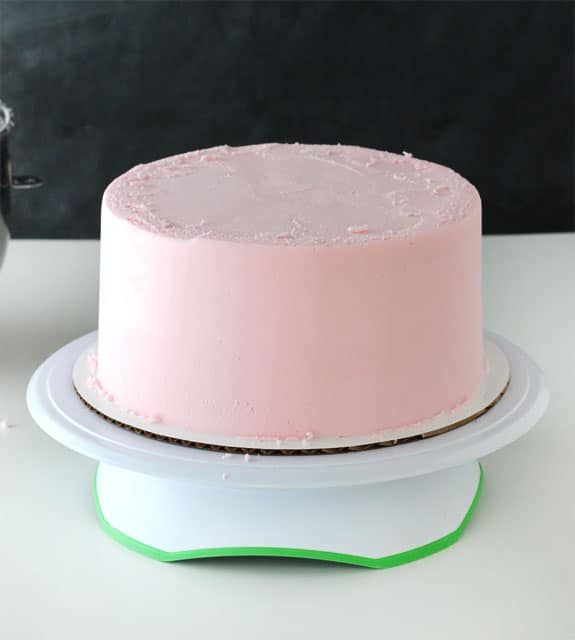
Use your offset spatula to continue to work the icing on the top of the cake and smooth the top edges. Do not mess with the sides or side part of the corners yet. Just try to get the top as smooth as you can, the sides should already be smooth.
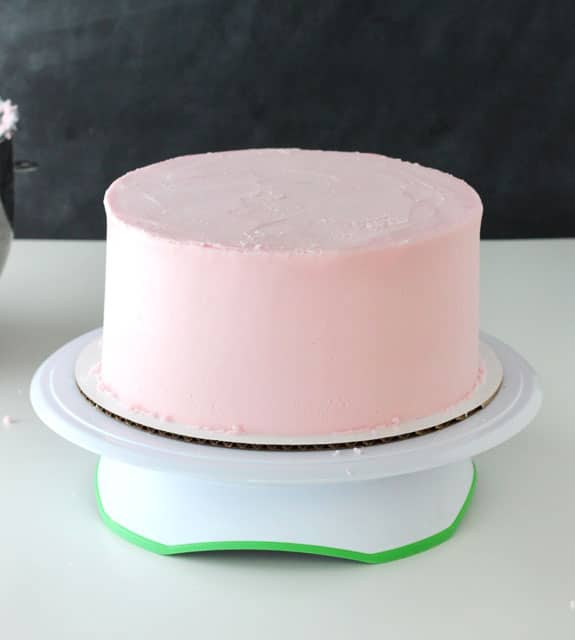
Next, we use the paper towel to finish smoothing any imperfections that are left from the offset spatula. Like I said above, I ONLY use Viva paper towels for this. They are the only paper towel I know of that doesn’t have raised patterns on it. You’ll notice that one side is smoother than the other – that’s the side you want against the cake.
I usually start with the top of the cake, since it tends to be rougher and need more work. Along with your paper towel, you’ll need the fondant smoother. Place the paper towel on the cake, smoothest side down, and rub in small circular motions with the fondant smoother to smooth out the icing. Press firmly and evenly, but not hard.
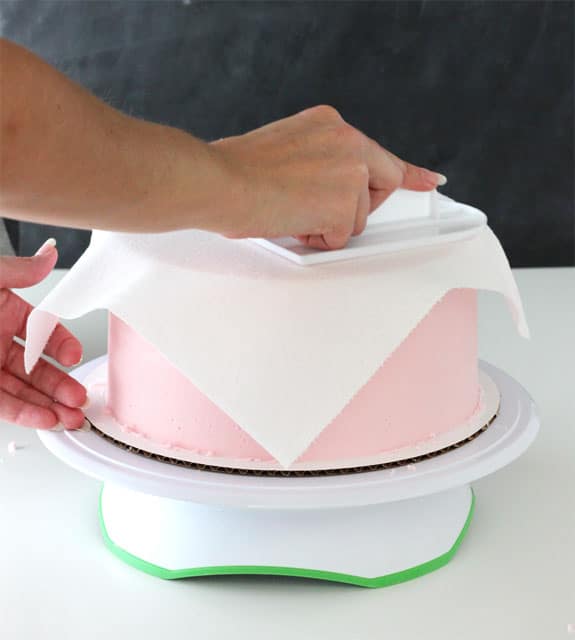
Do the same with the sides of the cake, evening out any bumps or air holes.
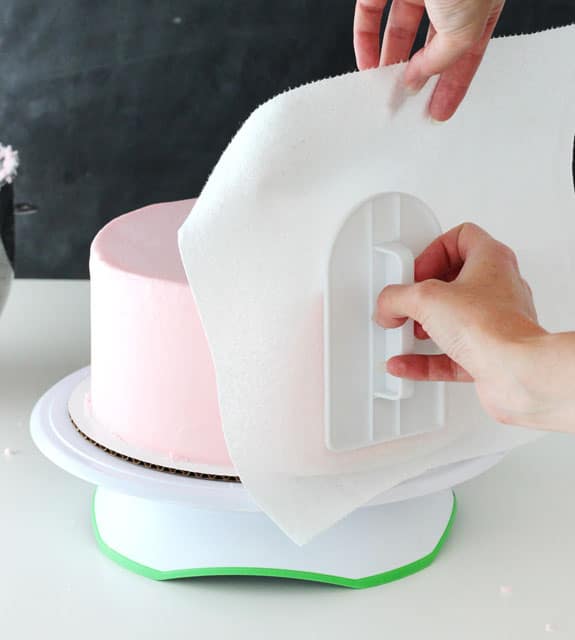
To help make sharper corners, place the paper towel on the top of cake, letting it hang over the edge and down the side. Placing your fingers against the side of the cake to keep the icing in place, use the fondant smoother to gently push the icing out towards to edge to help make that corner sharp. Do that anywhere you think the edges could use it.
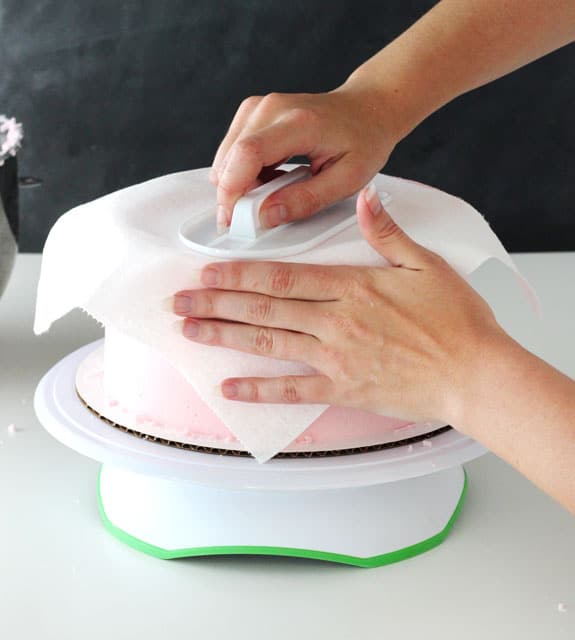
Keep working that paper towel and fondant smoother until you are happy with your cake.
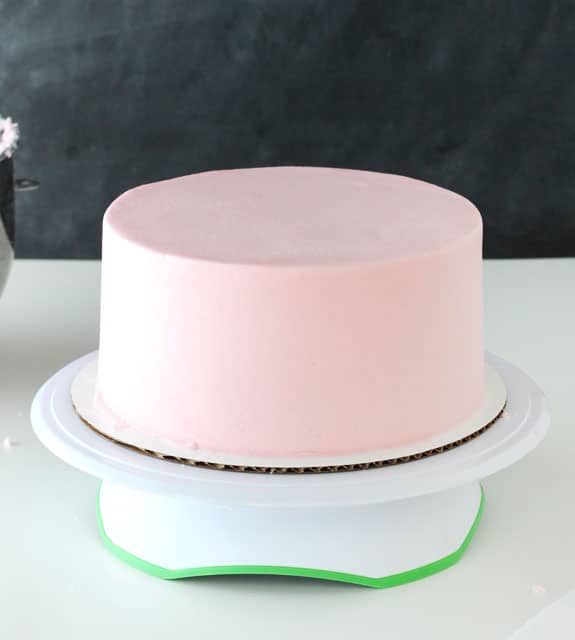
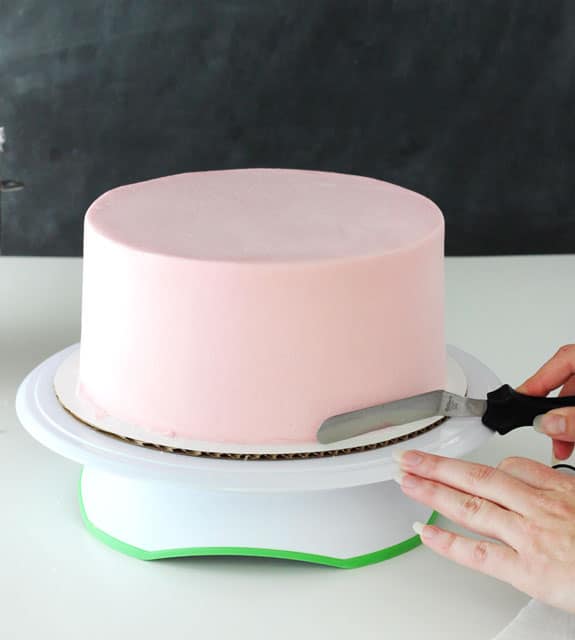
Next, I like to take my offset spatula and remove excess icing at the bottom of the cake and give it a clean edge. The spatula is placed at an angle so that nothing is actually touching the side of the cake, but just the bottom of the spatula side is grabbing the excess icing. Then pull the excess towards you and away from the cake.
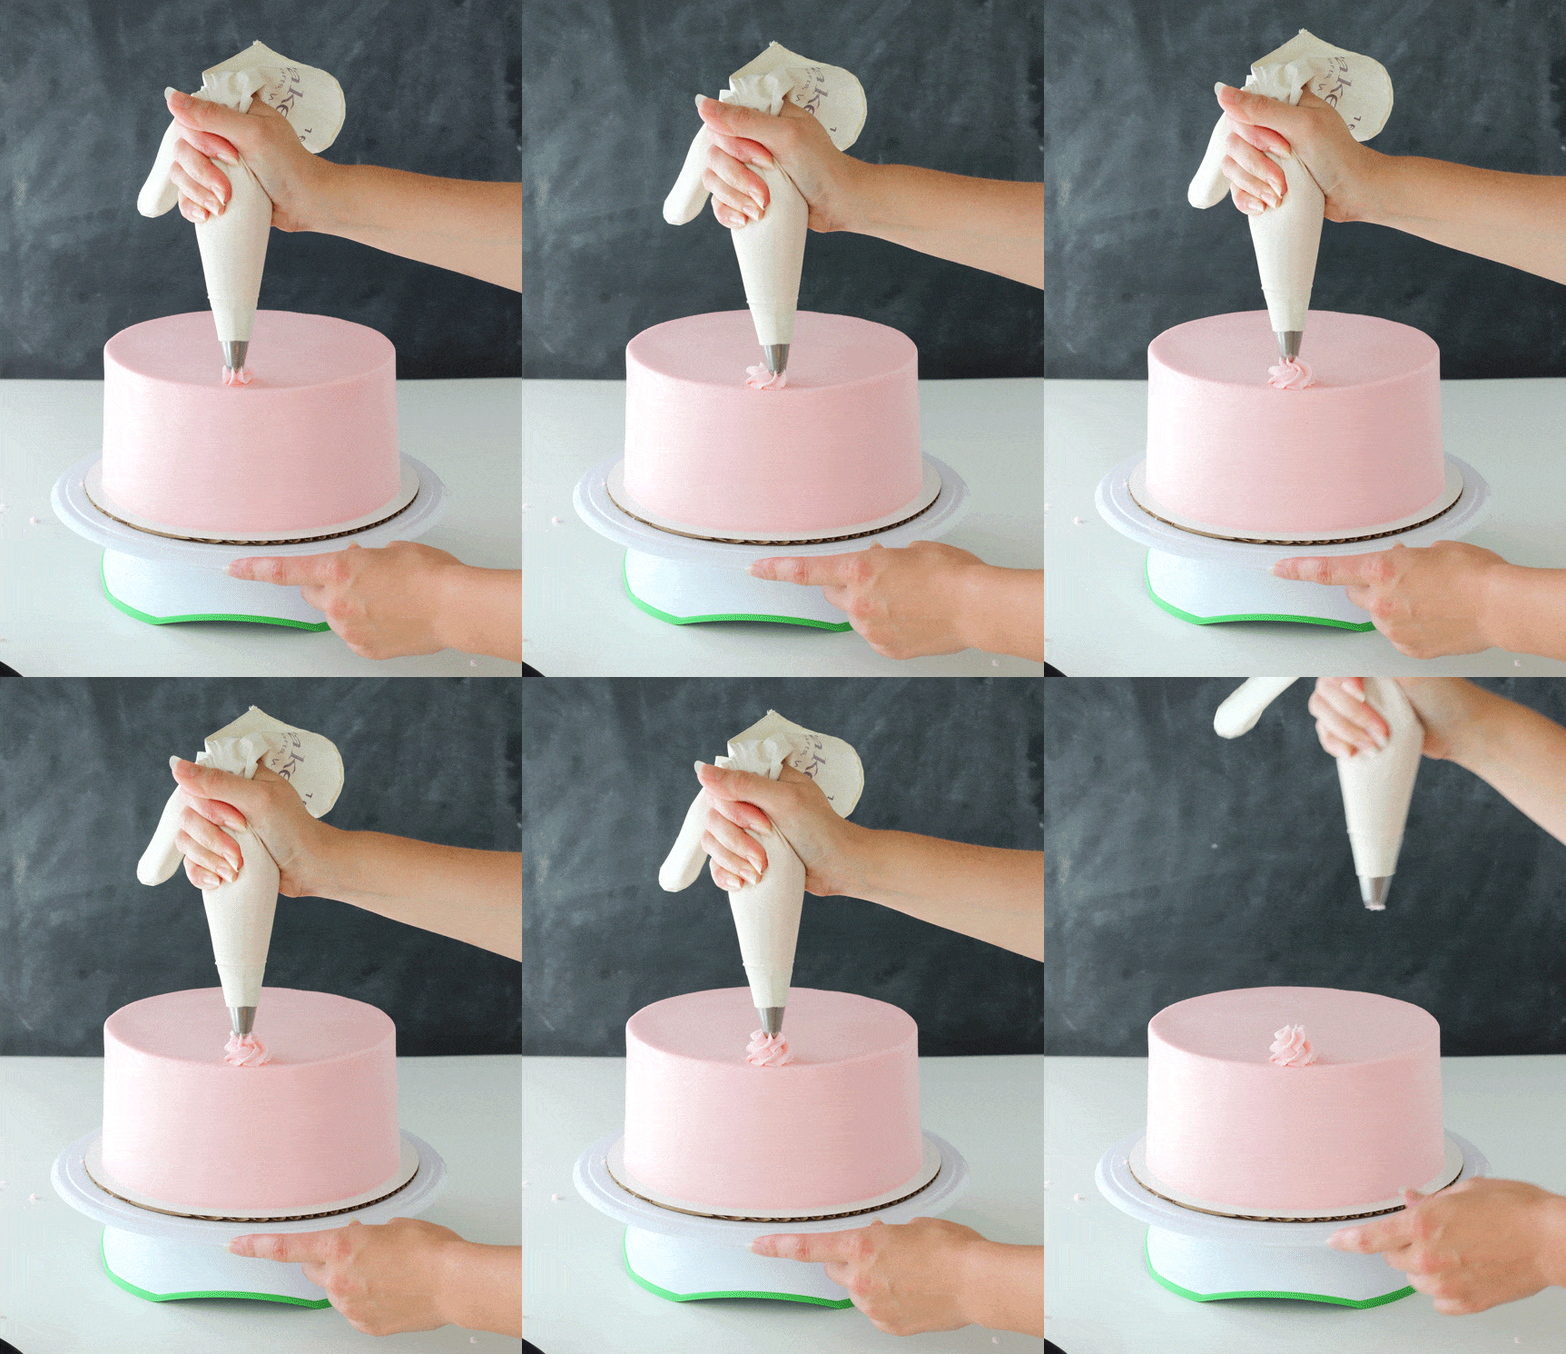
Use your other icing tip to pipe on your border. I used Ateco tip 844, but you could also use Wilton 1M, which is similar, or any other tip you prefer.
Sprinkle with some spraaaankles (I used Wilton Spring Confetti Sprinkles!
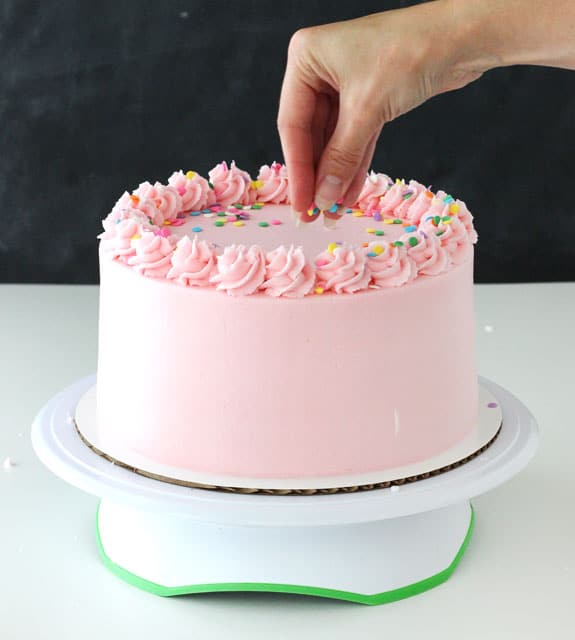
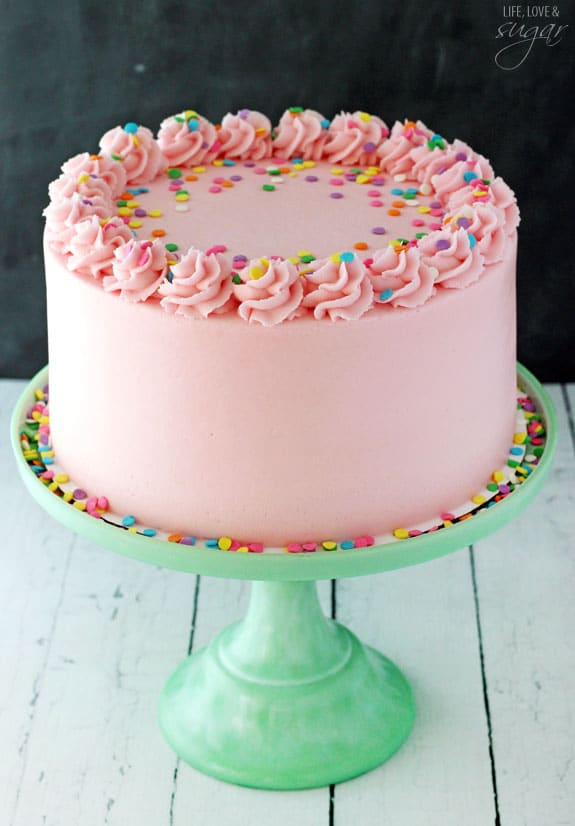
And you’re done! Put your cake on your favorite cake stand, add a few more sprinkles and dig in!! It’s time to eat all that hard work. 😉
*Update* For some help with getting the right frosting consistency, check out my new post, How to Get the Right Frosting Consistency, on how I like to do it.
This page includes affiliate links.

Learn how to decorate Sugar Cookies with Royal Icing
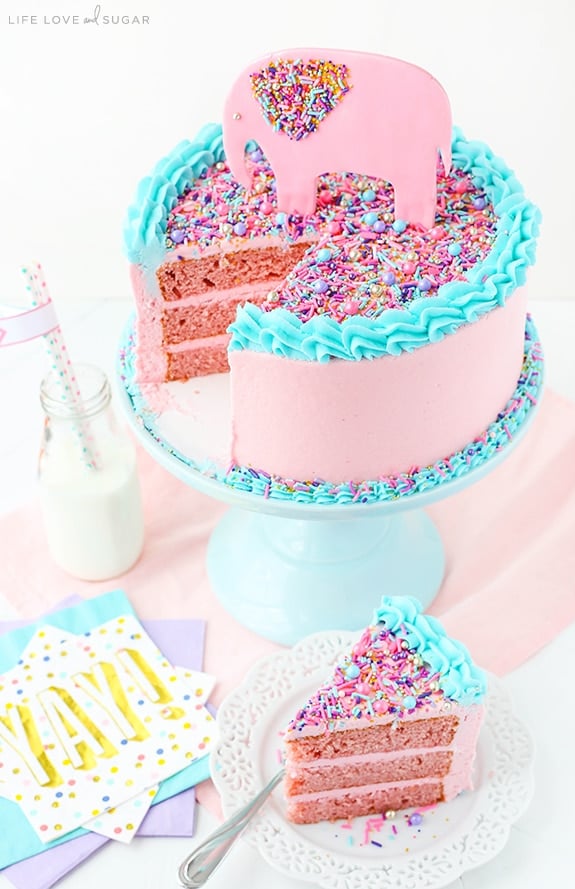
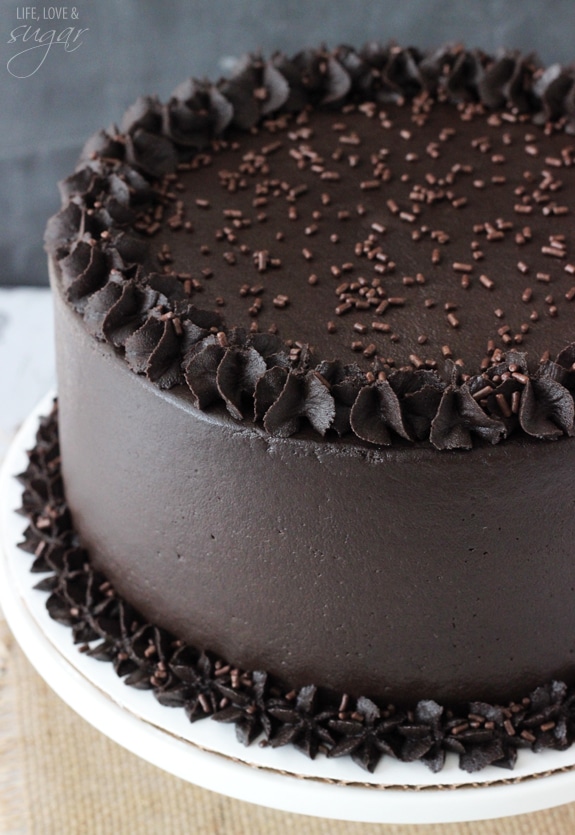
Practice your smoothing technique on some of these delicious cakes:
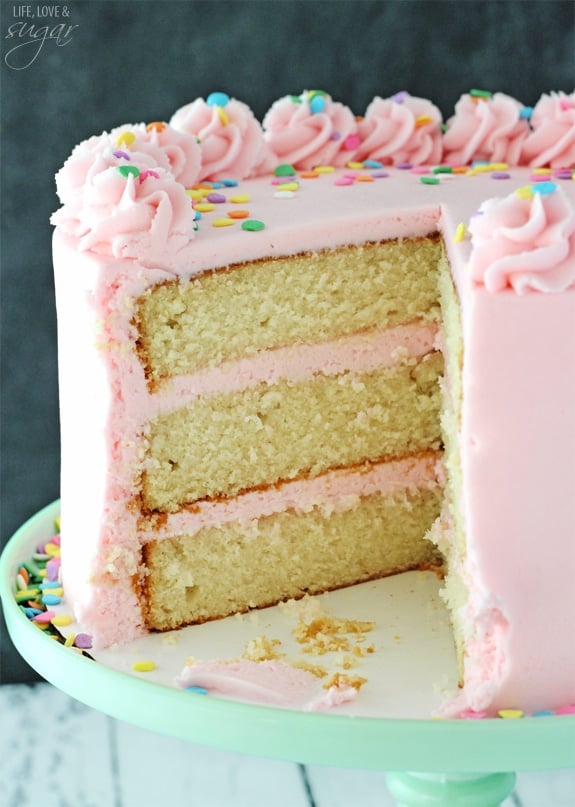
Moist and Fluffy Vanilla Cake
(the recipe for the cake in the tutorial above!)









Just wanted to say THANK YOU Lindsay!! I decided to make my 3 year olds birthday cake for the first time as I realllly didn’t want to pay $$$ for it. I followed the tutorial step by step and it turned out fantastic (including your recipe for strawberry and vanilla frosting)! This was my first attempt at a buttercream cake as well, so I could not have accomplished it without your guidance! Happy New Year to you!
Wonderful! I’m so glad to hear it was helpful! Thanks so much Dani!
Why doesn’t the frosting stick to the paper towel?
It’s all about the consistency of the frosting. If it’s too thin, it will stick to the paper towel.
Can you please explain what the crumb coating is that you started off with at the beginning of the directions? I’ve heard of this before but when I try to google it all I get is cakes covered with crumbs. Like, on purpose – “Crush oreo cookies and sprinkle over the top to coat it with crumbs.” Ummmm don’t think so!
It’s really just an initial thin layer of frosting. It’s called a “crumb” coat because it typically is used to keep all the crumbs in place so that when you add a final layer of frosting, you don’t have crumbs showing.
This is the best tutorial I’ve seen! Thank you for giving out so many tips!
I’ve attempted a “smooth cake” but using fondant – but that’s sorta cheating 😉
I’m so glad I found YOU ! <3
Awesome! 🙂 Thanks so much Susan! I hope it’s helpful!
Thank you very much for the tutorial. I have just ordered all the accessories. I would like to make the vanilla buttercream frosting in pink as you have done. What do you add to the original recipe to make it pink? Have I missed something? I looked on your blog at other frostings and they added chopped strawberries or raspberries. Is that what you have done here? I live in Spain and cannot get the Viva paper or any other make without patterns. Any other suggestions about what I could use instead?
I’m glad you found it helpful! You can use icing gel color to color the frosting. As for another kind of paper towel, I’m not sure of another option. You should still be able to get it pretty smooth though without it.
I live in india . I am not sure if I could get this paper towel brand ( Viva).
Does this technique work for whipped cream also?
One question. Should we freeze the cake before we smoothen out with paper towel and smoothener. will the cream not stick if we dont refrigerate?
Everything but the paper towel would work with whipped cream. I don’t freeze the cake first. It’s really more about the consistency of the frosting. If it’s too thin and sticky, it’ll stick to the paper towel.
very very very GOOD :)))))))))))))))))))))))))
Wao ! Tnx for sharing have just gotten another knowledge about the application of egg using only white & using viva paper to get a very smooth work. Nice tutorial.
muy agradecida por compartir estas deliciosas recetas.pronto empezare a practicarlas para iniciar mi negocio propio. me encanta todo sobre reposteria .y se que con sus aportes lo podre lograr. miles de bendiciones.
This is such a beautiful cake! I just ordered all of your recommended products so I can hopefully attempt to make this! I will be doing a two-tier cake (9” and 6”) and will need to tweak the instructions to accomodate the second tier. My instinct tells me I should frost them both separately, then very, very carefully place the 6” tier on top, secure with a dowel, then re-smooth the top. What do you think?
Your instincts seem to be right on. 🙂 I’d frost them separately then add the smaller one to the top.
Have you tried this with a cream cheese frosting? Half cream cheese/half butter? Would like to use this technique for my daughters cake this weekend.
Thanks.
Yes, I have. Depending on how thick your cream cheese frosting is, the paper towel may stick. The rest of the method will work fine.
Can you use Wilton Parchment paper work instead on paper towels?
I find that parchment paper gets wrinkles in it that would actually not work well.
Thank you so much for your explication <3
I'm very curious to try the recipe (because I just bought new nozzles 😉
Though I have a little question, because my original language is Dutch, and I don't understand what "shortening" means.
I tried to search on www, but I do'nt seem to find it here.
Can you please give me some brands, that I can ask in our stores if they know something similar?
Thank you very much in advance! x
This is the one I use. If you don’t have it available in your area, all butter frosting would be the way to go.
Thank you very much for your help, Lindsay! It doesn’t seem familiair to me, but I will ask in a bakery store and show the ingredients, maybe they know what it it 😉
I realise this thread is a few months old, only just found your blog. I’ve been baking cakes for 25 years and have only used an offset spatula, will now give your paper towel and buttercream recipe a go.
In response to Virginie: the Crisco brand is sold by some Jumbo stores. Shortening is bakvet, een plantaardige olie. I am Dutch myself and find living in Australia, I have to adapt Dutch recipes to the ingredients I can source here. Good luck with your baking.
Really appreciate your tutorial…your pictorial how-to’s are great and the finished cakes are so smooth and lovely. Something to aspire to……so, a big thank you, all the way from Kenya
I’m so glad you found the tutorial helpful!
Oh Lindsey, If I had only found you in February! My son and then fiance wanted me to make their wedding cake. Since this was a very informal affair I agreed. It was just immediate family. They are planning a big ceremony when they can save the money for it. I am 58. My mother decorated cakes having taken Wilton classes in the 50’s. What little I know came from watching her. Styles of cakes have changed so much. My mother never tried to get the finish you have just explained here. I looked all over the web trying to figure out how to do this. I was working with an Italian Buttercream. The best help I came up with was using a hot offset spatula to smooth the icing. Long story shorter, the cake was wonderful, I piped lilies that looked like lilies. (the bride loves lilies and doesn’t like roses), my first attempt at making a meringue buttercream sold me on them forever. The icing was smoother than I can usually get it by just putting it on with an offset spatula, but it wasn’t anything like your beautiful cakes always look. I want to try your method now. I came to this page via your Lemon Raspberry Layer Cake. I am going to make it just to try this method, not to mention I am a citrus lover, and my granddaughter goes crazy over anything with a berry in it. I guess my only problem is going to be buying the paper towels. We don’t buy disposable paper products except for TP. So do I want that completely smooth cake or am I going to chop down a tree? lol
I tried this method the other week. The icing stuck to the paper towel. I did not use your recipe, but my own buttercream recipe that does crust. Is there a magic time I should wait before putting the paper towel to avoid it from sticking to the paper towel?
Without knowing much about your buttercream, I’m going to guess it has to do with how much liquid you use in the frosting. I make mine quite thick so that it doesn’t stick. When I tap my finger up against the frosting in the bowl (when I’m mixing it), just a little bit will stick to my finger rather than a bunch sticking.