This post may contain affiliate sales links. Please read my disclosure policy.
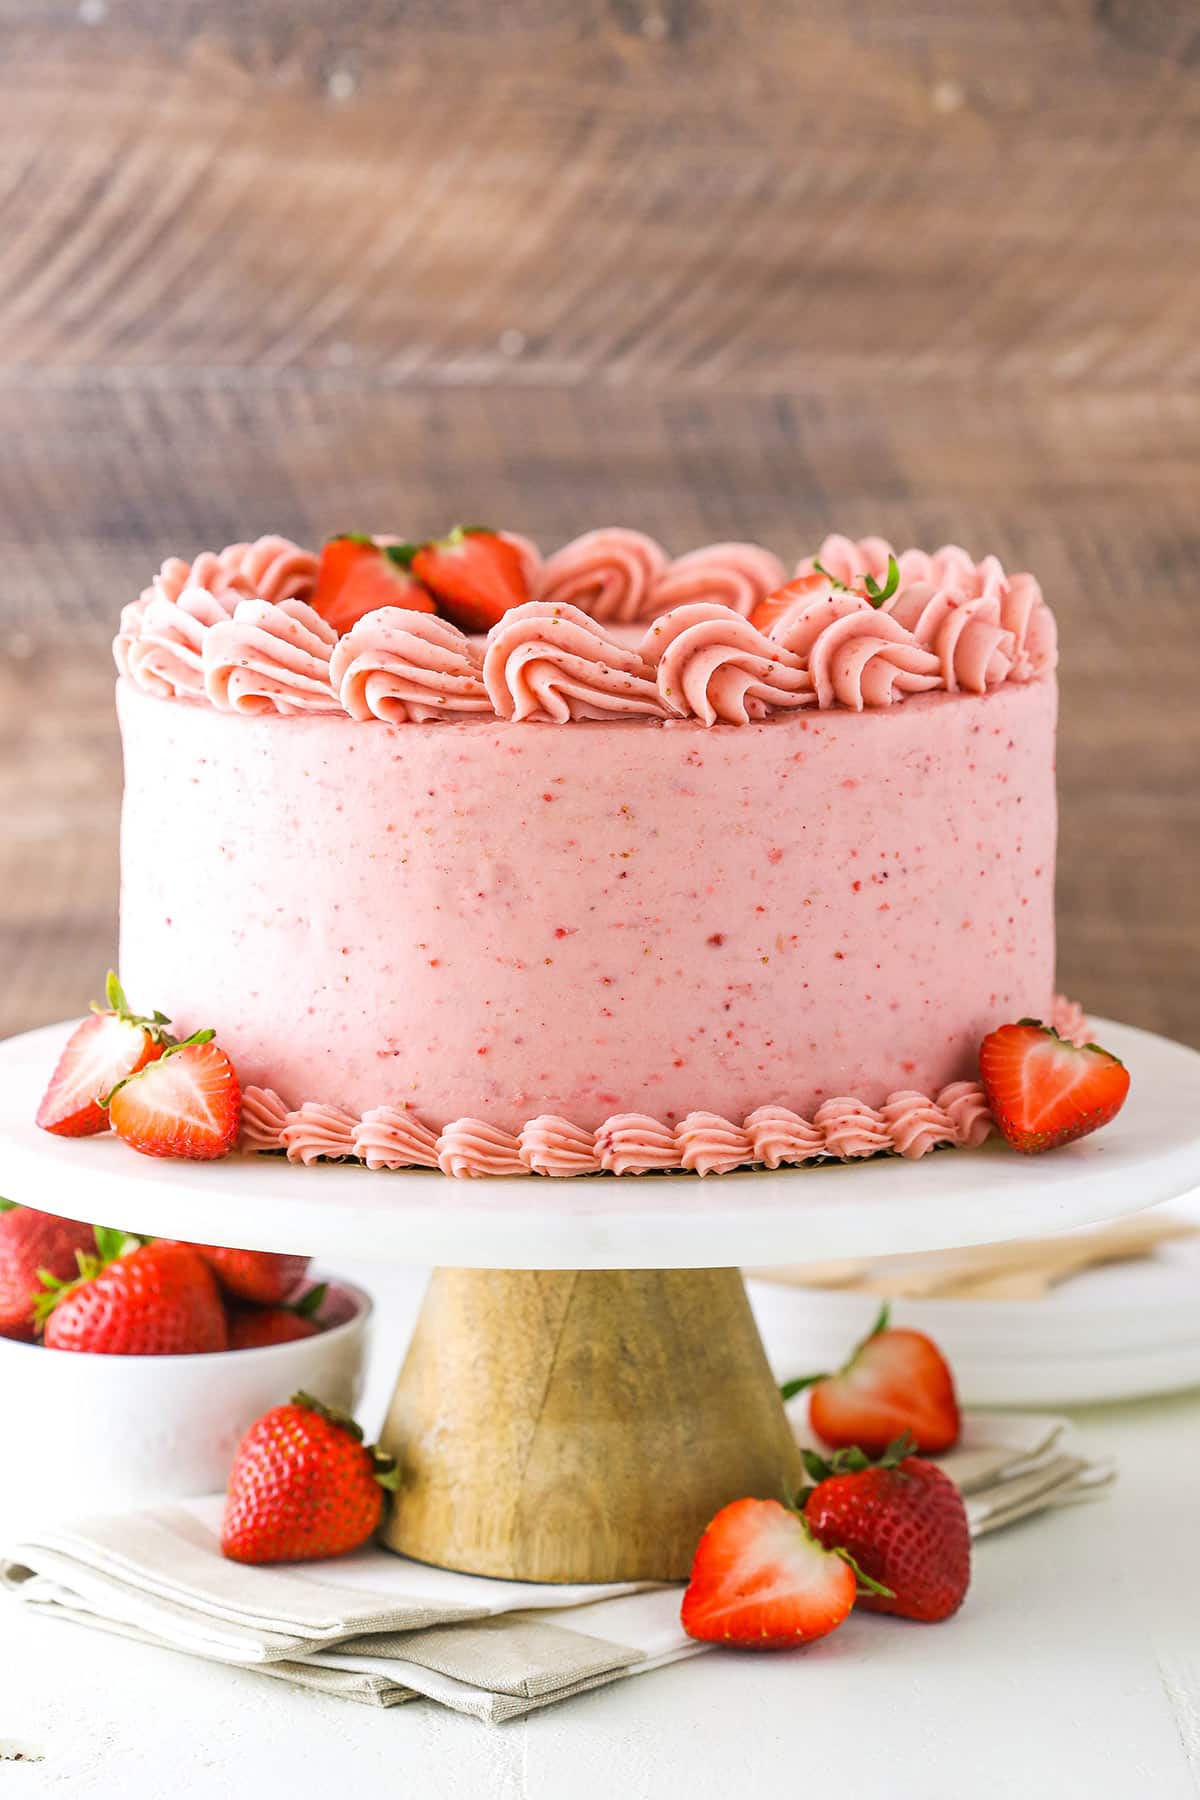
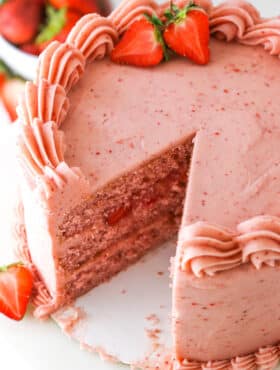
This strawberry layer cake is truly every strawberry lover’s dream. From strawberry-packed cake layers to strawberry cream cheese frosting, this three-layer cake is absolutely brimming with mouthwatering strawberry flavor from real fruit. It’s the perfect summertime treat.
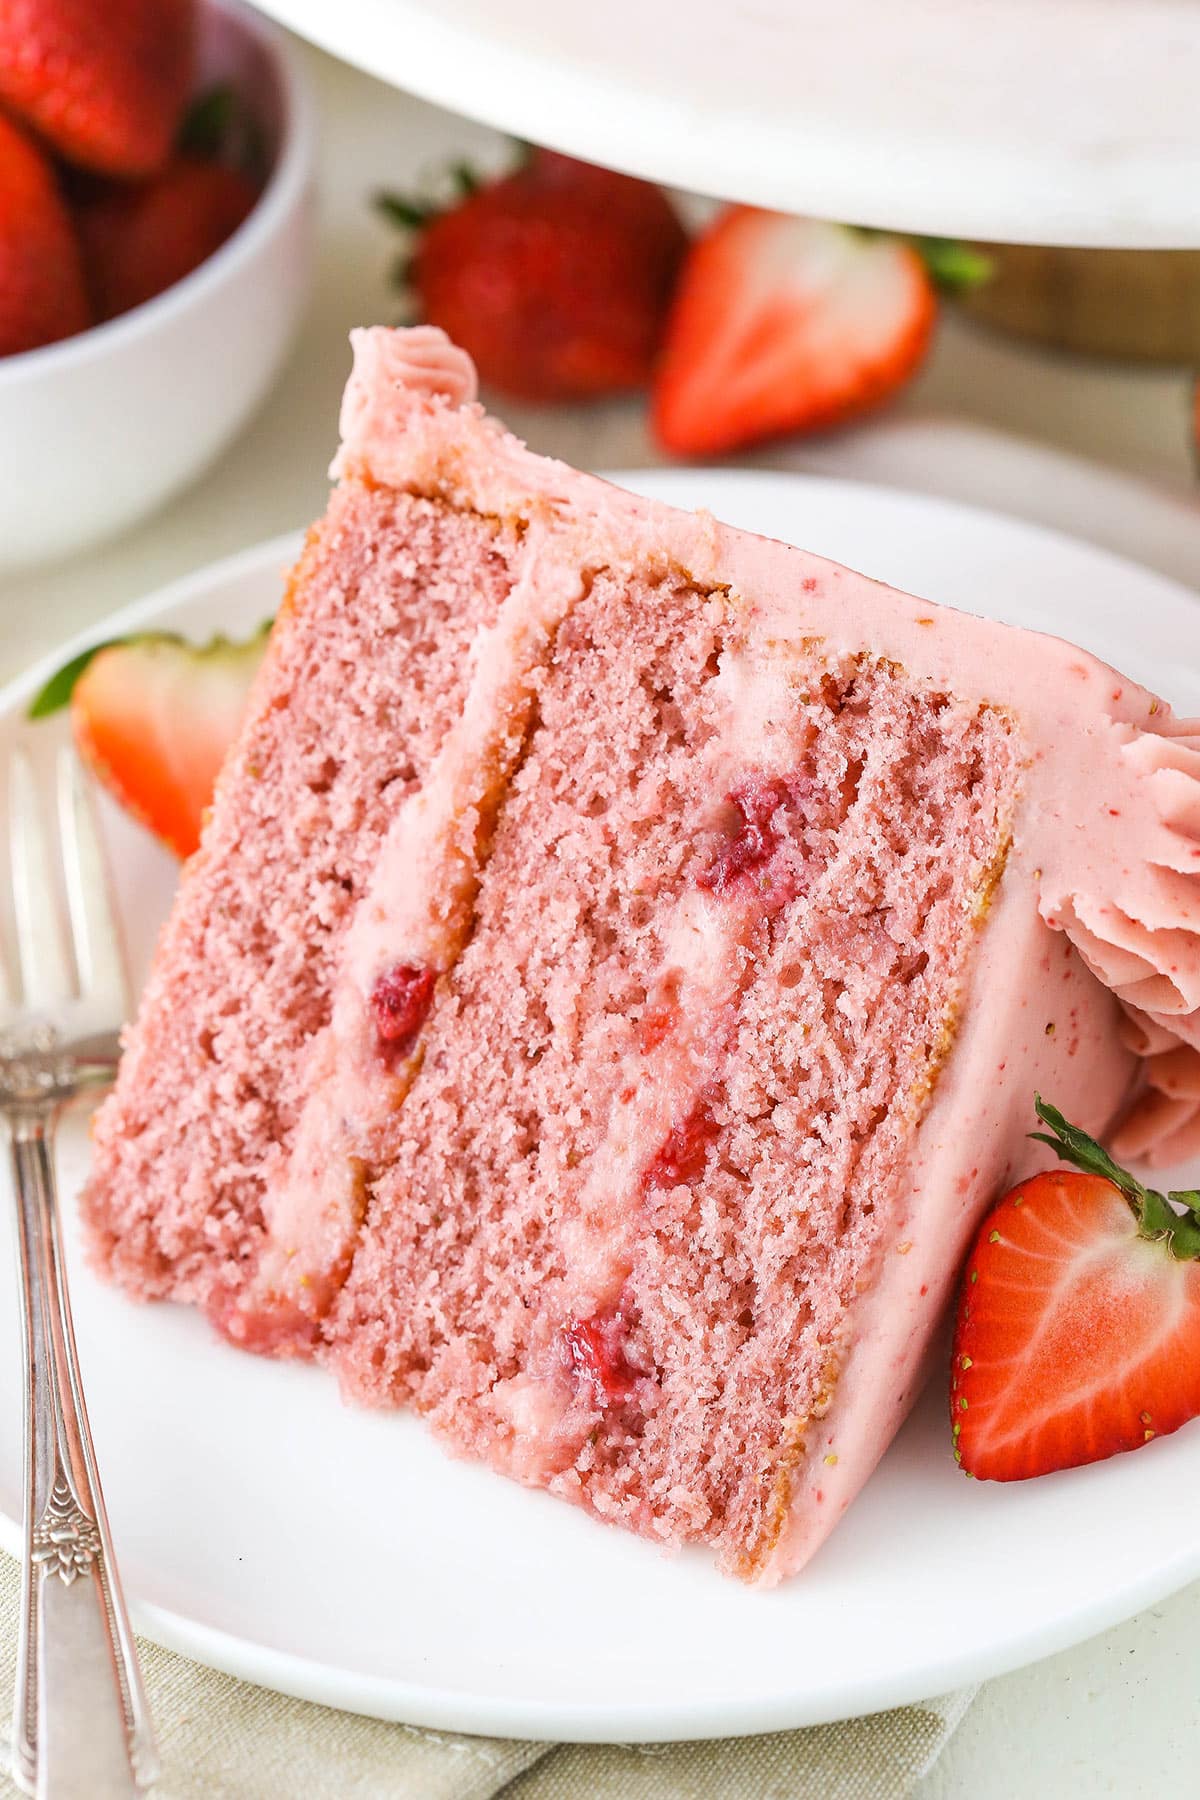
Table of Contents
- The Best Strawberry Cake Recipe
- Why You’ll Love This Layer Cake
- What You’ll Need
- How to Make Strawberry Layer Cake
- What’s The Reverse Creaming Method?
- Tips for Making Strawberry Cake from Scratch
- Decorating Ideas
- How to Store Leftover Strawberry Cake
- Can I Freeze This?
- More Strawberry Desserts
- Get the Recipe
The Best Strawberry Cake Recipe
Fresh strawberries are one of the best things about summer. I’ve always loved them – eating them fresh or baked into a cake. I love a good strawberry cake mix, but this cake isn’t that. This one is all about the real, fresh strawberry flavor. It can be a challenge to get enough fresh strawberry flavor to flavor a whole cake, but it’s worth it. It took a few renditions to get it right, but this glorious dessert was the final result, and my oh my was it worth it.
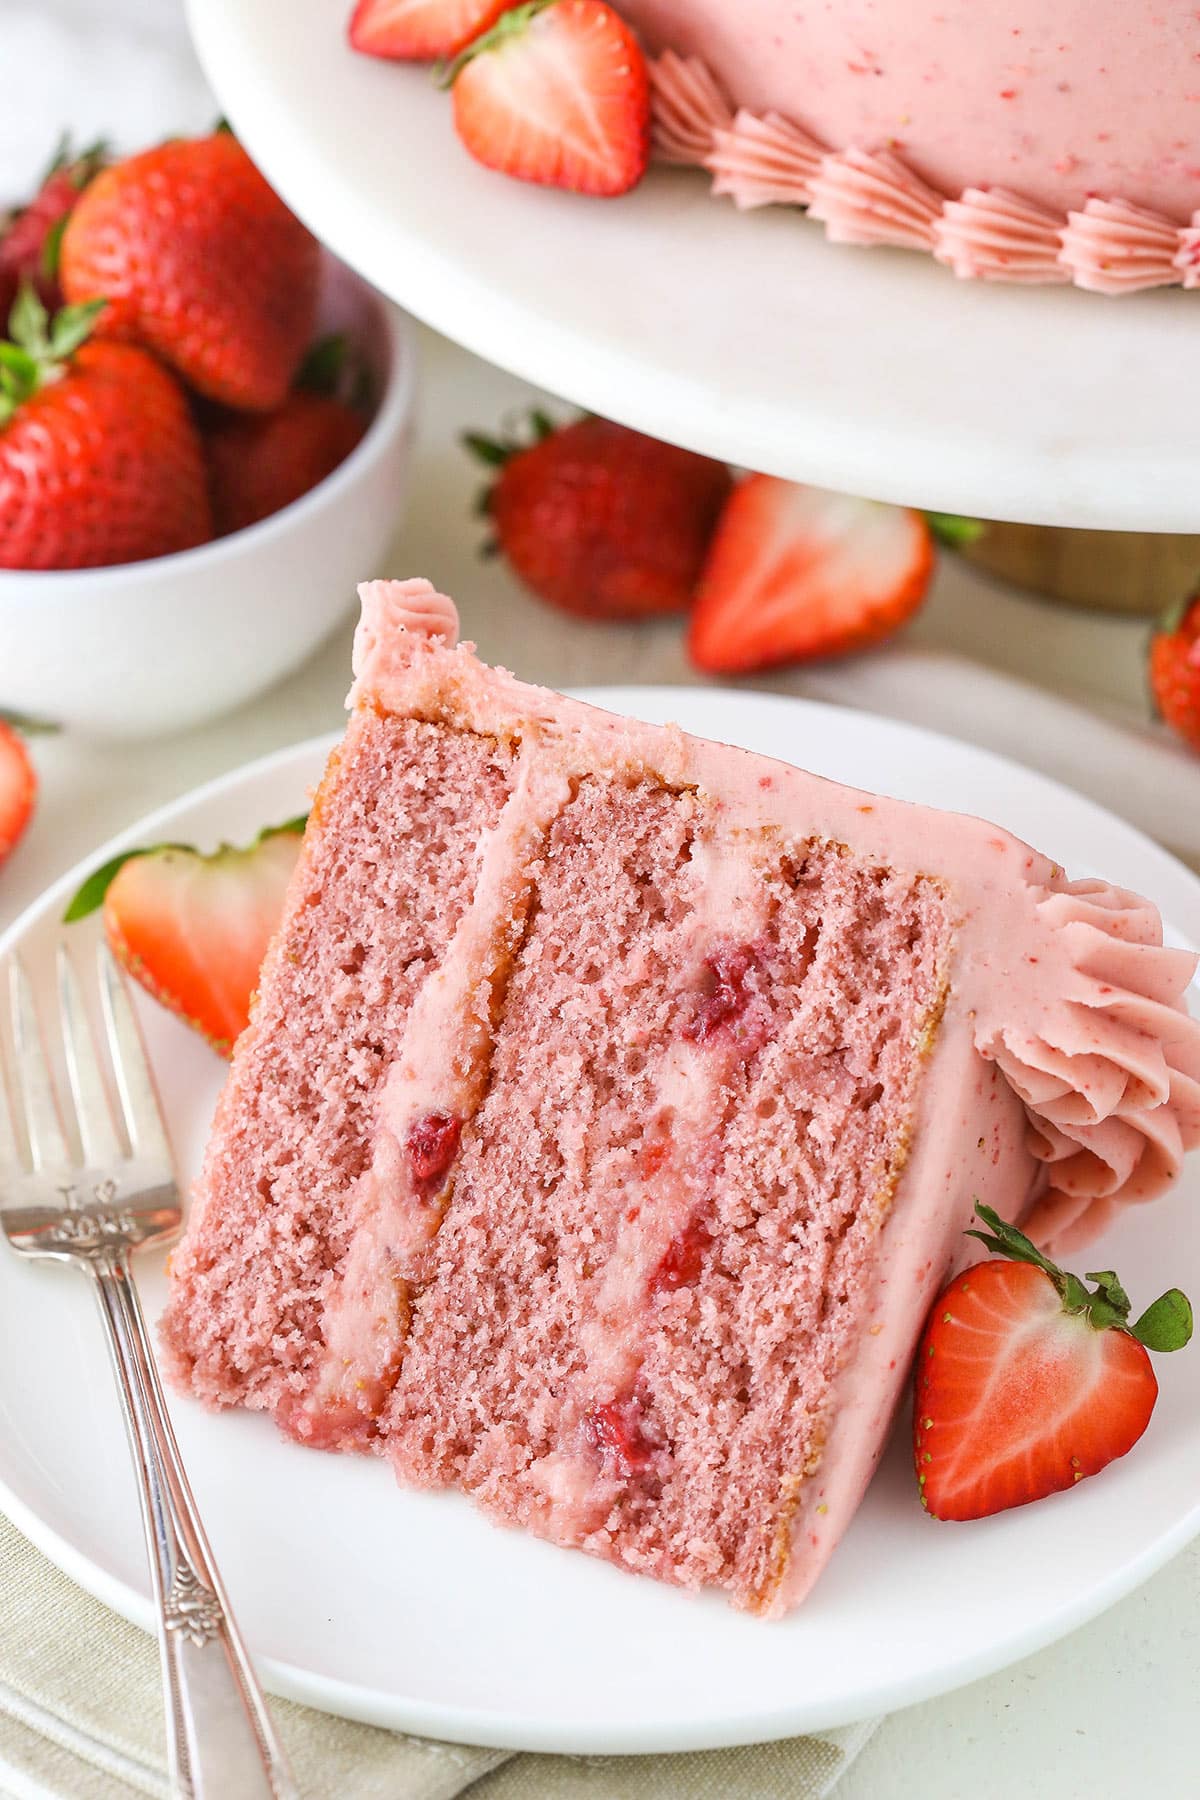
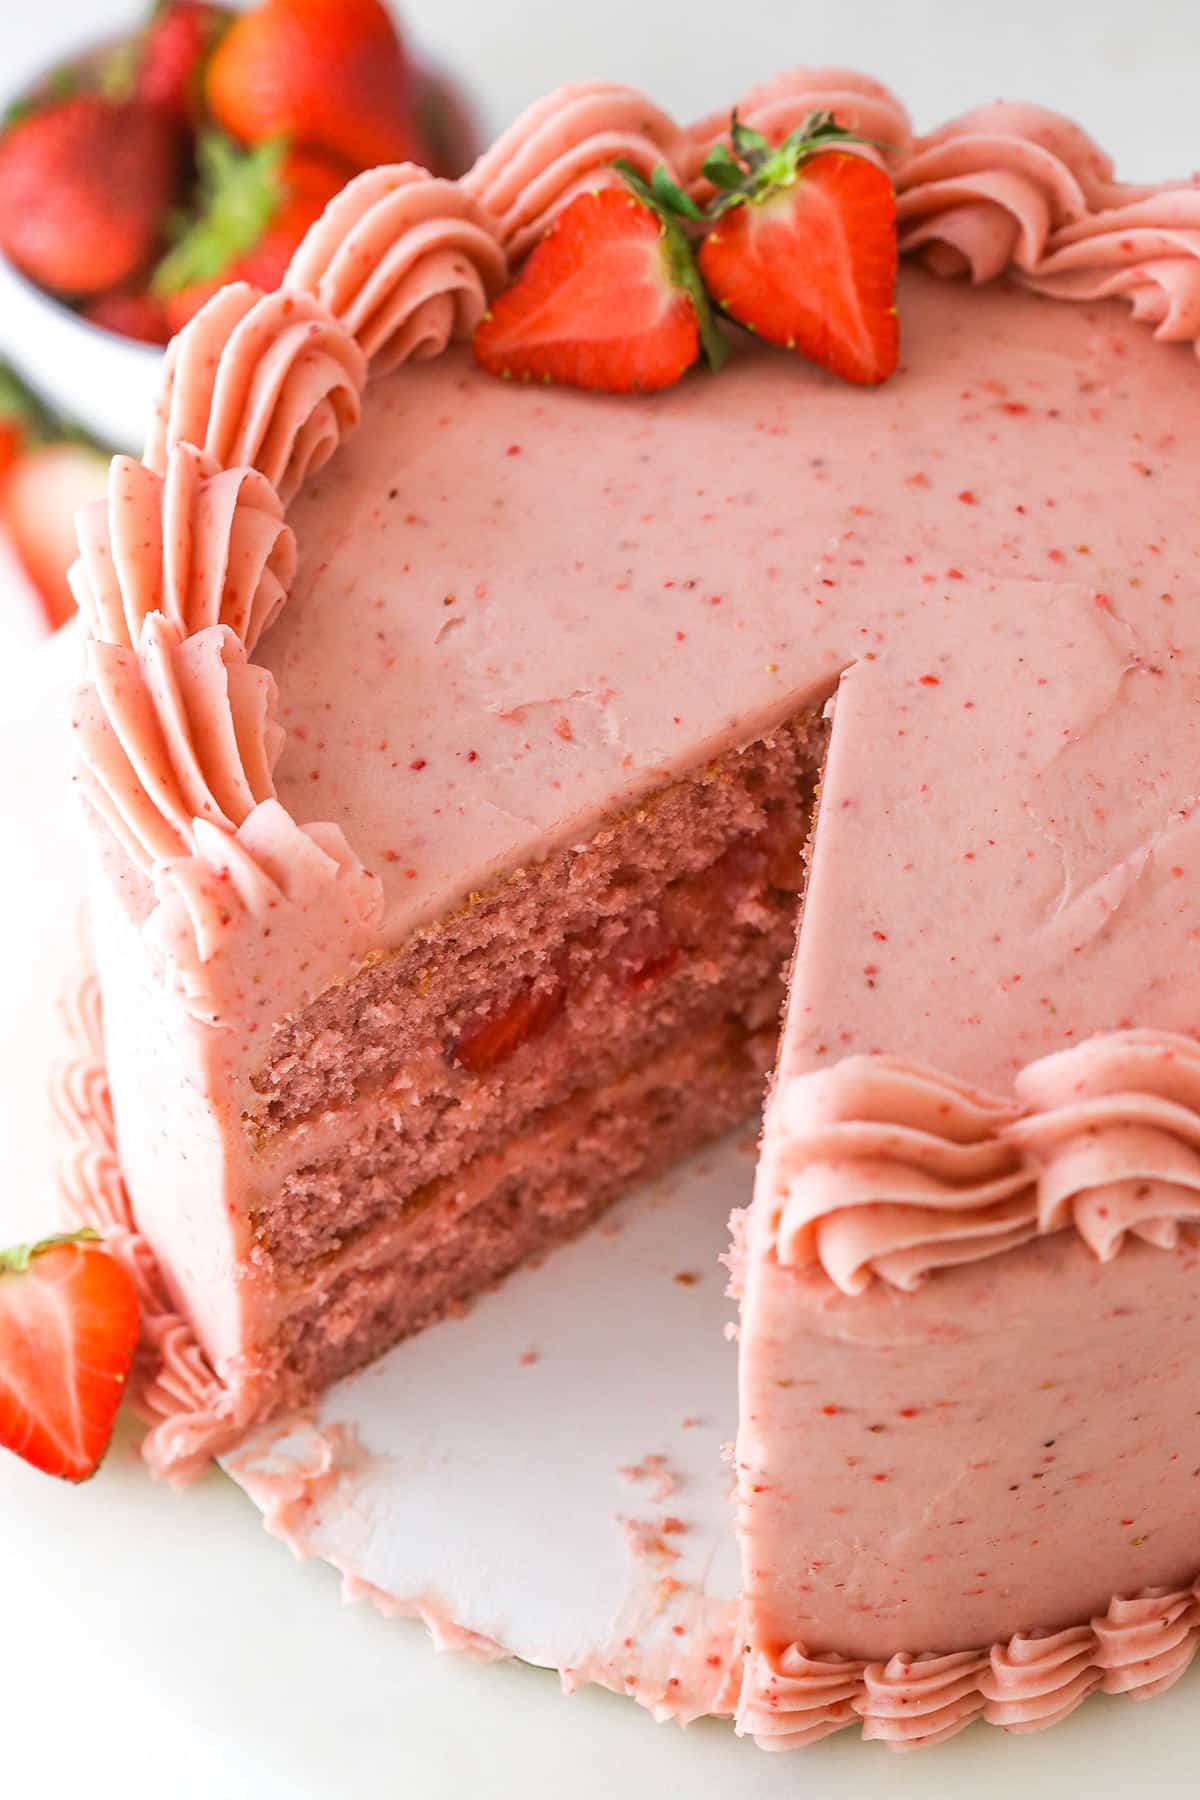
Three layers of moist, perfectly tender cake are loaded with strawberry flavor from a strawberry reduction made from fresh strawberries. The layers are filled and frosted with a rich cream cheese frosting that derives its flavor (and it’s lovely pink color) from powdered freeze-dried strawberries. The result is an absolutely delicious, beautiful, festive summertime cake that will have you and your guests coming back for seconds.
Why You’ll Love This Layer Cake
There are many reasons to love this cake. Here are a few reasons I think it’s absolutely outstanding.
- Real strawberry flavor. The strawberry flavor in the cake and the frosting come from REAL strawberries. No artificial flavoring here.
- Texture. The reverse creaming method used in this cake gives it a unique texture. It’s soft, tender and has a lovely density to it that makes it a little more substantial than other cakes. I love it.
- Festive. This is the perfect cake for a spring or summertime celebration. I think it would be perfect for a baby shower because it’s so cute and pink, but it would also make a great dessert for an Easter celebration or a warm-weather birthday party.
What You’ll Need
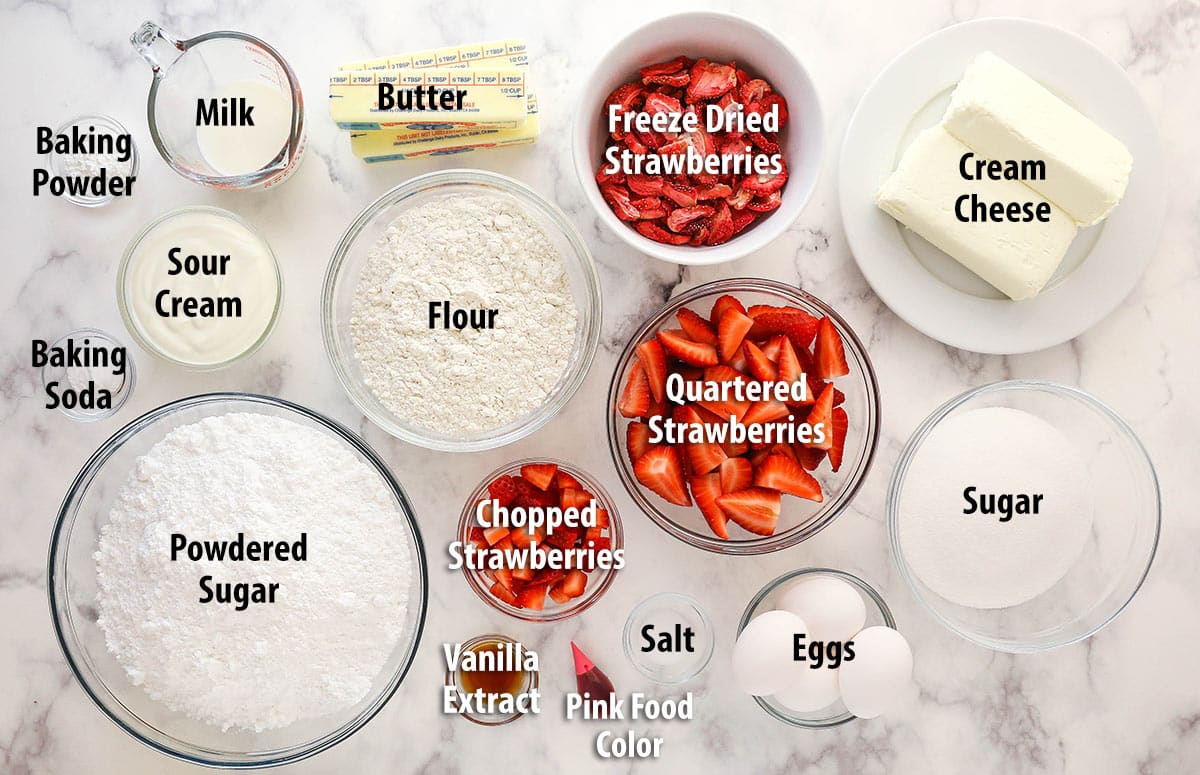
Here is a list of ingredients needed to make this colorful strawberry cake. Be sure to scroll to the recipe card below for exact measurements.
Strawberry Cake
- Quartered strawberries – Make sure your strawberries are ripe, juicy, and flavorful. If your strawberries lack flavor, your cake will too.
- Sour cream – To add extra moisture to the cake.
- Milk – For moisture.
- Eggs – Be sure to use large size eggs.
- Vanilla extract
- All-purpose flour – Feel free to use your favorite 1:1 gluten-free flour instead.
- Sugar – Sugar adds sweetness, but it also adds moisture and affects the texture of the cake.
- Baking powder and Baking soda – For the perfect rise and texture.
- Salt – To accentuate the flavor of the cake. Don’t leave it out.
- Unsalted butter – The butter should be at room temperature otherwise it will not crumble properly during the reverse creaming process.
- Pink food color – This is optional. It will turn your cake a glorious shade of pink, rather than being kind of brown-ish color.
Strawberry Cream Cheese Frosting
- Freeze-dried strawberries – Cream cheese frosting tends to be thinner, so I like to use freeze dried strawberries and not thin it out with fresh strawberries. But if you’d prefer not to use freeze-dried strawberries, you can use fresh strawberry reduction instead, similar to my Homemade Strawberry Frosting.
- Cream cheese – It is best if the cream cheese is at room temperature. If it is too cold, you will end up with a lumpy frosting. I also recommend full-fat cream cheese. Reduced fat tends to be thinner and will give you a thinner frosting.
- Unsalted butter – The butter should be at room temperature. If it is too cold, the frosting will be lumpy. If it is melted, the frosting will be runny.
- Powdered sugar – To not only sweeten the frosting, but also to thicken it and give it volume.
- Vanilla extract
- Salt
- Chopped strawberries – For layering between the cake layers and frosting.
How to Make Strawberry Layer Cake
Ready to make the best strawberry cake you’ve ever tasted? Here’s how to do it. Don’t forget to scroll to the recipe card below for more detailed instructions.
To make the cakes
- Make the strawberry reduction. Puree the strawberries in a food processor or blender until smooth. Aim for 1 1/2 cups of puree.
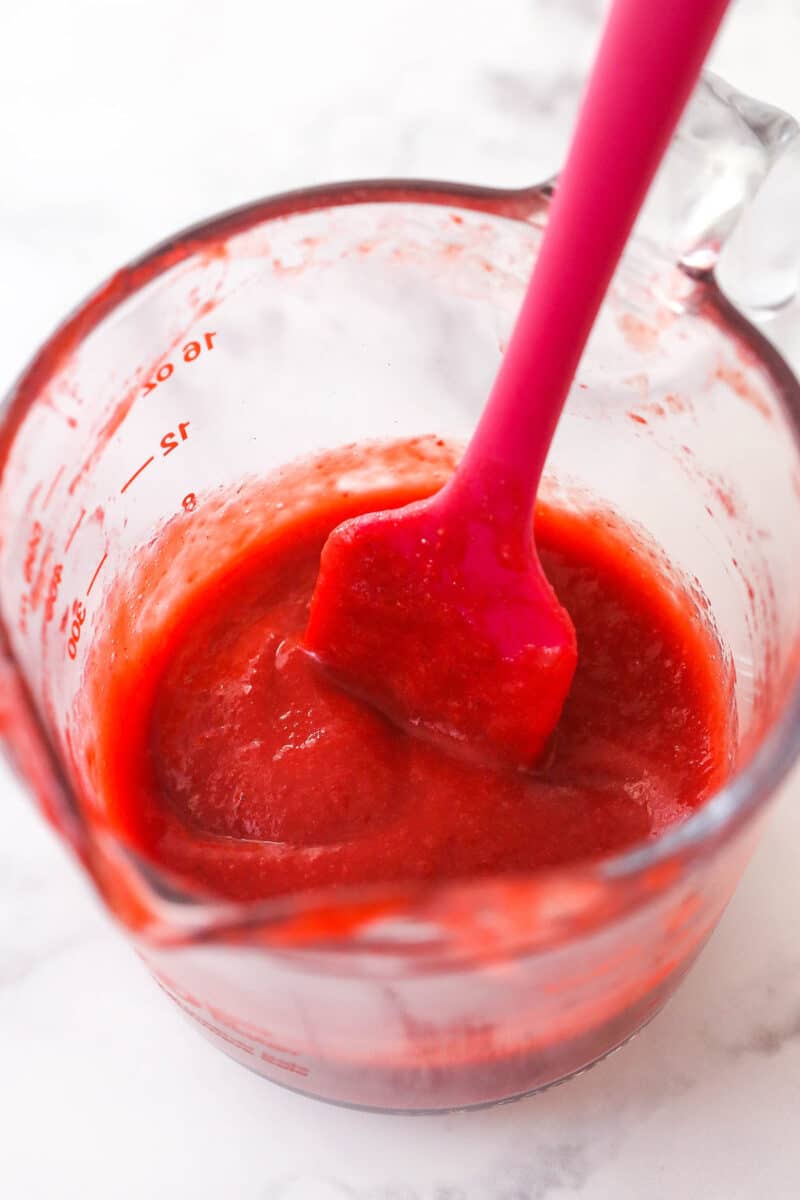
- Cook the puree. Bring the puree to a boil in a medium-sized saucepan over medium heat. Cook for 20-25 minutes until the mixture has thickened and reduced to 3/4 cup. Stir consistently.
- Cool the reduced puree to room temperature.
- Prep. Preheat the oven to 350°F and line the bottom of three 8-inch cake pans with parchment paper. Grease the sides with baking spray.
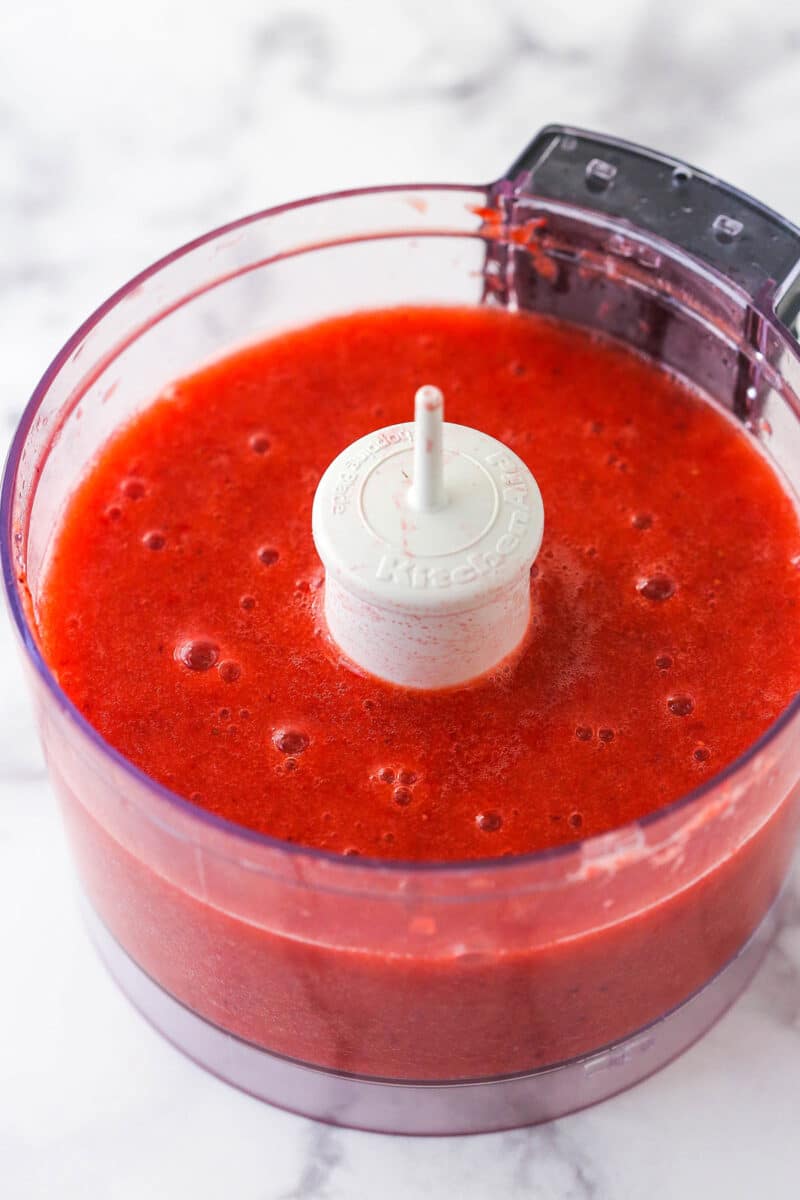
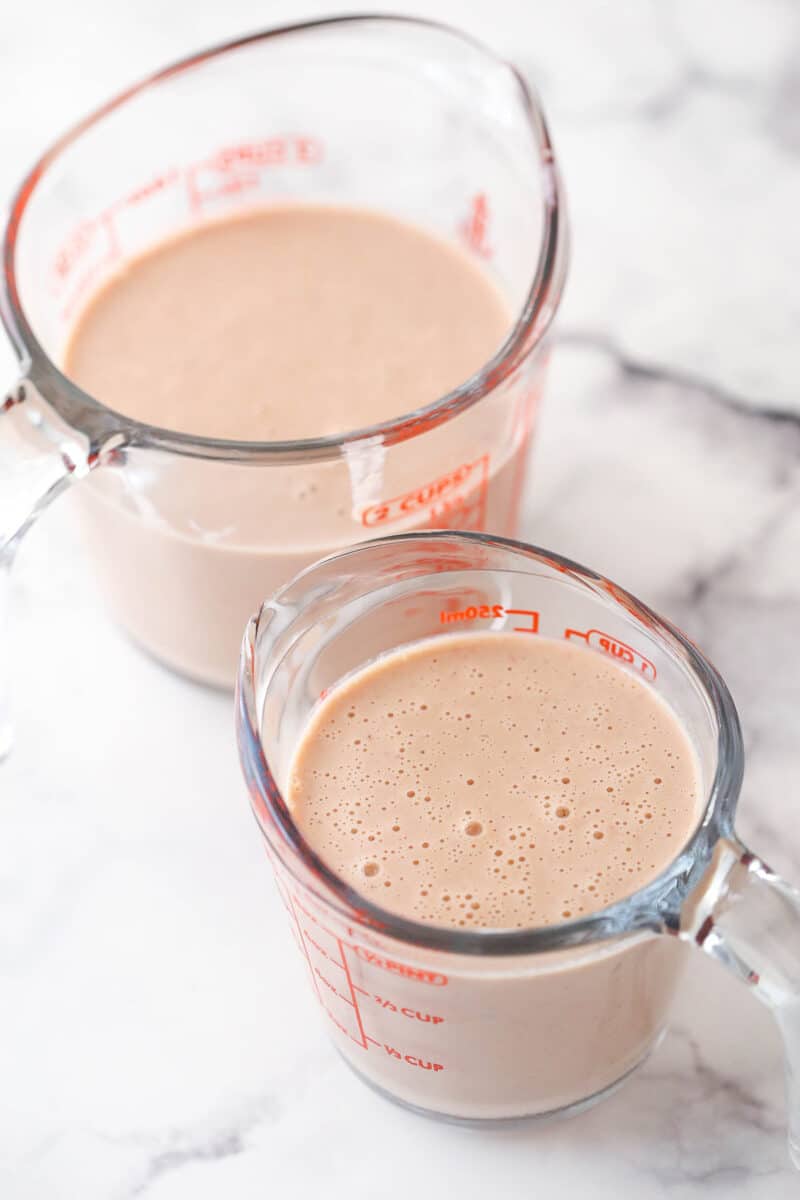
- Combine the wet ingredients. Mix together the strawberry reduction, sour cream, milk, eggs, and vanilla extract. Remove about 1 cup of the mixture and set aside.
- Combine the dry ingredients. Whisk together the flour, sugar, baking powder, baking soda, and salt in the bowl of a standup mixer.
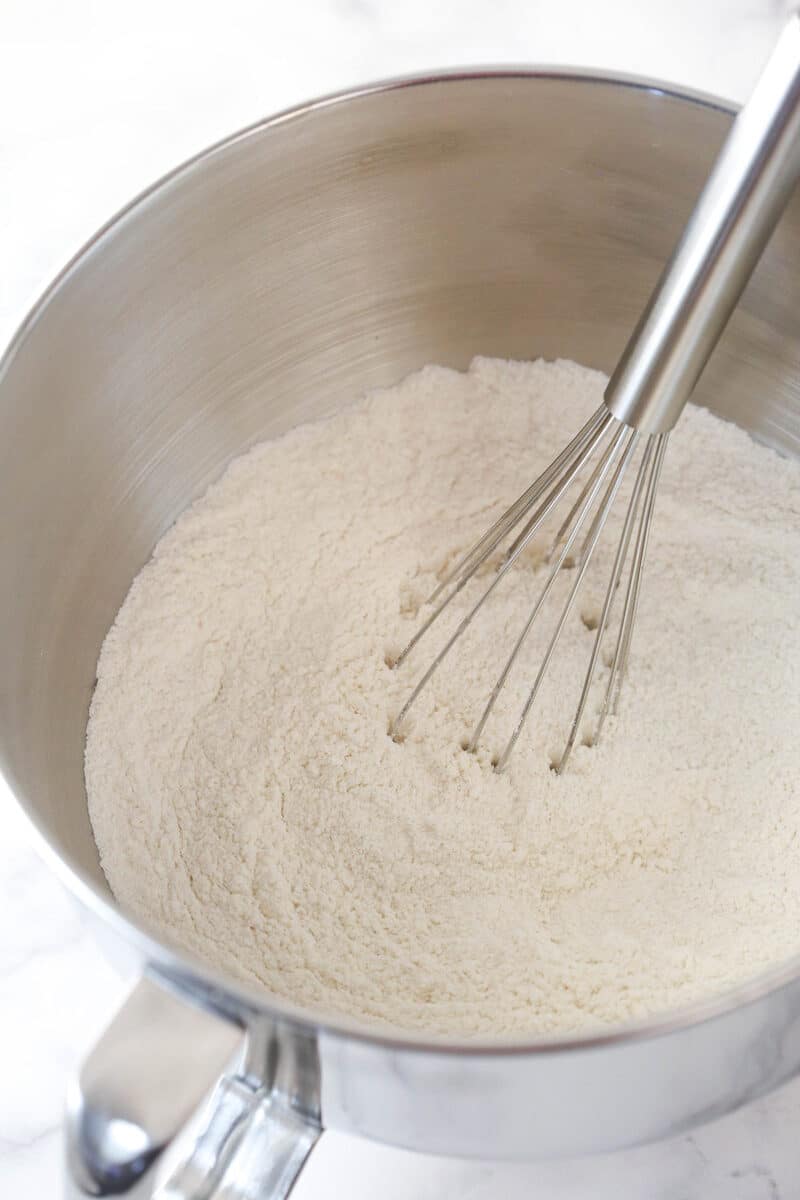
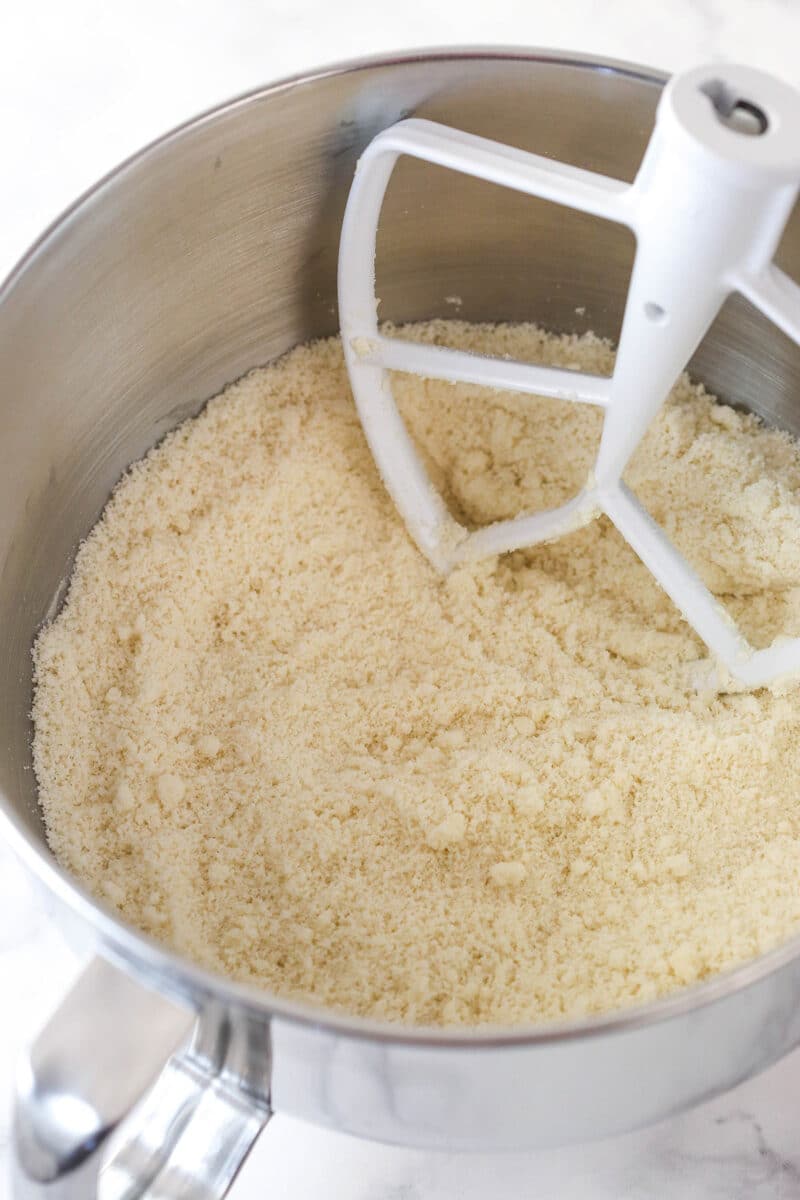
- Reverse cream. Add the butter about 1 tablespoon at a time to the dry ingredients, mixing on low speed until incorporated after each addition.
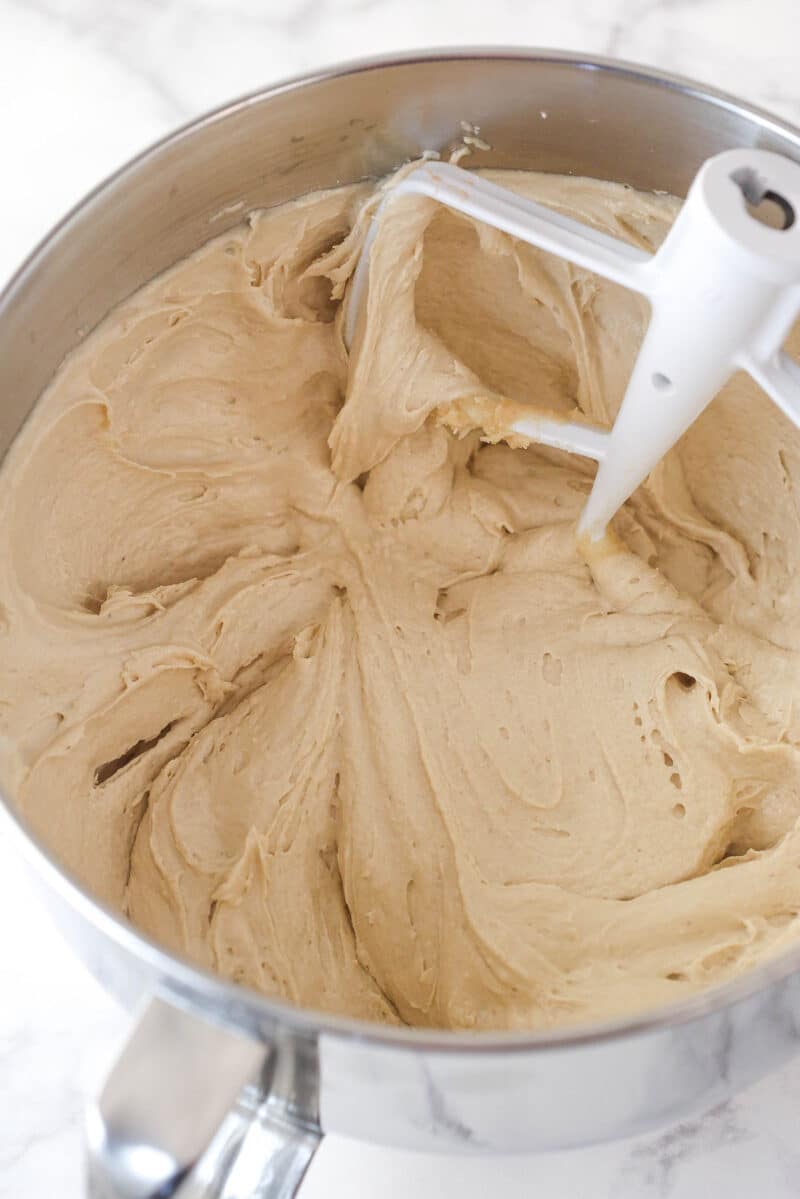
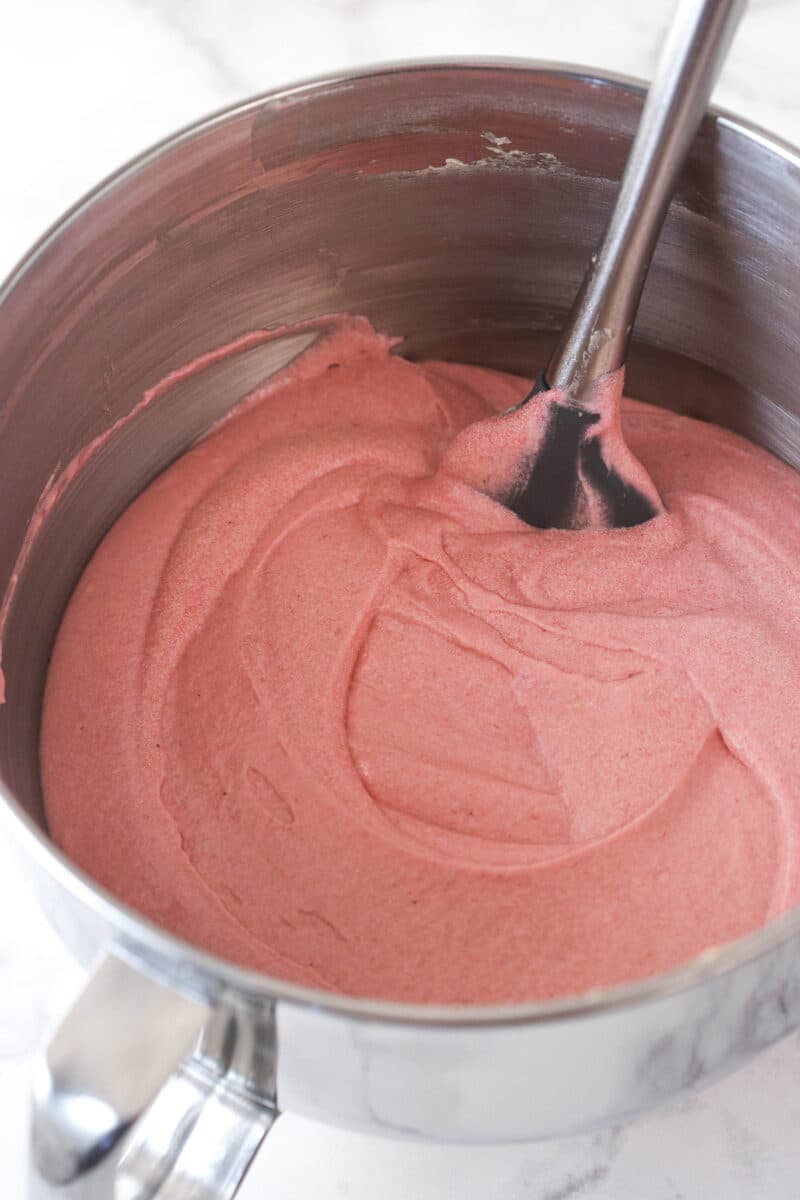
- Add the wet ingredients. Add the larger portion of the egg mixture. Stir on low speed to incorporate. Scrape the sides of the bowl. Beat on medium-high speed until light and fluffy. Mix in the remaining egg mixture and the pink food coloring (if using) on low speed. Scrape the sides of the bowl. Mix on medium-high speed until well combined.
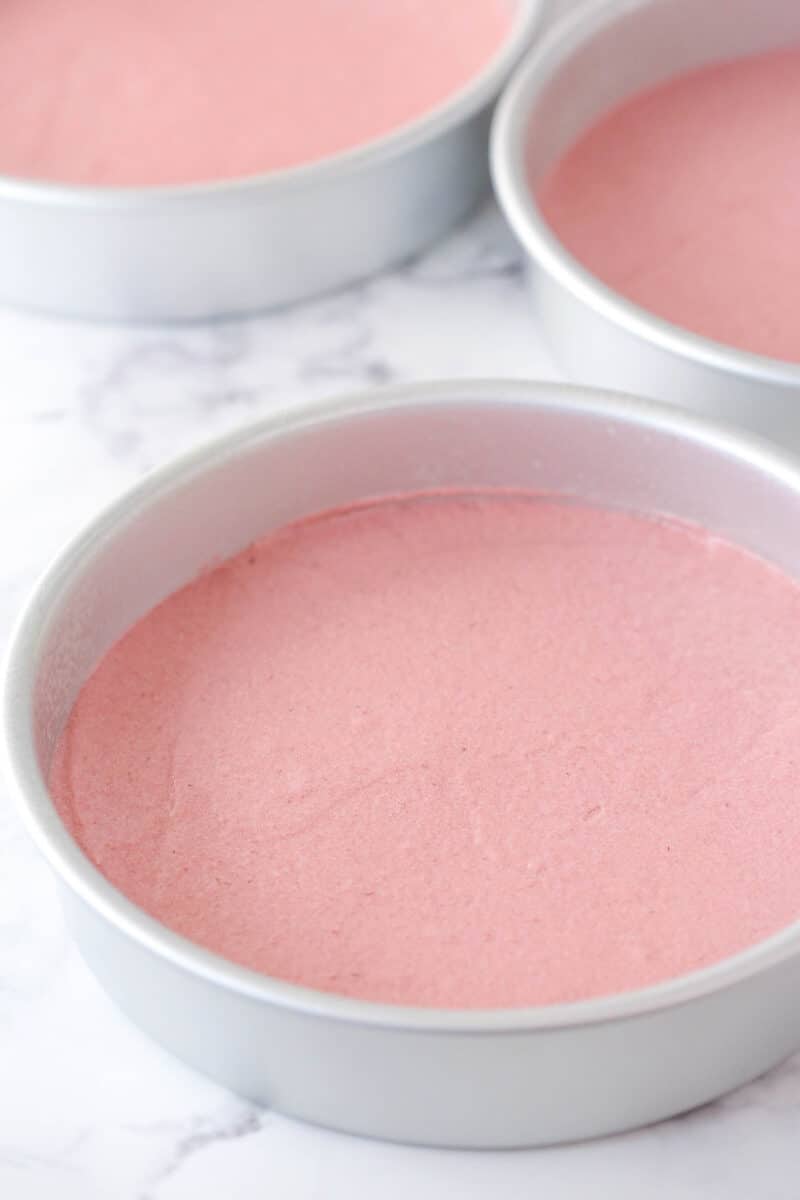
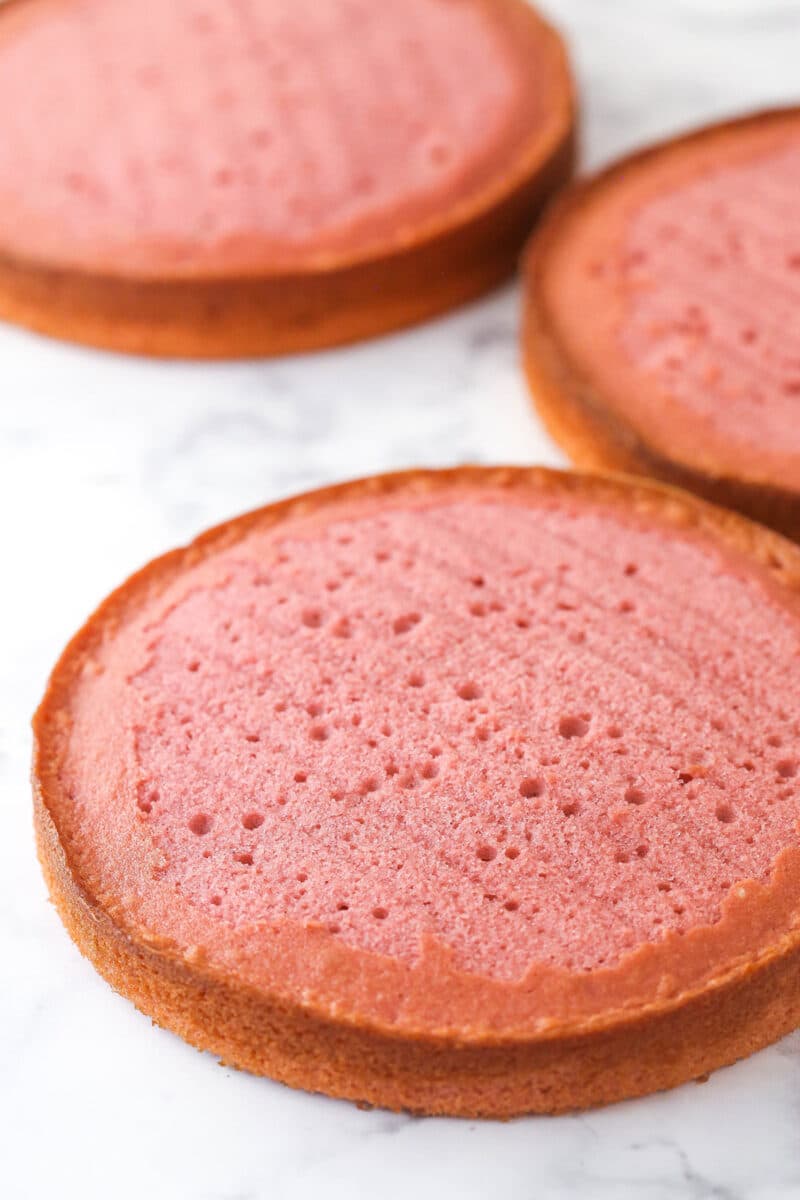
- Bake. Divide the batter evenly between the three cake pans and bake for 24-26 minutes.
- Cool. Remove the cakes from the oven and allow them to cool in their pans for 2-3 minutes. Transfer them to cooling racks to cool completely.
For the frosting
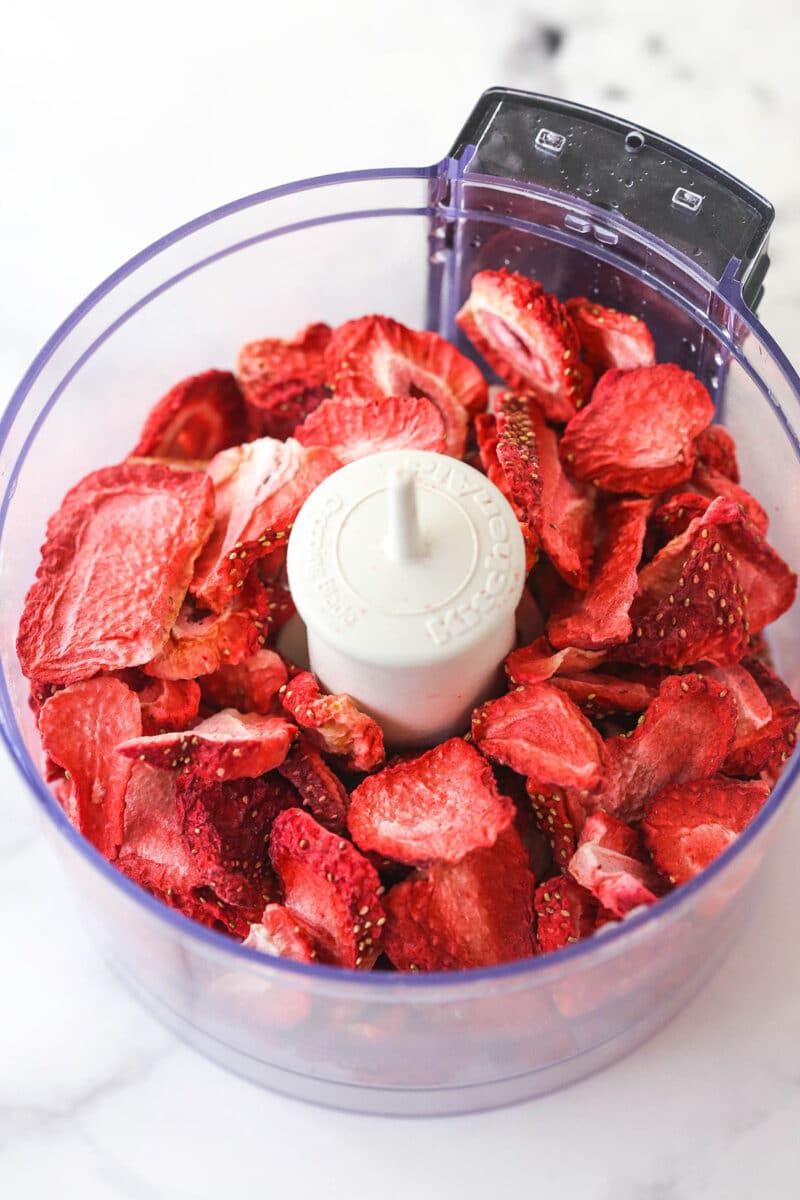
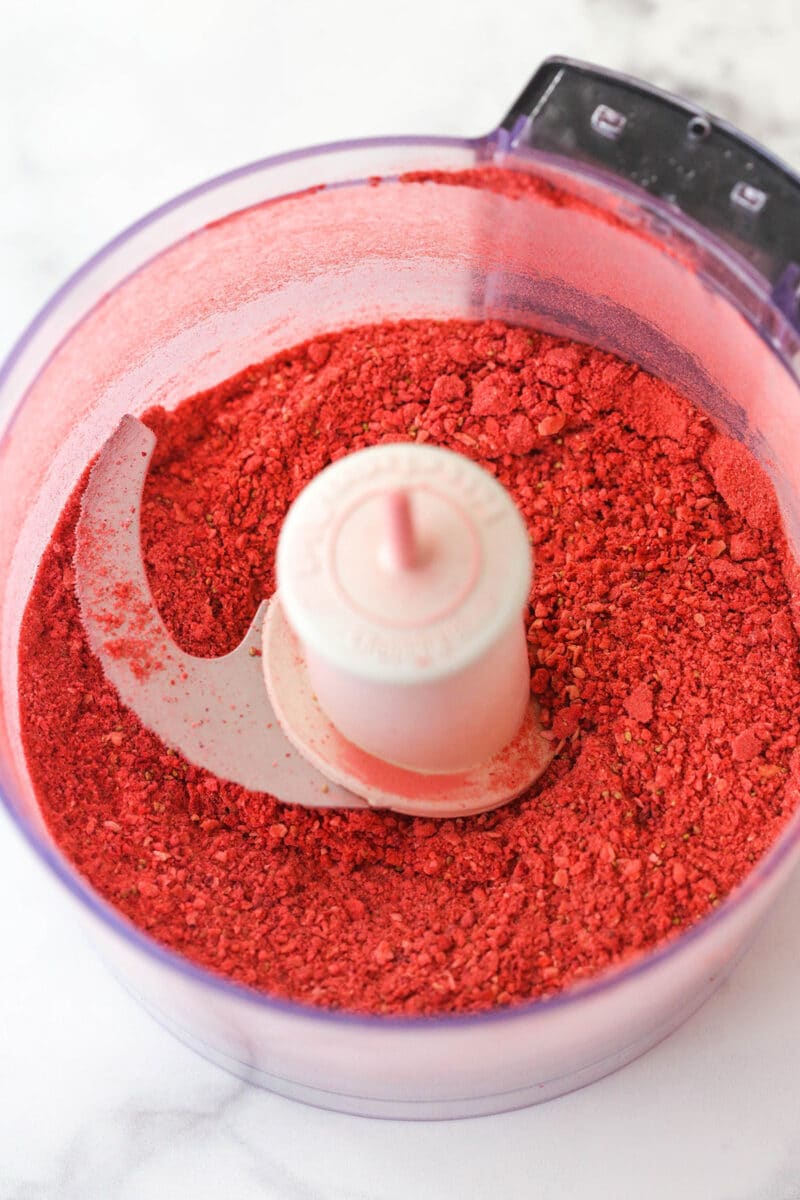
- Blend. Add the freeze-dried strawberries to a food processor and grind them into a powder.
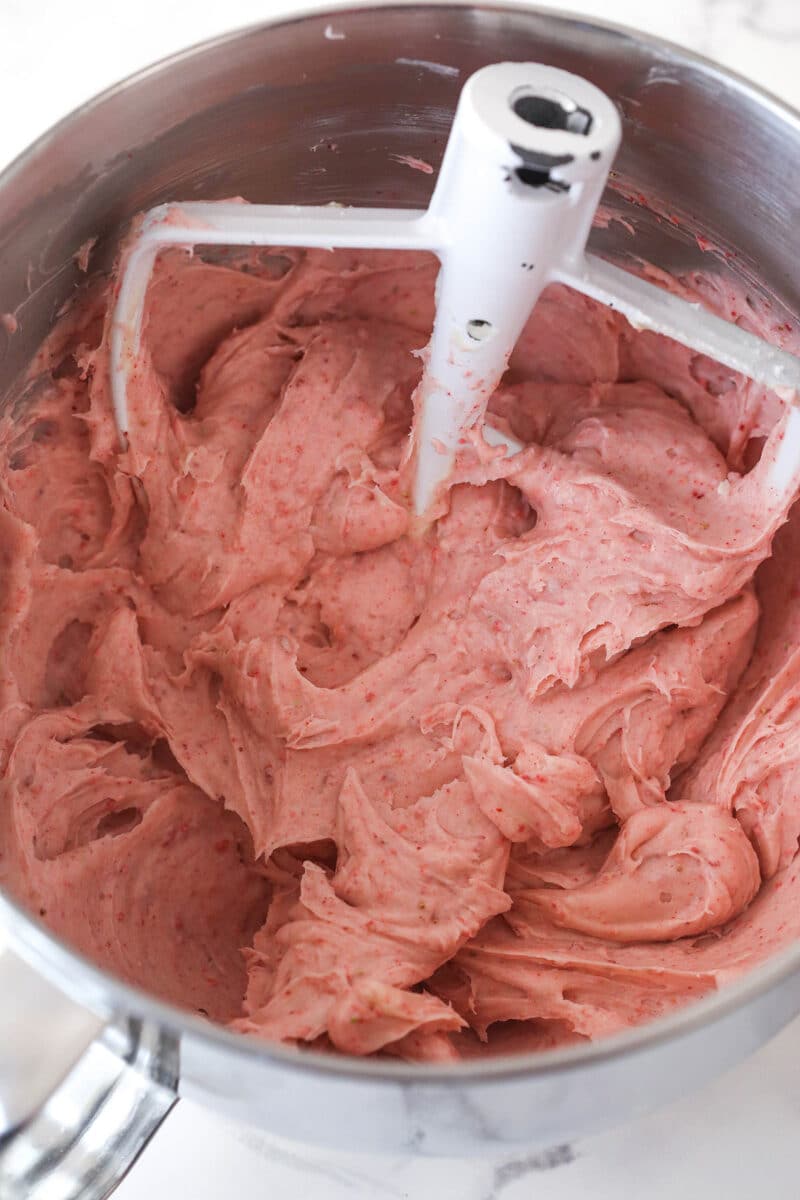
- Beat the cream cheese and butter together until smooth.
- Sweeten it up. Add half of the powdered sugar and the vanilla extract and mix until smooth. Add remaining powdered sugar and strawberry powder and mix until smooth. Add some salt, to taste.
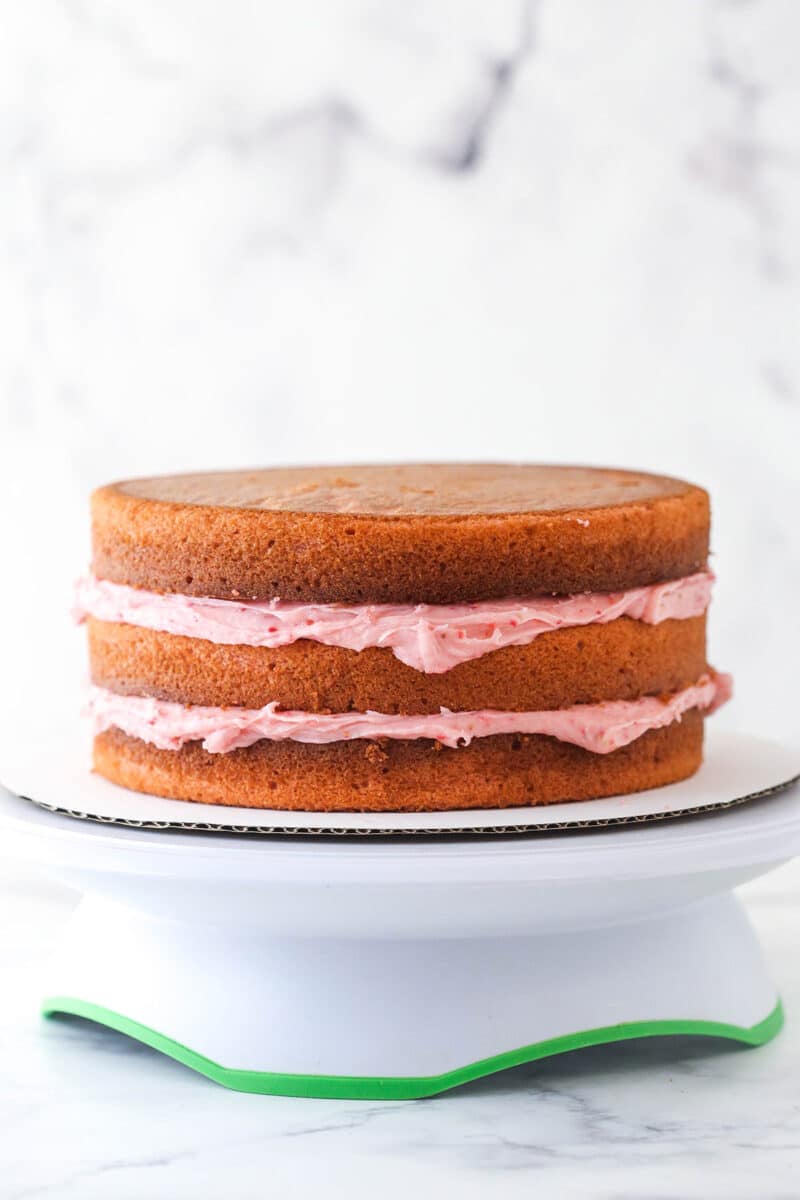
- Remove the domes from the tops of the cakes with a serrated knife.
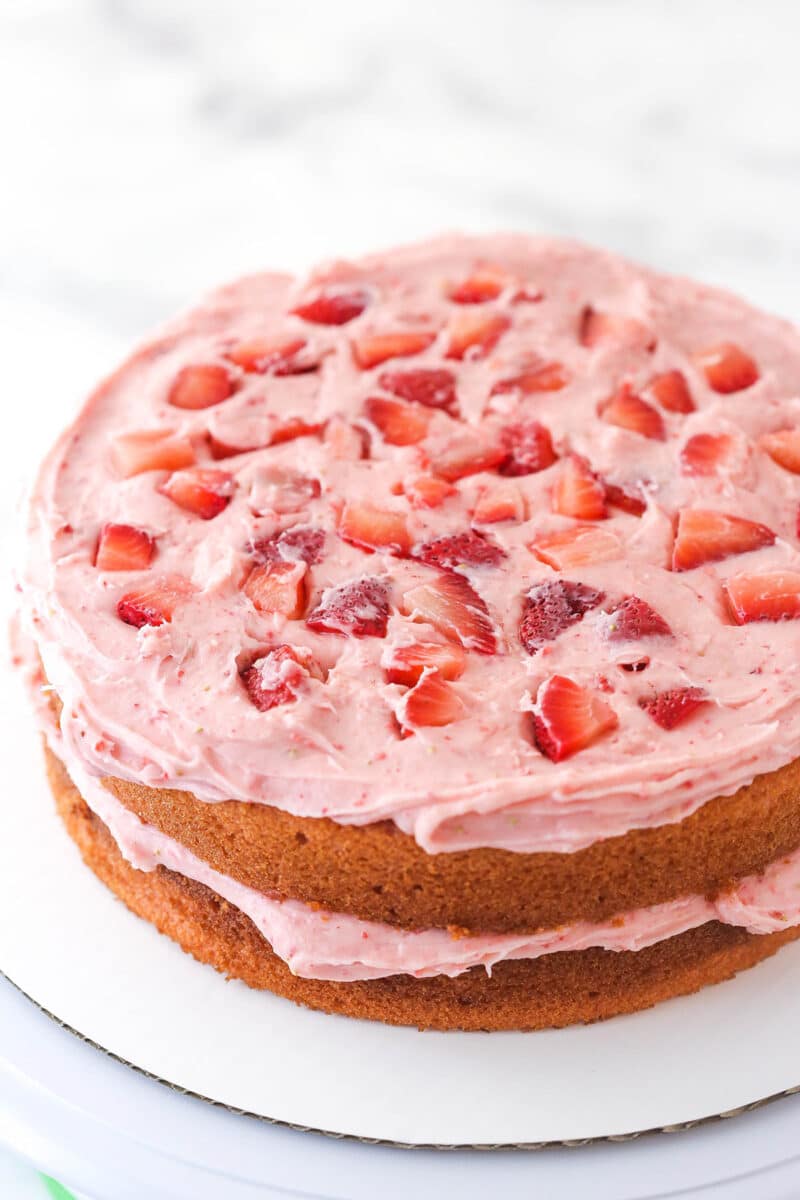
- Layer. Place one cake on a serving plate. Spread 1 cup of strawberry frosting evenly over the cake. Press half of the chopped strawberries into the frosting. Repeat with the second layer. Top with the third layer.
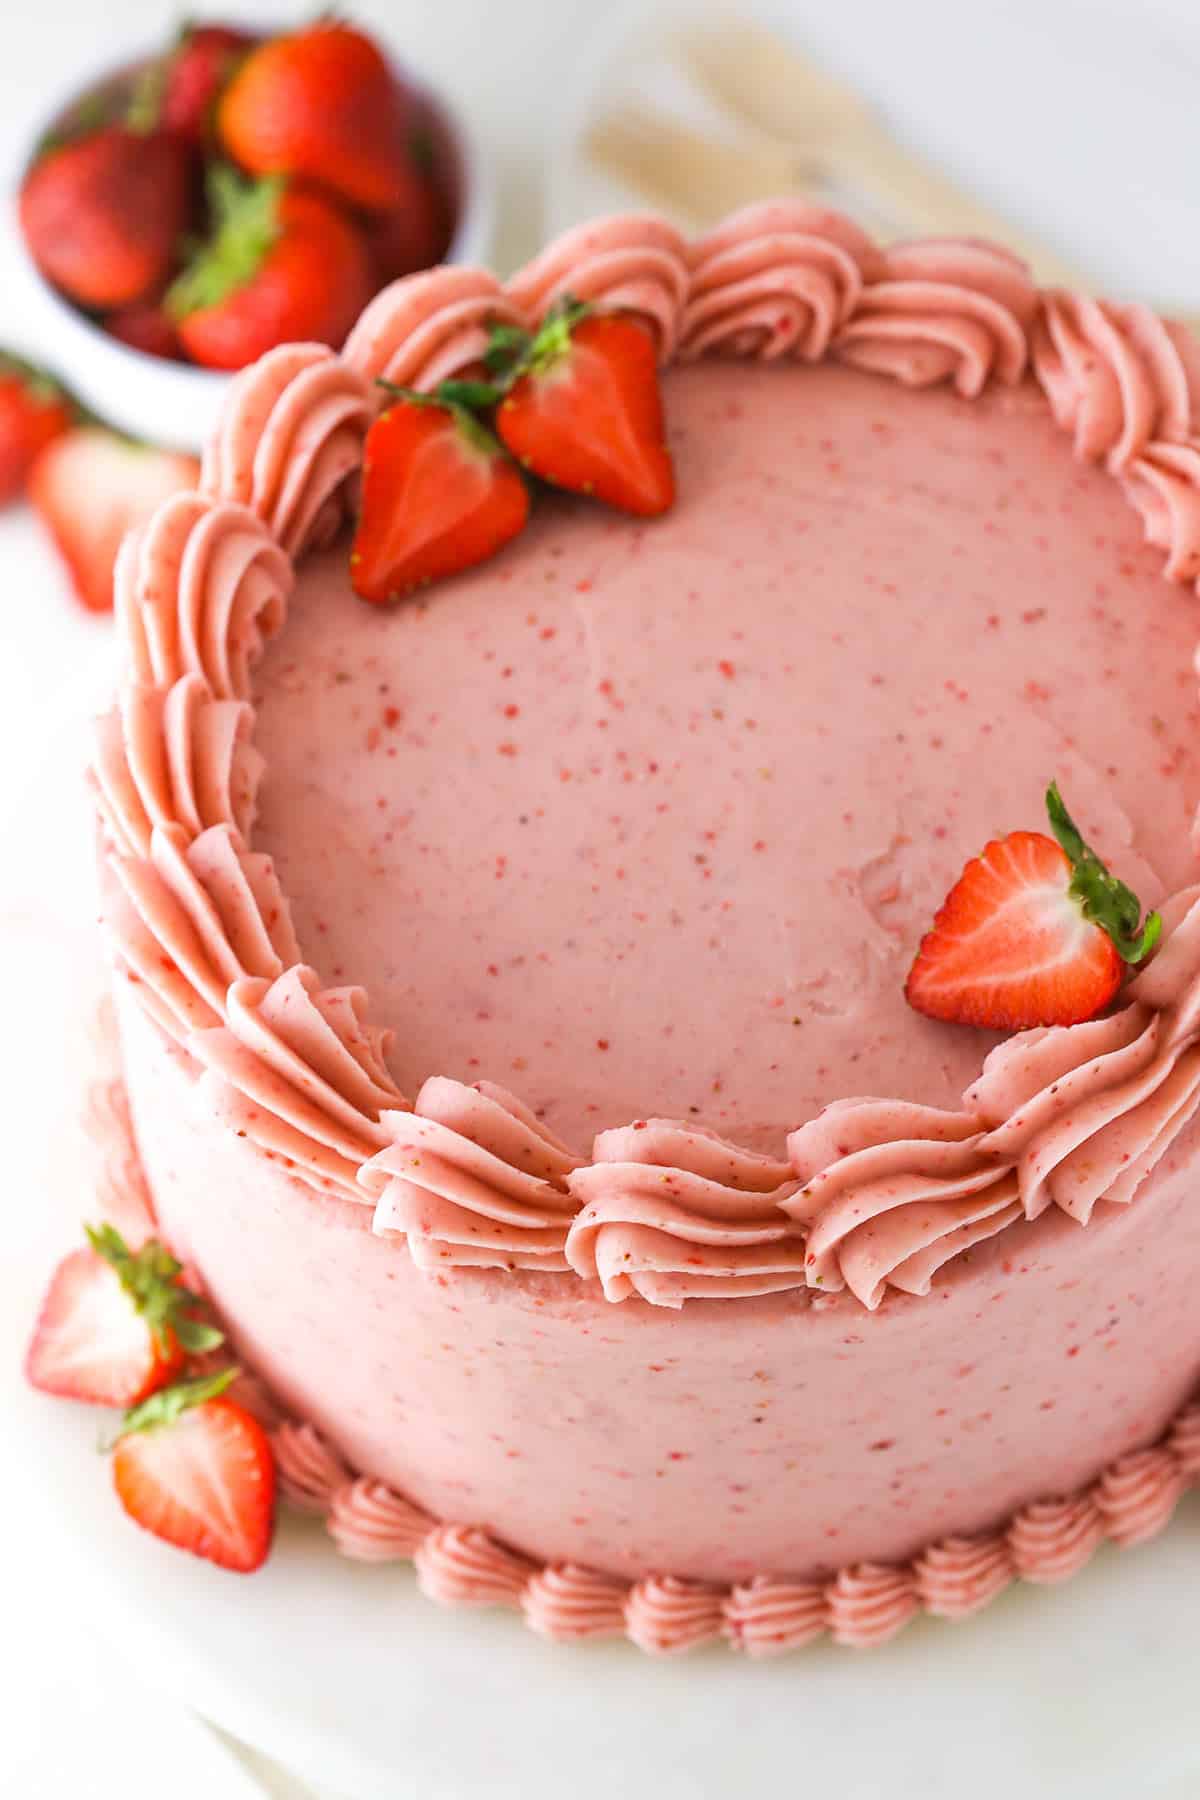
- Frost the outside of the cake and, with the remaining frosting, pipe shells around the bottom and top edges of the cake. Add a few strawberries on top.
What’s The Reverse Creaming Method?
This cake is unique in its use of the reverse creaming method. Normally, when making a cake, you would cream the butter and sugar together, then alternate adding the remaining wet ingredients and dry ingredients. The reverse creaming method is a little different. Here’s how to do it.
- Combine the wet ingredients (aside from the butter).
- Combine the dry ingredients.
- Slowly mix the butter into the dry ingredients until you achieve a sandy texture.
- Add the wet ingredients in two parts, mixing well after each addition.
That’s all! “Why use this method?” you might ask. Well, it’s pretty easy and the resulting cake has a lovely, unique texture. It’s so tender and silky with just the right amount of crumble. It’s a little denser than a traditional cake but it isn’t too heavy. It’s perfect.
Tips for Making Strawberry Cake from Scratch
Layer cakes can seem intimidating but I promise that you can do it. I have compiled a few simple tips and tricks that will help set you up for success. Here they come.
- Get the strawberries right. The vast majority of strawberry flavor in this cake is coming from real, fresh strawberries. So make sure to pick extra sweet, flavorful berries. Otherwise, you won’t get the flavor you are looking for.
- Keep it moving. When reducing the strawberry puree, be sure to stir consistently. The natural sugars in the strawberries are prone to burn. Keeping the mixture moving will help prevent that.
- Be patient. When cooking the strawberry puree, It is important that it reduces to 3/4 cup, otherwise the cake batter will have too much moisture in it. Be patient and don’t forget to measure.
- Start with room-temperature ingredients. The butter in the cake batter as well as the butter and the cream cheese in the frosting must be at room temperature. The butter in the batter will not crumble properly during the reverse creaming process if it is too cold or at all melted. When it comes to the frosting, using cream cheese or butter that is too cold will result in a lumpy frosting. Additionally, If the butter in the frosting is melted, the frosting will end up runny. So think ahead and let your ingredients sit out at room temperature for a bit before using.
- Scrape. When combining the wet and dry ingredients, it is important to scrape the sides of the bowl periodically. This will bring any ingredients clinging to the bowl back into the batter to be mixed in.
- Let it cool. Before stacking and frosting, allow the cakes to cool completely. Otherwise, the frosting will slide right off. No one wants that.
Decorating Ideas
The pink frosting and the fresh strawberries on this cake are pretty enough, but if you are feeling extra festive, here are some decorating ideas that will take this cake to the next level.
- Flowers. I love the idea of adding fresh, edible flowers to the top of this summertime cake.
- Colored frosting. Set aside about 1 cup of frosting before adding the powdered freeze-dried strawberries. Color it with gel icing color and use the colored frosting to pipe shells around the bottom and top edges of the cake.
- Sprinkles. I love a good cake covered in fun sprinkles.
How to Store Leftover Strawberry Cake
If you find yourself with leftover homemade strawberry cake. Store it in an airtight cake carrier. I recommend this cake carrier. You could also wrap the cake in a double layer of plastic wrap. Use toothpicks to prop the plastic away from any decorations. Already sliced the cake? Arrange the slices in a single layer in an airtight container. In any case, store the cake in the refrigerator for up to 4 days. Allow it to come close to room temperature before serving.
Can I Freeze This?
You can, just be aware that the strawberries in between the layers may get a little mushy. Pop the cake in the freezer for a couple of hours to firm up before wrapping it in a double layer of plastic wrap and returning it to the freezer. If you already sliced the cake, arrange the slices in a single layer in an airtight container and place it in the freezer. Whole or sliced, it can stay there for up to 3 months. Allow the cake to thaw in the fridge before serving.
More Strawberry Desserts
It’s strawberry season and I am so excited. This strawberry layer cake is pretty much as good as it gets but here are a few other outstanding strawberry desserts for you to try. Happy baking!
- Strawberry Poke Cake
- Strawberry Shortcake Cake
- Strawberries and Cream Cheesecake Cake
- Strawberries and Cream Cupcakes
- Strawberry Cheesecake
- Strawberry Pound Cake
- No Bake Strawberry Cheesecake
Homemade Strawberry Cake
- Prep Time: 2 hours 15 minutes
- Cook Time: 51 minutes
- Total Time: 3 hours 6 minutes
- Yield: 12-14 slices
- Category: Dessert
- Method: Oven
- Cuisine: American
Description
This Homemade Strawberry Cake is full of sweet, fresh strawberry flavor! Moist strawberry cake layers are paired with a strawberry cream cheese frosting for the ultimate strawberry cake! The texture isn’t light and fluffy, but instead tender with a tight crumb. You might even find it a little dense, but not too heavy.
Ingredients
Strawberry cake
- 3 cups (400g) of quartered strawberries*
- 3/4 cup (173g) sour cream
- 1/4 cup (60ml) milk
- 4 large eggs
- 1 tsp vanilla extract
- 2 1/2 cups (325g) all purpose flour (measured properly)
- 1 1/2 cups (310g) sugar
- 2 tsp baking powder
- 1/2 tsp baking soda
- 1/2 tsp salt
- 3/4 cup (168g) unsalted butter, room temperature
- 7–9 drops pink food color, optional
Strawberry cream cheese frosting
- 2 cups (46g) freeze dried strawberries*
- 16 oz (452g) cream cheese, room temperature
- 3/4 cup (172g) unsalted butter, room temperature
- 10 cups (1150g) powdered sugar
- 1 tsp vanilla extract
- Pinch of salt
- 3/4 cup chopped strawberries
Instructions
To make the cakes
- To make the strawberry reduction, add the strawberries to a food processor or blender and puree until smooth. You should have about 1 1/2 cups of puree.
- Add the puree to a medium sized saucepan and cook over medium heat. Allow the mixture to come to a slow boil, stirring consistently to keep it from burning, until it has thickened and reduced to 3/4 cup, about 20-25 minutes. To measure, pour the puree into a measuring cup. If it’s more than 3/4 cup, add it back to the pan and continue cooking.
- When the puree has thickened and reduced, pour into a large measuring cup and allow to cool to at least room temperature. This strawberry mixture can be made ahead, if you like, and stored in the fridge.
- Preheat oven to 350°F (176°C) and prepare three 8 inch cake pans with parchment paper in the bottom and baking spray on the sides.
- Combine the strawberry reduction, sour cream, milk, eggs and vanilla extract in a large bowl, then separate about 1 cup of the mixture into another bowl or measuring cup. About 1 1/2 cups should remain in the other bowl. Set both aside.
- In a large mixer bowl, combine the flour, sugar, baking powder, baking soda and salt.
- With the mixer on the lowest speed, add the butter about a tablespoon at a time, allowing it to incorporate before adding the next tablespoon. As you add more butter, the mixture will start to clump together a bit a should end up resembling wet sand.
- Add the larger of the reserved egg mixture (about 1 1/2 cups) to the dry ingredients/butter mixture. Stir on the lowest speed until it’s incorporated, then scrape down the sides of the bowl.
- Increase the speed to medium high and beat until light and fluffy, about 45 seconds to one minute. Scrape down the sides of the bowl.
- Turn the speed down to low and slowly add the remaining egg mixture in a slow stream until incorporated.
- Scrape the sides of the bowl, then turn speed back up to medium high and mix until well combined, about 10-15 seconds.
- Divide the batter evenly between the three cake pans and bake 24-26 minutes or until a toothpick inserted comes out with a few crumbs.
- Remove cakes from the oven and allow to cool for 2-3 minutes, then remove to cooling rack to cool completely.
For the frosting
- To make the frosting, add the freeze-dried strawberries to a food processor and grind into a powder. It should give you a little more than half a cup of strawberry powder.
- In a large mixer bowl, beat the cream cheese and butter together until smooth.
- Slowly add half of the powdered sugar and the vanilla extract and mix until smooth.
- Slowly add remaining powdered sugar and strawberry powder and mix until smooth. Add some salt, to taste. Set aside.
- To put the cake together, use a large serrated knife to remove the domes from the top of the cakes so that they’re flat. Refer to my tutorial, if needed. Place the first cake on a serving plate or a cardboard cake round.
- Add about 1 cup of frosting to the top of the cake layer and spread evenly. Add about half of the chopped strawberries and press into the frosting.
- Add the second layer of cake, another cup of frosting and the remaining chopped strawberries.
- Top the cake with the remaining layer and frost the cake with the remaining frosting. Refer to my tutorial for frosting a smooth cake, if needed.
- Pipe the shell border around the top and bottom of the cake. I used a large closed star tip for the top – Ateco 847. For the border around the bottom of the cake, I used Wilton tip 22.
- Add a few strawberries on top for decoration and refrigerate until ready to serve. Cake is best when stored well covered and eaten within 3-4 days.
Notes
NOTE: I used a full pound of strawberries for the puree for the cake layers and additional strawberries for between the cake layers. Your strawberries MUST have great flavor in order for your cake to have any flavor. If your strawberries are lacking, your cake will be too.
If you’d prefer not to use freeze dried strawberries, you can use fresh strawberries. Just check out my Homemade Strawberry Frosting.
Nutrition
- Serving Size: 1 slice
- Calories: 696
- Sugar: 95.1 g
- Sodium: 291.4 mg
- Fat: 23.2 g
- Carbohydrates: 116.8 g
- Protein: 8.1 g
- Cholesterol: 101.5 mg




Is it better to use weight measurements or cup measurements in your recipes? There are several I want to make and I just want to be sure. Thanks.
I use weight measurements, which are more accurate. I’d recommend following those, particularly for flour and sugar.
Made this before and it’s amazing! However, I’m making again and made the strawberry reduction before hand so I put it in the refrigerator. Does it need to come to room temp before using it in the recipe or can I be cool?
I’m so glad you enjoyed it! You can use the reduction cold or at room temperature. Technically room temperature is probably best, but I’ve used it cold and it’s just fine.
I have made this before and loved it. I did not use freeze dried strawberries but I used the cream cheese frosting recipe. do you know how much reduced fresh strawberries should be used in the cream cheese frosting recipe? I prefer not to use the strawberry buttercream. If you’re not sure I will just experiment. Thank you for this delicious recipe anyway!
I’m so glad you enjoyed it! I would probably not recommend using fresh strawberries in the cream cheese frosting, since it will thin it out and make it too thin. I’d recommend freeze dried strawberries, like in the strawberry buttercream. If you are really set on fresh strawberries, I’d reduce them over the stove first, like I do in my strawberry buttercream frosting.
This recipe looks fantastic. By any chance do you know how many cup cakes this recipe would yield and what size or measurement do you prefer cupcakes?
It should give you around 24 or so cupcakes. I would fill the liners about 3/4 full and bake for 15-18 minutes, roughly.
I’m sure this recipe would have worked if I’d had the right cake pan size! Mine was a little big so it dried out before the centre could cook. I totally agree with the tip of using extra ripe delicious strawberries, mine musn’t have been quite there as the flavour in the cake was pretty subtle. The icing was delicious though, I want to put freeze dried strawberries in everything now haha!!
I’d also never tried the reverse creaming method and it worked pretty well 🙂 Thank you!
I’m not sure how big your pan was, but you can buy these super neat cake nail/heating rods that you place in the center of your cake while it bakes and it helps to bake the cake from the inside out as well, so that it can bake more evenly. Bake even strips on the outside of the pan could also help with larger pans baking more evenly.
I plan on making this today. Can I add strawberry jello mix to my cake batter? My strawberry reduction is not that great tasting.
I haven’t ever tried it, so I’m not sure. It might be fine. Another option would be strawberry extract.
Do you think I could use frozen strawberries instead of fresh?
Yes, but a couple things to consider. It’s harder to tell if frozen strawberries are sweet and you need good ones for this cake to have good flavor. Also, frozen strawberries often have water added, which can also thin out the flavor. If you use them, try to use sweet ones and strain the excess water.
What do I use if I can’t find freeze dried strawberries?
You could use more strawberry reduction. Check out my recipe for strawberry frosting. It talks about both ways – freeze dried strawberries and strawberry puree/reduction.
To get a more intense strawberry flavor in your cake, could you add freeze dried strawberry powder and if so, how much would you add and would you have to adjust the recipe (for example the amount of flour)
I have used freeze dried strawberries in frostings, but not cakes. I’m not sure how it’d turn out. I’m also not sure if you’d need to replace the flour. I kind of think you may not need to, as long as you aren’t adding too much. But I’m not sure.
I’ve made this recipe numerous times it’s delicious and never fails to impress, Lindsay is a wonderful baker and I’m so grateful that she is so generous with her baking knowledge, I purchased her book and it’s like a baking bible.
Aww, that’s awesome to hear. Thank you! So glad you enjoy the recipes!
My cake did not rise enough. Could you help me figure out why?
It can be really hard to say from a distance. Make sure your baking soda and baking powder are still good, since that’s where most of the rise comes from. You also want to be sure you’ve measured ingredients properly. And then also keep in mind that with the reverse creaming method, cakes are a little more dense, but very tender. Could it be that the cakes are correct, but different than what you expected?
Hello, can you tell me for how long do I bake the cake if I use a 14” round pan. I have a hard time figuring out the baking time when I used sizes other that the ones use in the recipe. I am making a quinceañera cake, so I need a bigger cake
I’m really not sure. I have not baked a cake that size. I’m sorry.
is this really supposed to have 10 cups of powdered sugar in the frosting or is that a typo?
It’s not a typo. I use a good bit of frosting because of how I frost my cakes. But feel free to reduce it or reduce the overall amount of all ingredients for less frosting.
If I double this recipe will that be good for a half-sheet pan?
I would think so. I don’t make that size cake much.
Can I make the frost ahead of time and save it, how should I store it?
Definitely. Put it in an air-tight container in the fridge for up to a week and in the freezer for up to 3 months. When you’re ready to use it, bring it back to room temperature and stir it back up. I often like to use my mixer to give it a good stir.
Is this an updated recipe? I swear this is the recipe I used last year for my kids’ birthday.
The post has been updated with step by step photos and more information, but the recipe is exactly the same.