This post may contain affiliate sales links. Please read my disclosure policy.
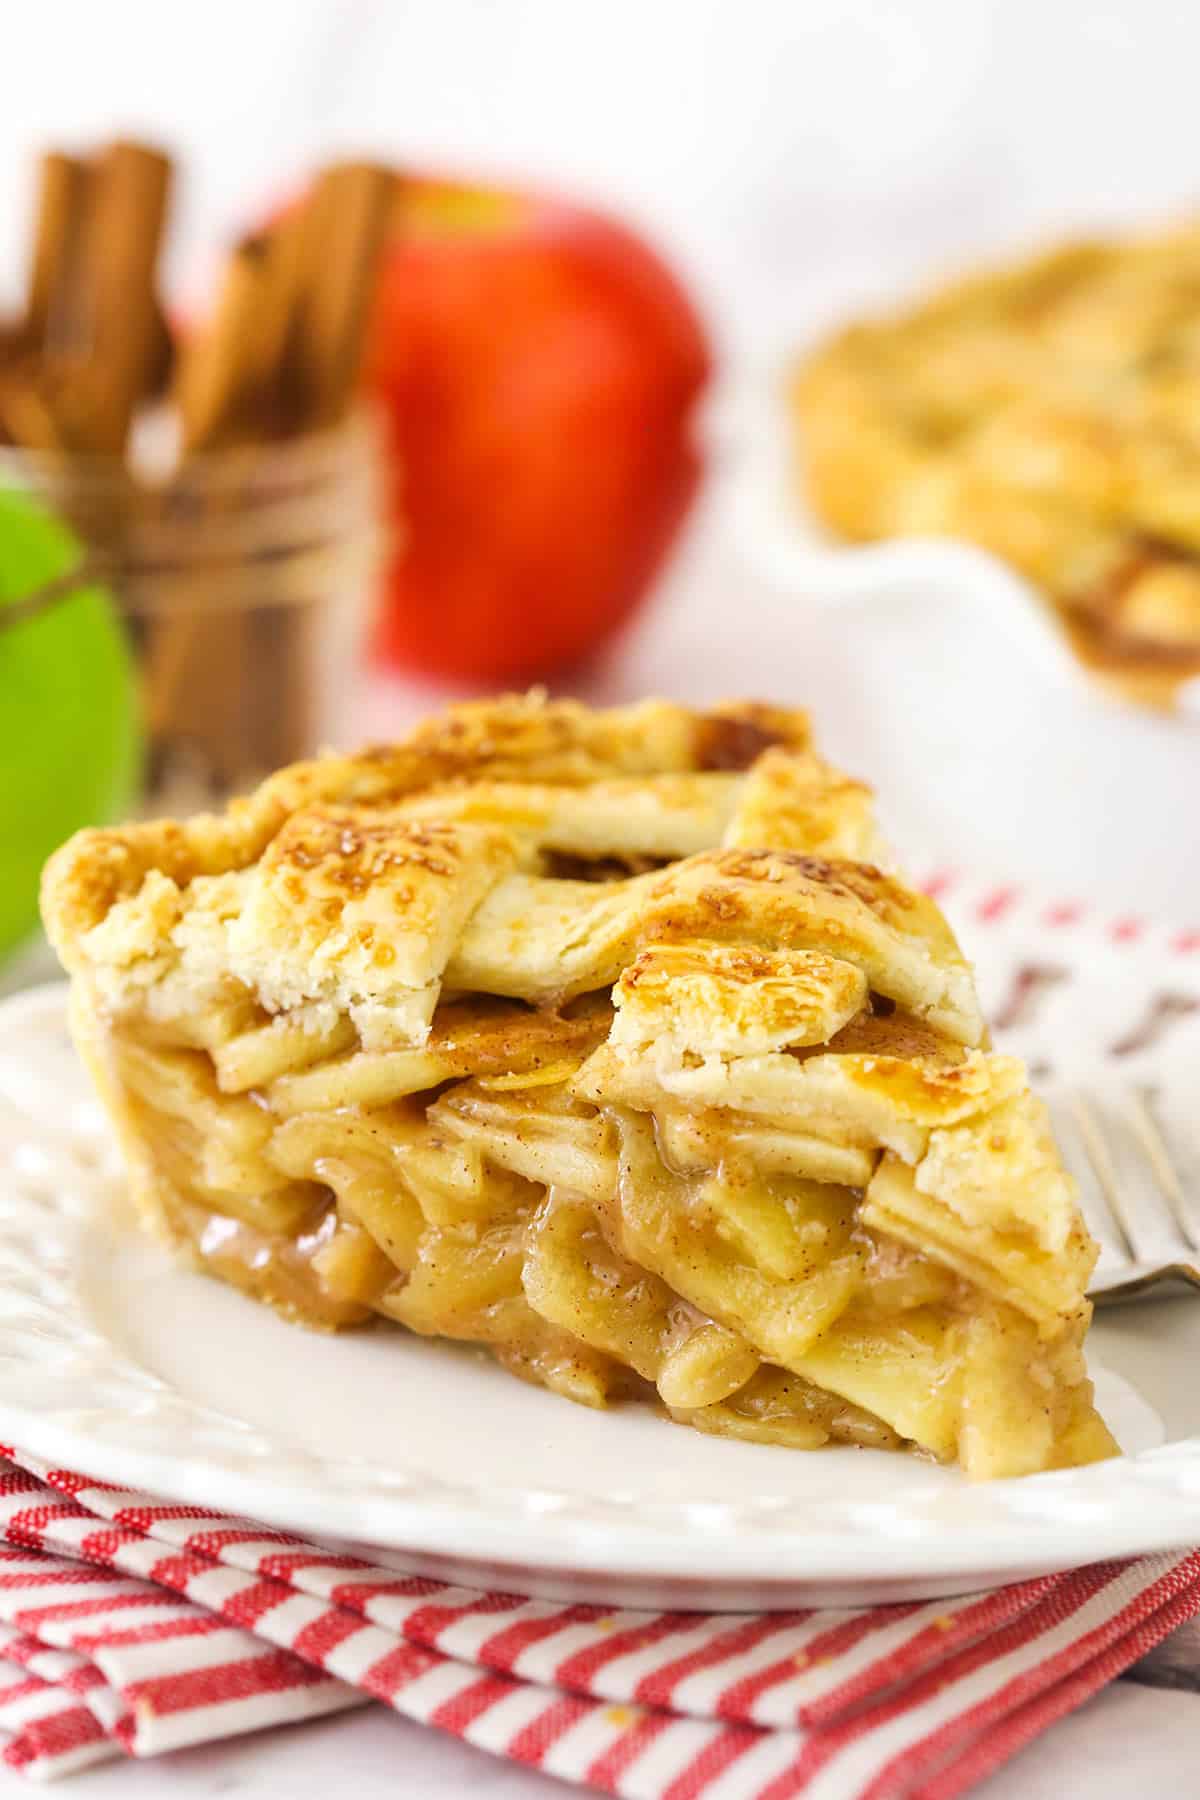
This Homemade Apple Pie uses the perfect combination of tart and sweet apples, warm spices, and flaky pastry to create the tastiest dessert you can imagine. It’s a fool-proof recipe that will give you the best apple pie! Learn how to make this apple pie from scratch!
Why You’ll Love This Recipe
When I develop a pie recipe like this, there are a few must-haves and best practices. Here are some of the things that make this apple pie recipe the best you’ll ever taste:
- Classic apple flavor. The best apple pie recipe tastes like, well, apples. Adding a bit of cinnamon and a touch of nutmeg compliments them. More than that can take away from the classic apple flavor of an apple pie. We also don’t use butter in this recipe since it can dull the taste of the apples.
- Use two kinds of apples. Most apples are tart or sweet. Since we’re looking for a mix of these two flavors, we’ll use a couple of different apples in this recipe. We’ll peel and pre-cook them to ensure the apples stay tender and retain their shape and texture.
- A delicious pie crust. A bad pie crust can ruin even the best filling. This recipe uses my favorite pie crust!
- No pie gap. This pie won’t have that weird empty space between the filling and the crust.
- Lemon juice, please. Contrary to butter, lemon juice actually brightens apple flavor. Just be sure not to add too much, or you’ll end up with a pie with too much lemon flavor that tastes more tart than sweet. This pie just uses a bit of lemon juice and no zest. I find the zest to be too strong and overpowering with the apples.
- Easy to prep ahead. Making apple pie from scratch takes time. The great thing about this recipe is that it’s easy to split up and do some of the heavy lifting ahead of time. You can prep your pie crust and the filling several days ahead, for example, and then assemble and bake the day you want to serve it.
What You’ll Need
Let’s talk apple pie ingredients! The ones for the crust are actually borrowed from my favorite homemade pie crust recipe – note that you’ll need two crusts for this apple pie!
Here’s what you’ll need to round up for both the crust(s) and the filling (exact amounts can be found below in the recipe card):
For the Pie Crust
- All-purpose flour – Making a pie crust is a great reason to use high-quality flour if you want to invest in one, but any flour should work just fine.
- Salt – You can use sea salt, kosher salt, table salt, etc.
- Butter – This is also a great time to use great quality butter. Be sure it’s cold, cold, cold. You can even pop it in the freezer to be sure it’s super cold.
- Ice water – Again, make sure it’s cold. You want to keep your butter from getting warm as you make your dough. If it melts, you won’t get little pockets of butter that lead to flaky layers.
For the Apple Filling
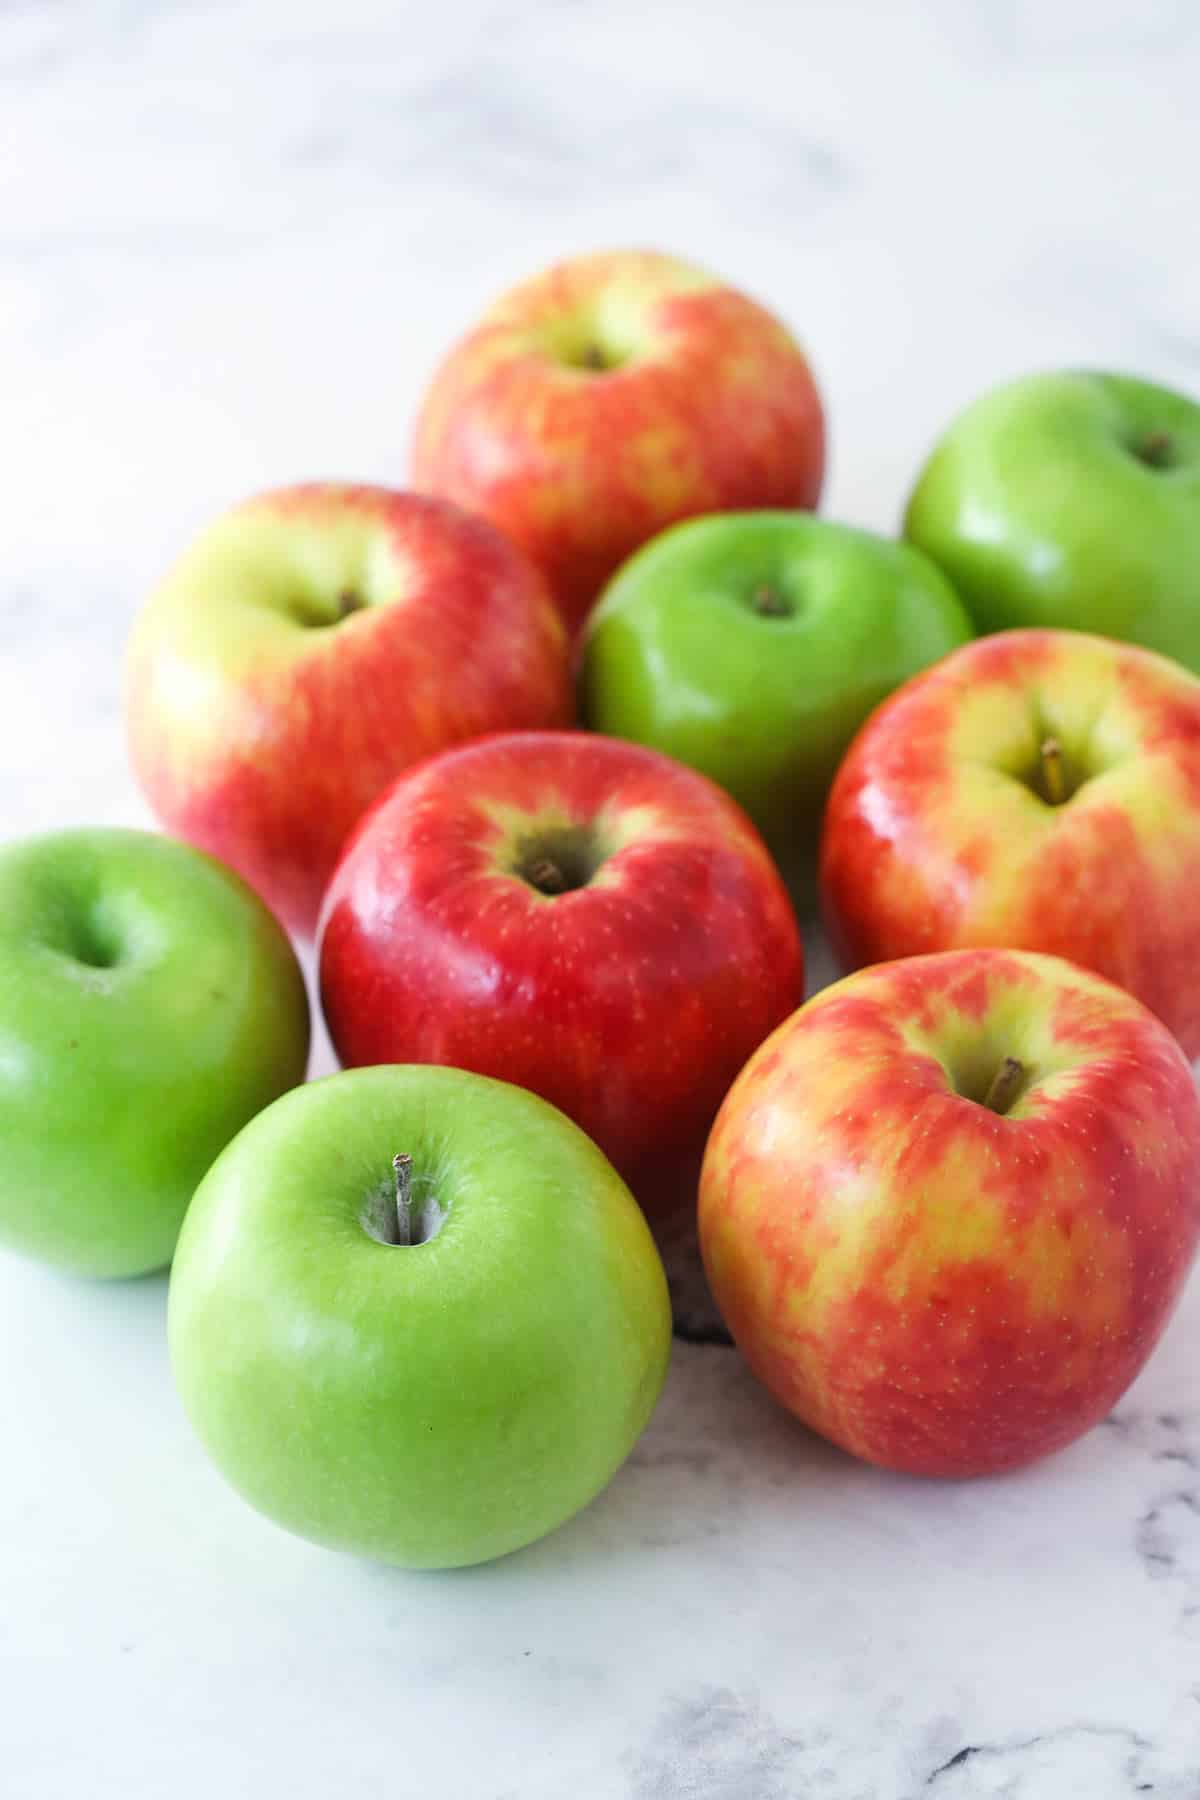
- Apples – We’ll use Granny Smith apples for tartness, and Honeycrisp apples for sweetness. If you can’t find Honeycrisp apples, you can use any other sweet apples that you like. Just make sure they’re not tart like Granny Smith.
- Lemon juice – Use fresh lemon juice if possible.
- Sugar – I like to use a mix of granulated sugar and light brown sugar. Dark brown sugar can also work, if you like.
- All-purpose flour – To help thicken the filling.
- Salt – Again, use whichever kind you prefer.
- Spices – A simple blend of ground cinnamon and nutmeg is all you need.
- Vanilla extract – Pure vanilla extract offers the best and boldest flavor.
- Egg – Beat an egg and brush it over the top of your pie before you pop it in the oven. That way, the crust will come out perfectly golden brown.
- Coarse sugar – This is optional, but I love the extra little crunch it adds!
What Are the Best Apples for Homemade Apple Pie?
If you want an apple pie with a complex flavor, use a combination of apples; preferably a mix of tart and sweet. Granny Smith apples are a popular tart option that pairs well with sweet apples like Honeycrisp, Brauburn, or McIntosh apples. For this recipe, I used Granny Smith and Honeycrisp apples.
Tart apples tend to hold their shape well but produce a pie that is way too tart. Sweet red apples have great flavor for pies but can get a little mushy when cooked. We combine the best of both worlds for a pairing that creates excellent taste and nice texture.
Pre-Cook Your Apples for the BEST Apple Pie
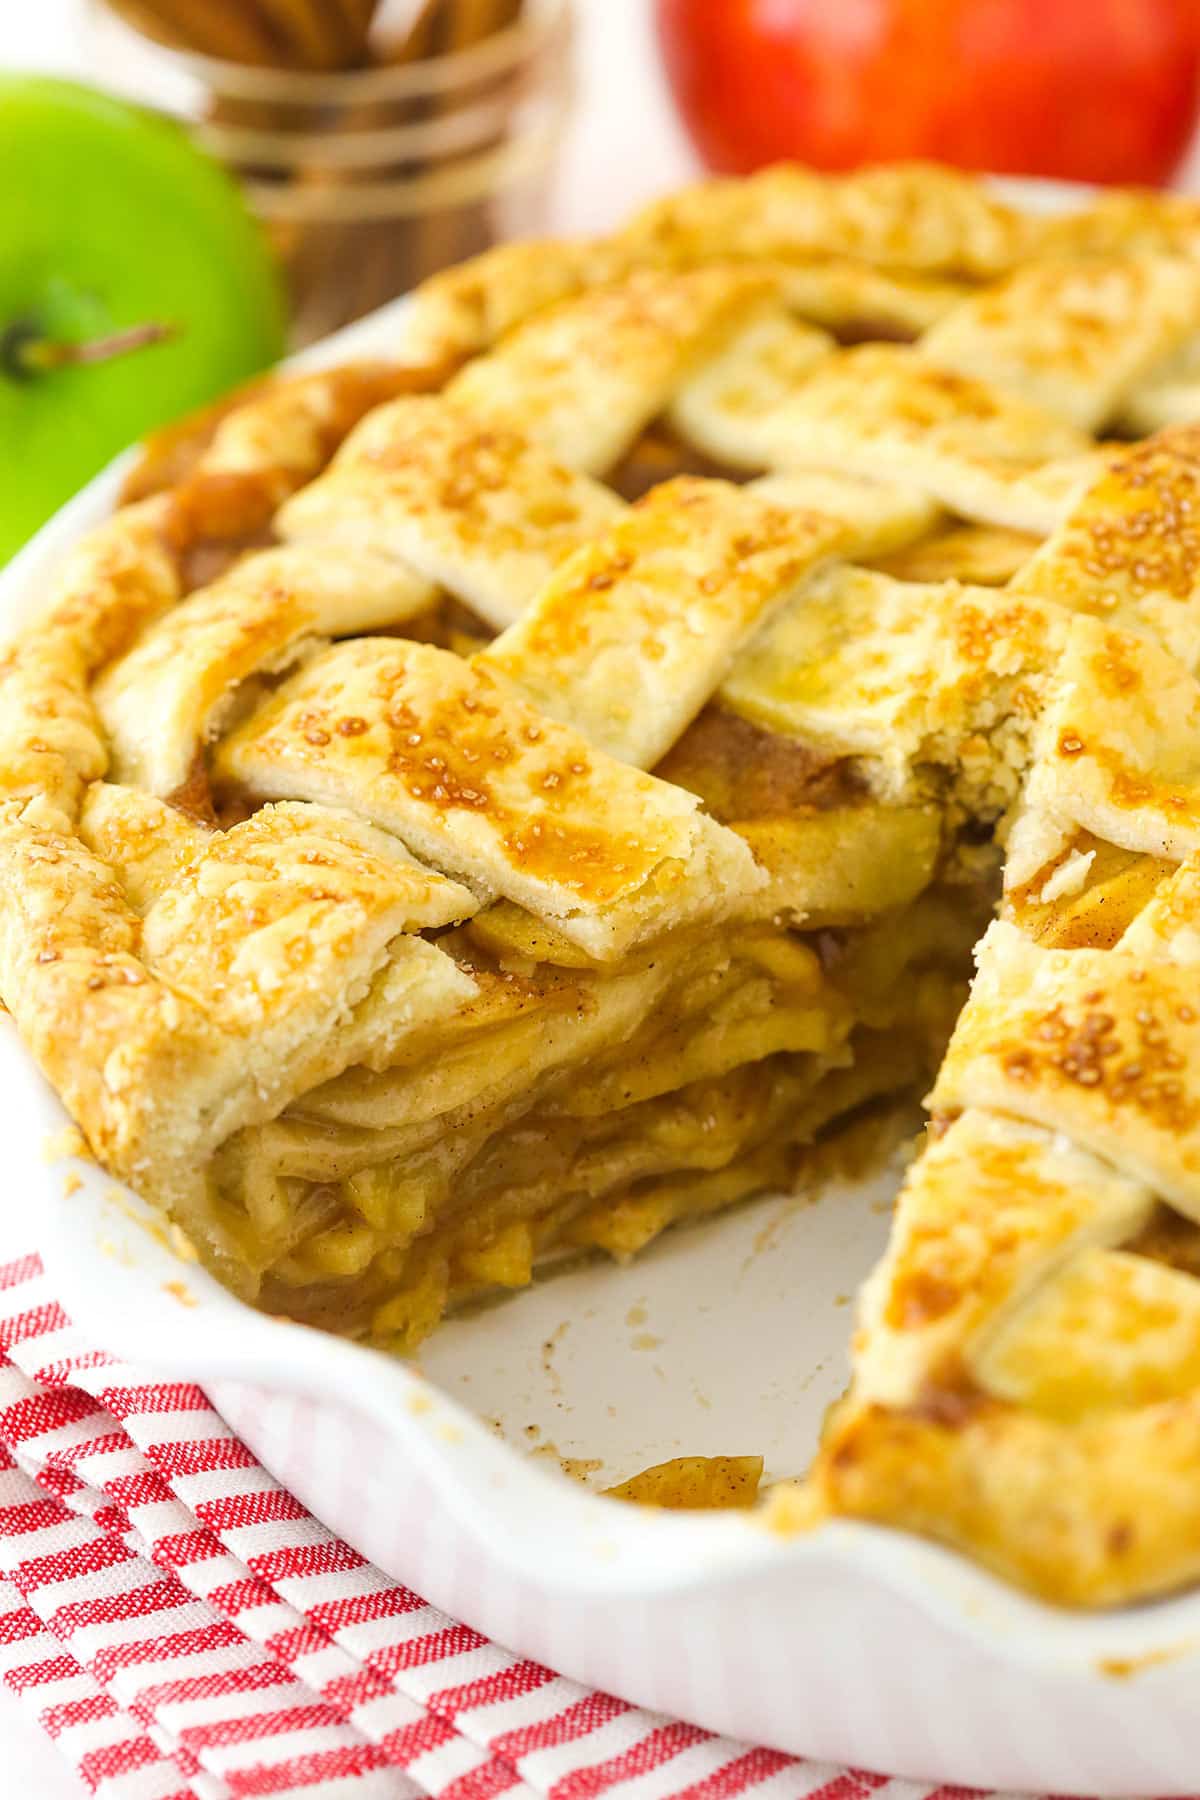
The worst things that can happen to your apple pie are undercooking the apples, winding up with a soggy filling, or having a pie gap that forms between the filling and the upper crust. Pre-cooking your apples solves every single one of those problems.
Pre-cooking your filling helps you control the texture of the apples and ensure that the filling is thick enough. Believe it or not, your apples will not cook more when you bake the pie later. It’s crazy, I know! But whatever level of tenderness you cook them to is where they will stay.
As for the pie gap, that happens because raw apples reduce in volume while a pie bakes. This is normal and expected, but annoying. Since the crust stays in place, you wind up with a gap between the apple filling and the upper crust. But, if you pre-cook the filling, the apples will reduce ahead of time, so there won’t be a pie gap when you bake the actual pie.
All this to say, don’t skip the step of pre-cooking your apples! By taking the time to do things right, you’ll wind up with a tasty pie that’s also beautiful!
How to Make Homemade Apple Pie
These directions may seem lengthy, but don’t let that scare you! Anybody can make this easy homemade apple pie recipe.
To Make the Pie Crust
- Prepare the crust. Make the pie crust according to the directions (see the link above in the Recipe Ingredients section). Then, refrigerate it until you’re ready to assemble the pie.
For the Apple Pie Filling
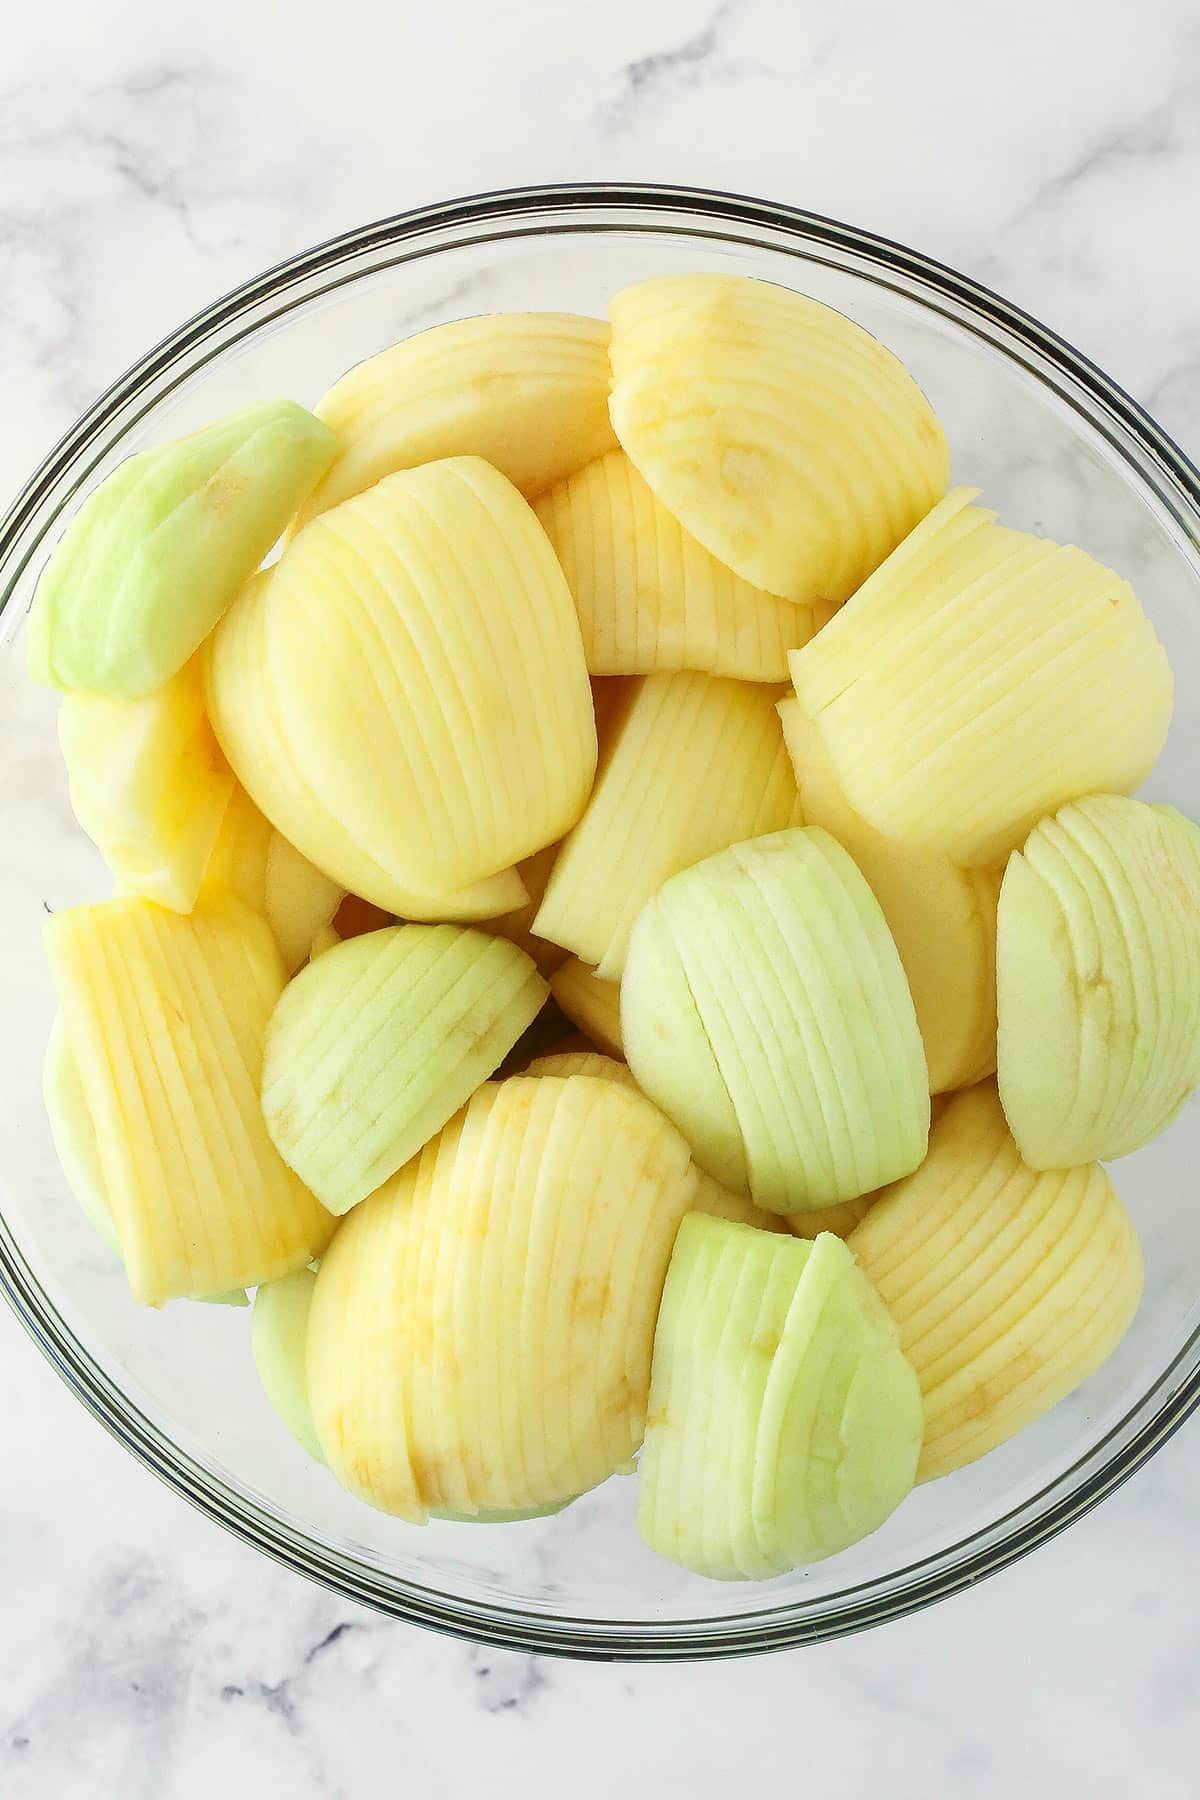
- Prepare the apples. Peel, core, and slice all the apples to about 1/8 inch thick. You want to try and slice them all about the same thickness so they cook evenly. Use a mandoline if you have one for the best results.
- Add lemon juice. Add lemon juice to a very large bowl and toss the apples in as you slice them. Mix all the apple slices in the bowl with your hands so they’re evenly coated with the lemon juice.
- Mix in the dry ingredients. Add the sugars, flour, salt, cinnamon, and nutmeg to the apple slices and gently toss to coat them. Be careful not to break the apples as you do this.
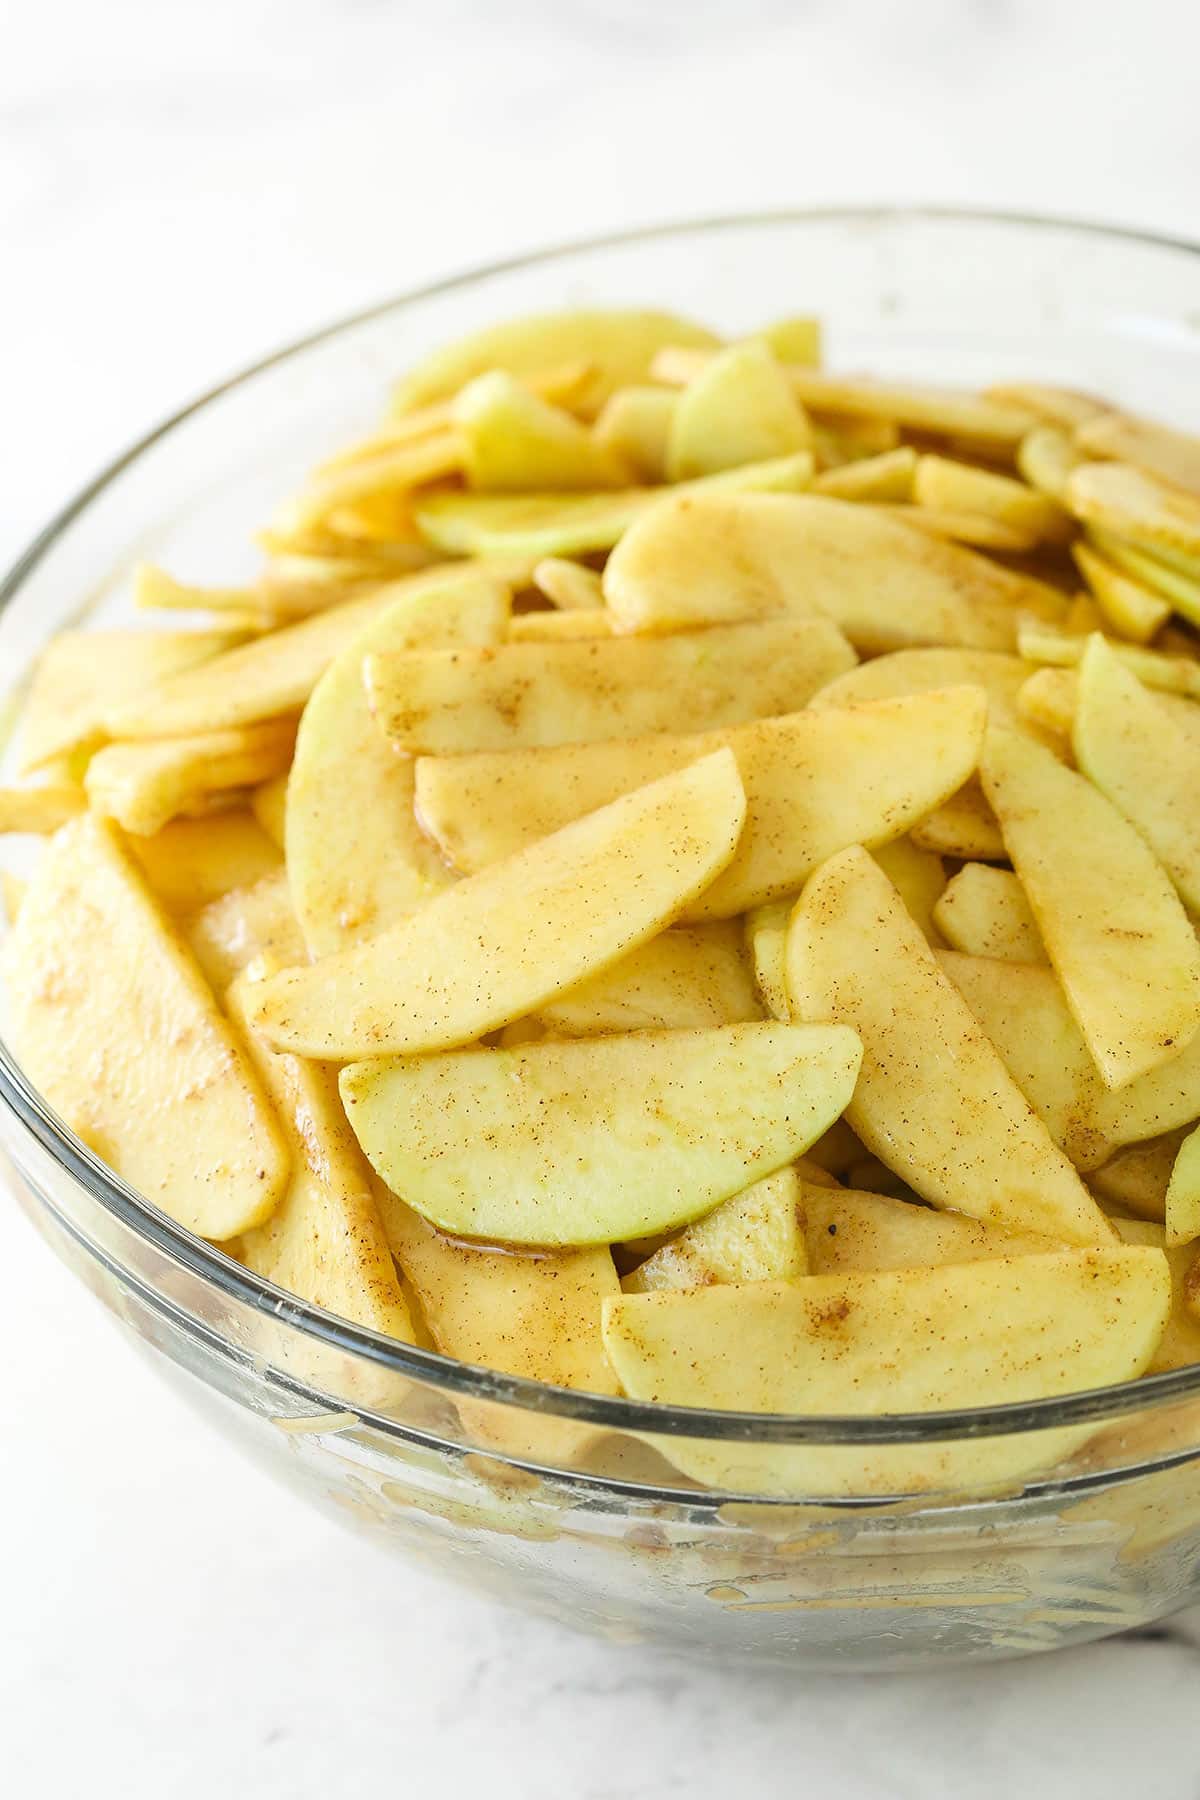
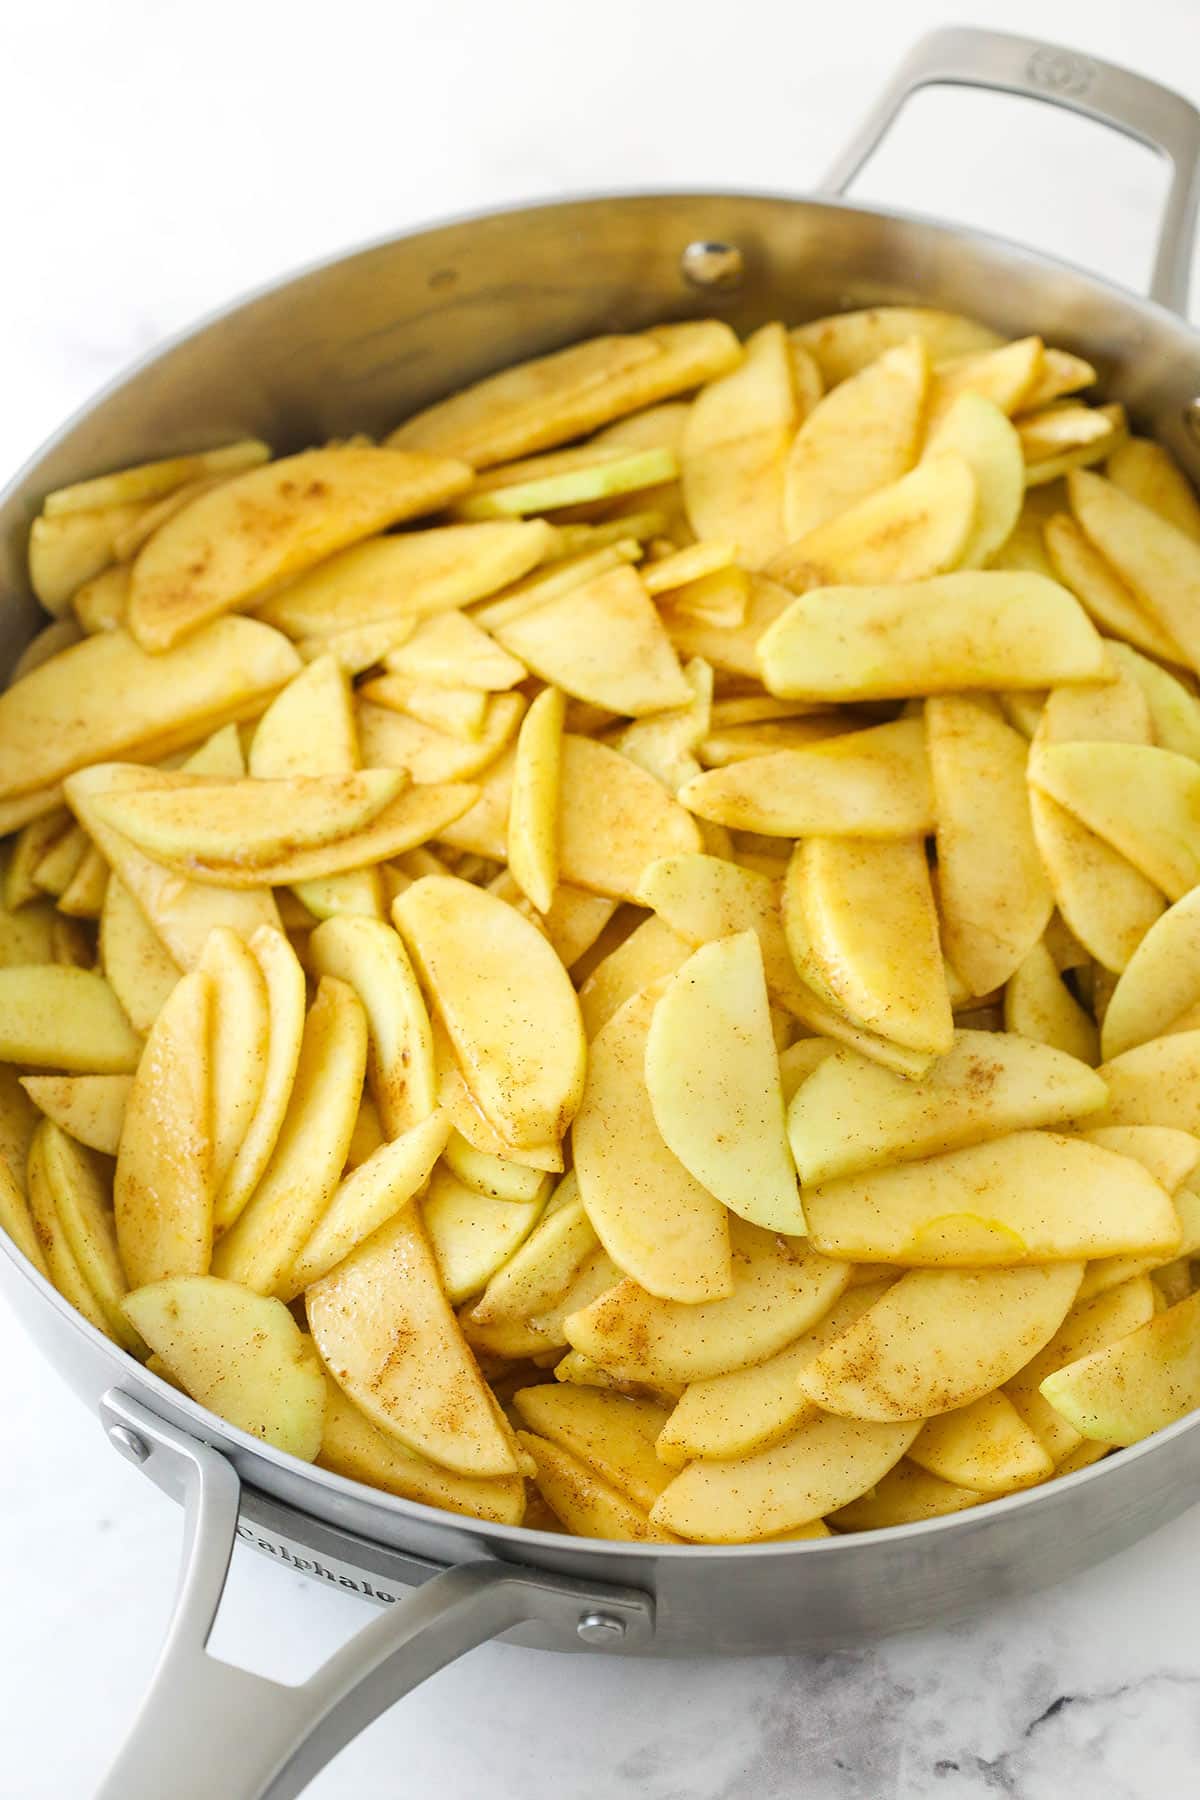
- Cook the apples. Pour the apple mixture into a large 5-quart skillet and cook it over medium heat for about 20 minutes. You want the apples to be fork-tender, but still hold their shape. The apples won’t soften more in the oven, so this is how they’ll be in the pie. Cook them to how you like them.
- Add the vanilla. Remove the pan from the heat and gently stir in the vanilla extract.
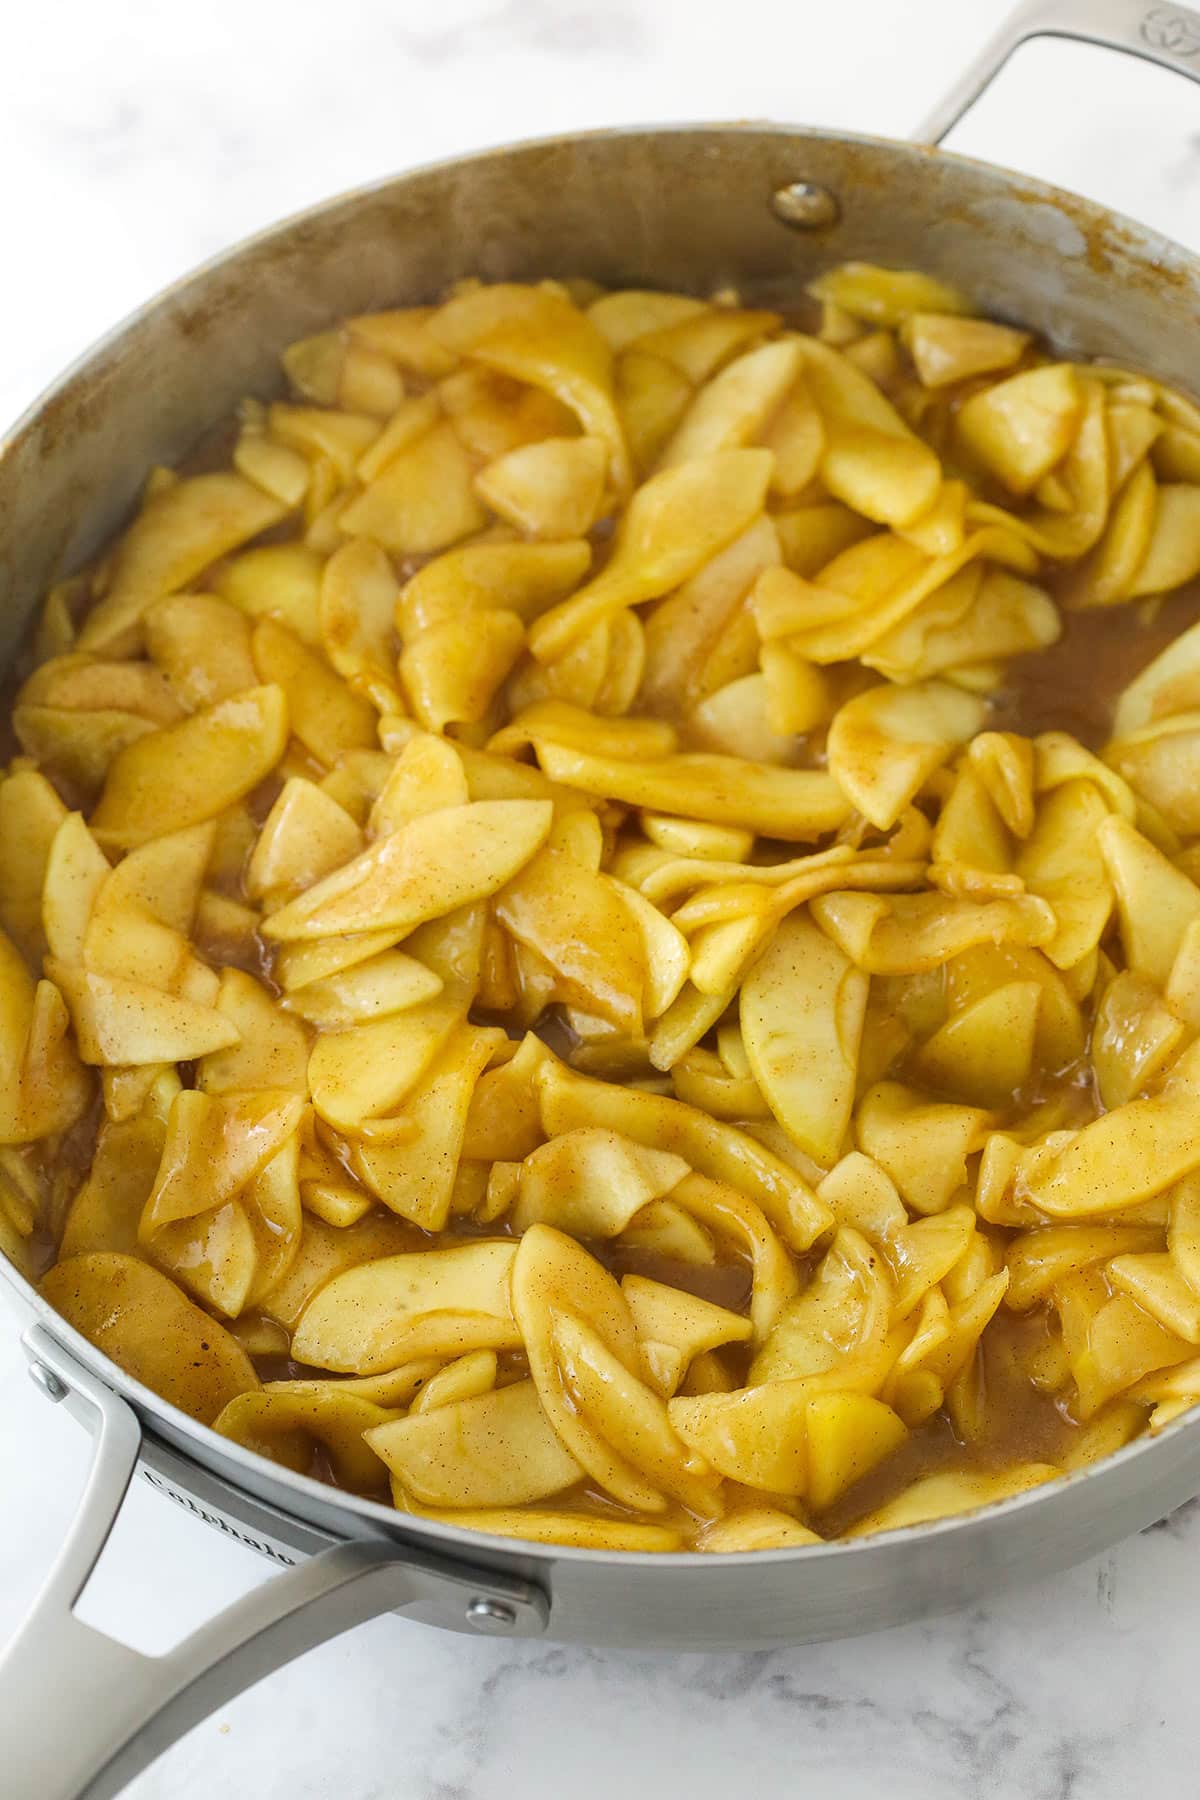
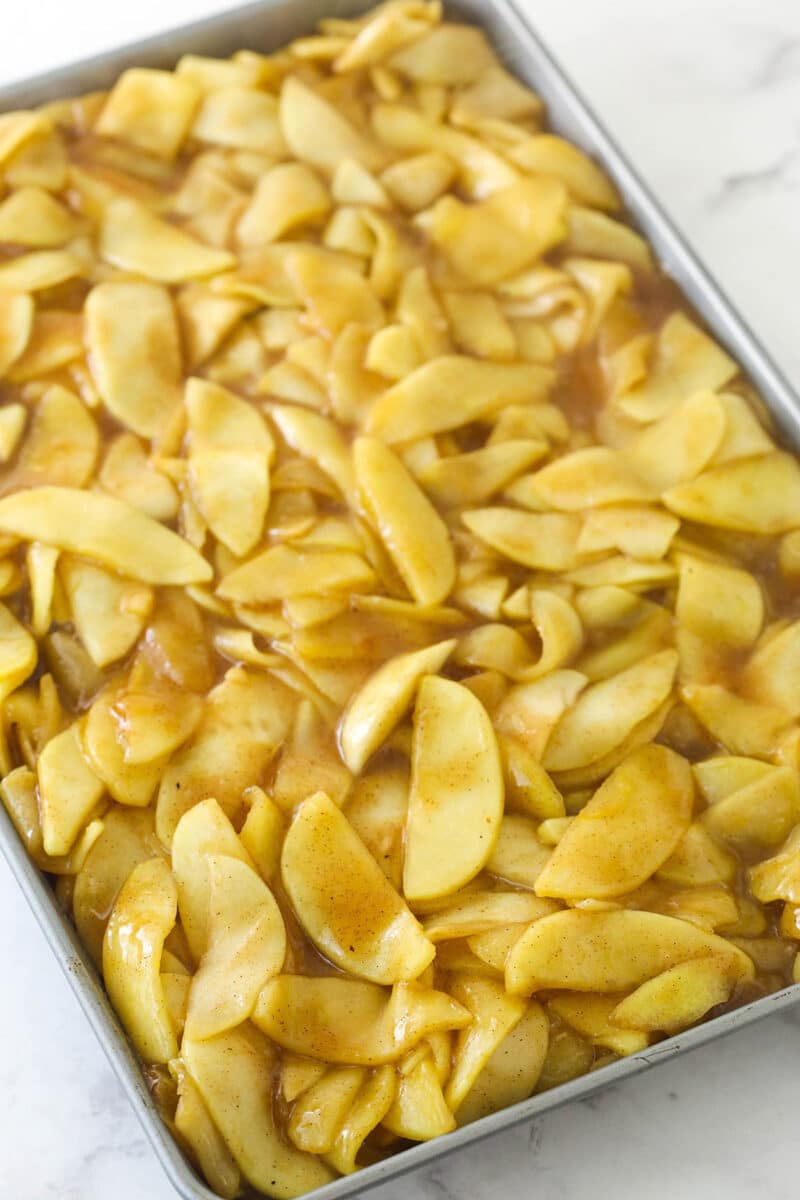
- Cool the apple filling. Spread the apple filling evenly onto a sheet pan and refrigerate until it’s completely cool. If you’re in a rush, you can pop the pan into the freezer for a short time to cool more quickly, but don’t let it freeze!
Assemble the Pie
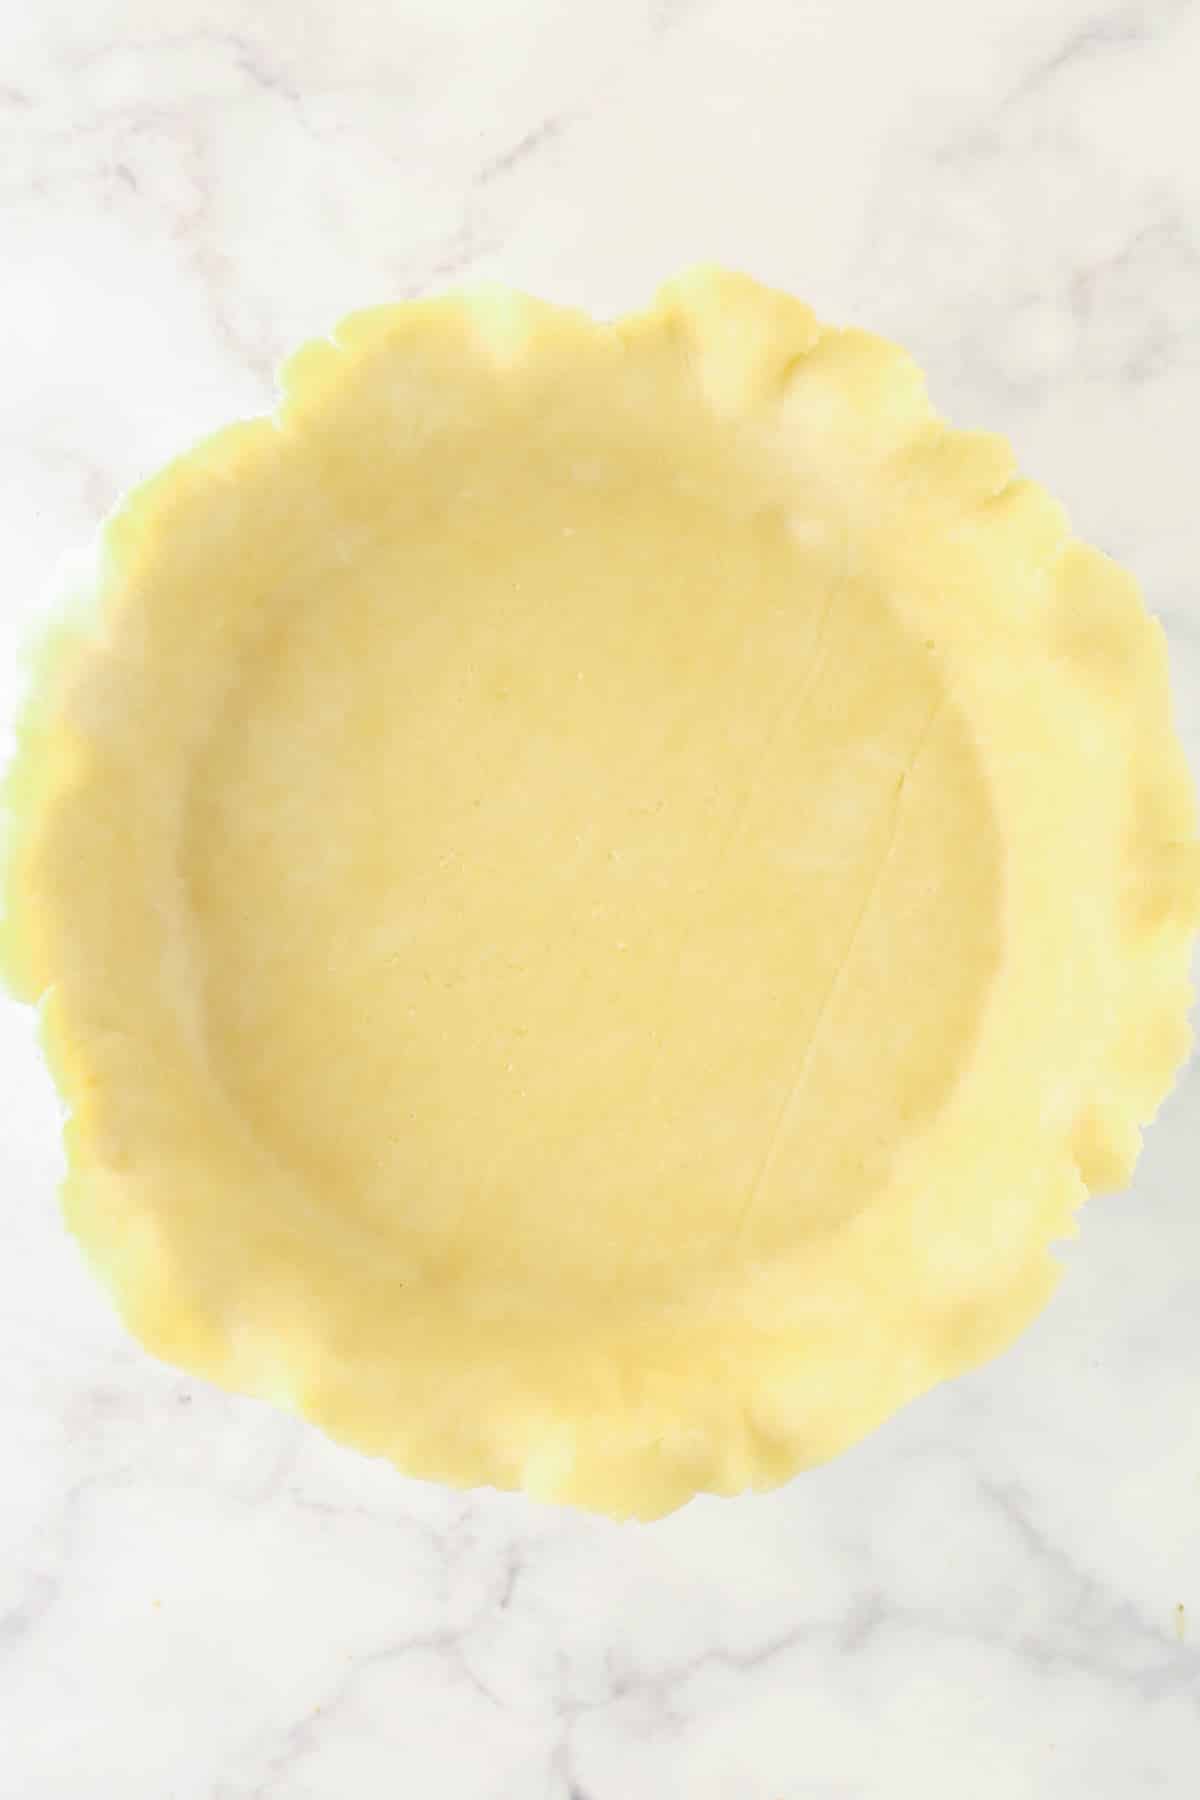
- Roll out the bottom crust. Roll out one of the pie crusts with a rolling pin. You want the crust to form a circle a little larger than the pie pan. Place it into your prepared 9-inch deep dish pie pan and smooth it up the sides and bottom.
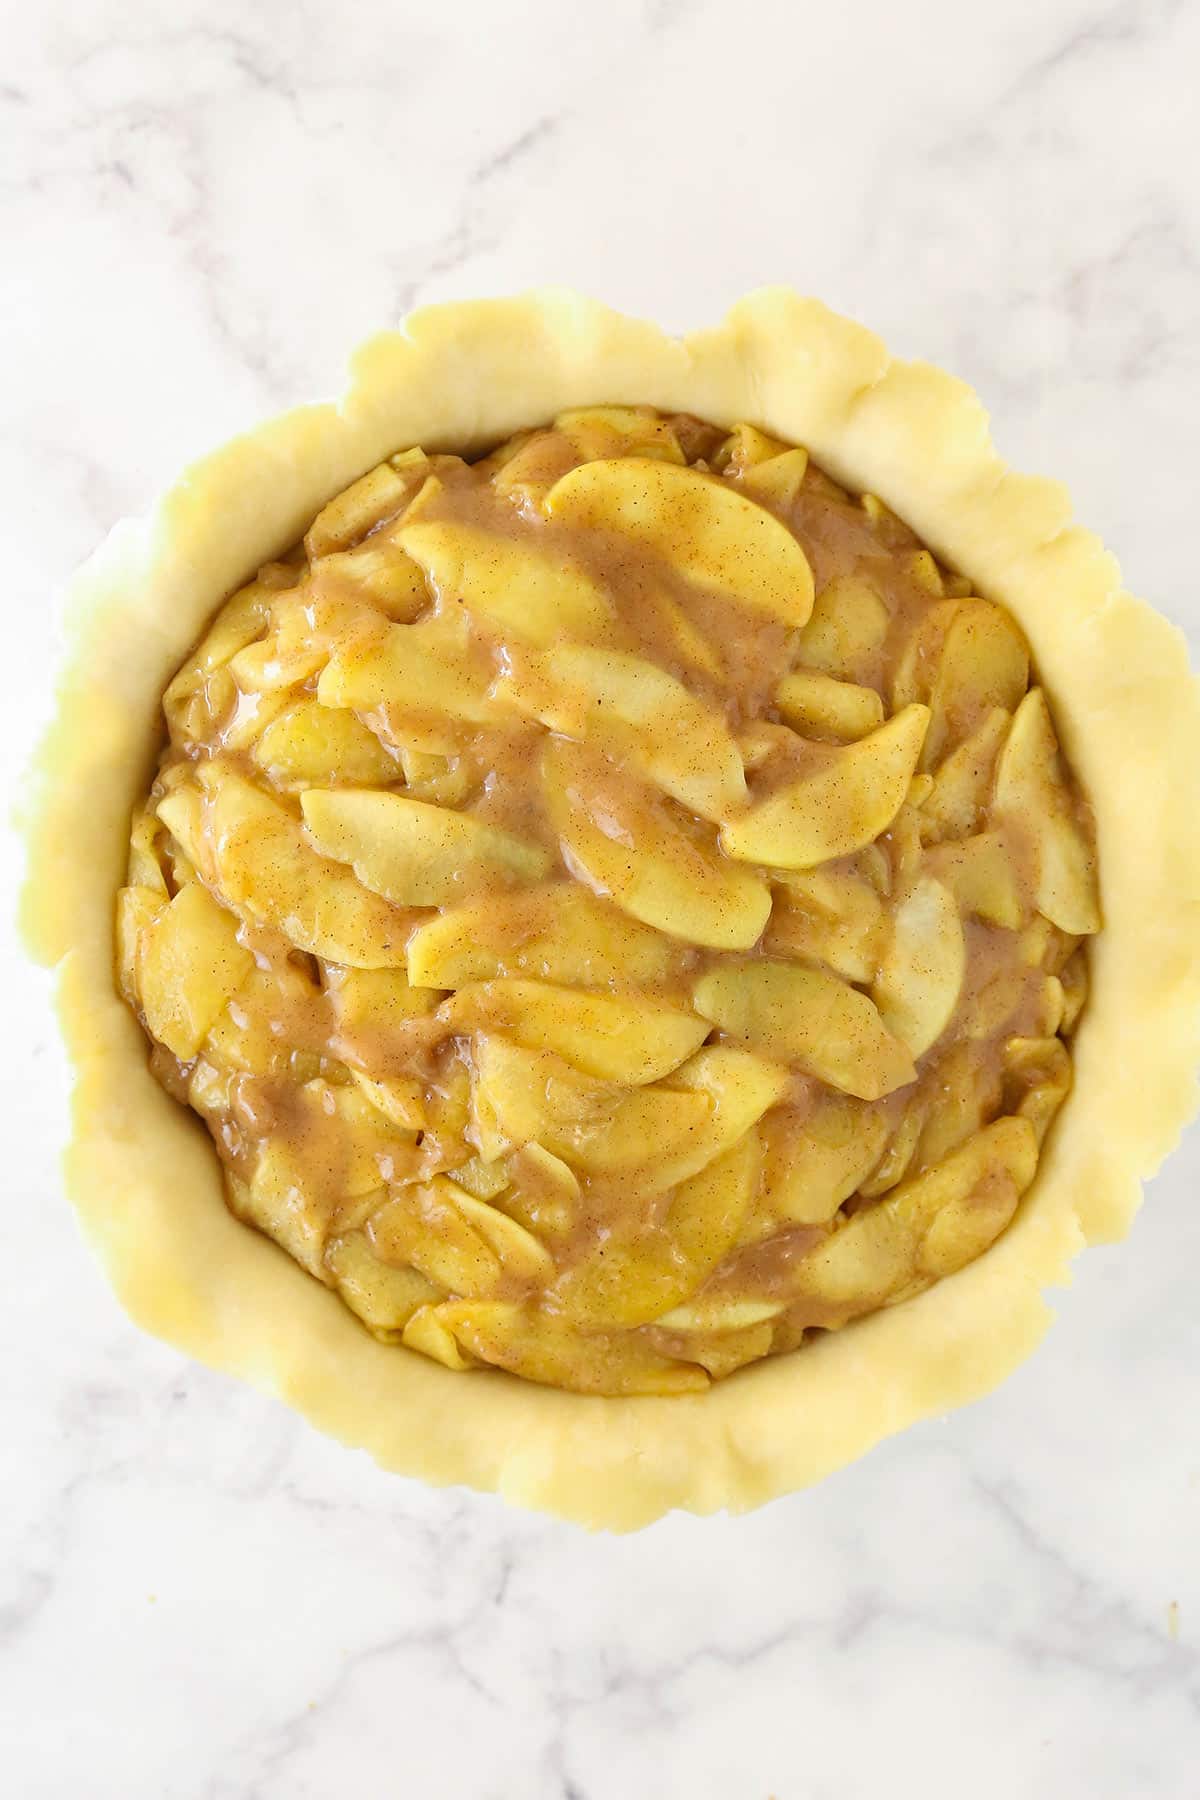
- Add the apple filling. When the apple filling is completely cool, add it all on top of the pie crust. Smooth the filling so it forms an even layer.
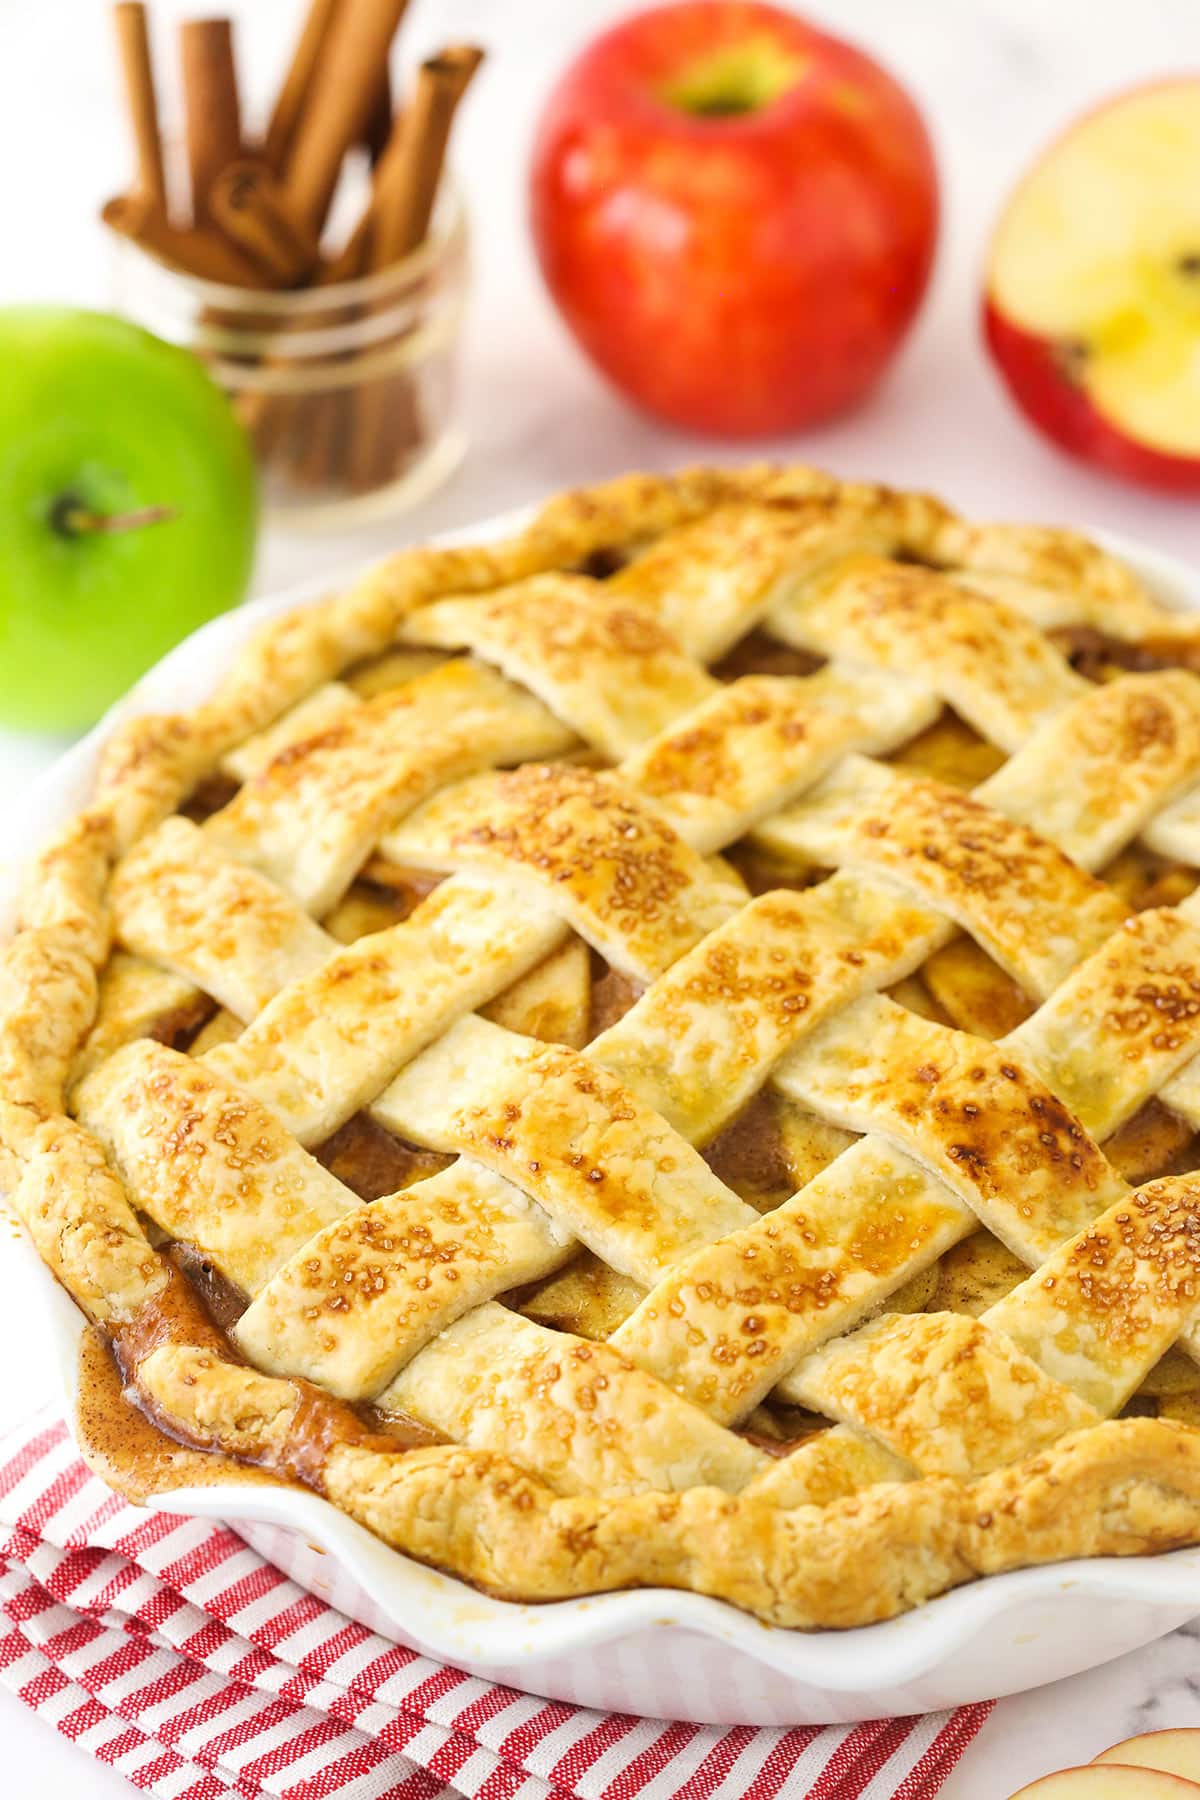
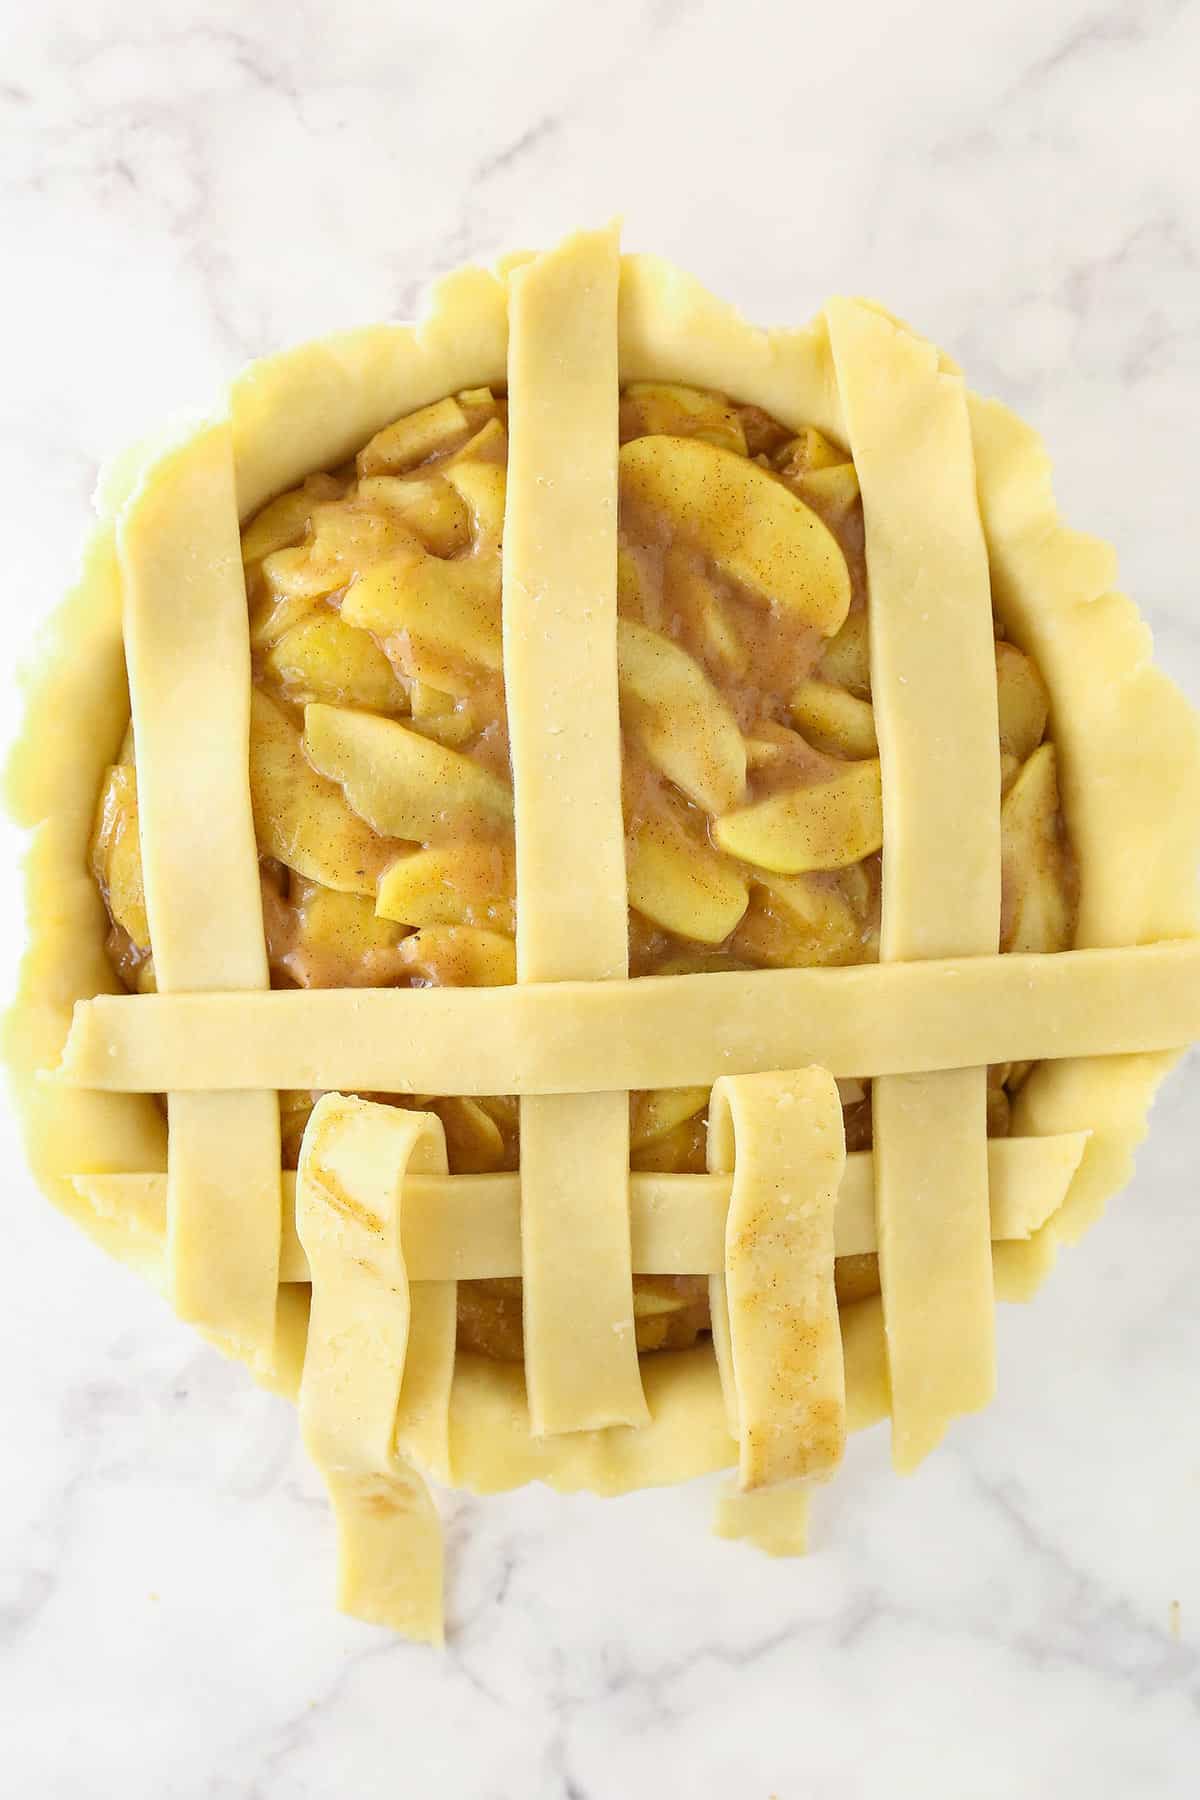
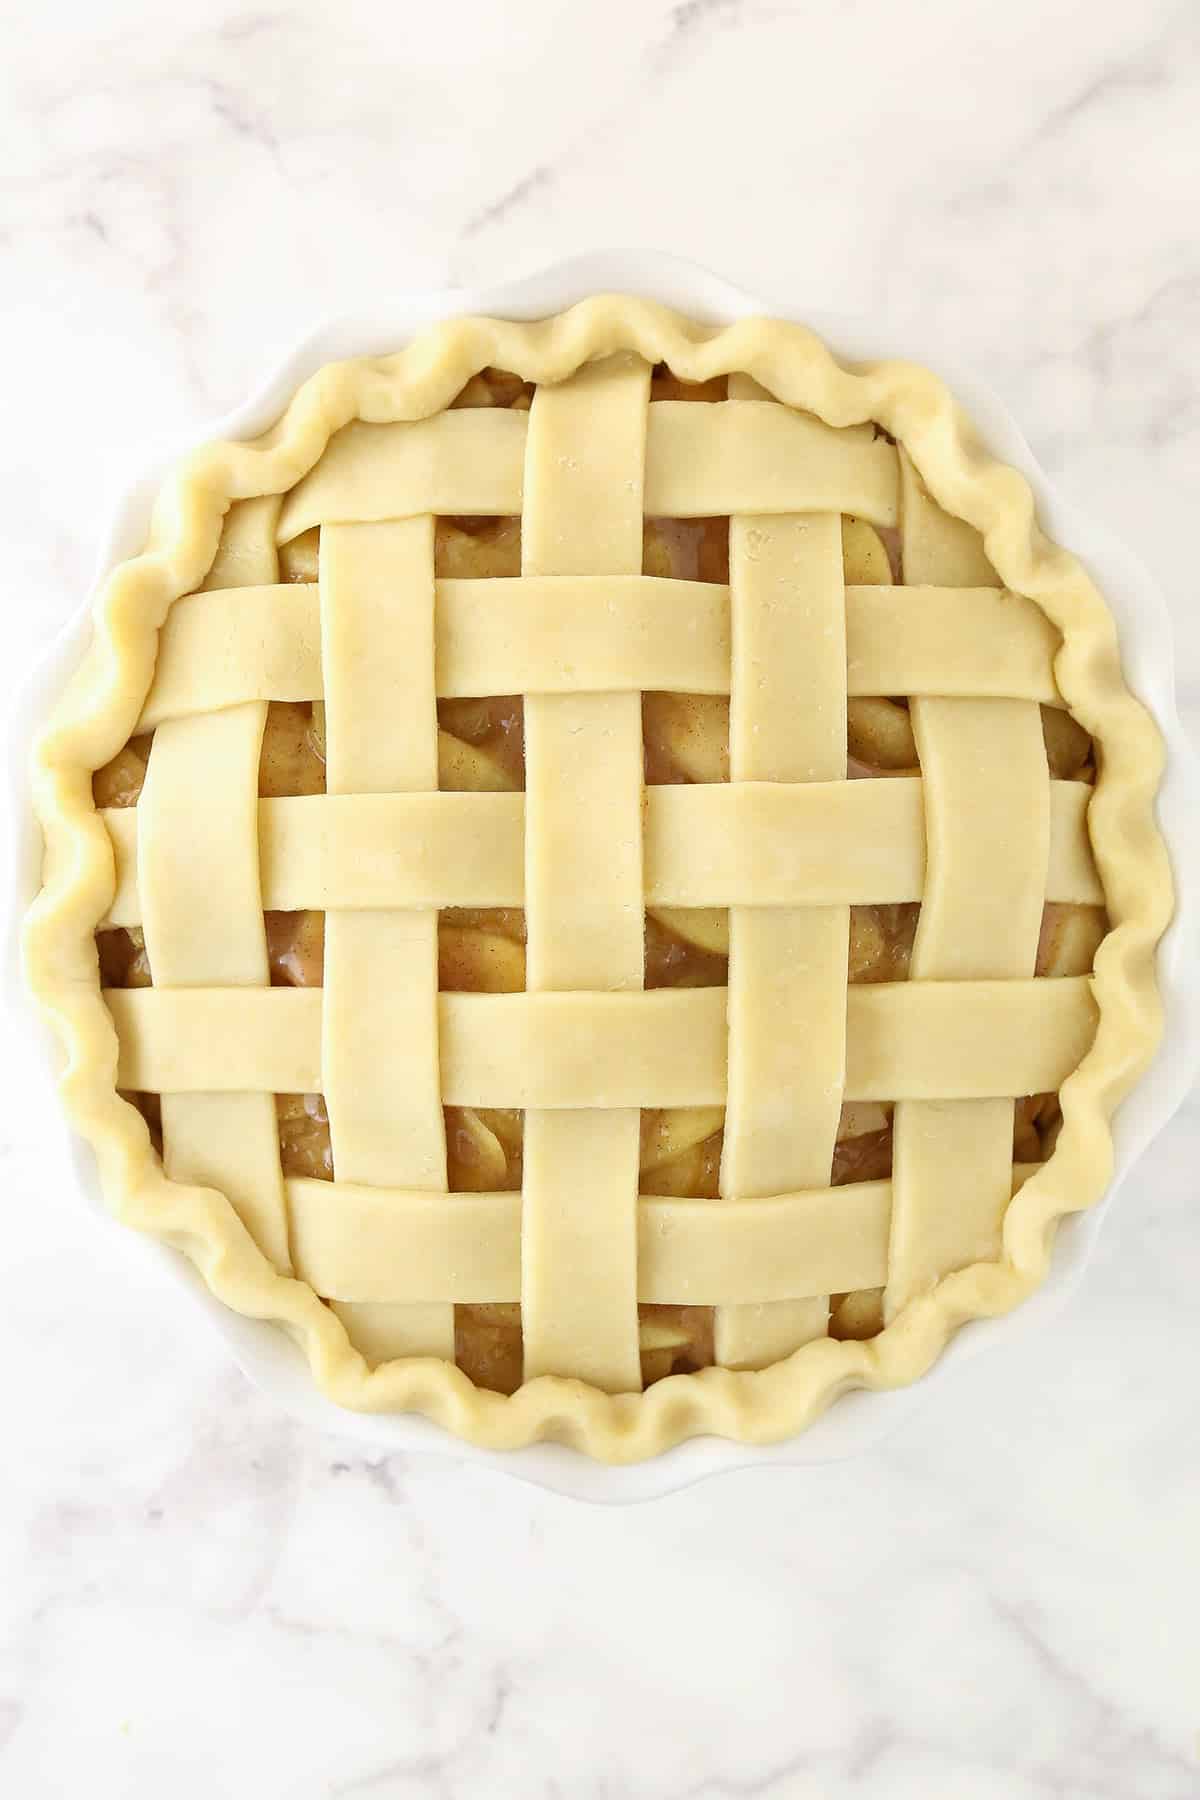
- Add the top pie crust. Top the filling with the other pie crust. I did a lattice design, but feel free to do it however you like. If you don’t do a lattice or a design that is naturally vented, just be sure to score the crust so that steam can escape while it bakes. Fold and crimp the edges of the pie as desired.
- Chill the pie. Place the pie in the fridge or freezer for 20-30 minutes to get it cold and firm.
Cook the Pie
- Preheat the oven. While the pie is chilling, preheat the oven to 425 degrees F. Place a baking sheet in the oven for about 20 minutes to get nice and hot.
- Bake the pie. Put the pie into the oven on the preheated baking sheet, and bake for 15 minutes or until the crust starts to brown.
- Reduce the heat. Reduce the oven temperature to 350 degrees Fahrenheit and bake for an additional 35-45 minutes, or until the crust is golden brown and the juices of the pie are bubbling. If the crust begins to brown too much, you can cover it with a pie crust shield or use foil to tent the top of it. Just be sure it’s vented for the steam to be released.
- Let the pie cool. Let the pie cool on a wire rack to room temperature, for about 4 hours. The filling will thicken as it cools. If you cut it when it’s still hot, the juices will run out.
- Slice and serve! When the pie is cool, slice and serve.
Can I Prepare This Recipe Ahead of Time?
Yes! One of the great things about this pie is that on the day you need it, you won’t be stuck peeling and slicing apples. If you’re making this as one of your Thanksgiving desserts, that’s a HUGE bonus! Here are a few time-saving recommendations:
- Make the filling ahead of time. The filling can be made 2-3 days ahead of time and refrigerated, or it can be placed in a ziplock bag and frozen for up to 3 months.
- Assemble and refrigerate. You can assemble the entire pie ahead of time and refrigerate it overnight.
- Assemble and freeze. You can freeze the fully assembled apple pie minus the egg wash and sugar. Wrap it in foil and place the entire thing in a freezer-safe bag. Freeze the pie for up to 3 months. When you’re ready to cook it, thaw the pie in the fridge and bake it as usual. You can also bake it from frozen as long as you add about 20 minutes to the cooking time. You’ll want to cover the pie near the end, though, so the crust doesn’t burn.
My favorite method is making the filling ahead of time and prepping the pie crust in the pie plate. I keep the filling and the pastry in the fridge until I’m ready to assemble and cook. This way, I can bake the pie early in the day and still give it plenty of time to cool and set before serving.
Tips for Success
- Peel your apples. While you can leave the skins on, I highly recommend peeling your apples. The texture of your pie will be far better without them.
- Vent your pie crust. If you use a lattice crust, then it’s vented naturally. But, if you choose to fully cover your filling, be sure to cut some slits in the top so that it can vent and release the steam.
- For a perfectly brown crust. Bake your pie uncovered until the crust around the edges is nice and brown, then cover with a pie crust ring, or use foil to cover it. If the crust on top ever gets too brown, you can cover the top of the pie as well, just be sure to cut some slits in the foil for venting.
- Cook the pie properly. You can tell your pie is done when the filling is bubbling. Don’t remove it from the oven too soon.
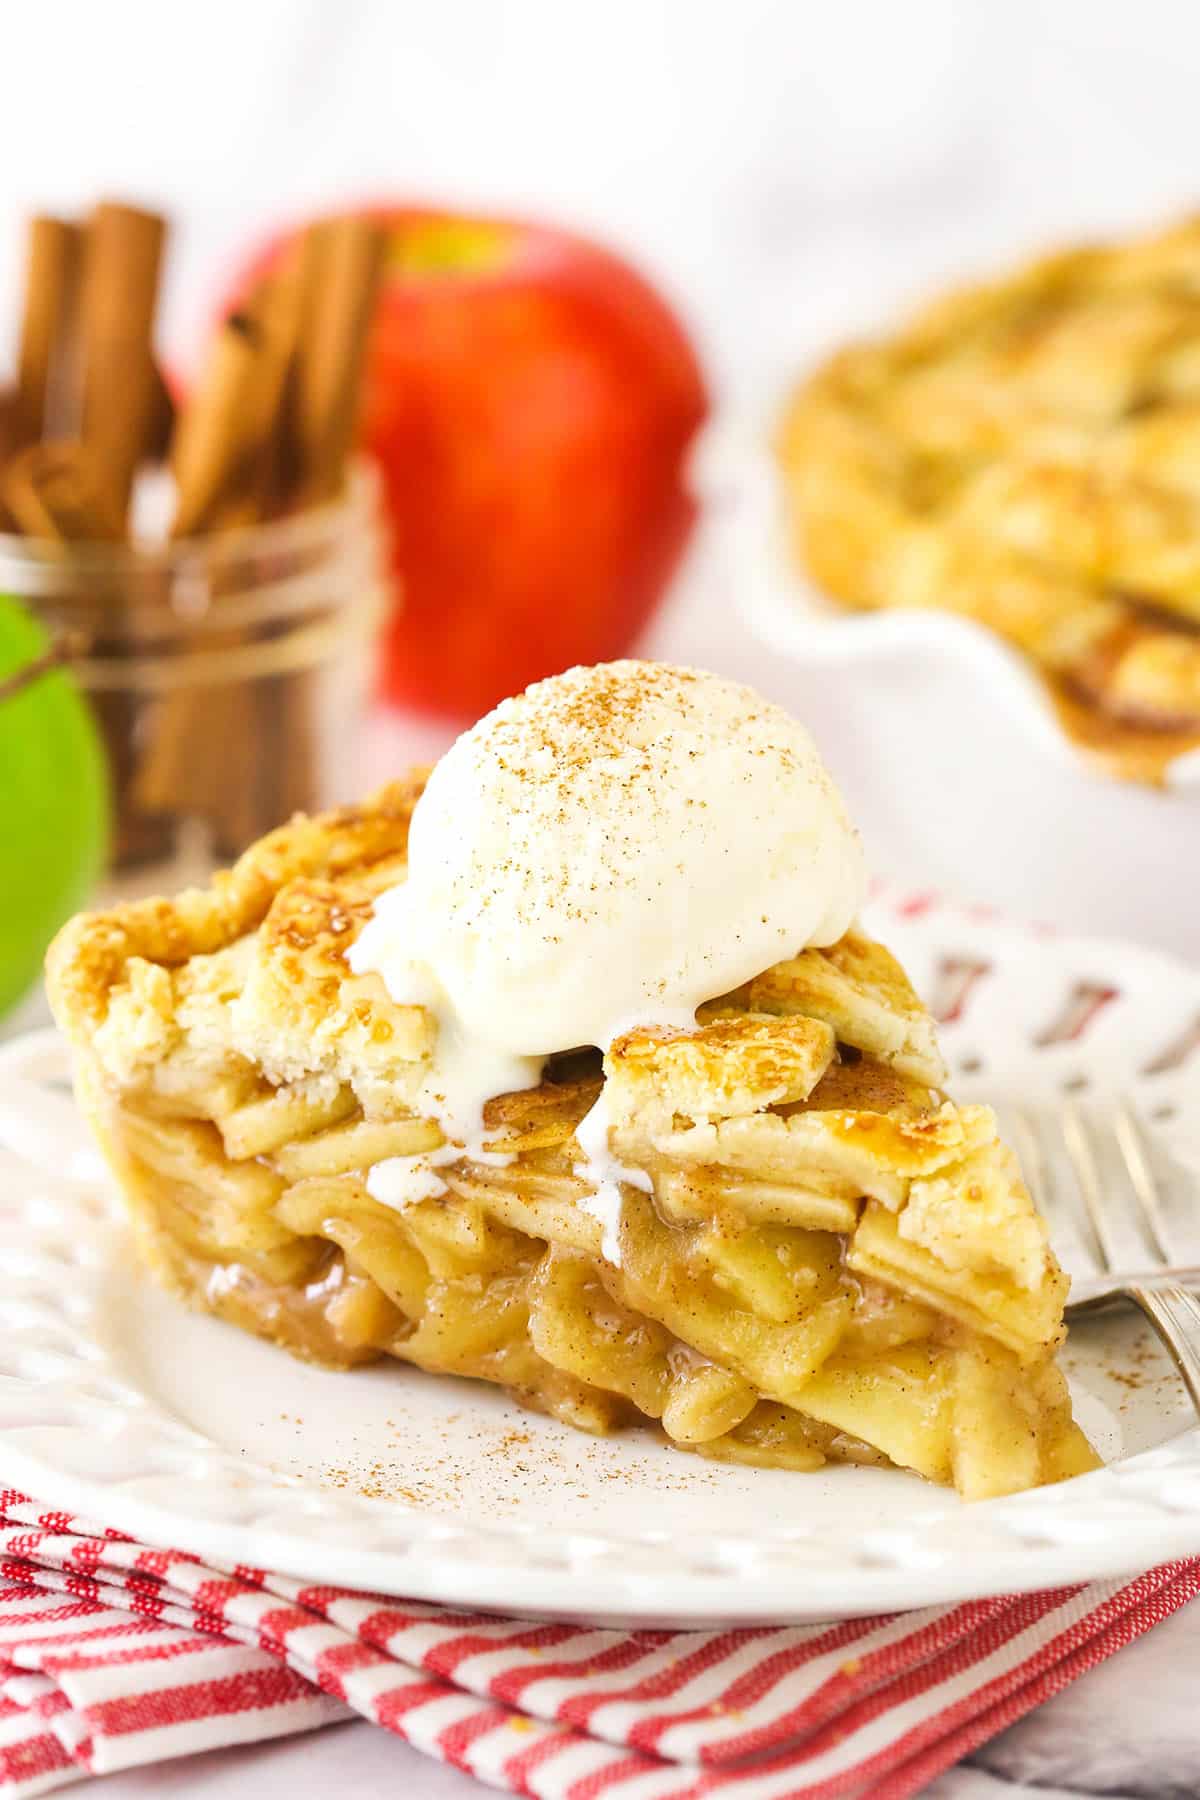
- Let it cool. If the pie is served straight out of the oven, it’ll be too warm and your filling will spill everywhere. For a filling like the one in the pictures – one that stays in place – serve it at room temperature or just slightly warm. Allow the freshly baked pie to cool for about 4 hours. You can’t really speed this up, so leave time for it.
Serving Suggestions
Wondering what to serve with a slice of apple pie? I’ve got you covered!
- Ice cream. Vanilla ice cream is a MUST when it comes to apple pie. Caramel ice cream is also a good choice, though.
- Whipped cream. Another must, as long as we’re getting decadent.
- Caramel sauce. A drizzle of caramel sauce over the top is also dreamy!
Proper Storage
Your apple pie can be stored tightly covered at room temperature for up to 24 hours since the sugar acts as a preservative. After that, you’ll want to refrigerate it for another 2-3 days. Heat slices up as desired before serving.
Can I Freeze Apple Pie?
Yes, cooked apple pie freezes well. Cut any remaining pie into slices and place them uncovered in the freezer. Once frozen, wrap the slices in plastic wrap and place them back into the freezer. You can keep them there for up to 3 months. When you’re ready to eat, let the slices thaw overnight in the fridge. Heat them up before serving.
More Easy Pie Recipes
Looking for more homemade pies to try? These are some of my favorites:
Watch How to Bake This Homemade Apple Pie
If you want to see how this pie comes together step by step, check out the video below:
Print
Homemade Apple Pie
- Prep Time: 2 hours 15 minutes
- Cook Time: 50 minutes
- Total Time: 3 hours 5 minutes
- Yield: 10-12
- Category: Dessert
- Method: Oven
- Cuisine: American
Description
This sweet homemade apple pie is filled with tender apples and cozy spices, and made with a perfectly flaky crust. Serve it for Thanksgiving dessert, or just because!
Ingredients
For the Crust
- Homemade Pie Crust (you’ll need two crusts)
For the Apple Pie Filling
- 2 1/2 pounds Granny Smith apples, before peeling and coring
- 2 1/2 pounds Honeycrisp apples*, before peeling and coring
- 1 tablespoon lemon juice
- 1/2 cup (112g) packed light brown sugar
- 1/2 cup (104g) granulated sugar
- 1/3 cup (43g) all-purpose flour
- 1/2 teaspoon salt
- 1 1/2 teaspoons ground cinnamon
- 1/4 teaspoon ground nutmeg
- 1 teaspoon vanilla extract
- 1 large egg, beaten
- Coarse sugar, optional
Instructions
For the Pie Crust
- Make the pie crust according to the directions. Refrigerate until ready to use. I use a 9 inch deep dish pie plate.
To Make the Apple Pie Filling
- Peel, core, and slice all of the apples to about 1/8 inch thick. You want to try to slice them all about the same thickness so they cook evenly.
- Add the lemon juice to a very large bowl and toss the apples in the juice as you slice them, leaving the apple slices in the bowl for later.
- Add the sugars, flour, salt, cinnamon, and nutmeg to the apple slices and gently toss to coat them all with the mixture. Be careful not to break the apples as you toss them.
- Pour the apple mixture into a large 5-quart skillet (I use this skillet but this one would work well too.)
- Cook the apples (covered with a lid) over medium heat for about 20 minutes. You want the apples to be fork-tender but still hold their shape. The apples won’t soften more in the oven, so how they are when you stop cooking them is how they’ll be in the pie. Cook them to how you like them.
- Remove the pan from the heat and gently stir in the vanilla extract.
- Spread the apple filling evenly onto a sheet pan or any pan with a lip around the edge and refrigerate it until completely cool. Depending on how cold your fridge is, it’ll take a couple of hours or so to cool fully. You could also pop it in the freezer to cool more quickly, but you won’t want it to be frozen when you go to use it later.
- Roll out one of your pie crusts and add it to a 9-inch deep dish pie pan.
- When the apple filling is completely cool, add it all to the pie crust.
- Top the filling with the other pie crust. I did a lattice design, but feel free to do it however you like. If you don’t do a lattice or a design that is naturally vented, just be sure to score the crust so that steam can escape while it bakes. Fold and crimp the edges of the pie as desired.
- Place the pie in the fridge or freezer for 20-30 minutes to get it cold and firm.
- Preheat oven to 425 degrees Fahrenheit. While the pie is chilling, place a baking sheet in the preheated oven for about 20 minutes to get nice and hot.
- Before putting the pie in the oven, brush the crust of the pie with the beaten egg and sprinkle the top with the coarse sugar.
- Put the pie into the oven on the preheated baking sheet and bake for 15 minutes or until the crust is starting to brown.
- Reduce oven temperature to 350 degrees Fahrenheit and bake for an additional 35 to 45 minutes, or until the crust is golden brown and the juices of the pie are bubbling. If the crust begins to brown too much, you can cover it with a pie crust shield or use foil to tent the top of it. Just be sure it’s vented for the steam to be released.
- Let the pie cool on a wire rack to room temperature, for about 4 hours. The filling will thicken as it cools. If you cut it when it’s still hot, the juices will pool.
- When the pie is cool, slice and serve.
Notes
- Modified from The Food Charlatan and Cooks Illustrated
- *I used Honeycrisp apples, but mainly you want to be sure to use an apple that isn’t tart like the Granny Smith apples. You want a mix of tart and sweet/flavorful apples.
- To store. Store the pie at room temperature for up to 24 hours, then refrigerate it. The pie should be good for 3-4 days.
- To freeze. Cut any remaining pie into slices and place them uncovered in the freezer. Once frozen, wrap the slices in plastic wrap and place them back into the freezer. You can keep them there for up to 3 months. When you’re ready to eat, let the slices thaw overnight in the fridge. Heat them up before serving.





Love this pie. I have made it many times. I would like to know if I can leave the cooked apples in the frig for a couple days before adding to the pie crust and baking. I am making 5 pies and I want to prepare ahead if possible.
I’m glad you enjoy it! Yes, the cooked apples would last a couple days in the fridge.
I absolutely love your recipes. I use them often. Am I able to use a premade pie crust if I decided to do so? Also, would I need to blind bake the homemade or the premade crust?
I’m so glad to hear you enjoy the recipes! You can certainly use a premade crust. You would use it just like the homemade one and not blind bake it.
I am making this between tonight and tomorrow. Do I blind bake the crust before adding the filling?
No, you don’t need to blind bake it.
I have now made this recipe five times since the weekend before Thanksgiving. I have made other apple pies and didn’t care for them. This one was awesome!
It was a lot of work, but all apple pies are a lot of work. At least this one is worth all the effort.
When I am looking for a recipe, I always check Life Love and Sugar first. She never fails to provide a great recipe.
Awesome! I’m so glad you enjoyed it, and enjoy the other recipes! Thank you!
I want to do a Dutch apple pie how can I do that?
You would want to add a crumb topping, which I don’t currently have a recipe for.
LOVE this recipe and plan on making it. Question – can I turn this into a Caramel Apple Pie easily by adding caramel? Thoughts or suggestions? I searched your site to see if you had a recipe for a Caramel Apple Pie, but didn’t see one. Thank you!
It should be fine to add caramel sauce over the apples when you build the pie. It may thin out the filling a touch, but otherwise it wouldn’t hurt anything.
I like chunked apples instead of slices. Will the same process work for this pie?
It imagine it would be fine, as long as you cook them to how you like them when you pre-cook the apples.