This post may contain affiliate sales links. Please read my disclosure policy.
This rich and fudgy Flourless Chocolate Torte is easy to make with a creamy chocolate ganache and a sweet homemade raspberry sauce! When it comes to gluten-free cake, this chocolate-laden recipe reigns supreme.
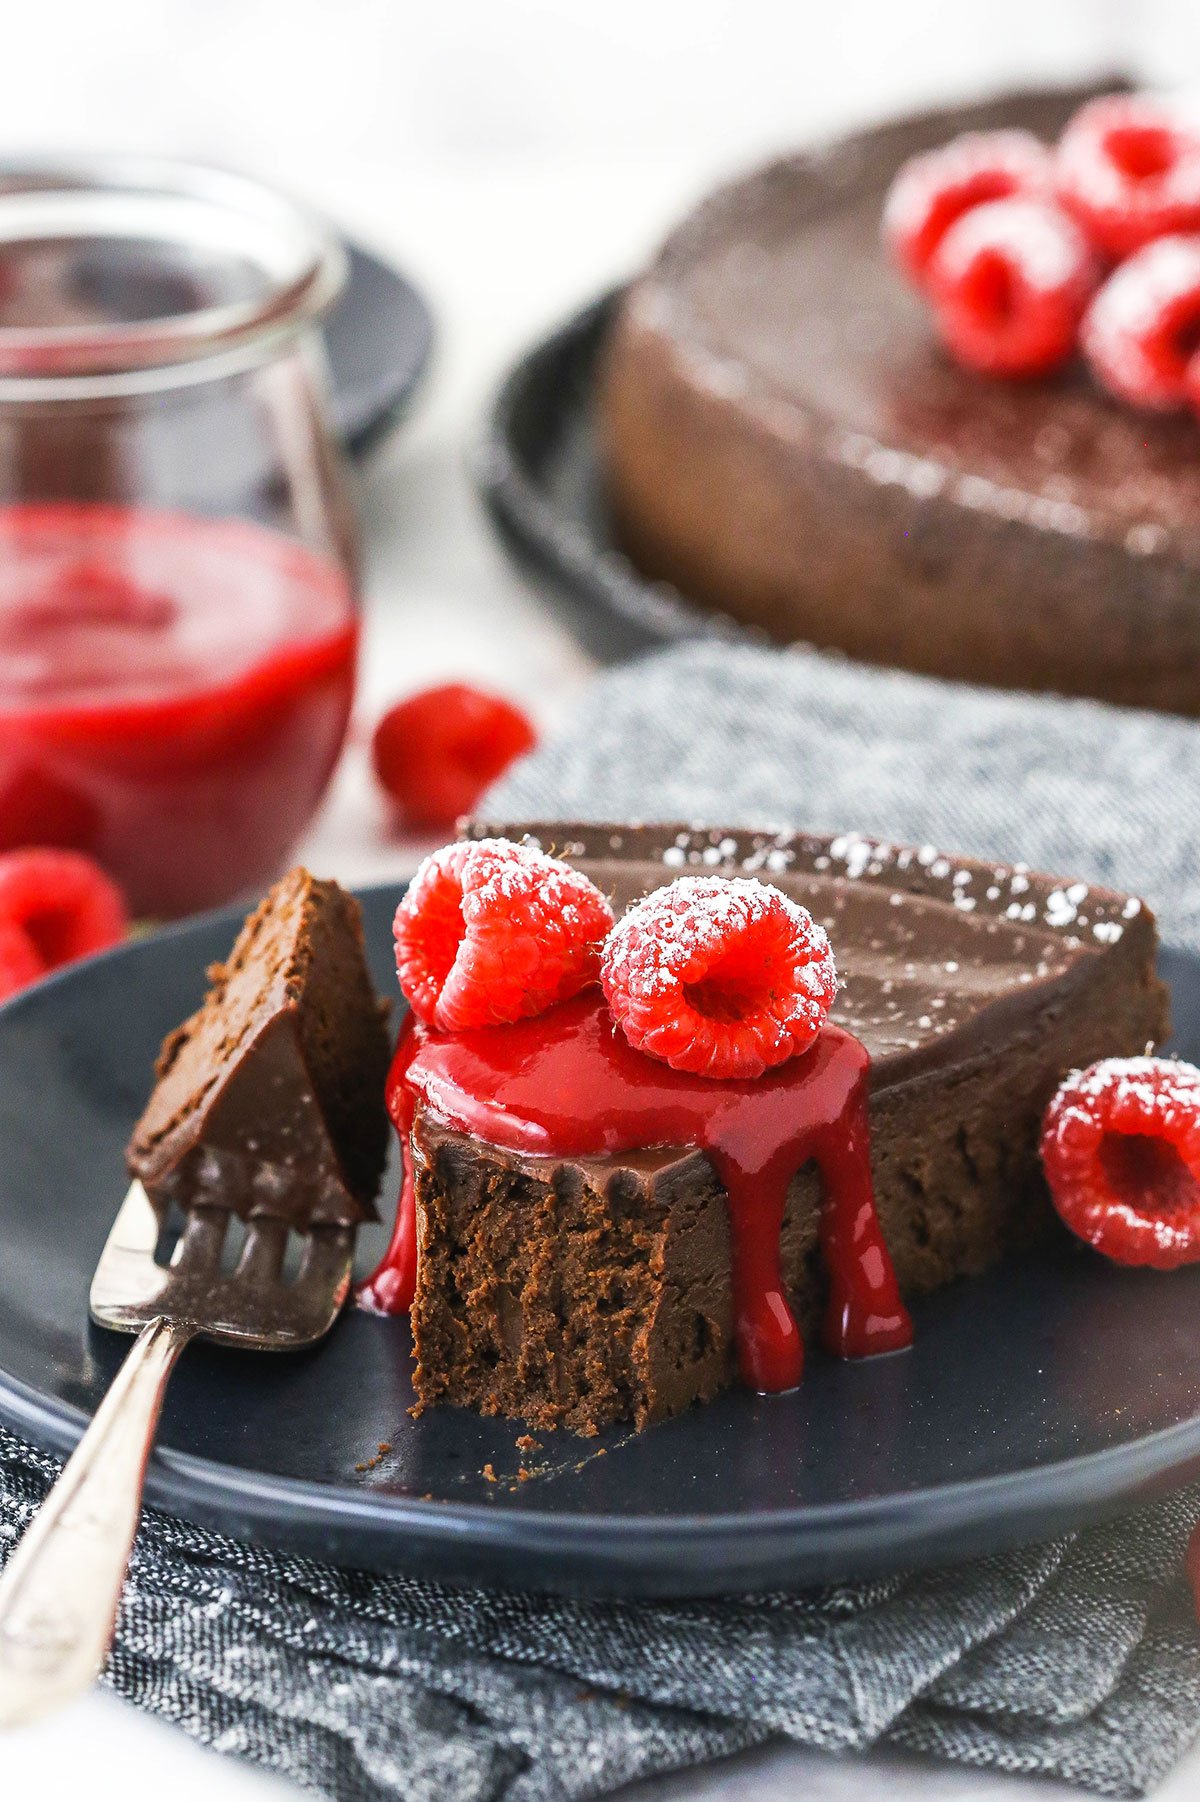
The Best Gluten-Free Cake for Chocolate Lovers
In my experience, there are two kinds of flourless chocolate cakes – those that are dense and fudge-like versus those that feel more like an undercooked brownie. I personally prefer the first kind. With this recipe, you get a gourmet chocolate torte that tastes like fudge on a plate, only denser and richer. And you only need a handful of ingredients to make it!
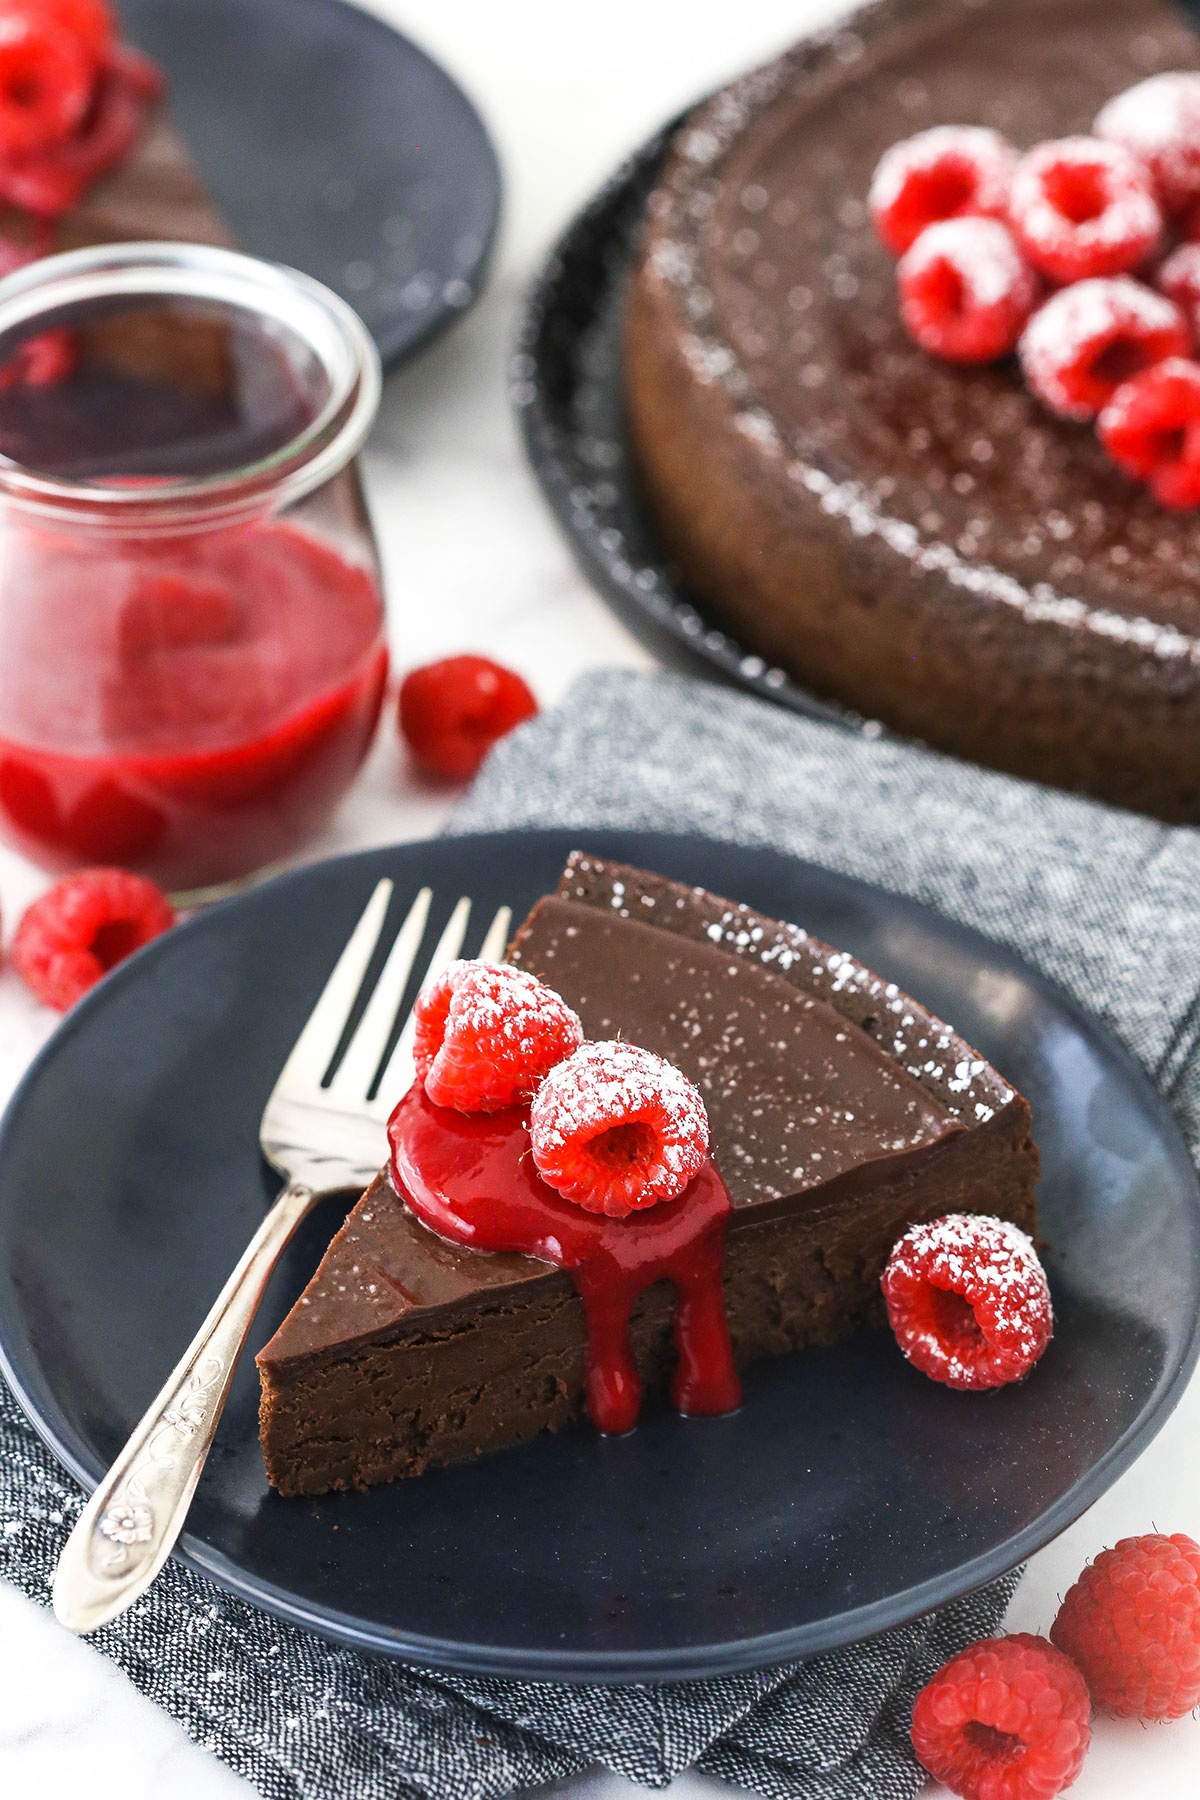
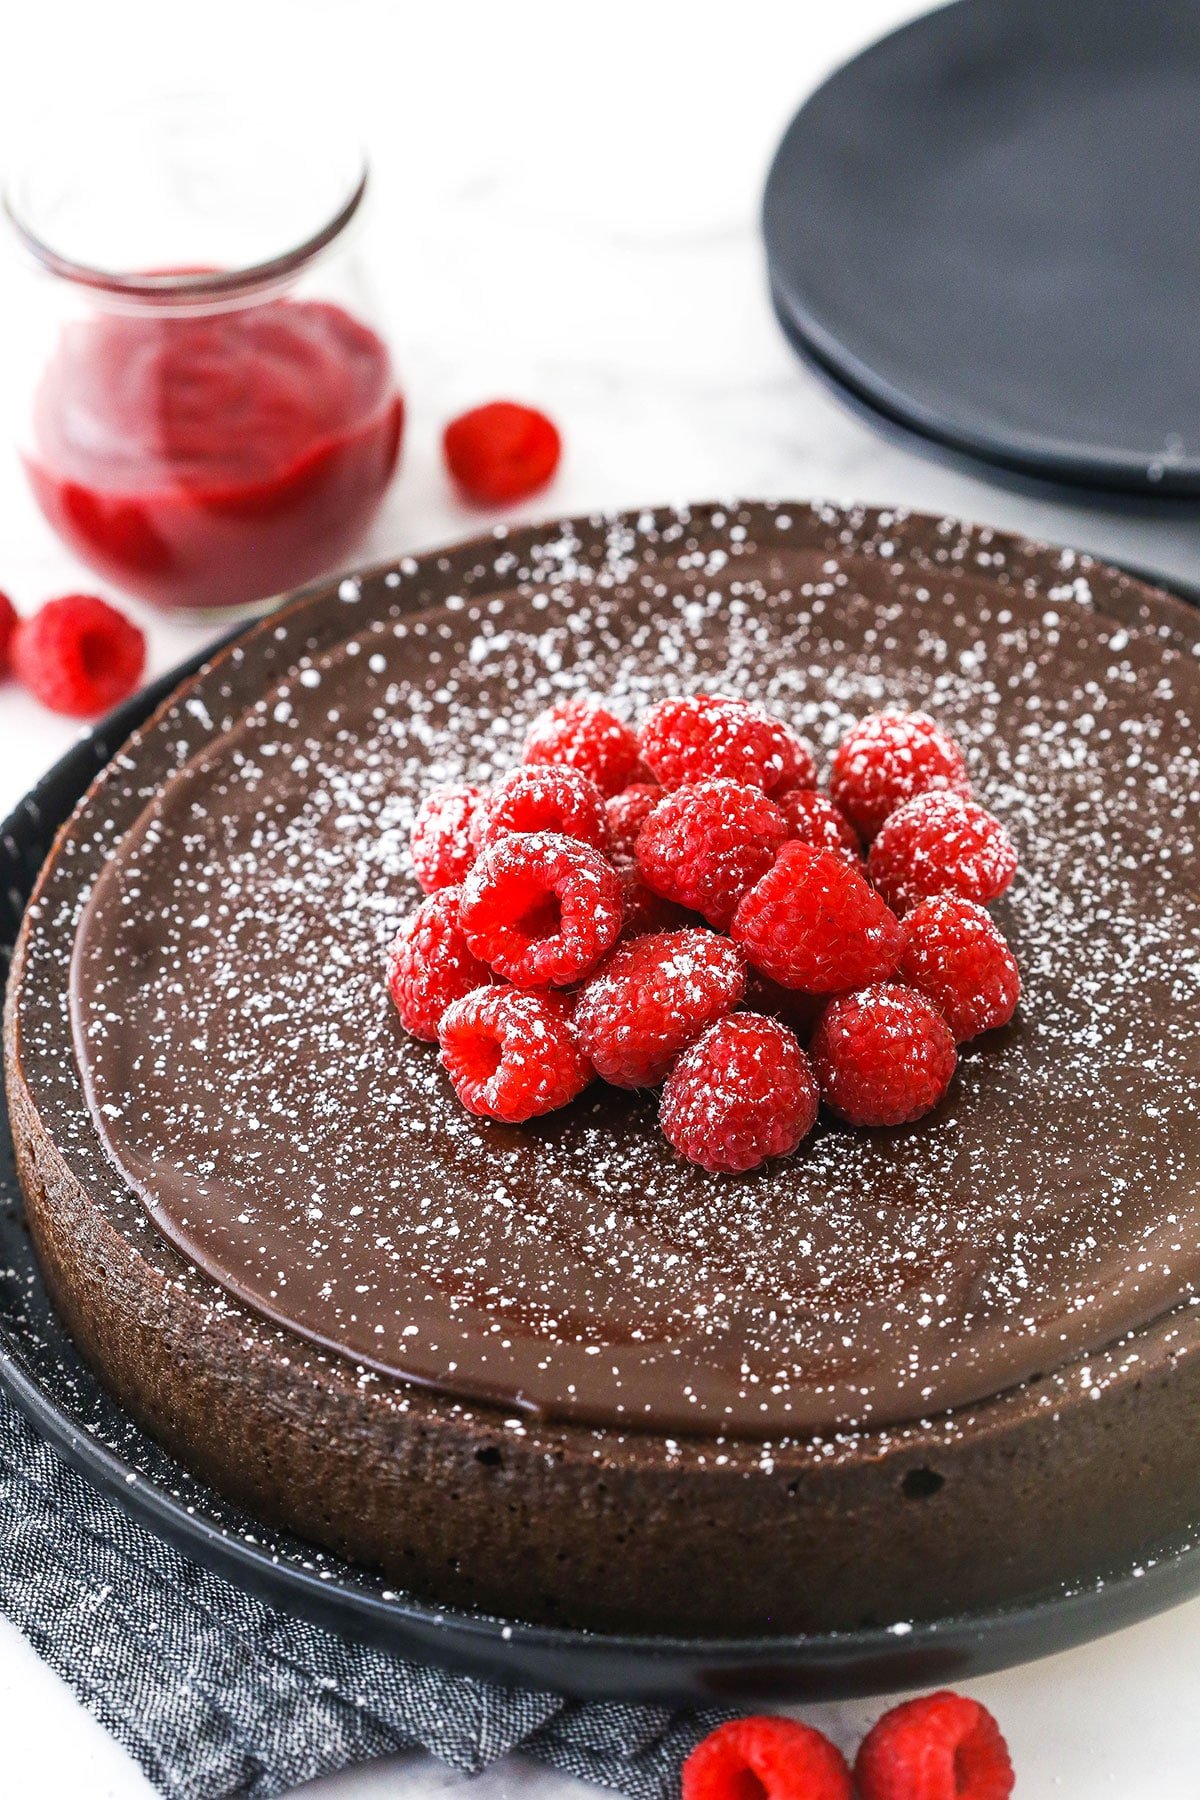
It’s paired with an equally chocolatey ganache that you’ll want to put on all of the cakes you prepare in the future. I like to top it off with a dusting of powdered sugar, some fresh raspberries and of course, homemade raspberry sauce. I could eat this cake for dessert every single night and never get bored of it.
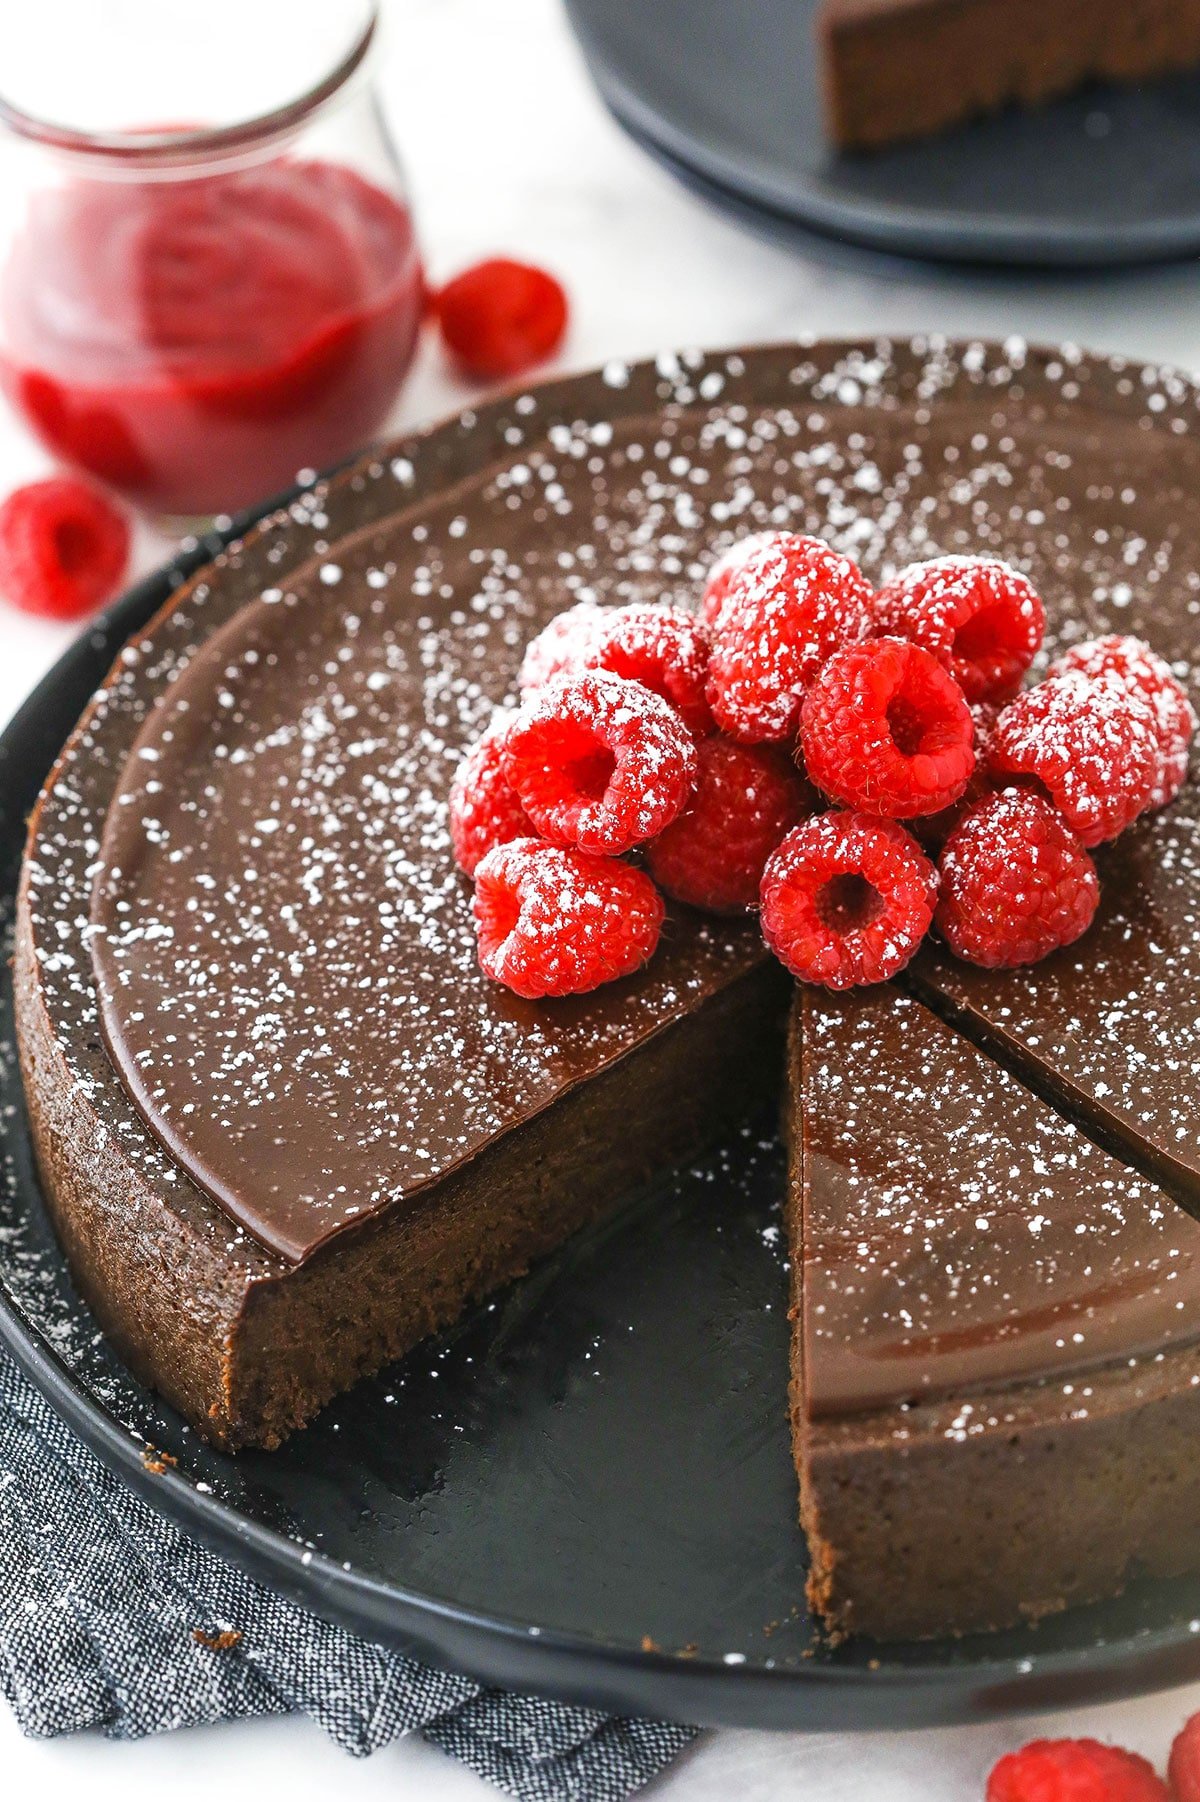
What You’ll Need
Even though the raspberry sauce is optional, I highly recommend whipping it up – I never make this cake without it. It complements the richness of the chocolate perfectly. Since this cake is so dense and rich, it’s better served in smaller slices. But with the tart raspberry sauce on top to balance the rich chocolate, I could practically eat the whole thing in one sitting!
For the Flourless Chocolate Cake
- Eggs: Keep these in the fridge until you’re ready to make the cake.
- Semisweet Chocolate: Coarsely chopped.
- Unsalted Butter: Cut into cubes.
For the Chocolate Ganache
- Semisweet Chocolate: You can use chocolate chips or chopped chocolate.
- Heavy Whipping Cream
- Optional Toppings: Round out this gluten-free chocolate cake with some powdered sugar, raspberry sauce and fresh raspberries for a tasty finishing touch. If needed, check the label of your powdered sugar to make sure it doesn’t contain any gluten.
How to Make Flourless Chocolate Cake
Because of all the eggs that go into this torte, it’s actually a custard-based cake, similar to a cheesecake. For that reason, it uses a water bath. But don’t let that deter you – it’s very easy to put together.
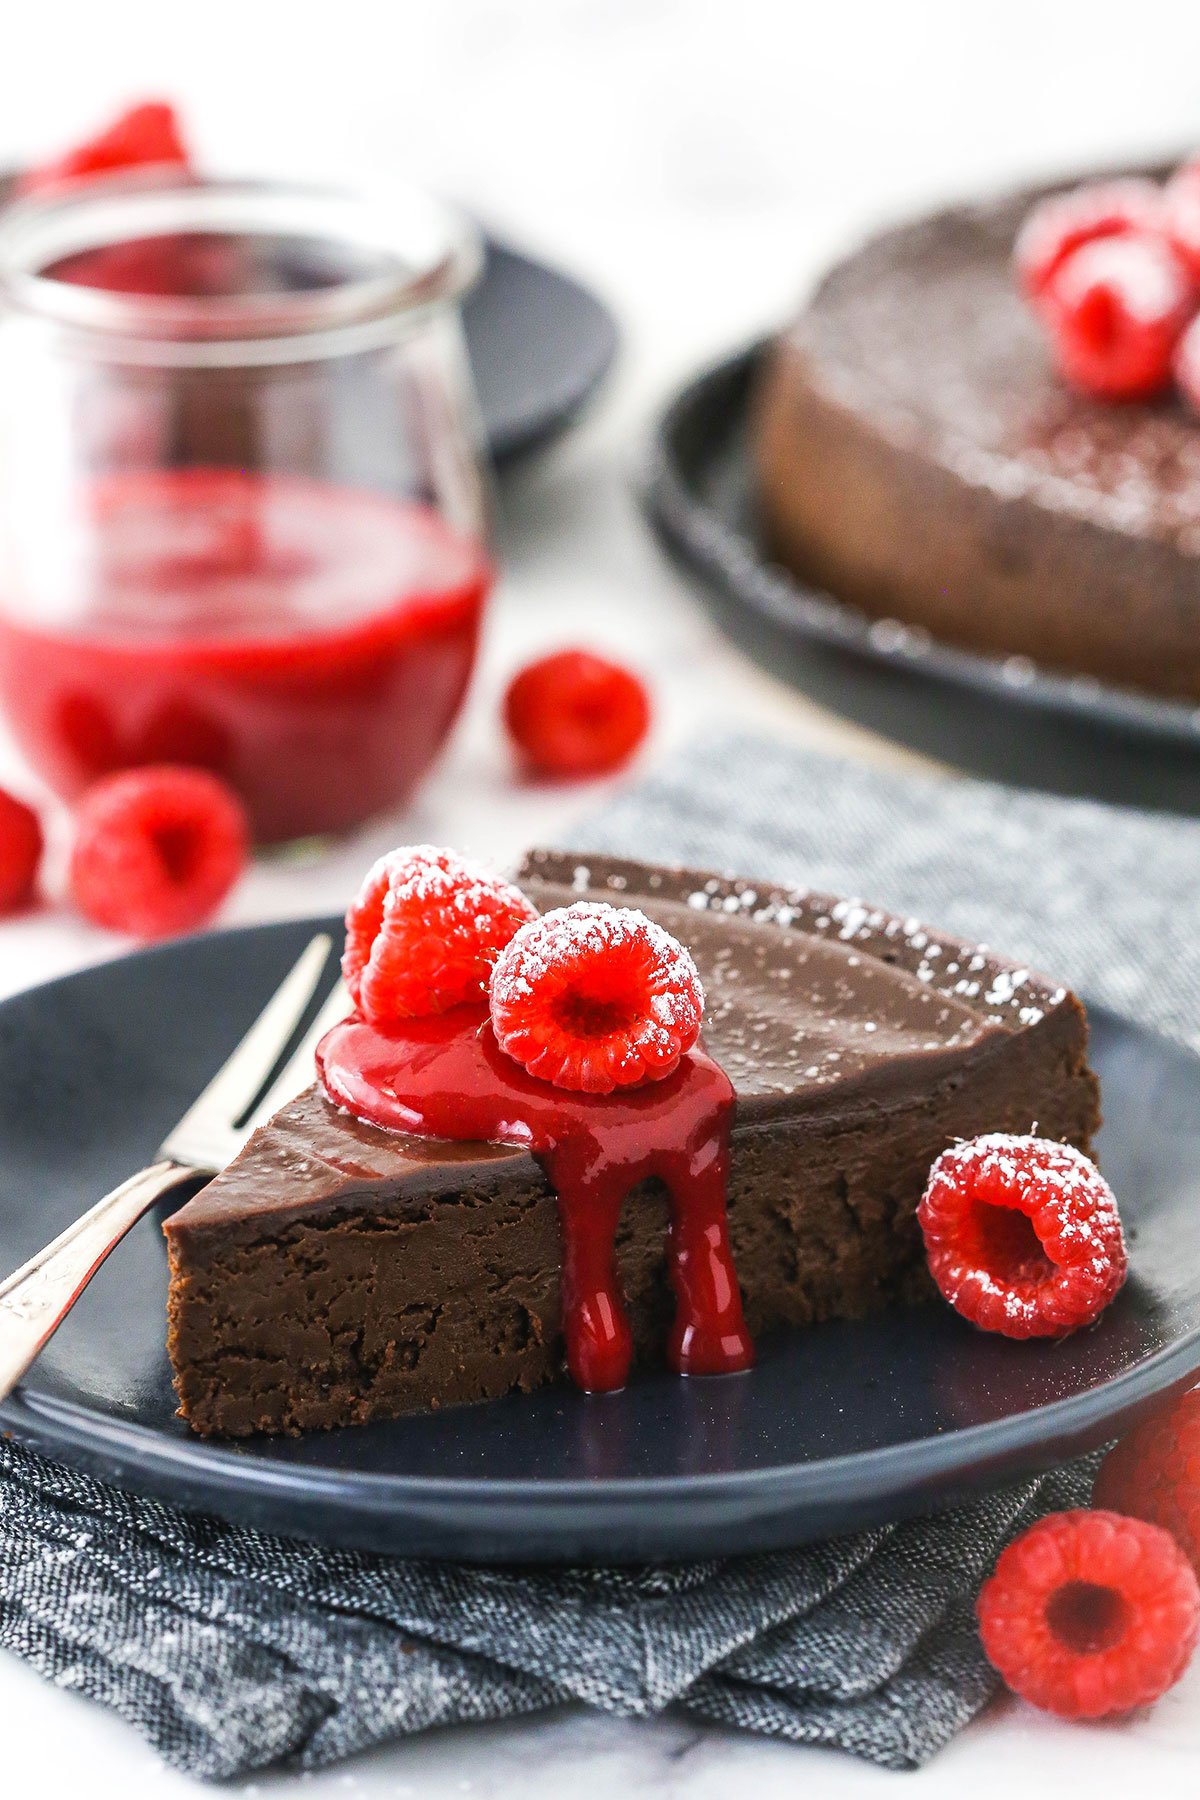
Make the Cake
- Heat Oven & Grease Pan: Adjust an oven rack to the lower-middle position and heat the oven to 325°F. Line the bottom of a 9-inch springform pan with parchment paper or wax paper and grease the sides of the pan well.
- Wrap Pan in Foil & Boil Water: Wrap the outside of the pan with 2 sheets of heavy-duty aluminum foil. Set it in a large roasting pan (or any pan that’s larger than your springform pan). Bring a kettle or a pot of water to a boil.
- Beat Eggs: In a stand mixer fitted with the whisk attachment, beat the eggs at high speed until the volume doubles. This usually takes about 5 minutes.
- Melt Chocolate & Butter: Meanwhile, melt the chocolate and the butter together. You can either do this in a double boiler on the stove (by placing the chocolate and butter in a large heatproof bowl set over a pan of almost-simmering water and stirring until melted and smooth). Or you can do this in the microwave (by heating the chocolate and butter in a microwave-safe bowl in 30-second bursts, stirring in between each one, until the chocolate and the butter are melted and smooth).
- Fold Eggs into Chocolate: Use a large rubber spatula to fold about a third of the beaten eggs into the chocolate mixture until only a few streaks of egg are visible. Fold in half of the remaining egg foam, then the rest of the foam, until the mixture is totally combined.
- Assemble Water Bath: Scrape all of the batter into the prepared springform pan and smooth out the surface with a rubber spatula. Place the roasting pan on the lower-middle oven rack and VERY carefully pour in enough boiling water to come about halfway up the sides of the springform pan.
- Bake: Bake the cake for 18-20 minutes, or until it has risen slightly, the edges are just beginning to set, and a thin-glazed crust (like a brownie) has formed on the surface. An instant-read thermometer inserted halfway into the center should register at 140°F. It make look a little under baked, but it will continue to cook as it cools and firms up.
- Let Cool: Remove your springform pan from the water bath and set it on a wire rack. Once the cake has cooled to room temperature, refrigerate it until you’re ready to add the ganache and serve.
- Remove From Pan: About 30 minutes prior to serving, carefully remove the sides of the springform pan, invert the cake onto a sheet of wax paper, peel off the parchment paper lining and re-invert the cake onto a serving platter.
Make the Ganache
- Combine Ingredients: Pour the chocolate chips into a heat-proof bowl and microwave the heavy cream until it just begins to boil, then pour it over the chocolate chips. Allow it to sit for 2-3 minutes, then whisk until smooth.
- Add to Cake: Spread the ganache evenly on top of the cake.
- Add Desired Toppings: If desired, lightly dust the cake with powdered sugar and top it with raspberry sauce and fresh berries. Use a sharp, thin-bladed knife to cut it into slices.
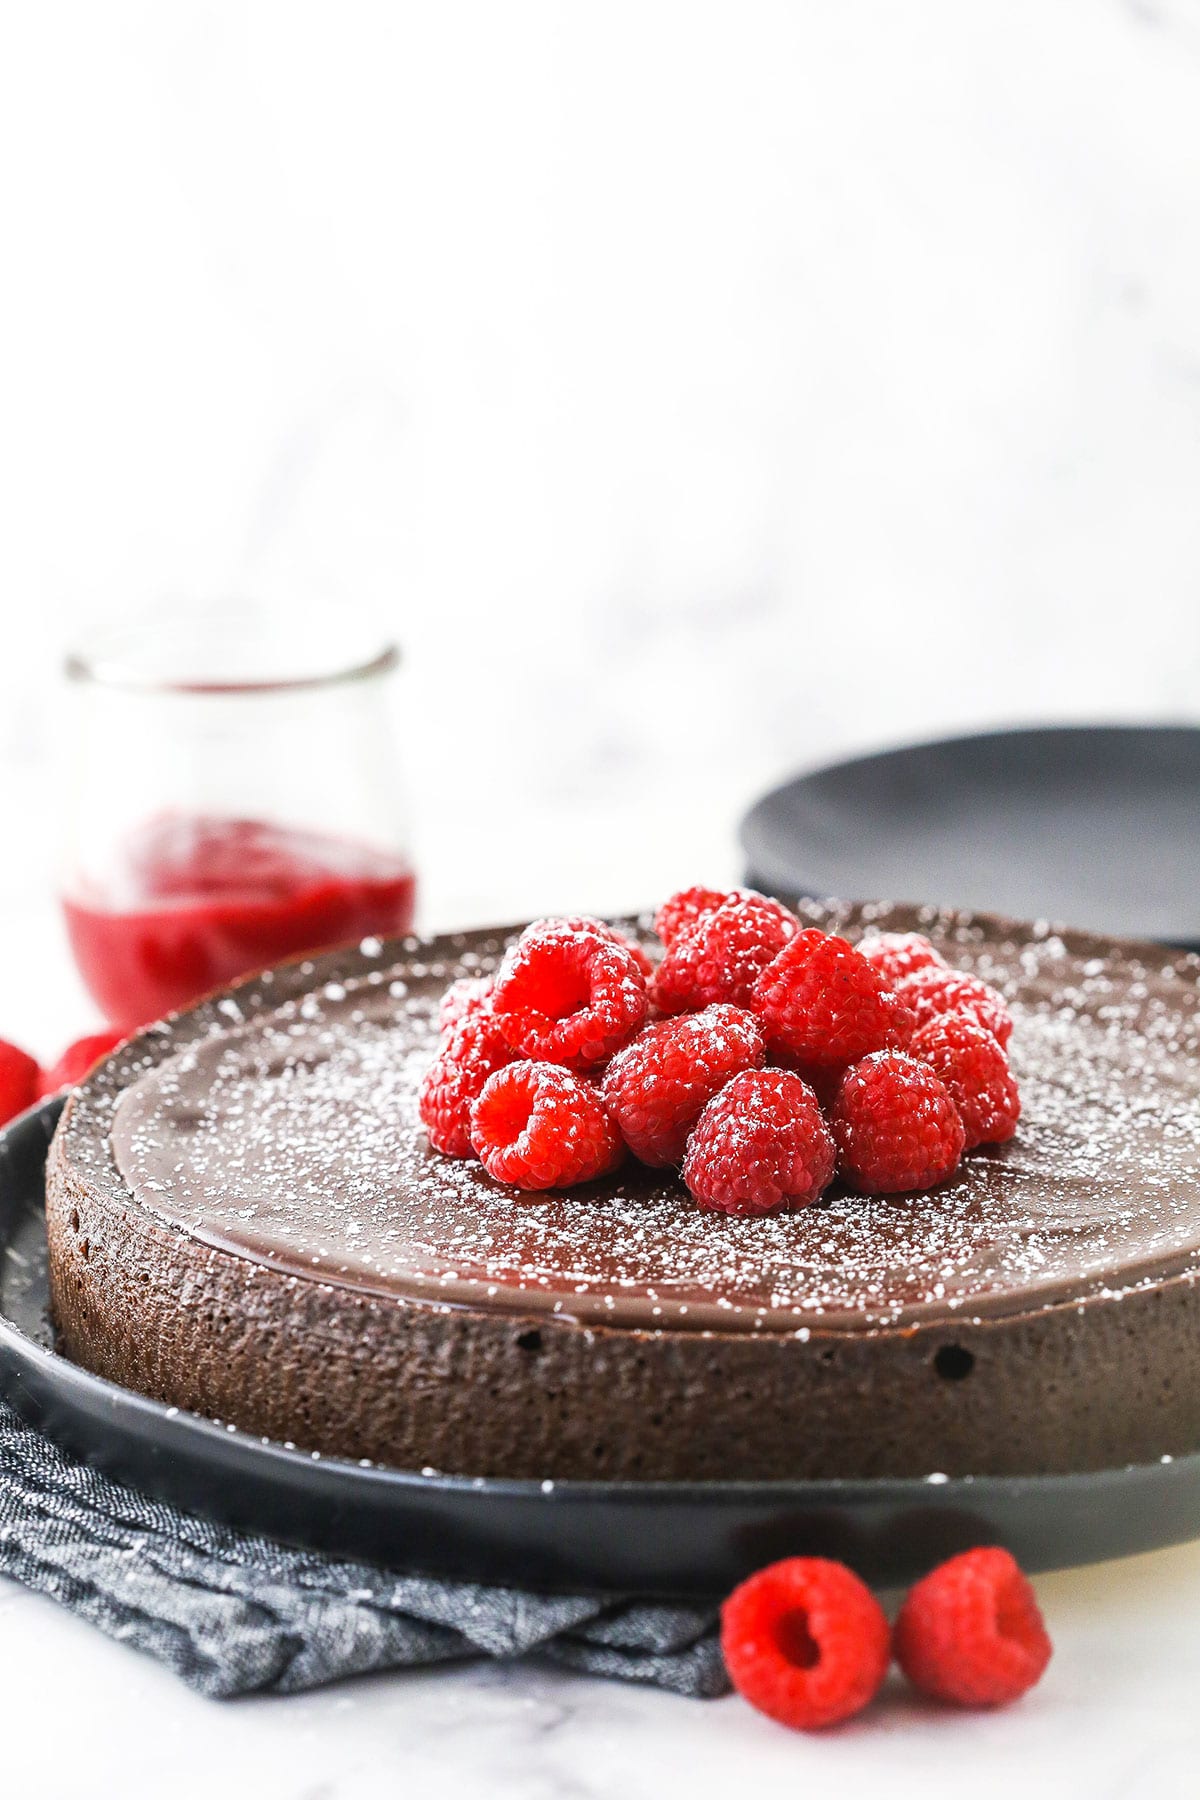
Tips for Success
Don’t get started on your cake until you review the helpful tips and tricks below. That way, you’ll ensure a flawless result!
- Use Cold Eggs: You typically want to bring your eggs to room temperature before you bake with them, but that’s not the case for this recipe. Since the eggs are whipped, they should be cold.
- Grease the Pan Well: In addition to lining the bottom of your pan with parchment or wax paper, be sure to grease the sides very well. Otherwise, you’ll have trouble removing the finished cake from your springform pan.
- Keep Your Water Bath From Leaking: If you aren’t too confident about working with a water bath, check out my Tips and Tricks to prevent leakage. It’s important that no water seeps through the inner pan as it could ruin your cake.
- Do Not Over Bake: If over baked, this cake gets dry and chalky. It will look a little under baked when you take it out of the oven, but will continue to cook as it cools and firms up.
- Use This Knife Trick for Clean Slices: Try dipping your knife into a pitcher of hot water and carefully wiping the blade before each cut when you’re slicing and serving your cake.
Topping Ideas
As you know, I definitely have my go-to toppings for this gluten-free chocolate cake. But it’s always fun to switch things up! Perhaps you’d prefer using something in the following list.
- Whipped Cream
- Caramel Sauce
- Chocolate Shavings
- Blueberries or Strawberry Slices
- Baileys Chocolate Whipped Cream
- Chopped Nuts
- Toasted Coconut
- Cocoa Powder
- Vanilla Ice Cream
How to Store Extras
This cake should be kept in an airtight container in the fridge. It will stay fresh for up to 4 days. I’d be shocked if it lasted half that long!
Can I Freeze This?
To freeze your flourless chocolate cake, wrap the whole thing or individual slices tightly in plastic wrap. Place the cake in an airtight container and freeze it for up to 3 months. Unwrap it and thaw it out in the fridge before digging in.
Watch How To Make It
Print
Flourless Chocolate Cake
- Prep Time: 25 minutes
- Cook Time: 18 minutes
- Total Time: 43 minutes
- Yield: 14
- Category: Dessert
- Method: Oven
- Cuisine: American
Description
This rich and fudgy Flourless Chocolate Torte is easy to make with a creamy chocolate ganache and a sweet homemade raspberry sauce! When it comes to gluten-free cake, this chocolate-laden recipe reigns supreme.
Ingredients
For the Flourless Chocolate Cake
- 8 large eggs, cold
- 16 oz semi-sweet chocolate, coarsely chopped
- 1 cup unsalted butter, cubed
For the Chocolate Ganache
- 4 oz (113g | 2/3 cup) semi-sweet chocolate, coarsely chopped
- 6 tbsp (90ml) heavy whipping cream
- Raspberry Sauce, optional
- Raspberries, optional
- Powdered sugar, for dusting, optional
Instructions
Make the Cake
- Preheat the oven to 325°F. Line the bottom of a 9-inch springform pan with parchment paper and grease the sides of the pan. Prepare the pan for a water bath (see how I like to prepare my water bath). Bring a kettle or pot of water to a boil.
- Add the eggs to a large mixing bowl and use the whisk attachment to whip at high speed until the volume doubles, about 5 minutes.
- While the eggs whip, melt the chocolate and butter together. You can melt them in a double boiler or in the microwave.
- Fold the egg mixture into the chocolate in three roughly equal parts. So, add about a third of the egg mixture to the chocolate and fold together until mostly combined. Then add another third and fold it in, then the remaining third until fully combined.
- Pour the batter into the prepared pan and spread evenly. Place the springform pan into a larger pan and fill the larger pan with boiling water that comes halfway up the sides of the springform pan.
- Bake the cake until it has risen slightly, the edges are just beginning to set and a thin crust has formed on top, and an instant read thermometer inserted in the middle registers 140°F, about 18-20 minutes. It make look a little under baked, but it will continue to cook as it cools and firms up.
- Remove the springform pan from the water bath and set on a wire rack to cool to room temperature (the center will still be soft), then refrigerate until cold and firm.
- When ready to serve, remove the sides of the pan and invert the cake onto some parchment paper. Peel off the bottom piece of parchment paper, then invert the cake back onto a serving platter.
Make the Ganache
- To make the chocolate ganache, put the chocolate chips in a heat-proof bowl. Microwave the heavy whipping cream until it just begins to boil, then pour it over the chocolate chips. Allow it to sit for 2-3 minutes, then whisk until smooth.
- Spread the ganache evenly on top of the cake. Add some raspberries on top if desired and sprinkle the cake with powdered sugar. Serve with raspberry sauce if you’d like.
Notes
- Makes 12-14 slices
- Recipe modified from Cook’s Illustrated
- To Store: Refrigerate cake in an airtight container for up to 4 days.
- To Freeze: Wrap whole cake or individual slices tightly in plastic wrap. Place in an airtight container and freeze for up to 3 months. Unwrap and thaw in the fridge before enjoying.
Nutrition
- Serving Size:
- Calories: 371
- Sugar: 23.4 g
- Sodium: 43.2 mg
- Fat: 28.6 g
- Carbohydrates: 26.3 g
- Protein: 6.7 g
- Cholesterol: 144.8 mg
More Gluten-Free Treats to Try
Looking for more dessert recipes that work with your diet? Indulge in the gluten-free goodies below.




Is there No sugar in this recipe?
No, but the chocolate is already sweet.
This was soo delicious. So light and chocolaty. My husband was telling people how good it was. Easy to make . Be sure to follow baking and chilling directions for perfect results.
So glad you enjoyed it!
This recipe was fantastic!! I took it to a Super Bowl party and everyone raved about it! Thanks so much!!!!
So glad to hear that!