This post may contain affiliate sales links. Please read my disclosure policy.
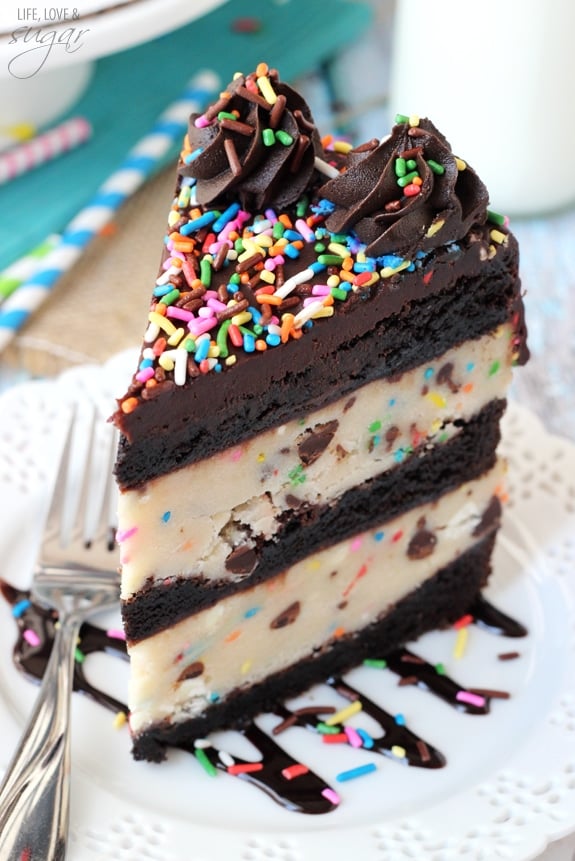
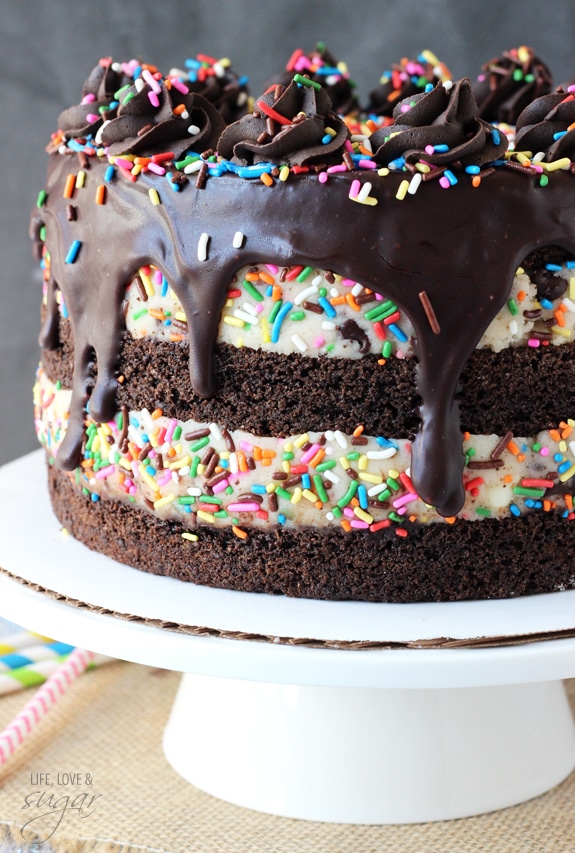
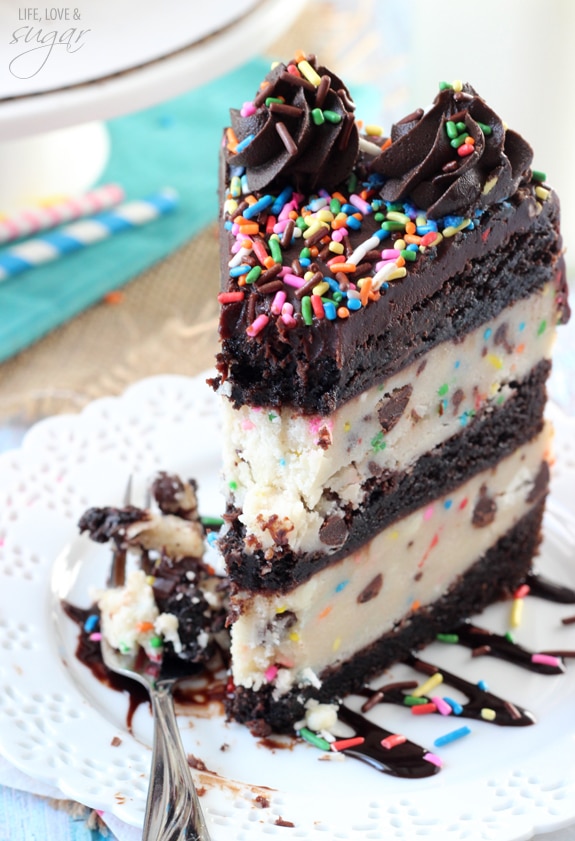
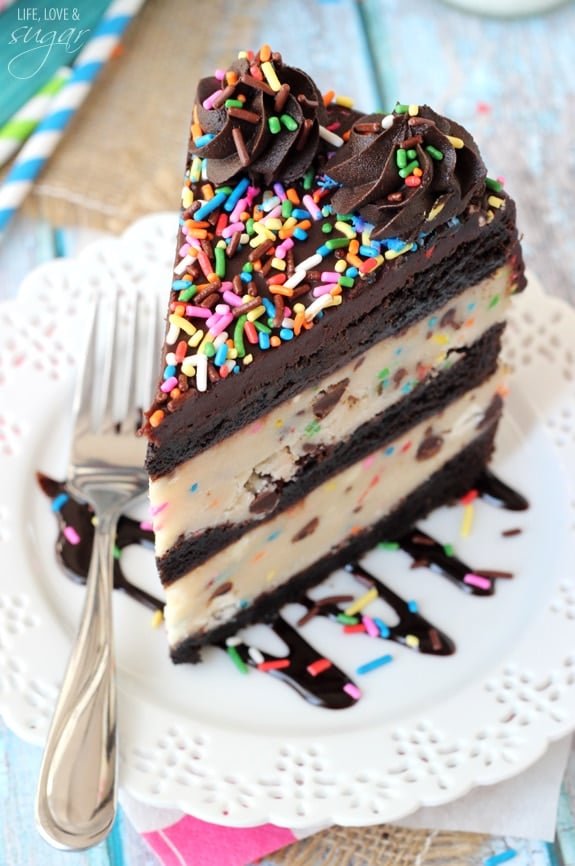
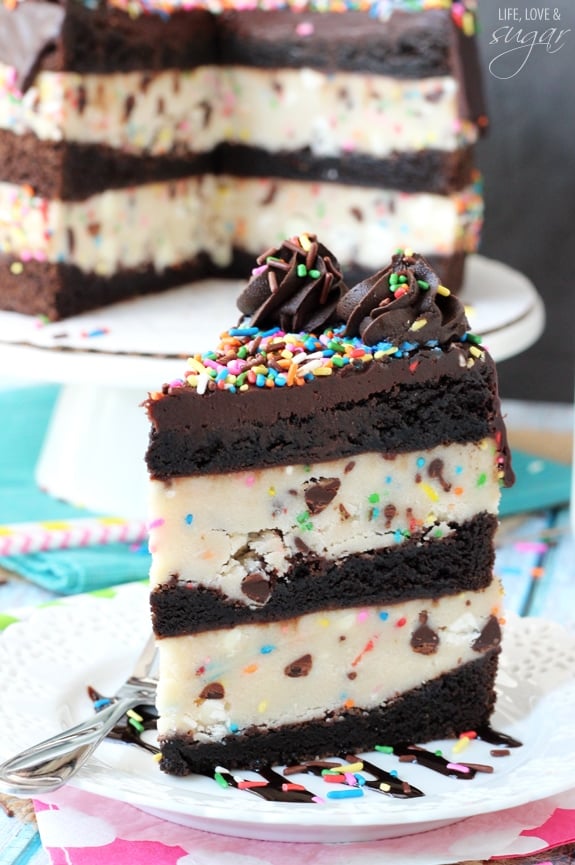
This Cookie Dough Brownie Layer Cake with funfetti is a totally decadent treat! Layers of brownies and edible funfetti cookie dough are topped with a delicious chocolate ganache & more sprinkles!
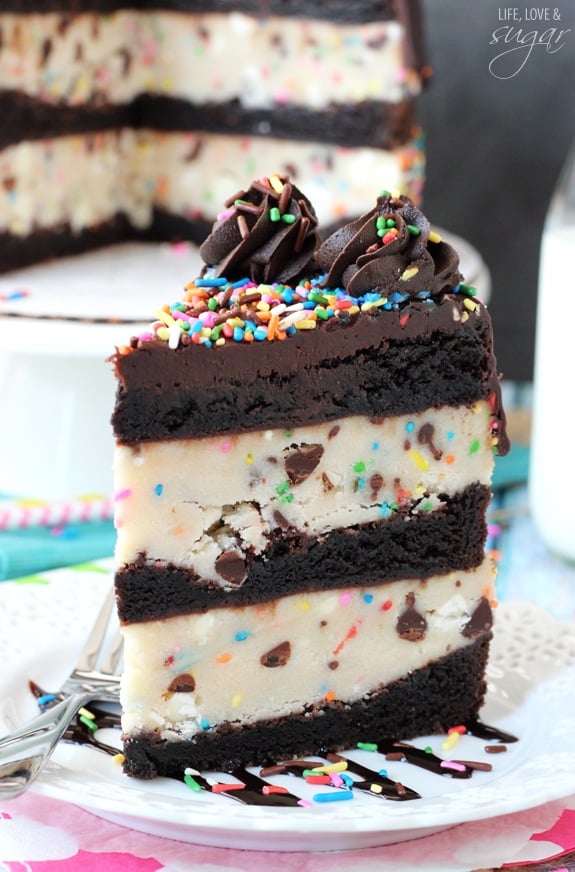
Cookie Dough Brownie Layer Cake
So in marriage, one of the things we have to learn to do is share. Problem is, sometimes sharing isn’t easy. And sometimes sharing means someone else loses – as in loses something. As is loses the nail clippers that you both share. And sometimes that seems to happen over and over and over.
When that happens, there’s only one thing to do.
Not share any longer. 🙂
After going through countless nail clippers, we finally argued (jokingly) the other day about who keeps losing them. And of course we blame each other. And of course I’m right. I always put them back where they are supposed to go.
But he thinks the same thing of himself. He thinks it’s all my fault.
So when he came home the other day and saw two new nail clippers on the kitchen counter, he immediately started to tell me that one would be for me and one for him – as if that wasn’t why I’d gotten two to begin with.
And I one up-ed him. I was prepared with masking tape for us to label ours with our names so that there could be no confusion about whose is whose. Then time would tell who loses the clippers. Oh yes.
We then ran off to hide our clippers in different spots in the house where the other person can’t find them. That way, we can determine who is the one responsible for losing them by seeing who loses theirs first. It’s very scientific.
Of course I’m sure he’d rather grow claws than have to come and get my nail clippers and admit that he lost the battle! It may take some time, but I am sure that some day soon I will report my victory. 🙂
We gotta have a little fun, you know?
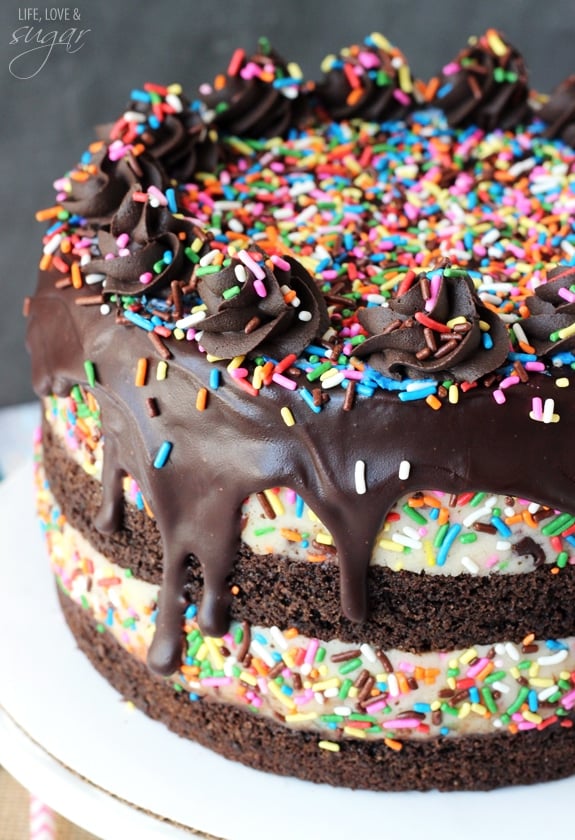
Like this cake – this cake is super fun! I mean, look at all those sprinkles! Don’t they just scream fun and happy?
I loved the peanut butter version of this cake so much, I decided to make a funfetti version. I have a bit of a funfetti addiction, so it was only natural that it would happen.
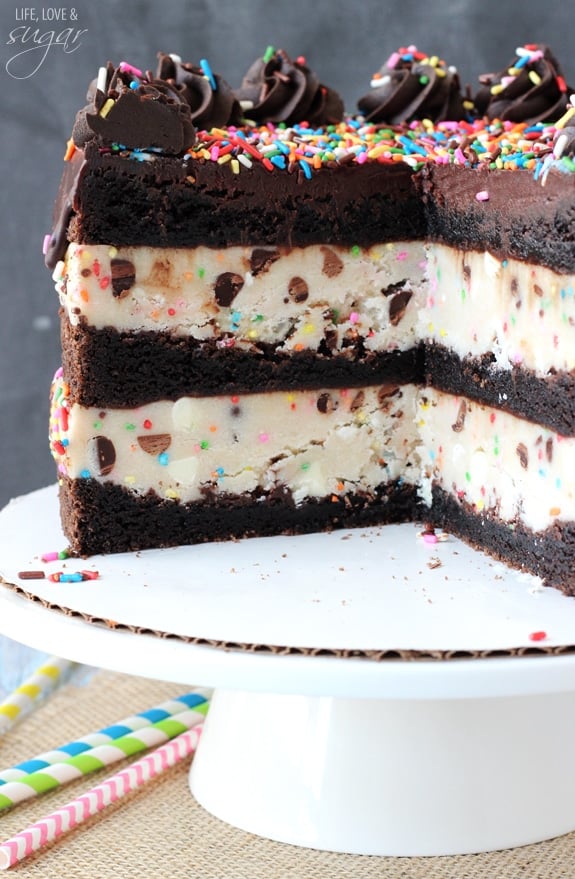
This cake is fairly simple to put together. The only baking required is for the brownies. I used a from scratch brownie, but you could definitely use a box mix if you prefer. You’d probably need two boxes to get enough batter for 3 brownies.
The brownies are filled with layers of the best cookie dough ever – cake batter! I used my beloved Funfetti Cake Mix, but you could use a white or yellow make mix too. The cookie dough is eggless, so no need to worry about baking. Just mix everything together!
They layers are held together with chocolate ganache and it makes a wonderful, rich combo!
I finished the cake off with more ganache on top, some chocolate icing and sprinkles. I even pressed sprinkles into the sides of the cookie dough layer. Is there such a thing as too many sprinkles? No? Ok, good. Because they are an early celebration of the day I win the toe nail clipper battle. 🙂
You might also like
Peanut Butter Cookie Dough Brownie Layer Cake
Ultimate Layered Chocolate Chip Cookie Cake
Chocolate Chip Cookie Dough Ice Cream Cake
Funfetti Cake Batter Chocolate Chip Cookies
Reese’s Peanut Butter Cookie Dough Cookie Cups
Shop the recipe
Print
Cookie Dough Brownie Layer Cake
- Prep Time: 30 minutes
- Cook Time: 25 minutes
- Total Time: 55 minutes
- Yield: 12-14 Slices
- Category: Dessert
- Method: Oven
- Cuisine: American
Description
This Cookie Dough Brownie Layer Cake with funfetti is a totally decadent treat! Layers of brownies and edible funfetti cookie dough are topped with a delicious chocolate ganache & more sprinkles!
Ingredients
BROWNIES
- 1 1/2 cup vegetable oil
- 3 cups sugar
- 3 tsp vanilla extract
- 6 eggs
- 1 1/2 cup flour
- 1 cup cocoa (I use Hershey’s Special Dark)
- 3/4 tsp baking powder
- 1/4 tsp salt
COOKIE DOUGH
- 1 1/2 cup butter, softened
- 1 cup sugar
- 1 1/2 tsp vanilla
- two 15.25 oz boxes funfetti dry cake mix, heat treated
- 1 1/3 cups flour, heat treated
- 3–4 tbsp milk
- 4–5 tsp sprinkles
- 3/4 cup white chocolate chips
- 3/4 cup chocolate chips
CHOCOLATE GANACHE
- 12 oz semi-sweet chocolate chips, divided
- 1 cup heavy whipping cream, divided
CHOCOLATE FROSTING
- 1/4 cup butter
- 1/4 cup shortening
- 2 cups powdered sugar
- 1/4 cup cocoa
- 1 tbsp water or milk
- sprinkles, for topping, if desired
Instructions
Nutrition
- Serving Size: 1 Slice
- Calories: 1404
- Sugar: 126.3 g
- Sodium: 507.8 mg
- Fat: 78.2 g
- Carbohydrates: 176.4 g
- Protein: 13 g
- Cholesterol: 161.9 mg
Filed Under:
Enjoy!










This cake looks amazing and I definitely want to try it one day, but I just had to say that your story about the nail clippers had me cracking up! I swear that my husband and I had almost the exact same situation at our house and now we each have our own pair!
So funny – now that we have our own, we’ve never lost them again! 🙂
hello
i was wondering if you had an Australian substitution for the funfetti cake mix Plz.
thank you again 🙂
If you have regular vanilla cake mixes, that would work. You’d just add sprinkles to it. If you don’t have cake mixes, I’m not sure without testing it.
About how many does this feed? Thinking of making one for my daughter’s birthday party! Assuming I’m going to have to double it and use rectangle pans. Or I cold always make some cupcakes to set around the cake for those who would prefer that over cake..
It’s a pretty rich cake, so I’d say it’d make at least 12 slices.
Just made this for my sons birthday. It came out beautifully and tasted nice but was incredibly rich. No one was able to finish a normal sized slice even though everyone enjoyed it. The leftover slices were left on the counter overnight and were still moist in the morning so it does keep well,much better than normal cake. Make sure you have lots of people to share this with.
Hi! I’m gonna do this tomorrow! What can I put instead of funfetti cake mix?
If you can’t find funfetti, you could use a regular vanilla cake mix with some added sprinkles.
Just made this, that cookie dough is soo good!. I used the same round pan lined with parchment paper to shape the cookie dough in to a patty….it worked like a charm!
Hey there! Can’t wait to make this… Would it be ok to freeze?
Hmm, I’m not sure. I think it’d be fine.
Hi! I love this cake! I’m wondering your thoughts on switching out the cookie dough for a plain flavored ice cream? I guess I’m wondering if it will hold together. Thanks!!
I actually have several ice cream cake recipes on the blog, if that’s what you’re looking for. Here are a few to check out – Cake Batter Fudge Brownie Ice Cream Cake, Chocolate Chip Cookie Dough Ice Cream Cake, Hot Fudge Swirl Ice Cream Cake. You could sub the ice creams for vanilla ice cream if you want, but those instructions might be more helpful.
This is GORGEOUS! Do you ship? 😉
Thanks Adrienne!
hi the cake looks amazing! If I don’t have funffeti cake mix what should I do?
You could use a vanilla cake mix and then add sprinkles.
This looks yummy! It’s so pretty, you did a great job! I’m stopping by from Pinterest. Thanks for sharing.
Thanks Leslie!
Just made the Confetti Brownie Cake for my daughters ninth birthday! It was terrific! Thanks for sharing your fun and lovely dessert! It was incredibly decadent…not sure what we will do with all the left overs! Since her birthday is New Year’s Eve…and now we all have new resolutions! ;-0
Thanks for sharing. It tasted as wonderful as it looks. I do have a photo if you would like to see ours…of course it wasn’t as perfect as yours, but it did look rather fabulous!
Brenna
I’m so glad it was a hit! I’d love to see the photo! Feel free to email it to me at lifeloveandsugar@gmail.com 🙂
Does this cake need to be refrigerated, or rather, is it ok to refrigerate it? I need to make it my daughter’s birthday Sunday, but have to do it Friday. Thanks!
Yes, I’d recommend refrigeration.
I made this cake for Thanksgiving. It was a huge hit. I do want to warn others, it is a very timely project and your kitchen will get filthy. But its worth it when you get a result like this!
The cake looks great! I’m so glad you enjoyed it! 🙂
Maybe I am being dim, but when you put the brownie in the pan and then do the cookie dough layer how exactly are you getting it back out again?
Thanks!
Hi Karen! I do my best to describe that in #5 of the instructions under the section about assembling the cake. I put saran warp in the bottom of the pan and up the sides and use that to lift the cake out when it’s done. You can also add a cake cardboard circle underneath the cake and on top of the saran wrap to help in stay steady.
Here is my daughter’s cake after we ate half of it! It was wonderful!! https://instagram.com/p/u7B3K5iA1B/?modal=true
It looks terrific Amy! Thanks for sharing the picture! I’m so glad you all enjoyed it!
Just made this cake for a birthday and everyone loved it! No one could eat more than a small piece because it’s so rich so we ended up with 24 pieces of cake. I wrapped up the left overs in Saran Wrap and froze them. We look forward to having more cake later 😄
I’m so glad you enjoyed it!