This post may contain affiliate sales links. Please read my disclosure policy.
This Easter Bunny Cake is simple to make and so festive! An easy coconut cake recipe that’s fun to make with kids to celebrate the holiday!
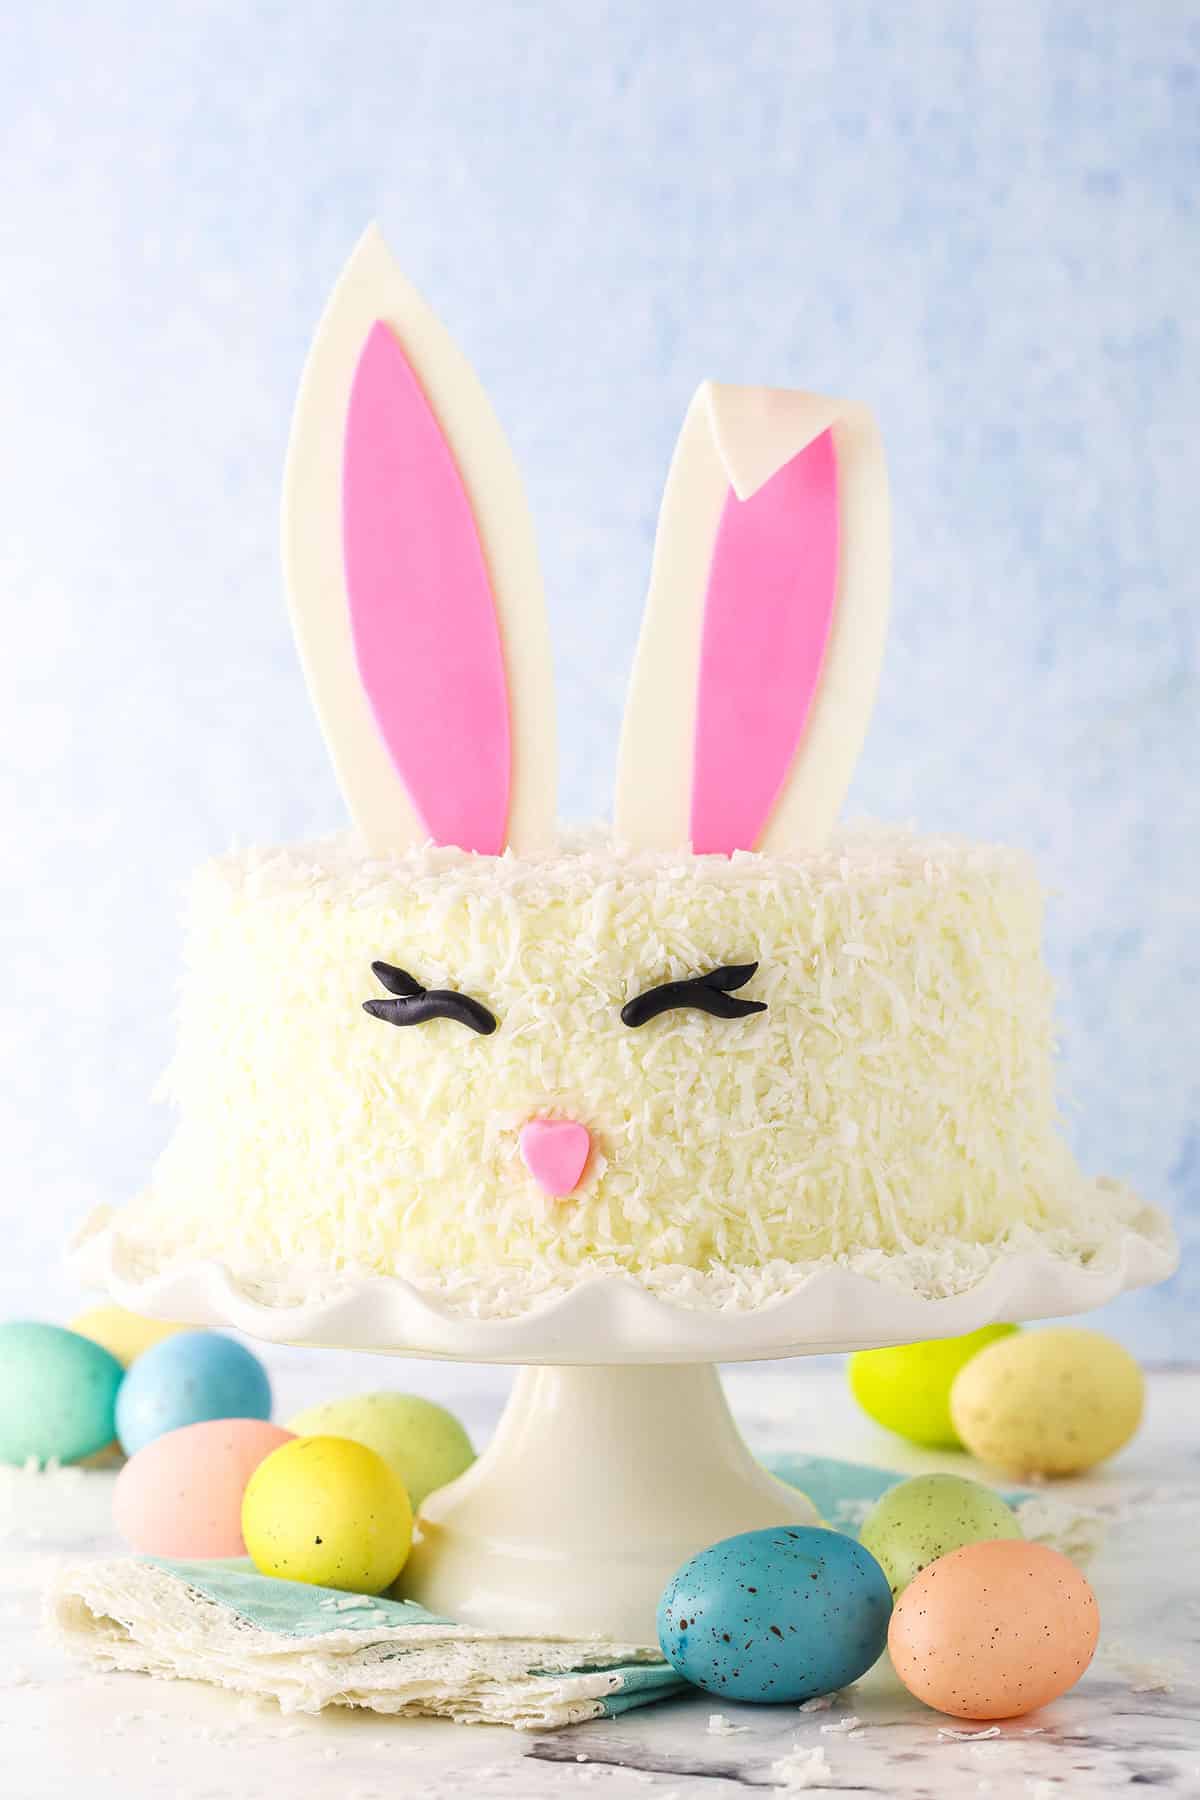
Easter Bunny Cake
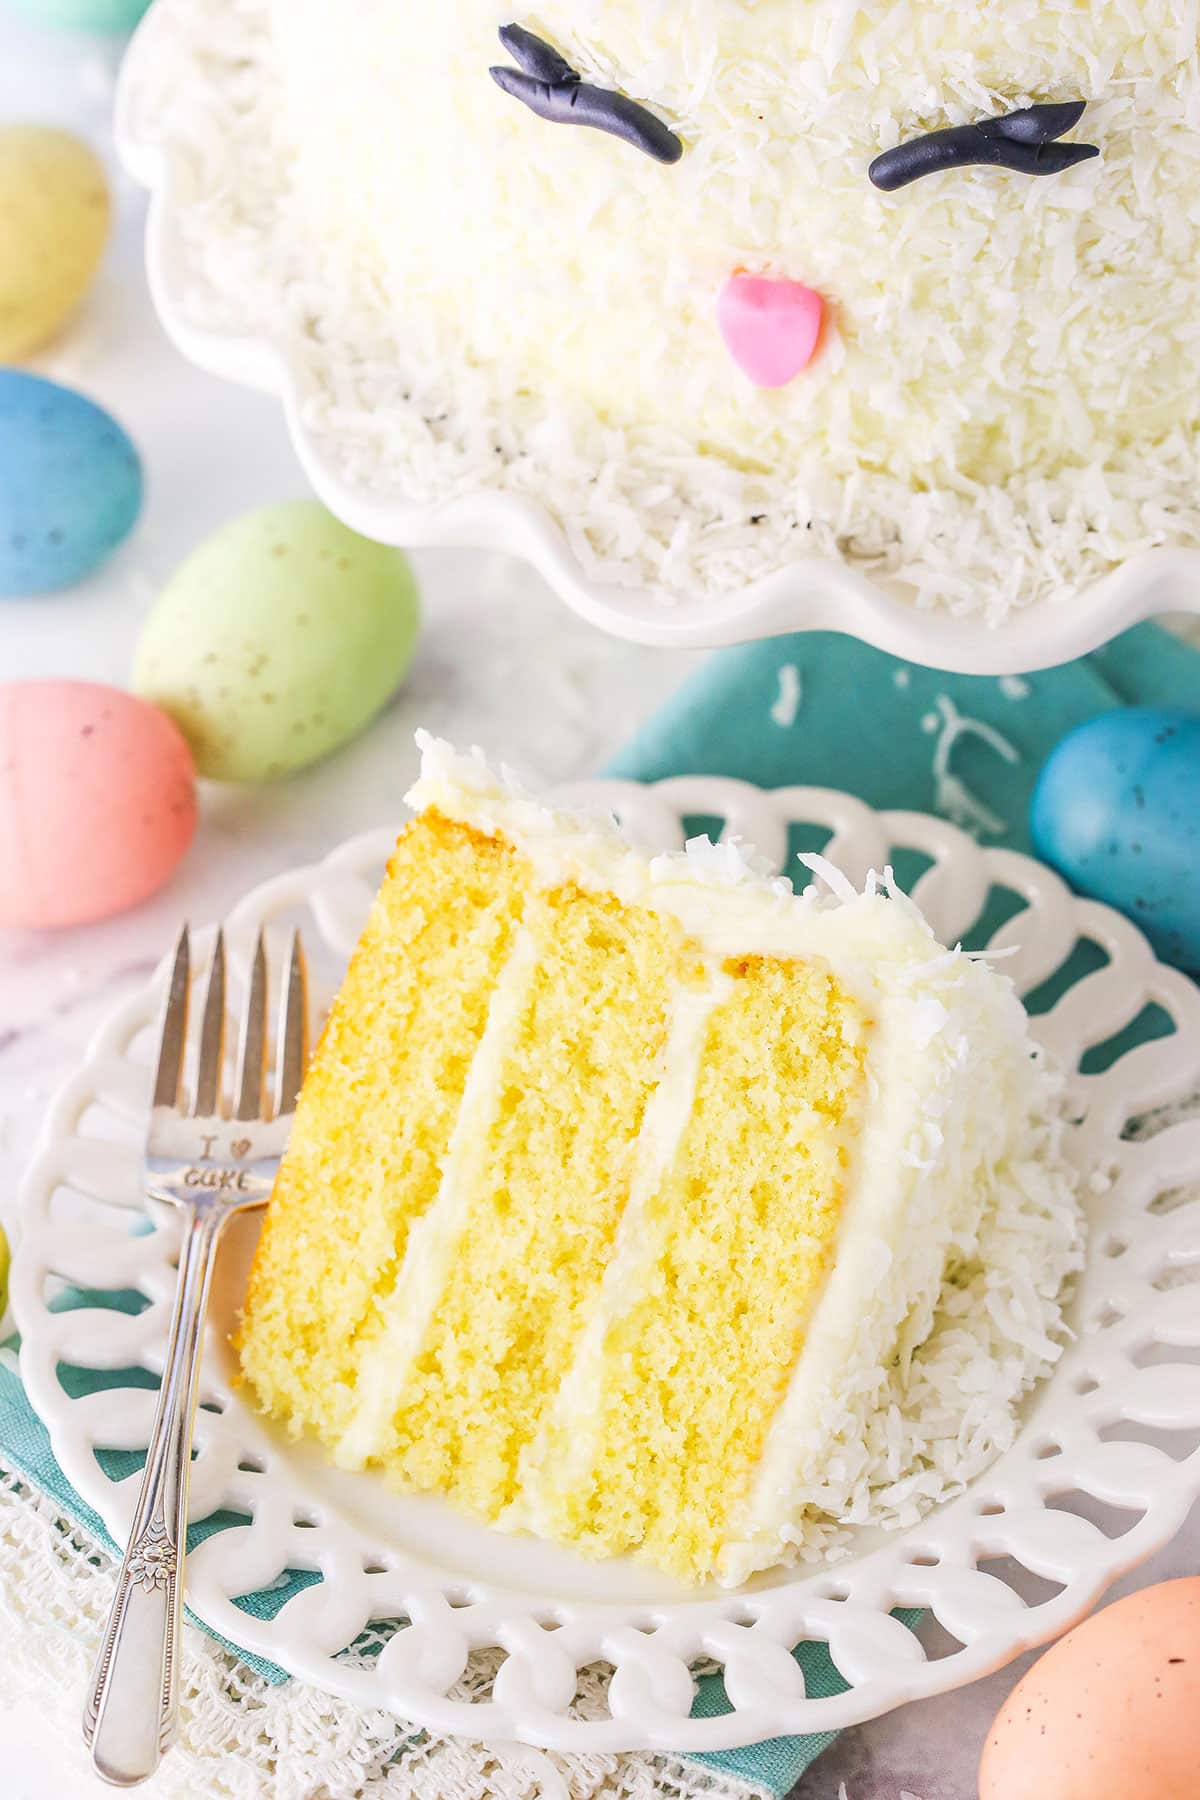
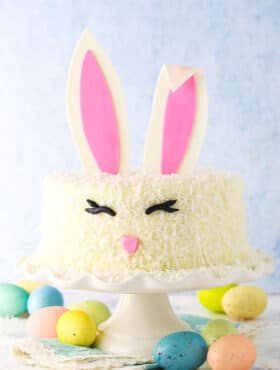
If you’re looking for a fun cake to make for Easter, this is it. Aside from making a few things out of fondant, it’s a fairly simple cake to put together and the result looks like you worked super hard! You just need some white fondant, a little bit of black fondant and to make the coconut cake.
Speaking of the coconut cake, it’s based on my favorite Moist Vanilla Cake, but with coconut flavor and coconut cream cheese frosting. So tasty! The cream cheese frosting is not only delicious, it makes an ideal backdrop for adding the shredded coconut “bunny fur”. Because the cream cheese frosting is naturally on the sticky side, it holds onto the coconut quite well. The whole cake is as delicious as it is cute!
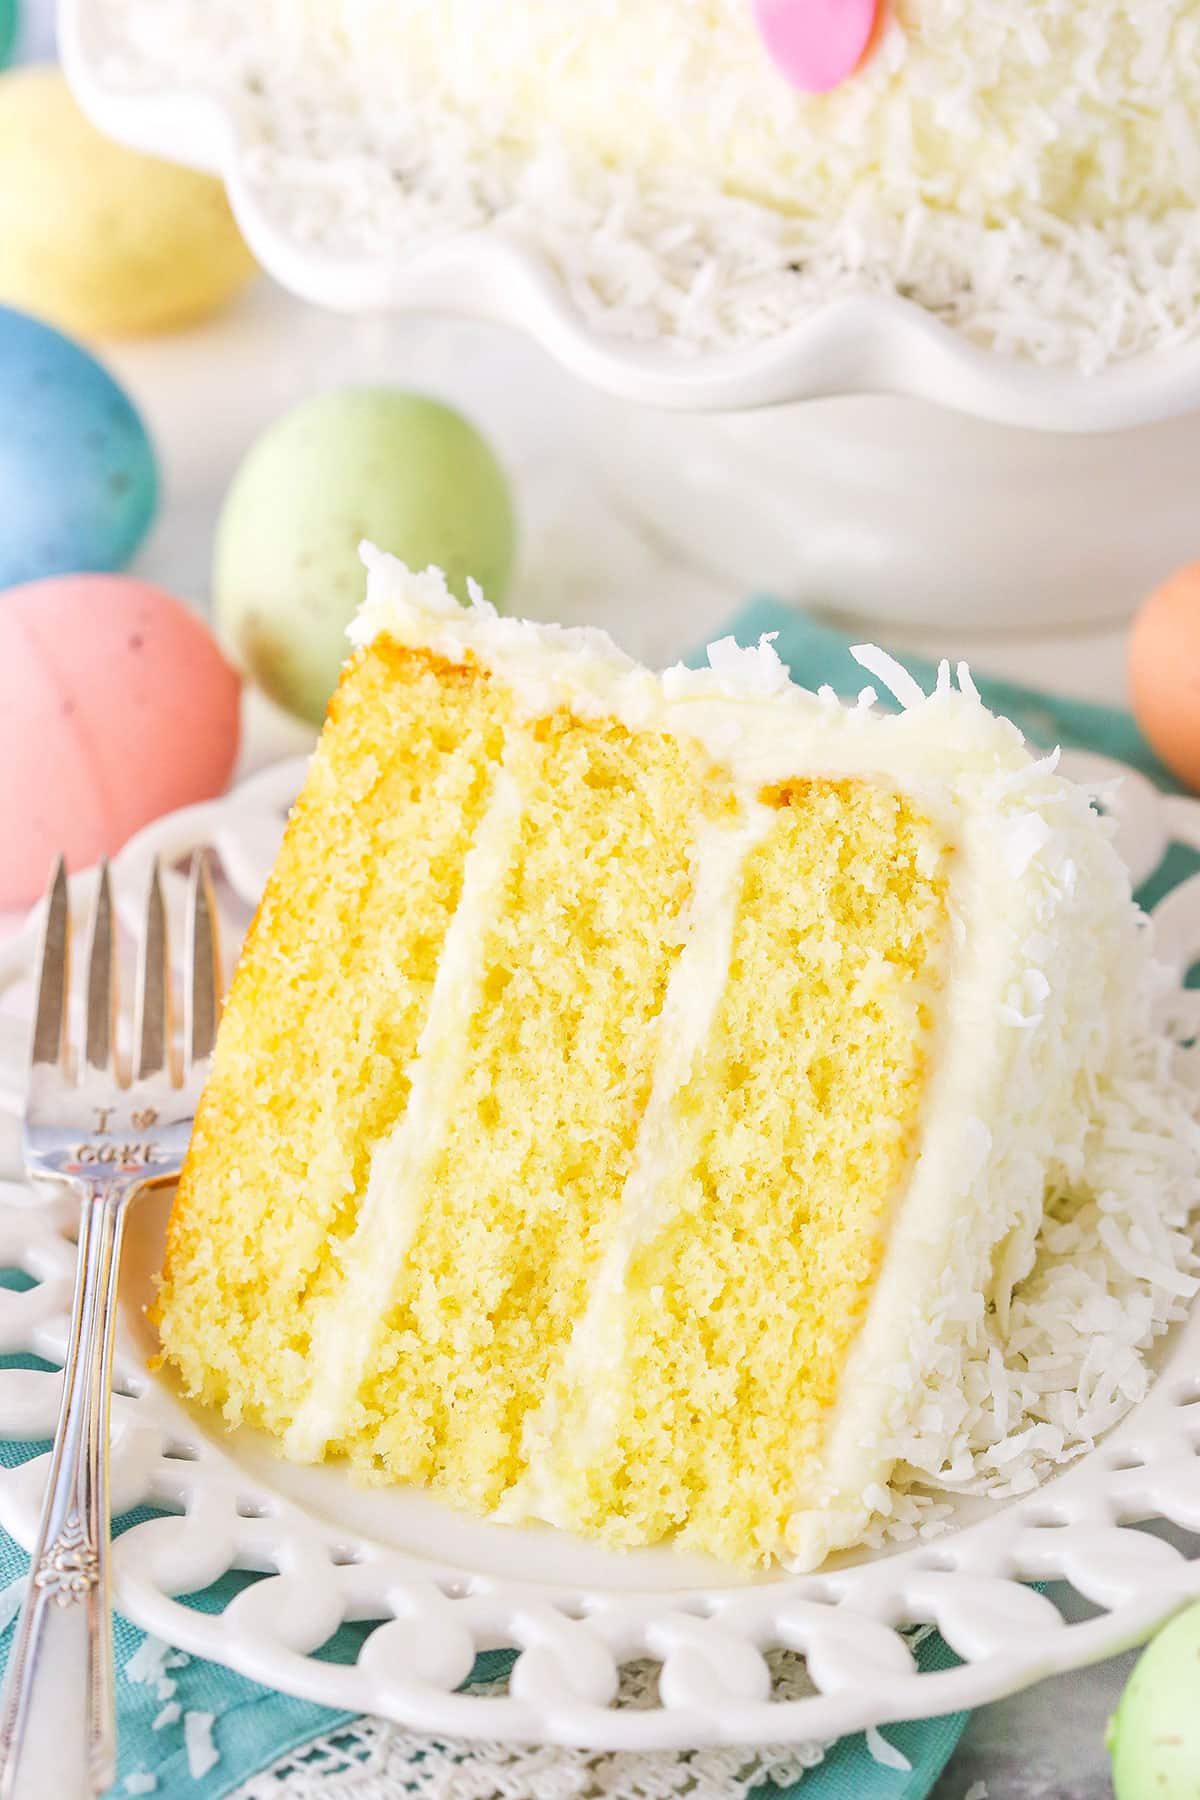
How to make an Easter Bunny Cake
So to get started making this cake, you’ll want to think through the decorations. You’ll need to make the ears, eyes and nose. Only three parts, but the ears in particular require some planning.
You’ll want to make the ears at least 3-5 days in advance. The sooner the better so that they have time to dry out and firm up. If they don’t have time, they’ll be some very floppy bunny ears and just not be what you want.
The eyes and nose could be made just before adding to the cake or made ahead. If you decide to make them just before adding to the cake, just be sure you keep a little bit of white fondant aside for the nose.
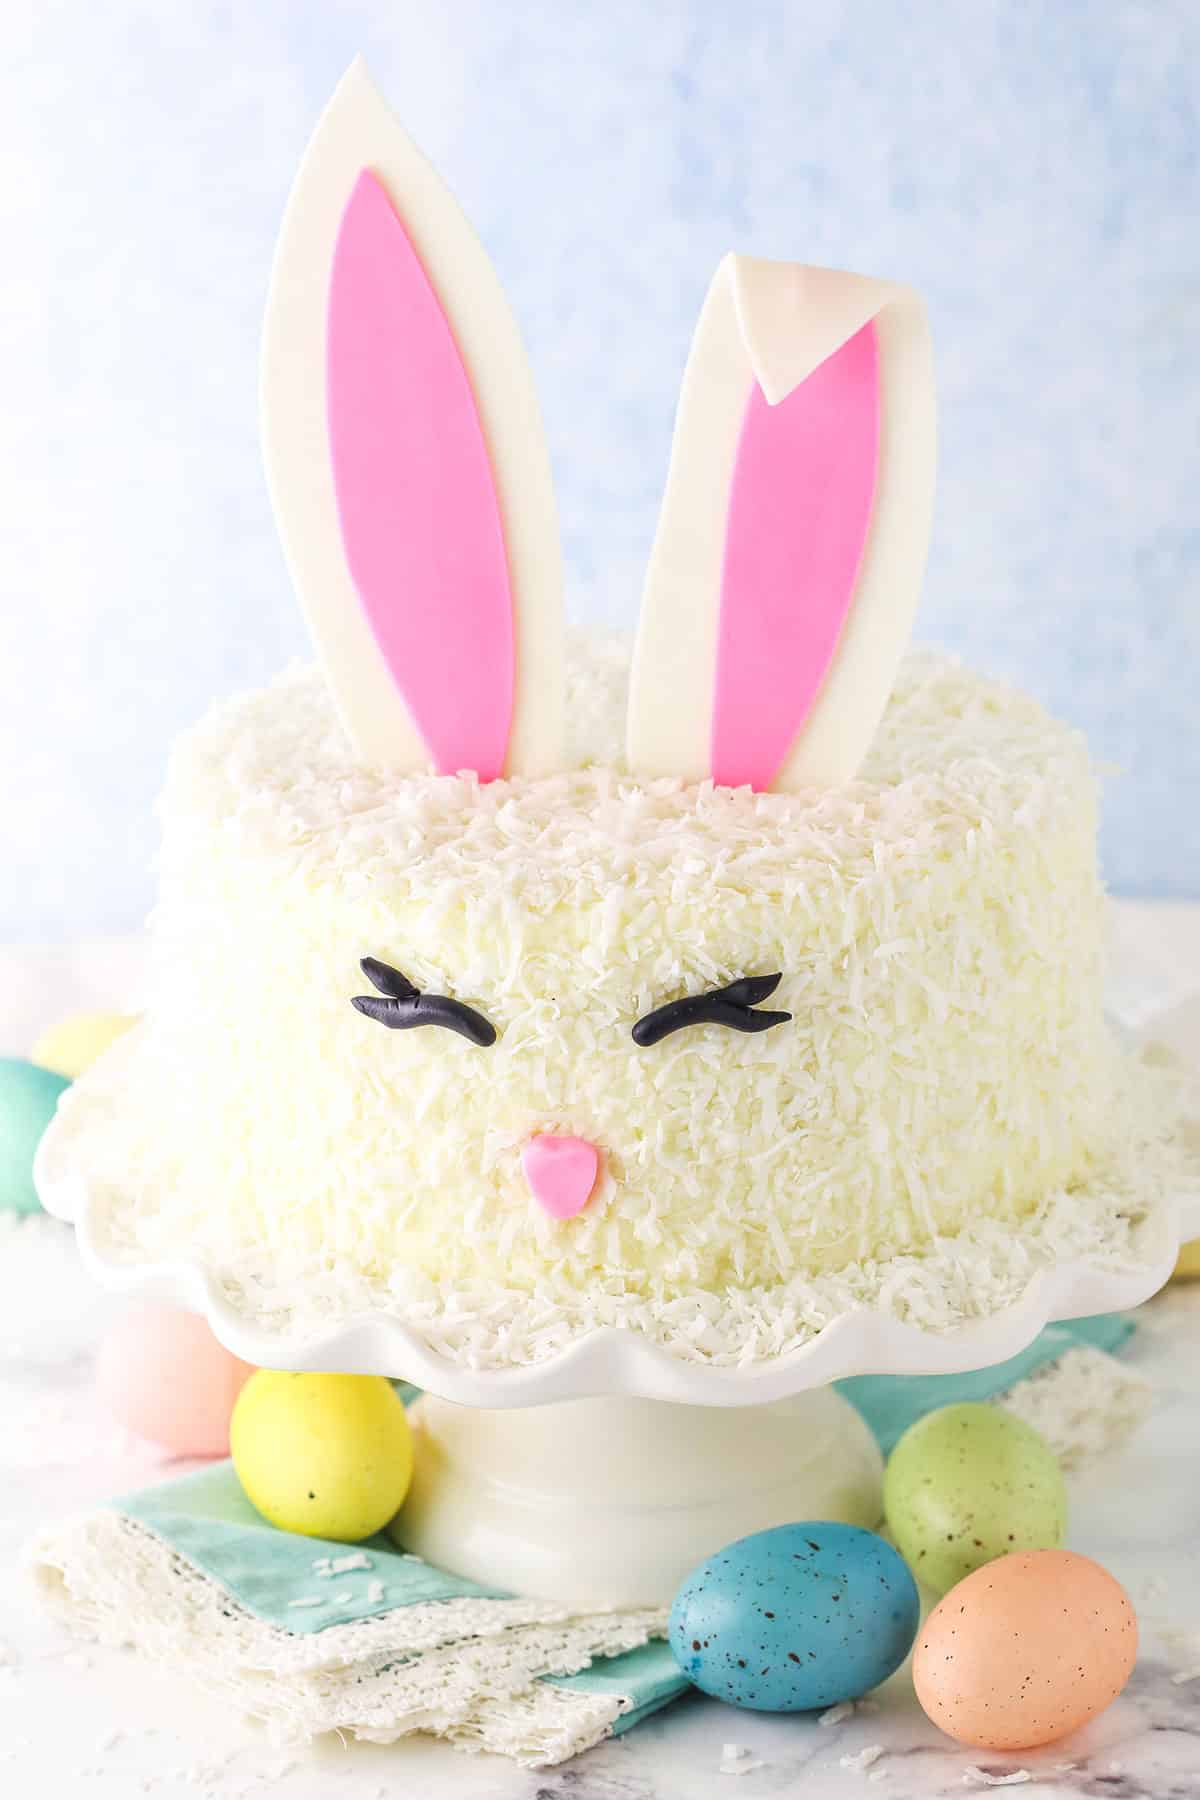
How to Make Fondant Bunny Ears
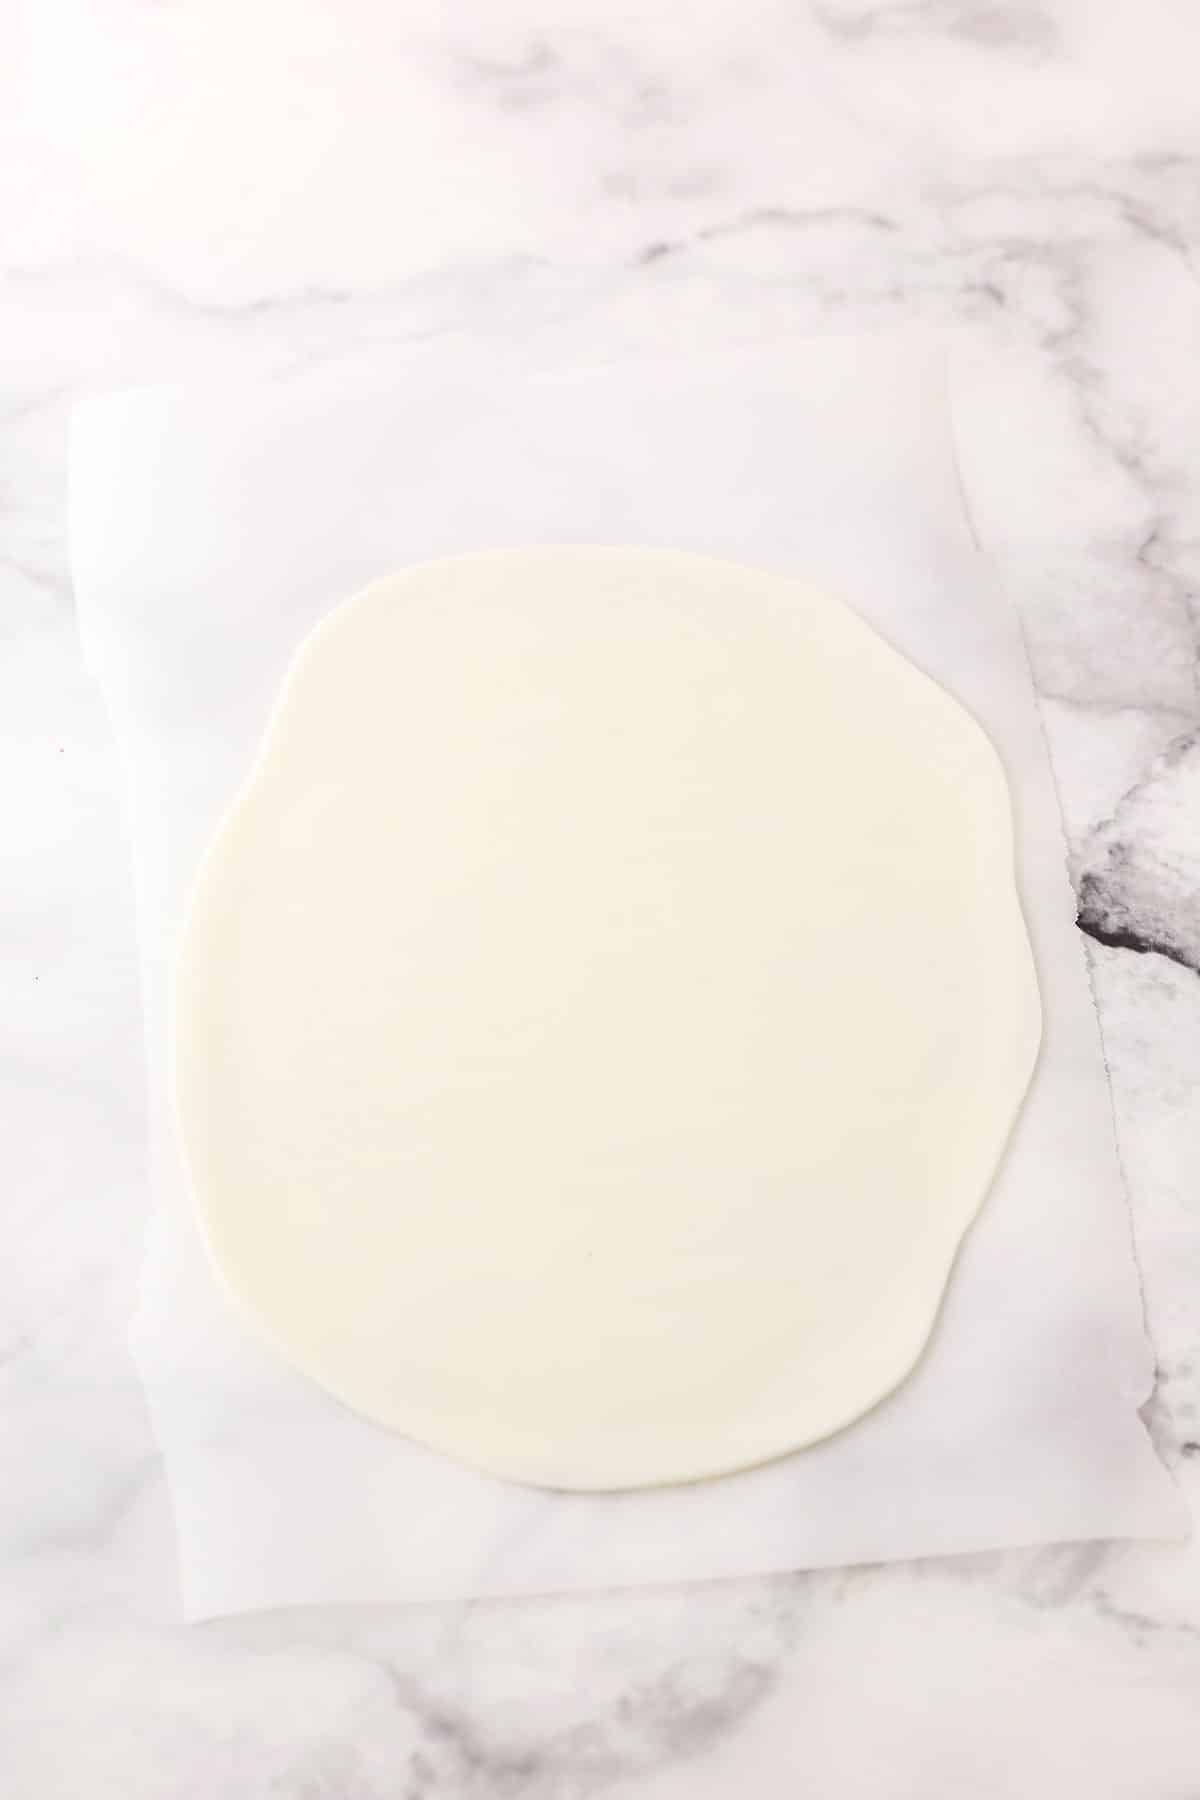
To make the bunny ears, you’ll need your white fondant. Set aside about a tablespoon of it to use for the nose and then keep the rest for the ears. Divide the fondant into two balls, with one being slightly larger than the other. The larger will be for the white part of the ears, which are bigger.
Roll out your fondant and be sure you have enough height and width to it. My ears were about 7 inches tall.
To actually cut out the white parts of the ears, you could just do it by hand and eyeball it or you could draw the ears out onto a piece of paper and cut them out to use as a pattern. The benefit to the pattern is that you know you’ll cut out a shape that your happy with. The nice thing about fondant though is that you can always start over if you aren’t happy with what you cut.
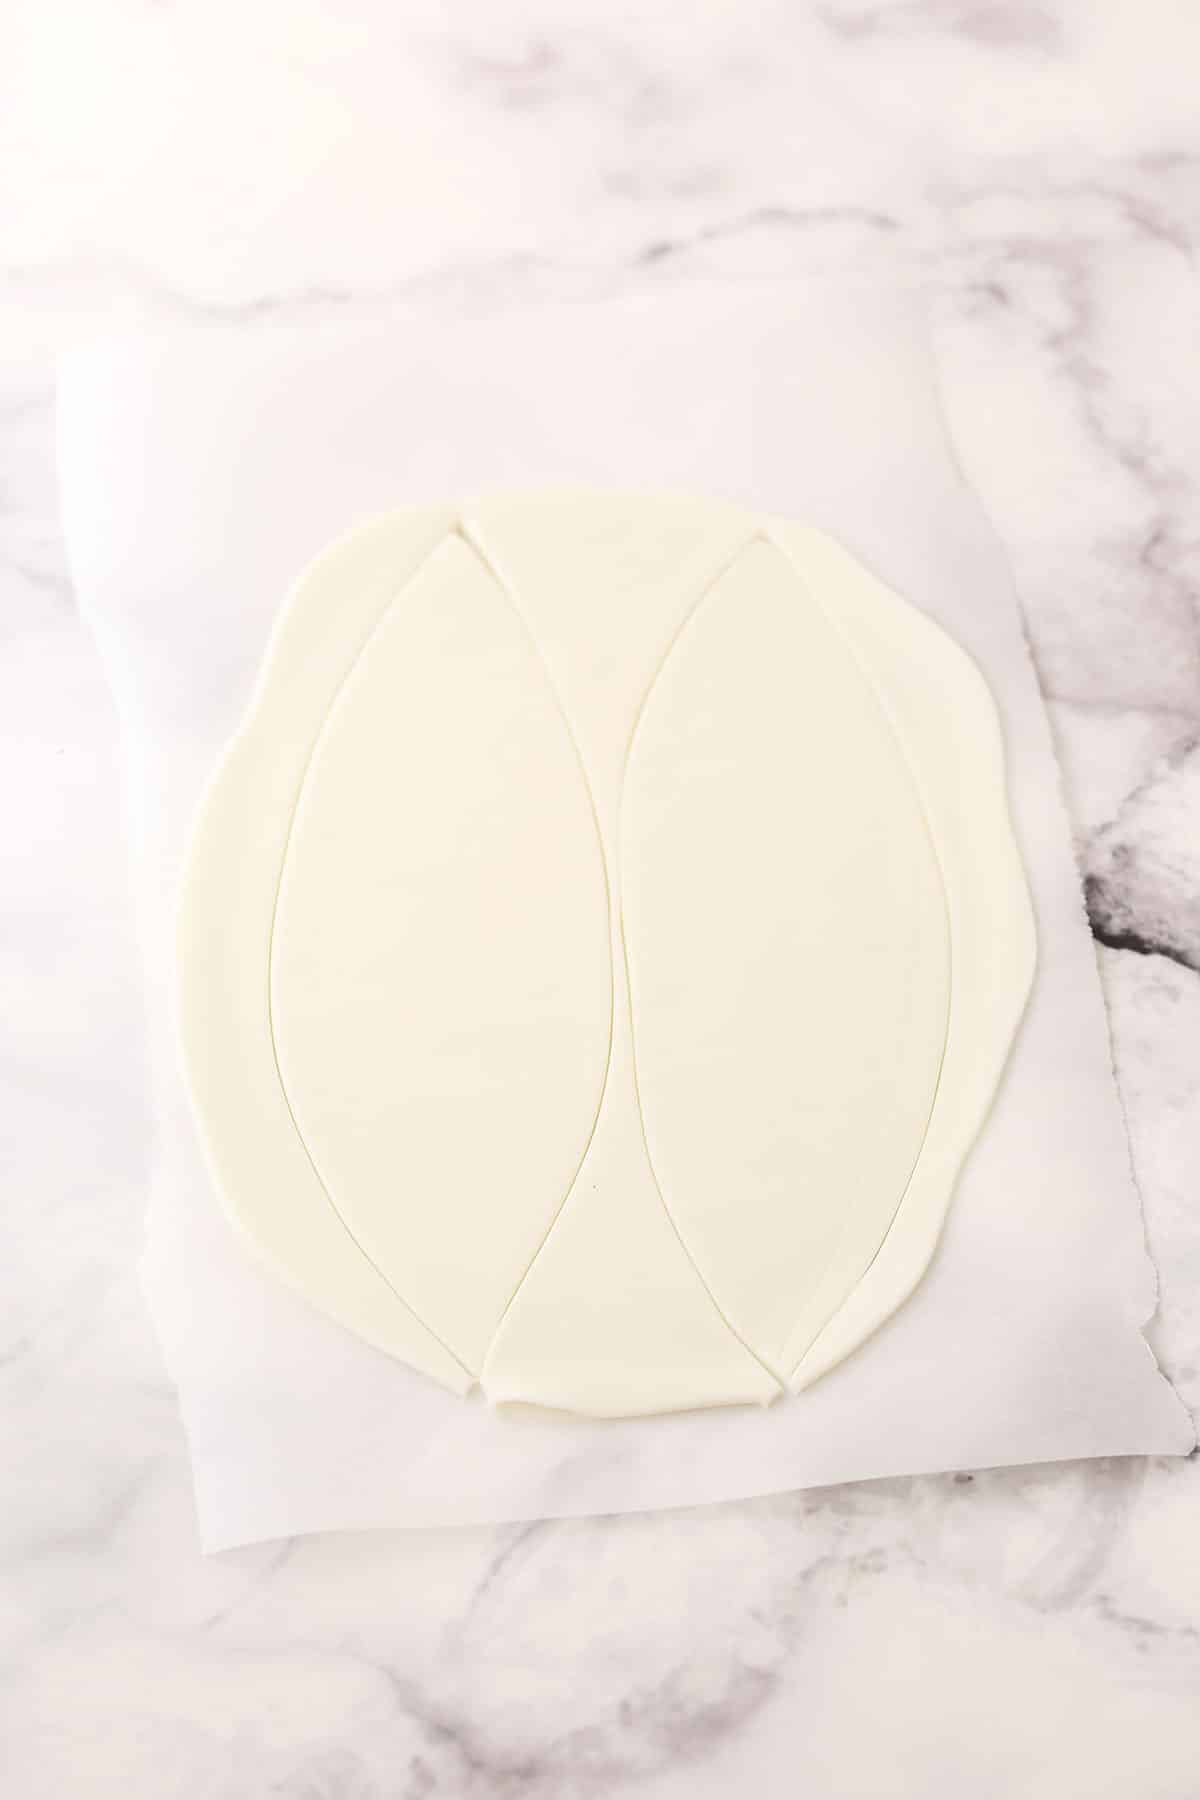
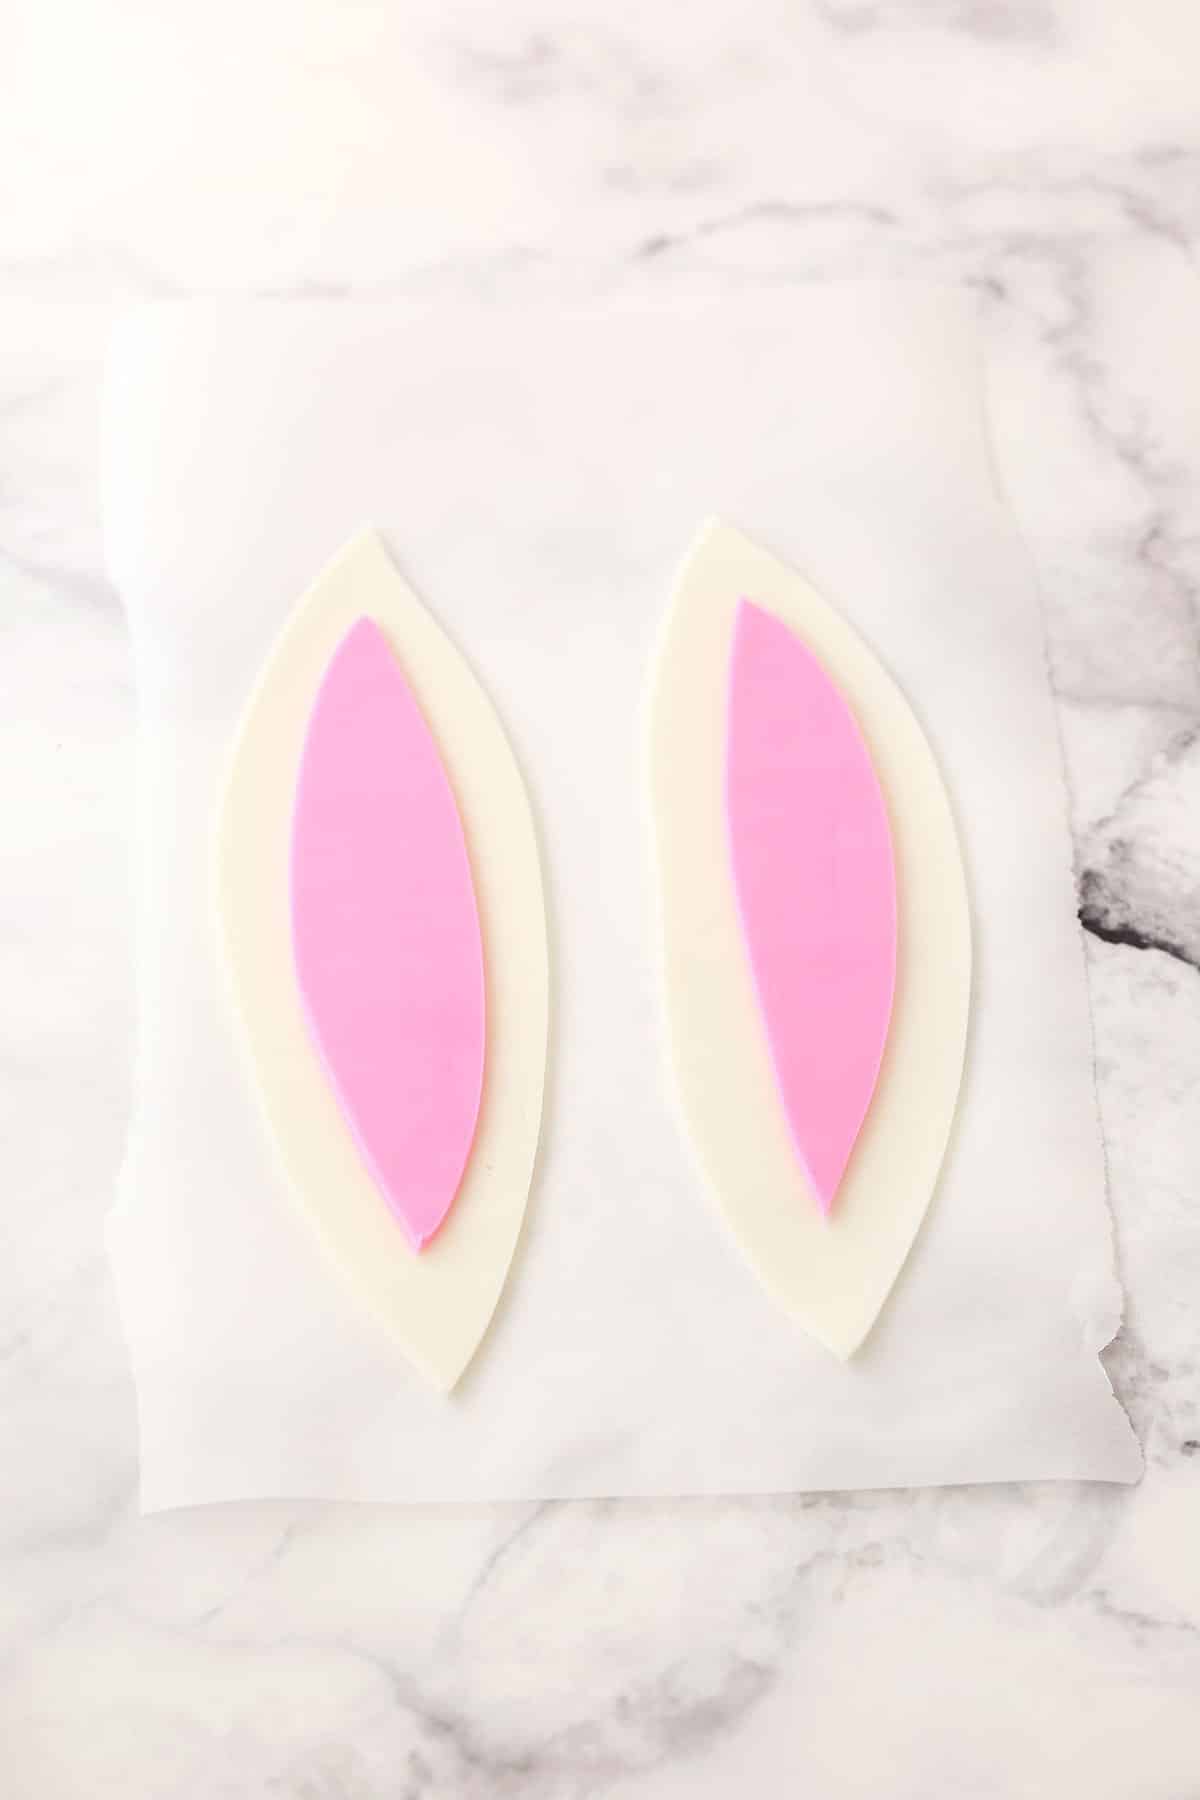
To make the pink inner part of the year, roll out your fondant and again either eyeball it or use your pattern, trim it down to the right size and shape and then trace that to cut.
When you have all your fondant pieces, attach the pink pieces to the white with a little bit of water.
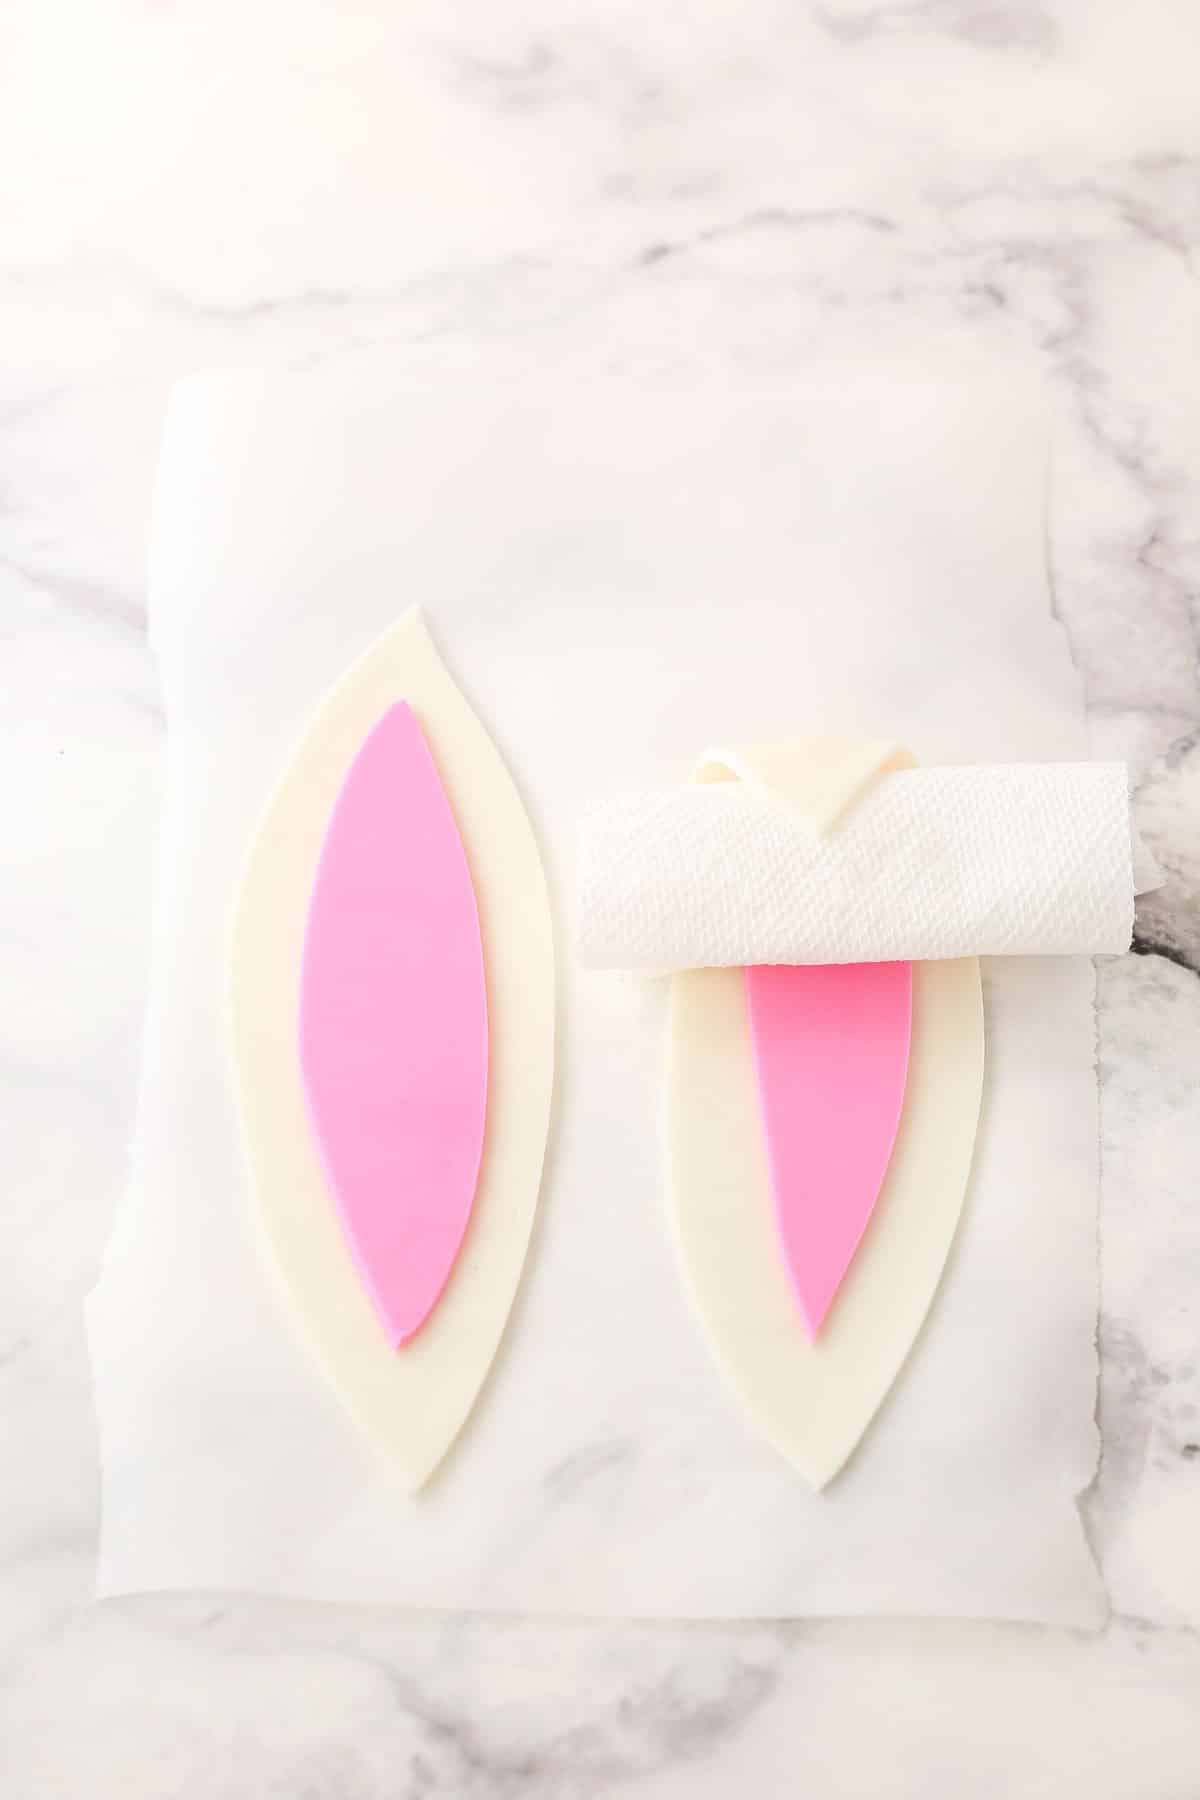
If you want to have a little bit of one ear folded over, like mine, roll up a little piece of a paper towel and use that to support the tip of the ear that’s folded over while it dries. Once it’s dry, you can remove the paper towel and it’ll stay in place.
An important thing to note about the ears is that even though they’ll dry out, once they make contact with the frosting on the cake, they will slowly begin to moisten again from the moisture in the cake. If your ears will only sit on the cake for 30 minutes or so, that’s fine. If it’ll be longer, I’d suggest attaching skewers to the backs of the ears. Just place the skewer against the back of each ear and press some fondant over it, attaching it to the ear. Allow it all to dry and you’re good to go. The skewer will give your ears support as they moisten so that they stay in place.
Fondant Bunny Eyes and Nose
The bunny eyes and nose are a little more straight forward and can be made ahead or not.
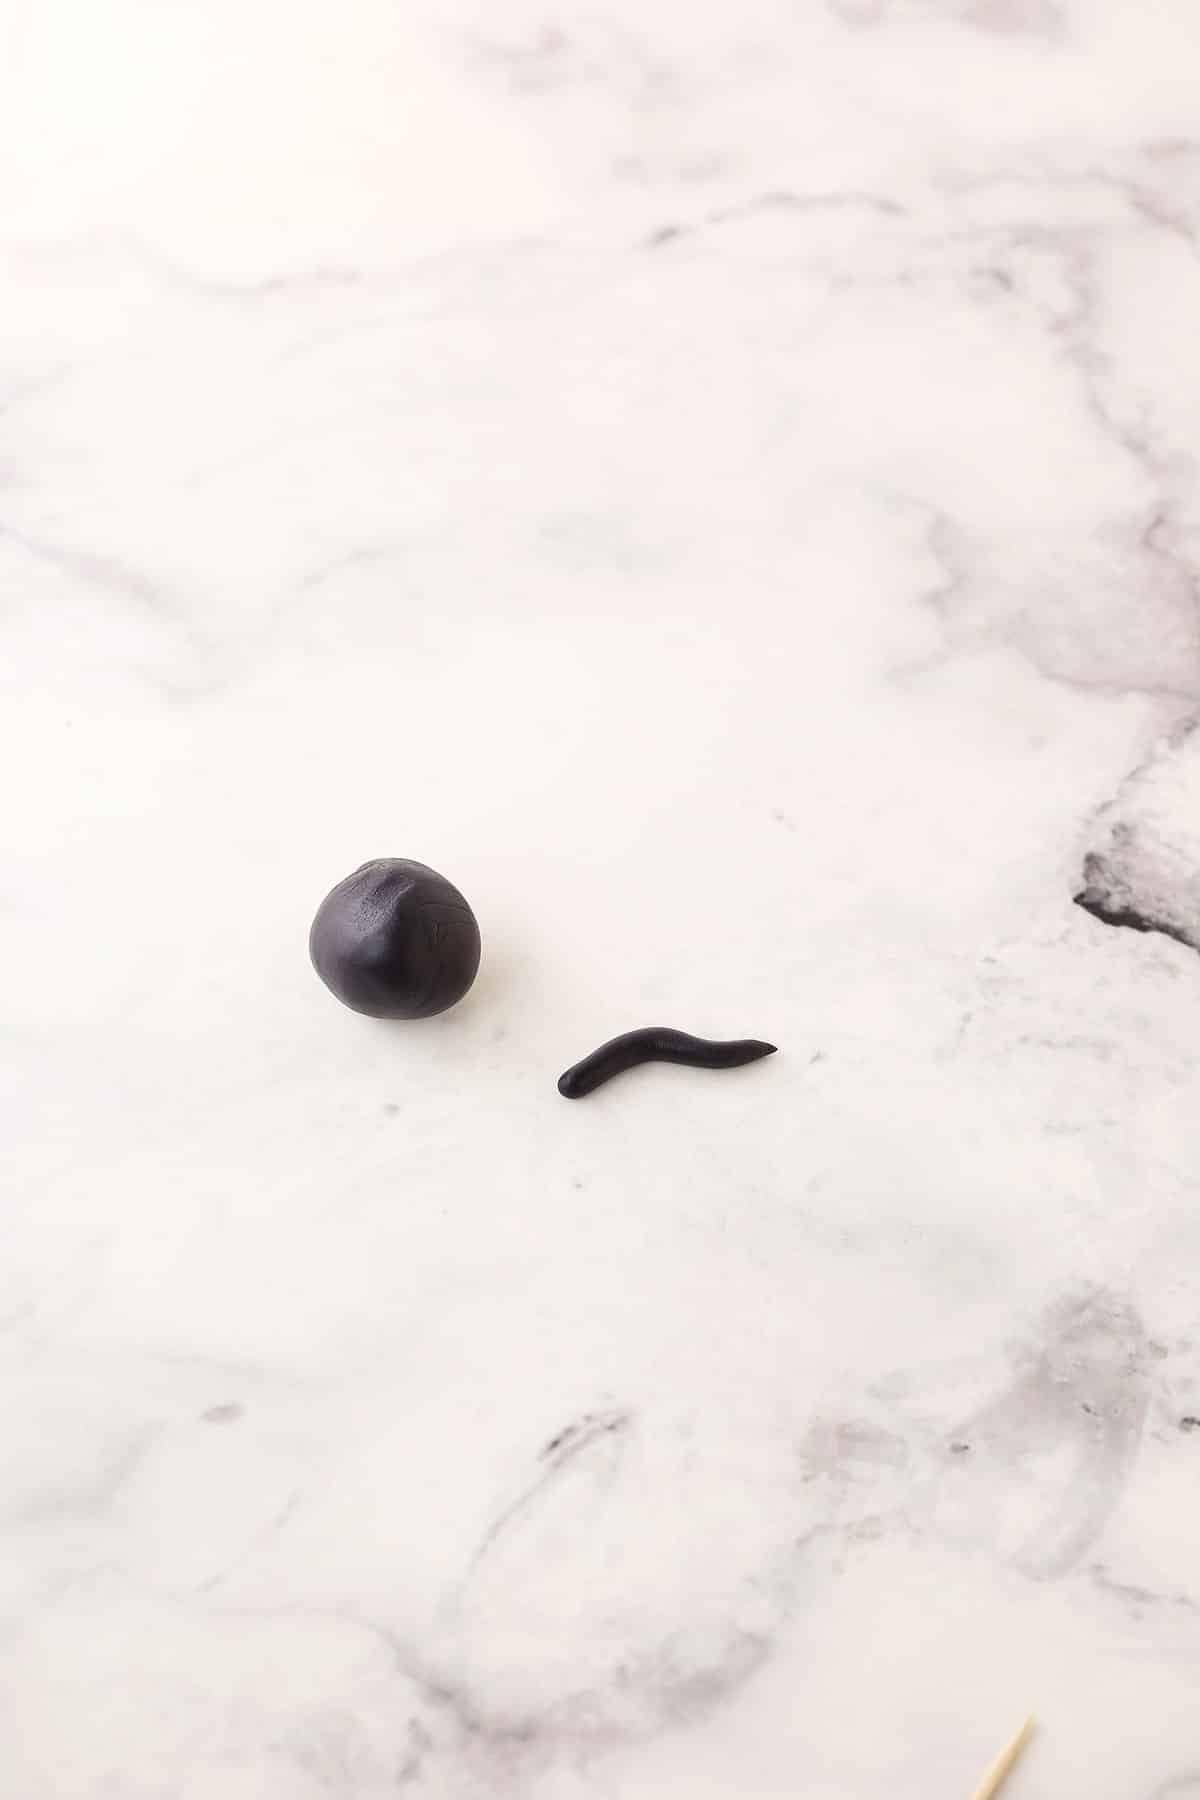
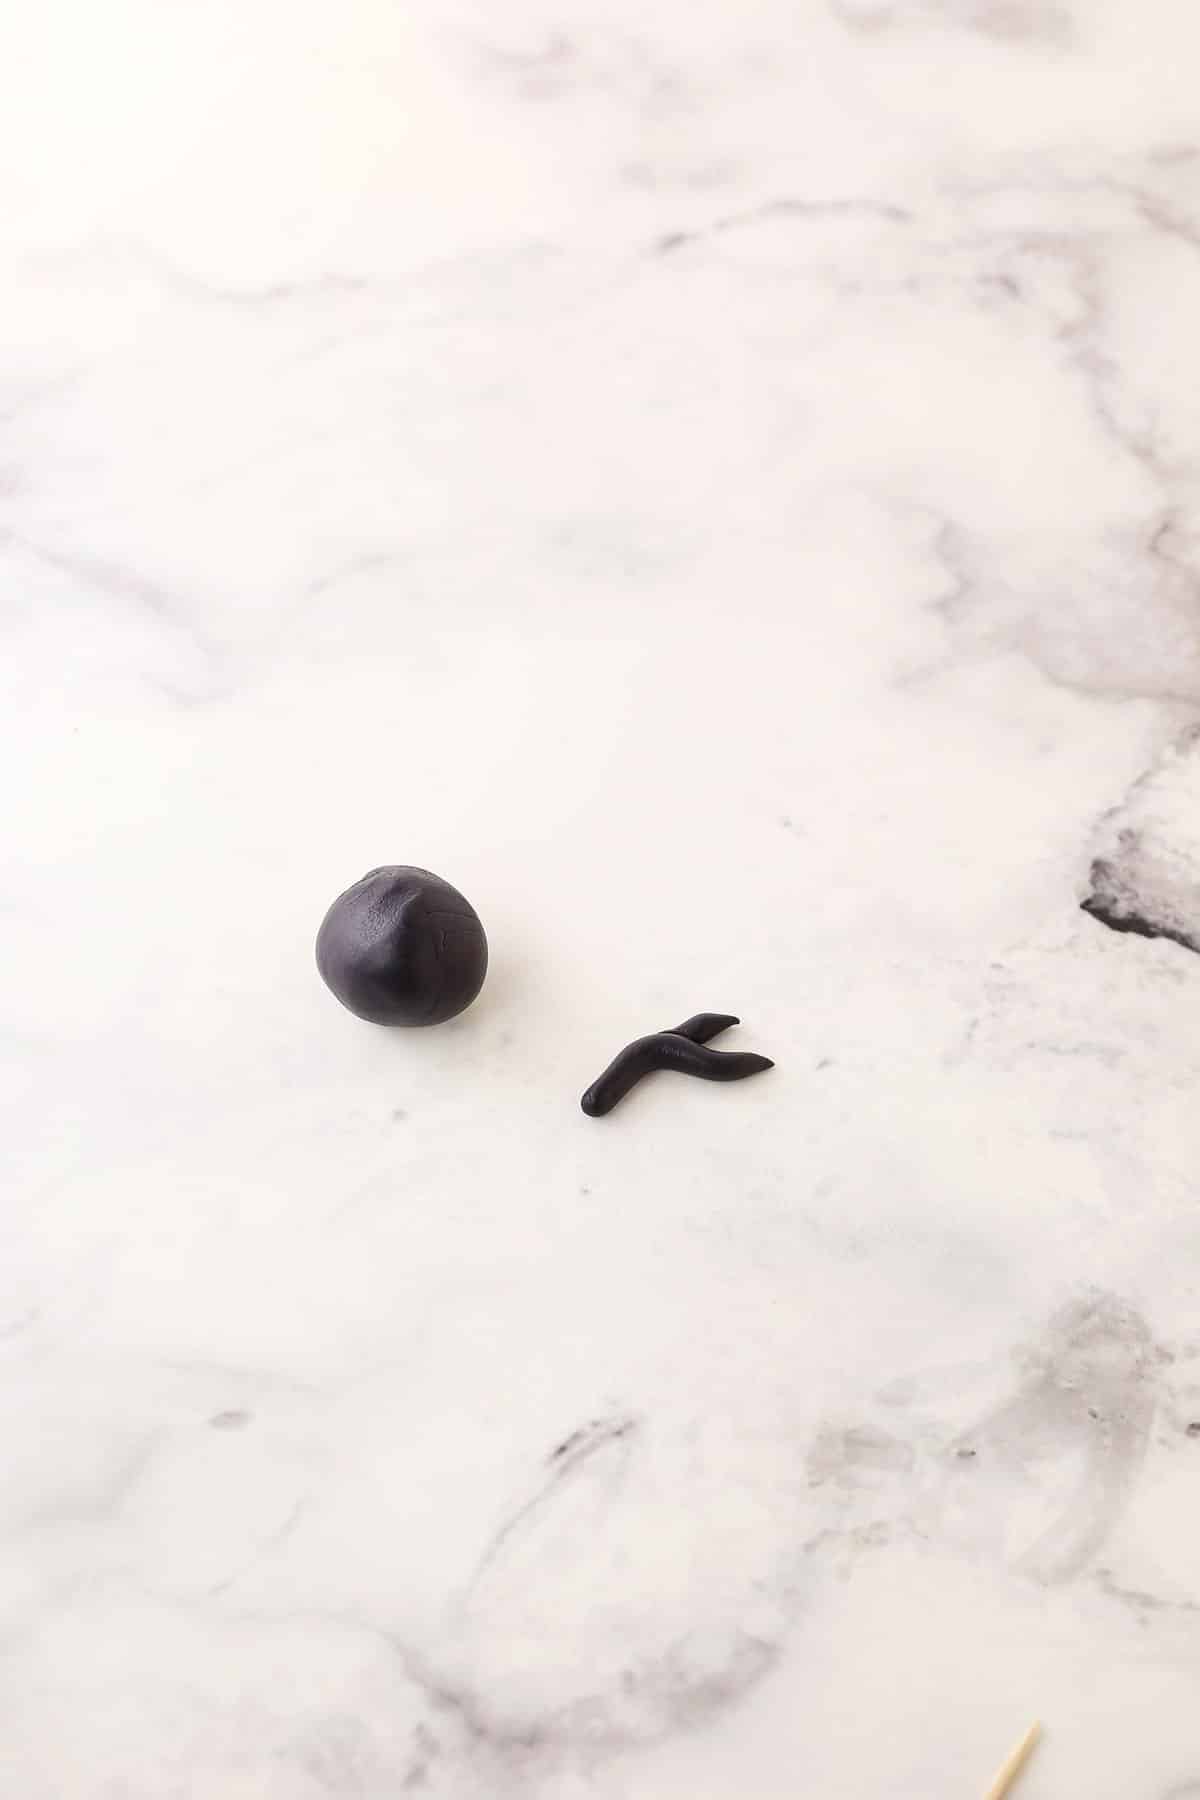
For the eyes, you’ll break off a little pieces of black fondant – about the size of a chickpea – and roll it out lengthwise to about the length you want for the eye. Gently shape it with your fingers to give it a curved look.
Break off another smaller piece of black fondant, roll it out and attach it to the other piece with a little bit of water. Make two eyes and then attach them to the cake with a little water, if needed. You can always move a little of the shredded coconut out of the way and they should stick to the cream cheese frosting pretty well too.
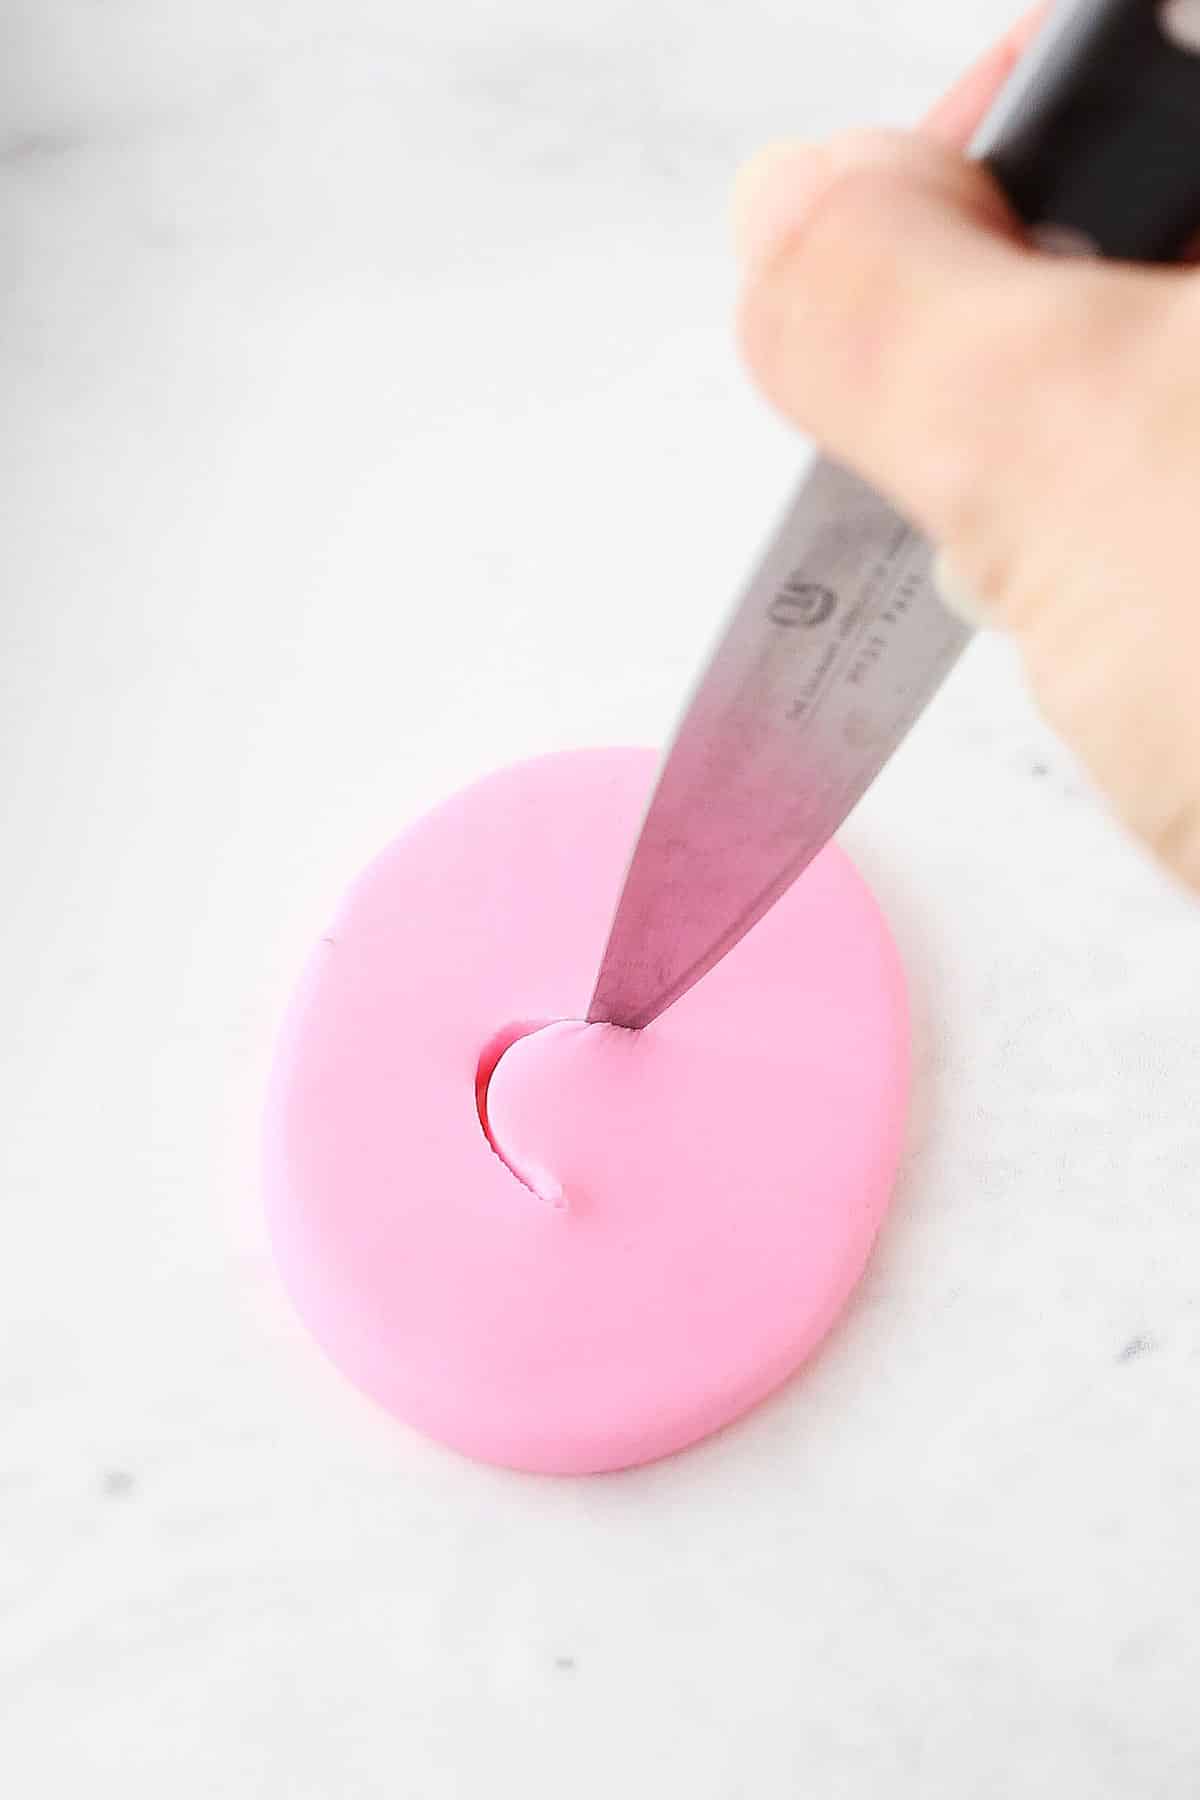
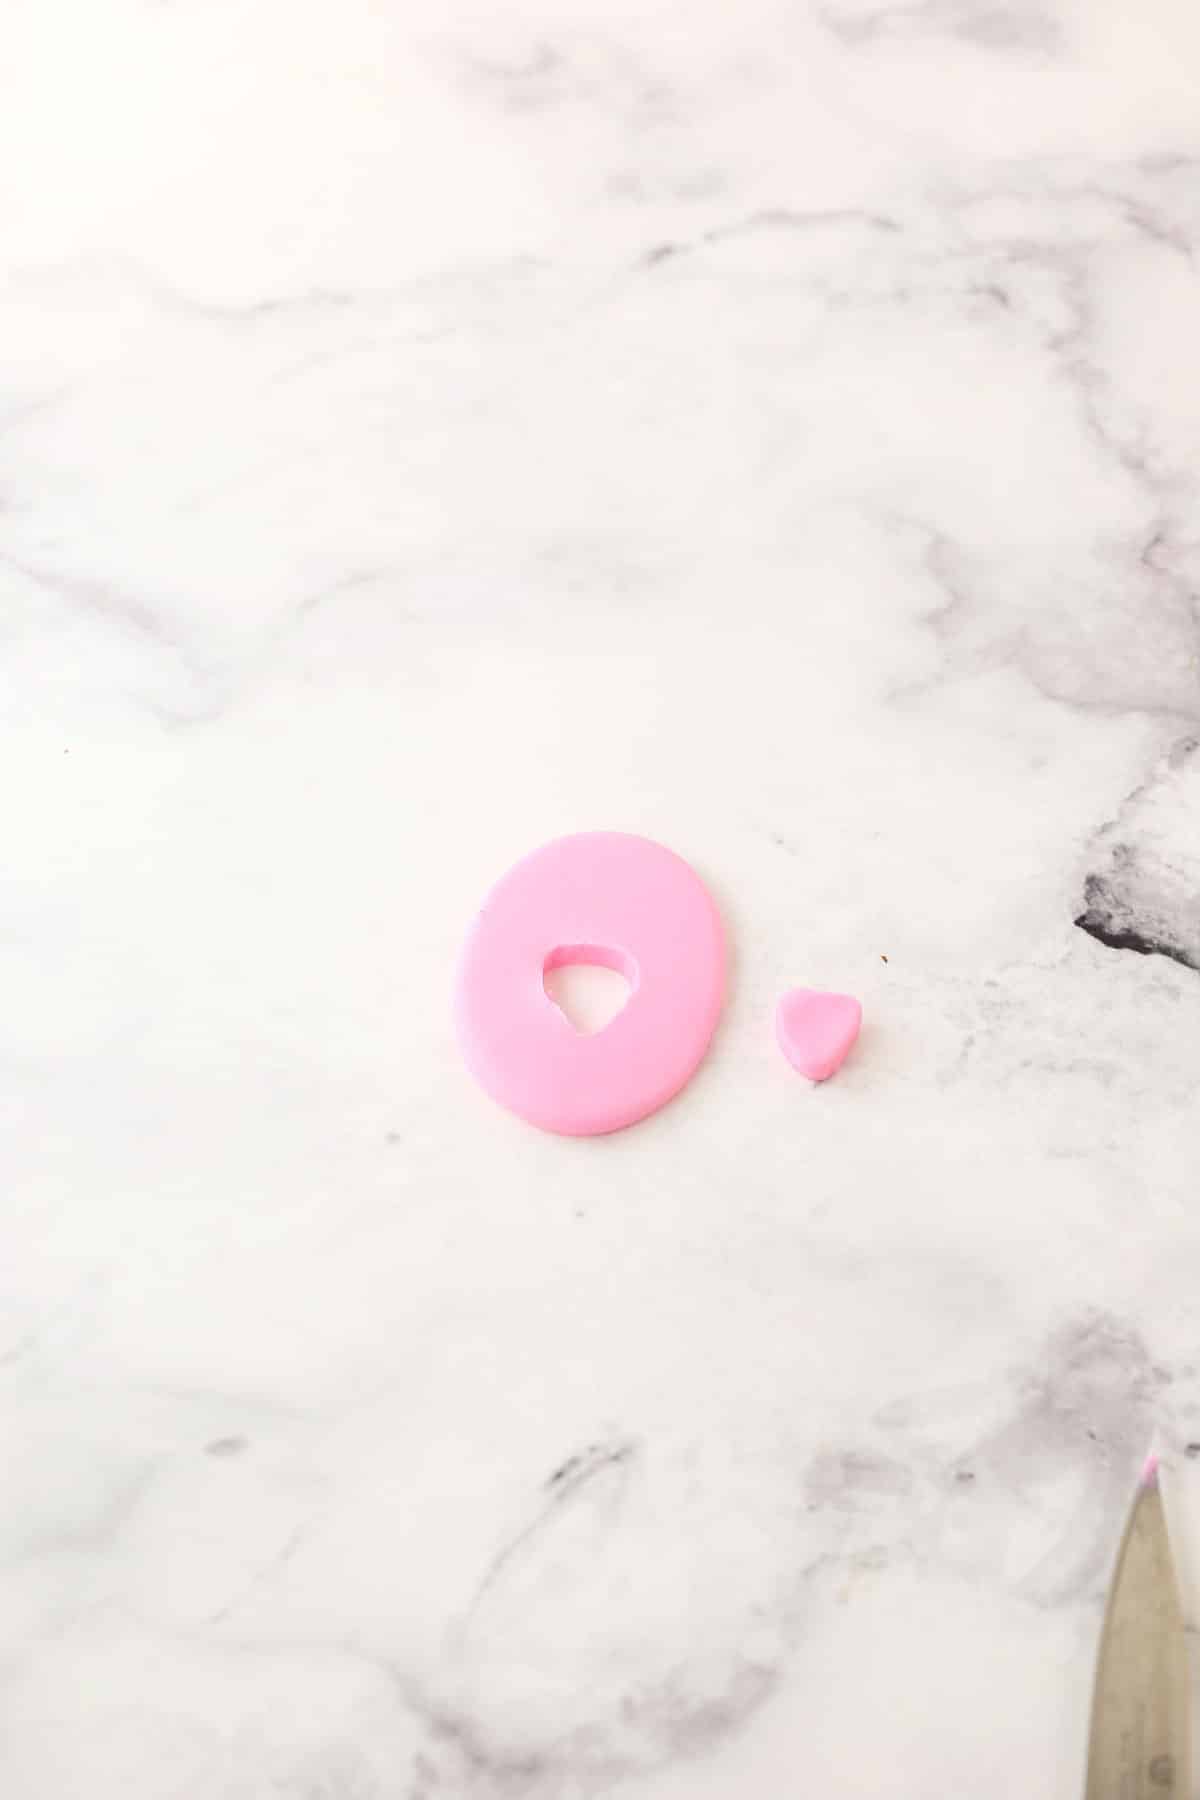
For the nose, color about a tablespoon of white fondant with pink gel icing color and then roll it out. Cut out a cute little nose and then attach it to the cake when ready.
How to Assemble this Coconut Easter Cake
Your fondant decorations will all go onto your coconut cake. It’s fairly straightforward to make and uses the creaming method. Once your cake layers are baked, layer them together with the coconut cream cheese frosting.
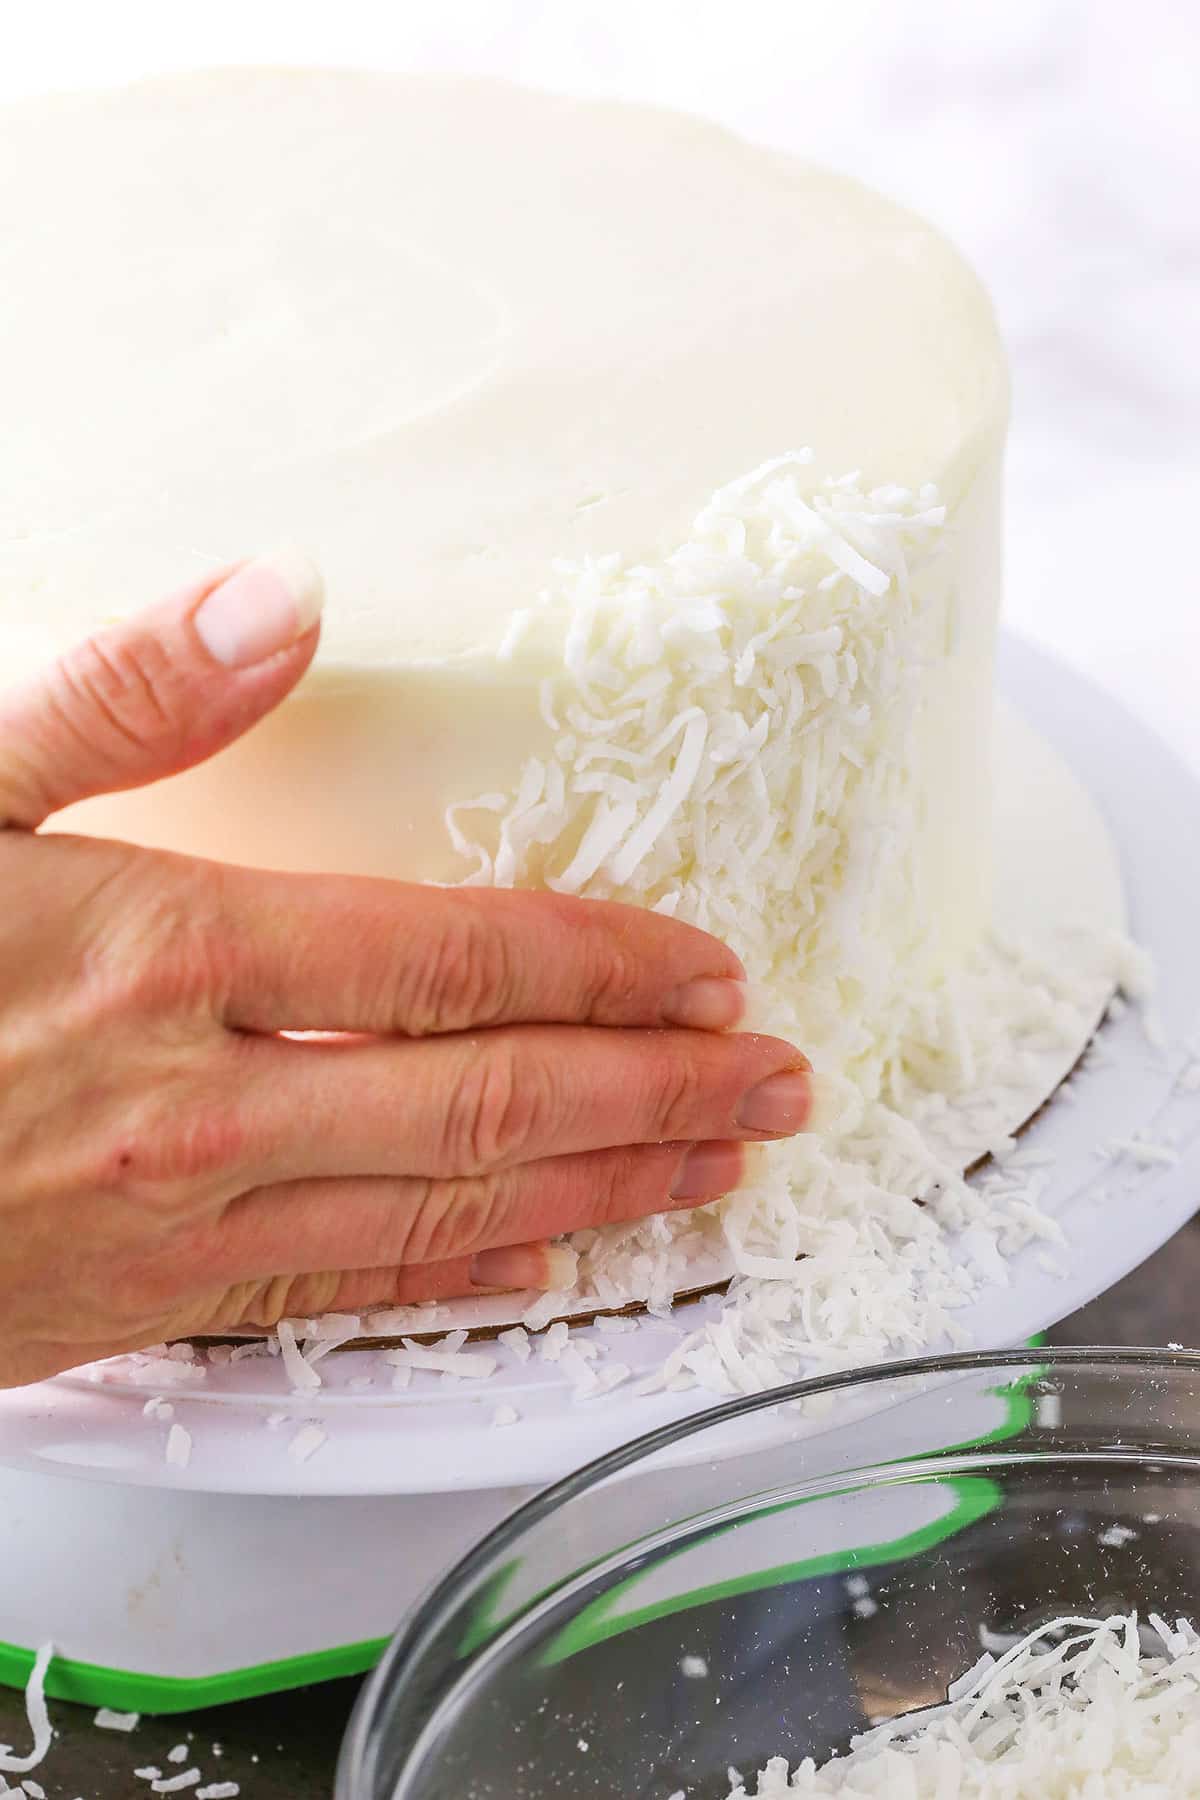
Next, you’ll add the shredded coconut. I like to just use my hand to gently press the coconut onto the sides of the cake. I start at the bottom and work my way up as I go around. Super simple and it sticks well to the cream cheese frosting.
The final step is to add those beautiful fondant decorations! You end up with one festive and tasty cake!
This Easter Bunny Cake is clearly perfect for Easter and a fun cake to make with kids. They can get involved in helping with the fondant and could even help with baking the cake and pressing the coconut onto the frosting. With all the kids at home right now, it’d make a fun project!
Easter Bunny Cake
- Prep Time: 1 hour 45 minutes
- Cook Time: 25 minutes
- Total Time: 2 hours 10 minutes
- Yield: 12-14 slices
- Category: Dessert
- Method: Oven
- Cuisine: American
Description
This Easter Bunny Cake is simple to make and so festive! It’s coconut in flavor and a great cake to make with kids to celebrate the holiday!
Ingredients
Bunny Decor
- 8.5 oz white fondant
- 1 tbsp black fondant
- Pink gel icing color
- 2 skewers, optional
Coconut Cake
- 2 1/2 cups (325g) all purpose flour
- 2 1/2 tsp baking powder
- 1/2 tsp salt
- 3/4 cup (168g) unsalted butter, room temperature
- 1 1/2 cups (310g) sugar
- 3 tbsp vegetable oil
- 1 tbsp coconut extract
- 4 large eggs
- 1 1/4 cups (300ml) milk
Coconut Cream Cheese Frosting
- 16 oz (452g) cream cheese, room temperature
- 3/4 cup (168g) unsalted butter, room temperature
- 10 cups (1150g) powdered sugar
- 2 tsp coconut extract
- Pinch or two of salt
- 2 cups (144g) sweetened coconut flakes
Instructions
1. You’ll want to start by making the fondant pieces (especially the bunny ears) a few days in advance of when you’ll use them so they have time to dry out and firm up. At least 3-5 days in advance is ideal.
2. To make the nose, pinch off about 1 tablespoon of the white fondant and color it pink. Roll the pink fondant out and use an exacto knife, or something similar, to nut out a nose.
3. Divide the remainder of the white fondant into two. One half should be a little bigger than the other, since you’ll make white ear pieces that are bigger than the pink ones. Color the smaller of the two with pink gel icing color so that it’s similar in color to the nose.
4. Roll out the white fondant and cut out the bunny ears. You can free hand it with an exacto knife, or use a piece of paper to first cut out the ears for a guide and then place that on the fondant to trace around it. I make my ears about 7 inches tall, so that a couple inches could be inserted into the cake and they’d still be tall.
5. Roll out the pink fondant and cut out the inner parts of the bunny ears. You can trim down the paper ears you made to get the right size and then trace that, if you like.
6. Brush the backs of the pink pieces with a little water and then place them onto the white ears. The water will help them stick together.
7. Fold over the top part of one ear and rest it on a rolled up piece of paper towel. Allow the ears to dry.
8. One thing to note about the ears is that even though they will dry out, after they are stuck into the cake, the moisture from the cake will begin to soften them. If you are going to have the ears in the cake for an extended period of time (more than 30 minutes or so), you might want to attach a skewer to the backs of the ears with some leftover fondant before adding them to the cake. The skewers will hold the ears in place as the fondant at the bottom begins to soften.
9. To make the eyes, break off a small pieces of black fondant (about the size of chickpea) and roll it lengthwise, then shape it into the shape of the eye. Break off another smaller piece of fondant to create the eyelash and attach them with a little water. Allow all the fondant pieces to set.
10. To make the cake, prepare three 8 inch cake pans with parchment paper circles in the bottom and grease the sides. Preheat oven to 350°F (176°C).
11. Combine the flour, baking powder and salt in a medium sized bowl and set aside.
12. Add the butter, sugar, oil and coconut extract to a large mixer bowl and beat together until light in color and fluffy, about 3-4 minutes. Do not skimp on the creaming time.
13. Add the eggs one at a time, mixing until mostly combined after each. Scrape down the sides of the bowl as needed to be sure all ingredients are well incorporated.
14. Add half of the dry ingredients to the batter and mix until mostly combined.
15. Slowly add the milk and mix until well combined. The batter will look curdled, but that’s ok.
16. Add the remaining dry ingredients and mix until well combined and smooth. Scrape down the sides of the bowl as needed to be sure all ingredients are well incorporated. Do not over mix the batter.
17. Divide the batter evenly between the cakes pans and bake for 22-25 minutes, or until a toothpick comes out with a few crumbs.
18. Remove the cakes from the oven and allow to cool for about 2-3 minutes, then remove to cooling racks to cool completely.
19. To make the frosting, add the cream cheese and butter to a large mixer bowl and beat until well combined and smooth.
20. Add about half of the powdered sugar and mix until well combined and smooth.
21. Add the coconut extract and salt and mix until well combined.
22. Add the remaining powdered sugar and mix until well combined and smooth. Add more or less powdered sugar, as desired for consistency purposes.
23. To put the cake together, use a large serrated knife to remove the domes from the top of the cakes so that they’re flat.
24. Place the first cake on a serving plate or a cardboard cake round.
25. Spread about 1 cup of frosting evenly on top of the cake.
26. Add the second layer of cake and another cup of frosting.
27. Top the cake with the remaining layer and frost the outside of the cake. Refer to my tutorial for frosting a smooth cake, if needed.
28. Press the shredded coconut onto the sides of the cake.
29. Shortly before serving the cake, brush the backs of the eyes and nose with some water and stick them into the sides of the cake. Move some of the coconut out of the way, if needed. Press the ears into the top of the cake. Remove the ears prior to serving. Cake is best when stored well covered in the fridge for 2-3 days.
Nutrition
- Serving Size:
- Calories: 900
- Sugar: 112.3 g
- Sodium: 255.7 mg
- Fat: 38.8 g
- Carbohydrates: 134.3 g
- Protein: 7.4 g
- Cholesterol: 138.6 mg




Thank you for the recipe.
It was perfect the first time. I learn so much from you as well! Keep it up great post.
It looks so delicious. Thanks for sharing the wonderful recipe.
So cute!! 😀 A tip, if anyone’s interested, is to use gumpaste instead of fondant if you’re in a hurry; it tries faster and firmer than fondant does.
I haven’t made this cake, but what a sweet looking cake! It looks delicious, especially with the cream cheese coconut frosting! 🙂