This post may contain affiliate sales links. Please read my disclosure policy.
With a flaky pie crust, tender apple filling, and crumbly streusel topping, this Dutch Apple Pie is delicious and full of flavor. It’s like a combination of apple pie and apple crisp! Perfect for Thanksgiving and the holidays!

Why You’ll Love This Dutch Apple Pie Recipe
I love this pie! It’s similar to my classic apple pie recipe but it’s piled high with streusel topping instead of crust on top. The classic apple pie filling is amazing, the flakey pie crust is great and the streusel topping has great flavor and is nice and crisp. The combination of flavors and textures is perfect.
Here are a few more reasons why I love it:
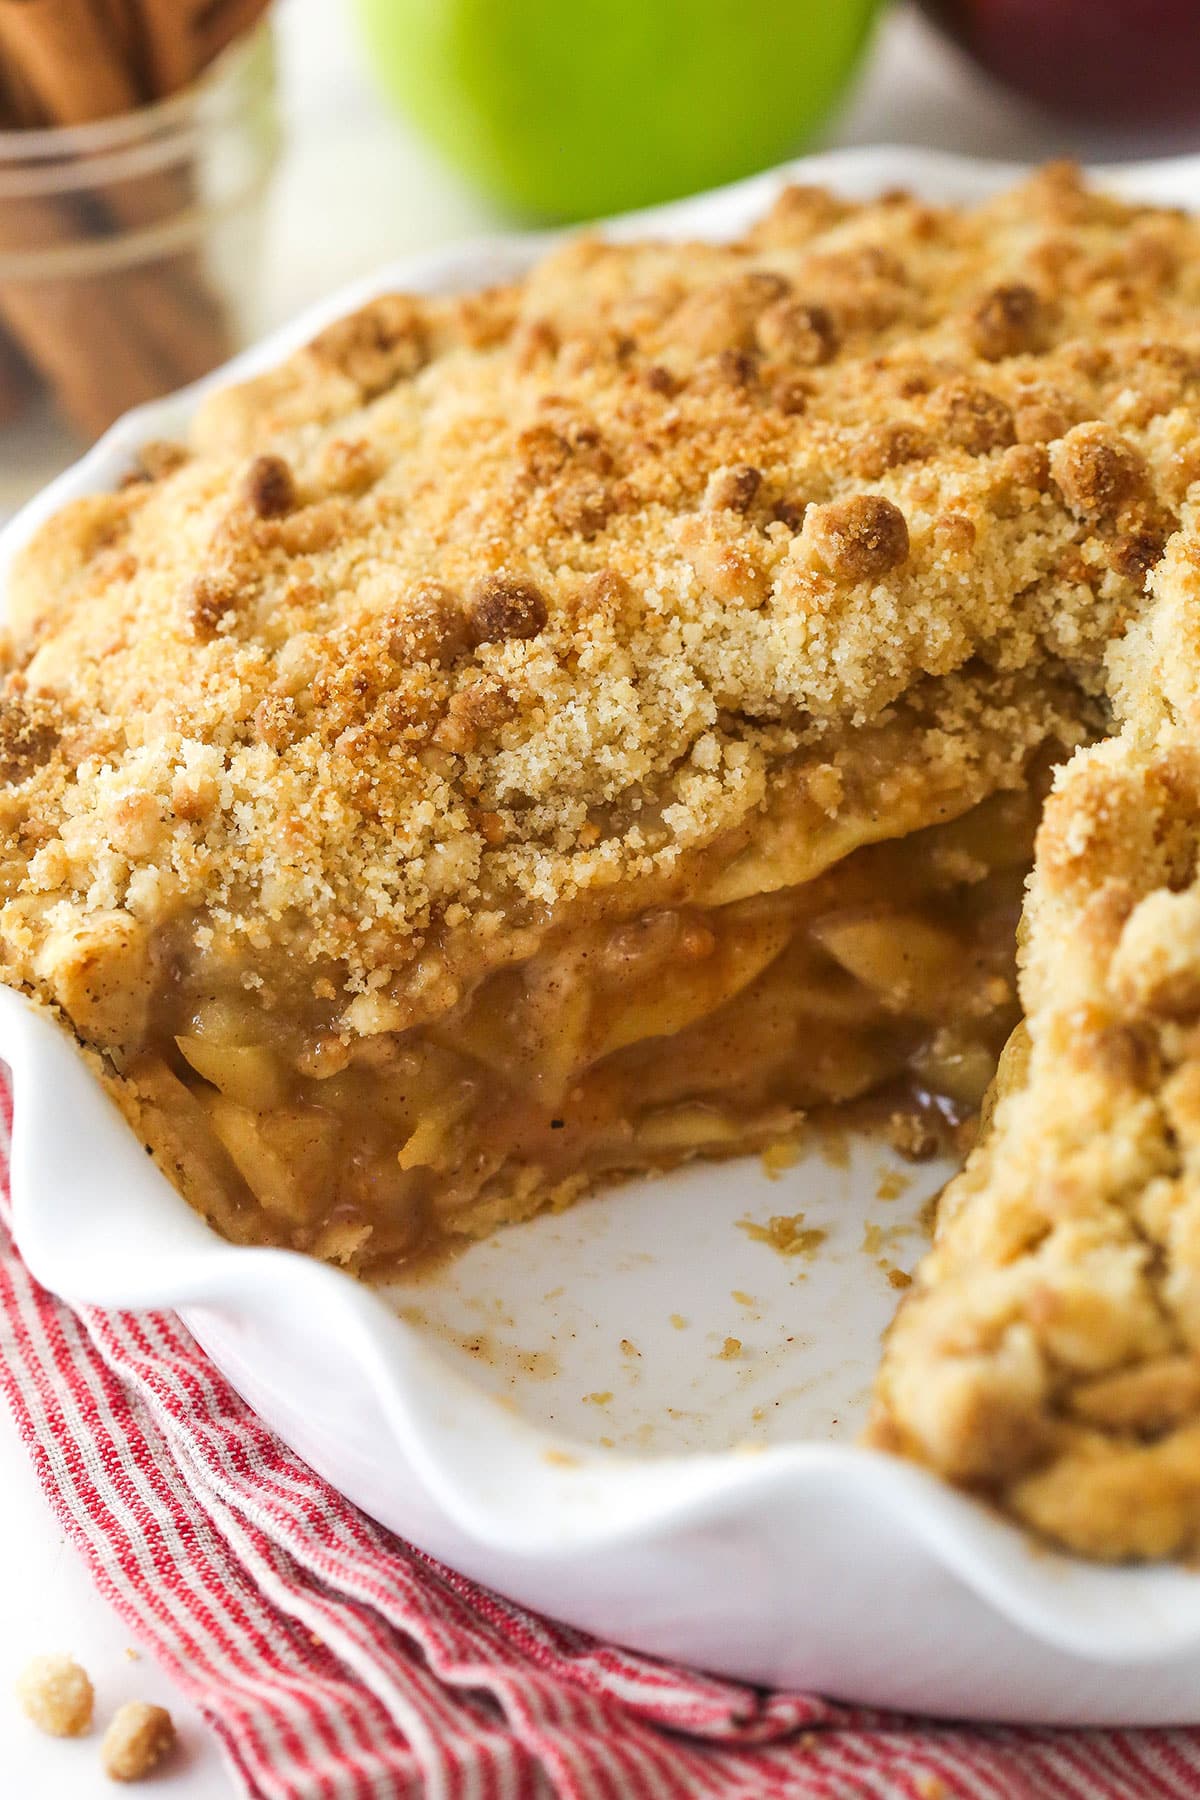
- Streusel topping! The streusel topping is truly what sets Dutch apple pie apart from regular apple pie. The sweet, crumbly topping is a beautiful contrast to the flaky crust on the bottom and the tender apples in the filling.
- Tender, spiced apples. The apple filling is cooked until each slice is soft and tender. There’s no need to worry about an undercooked filling in this pie!
- Easy to prep ahead. Making apple pie from scratch takes time. The great thing about this recipe is that it’s easy to split up and do some of the heavy lifting ahead of time. You can prep your pie crust and the filling several days ahead, for example, and then assemble and bake the day you want to serve it.
What You’ll Need
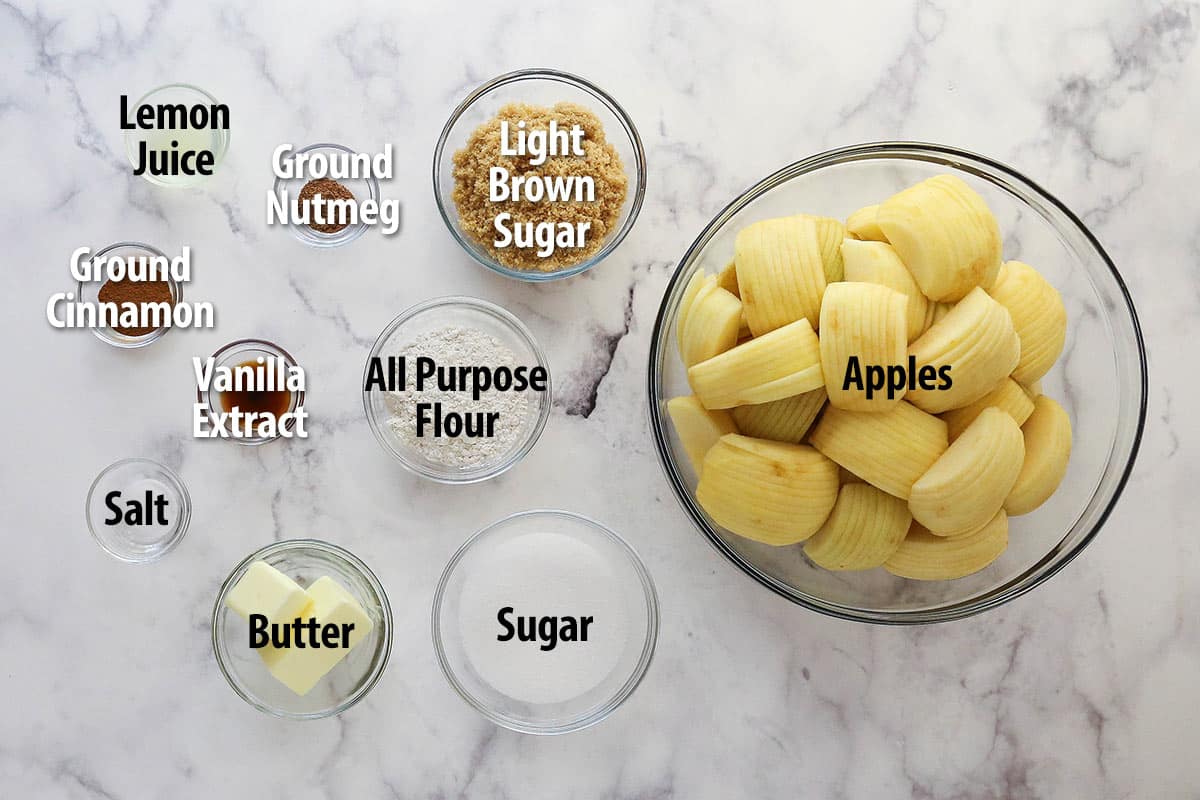
For this recipe, you’ll need your favorite pie crust, apples, and a few pantry staples. Scroll down to the recipe card below for the exact measurements.
- Pie crust – I love to use my homemade pie crust for this Dutch apple pie. Note that my recipe makes two crusts so you can either cut the recipe in half or freeze the other half for later. You can also use storebought crust.
For the Apple Pie Filling
- Apples – I used Granny Smith and Honeycrisp apples in this pie. See below for more notes on choosing the best applies for pie.
- Lemon juice – Fresh lemon juice is best. It adds a brightness to the apple flavor of the pie, without making it taste like citrus.
- Sugar – You’ll need both light brown sugar and granulated sugar for this recipe.
- All-purpose flour – For a little thickening power.
- Spices – Salt, ground cinnamon and nutmeg give this pie amazing flavor, without taking away from the apples.
- Vanilla extract
Streusel Topping
- All-purpose flour
- Sugar – Light brown sugar & granulated sugar melt into the topping and help give it the crumbly texture.
- Salt – Enhances the other flavors.
- Unsalted butter – Melted. If you use salted butter, you may want to reduce or omit the salt added.
- Vanilla extract
What Are The Best Apples For Pie?
It’s best to use at least 2 different varieties of apples when making this Dutch apple pie recipe. Using only Granny Smith apples would make the pie too tart. You want a mix of tart and sweet/flavorful apples. For the second kind of apple, Honeycrisp, Fuji, Brauburn, or McIntosh would be good.
Beyond flavor, another thing to consider is that tart apples tend to keep their shape a little more and stay more crunchy while sweet apples can become mushy during the cooking program. Using two varieties offers the perfect texture.
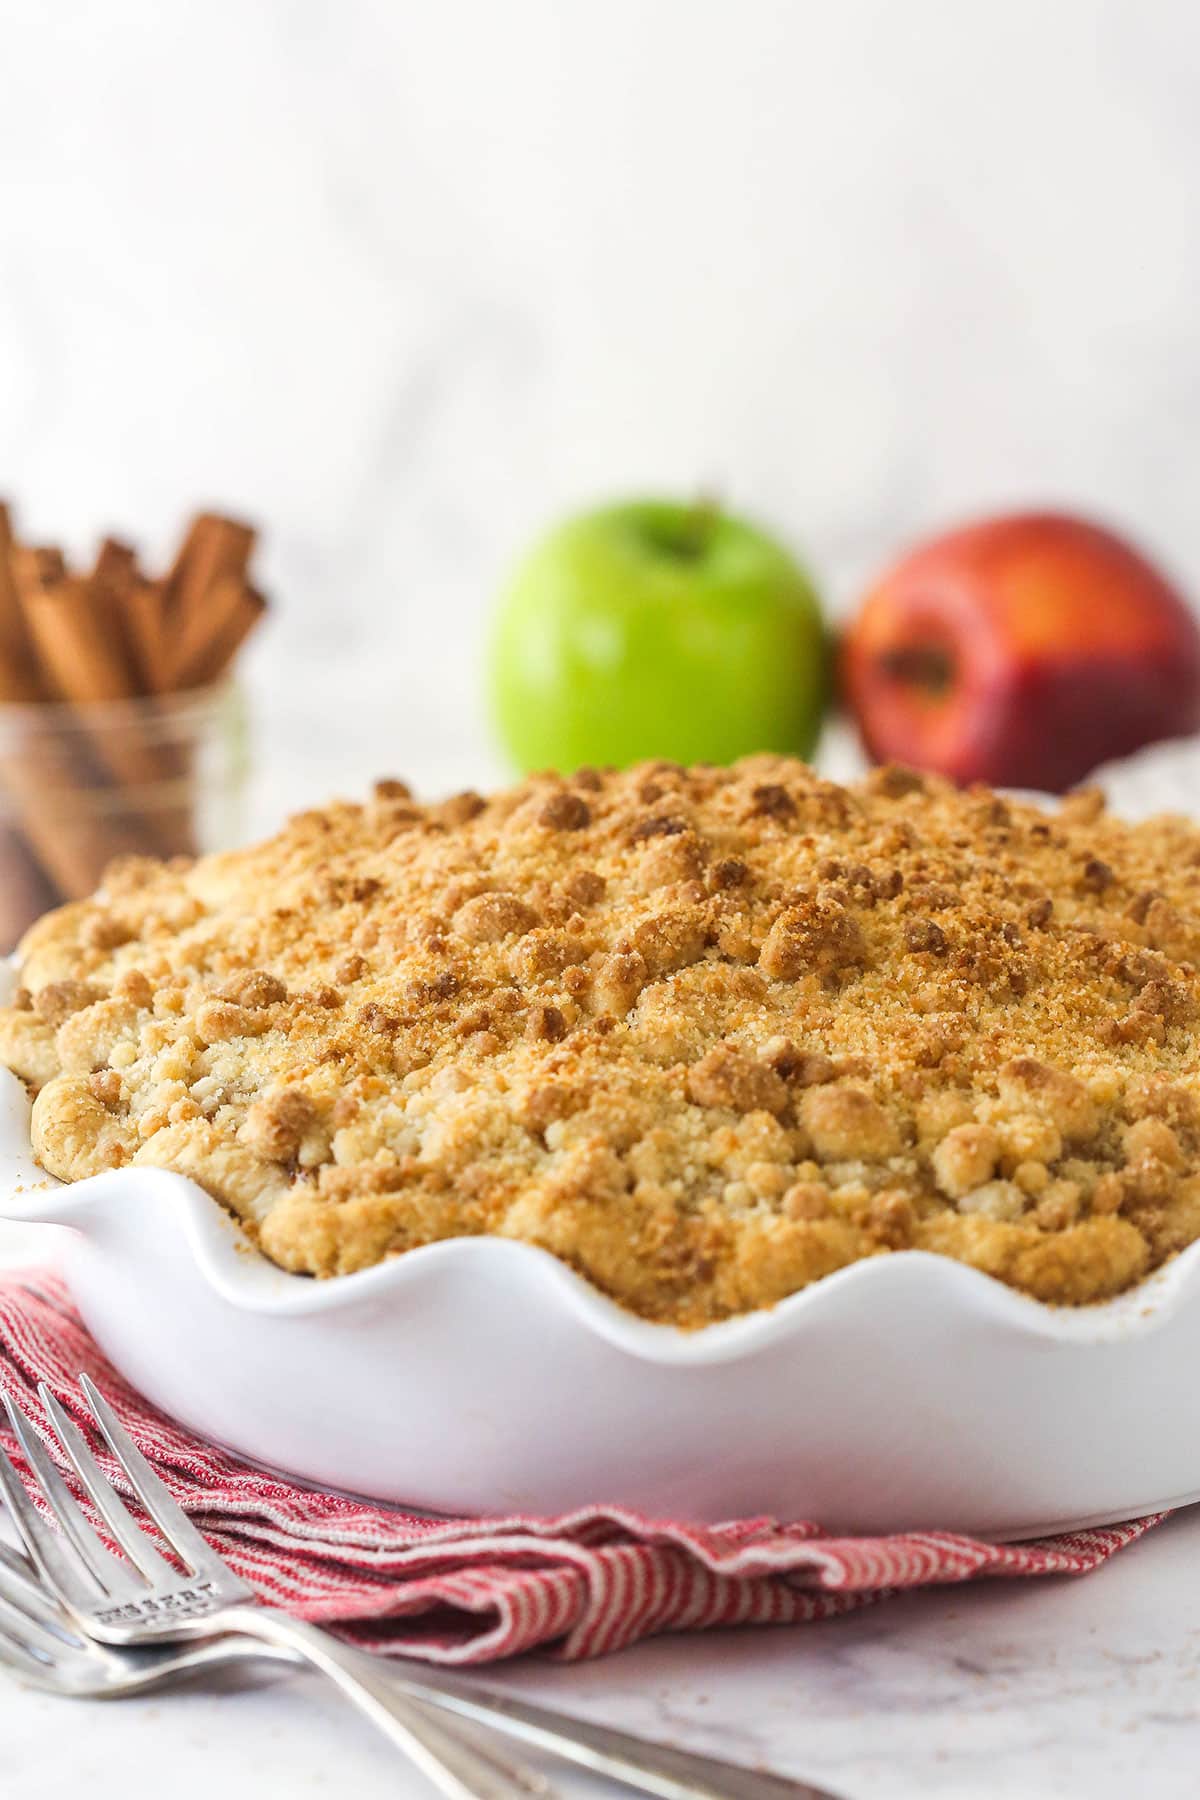
How To Make Dutch Apple Pie
Making Dutch apple pie from scratch is likely easier than you expect. You can find the printable version of these instructions in the recipe card.
Make the Pie Crust
- Make the pie crust. Make the pie crust dough according to the directions. Refrigerate for at least an hour (or up to two days) then let it sit out on the counter for an hour or so to bring it back to a workable temperature.
- Prep the crust. Place the crust in a deep dish 9-inch pie pan, crimp the edges, and “dock” the crust by pricking it with a fork. This helps allow the steam to escape evenly and prevents the crust from bubbling up.
- Chill. Refrigerate the crust for 2-3 hours or freeze for an hour.
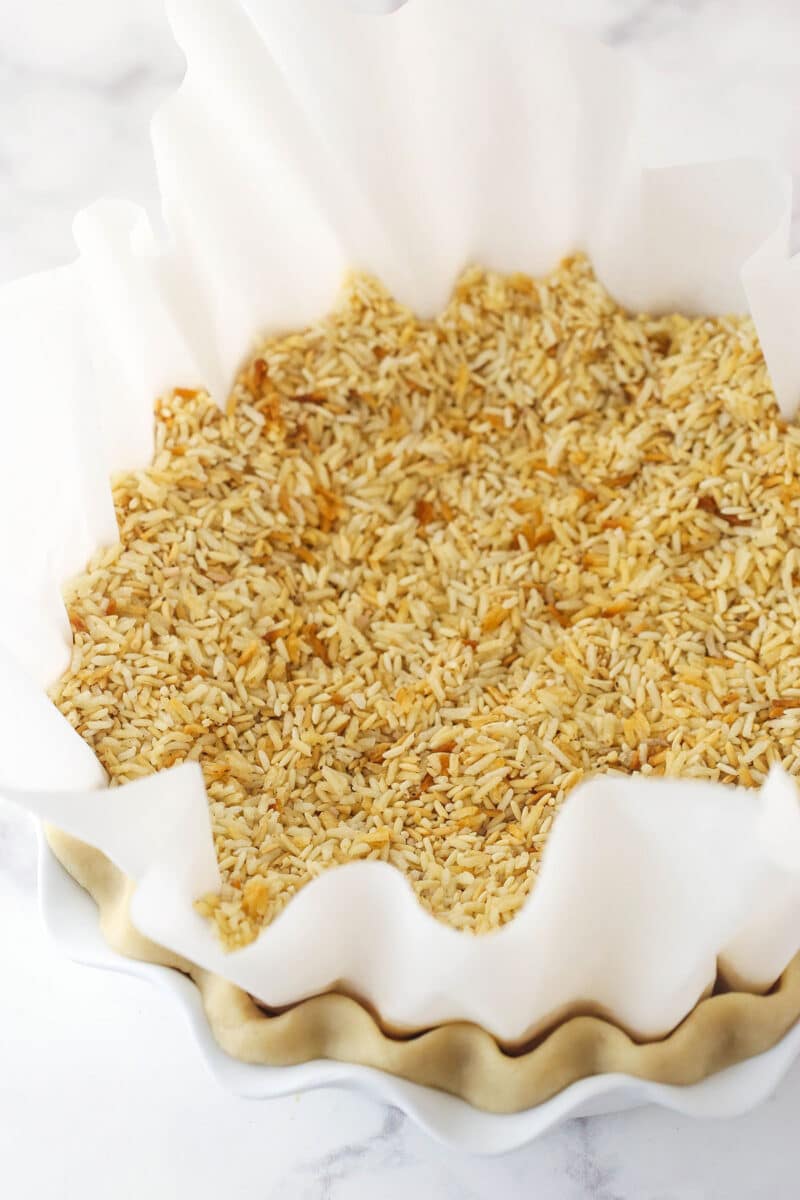
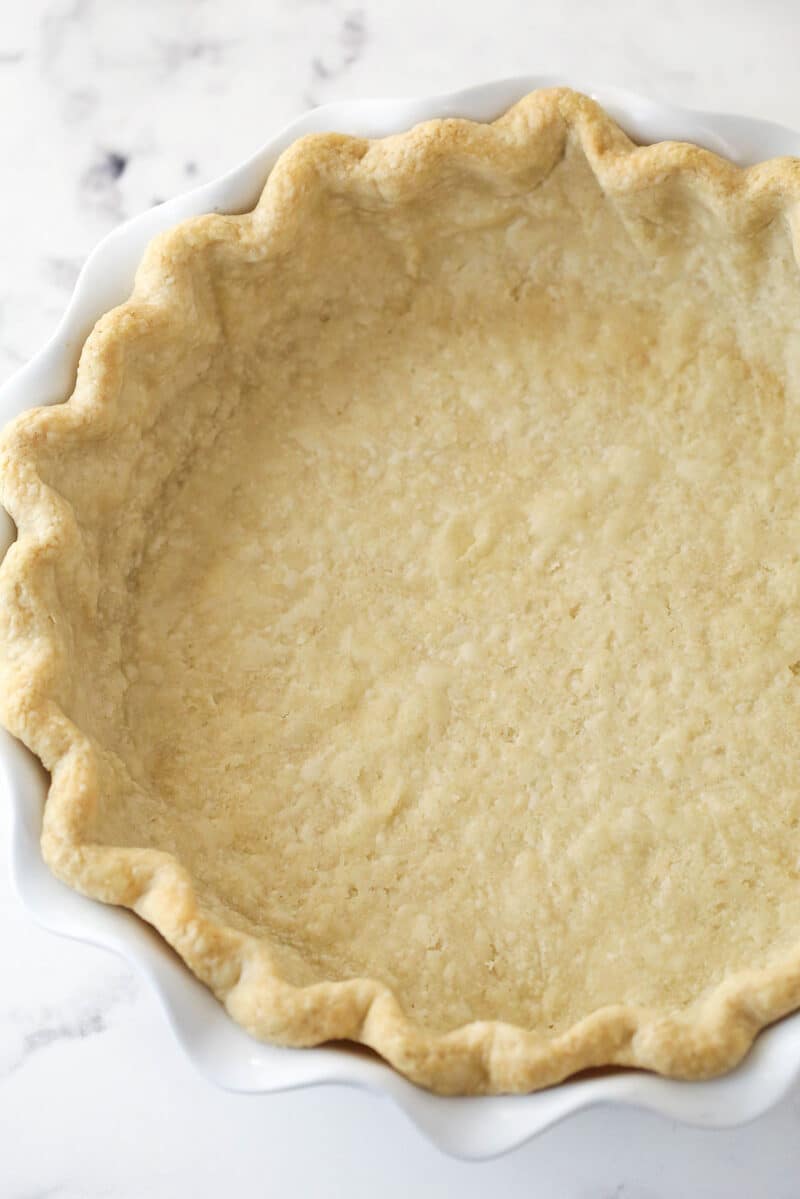
- Blind bake the crust. Preheat the oven to 350F. Line the crust with parchment paper, ensuring it presses all the way against the crust. Fill the crust with pie weights, rice, or beans. Bake for 20-25 minutes, until the edges of the crust begin to brown. Remove the parchment paper and pie weights then bake for an additional 5-10 minutes, until the crust is lightly golden brown.
Make the Apple Pie Filling
- Prep. Peel, core, and slice the apples to 1/8 thick. Toss with the lemon juice as you slice them.
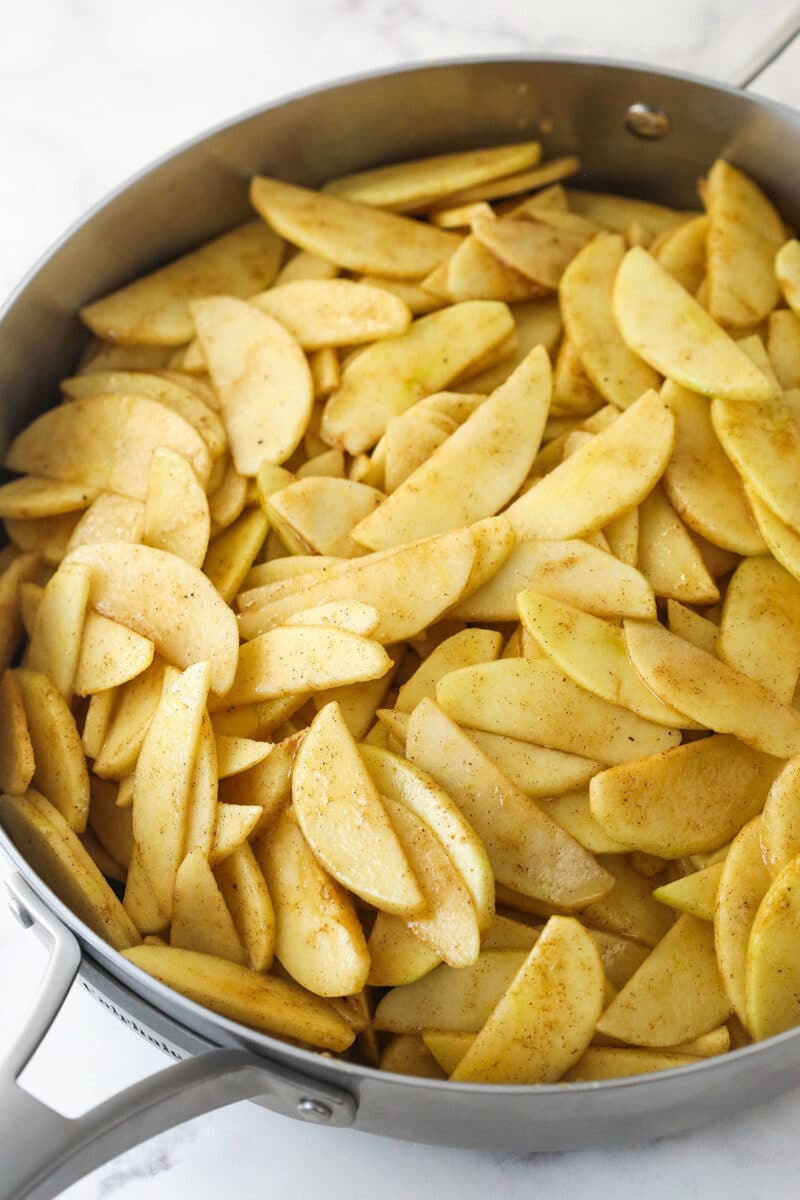
- Season the apples. Add the sugars, flour, salt, cinnamon, and nutmeg to the apple slices. Gently toss to coat, being careful not to break the apples as you toss them.
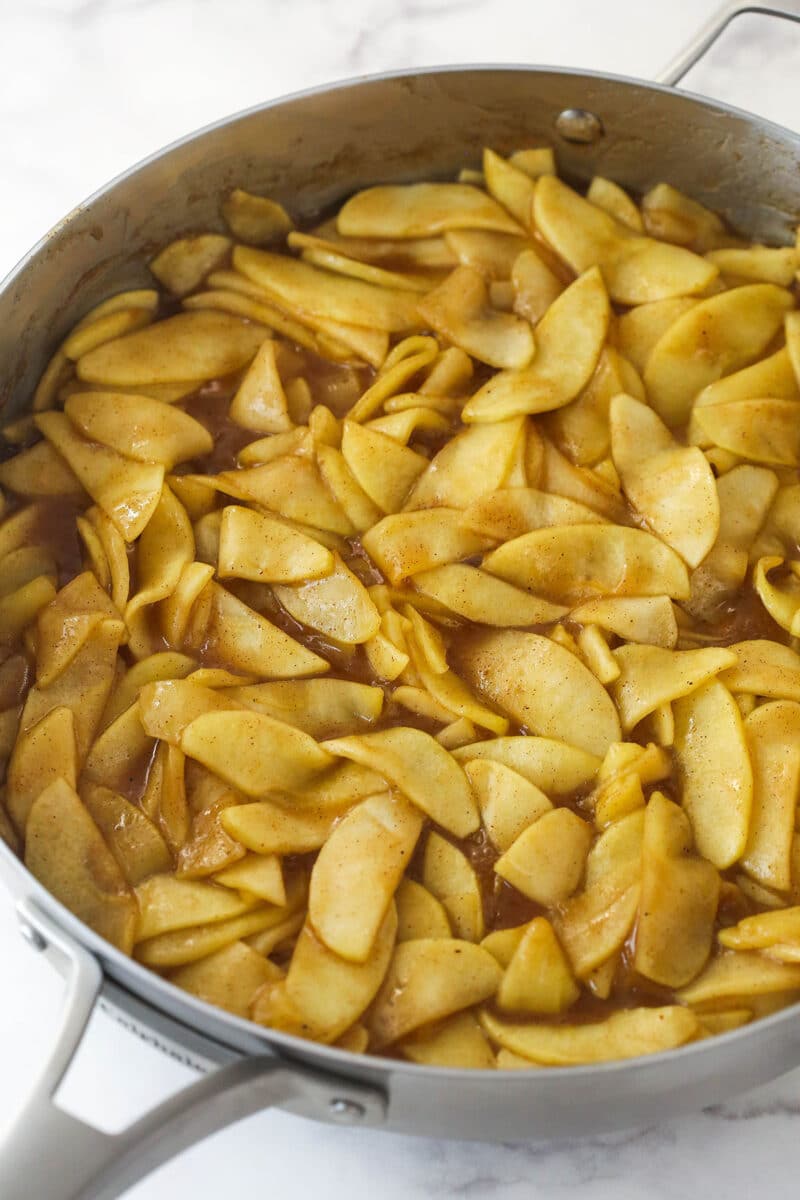
- Cook the apple mixture. Add the apple mixture to a large 5-quart skillet and cook over medium heat for about 20 minutes. They should be tender but hold their shape and be at the level of doneness you want them when they come out of the oven.
- Add to the pie crust. Remove the apples from the heat, gently stir in the vanilla extract, and add the pie filling to the warm pie crust.
Make the Streusel Topping
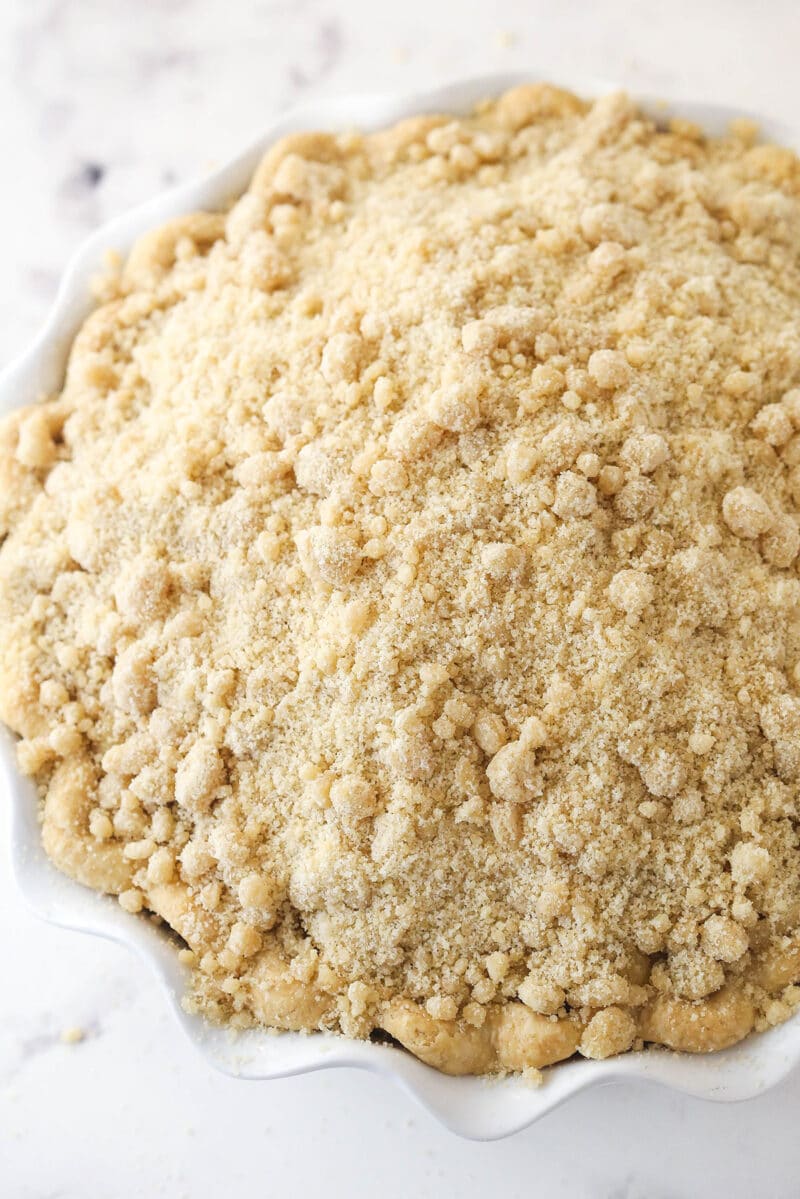
- Make the streusel. Combine the dry ingredients in a medium bowl. Add the melted butter and vanilla then stir with a fork. There should be some larger and smaller chunks. Sprinkle evenly over the pie filling.
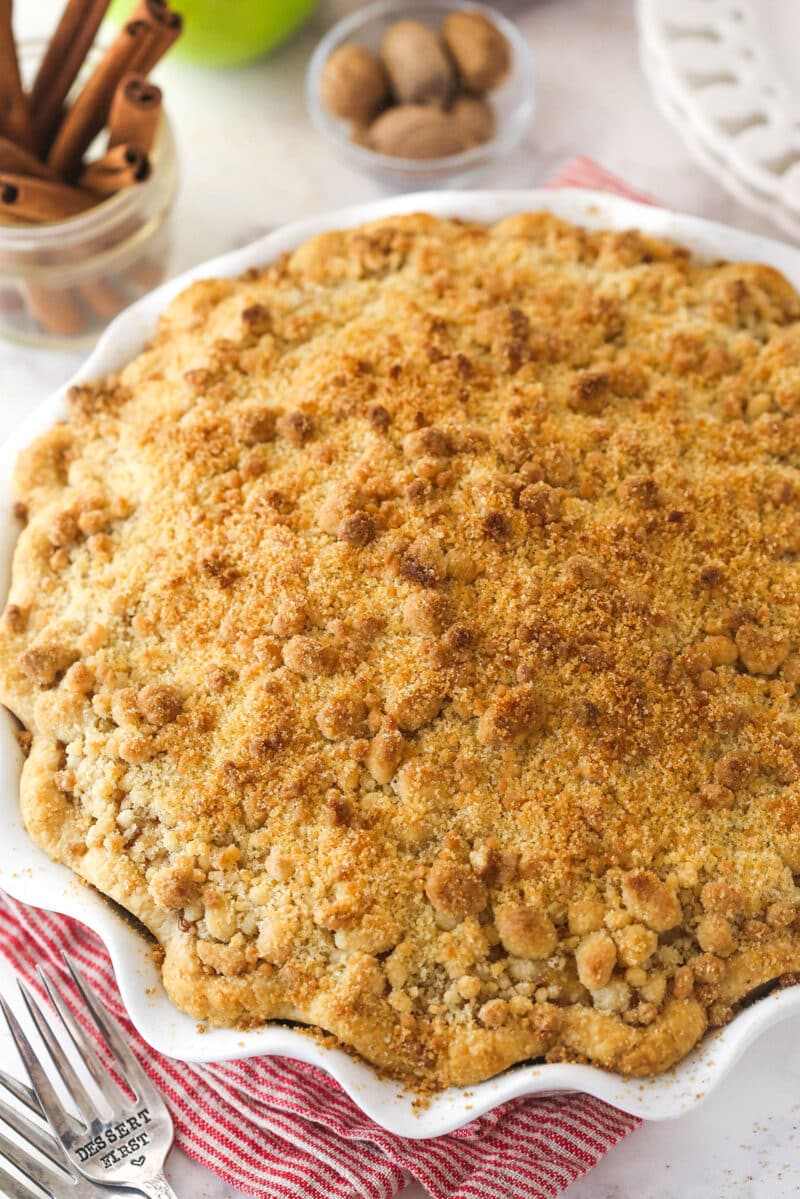
- Bake. Bake the pie until the topping is golden and the filling begins to bubble. This should take 15-20 minutes.
- Cool. Let the pie cool to room temperature on a wire rack. This should take about 4 hours. The filling will thicken as it cools – if you cut it while it’s still hot, the juices will pool.
Why Do I Need To Pre-Cook The Apples?
Pre-cooking the apples is the key to a great Dutch apple pie (or any apple pie). It prevents all of the main problems people have with their pies – undercooked apples and a soggy filling. Keep these tips in mind.
- Pre-cook the apples to the exact texture you want them to be later because they will not soften more in the oven. I know, it sounds counter-intuitive but it’s true!
- Pre-cooking the apples also helps to thicken the filling properly, preventing a super watery or soggy filling that doesn’t set properly as the pie chills.
All that to say…don’t skip this step!
Tips For The Best Pie
- Use two kinds of apples. Most apples are tart or sweet. Since we’re looking for a mix of these two flavors, use a couple of different apples in this recipe. Peel and pre-cook them to ensure the apples are tender and have the right texture.
- Slice the apples evenly. Try to make sure each apple slice is roughly the same thickness so that they all cook evenly. You don’t want to bite into a hard chunk of apple in the pie!
- Weigh the apples. I weigh my apples so that I have 2 1/1 pounds of each. I usually use about 5-6 large Granny Smith apples and 4-5 large Honeycrisp apples. The number of apples could vary depending on size.
- Peel the apples. I know some people leave the skin on when making apple pie but I think this recipe is so much better when the apples are peeled.
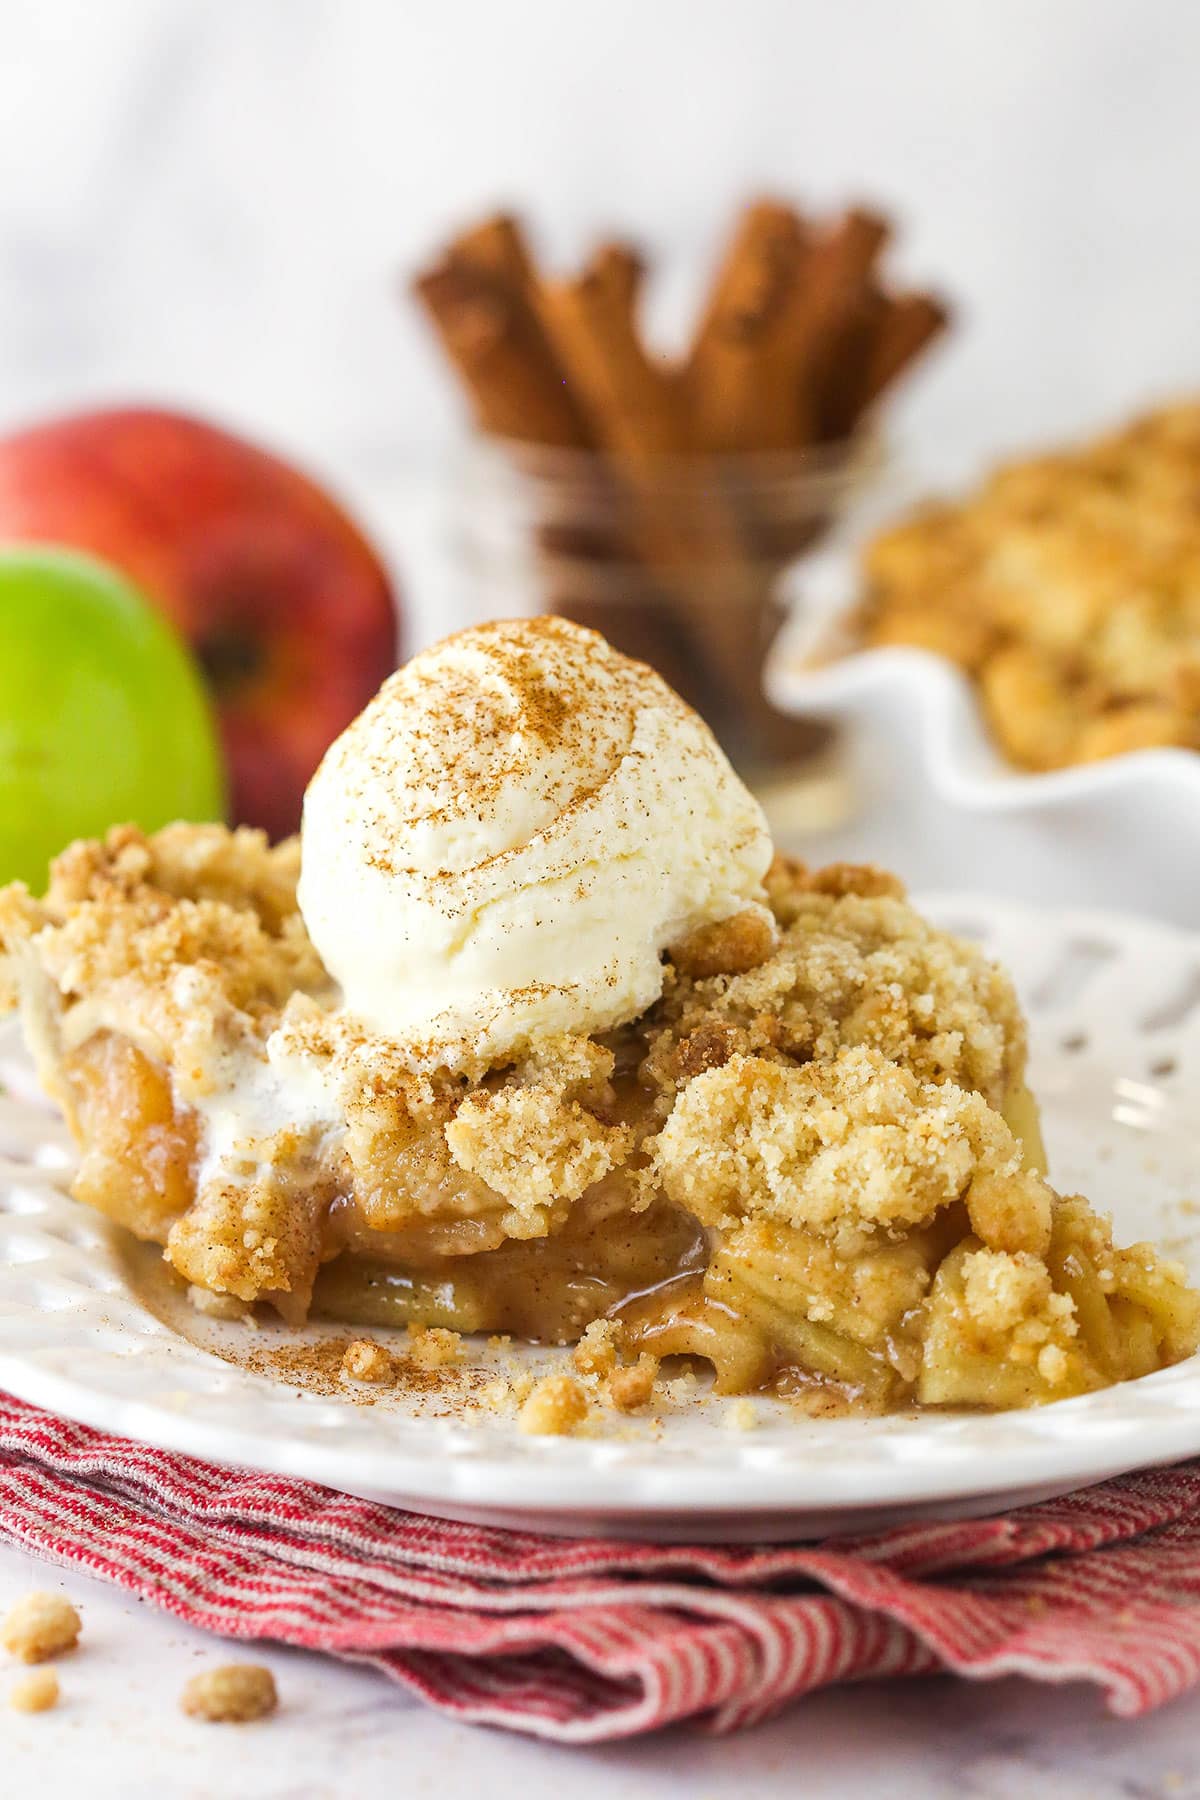
- Cool before slicing. Once the pie comes out of the oven, let it cool to room temperature for several hours before serving. If you slice it immediately, the filling will fall everywhere and the juices will pool.
Can I Make This In Advance?
Yes, both the pie crust and the apple filling can be prepared in advance.
The pie crust can be stored in the fridge for up to 2 days or frozen for up to 3 months. (You can find more info on storing it in my pie crust recipe.) The apple filling can also be prepped and stored in an airtight container in the fridge for a few days.
Proper Storage
- Fridge. You can leave your Dutch apple pie at room temperature for up to 24 hours but after that, it needs to be refrigerated. You can heat it before serving if desired.
- Freeze. To freeze, cut any remaining pie into slices and place them uncovered in the freezer. Once frozen, wrap the slices in plastic wrap and place them back into the freezer. You can keep them there for up to 3 months. When you’re ready to eat, let the slices thaw overnight in the fridge. Heat them up before serving.
More Pie Recipes To Try
- Peanut Butter Pie
- Classic Pecan Pie
- Caramel Turtle Pie
- Pumpkin Pie
- Chocolate Cream Pie
- Salted Honey Pie
Watch How To Make It
Print
Dutch Apple Pie
- Prep Time: 2 hours
- Cooling/Chilling: 6 hours
- Cook Time: 1 hour
- Total Time: 9 hours
- Yield: 10-12 slices
- Category: Dessert
- Method: Baking
- Cuisine: American
Description
With a flaky pie crust, tender apple filling, and crumbly streusel topping, this Dutch Apple Pie is delicious and full of flavor. It’s like a combination of apple pie and apple crisp! Perfect for Thanksgiving and the holidays!
Ingredients
- Refrigerated or Homemade Pie Crust *
For the Apple Pie Filling
- 2 1/2 pounds Granny Smith apples, before peeling and coring (5–6 apples)
- 2 1/2 pounds Honeycrisp apples, before peeling and coring (4–5 apples)
- 1 tbsp lemon juice
- 1/2 cup (112g) packed light brown sugar
- 1/2 cup (104g) granulated sugar
- 1/3 cup (43g) all-purpose flour
- 1/2 tsp salt
- 1 1/2 tsp ground cinnamon
- 1/4 tsp ground nutmeg
- 1 tsp vanilla extract
Streusel Topping
- 1 cup plus 2 tbsp (148g) all-purpose flour (measured correctly)
- 6 tbsp(84g) packed light brown sugar
- 6 tbsp (78g) sugar
- 1/8 tsp salt
- 5 tbsp (70g) unsalted butter, melted
- 3/4 tsp vanilla extract
Instructions
Make the Pie Crust
- Make the pie crust according to the directions. Refrigerate for at least an hour, or up to 2 days. When ready to prep the crust, bring it back to a workable temperature, letting it sit out for an hour so.
- Place the pie crust in a deep dish 9-inch pie pan and crimp the edges. “Dock” the crust by pricking the crust with a fork to allow steam to escape evenly. This helps the crust not bubble up and cook unevenly.
- Refrigerate the crust for 2-3 hours or freeze for about an hour. You want to be sure the crust is very cold.
- To blind bake the crust, preheat oven to 350°F and line the pie crust with parchment paper. Be sure the parchment paper presses all the way against the crust so that it’s flush. Fill the pie crust with pie weights, rice or beans.
- Bake for 20-25 minutes, or until the edges of the crust begin to brown. Remove the parchment paper and pie weights and bake for another 5-10 minutes, or until the crust is golden.
Make the Apple Pie Filling
- Peel, core, and slice all of the apples to about 1/8 inch thick. You want to try to slice them all about the same thickness so they cook evenly. Add the lemon juice to a very large bowl and toss the apples in the juice as you slice them, leaving the apple slices in the bowl for later.
- Add the sugars, flour, salt, cinnamon, and nutmeg to the apple slices and gently toss to coat them all with the mixture. Be careful not to break the apples as you toss them.
- Add the apple mixture to a large 5-quart skillet (I use this skillet but this one would work well too.) Cook the apples (covered with a lid) over medium heat for about 20 minutes. You want the apples to be fork-tender but still hold their shape. The apples won’t soften more in the oven, so how they are when you stop cooking them is how they’ll be in the pie. Cook them to how you like them.
- Remove the pan from the heat and gently stir in the vanilla extract.
- Add the warm apple filling to the warm blind-baked pie crust.
Make the Streusel Topping
- Preheat oven to 425°F. Combine the flour, sugars and salt in a medium size bowl.
- Add the melted butter and vanilla extract and stir with a fork until evenly dispersed. The mixture should have some larger and smaller chunks.
- Sprinkle the streusel evenly over the pie filling. It will be a good bit of topping.
- Bake the pie until the topping is golden and the filling is beginning to bubble, about 15-20 minutes.
- Let the pie cool on a wire rack to room temperature, about 4 hours. The filling thickens as it cools. If you cut it while still hot, the juices will pool.
Notes
- Pie crust: You only need one crust and the crust recipe makes 2. You can cut the recipe in half or make both and freeze one for later.
- Apples: All Granny Smith apples would be too tart. You want a mix of tart and sweet/flavorful apples. For the second kind of apple, Honeycrisp, Fuji, Brauburn or McIntosh would be good. I weigh my apples so that I have 2 1/1 pounds of each. I usually use about 5-6 large Granny Smith apples and 4-5 large Honeycrisp apples. The number of apples could vary depending on size.
- To store: Store the pie at room temperature for up to 24 hours, then refrigerate it. The pie should be good for 3-4 days.
- To freeze: Cut any remaining pie into slices and place them uncovered in the freezer. Once frozen, wrap the slices in plastic wrap and place them back into the freezer. You can keep them there for up to 3 months. When you’re ready to eat, let the slices thaw overnight in the fridge. Warm them up before serving. To freeze the full unbaked pie, I recommend freezing without the topping. Flash freeze for about an hour, then wrap in a layer of plastic wrap and foil. Thaw in the fridge before adding the topping and baking.
Nutrition
- Serving Size:
- Calories: 391
- Sugar: 40.3 g
- Sodium: 225.4 mg
- Fat: 13 g
- Carbohydrates: 66.3 g
- Protein: 3.5 g
- Cholesterol: 33.1 mg




Can you can this apple pie filling?
I don’t really do any canning, so I’m not sure. Sorry!