This post may contain affiliate sales links. Please read my disclosure policy.
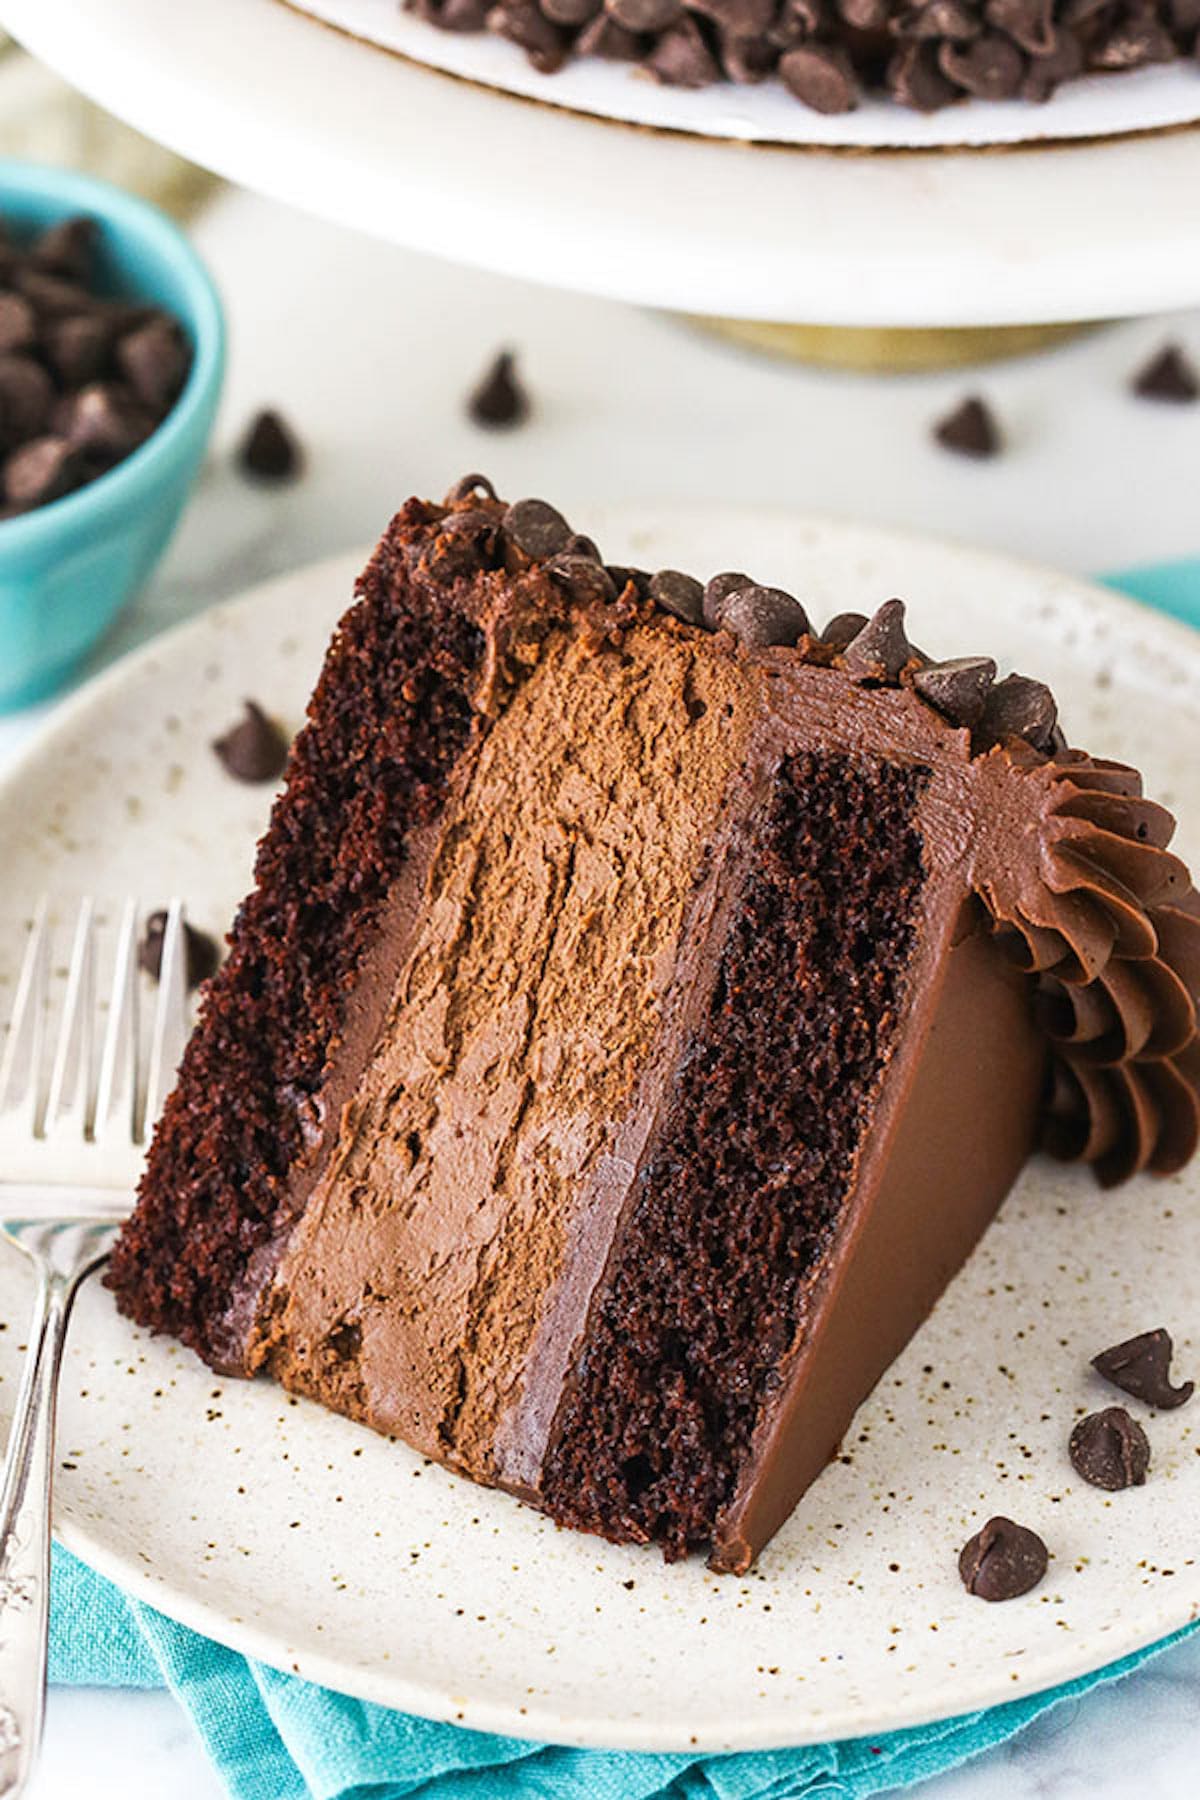
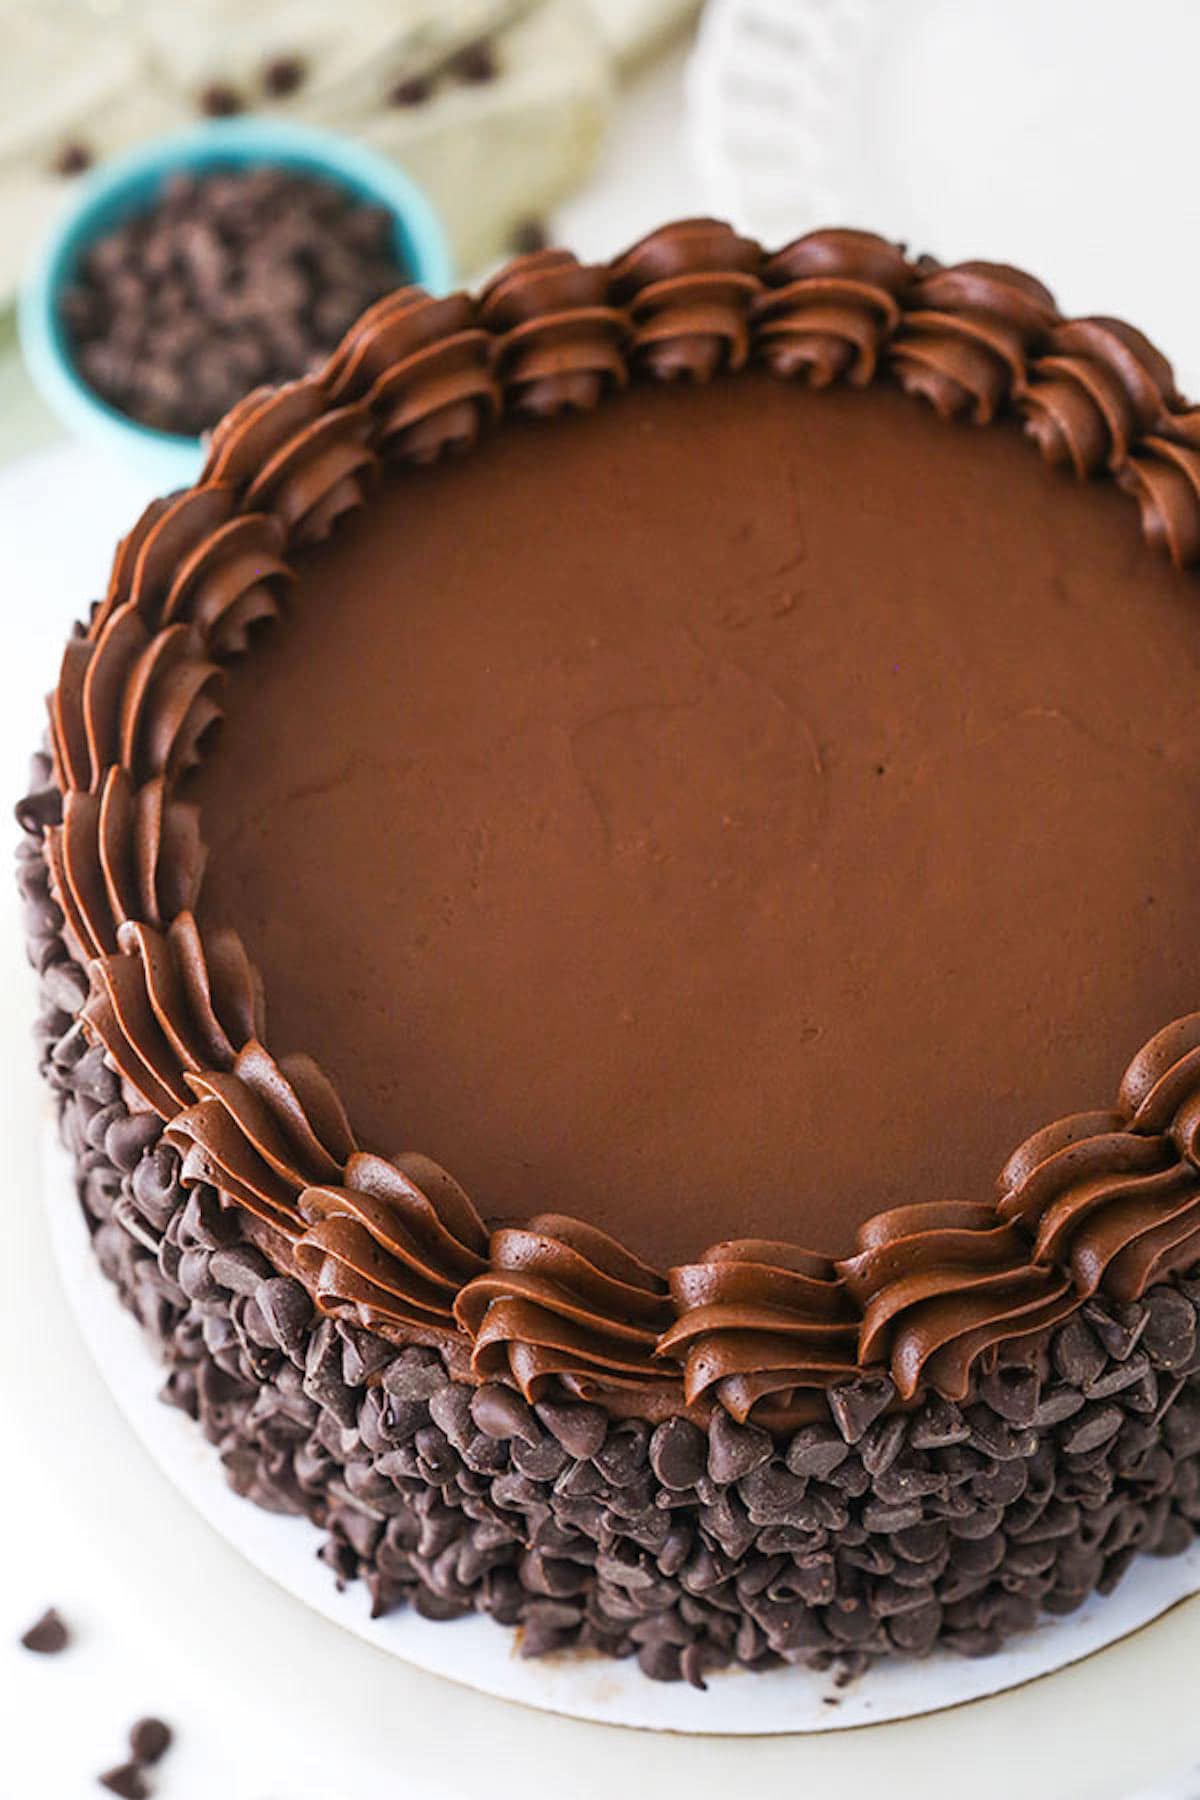
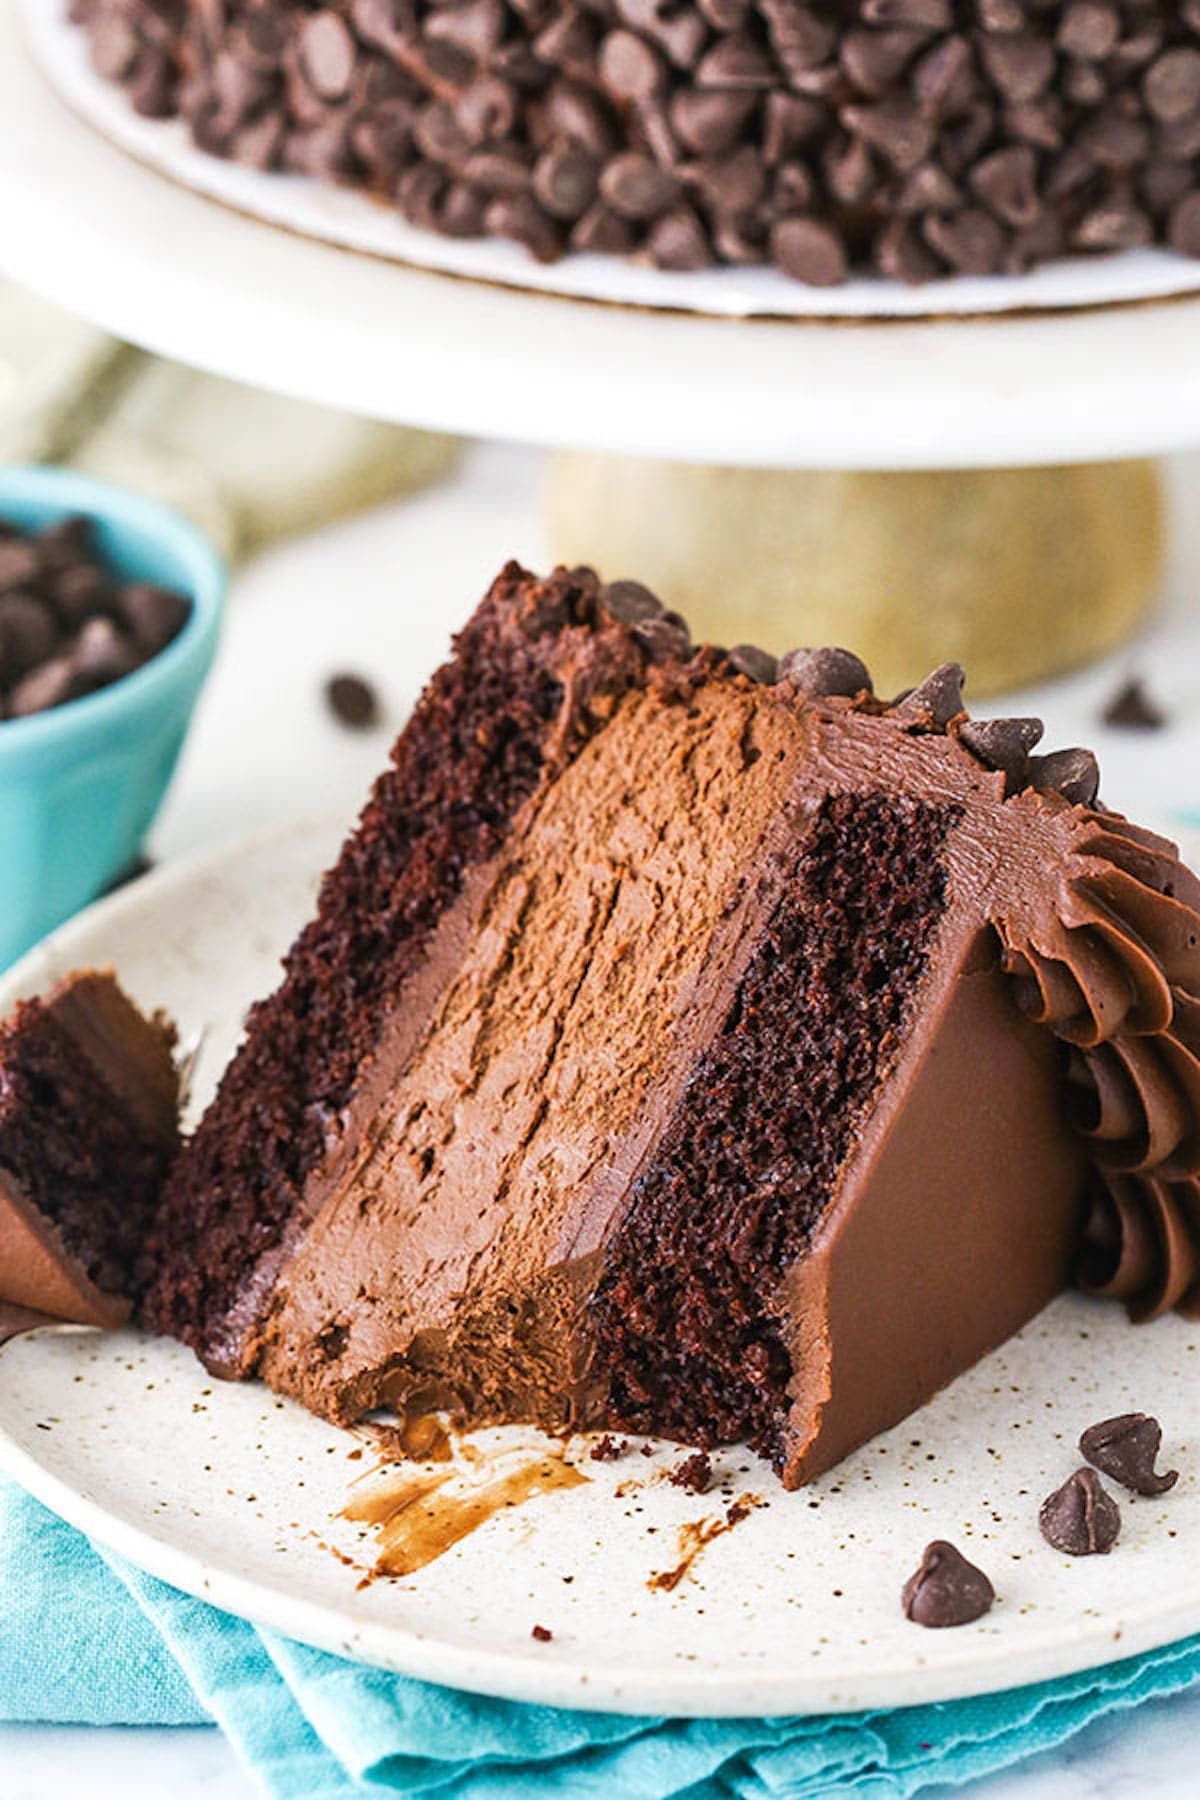
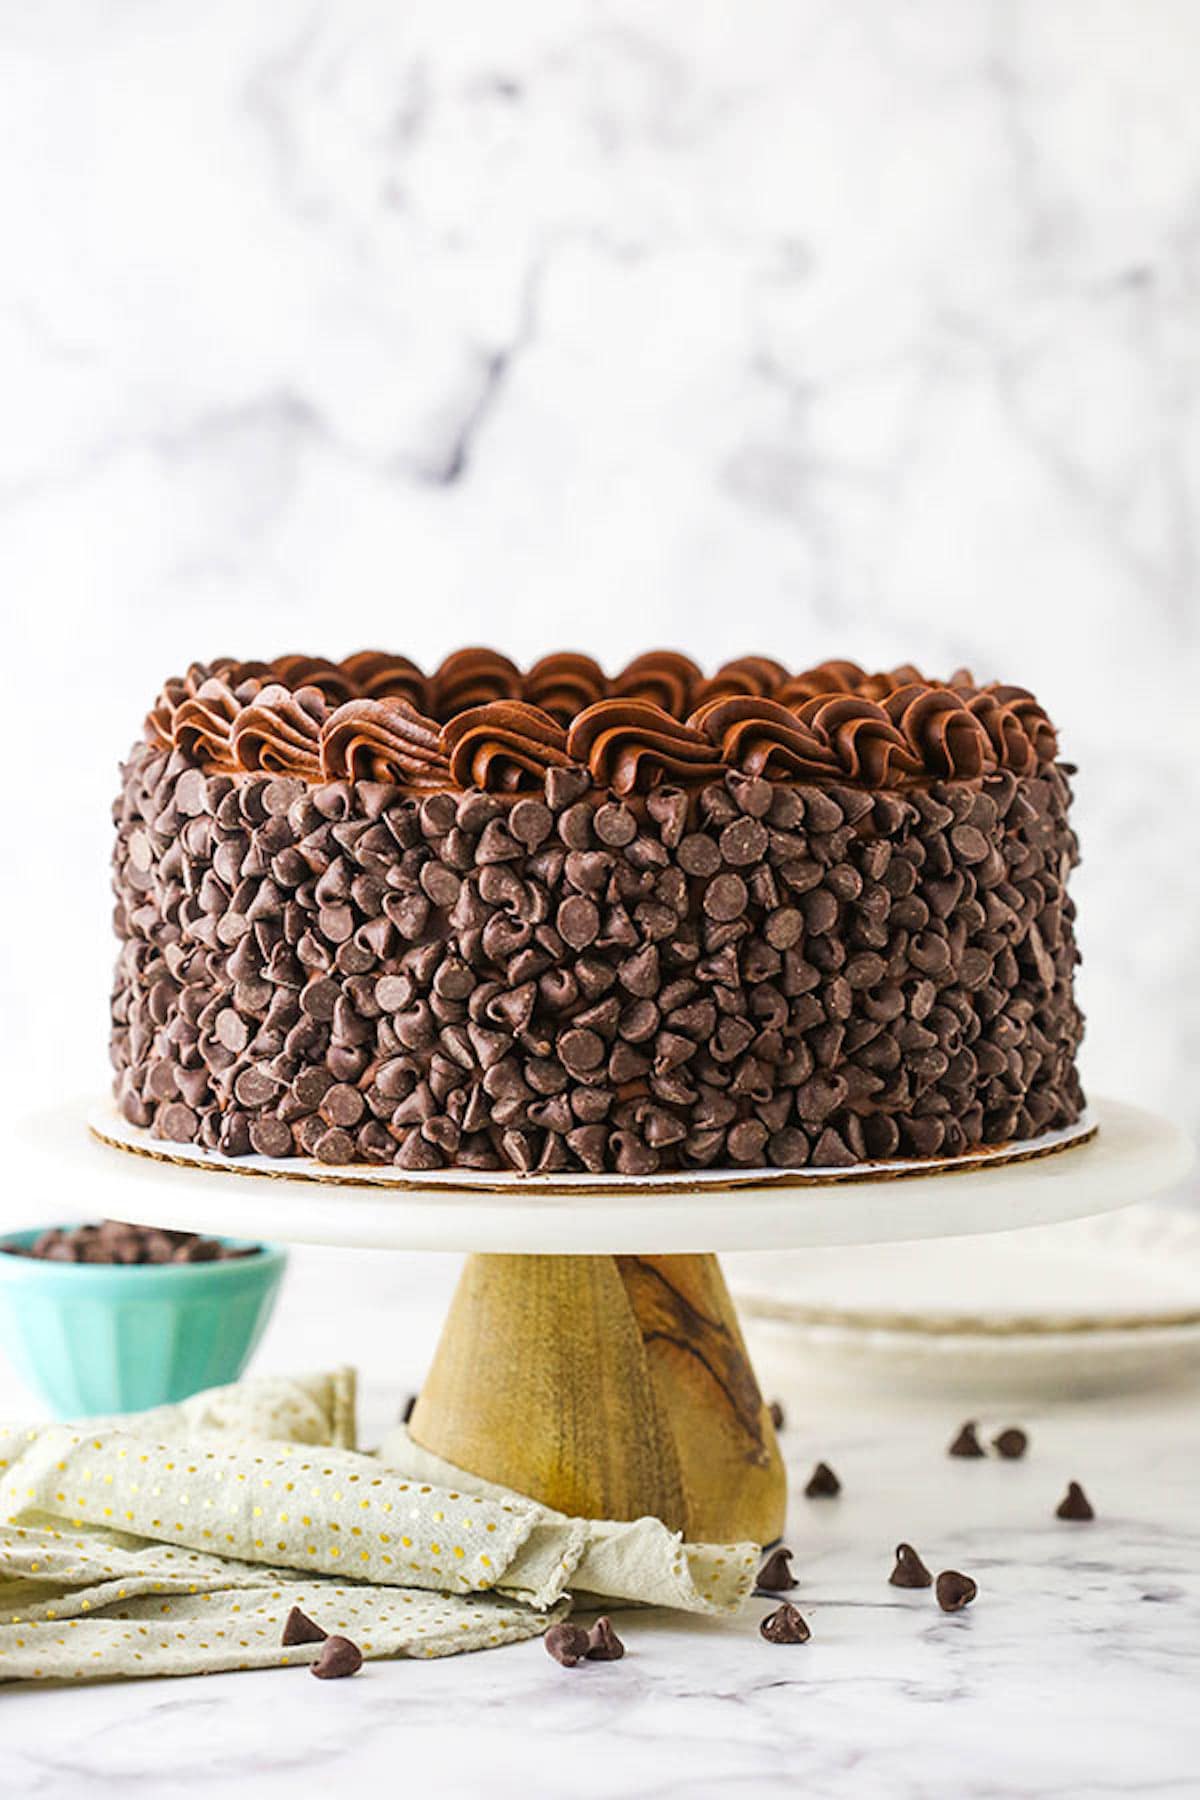
This homemade Hershey’s Chocolate Bar Cheesecake Cake is a truly decadent dessert! It has two layers of light and moist chocolate cake and a layer of chocolate cheesecake. It’s complete with a creamy chocolate buttercream and plenty of chocolate chips! It’s a chocolate cheesecake cake dream!
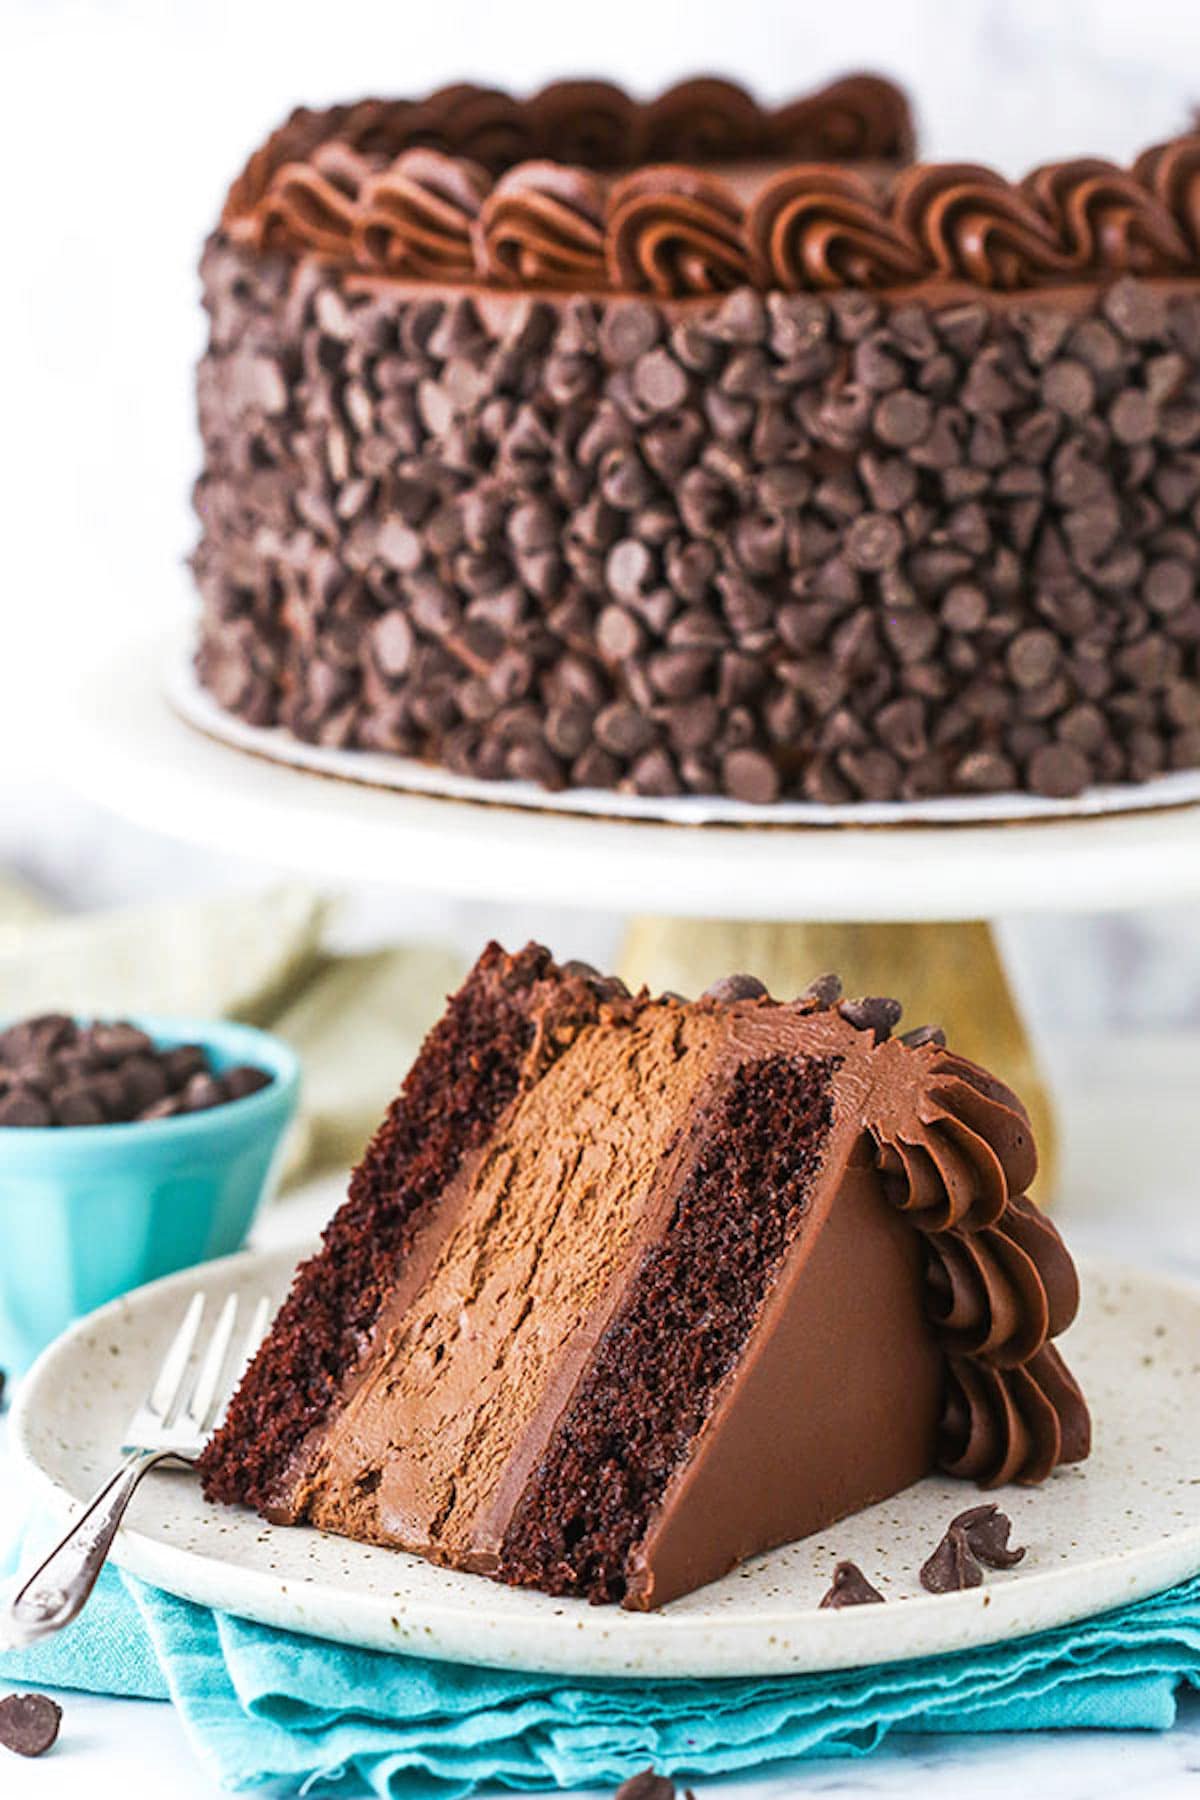
Homemade Hershey’s Chocolate Bar Cheesecake
This indulgent cheesecake recipe packs as much chocolate as possible into one cake! It’s a copycat version of the Hershey’s Chocolate Bar Cheesecake from Cheesecake Factory. Spoiler alert: it’s even more delicious! I had a request from a reader for this one, so naturally I couldn’t disappoint.
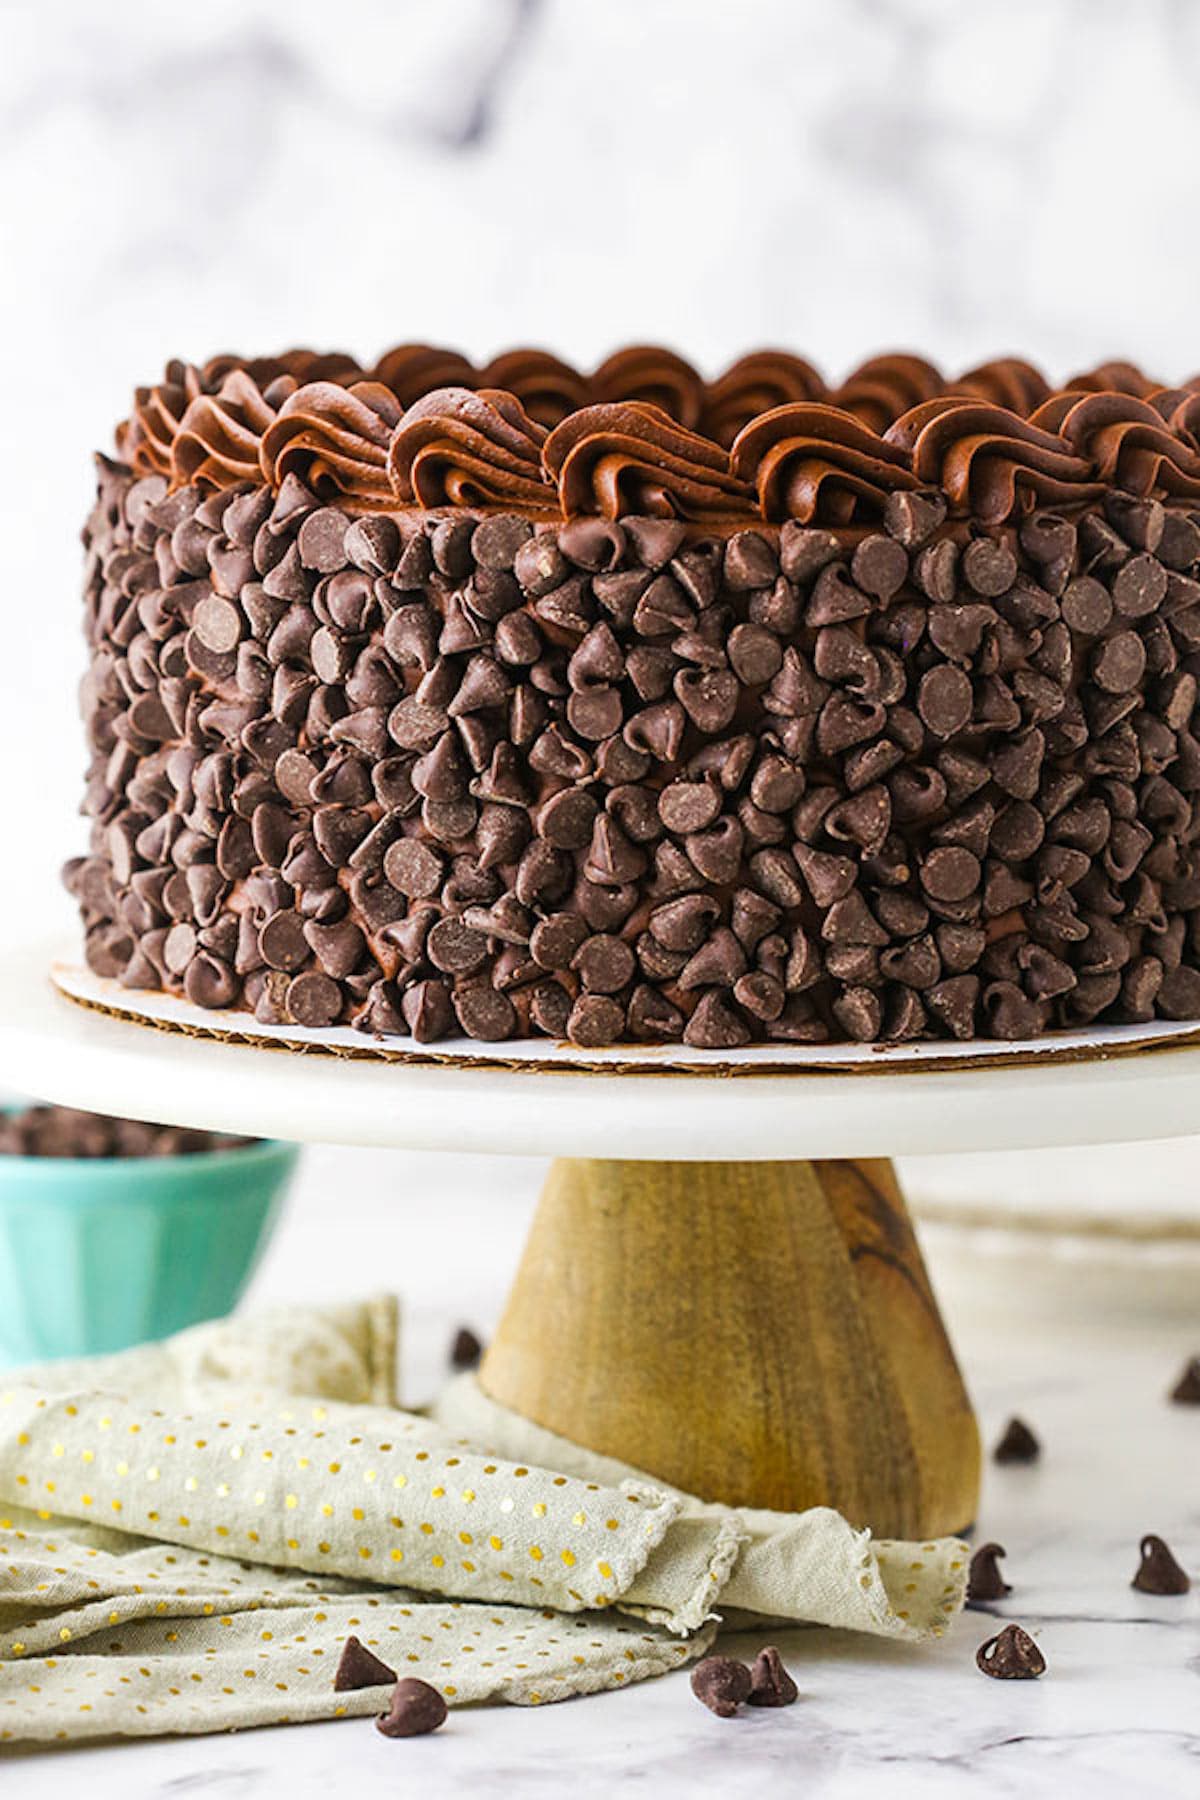
There are 3 pillars of this chocolatey treat – the tender cake, the rich cheesecake and the creamy frosting. In true Cheesecake Factory fashion, it’s all covered in chocolate chips! All my tasters totally fell in love with it. One even claimed that the chocolate cheesecake layer was the best cheesecake she’s ever had. And if you’ve ever had my Easy Moist Chocolate Cake, the cake layers are modified from that, so you know it’s good.
The final chocolate cheesecake cake is a bit of work, but total beauty. And this fool-proof layered chocolate cheesecake cake also keeps very well, so make way for some amazing leftovers.
What Makes this Cheesecake Cake So Good?
The use of both melted chocolate and cocoa powder give this cake the most wonderful chocolate flavor in every bite. The cake is light enough to balance out the rich and creamy cheesecake, but chocolatey enough to satisfy all its own. The creamy chocolate buttercream and chocolate chips add the perfect finishing touch to really make this cheesecake special.
Recipe Ingredients
Don’t be intimidated by all the chocolatey goodness in this dessert; it’s not complicated, it just takes time! All the components come together with basic kitchen essentials.
For the Chocolate Cheesecake
- Cream Cheese: Bring your cream cheese to room temperature.
- Sugar: You’ll need 1 cup.
- Cocoa Powder: Use natural, unsweetened cocoa powder.
- Sour Cream: For an extra creamy cheesecake.
- Vanilla Extract: To enhance the chocolatiness.
- Chocolate Chips: Semi-sweet, melted and slightly cooled.
- Eggs: Room temperature is best.
For the Chocolate Cake Layers
- All-Purpose Flour: For the structure of the cake.
- Sugar
- Cocoa Powder: Natural, unsweetened as well.
- Baking Soda: To help the cake rise and be nice and tender.
- Baking Powder: In addition to the baking soda, you’ll need a bit of baking powder. This adds a touch of firmness.
- Salt: Salt is always needed for flavor.
- Milk: I use 2%.
- Vegetable Oil: For an extra moist cake.
- Vanilla Extract
- Egg: You need the white of one large egg.
- Water: The water should be hot. This makes the cocoa “bloom” and enhances the flavor.
For the Chocolate Buttercream
- Butter: Unsalted.
- Cocoa Powder: Natural, unsweetened.
- Powdered Sugar: Adds volume and consistency.
- Heavy Whipping Cream: To get it smooth and creamy.
- Salt: Again, for flavor.
- Chocolate Chips: For sticking to the sides of the cake as the final decor.
How to Make a Hershey’s Chocolate Bar Cheesecake
It takes a little time to make this cheesecake because of the different components, but each one is very easy to make. Trust me, every second spent on this cake is well worth it!
Make the Chocolate Cheesecake
- Prepare for Baking: Preheat the oven to 300°F. Line the entire inside of a 9-inch cake pan with aluminum foil. Press it into the pan to get it as flat as you can. You’ll use the aluminum foil to lift the cheesecake out of the pan when it’s baked and cooled.
- Combine Cream Cheese, Sugar & Cocoa: In a large mixer bowl, mix the cream cheese, sugar and cocoa powder until well combined (use low speed to keep less air from getting into the batter, which can cause cracks). Scrape down the sides of the bowl.
- Add Vanilla & Sour Cream: Add the sour cream and vanilla extract, mixing on low speed until well combined.
- Add Chocolate: Slowly add the melted and cooled chocolate and mix until well combined.
- Slowly Add Eggs: Add the eggs one at a time, beating slowly and scraping the sides of the bowl after each addition.
- Make Water Bath & Bake: Place the cake pan inside another larger pan. Fill the outside pan with enough warm water to go about halfway up the sides of the smaller pan. Bake the cheesecake for about 50 minutes. The center should be set, but still jiggly.
- Let Cool in Oven: Turn off the oven and leave the door closed for 30 minutes. The cheesecake will continue to cook, but slowly begin to cool as well.
- Crack Oven Door Until Cooled: Crack the door of the oven for 30 minutes to allow the cheesecake to continue to cool slowly. This process helps prevent cracking.
- Chill: Remove the cheesecake from the oven and water bath wrapping and refrigerate until firm, 5-6 hours or overnight.
Make the Cake Layers
- Prep for Baking: Preheat the oven to 350°F. Line two 9-inch cake pans with parchment paper in the bottom and grease the sides.
- Combine Dry Ingredients: In a medium-sized bowl, combine the flour, sugar, cocoa, baking soda, baking powder and salt. Whisk until well combined.
- Combine Wet Ingredients: In another medium-sized bowl, combine the milk, vegetable oil, vanilla extract and egg white. Whisk until well combined.
- Add Dry Ingredients to Wet Ingredients: Add the dry ingredients to the wet ingredients and whisk together until well combined.
- Add Water: Add the water and whisk until well combined. The batter will be thin.
- Bake: Divide the batter between the cake pans and bake for 12-15 minutes, or until a toothpick inserted in the middle comes out with a few crumbs.
- Let Cool: Remove the cake from the pan and set it aside on a cooling rack to cool.
Make the Buttercream
- Beat Butter Until Smooth & Add Cocoa: Add the butter to a mixing bowl and beat it until smooth. Add the cocoa powder and mix until well combined.
- Add Half of Powdered Sugar & Cream: Add about half of the powdered sugar and mix until well combined and smooth. Then, add about half of the cream and mix until well combined and smooth.
- Add Remaining Powdered Sugar & Cream: Add the remaining powdered sugar and the salt, mixing until well combined and smooth. Add the remaining cream and mix until well combined and smooth.
Build the Cake
- Level Cake Layers: Use a large serrated knife to remove the domes from the top of the cakes.
- Frost First Layer: Place the first layer of cake on a serving plate or a cardboard cake round. Spread about 1 cup of frosting evenly on top of the cake layer.
- Add Cheesecake Layer: Use the aluminum foil to lift the cheesecake out of the cake pan, remove the foil and place the cheesecake on top of the frosting. The cheesecake should be firm enough to handle it, though a little messy.
- Frost & Add Final Layer: Spread another cup of frosting evenly on top of the cheesecake, then add the second layer of cake on top.
- Frost Assembled Cake: Frost the outside and top of the cake.
- Add Chocolate Chips: Immediately after frosting the cake, press the chocolate chips into the sides of the cake. If you wait to do this, the buttercream will form a crust and the chocolate chips won’t stick.
- Pipe Frosting Border: Use the remaining buttercream to pipe the border on the top of the cake. I used Ateco tip 847.
- Serve or Store: Refrigerate the cake until you’re ready to serve it.
Tips for Success
Want more advice for how to make this iconic cheesecake? Here are my top tips and tricks:
- Use Room Temperature Ingredients: It’s important to let your refrigerated ingredients come to room temperature before you make your cheesecake. This way, everything will combine nicely and you won’t be left with a lumpy cheesecake.
- Let Cheesecake Cool Slowly: Prevent cracks from forming in your cheesecake by following the cooling instructions in the recipe. Let your cheesecake cool in the closed oven for 30 minutes, then crack open the door for the remainder of the cooling time.
- Level Cake Layers: Since this is a 3-layer cake, you’ll definitely want to use a serrated knife to remove the domes from your chocolate cake layers. This will prevent your cake from looking lopsided.
- How to Frost a Cake Perfectly: If you want to master the art of spreading buttercream frosting on a homemade cake, check out my tutorial for frosting a smooth cake!
Serving Suggestions
No matter how you serve this chocolate cheesecake cake, it’s a guaranteed hit. Nevertheless, here are some ideas!
- Serve with Raspberry Sauce: If you want a pop of fruity flavor to offset the richness of this cake, add a drizzle of Homemade Raspberry Sauce. Chocolate and raspberries are such a delicious combo!
- Pair with Ice Cream: A scoop of vanilla ice cream tastes great alongside a slice of chocolate layer cake. It’s the perfect addition if you’re serving the cake for a special occasion.
- To Make Ahead: It’s easy to prepare parts of this cheesecake in advance to make it more manageable. The cake layers and cheesecake can be made the day before you want to assemble the cake. The cheesecake could even be made a couple days ahead. They both keep well in the fridge, so you don’t have to worry about your cake being stale or dry if you make it ahead of time.
How to Store Homemade Chocolate Cheesecake Cake
This cake should be stored in an airtight container in the fridge. It’s best if eaten within 4-5 days. I recommend enjoying it cold.
Can I Freeze Cheesecake?
You can store your Hershey’s cheesecake cake in the freezer, if desired. First, flash freeze it, uncovered, for 1 hour. Then, wrap the whole thing tightly in plastic wrap. Place the wrapped cheesecake in an airtight freezer bag or wrap it again with aluminum foil. You can also freeze individual slices. Thaw completely in the fridge. Frozen cheesecake will last for up to 4 months.
Print
Copycat Hershey’s Chocolate Bar Cheesecake
- Prep Time: 1 hour 45 minutes
- Cook Time: 2 hours 2 minutes
- Total Time: 3 hours 47 minutes
- Yield: 16
- Category: Dessert
- Method: Oven
- Cuisine: American
Description
This homemade Hershey’s Chocolate Bar Cheesecake is a truly decadent dessert! It has two layers of light and moist chocolate cake and a layer of chocolate cheesecake. It’s complete with a smooth chocolate buttercream and plenty of chocolate chips!
Ingredients
For the Chocolate Cake Layers
- 1 cup (130g) all purpose flour
- 1 cup (207g) sugar
- 6 tbsp (43g) natural unsweetened cocoa powder
- 1 tsp baking soda
- 1/4 tsp baking powder
- 1/2 tsp salt
- 1/2 cup (120ml) milk
- 1/4 cup (60ml) vegetable oil
- 1/2 tsp vanilla extract
- 1 large egg
- 1/2 cup (120ml) hot water
For the Chocolate Cheesecake
- 24 ounces (678g) cream cheese, room temperature
- 1 cup (207g) sugar
- 1/2 cup (57g) natural unsweetened cocoa powder
- 2/3 cup (153g) sour cream, room temperature
- 1 tsp vanilla extract
- 6 oz | 169g | 1 cup semi sweet chocolate chips, melted and slightly cooled
- 3 large eggs, room temperature
For the Chocolate Buttercream
- 1 3/4 cups unsalted butter
- 1 cup (114g) natural unsweetened cocoa powder
- 6 cups (690g) powdered sugar
- 3/4 cup heavy whipping cream
- Pinch of salt
- 2 1/4 cups (380g) chocolate chips
Instructions
Cheesecake Layer
- Preheat oven to 300°F (148°C). Line the entire inside of a 9-inch (23cm) cake pan with aluminum foil. Press it into the pan to get it as flat as you can. You’ll use the aluminum foil to lift the cheesecake out of the pan when it’s baked and cooled.
- In a large mixer bowl, mix the cream cheese, sugar and cocoa powder until well combined (Use low speed to keep less air from getting into the batter, which can cause cracks). Scrape down the sides of the bowl.
- Add the sour cream and vanilla extract, mixing on low speed until well combined.
- Slowly add the melted and cooled chocolate and mix until well combined.
- Add the eggs one at a time, beating slowly and scraping the sides of the bowl after each addition.
- Place the cake pan inside another larger pan. Fill the outside pan with enough warm water to go about halfway up the sides of the smaller pan.
- Bake the cheesecake for about 50 minutes. The center should be set, but still jiggly.
- Turn off the oven and leave the door closed for 30 minutes. The cheesecake will continue to cook, but slowly begin to cool as well.
- Crack the door of the oven for 30 minutes to allow the cheesecake to continue to cool slowly. This process helps prevent cracking.
- Remove the cheesecake from the oven and water bath wrapping and refrigerate until firm, 5-6 hours or overnight.
Cake Layers
- Preheat oven to 350°F (176°C). Line two 9-inch (23cm) cake pans with parchment paper in the bottom and grease the sides.
- In a medium sized bowl, combine the flour, sugar, cocoa, baking soda, baking powder and salt. Whisk until well combined.
- In another medium sized bowl, combine the milk, vegetable oil, vanilla extract and egg. Whisk until well combined.
- Add the dry ingredients to the wet ingredients and whisk together until well combined.
- Add the water and whisk until well combined. The batter will be thin.
- Divide the batter between the cake pans and bake for 12-15 minutes, or until a toothpick inserted in the middle comes out with a few crumbs.
- Remove cake from the pan and set aside on a cooling rack to cool.
Buttercream
- When you’re ready to build the cake, make the buttercream frosting. Add the butter to a mixing bowl and beat until smooth.
- Add the cocoa powder and mix until well combined.
- Add about half of the powdered sugar and mix until well combined and smooth.
- Add about half of the cream and mix until well combined and smooth.
- Add the remaining powdered sugar and salt and mix until well combined and smooth.
- Add the remaining cream and mix until well combined and smooth.
Assembly
- Use a large serrated knife to remove the domes from the top of the cakes.
- Place the first layer of cake on a serving plate or a cardboard cake round. Spread about 1 cup of frosting evenly on top of the cake layer.
- Use the aluminum foil to lift the cheesecake out of the cake pan, remove the foil and place the cheesecake on top of the frosting.
- Spread another cup of frosting evenly on top of the cheesecake, then add the second layer of cake on top.
- Frost the outside of the cake. Check out my tutorial for frosting a smooth cake, if you’d like.
- Immediately after frosting the cake, press the chocolate chips into the sides of the cake. If you wait to do this, the buttercream will form a crust and the chocolate chips won’t stick.
- Use the remaining buttercream to pipe the border on the top of the cake. I used Ateco tip 847.
- Refrigerate cake until ready to serve. This cake is best stored in an air tight container. It’s best if eaten within 4-5 days.
Notes
Makes 14-16 slices.
Nutrition
- Serving Size:
- Calories: 948
- Sugar: 95.5 g
- Sodium: 371.8 mg
- Fat: 56.3 g
- Carbohydrates: 112.5 g
- Protein: 11.3 g
- Cholesterol: 152.7 mg




Hi Lindsay! Your recipe looks delicious! I am going to attempt this recipe for a birthday this weekend. Curious if it would be the okay to use a springform pan for the cheesecake portion? That way I could just pop the ring off after fully cooled and gently flip the plate of cheesecake onto the chocolate cake layer?? I was having a hard time picturing in my head how to get foil lined nicely into a cake pan and up the sides enough to create handles to get it out. I want to be careful with this part of cake, as it doesn’t have a crust like other cheesecakes obviously and I would be so upset if I split it or ruined it. Please let me know if it would make any difference to use a 9 inch springform instead of a 9 inch foil lined normal cake pan. Thanks so much!
Typically 9 inch springform pans are a little larger in size than cake pans. If you use a springform pan, the edges of the cheesecake just might be a little wider than the cake layers, which could be a little bit of a pain when you frost the cake. But otherwise that would be fine.
That totally makes sense now! I didn’t even think of that. Thank you!
Cake much too sweet. Cut sugar by half for cake layers and by third for cream cheese layer. Check buttercream before adding all the icing sugar. 4 cups may be enough.
Never stick chocolate chips on the outside.
I’m confused about the hot water part.. the cups vs ml does equal the same amount. Is it 1/4 cup or 1/2 cup?
It’s half a cup.
My family loved it !!!
So glad you enjoyed it!
My 12 year old daughter and I made this for Christmas and it was AMAZING! Honestly, tastes exactly like Cheesecake Factory. We shared some with neighbors who also LOVED it! Thank you for this recipe, we are truly thankful!
Awesome! So glad everyone loved it!
Once assembled, does the buttercream harden to where it has to sit to room temp before you can slice it? Or could you slice it right out of the fridge? Thank you in advance, Lindsay
You can slice it right out of the fridge – it’s not so hard that you can’t cut it. But it does firm up. Since the base is butter, it’s much like cutting cold butter. If you’d like something softer, you could try a chocolate whipped cream.
Hi Lindsay,
I have made many of your cheesecakes and cakes, too many to count, all delicious! I just recently made the white chocolate raspberry one but replaced the raspberry with strawberry and added chocolate covered strawberries to the top, it was amazing!!
I am wondering if I may be able to replace the melted chocolate chips in the this cheesecake with melted Mars bars. I had a mars bars cheesecake many years ago and I’ve never forgotten how great it was but I have not been able to find a recipe for one that matches as the bars with melted somehow into the cheesecake batter, not chopped and distributed as the snickers or rolo. Have you tried a mars bar cheesecake before?
I’m so glad you enjoyed cheesecakes. As for the Mars bars, I probably wouldn’t replace all of the chocolate chips since they give the cheesecake part of it’s flavor. But you could try replacing some of them and adding additional Mars bars.
Can i use ricotta instead of cream cheese?
Technically you can use ricotta in cheesecake but I’m not sure if it’d hold up in a layered cake.
I accidentally used a whole egg in the cake layer recipe instead of just the egg white; will that mess up my cakes? Omg I hope not !
I’m not sure. I think it should be ok.
Thanks for replying.
The chocolate cake came out fine.
But the cheesecake made me cry! I decided to make this cake for my birthday which is tomorrow, so I made the layers yesterday .. I followed the cheesecake method exactly , step by step. I took it out of the oven,, it looked great no cracks… but this morning when I began to assemble my cake, I had so much trouble taking the cheesecake from the foil, it began to break and it seem not solid enough. Idk what I did wrong, but I followed your instructions exactly. I don’t know if I should’ve baked it for 60mins instead of 50 because my oven might be different than yours. I went ahead and assembled my cake and did the best I could with the mess in the middle. I know it’s gonna taste good, but won’t be pretty when cut,😔 plz tell me what I did wrong with the cheesecake and why it didn’t firm up enough, I bake a lot from your site and never had any trouble with anything. Thank you.
It honestly just sounds like it was a little less baked. When you start the cooling process, you want to make sure just center couple of inches of the cheesecake are still jiggly while everything else is pretty set. Once you finish cooling it for half an hour in the oven with the door closed, the whole thing should look pretty well set. I hope that helps!
The recipe calls for one egg but in the directions you say to add the egg “white”. I used a whole egg so hopefully it will be fine.
I have updated the instructions. Thank you for letting me know.
This cake was absolutely amazing. Several people came back for 2nds! (I made it for a baby shower). Thank you Lindsay!!!!!
Lindsey- I love your recipes. I’ve made several of your cakes. I am making the copycat Hershey chocolate cake for this Saturday. Are the chocolate cake layers supposed to be thin?
How thin is thin? I was trying not to have this cake be too huge so they are thinner than usual. I believe they were around an inch or so each.
Yes mine are about an inch thick each! Thank you! I am making the drumstick layer cake as well for a baby shower. I’m making the cheesecake layer tonight. Wish me luck!!!!!!
Wow! This was delicious. I made this for company and they all loved it. The only reason that I gave it a 4 star instead of a 5 star is that I am a milk chocolate lover. I think I’d like to try it again made with milk chocolate instead of the semi sweet. That said it was still amazing. Super clear instructions and really pretty easy. Anything that I have made from Lyndsay has been great. Tomorrow I’m trying the white chicken chili!!!
I’m so glad you enjoyed it!
This looks so good! I was literally just looking for a cheesecake cake and your post popped up on Instagram! Looking forward to trying it out. Any suggestions how I could incorporate Nutella into this?
You could use my Nutella cheesecake for the cheesecake later. I would just reduce the number of eggs to three. You can also use Nutella butter cream instead of chocolate, like on this cake. https://www.lifeloveandsugar.com/nutella-cheesecake/
https://www.lifeloveandsugar.com/nutella-chocolate-cake/
Thank you for getting back to me 🙂 I will definitely be trying it this weekend
Dear Lindsay
This cake I MUST try!! Thanks for this receipe!
Best wishes from Switzerland
Petra
Chocolate! More chocolate! What could be better? I’m going to have to make this soon.
Thanks for another winning dessert, Lindsay!
Looking forward to trying this. Looks so good. Can you freeze the cheesecake before you build the cake? Would it be easier to handle?
You could freeze it, but I don’t find it to be necessary. The cheesecake should be plenty firm and easy to handle. If you do freeze it, just be aware that as it thaws there may be condensation and moisture added to your cake.
Thank you for getting back to me. Makes sense. I’m going to try this cake — looks divine!!!!