This post may contain affiliate sales links. Please read my disclosure policy.
With layers of red and green cookie dough rolled and sliced to create a pinwheel pattern, these Christmas Pinwheel Cookies are a fun and festive addition to any holiday cookie tray or dessert table. Optional sprinkles add an extra fun touch!

This recipe is the same as my regular chocolate and vanilla pinwheels, but with a touch more flour to offset the lack of chocolate being added, and the added coloring. The process is the same and the flavor is very similar to the vanilla layer of my chocolate pinwheels, they’re just a bit more festive and colorful!
- Fun & festive. Gel icing color adds bright red and green colors to these Christmas pinwheel cookies, while sprinkles add an extra fun touch. The colorful pinwheel design will stand out on any cookie tray or in any gift box.
- Made with simple ingredients. Besides the gel icing color and the sprinkles, the ingredients in this recipe are all very basic. Ingredients that you very likely already have on hand!
- Perfect texture. One thing that was very important to me when developing these pinwheel Christmas cookies was the texture. Many pinwheel cookies are very dry or dense to avoid the dough spreading during baking, which I’m not a fan of. These cookies spread just a touch, but still maintain their shape, so they are soft and tender!
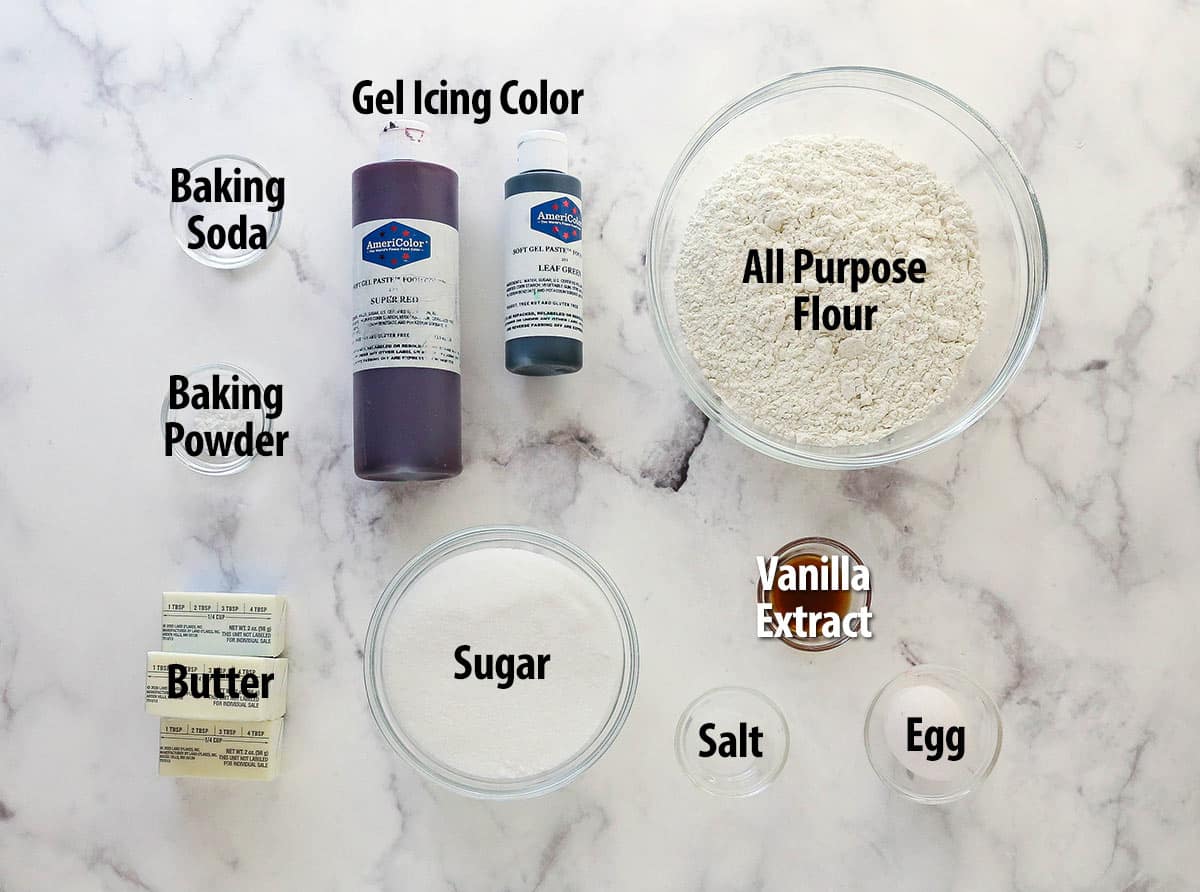
What You’ll Need
These cookies are made with food coloring and sprinkles to add the festive red and green colors plus a handful of very basic baking ingredients. Scroll down to the recipe card below for the measurements.
- Flour – Be sure to measure it correctly to ensure you don’t get dry, crumbly cookies.
- Baking soda & baking powder – Both leavening agents work together to create the perfect texture and rise in these cookies. Baking soda helps keep them tender while the baking powder helps them rise just the right amount and adds some chewiness.
- Salt – Adding a small amount of salt to these cookies helps to enhance all of the other flavors.
- Unsalted butter – Be sure it’s at room temperature so that it creams properly.
- Granulated sugar
- Egg – Be sure to grab a large egg, not medium or extra large.
- Vanilla extract
- Gel icing color – I used red and green gel icing for these Christmas pinwheel cookies. You could use any two colors of your choosing for a different holiday. Only add as much as you need. Adding too much can thin out the cookie dough, causing them to spread more. You definitely don’t want to use food coloring for that reason.
- Sprinkles – Optional but they add such a fun touch to the cookies! The amount of sprinkles listed is enough to coat all the cookies in sprinkles. If you’d like to just do half of the cookies, you can cut that amount in half.
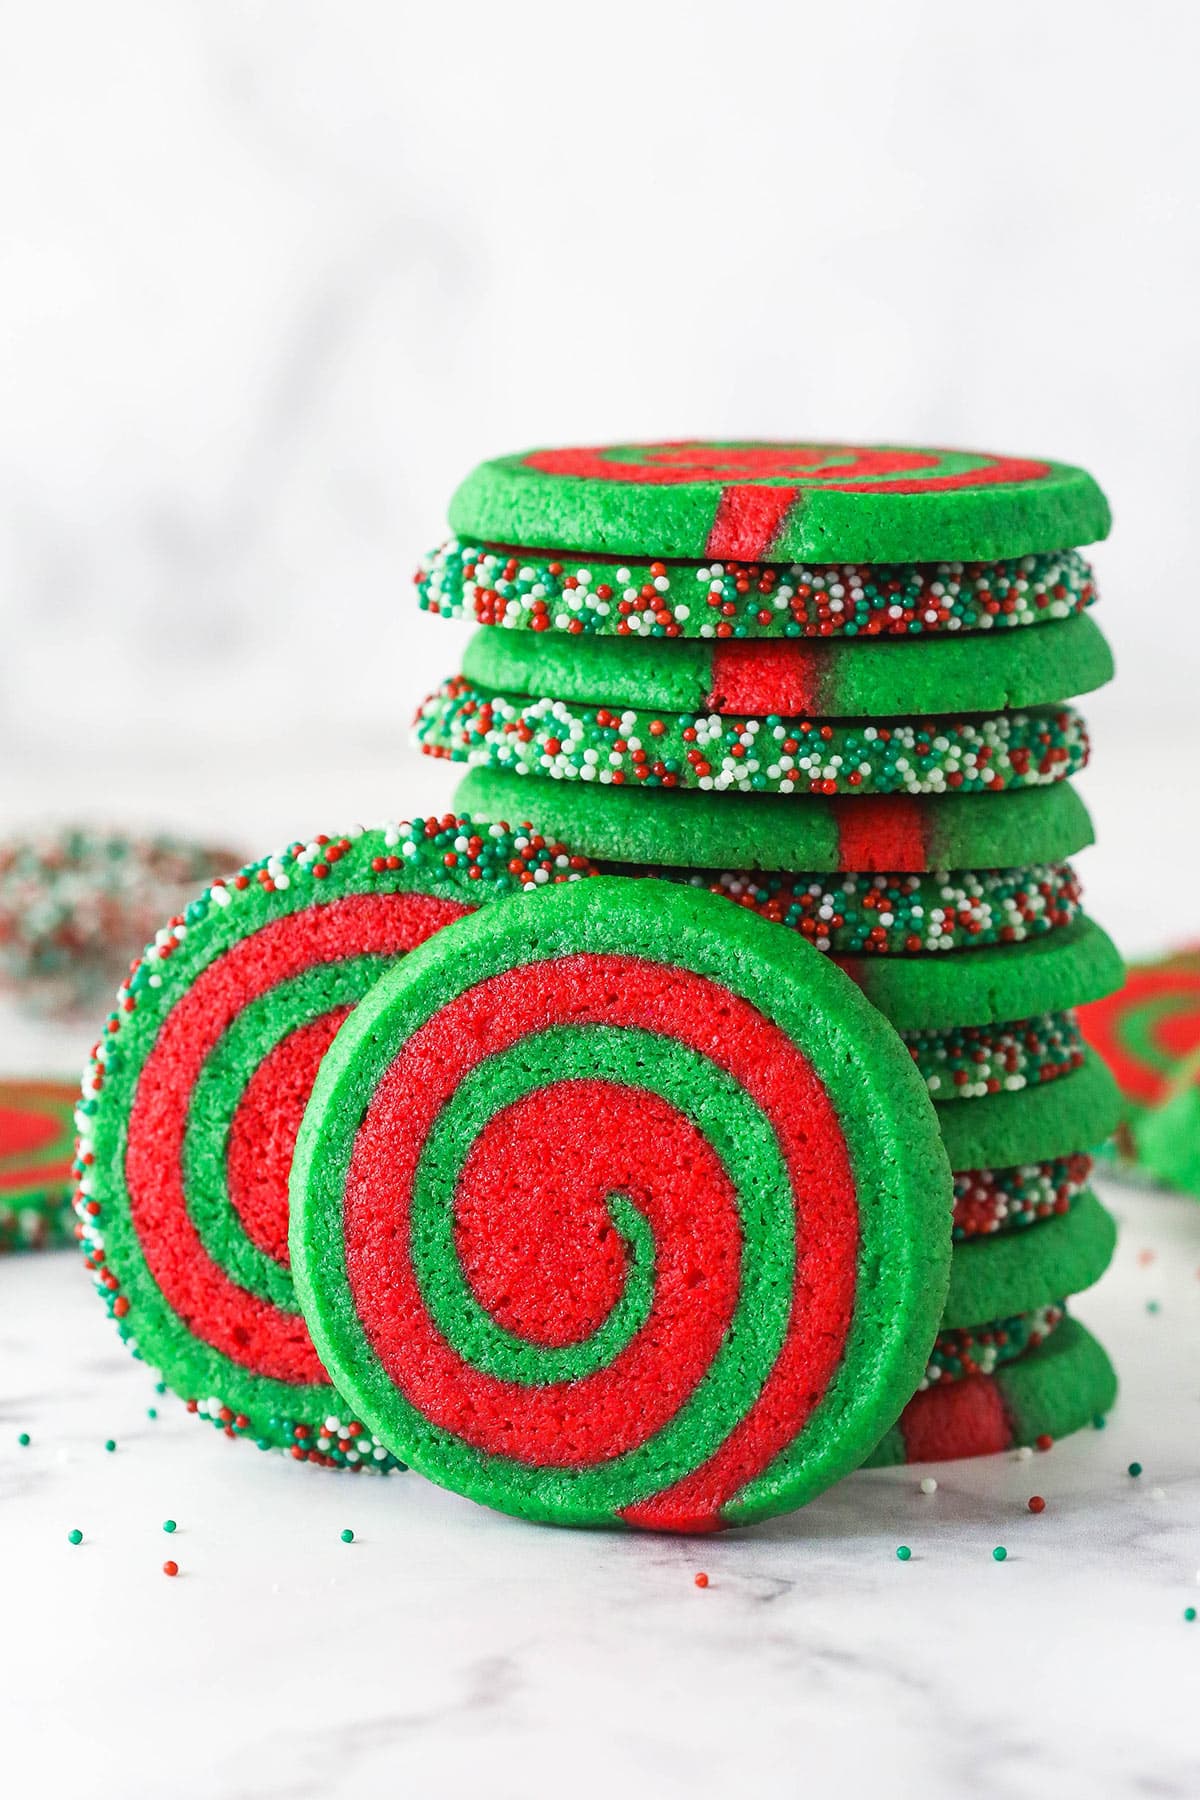
Here’s an overview of how to make these pinwheel Christmas cookies. You can find the printable version of the instructions in the recipe card below.
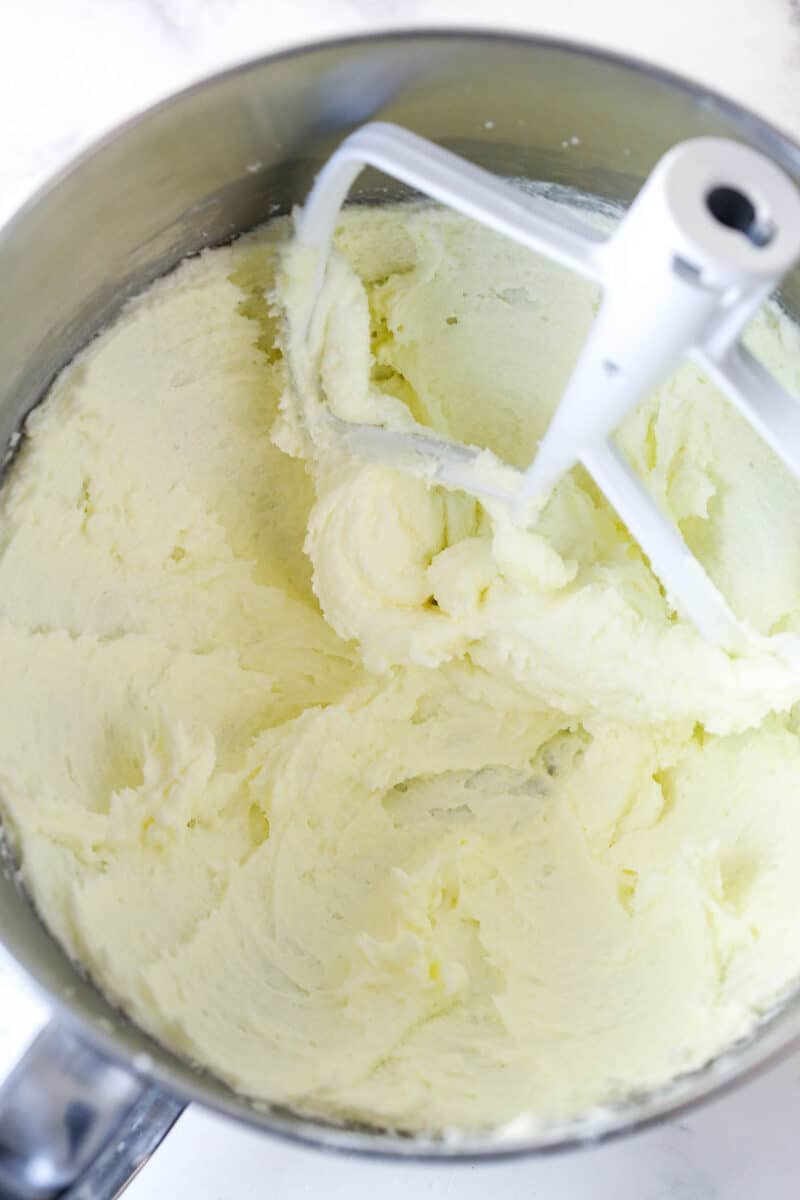
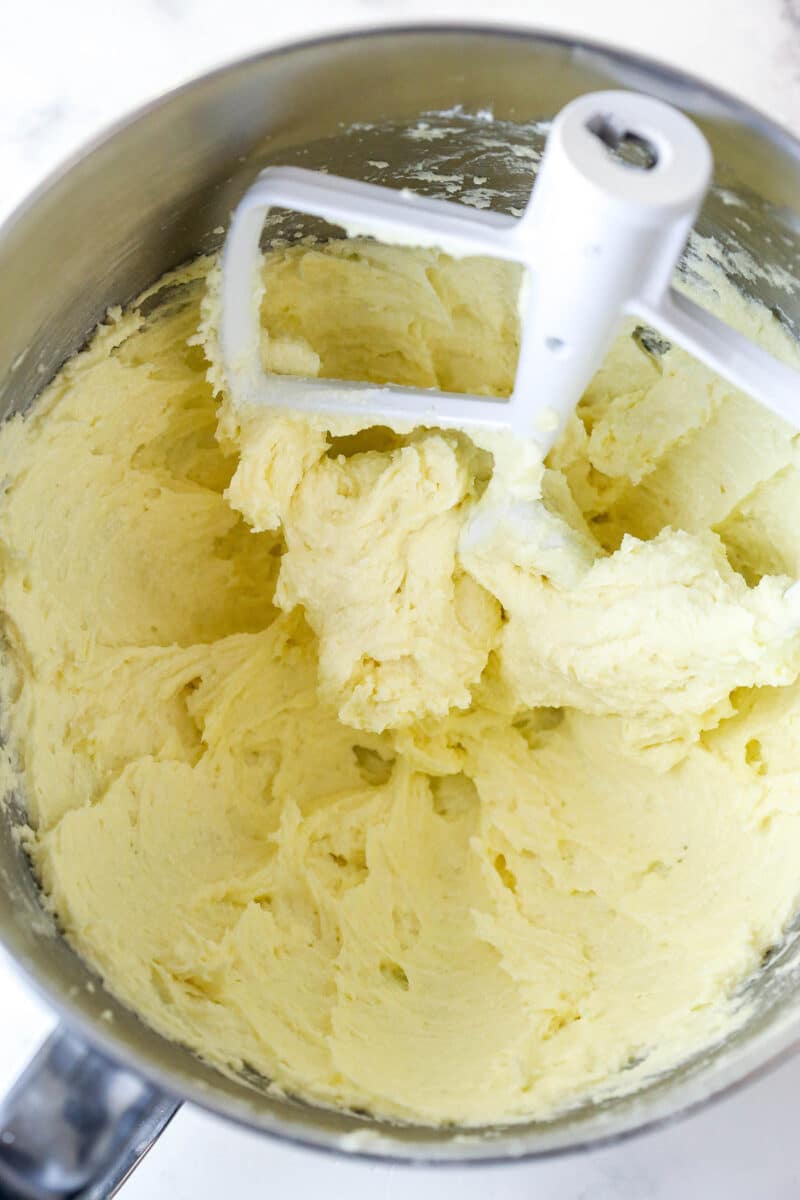
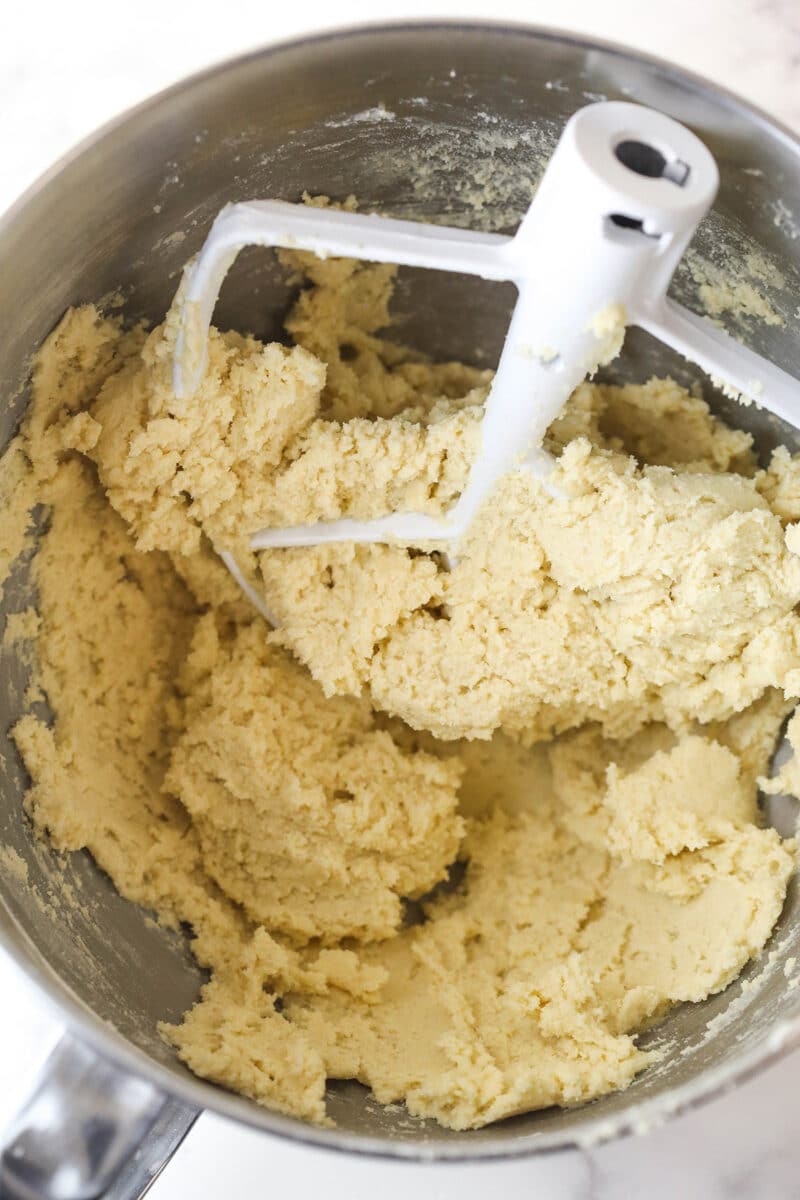
- Make the dough. Combine the dry ingredients and set aside. In a separate bowl, cream the butter and sugar until light and fluffy, about 2-3 minutes. Mix in the egg, then add the vanilla extract. Add the dry ingredients and mix until the dough is well combined. It will be thick. Use a rubber spatula to help it form a cohesive ball.
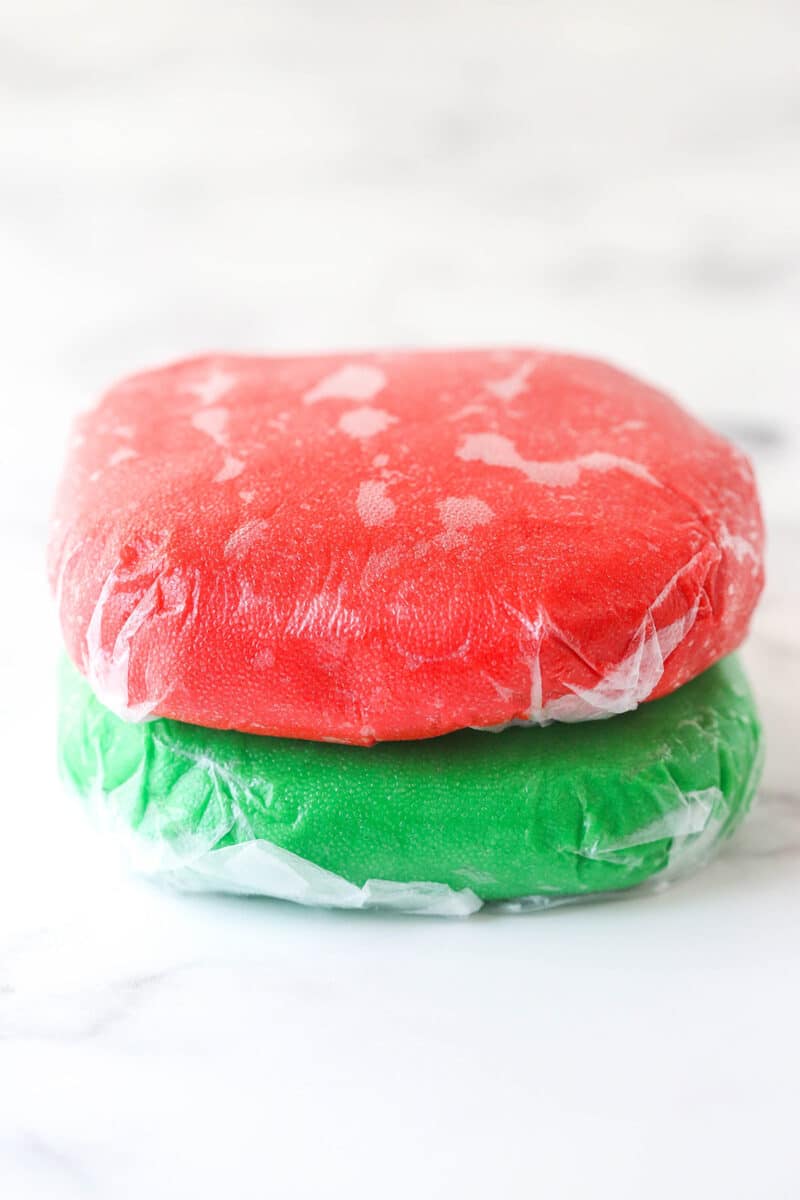
- Color & chill. Divide the cookie dough in half. Add red gel icing color to one half and green to the other half. Wrap each half in plastic and refrigerate for 20-30 minutes. It should be a bit firmer but still roll-able.
- Roll out the dough. Remove one color of cookie dough at a time and place it between parchment paper (I like to use parchment paper so I don’t have to use more flour.) Roll each half into a 8×14 inch rectangle about 1/4 inch thick. I like to trim off the extra edges and re-incorporate them into the cookie dough to not waste any.
- Chill. Refrigerate the rolled out cookie for for 5-10 minutes or pop them in the freeze for 3-4 minutes. You’re not trying to freeze them solid but just make the dough firm enough to work with in the next steps.
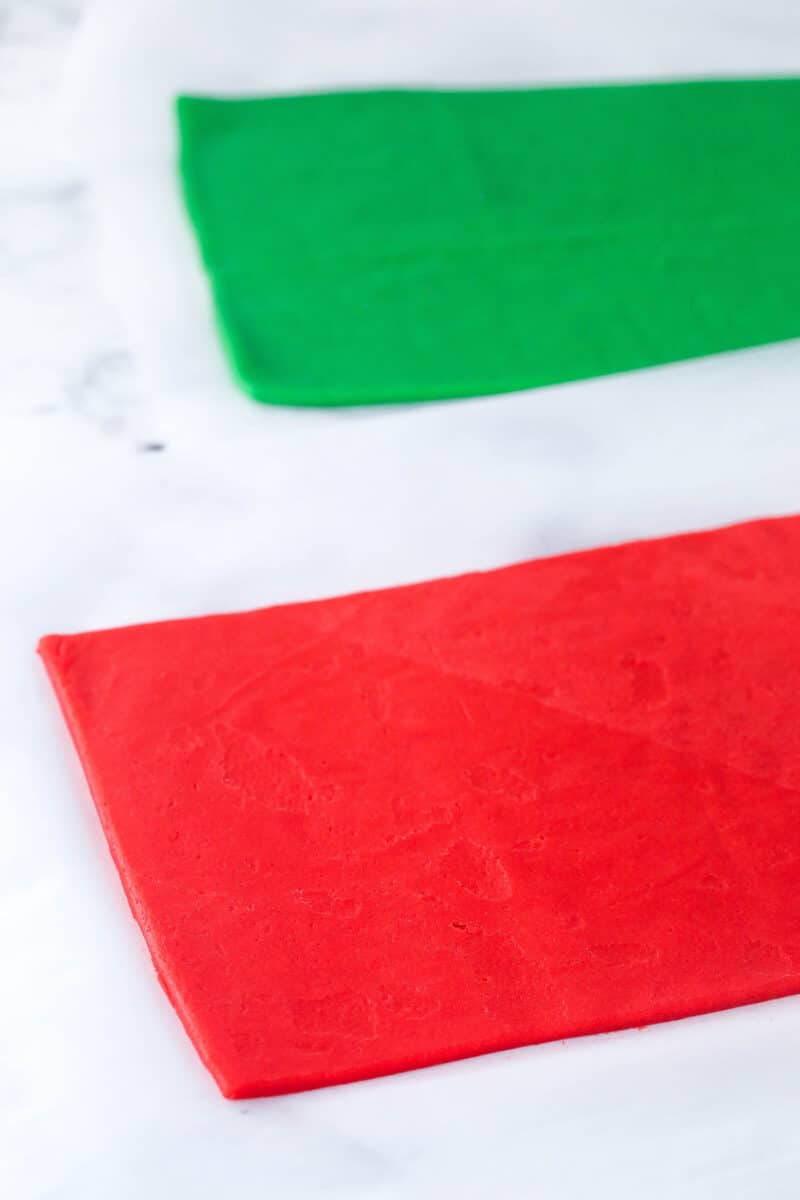
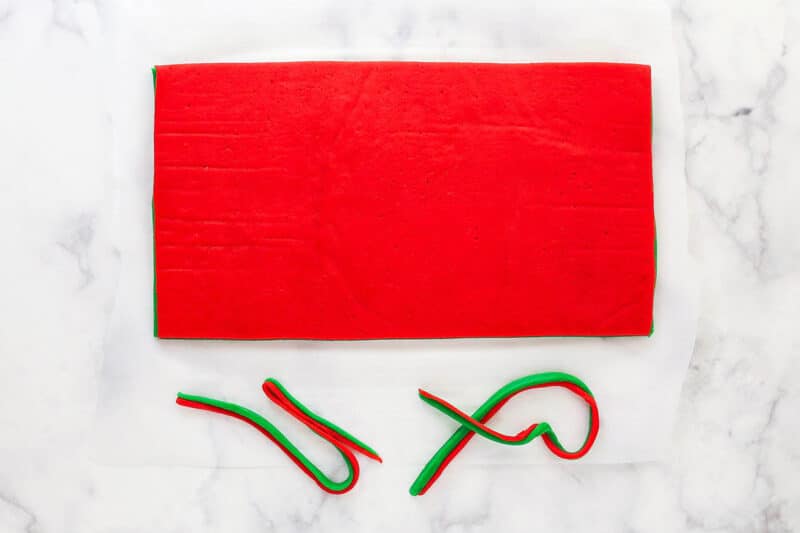
- Layer the dough. Place the red cookie dough on top of the green cookie dough, lining the edges up as much as possible. Remove the parchment paper and flatten the red cookie dough on top of the green as much as you can. If needed, you can use a pastry cutter or pizza cutter to straighten the edges.
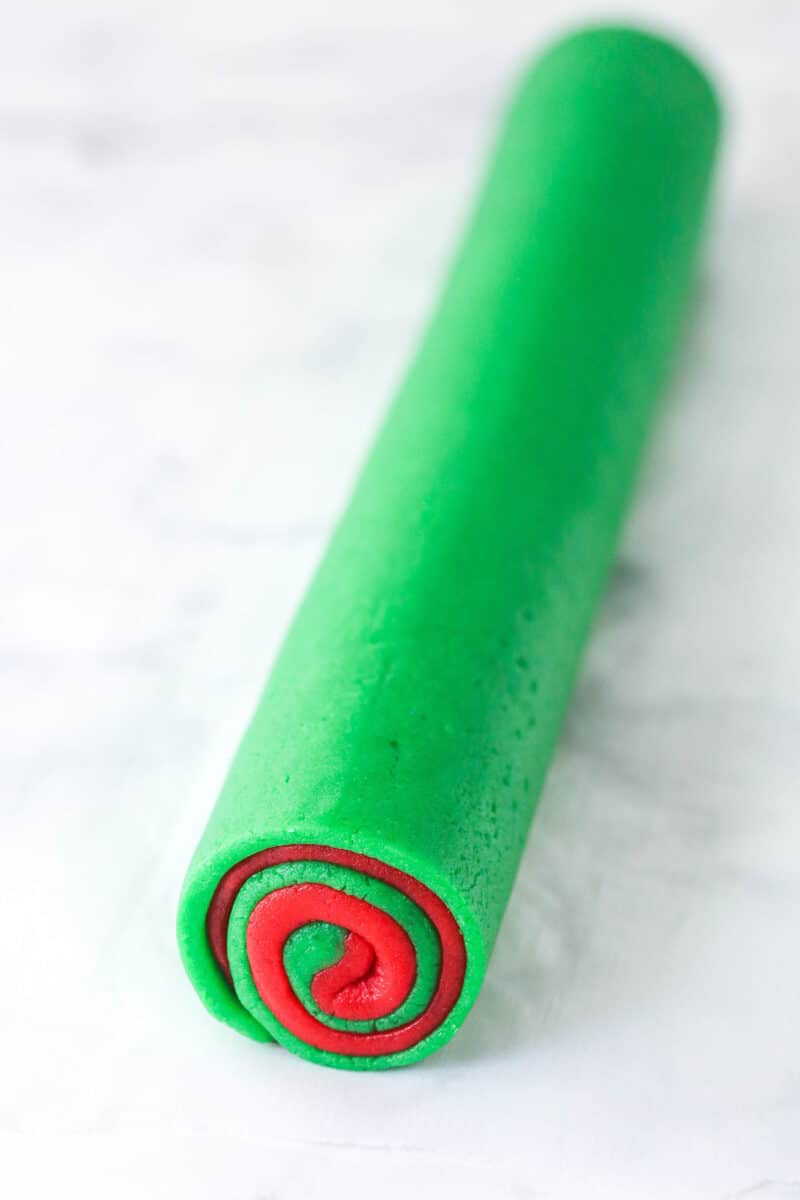
- Roll the dough. Starting on the long side, slowly roll the two cookie doughs together. Be sure to not leave any gaps and to patch up the cookie dough with your fingers as needed. Cut the log in half so you have two logs.
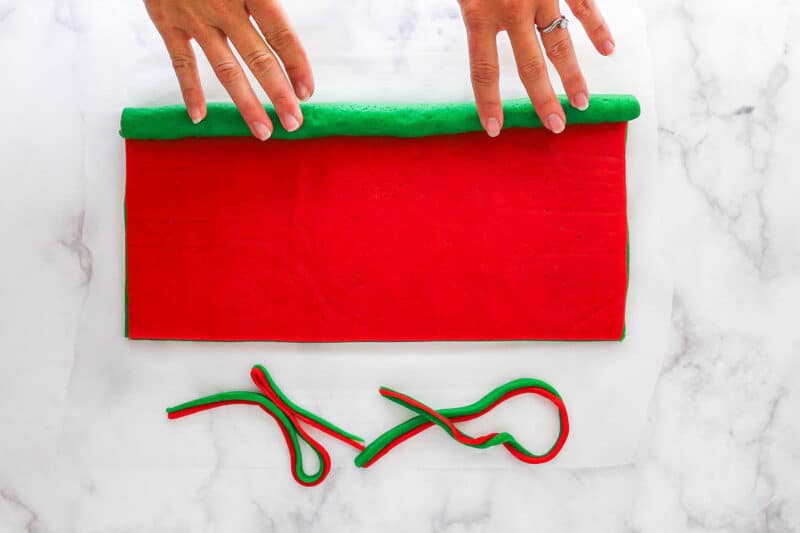
- Chill. Wrap each log in plastic wrap. Refrigerate for at least 2 hours, until firm.
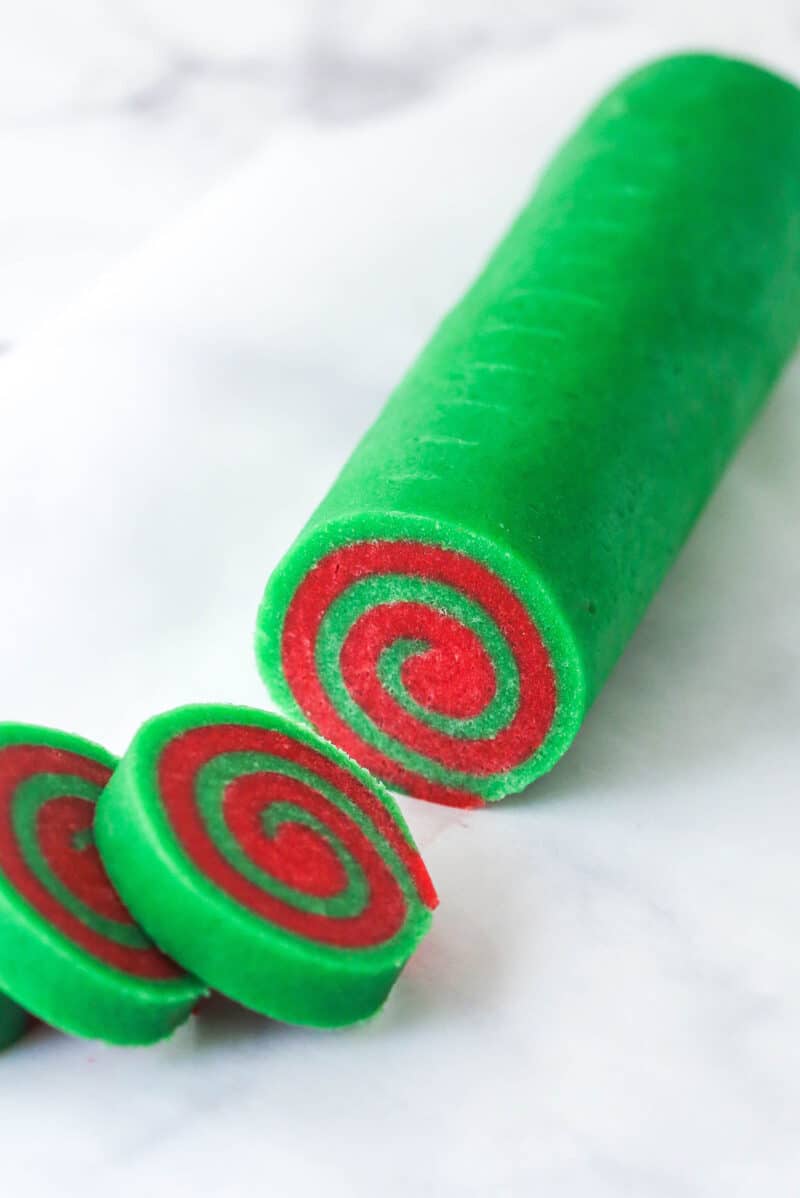
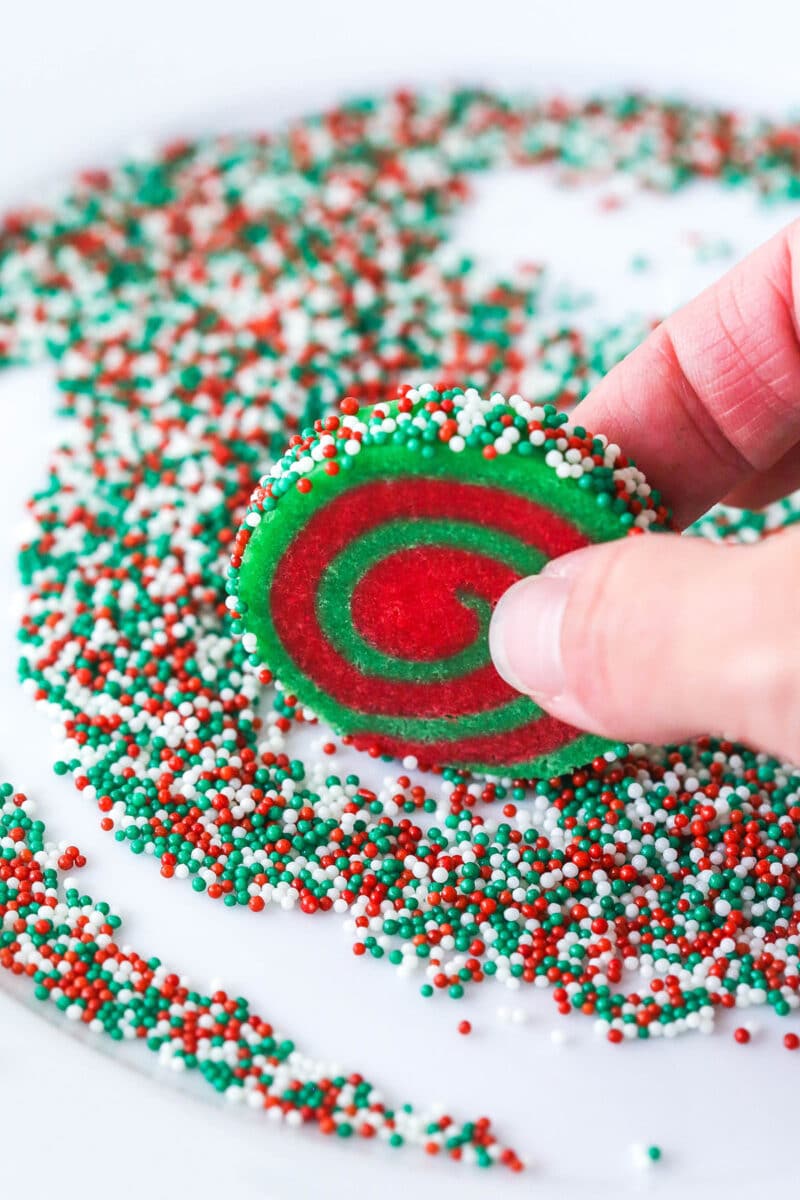
- Slice & sprinkle. Preheat the oven to 350F and line the baking sheets with parchment paper or baking mats. Cut each log into thick slices about 1/2 inch thick so that you have 28-30 cookies. To add sprinkles, place them in a rimmed plate and roll the edges of each cookie slice in the sprinkles.
- Bake. Place the cookies about 2 inches apart and bake for 9-12 minutes, until they just begin to brown on the edges.
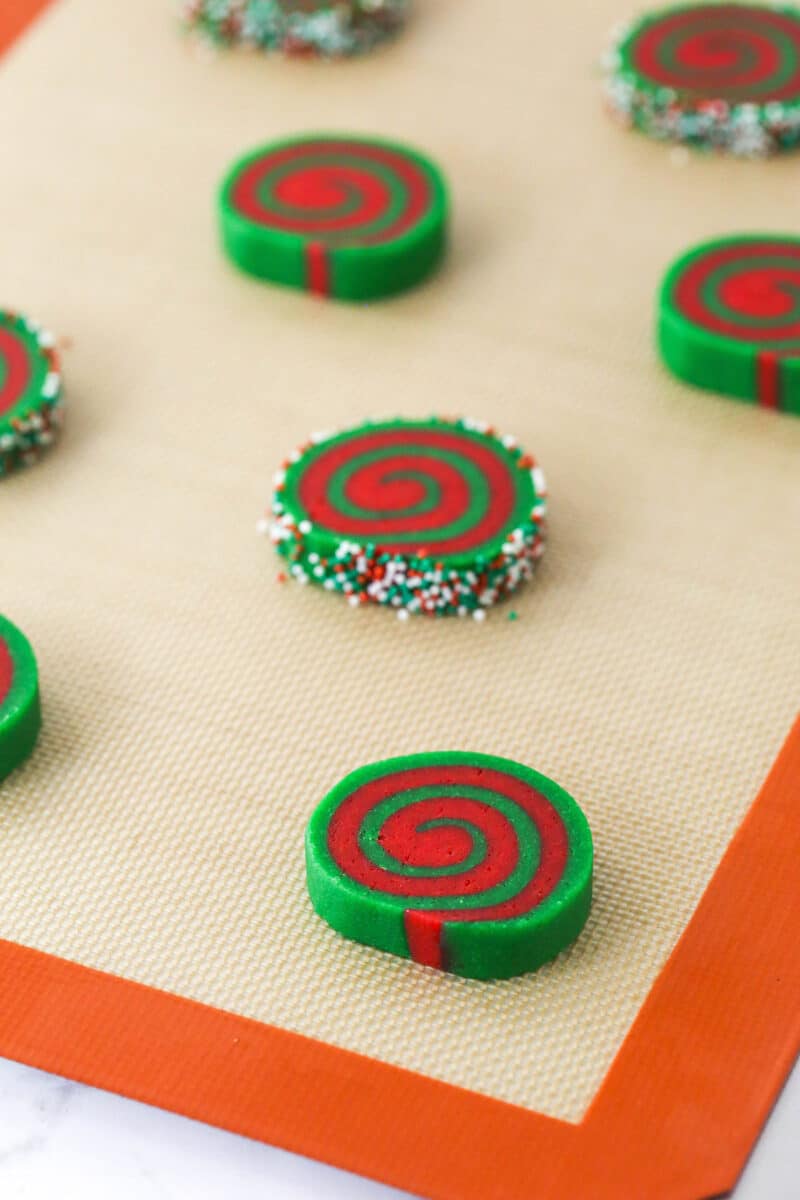
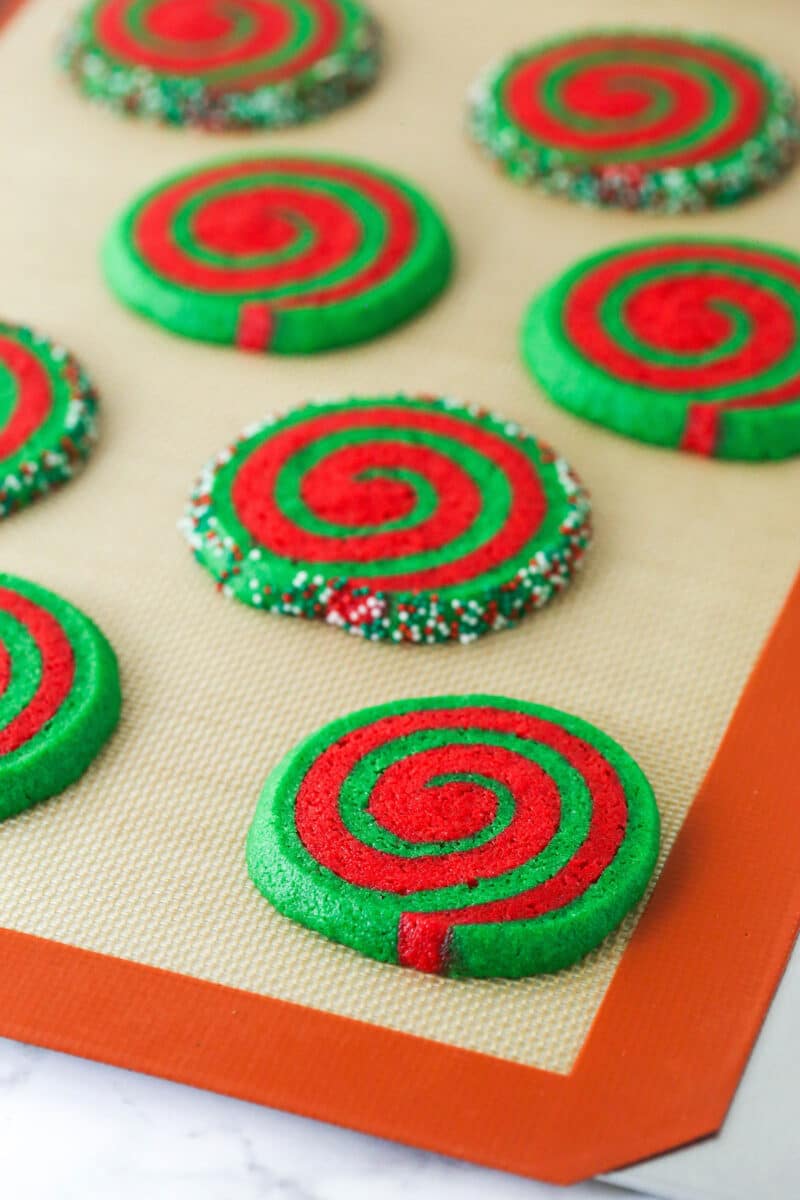
- Cool. Let the Christmas pinwheel cookies cool on the baking sheet for 5 minutes then transfer to a cooling rack to cool completely.
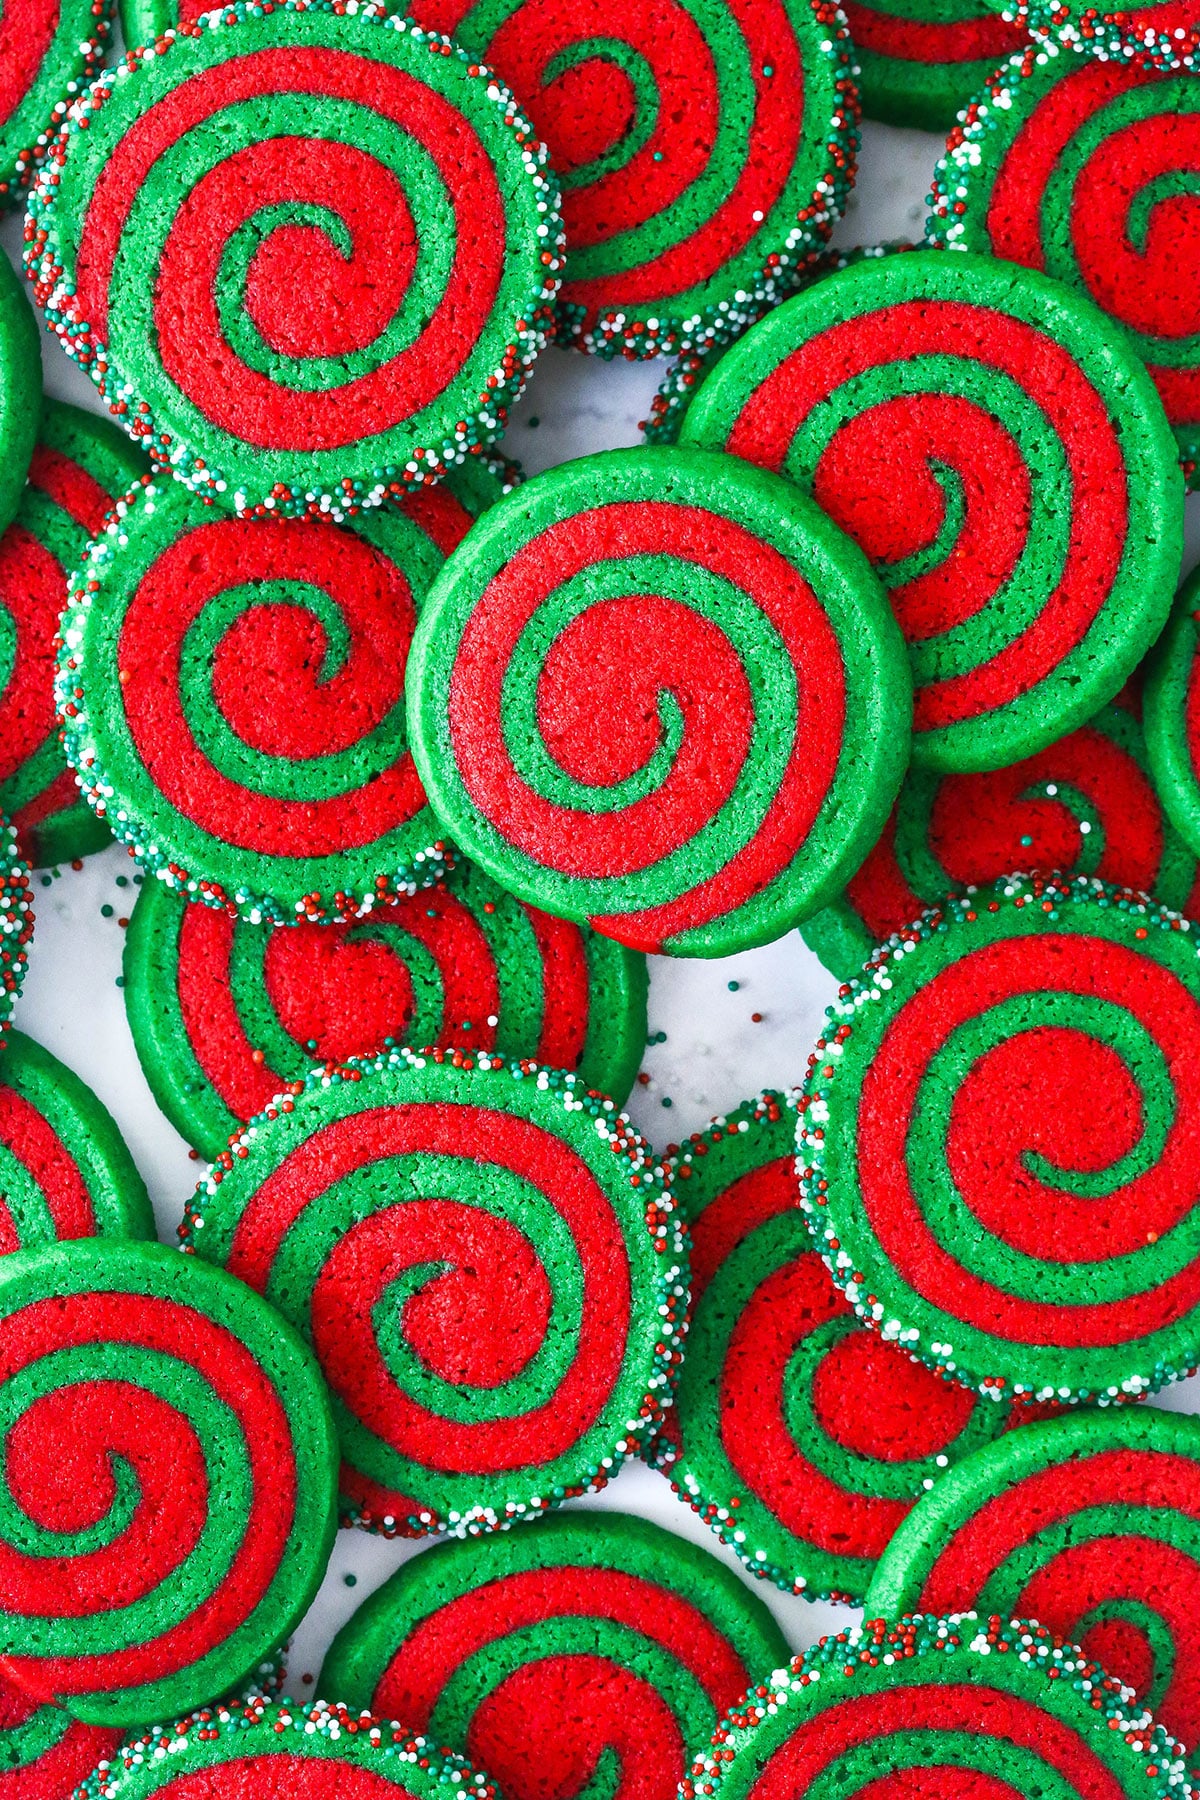
- Measure the ingredients carefully. There are only a few ingredients in this recipe and the exact amount of each one does have an impact on the final cookie. Too much or too little flour, sugar, or butter can result in too dry cookies or cookies that spread too much in the oven. I highly recommend a food scale.
- Don’t skip the chill time. These Christmas pinwheel cookies need to chill several times throughout the recipe. The first two times are pretty short – just 10 minutes and 20 minutes – but it’s important to not skip those steps. It’s very difficult to work with dough that’s too warm and it is more likely to tear.
- Don’t overdo the color. You only need to add as much gel icing color as needed. You could thin out the cookie dough too much and they’d spread more.
- Roll tightly. When rolling the dough, be sure that there is no space between the layers of dough, and roll the log tightly. This helps prevent any gaps in the cookies and creates more visually appealing pinwheels.
- Measure before slicing. You may get more or less cookies, depending on the width of the log and how thick you cut them. If there’s a particular number of cookies you want, measure out the thickness of the cookies on the side of the log and mark where to cut the dough prior to cutting them all so that you make sure you have that number. If you look at the step-by-step pictures, you can see that I did that.
- Add the sprinkles after slicing. I add the sprinkles to individual cookie slices prior to baking, rather than rolling an entire log in the sprinkles. If you roll the entire log, the sprinkles are messy and fall off as you move the log around and slice it. It’s much easier to roll them in sprinkles individually.
Proper Storage
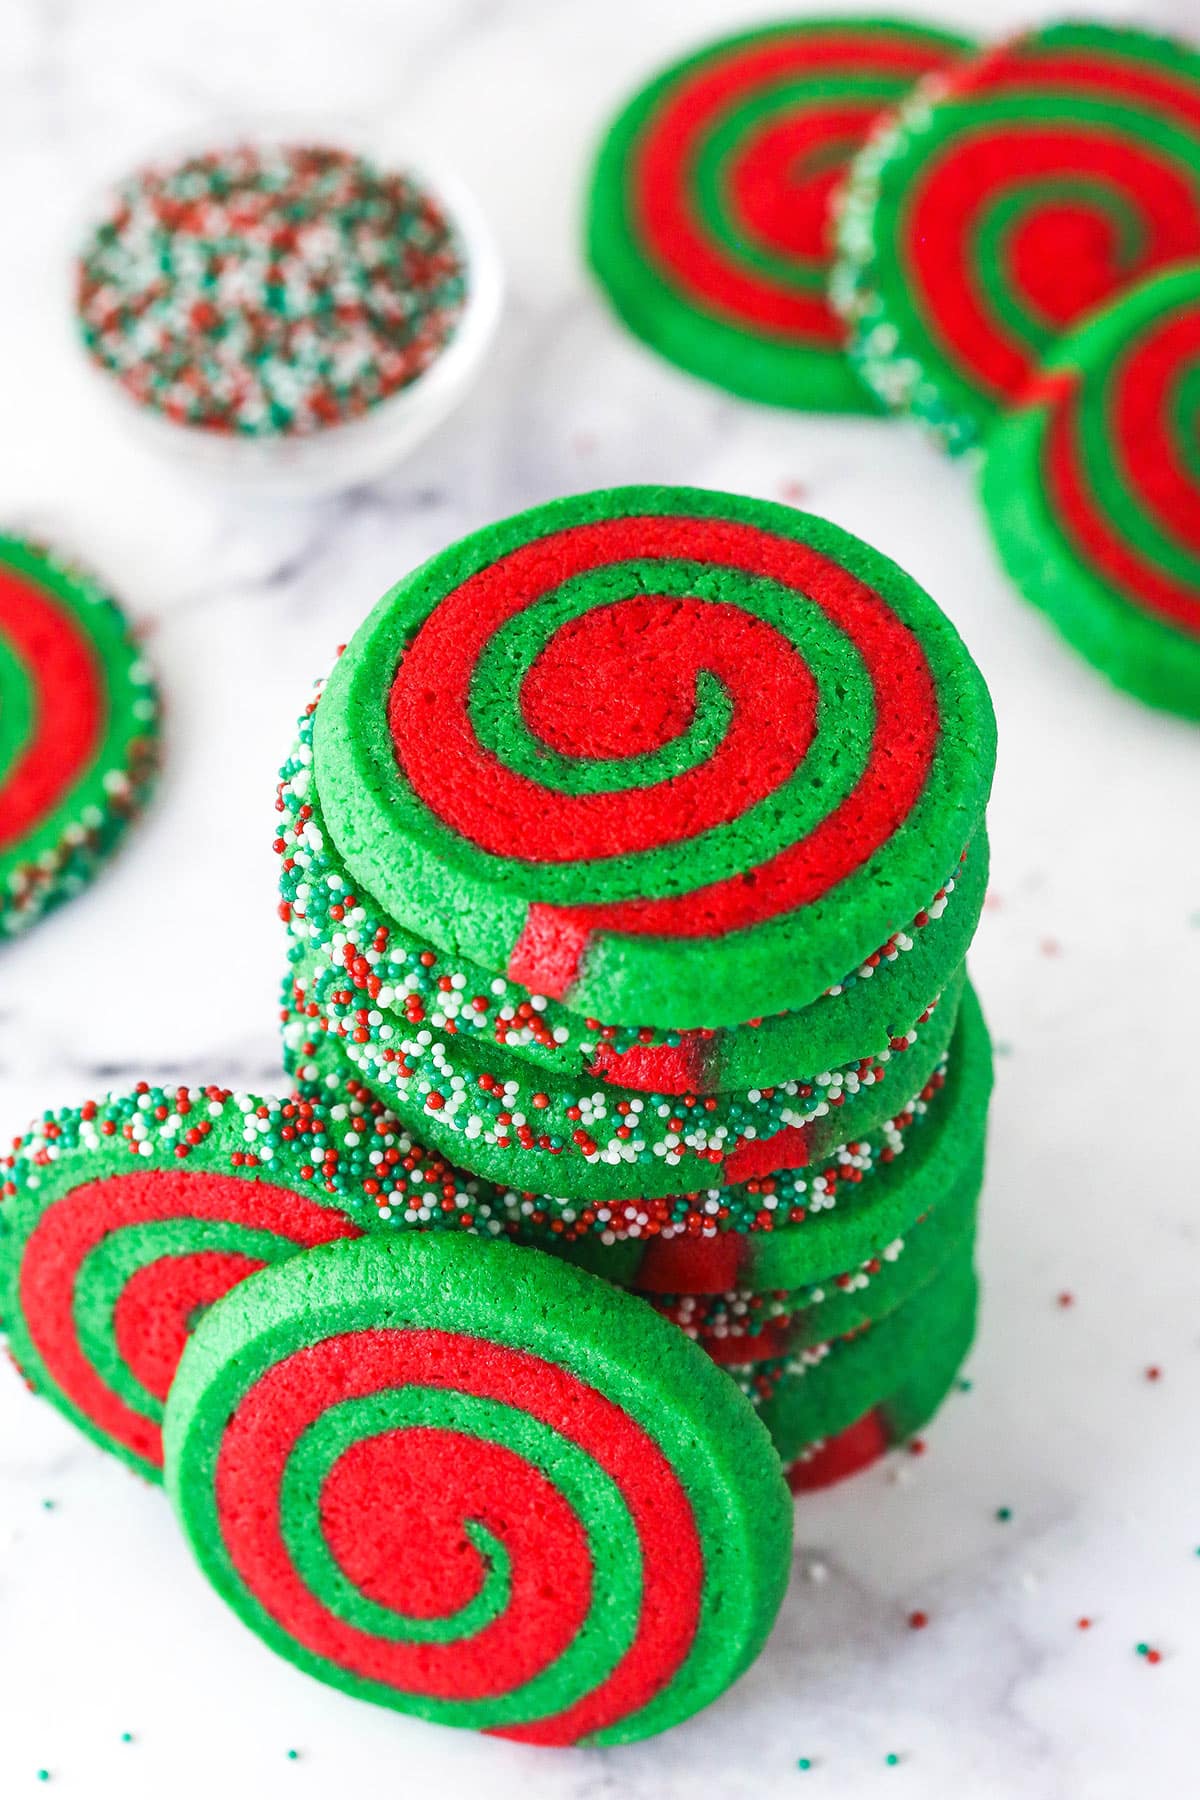
- Room temperature. Christmas pinwheel cookies can be stored in an airtight container at room temperature. They’re best when eaten within 4-5 days.
- Freezing. They can be frozen for up to 3 months in an airtight container or Ziploc bag. Just make sure they cool completely before freezing. Thaw on the counter or in the fridge and enjoy.
- Christmas Sprinkle Cookies
- Stacked Sugar Cookie Christmas Trees
- Peppermint Chocolate Thumbprint Cookies
- Chocolate Peppermint Shortbread Cookies
- Grinch Cookies
- Cakey Christmas Cookies
Watch How To Make Them
Print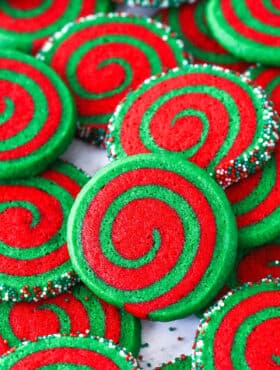
- Prep Time: 45 minutes
- Chill Time: 2 hours 40 minutes
- Cook Time: 9 minutes
- Total Time: 3 hours 34 minutes
- Yield: 28 cookies
- Category: Dessert
- Method: Baking
- Cuisine: American
Description
With layers of red and green cookie dough rolled and sliced to create a pinwheel pattern, these Christmas Pinwheel Cookies are a fun and festive addition to any holiday cookie tray or dessert table. Optional sprinkles add an extra fun touch!
Ingredients
- 2 3/4 cups plus 2 tbsp (384g) all-purpose flour
- 1 tsp baking soda
- 1/2 tsp baking powder
- 1/2 tsp salt
- 1 cup (224g) unsalted butter, room temperature
- 1 1/4 cups (259g) granulated sugar
- 1 large egg
- 2 tsp vanilla extract
- Red and green gel icing color
- 3–4 tbsp sprinkles, optional
Instructions
- Combine the flour, baking soda, baking powder and salt in a medium sized bowl and set aside.
- Cream the butter and sugars together in a large mixer bowl on medium speed until light in color and fluffy, 2-3 minutes. You should be able to see the change in color happen and know it’s ready.
- Add the egg and mix until well combined.
- Add the vanilla extract and mix until well combined.
- Add the dry ingredients and mix until the dough is well combined. It will be thick and shouldn’t be sticky. Do not over mix. Once it’s well combined, use a rubber spatula to help it come together to form a more cohesive ball.
- Divide the cookie dough in half. Color one half with the red gel icing color and the other half with the green gel icing color. Wrap the cookie dough individually in plastic wrap and place it in the refrigerator. Refrigerate both cookie doughs for about 20-30 minutes, until it’s a little firmer and easier to work with, but still roll-able.
- Now it’s time to roll out each ball of cookie dough. I roll them out between two pieces of parchment paper. It’s naturally non-stick, so you don’t need to use flour, but it also releases easily. Roll each ball out into an 8×14 inch rectangle. Remove one color of cookie dough at a time and roll them out. They should be about ¼ inch thick each. I try to get them as rectangular as I can and will trim off outlier pieces and place them on top of the cookie dough to re-incorporate them into the cookie dough, so that I don’t waste any. While your rectangles don’t have to be perfectly 8×14, this size should give you an accurate number of cookies.
- Refrigerate the rolled-out cookie doughs for 5-10 minutes (or freeze for about 3-4 minutes). You want the cookie dough to be firm enough that it’s easier to work with again.
- Turn the red cookie dough over on top of the green cookie dough and do your best to line them up. Carefully peel the parchment paper off of the red cookie dough. Flatten the red cookie dough on top of the green cookie dough as best you can. You can use a pizza cutter or pastry cutter to straighten the edges, if needed.
- Starting on the long size, roll the two cookie doughs together, without leaving gaps. Go slowly and patch up the cookie dough with your fingers, if needed. Once it’s rolled into a log, cut it in half so you have two logs.
- Wrap each log in clear wrap and refrigerate for at least 2 hours, or until firm.
- When you’re ready to bake them, preheat the oven to 350°F (180°C). Line baking sheets with parchment paper or silicone baking mats.
- Cut each log into about ½ inch thick slices (mine were just slightly less than ½ inch). You should be able to get 28-30 cookies. If you’d like to add the sprinkles, place the sprinkles on a rimmed plate and roll the edges of the individual slices in the sprinkles.
- Place cookies onto the prepared baking sheets about 2 inches apart and bake for 9-12 minutes or until just before they start to brown around the edges.
- Remove from oven and allow to cool on the baking sheets for about 5 minutes, then remove to a cooling rack to cool completely.
- Store cookies in an air-tight container. Cookies are best if eaten with 4-5 days.
Nutrition
- Serving Size: 1 cookie
- Calories: 148
- Sugar: 9.7 g
- Sodium: 90.5 mg
- Fat: 7.2 g
- Carbohydrates: 20.4 g
- Protein: 1.7 g
- Cholesterol: 24.1 mg


All of your Christmas cookies are a welcome and delicious addition to the holiday table.
I have a question regarding the food coloring. I use the wilton gels and cannot get the correct shade of red. How much coloring do you add to achieve that deep shade of red?
Happy Holidays to you and yours!
Thank you! I don’t know exactly how much I added. Maybe 1/2 a teaspoon or so? I used Americolor red. I know Wilton had a red and a red-red. Which are you using? Maybe the red-red would work better? Also, you may know this already, but keep in mind that the color can deepen as the cookie dough sits.