This post may contain affiliate sales links. Please read my disclosure policy.
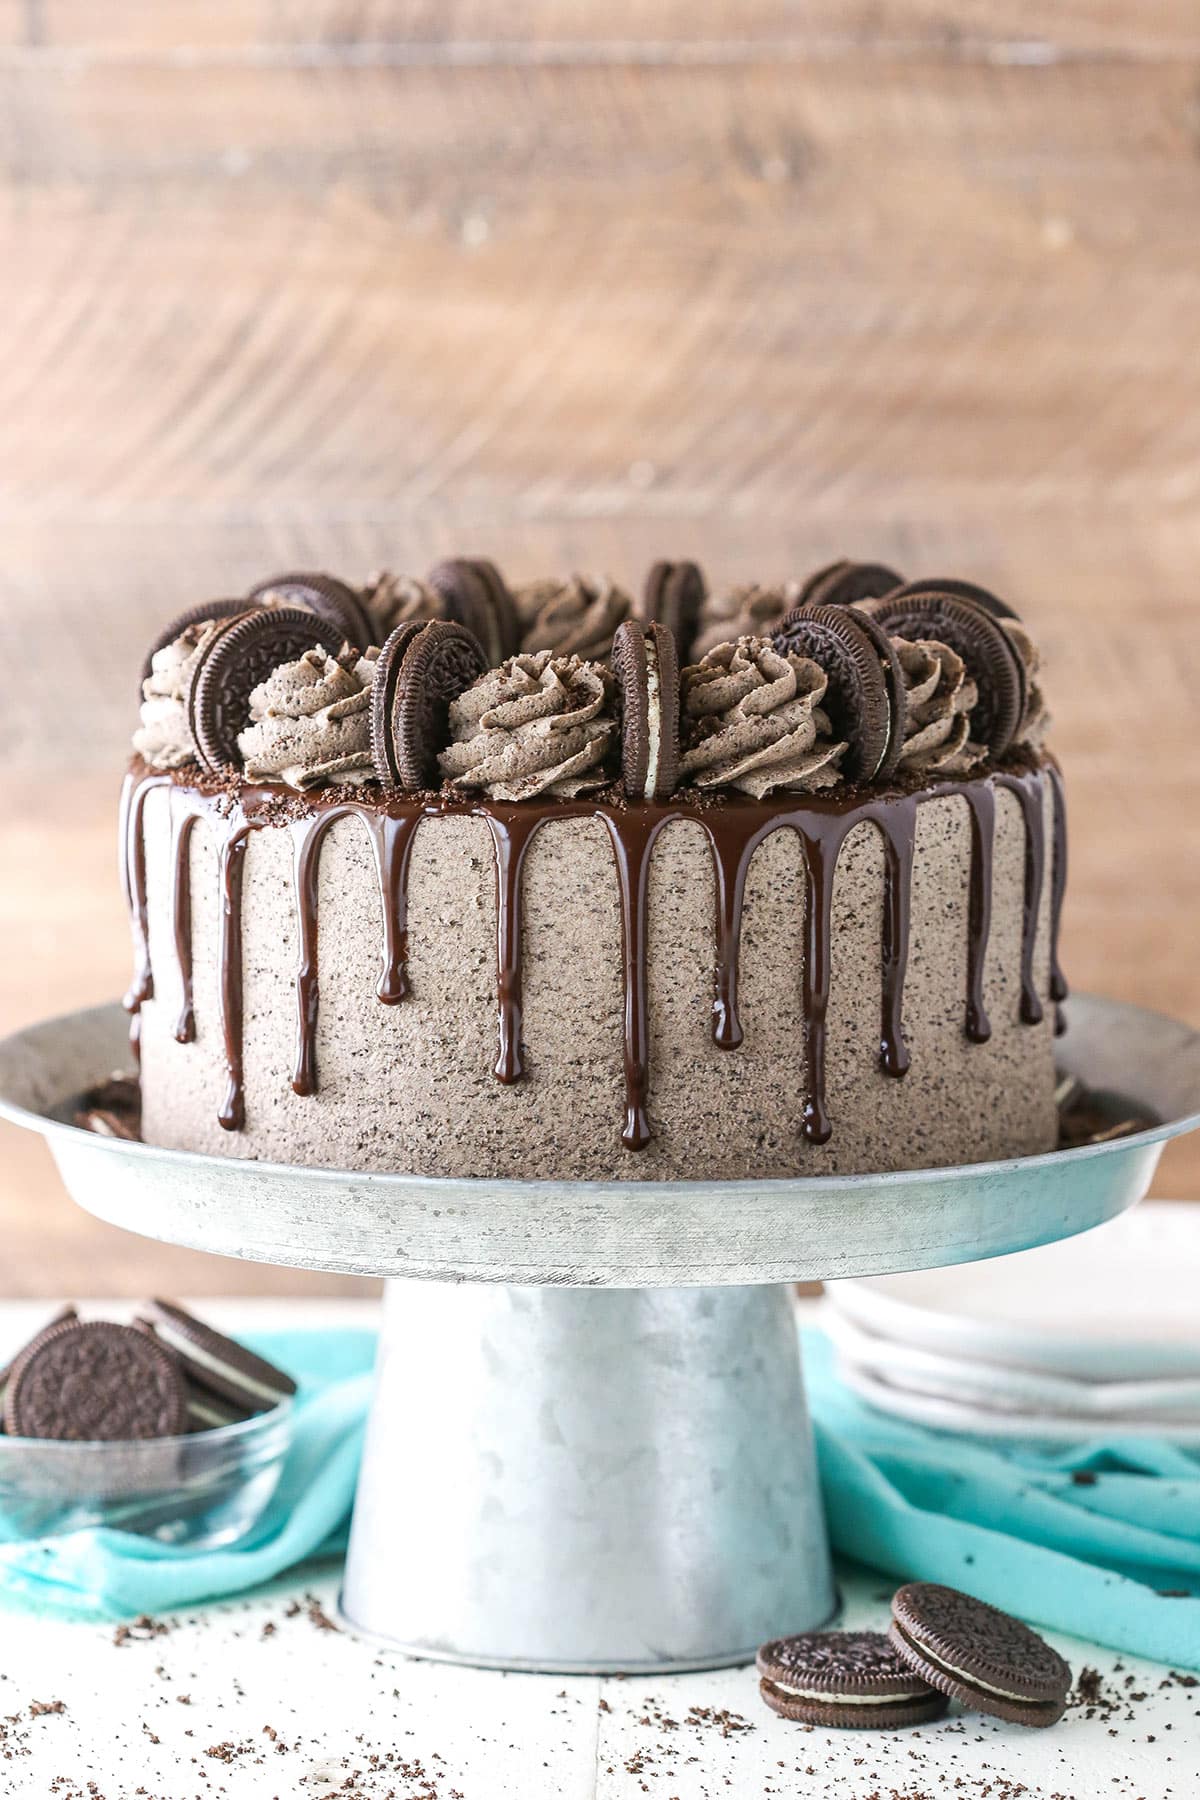
This Chocolate Oreo Cake is to die for. Three layers of moist chocolate cake are filled and frosted with chocolaty, Oreo-packed buttercream, plus more Oreos are layered between the cake layers. It’s an Oreo lover’s dream.
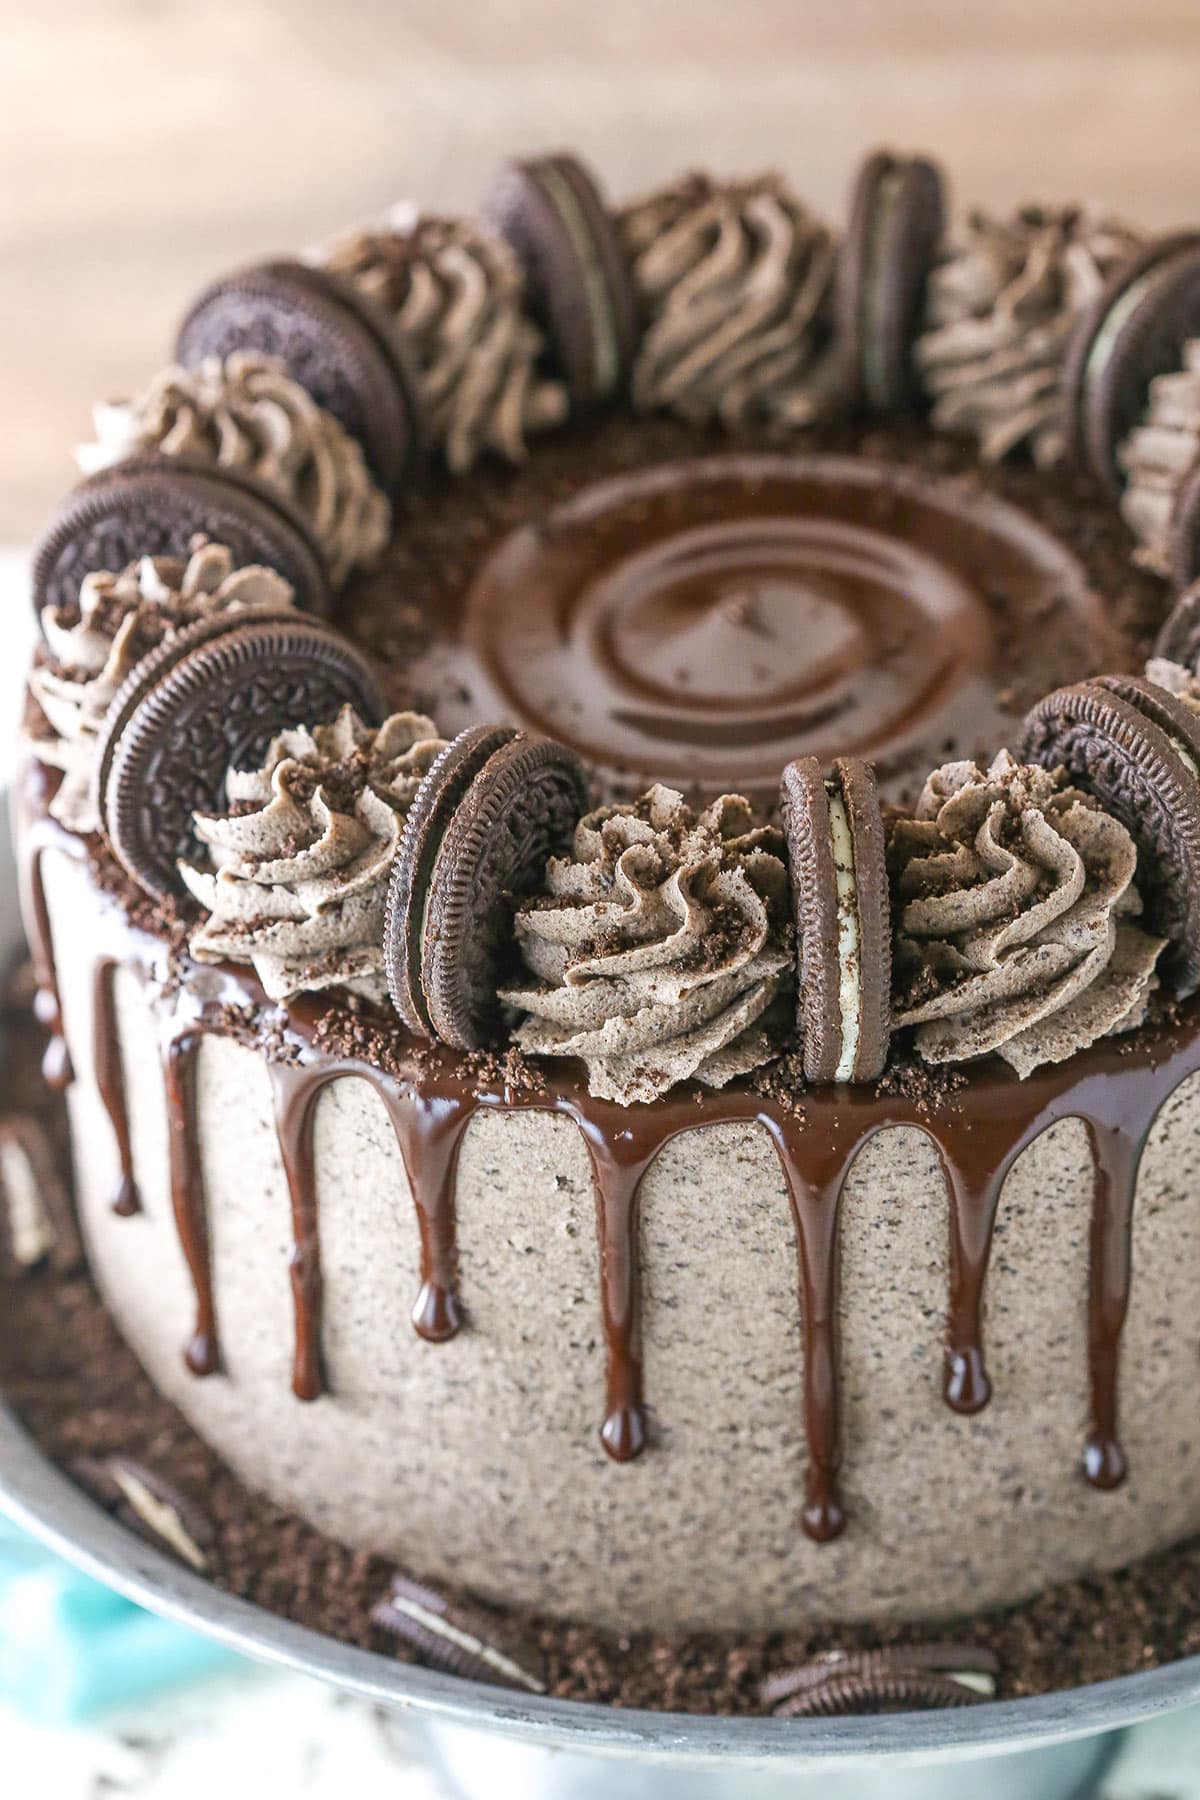
Table of Contents
- Rich & Decadent Chocolate Oreo Cake
- Why You’ll Love This Chocolate Cake with Oreo Buttercream
- What You’ll Need
- How to Make Chocolate Oreo Cake
- Can This Chocolate Layer Cake Be Prepared in Advance?
- Tips for Success
- Serving Suggestions
- How to Store Leftovers
- More Oreo Cake Recipes:
- Watch How To Make Oreo Cake
- Get the Recipe
Rich & Decadent Chocolate Oreo Cake
I am such a big fan of desserts made with Oreos, as you can see with from all my dessert recipes made with Oreos. The flavor is just so good. This cake combines the wonderful Oreo cookie with cake and chocolate. The result is one delicious dessert that is nothing short of a dream come true.
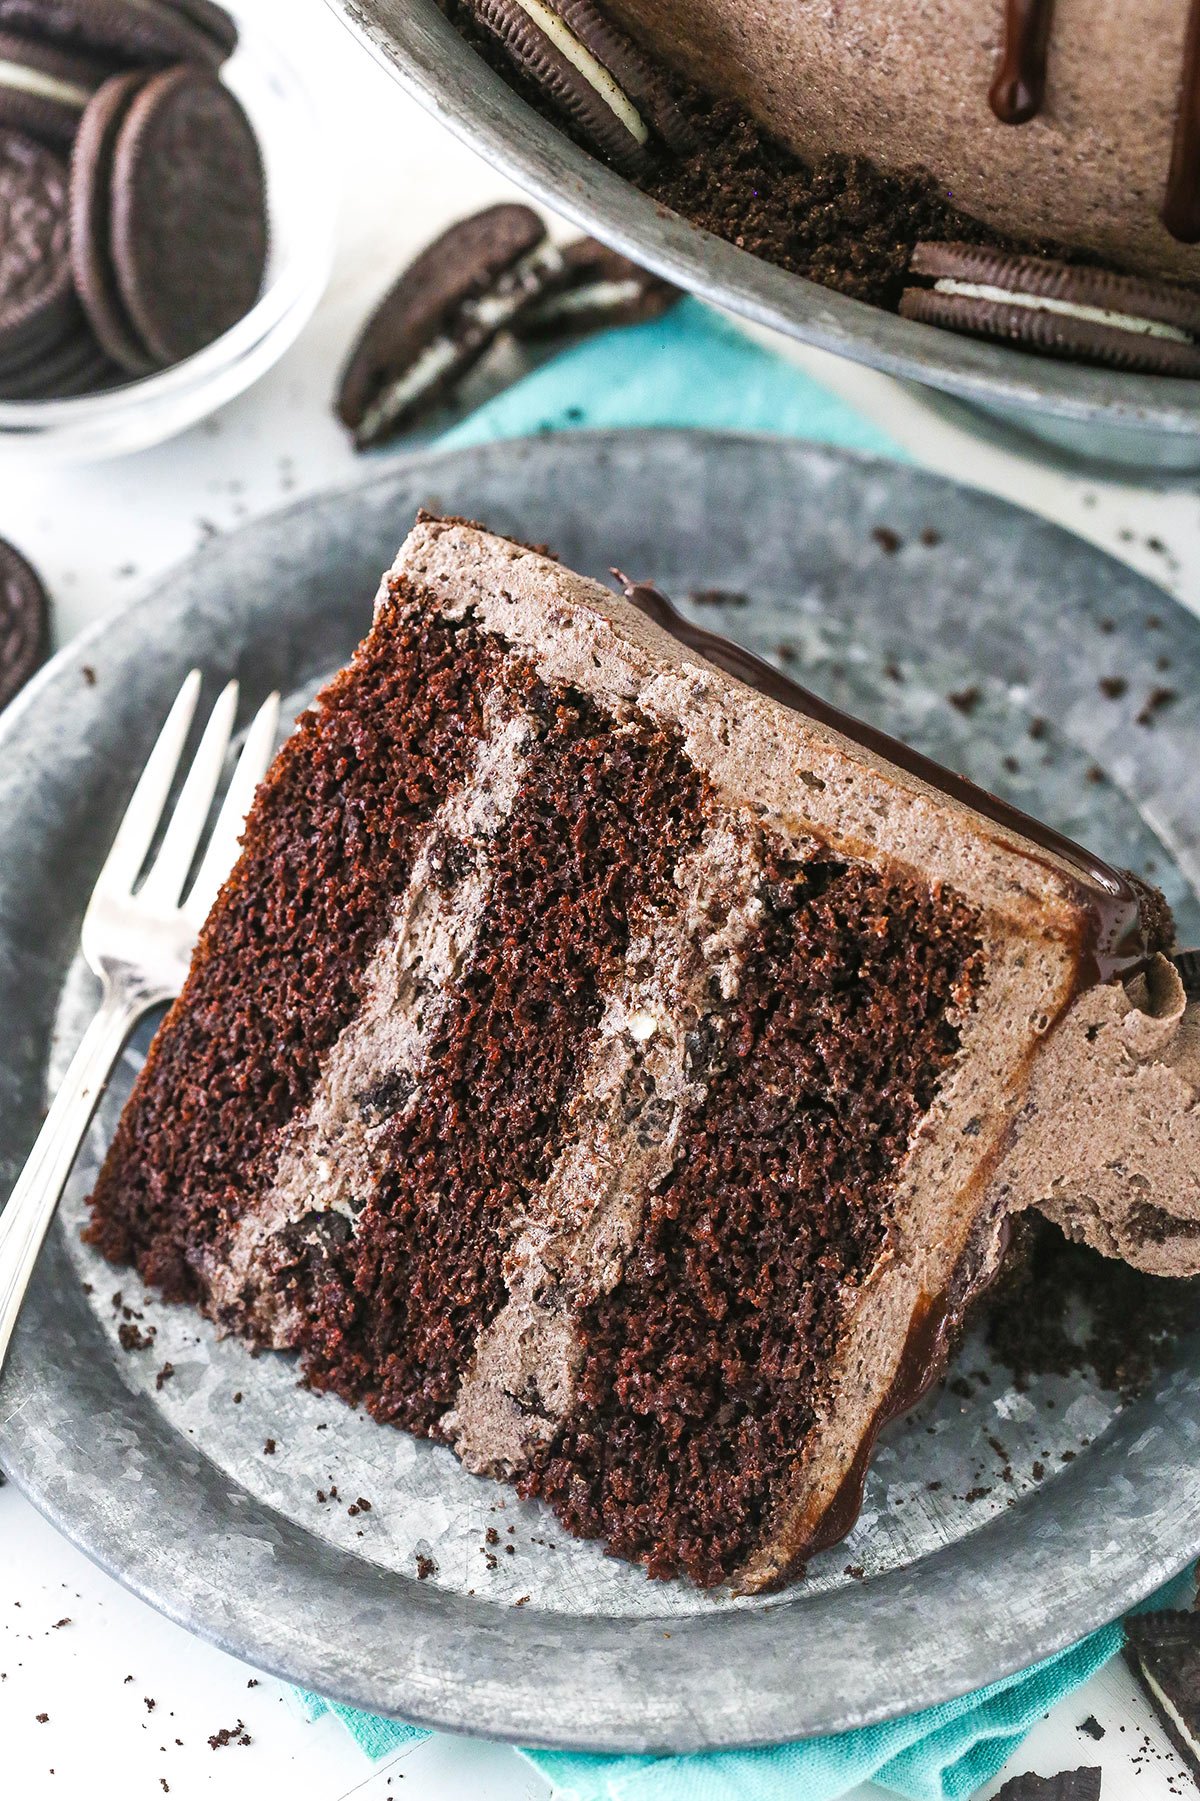
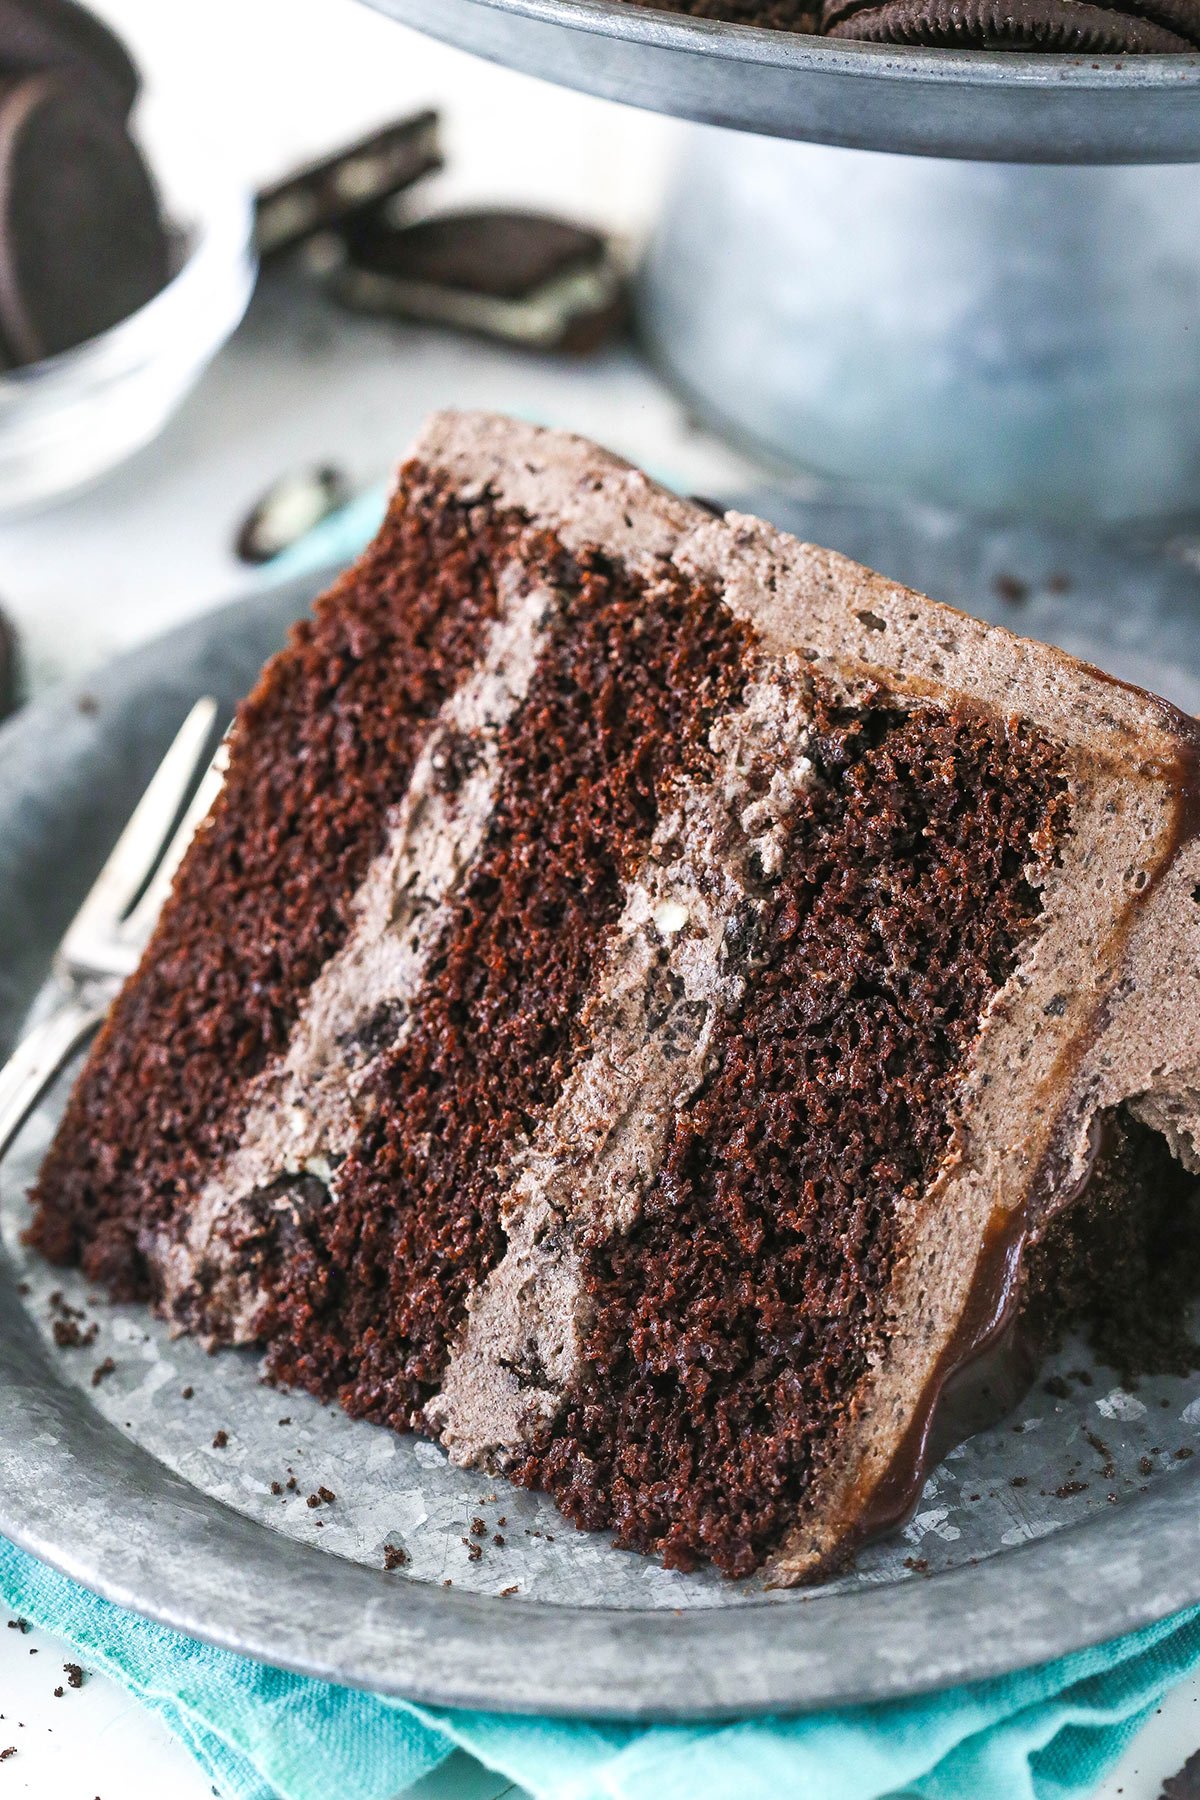
Three layers of tender, moist chocolate cake are stacked on top of one another, filled with thick layers of fluffy, Oreo-filled buttercream. Between each cake layer there is also more chopped Oreos! There’s no shortage of Oreo flavor in this cake! It is then frosted with more Oreo buttercream, drizzled with a rich chocolate ganache, and decorated with buttercream swirls and whole Oreos. It’s practically irresistible.
And even better – it’s super easy to make! The chocolate cake itself is my classic chocolate cake recipe that is super moist and gets into the oven in about 10 minutes. The buttercream is also a classic vanilla buttercream that’s easy to make – you just have to grind up the Oreos to flavor it!
Why You’ll Love This Chocolate Cake with Oreo Buttercream
Chocolate cake plus Oreos? What’s not to love!? Here are some of my favorite things about this delicious dessert.
- Packed with Oreos. If you love Oreos as much as I do, this is the cake for you. The recipe uses an entire package of these delicious sandwich cookies. Between the frosting and the garnish, you will not miss an Oreo in a single bite.
- The cake is so moist. The layers of cake themselves are some of the moistest ever. Your search for the perfect chocolate cake is over. It’s amazing.
- No fancy mixing method. Some cakes require a lot of fancy whipping, fluffing, and folding. Not this one. Just mix everything together right in the bowl. It’s as simple as that.
What You’ll Need
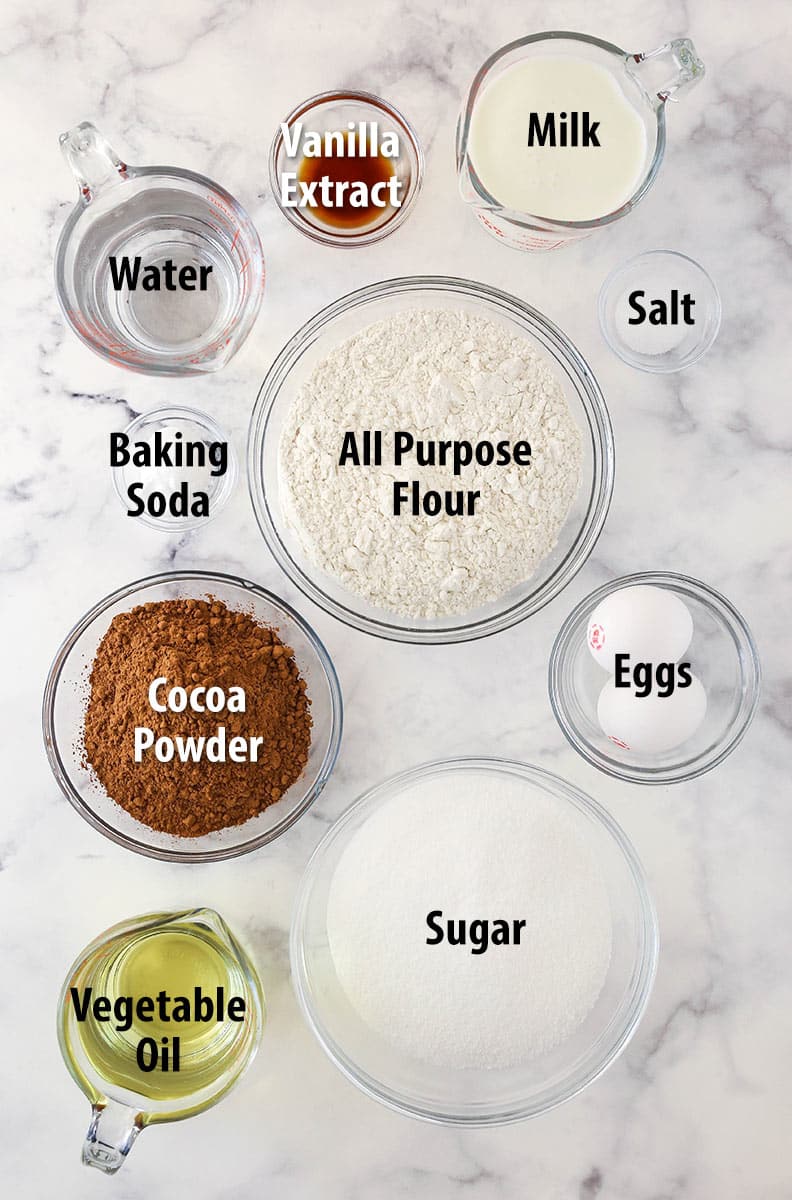
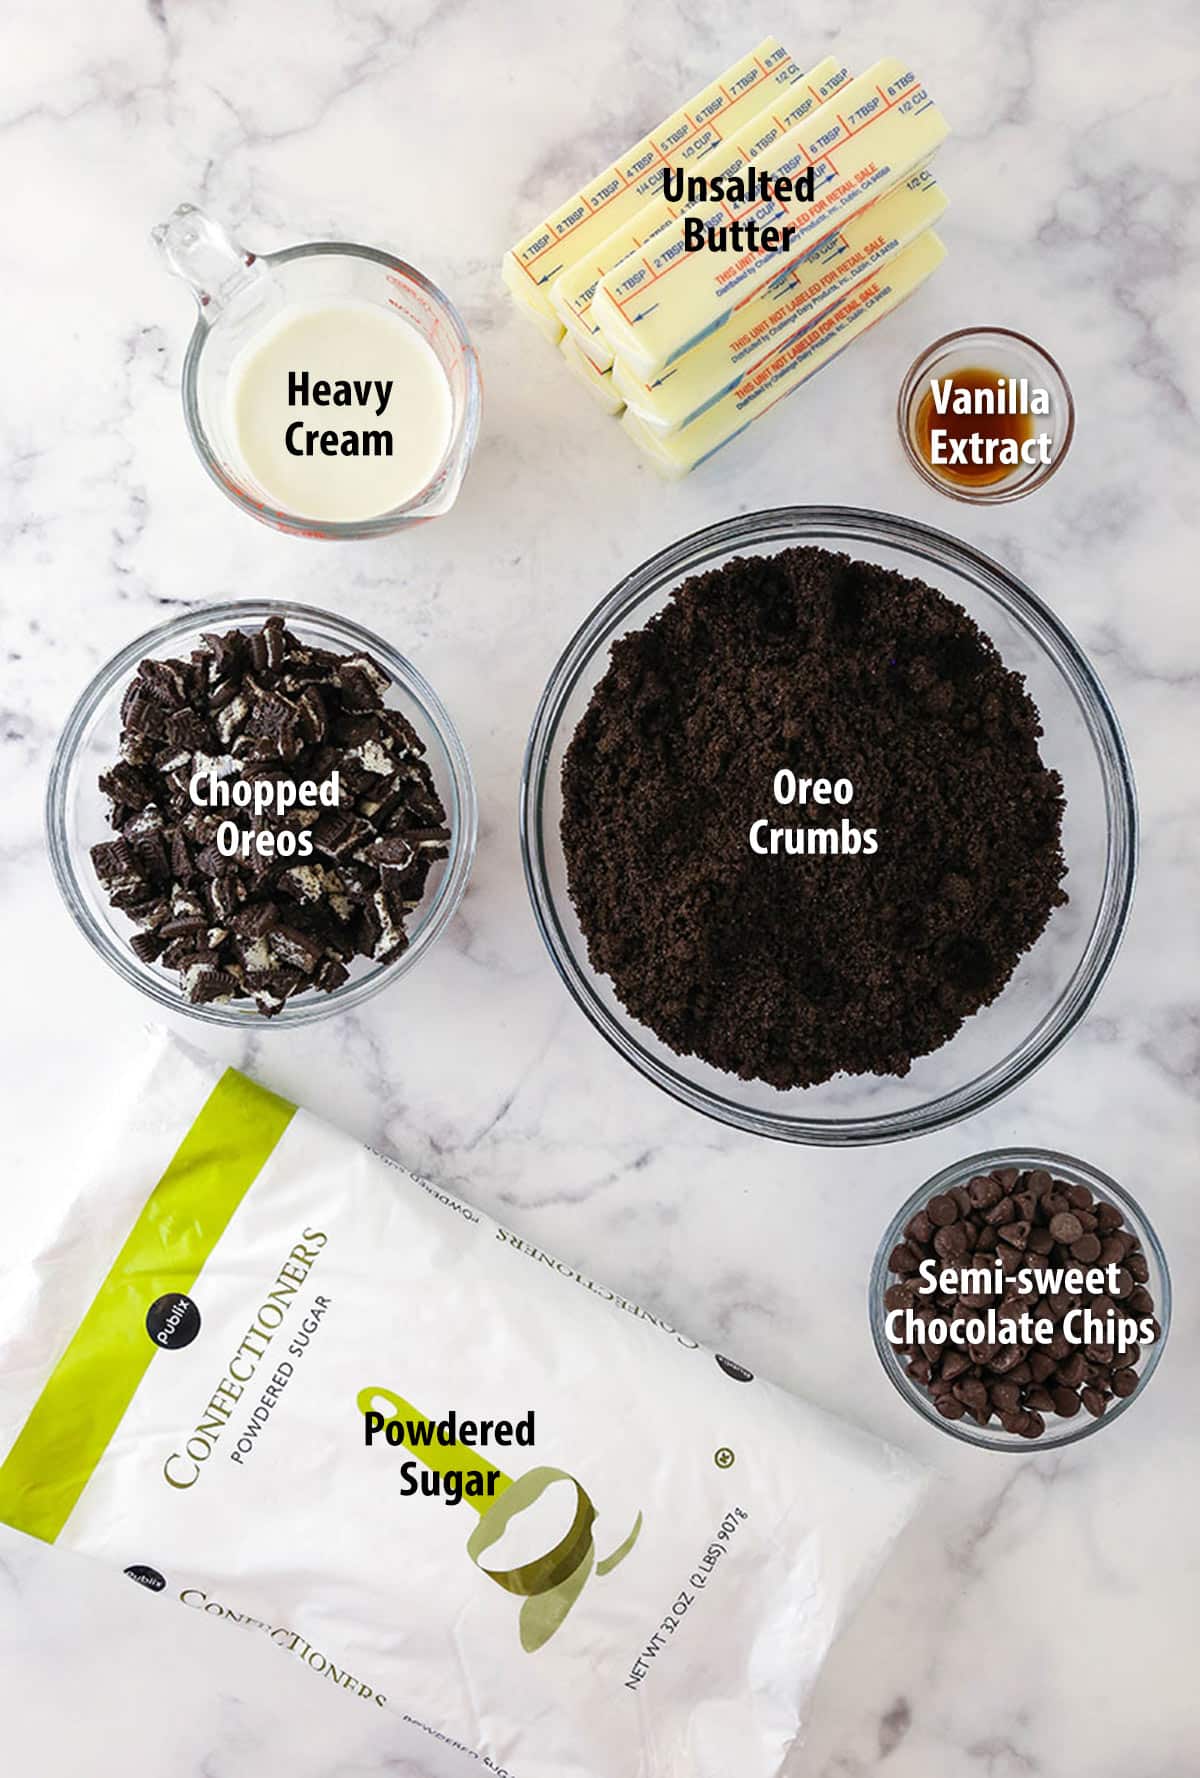
Here is a list of ingredients you will need to make this decadent, Oreo-filled chocolate layer cake. Don’t forget to scroll to the recipe card below for exact measurements.
Chocolate cake
- All-purpose flour – Feel free to use your favorite 1:1 gluten-free substitute instead.
- Sugar
- Natural unsweetened cocoa powder – You can use dutch processed cocoa powder for a more bitter chocolate flavor.
- Baking soda – For the optimal rise and cake texture.
- Salt – For flavor. Don’t leave it out.
- Large eggs – It is best if the eggs are at room temperature. They will incorporate into the batter more easily, helping to prevent over-mixing.
- Milk – For more moisture and fat.
- Vegetable oil – For a super moist cake.
- Vanilla extract – For a little extra flavor.
- Boiling water – The hot water will help the flavors in the cocoa powder “bloom”, yielding a more powerful chocolate flavor.
Oreo Buttercream
- Butter – The butter should be at room temperature.
- Powdered sugar – For volume and consistency.
- Oreo crumbs – To flavor the buttercream. I like to put my Oreos in a food processor and grind into crumbs.
- Vanilla extract – Also for flavor.
- Heavy cream – To give the frosting creaminess and the best consistency.
- Oreos
Chocolate Ganache and Toppings
- Semi-sweet chocolate chips
- Heavy whipping cream
- Oreos
How to Make Chocolate Oreo Cake
Cake. Buttercream. Ganache. Just three simple components and you’ll be ready to assemble one of the best layer cakes on the planet. Here’s how to do it. Make sure to scroll to the recipe card below for more detailed instructions.
Chocolate cake
- Prep. Preheat the oven to 300 degrees F, line the bottom of three 8-inch cake pans with parchment paper circles, and grease the sides.
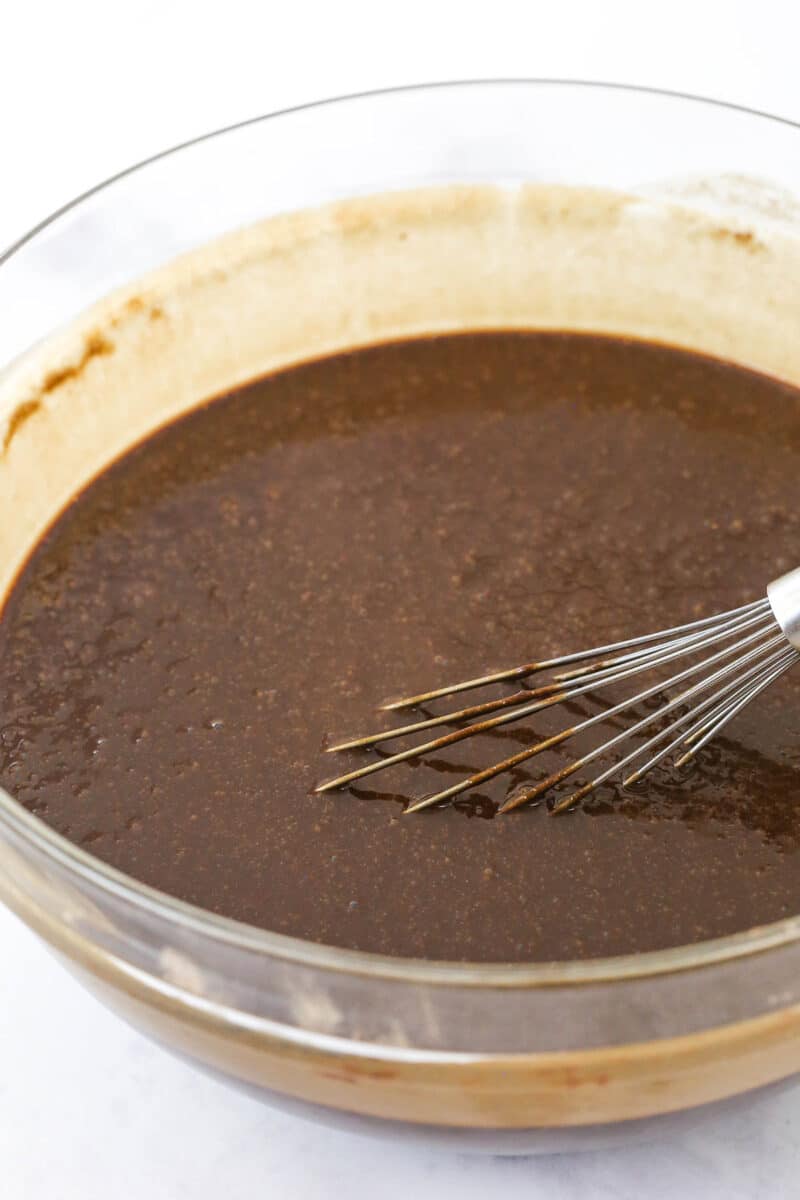
- Make the cake batter. Whisk together the dry ingredients. Add eggs, milk, and vegetable oil and mix to combine. Add vanilla to the boiling water and mix into the batter.
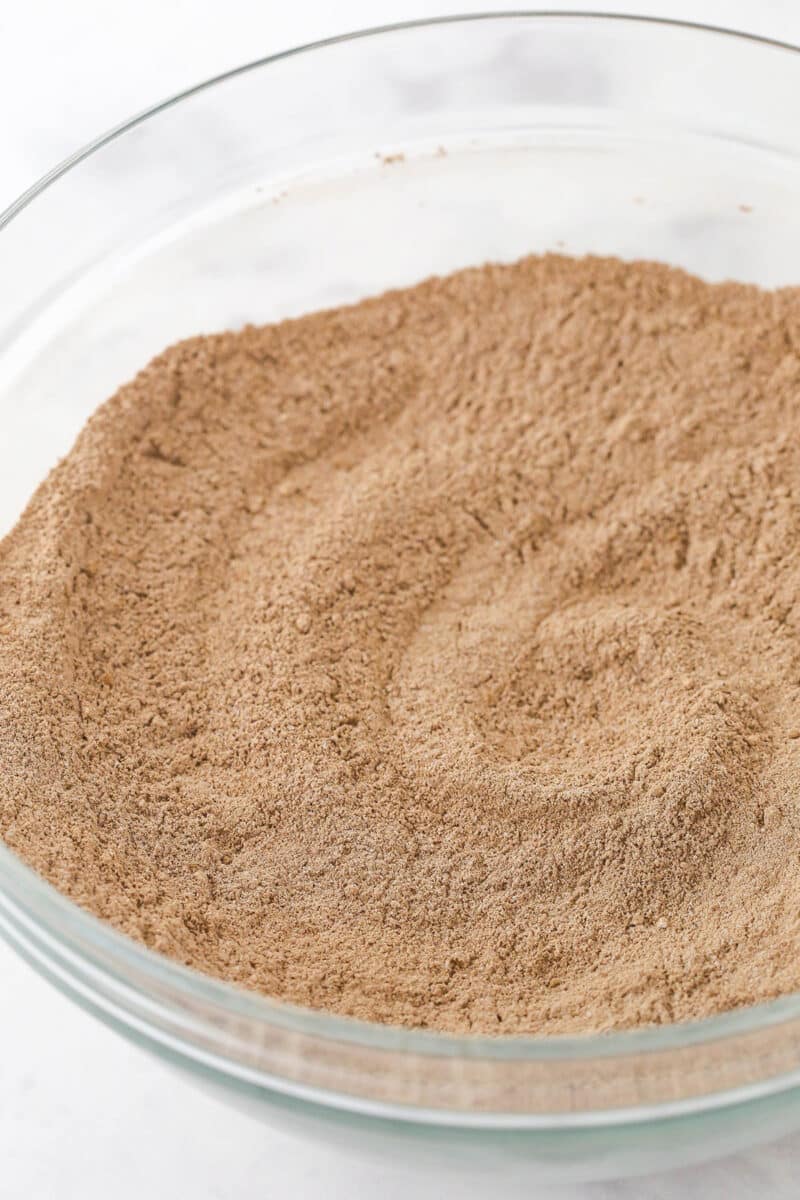
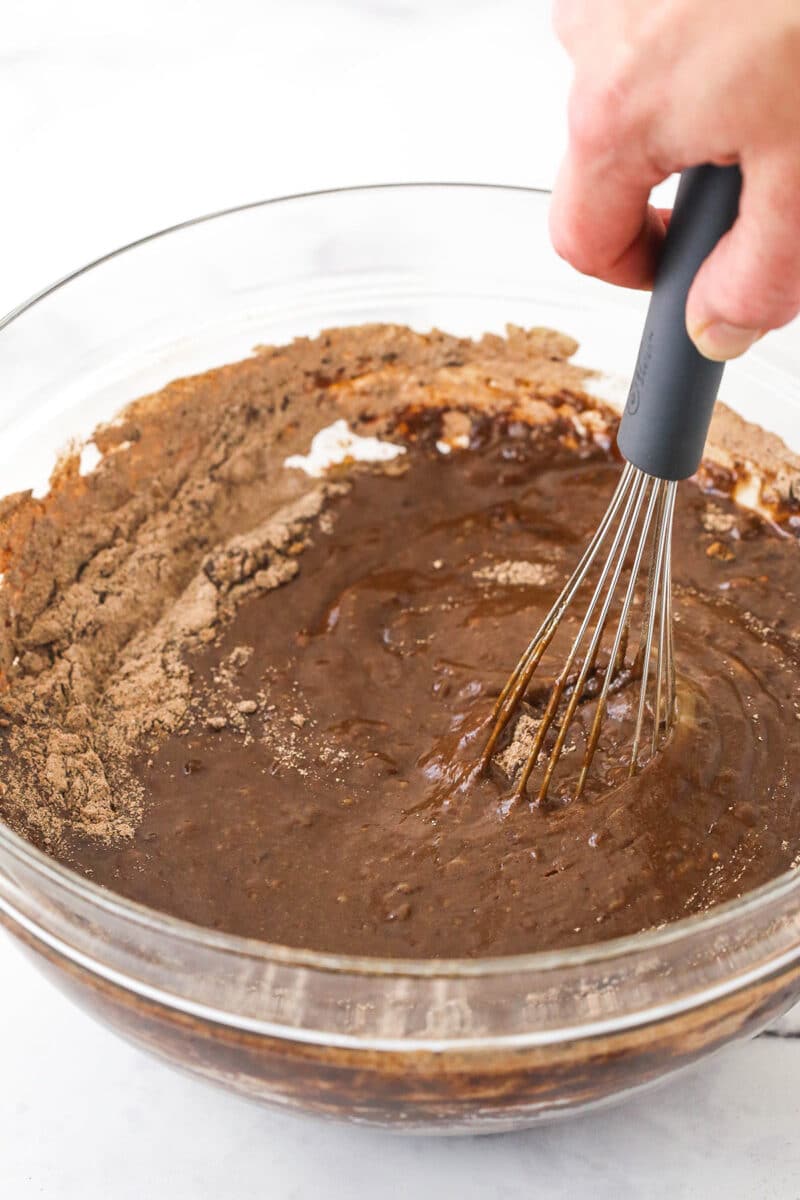
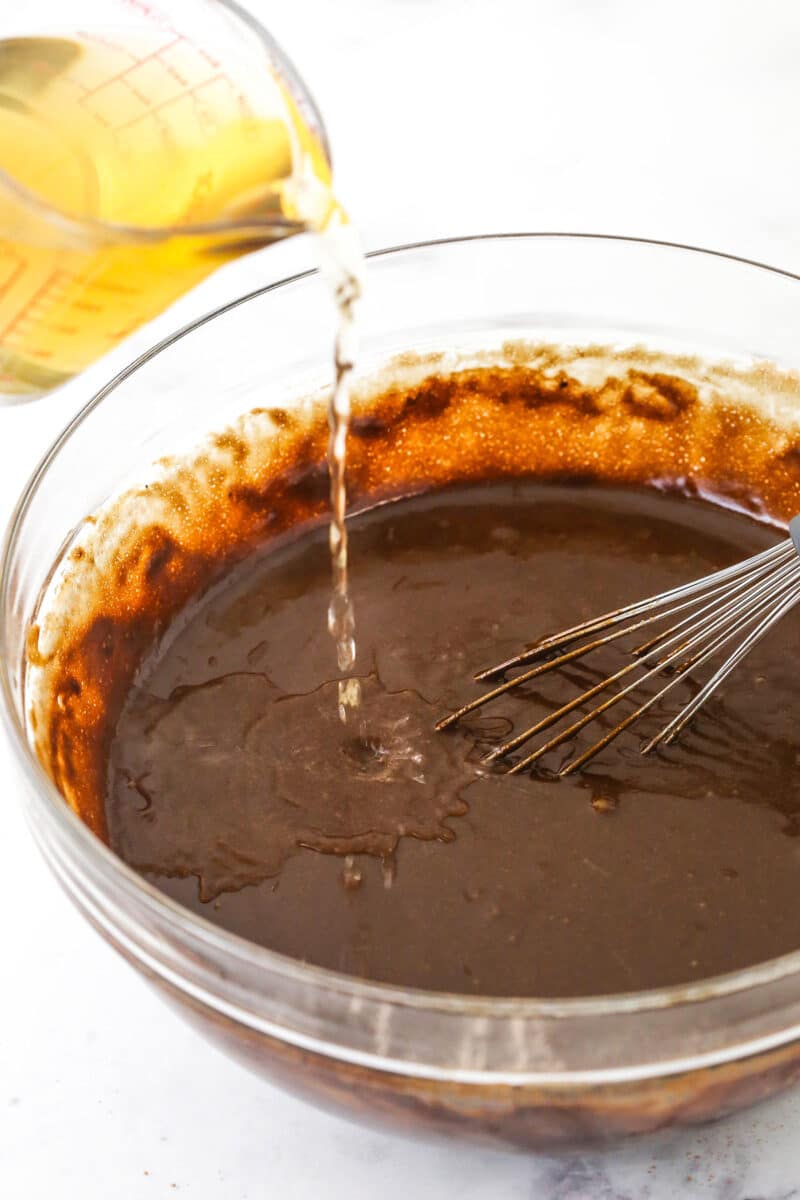
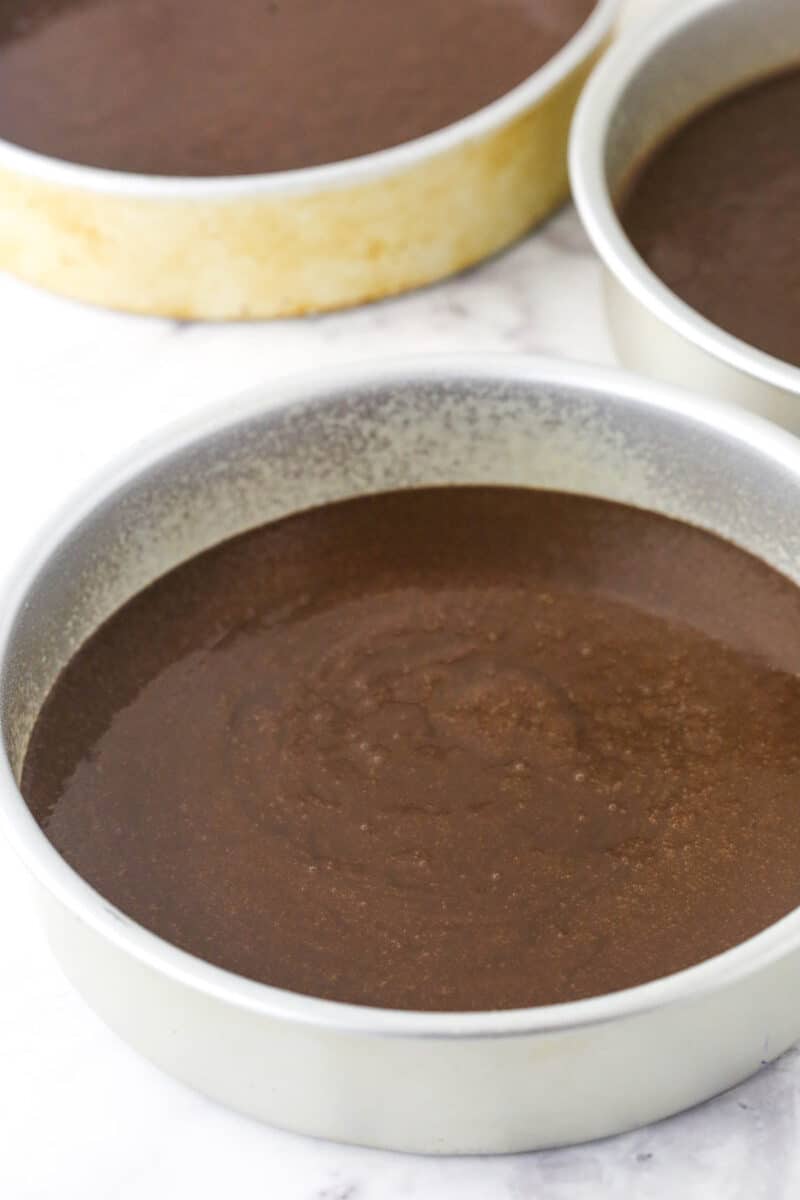
- Bake. Divide batter between the three cake pans and bake for 30-33 minutes. Allow the cakes to cool for 5-10 minutes before turning them out onto a cooling rack to cool completely.
Oreo buttercream
- Beat the butter until smooth.
- Mix in half of the powdered sugar followed by the vanilla and Oreo crumbs. Mix in the rest of the powdered sugar. Slowly mix in the heavy cream until you get a smooth consistency.
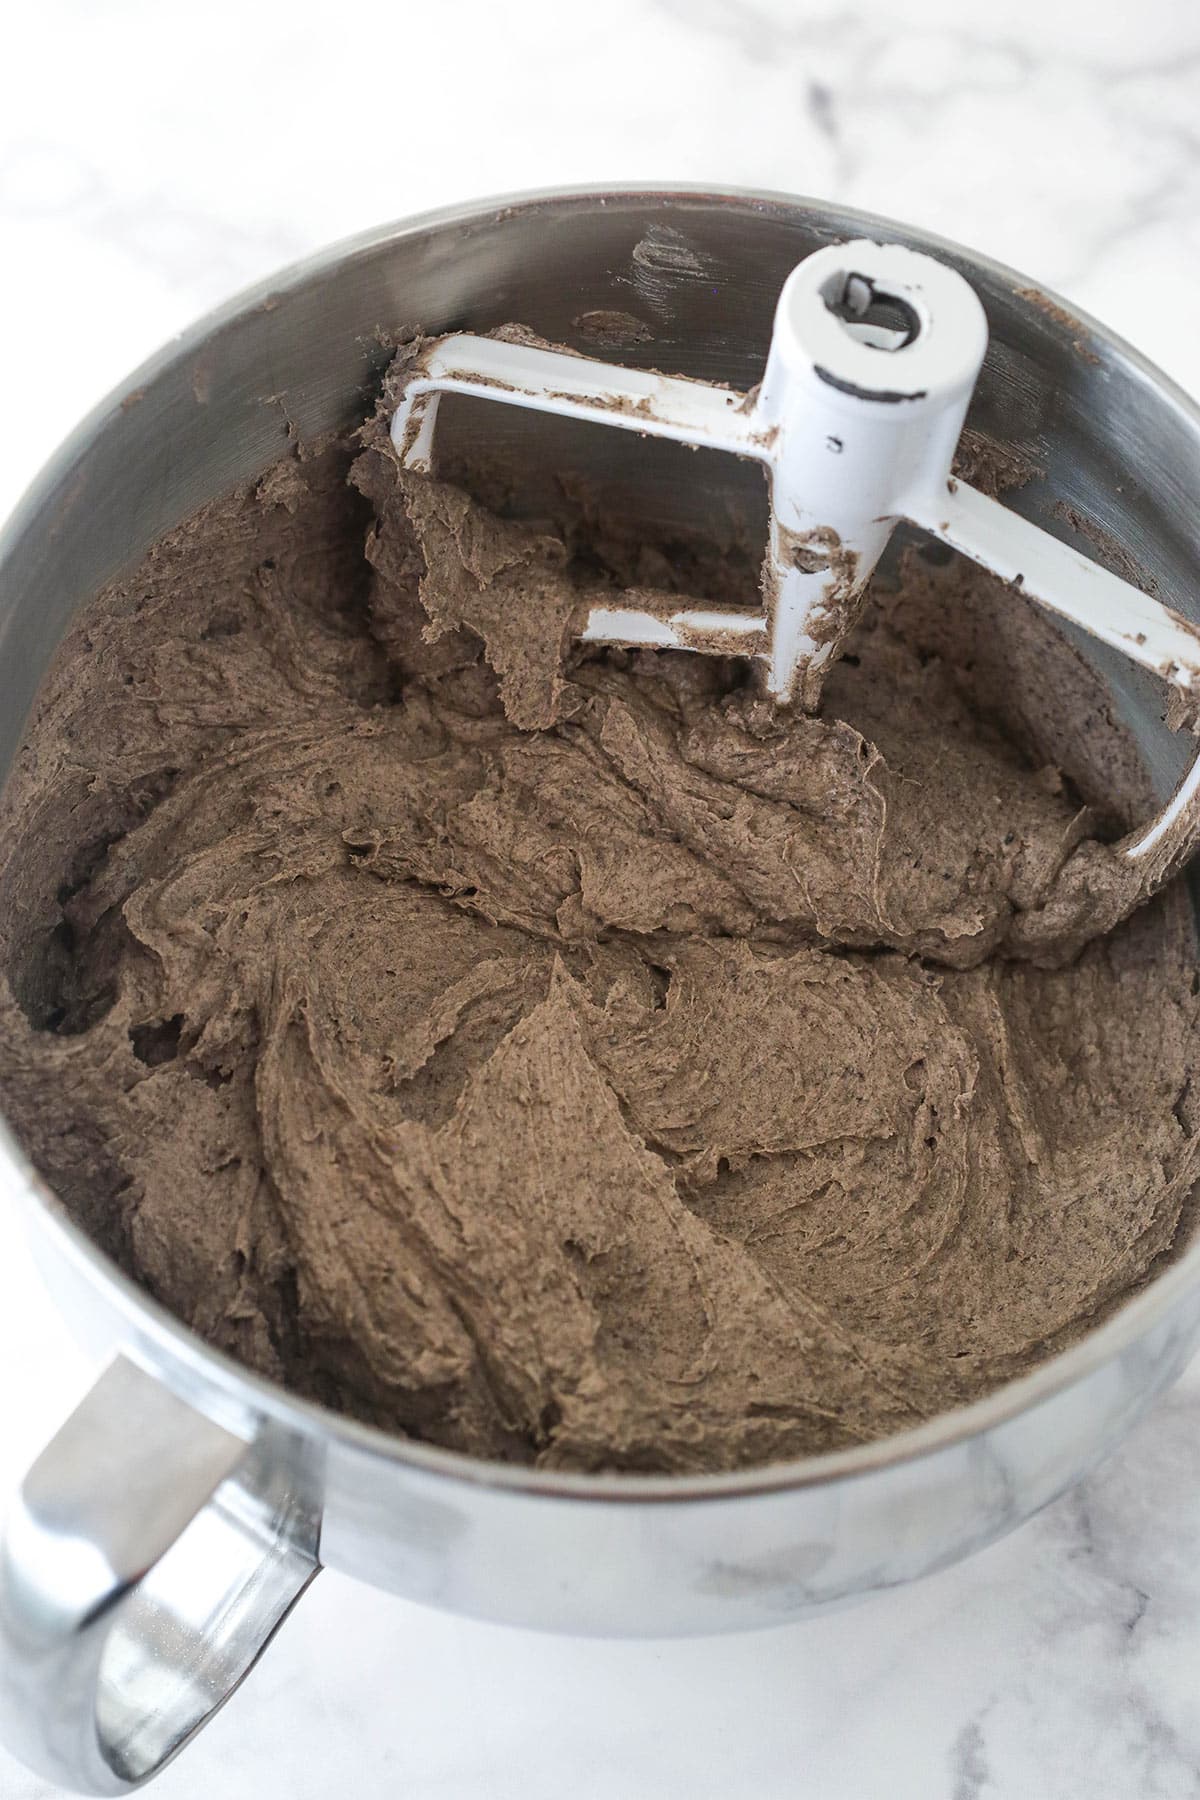
- Set aside 3 1/2 cups of the buttercream and add chopped Oreos to the rest.
To assemble
- Level the cakes. Use a serrated knife to remove the cake domes.
- Stack and fill. Place first layer of cake on cake plate and spread half of the icing with chopped Oreos on top in an even layer. Repeat with the second cake and the second half of the icing with Oreos. Top with the last cake layer.
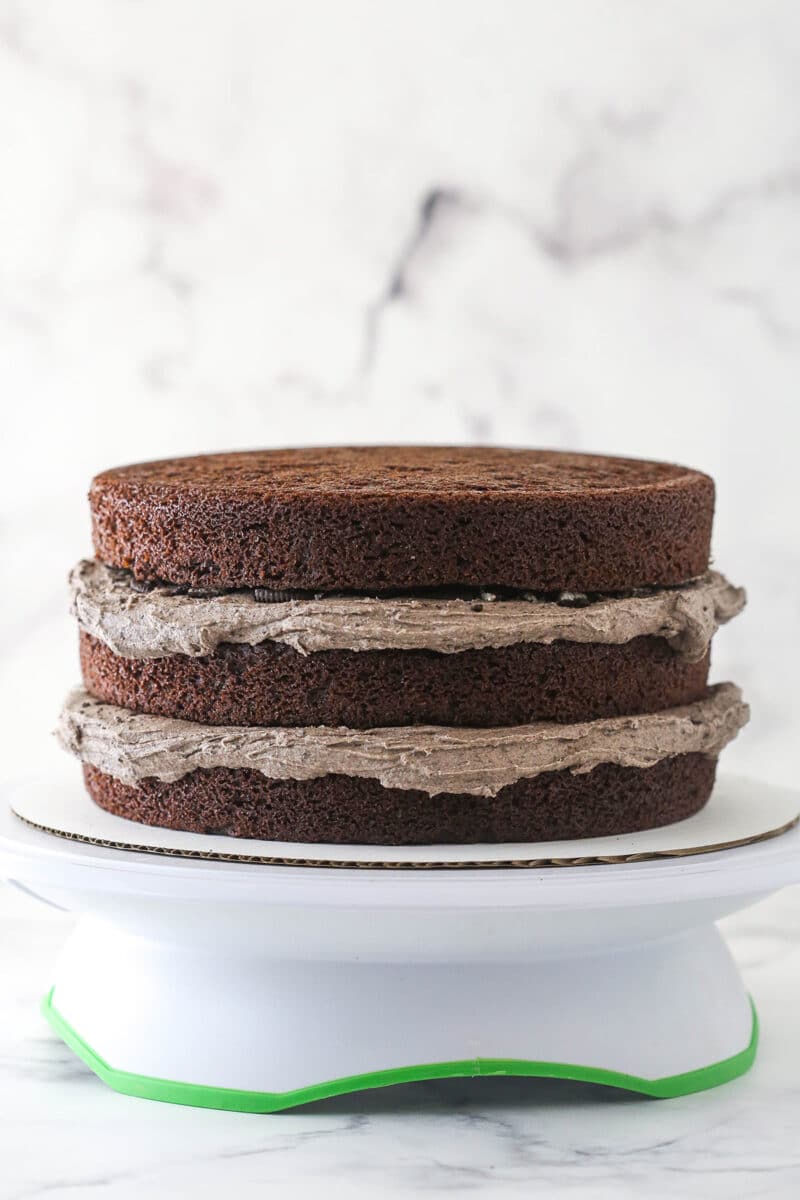
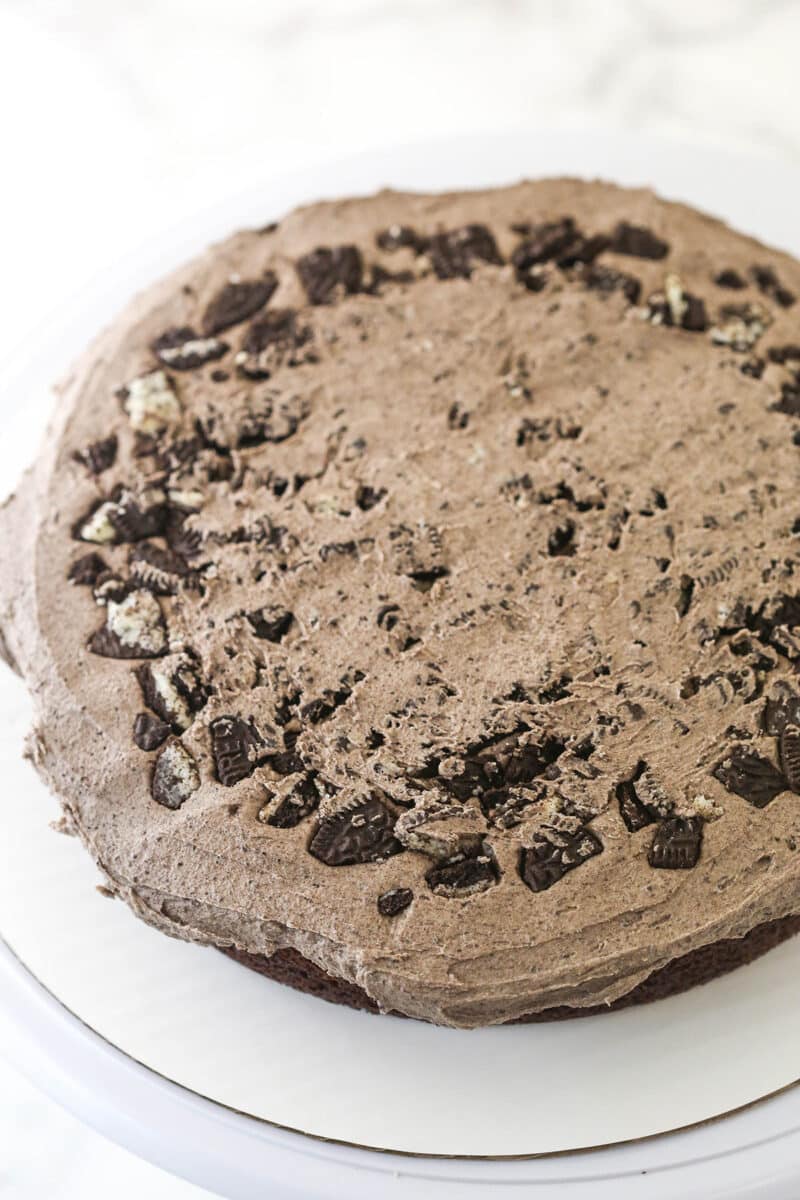
- Frost the outside of the cake with the remaining frosting.
- Make the chocolate ganache. Heat the heavy whipping cream until it begins to boil. Pour it over the chocolate chips. Allow it to sit for 2-3 minutes and whisk until smooth.
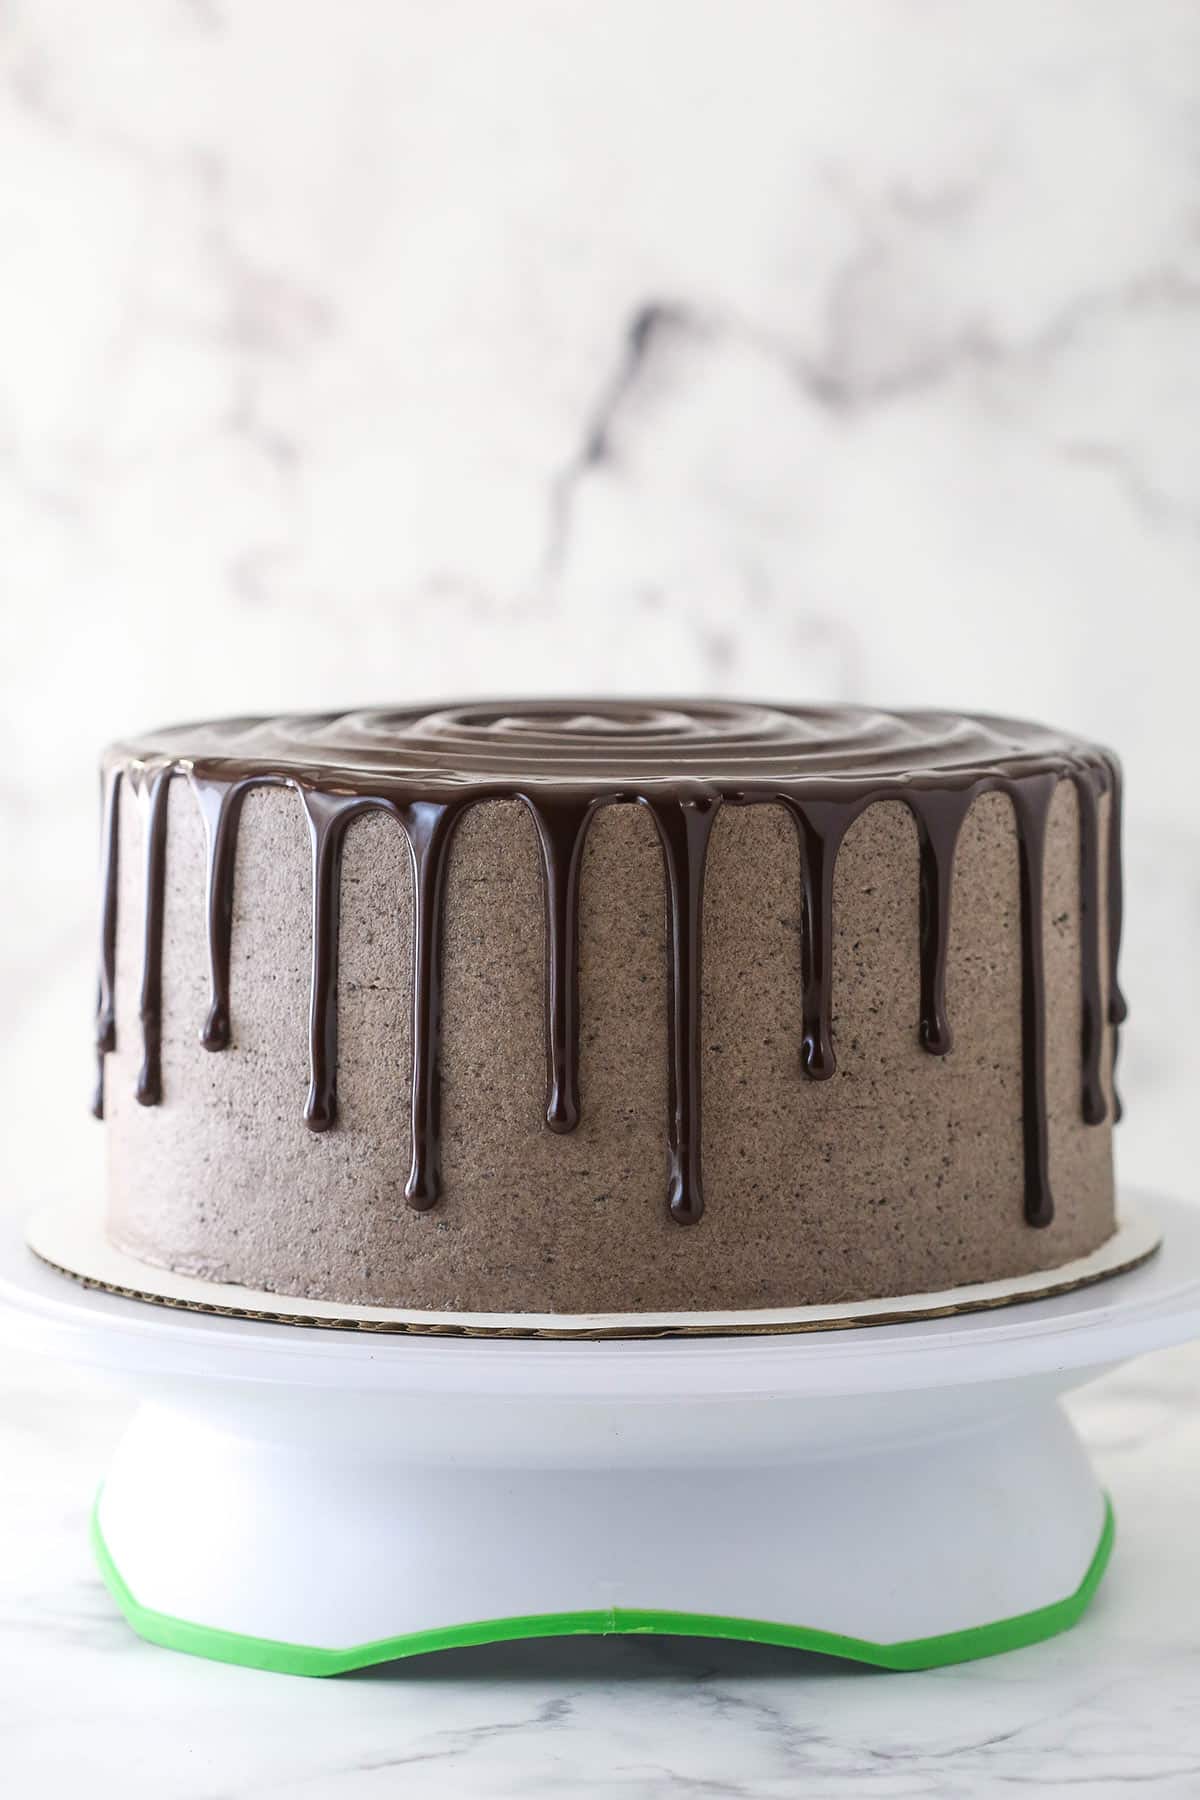
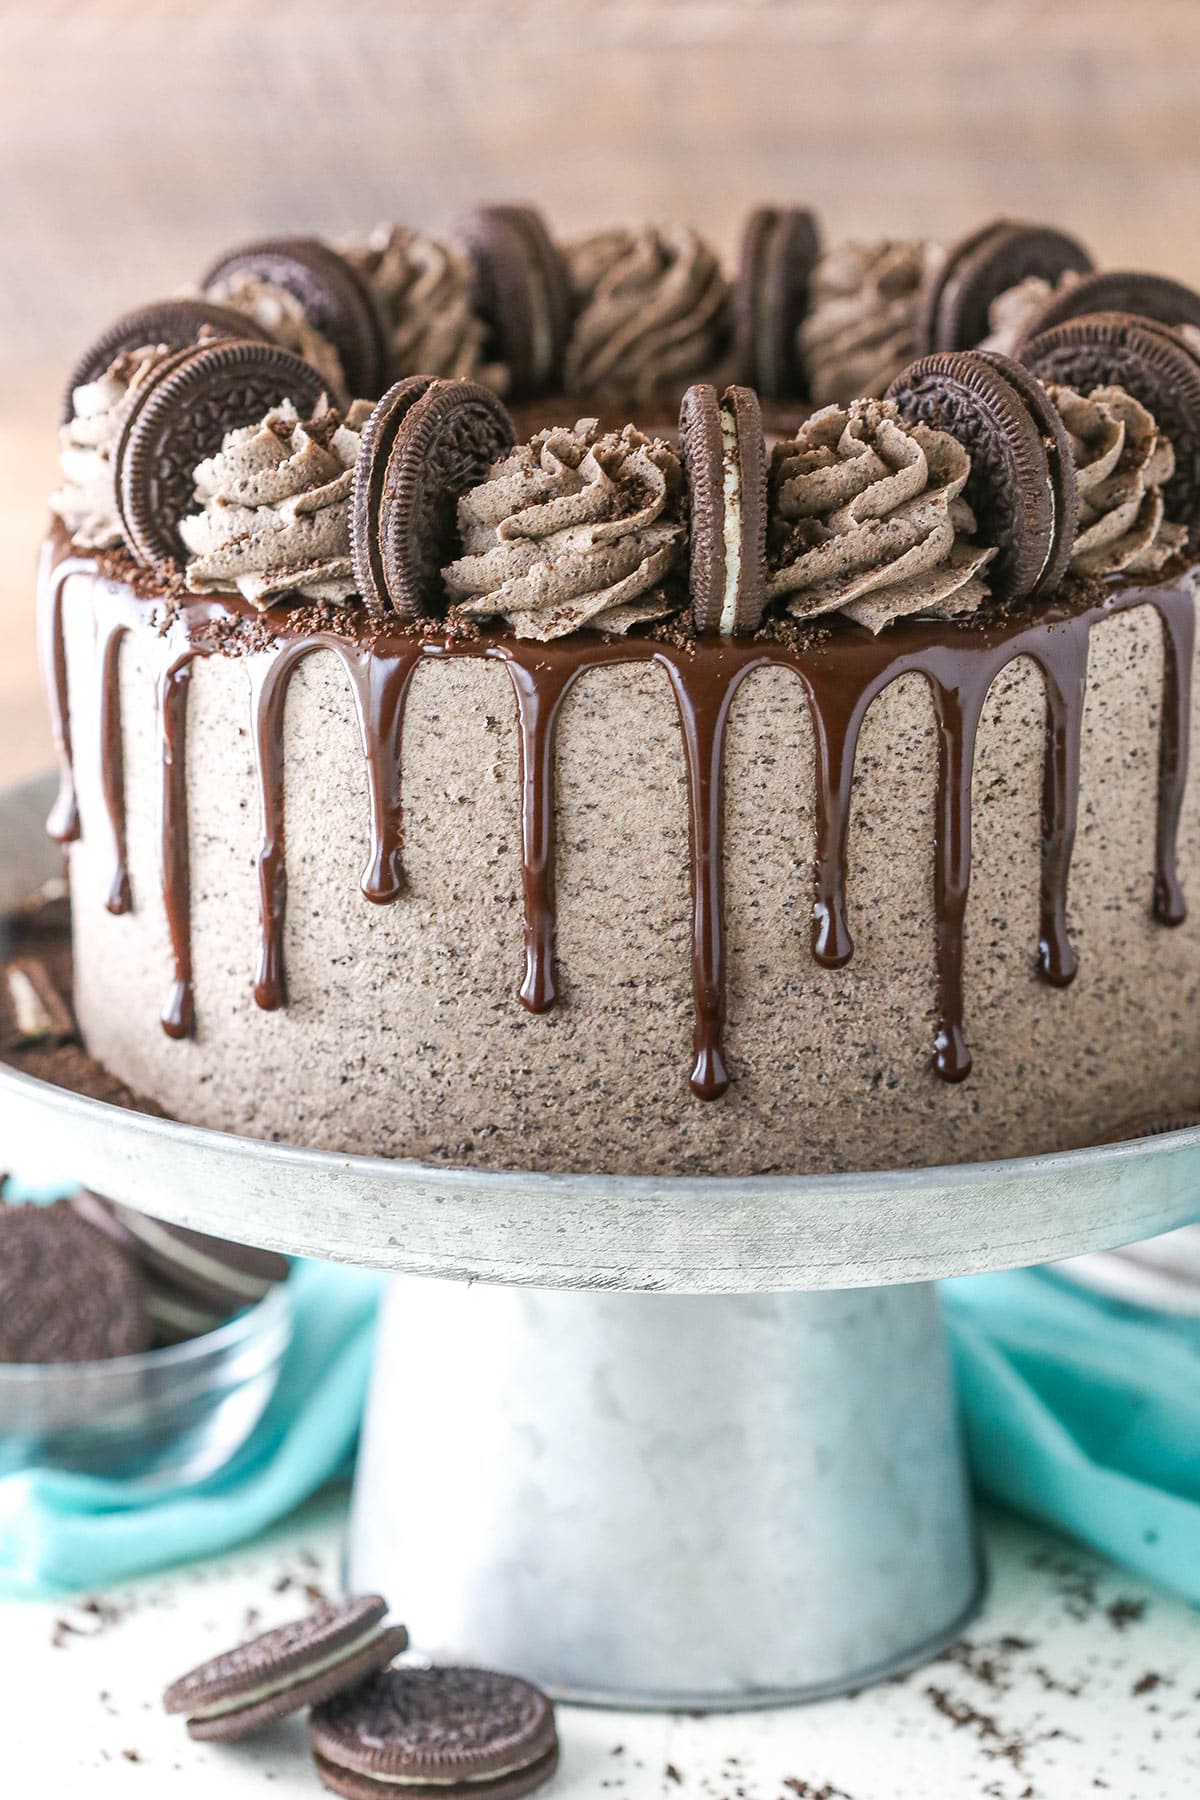
- Finish the cake. Drizzle the chocolate ganache around the edge of the cake and spread the remainder over the top. Allow the ganache to firm up before piping the remainder of the frosting around the top edge of the cake. Add Oreos between swirls.
Can This Chocolate Layer Cake Be Prepared in Advance?
Yes! You can prepare all of the elements for this cake (aside from the ganache) in advance. Bake the cakes, allow them to cool, and store them in an air-tight container or cake carrier (or wrap them in clear wrap) until you are ready to assemble the cake. You can also make the buttercream a day or two in advance so long as you store it in an airtight container in the refrigerator.
When you are ready to enjoy this delicious dessert, bring your buttercream to room temperature (it’ll be very hard straight out of the fridge). Then all you have to do is stack, fill, frost, and decorate the cake.
Tips for Success
Layer cakes can feel intimidating, I get it. Rest assured, though. This chocolate Oreo cake will turn out perfectly if you follow a few simple tips and tricks.
- Measure carefully. Especially the flour. If you don’t have a food scale, I recommend spooning the flour into the measuring cup and leveling it.
- Room temperature ingredients. The eggs in the cake batter as well as the butter in the buttercream should be at room temperature before beginning. The eggs will incorporate into the batter more easily, preventing you from over-mixing. Starting with room-temperature butter will set you up for a smooth, creamy buttercream as opposed to a lumpy one.
- Don’t over-mix the batter. Over-mixing the batter will cause the glutens in the flour to overdevelop giving you a tough, overly dense cake.
- Frost with ease. Check out my tutorial for how to frost a smooth cake while the cake is cooling.
- Study up on how to make the perfect chocolate ganache.
Serving Suggestions
This chocolate layer cake is magnificent on its own but that doesn’t mean you can’t doll it up with a topping or two or wash it down with a delicious beverage. Here are some of my favorite ways to serve it.
- Ice cream. Serve this Oreo cake with a scoop of vanilla ice cream. Feeling adventurous? Whip up a batch of my Oatmeal Chocolate Chip Cookie Ice Cream or this Birthday Cake Ice Cream.
- Whipped cream. Pick up a tub of Cool Whip or hop in the kitchen and make Homemade Whipped Cream Recipe. You could even try my Baileys Chocolate Whipped Cream. Yum.
- Sauce. Drizzle this Easy Caramel Sauce or my Easy Homemade Hot Fudge Sauce over a slice of this chocolate cake with oreo buttercream.
How to Store Leftovers
If you find yourself with leftovers, store this cake in an airtight cake carrier in the refrigerator for up to 4 days. No cake carrier? No problem. Wrap the cake in a double layer of saran wrap and store it in the refrigerator. Use toothpicks to prop the plastic away from the cake decorations. Already sliced it? Arrange the slices in a single layer in an airtight container and store them in the refrigerator.
If you want to freeze the cake, do so before assembling it. Wrap the cooled cake layers in clear wrap and aluminum foil and store them in the freezer for up to 3 months. When you are ready to enjoy, allow the layers to thaw in the refrigerator before stacking, frosting, and decorating.
More Oreo Cake Recipes:
I love Oreos. And I love cake. So naturally, I have done my best to dream up as many cakes featuring Oreos as my imagination will allow. Here are some of my favorites.
- No-Bake Funfetti Oreo Birthday Cake Cheesecake
- Oreo Cookies and Cream Cheesecake Cake
- Ultimate Oreo Cheesecake
- Oreo Cookies and Cream Ice Cream Cake
- No Bake Oreo Cheesecake
- Oreo Brookie Ice Cream Cake
- Oreo Brookie Layer Cake
- Oreo Brookie Cheesecake
- Cookies and Cream Layer Cake
Watch How To Make Oreo Cake
Print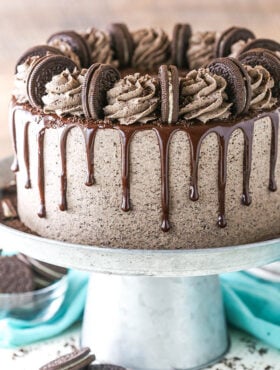
Chocolate Oreo Cake
- Prep Time: 30 minutes
- Cook Time: 28 minutes
- Total Time: 58 minutes
- Yield: 14-16 Slices
- Category: Cake
- Method: Oven
- Cuisine: American
Description
This Chocolate Oreo Cake is to die for! A moist chocolate cake full of Oreo icing! And not just any Oreo icing – it is FULL of crushed up Oreos. An Oreo lover’s dream.
Ingredients
Chocolate Cake
- 2 cups (260g) all-purpose flour (measured properly)
- 2 cups (414g) sugar
- 3/4 cup (85g) natural unsweetened cocoa powder
- 2 tsp baking soda
- 1 tsp salt
- 2 large eggs
- 1 cup (240ml) milk
- 1 cup (240ml) vegetable oil
- 1 1/2 tsp vanilla extract
- 1 cup (240ml) boiling water
Oreo Buttercream and Chopped Oreo Filling
- 3 cups (672g) unsalted butter, room temperature
- 8–9 cups (920g-1035g) powdered sugar
- 3 cups (414g) Oreo crumbs (about 33 Oreos)
- 1 tsp vanilla extract
- 6–7 tbsp (90ml-105ml) heavy cream
- pinch of salt
- 12 Oreos, chopped
Chocolate Ganache
- 6 oz (1 cup | 169g) semi-sweet chocolate chips
- 1/2 cup (120ml) heavy whipping cream
- Oreos, optional
NOTE: You’ll need at least one full package of Oreos. If you plan to decorate the outside of the cake with more Oreos, as shown, you might need a second package.
Instructions
- Make the cakes. Prepare three 8 inch cake pans with parchment paper circles in the bottom, and grease the sides.
- Add all dry ingredients to a large bowl and whisk together.
- Add eggs, milk and vegetable oil to the dry ingredients and mix well.
- Add vanilla to boiling water and add to mixture. Mix well.
- Divide batter between three cakes pans and bake at 300 degrees for about 30-33 minutes, or until a toothpick comes out with a few crumbs.
- Remove cakes from oven and allow to cool for about 10 minutes, then remove to cooling racks to cool completely.
- Make icing while cakes cool. Beat together butter until smooth.
- Slowly add 4 cups of powdered sugar and mix until smooth.
- Add vanilla, Oreo crumbs and salt and mix until smooth.
- Add another 4-5 cups of powdered sugar and mix until smooth. Add heavy cream, as needed, until you get a smooth consistency.
- To make the filling for inside the cake, measure out about 3 1/2 cups of Oreo buttercream and add chopped Oreos. Set chopped Oreo filling aside. Set remaining Oreo buttercream aside as well.
- Assemble the cake. Once cakes are cool, remove cake domes from top with a large serrated knife.
- Place first layer of cake on cake plate. Spread 1/2 of the chopped Oreo filling on top in an even layer.
- Add second layer of cake and add the rest of the chopped Oreo filling on top in an even layer.
- Add final layer of cake on top and frost the outside of the cake with the Oreo buttercream frosting. Feel free to use my tutorial for how to frost a smooth cake.
- To make the chocolate ganache, add the chocolate chips to a medium sized bowl (see my tips on making chocolate ganache).
- Heat the heavy whipping cream just until it begins to boil, then pour it over the chocolate chips. Allow it to sit for 2-3 minutes, then whisk until smooth.
- Drizzle the chocolate ganache around the edge of the cake, then pour the remainder of the ganache on top of the cake and spread evenly. I like to use a squeeze bottle for drizzling around the edges.
- Allow the ganache to firm up a bit, then pipe the remainder of the frosting around the top edge of the cake (see my tips on making a chocolate drip cake) and add an Oreo between each swirl. I used Ateco tip 844.
- Sprinkle a few Oreo crumbs onto to the cake, if desired, then serve. Cake is best when well covered for 3-4 days.
Notes
Feel free to reduce the overall amount of buttercream if you plan on decorating your cake differently. I use a fair amount based on my method of how to decorate a smooth cake (linked in the recipe instructions above).
Nutrition
- Serving Size: 1 Slice
- Calories: 995
- Sugar: 93.8 g
- Sodium: 398 mg
- Fat: 60.6 g
- Carbohydrates: 114.7 g
- Protein: 5.7 g
- Cholesterol: 79.1 mg
Enjoy!





im making this cake right now, i think i followed it exactly but the batter after adding all the liguid items it seems very soupy? is it suppoused to be like that
Yes, it’s very thin.
I love this recipe. The best chocolate cake hands down. Can this recipe be used for cupcakes also? I’ve experienced some recipes don’t bake well for cupcakes for some reason.
Yes, it can be. Glad you enjoyed it!
Fab cake, delicious and very impressive to look at .
However, probably could cut the amount of icing and ganache ingredients by at least 1/3. So much left over, even after putting a cm between layers, and icing the outside and piping on top
I’m wanting to make a three-layer 6-in cake for my niece’s wedding. Do you think this would hold up with the layering and any guess on how to reduce the recipe or should I just make the full recipe and only fill the cake pans 2/3 full and just do it that way?
It looks yummy
It depends on how tall you want the cake to be. You could cut it in half and get a cake that’s about 3 inches tall or you can try two thirds of the recipe and it should be closer to 4 inches tall.
Making this for my sons birthday. Loved the recipe, easy to follow. It tastes great too. But when I flipped them over to release the layers they broke. Not sure if I did something wrong. But has this happened to anyone? I am going to try again tomorrow as I want the perfect layers for the cake. Any tips!??
Like, when you flipped them out of the pan? They are very tender. Maybe let them cool a few extra minutes in the pan before flipping them. You could also try using cake strips. Typically they split because of the dome on top and the cake strips can help prevent a dome. Final suggestion would be to flip it quick back upright after flipping it out of the pan so that it’s not resting on the dome.
I want to make a 9×13 layer cake. How should I modify recipe?
I make the cake as a 9 x 13 in this recipe, so you can check that out. https://www.lifeloveandsugar.com/baileys-chocolate-cake/ And you could probably cut the frosting in half or so.
When you crushed the Oreos for the icing did you use a food processor? Do they need to be super fine?
Yes, I used the food processor. I would recommend grinding them very well.
Just pulled the cake layers out of the over. They are beautiful and the house smells like heaven!
Is this dense enough for stacking? Thank you for sharing!
Like for a tiered cake? I guess that depends on what you’re looking for in your cake layers. This is not a dense cake. But if your tiers are well doweled, I wouldn’t think it should have to be dense.
Hi, if I wanted to make this into a 4 layered 10” cake would I 3x the recipe and how long would it back for under 300?
I don’t really make 10 inch cakes, so it’s hard for me to say for sure. I’m guessing tripling the cake would probably be good.
Hey! Is the temperature set for baking in the oven in degrees Celsius or Fahrenheit? 🙂
Fahrenheit
I have made this recipe in the past and we absolutely loved it. But I can’t remember if it’s better kept in the fridge or if it’s okay to have sit out in an air tight container! I know you mentioned it’s best covered up to 3-4 days. Just wanted to be sure if it’s best to keep in fridge! Thanks! I have your books!
Do you have to use buttermilk? Or would whole milk work just as good?
Whole milk wouldn’t work for this recipe, because you’re using baking soda as a leavening agent it needs something acidic to react with, such as buttermilk. If you don’t have that acidic component, the cake won’t be as fluffy and won’t rise as well. If you can’t find it at the shops, it’s easy to make your own: mix 2 tsp of vinegar with 1 cup of milk, then set aside for 30 minutes before using in the recipe. Hope this helps!
Actually cocoa is an acidic ingredient, so there’s plenty of acid in this cake even if the milk used isn’t acidic.
Hi, it’s not easy to get a powdered sugar in my place, so any recom for sub?
I don’t know of an alternate option.
You can put white sugar into a blender to make powder sugar.
What flour you use for this recipe
I use all purpose.
Can i use cake flour with this recipe
Yes, you can.