This post may contain affiliate sales links. Please read my disclosure policy.
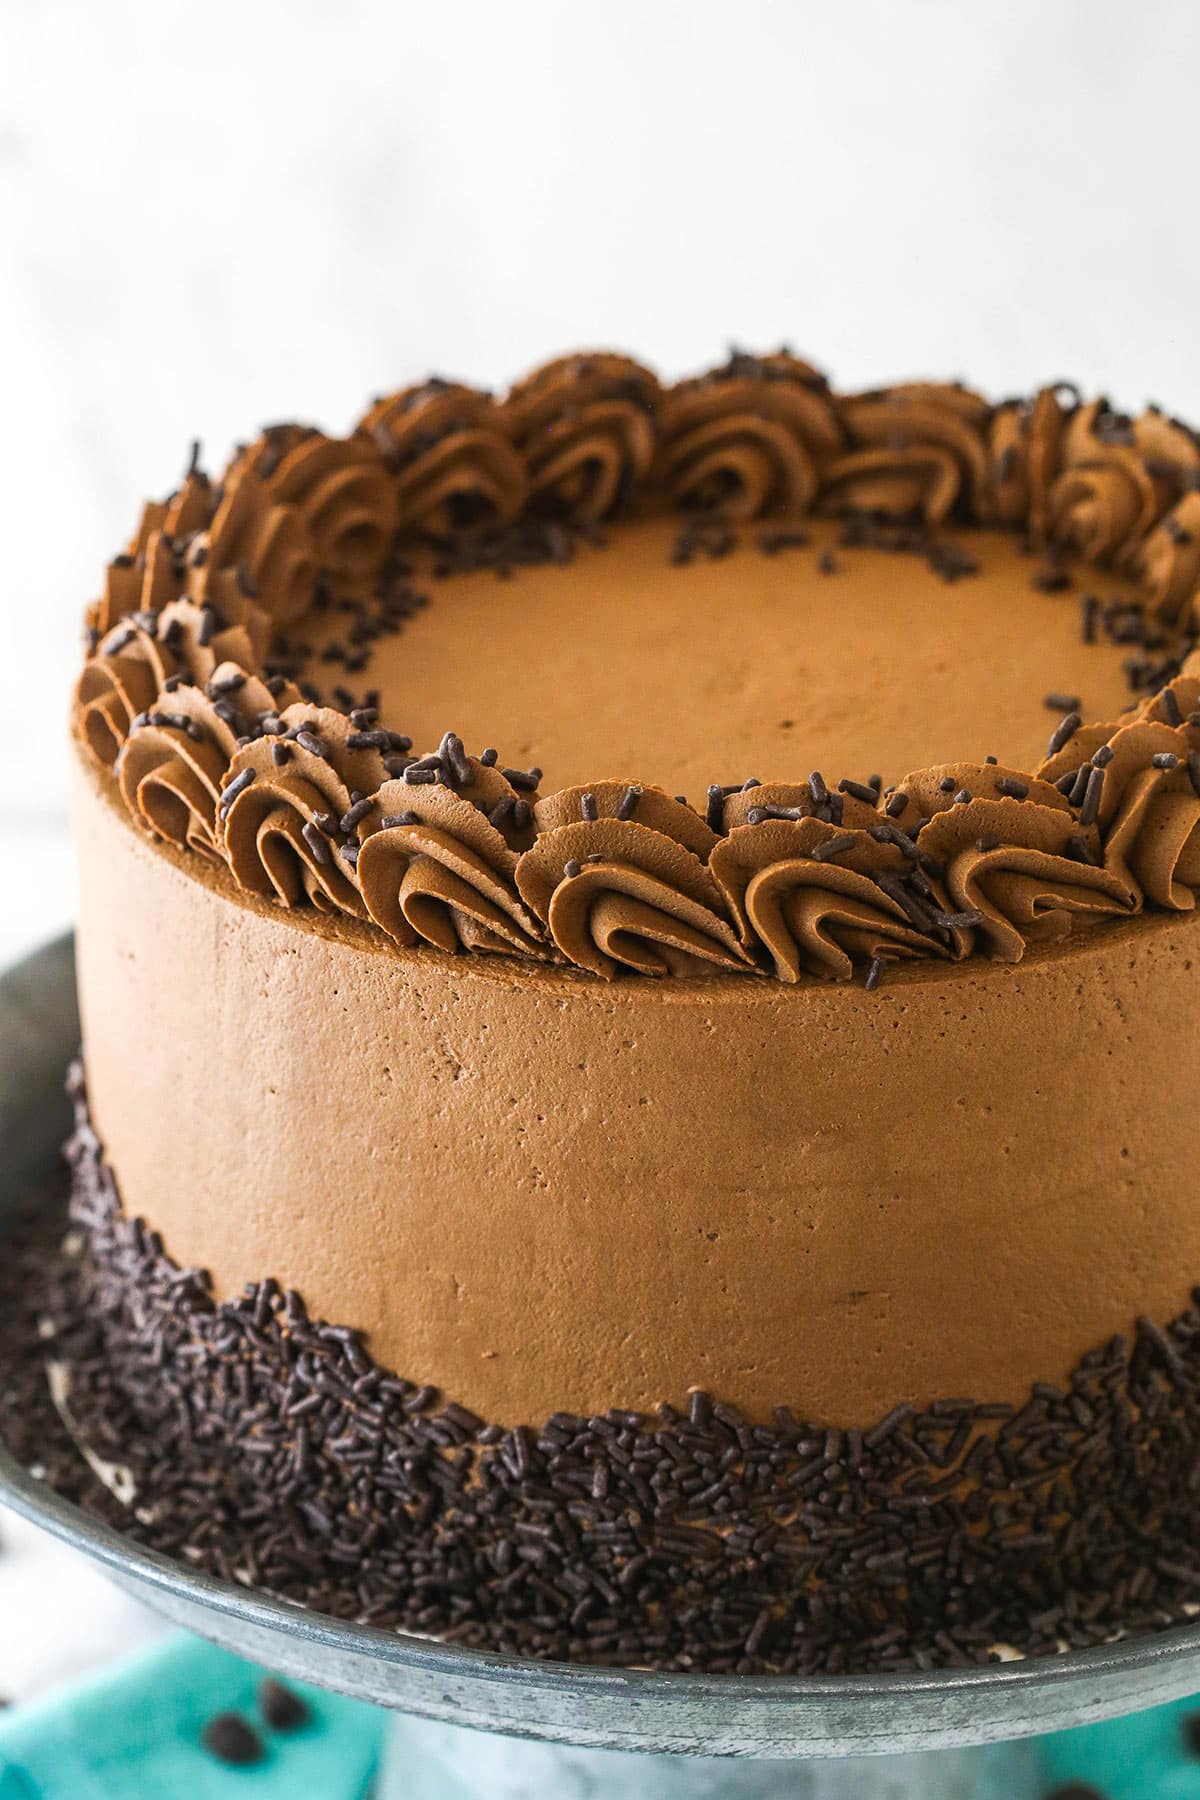
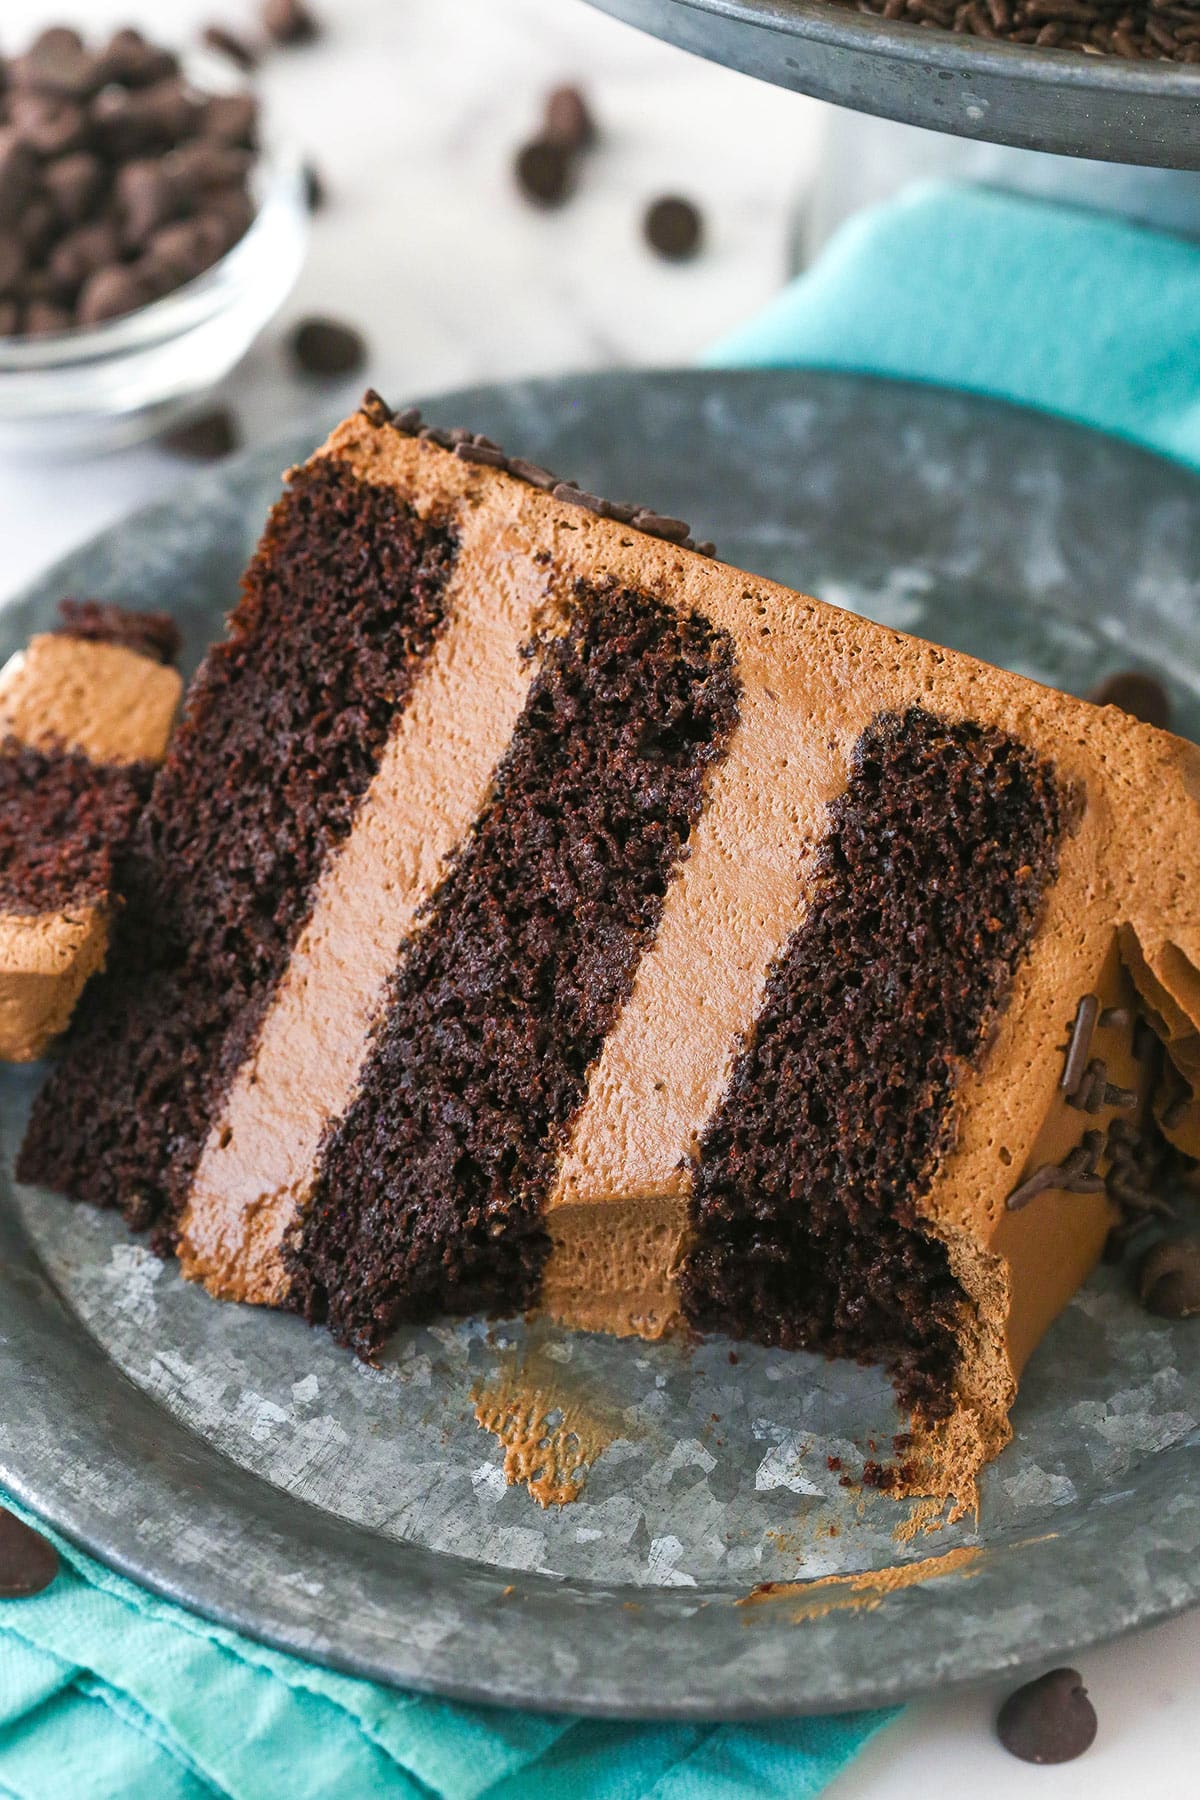
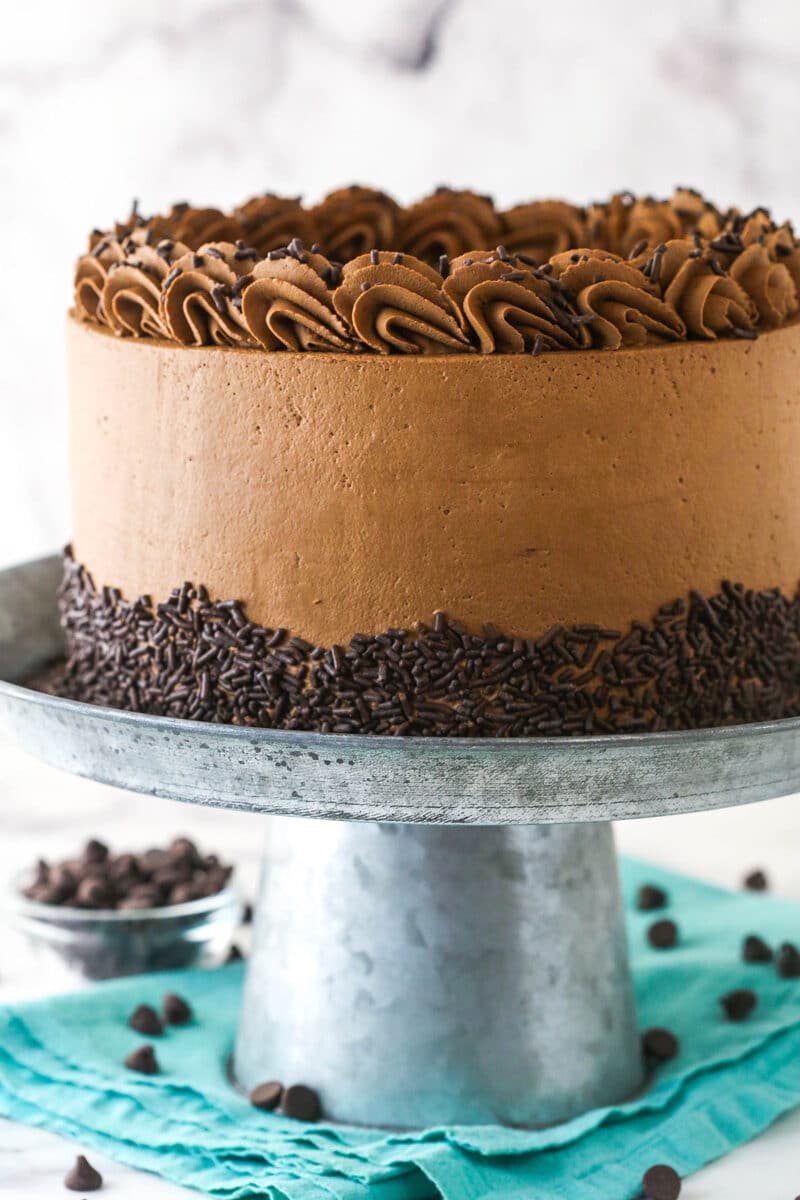
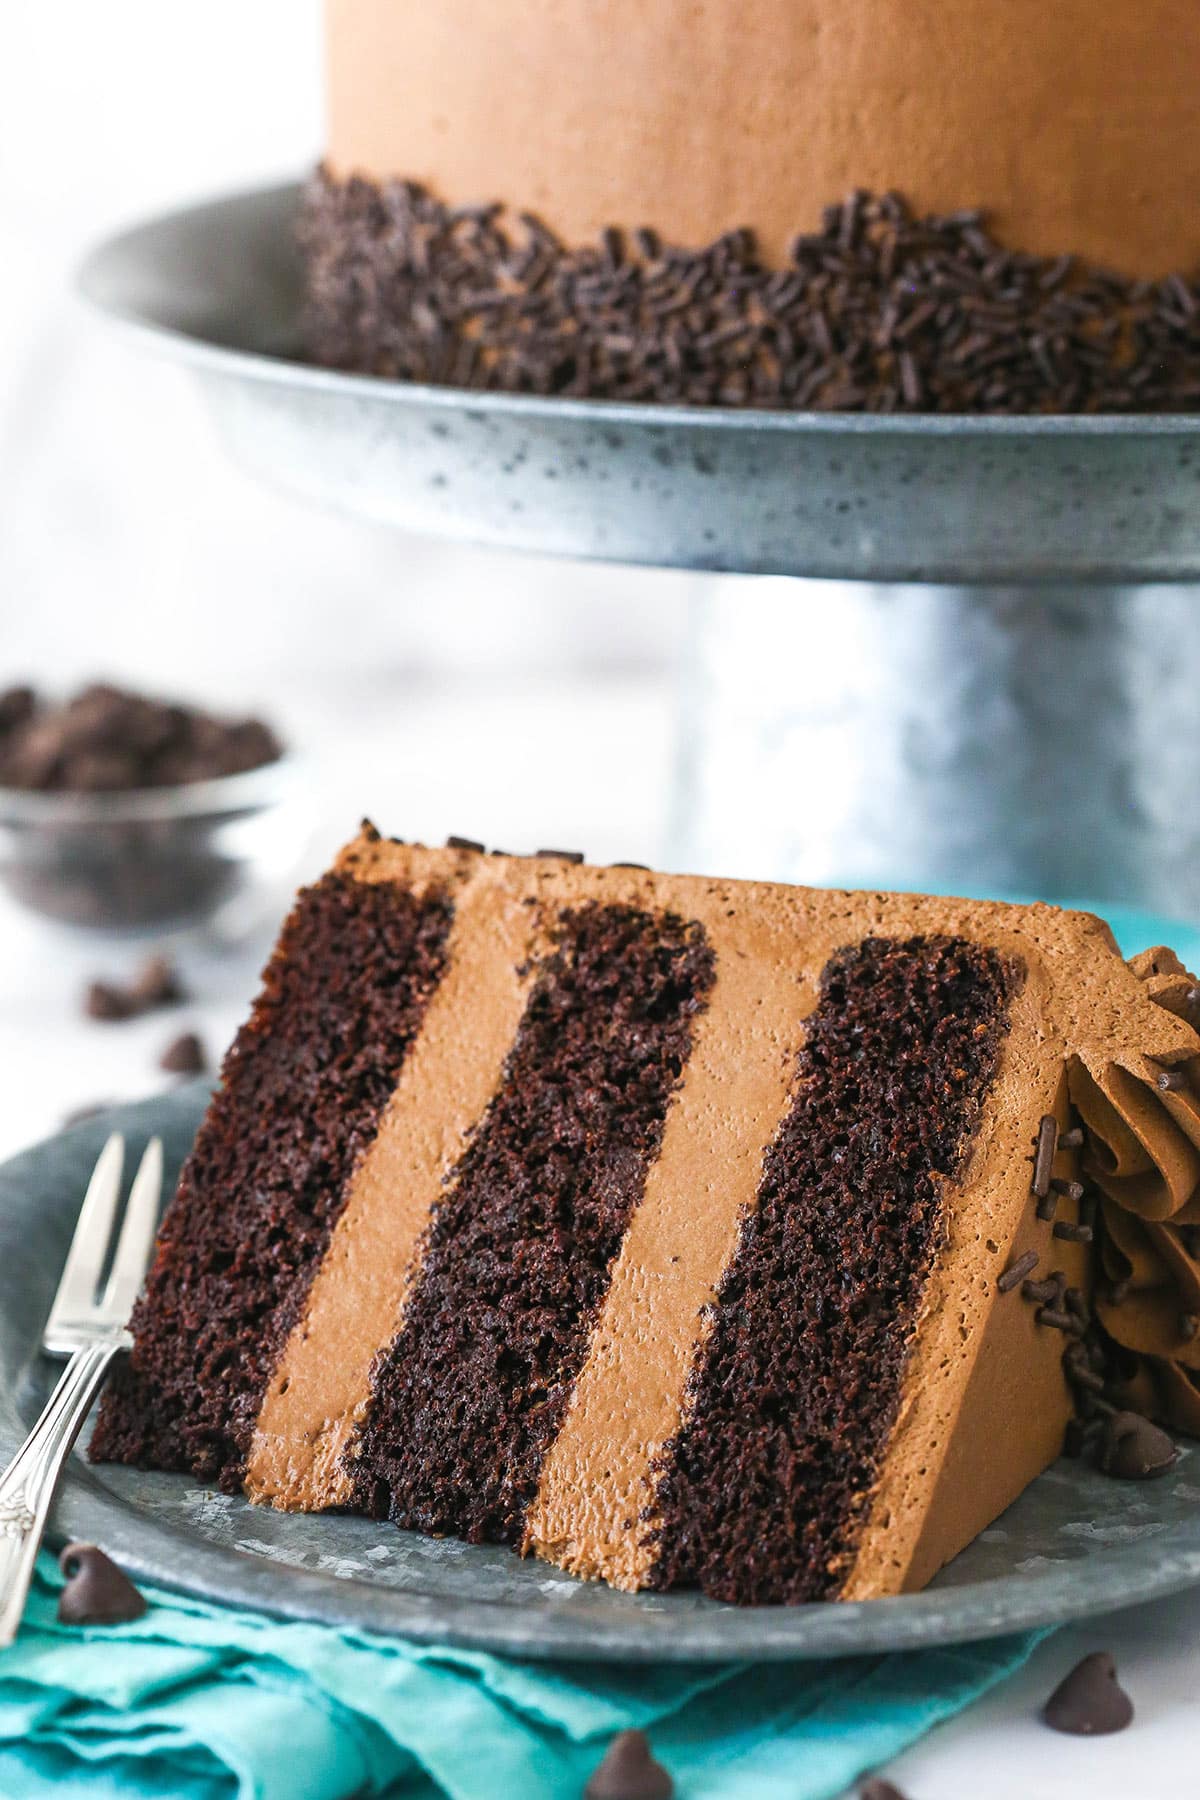
This Chocolate Mousse Cake is a classic. It’s made up of three layers of moist chocolate cake divided by two layers of smooth and creamy chocolate mousse. The whole thing is covered in a light chocolate whipped cream frosting. Decadently delicious!
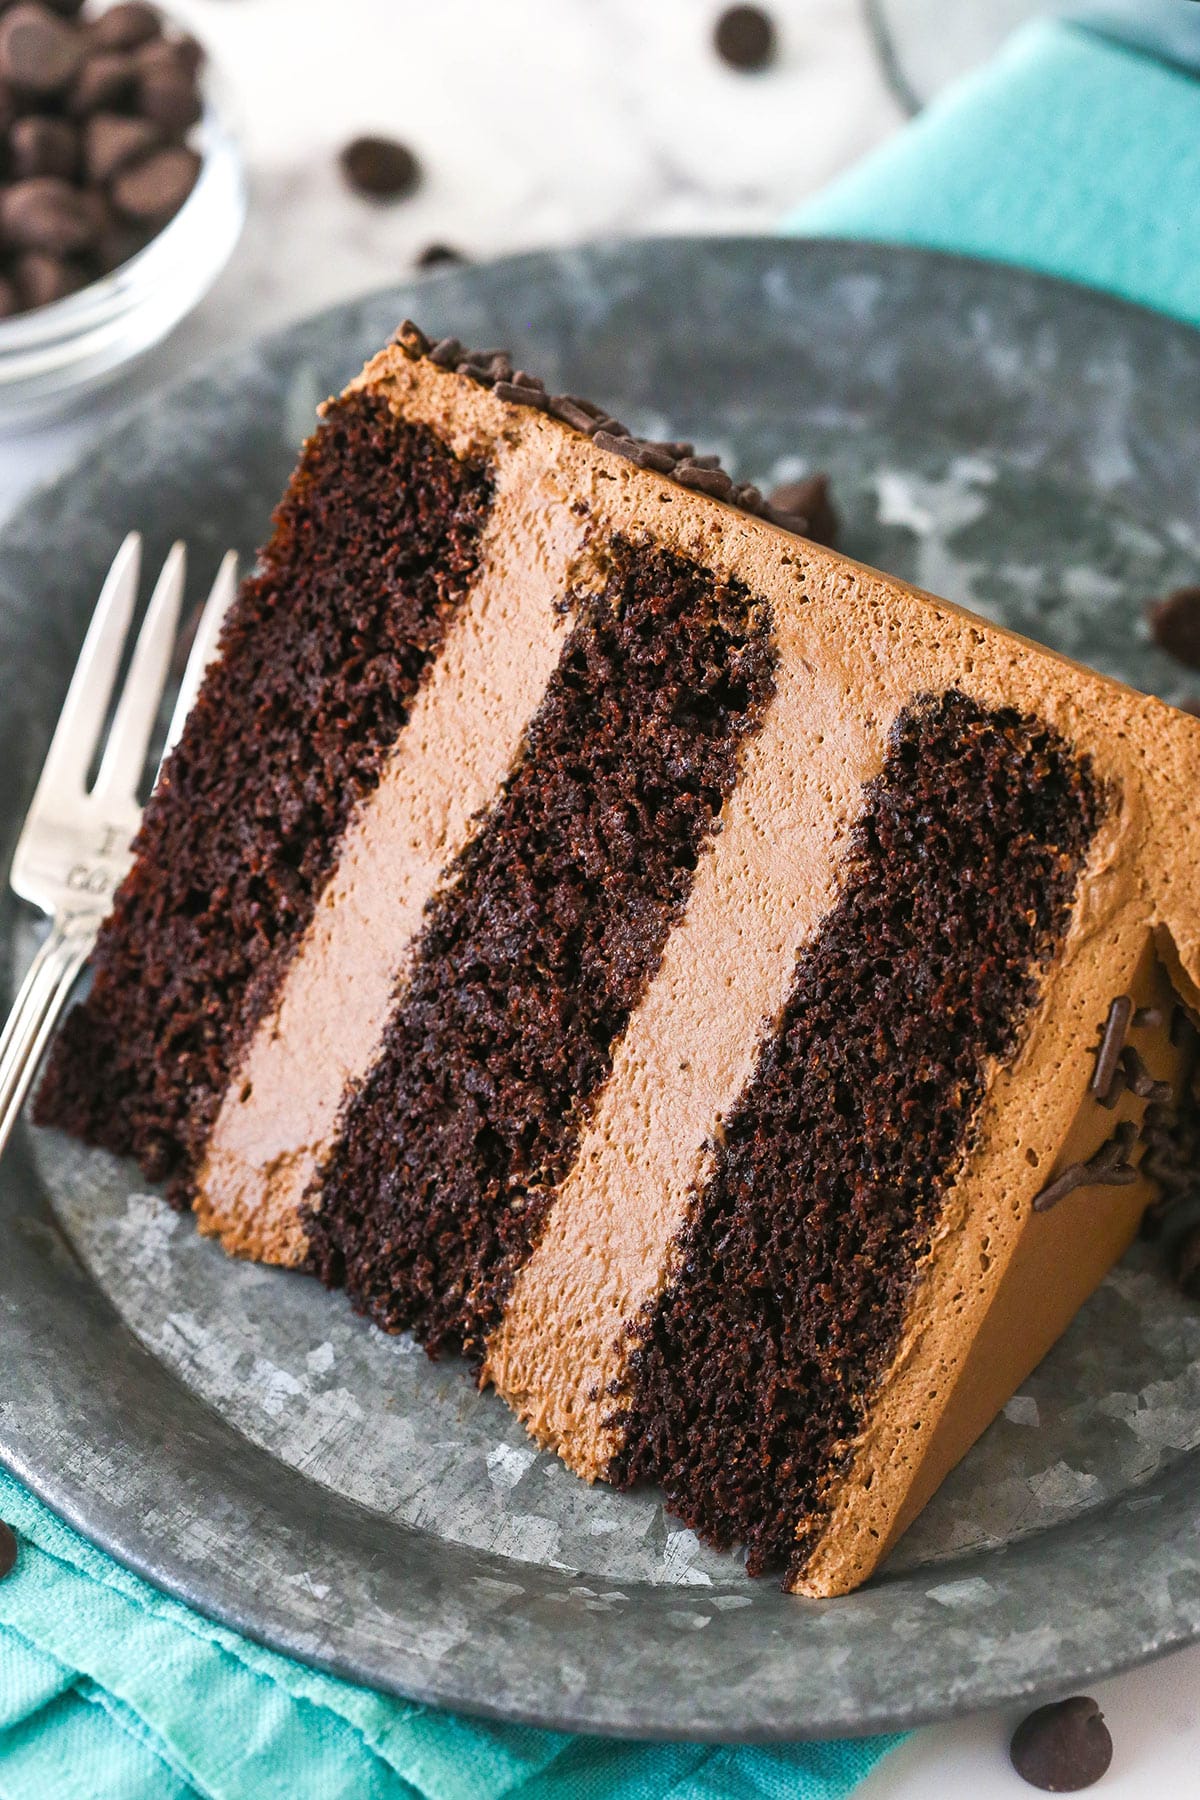
Table of Contents
Rich & Decadent Chocolate Mousse Cake
There’s nothing quite like a rich, silky chocolate mousse. When combined with a moist, tender chocolate cake, you have the most wonderful cake – perfect for celebrations or satisfying a chocolate craving. This chocolate mousse cake is that chocolate cake. If you’ve ever made my Raspberry Chocolate Cake or my Peanut Butter Chocolate Cake, you’ve already made the cake itself before. It’s always a hit and super easy to make. It’s very similar to my favorite Chocolate Cake, but a touch more sturdy, which works well for the layering in this cake.
The three layers of chocolate cake are layered with a traditional, decadent, smooth chocolate mousse. There are no shortcuts here. We are using real-deal chocolate mousse. The whole thing is covered with chocolate-infused whipped cream frosting and garnished with chocolate sprinkles. Each aspect of this cake is loaded with chocolate flavor and is sure to wow the chocolate lovers in your life.
Why You’ll Love This Easy Mousse Cake
In case the words “chocolate mousse cake” didn’t already have you running to the kitchen without further thought, here’s a list of some of my favorite things about this cake. You have to try it.
- No fancy mixing method. The batter is so easy to whip up. You’ll be shocked at how quickly you will be popping the cakes in the oven.
- Rich and decadent. If you’re a chocolate lover like me, this cake will knock your socks off. It is brimming with rich chocolate flavor. Get that cold glass of milk ready.
- Moist. The cake layers themselves are perfectly moist, making this dessert a dream to sink your teeth into.
- Real chocolate mousse. Some chocolate mousse cakes will take shortcuts when it comes to the mousse filling. Not this one. The filling for this cake is a real-deal chocolate mousse. It’s incredibly rich and wonderfully silky smooth. Make a double batch and enjoy it as is!
What You’ll Need
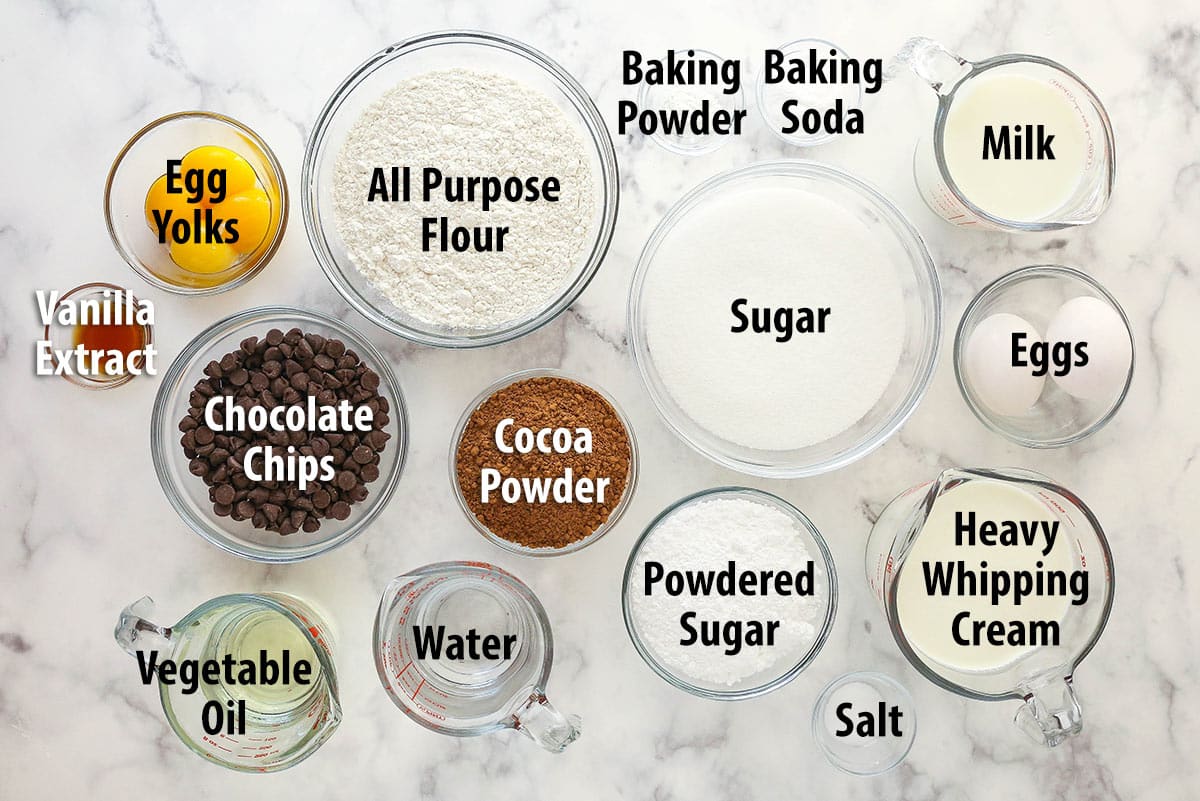
Here’s a list of what you will need to make this sinfully delicious layer cake. Be sure to scroll to the recipe card below for exact measurements.
Chocolate cake
- All-purpose flour – Feel free to use your favorite 1:1 gluten-free flour instead.
- Sugar
- Natural unsweetened cocoa powder
- Baking soda and Baking powder – These two leavenings give you best texture and rise in this cake. It’s super tender, but also sturdy.
- Salt – Salt amplifies the flavors in the cake. Don’t leave it out.
- Milk – I suggest using whole milk or 2%. Dairy-free? Try a full-fat, unsweetened diary alternative such as oat milk or cashew milk.
- Vegetable oil – This cake uses oil instead of butter and is super moist.
- Vanilla extract
- Eggs – Be sure to use large size eggs.
- Hot water – For additional moisture without excess fat to weigh the cake down. The heat helps the cocoa bloom to give the chocolate cake a more intense flavor.
Chocolate mousse
- Egg yolks – These thicken the mousse and add to the rich and creamy texture.
- Sugar
- Heavy whipping cream – Should be cold in order to whip properly.
- Semi-sweet chocolate chips – I recommend semi-sweet chocolate. You could use dark chocolate. Milk chocolate might also be fine, but it doesn’t firm up quite as much, so the mousse may be a little softer.
- Powdered sugar – To help stabilize the whipped cream.
Chocolate whipped cream frosting
- Heavy whipping cream – The heavy whipping cream must be cold. Otherwise, it will not whip up and hold volume properly.
- Powdered sugar – To stabilize the whipped cream so that it never wilts.
- Natural unsweetened cocoa – Dutch-processed cocoa powder will work as well. Just note that the chocolate flavor will be more intense and a bit more bitter. It’ll also be darker in color.
- Vanilla extract
- Chocolate sprinkles
How to Make Chocolate Mousse Cake
Three cake layers, chocolate mousse filling, and chocolate whipped cream frosting. It might sound like a lot but I promise that if you take your time and follow my instructions closely, you will end up with an incredibly delicious, beautiful layer cake. Here’s how to make it. Scroll to the recipe card below for more detailed instructions.
Make the cake
- Prep. Preheat the oven to 350°F, line the bottoms of three 8-inch cake pans with parchment paper, and grease the sides.
- Combine the dry ingredients. Mix together the flour, sugar, cocoa, baking soda, baking powder, and salt.
- Combine the wet ingredients. Mix together the milk, vegetable oil, vanilla extract, and eggs.
- Combine the wet and dry ingredients. Add the wet ingredients to the dry ingredients and beat until well combined.
- Slowly add the hot water and mix to combine.
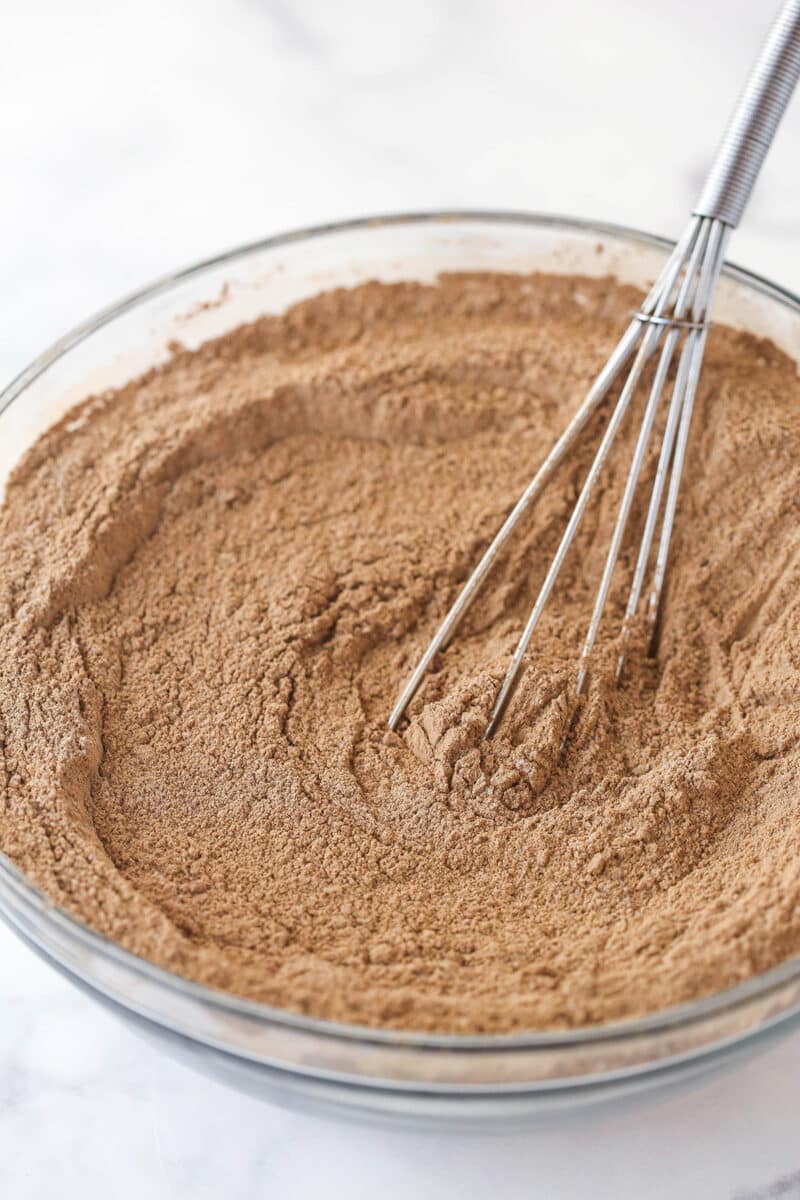
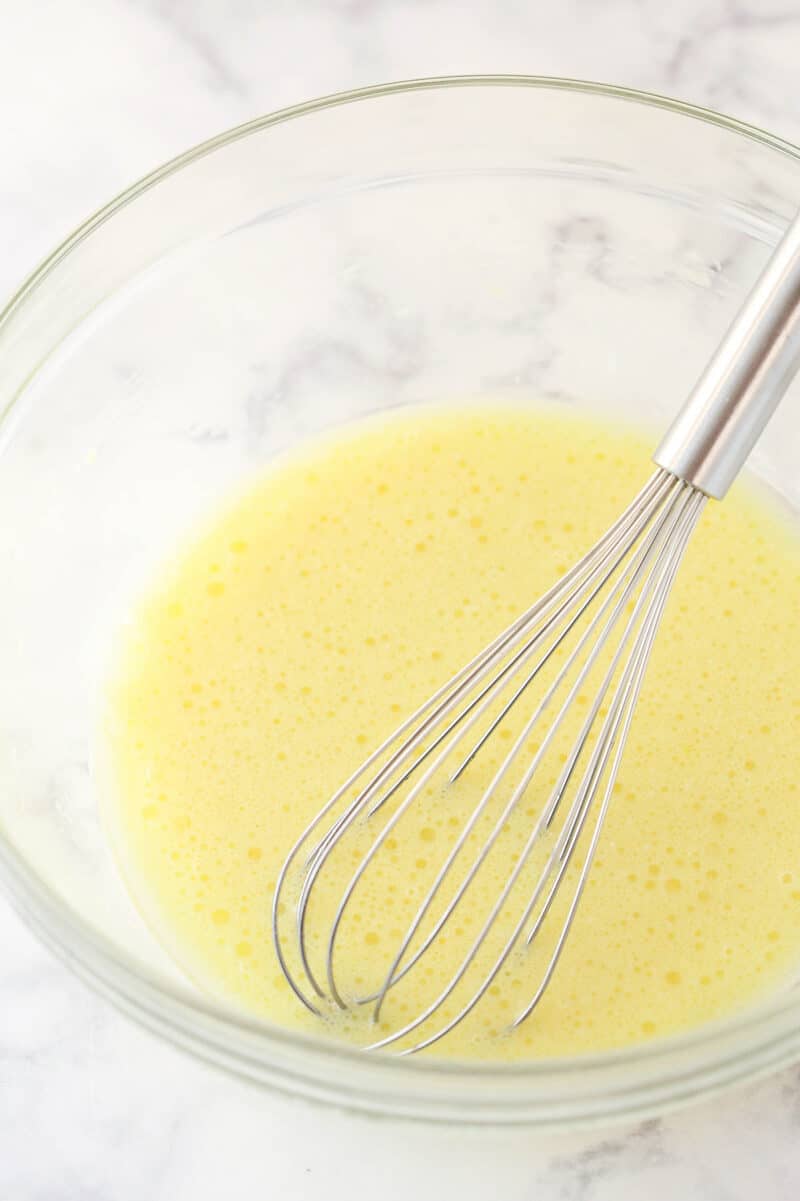
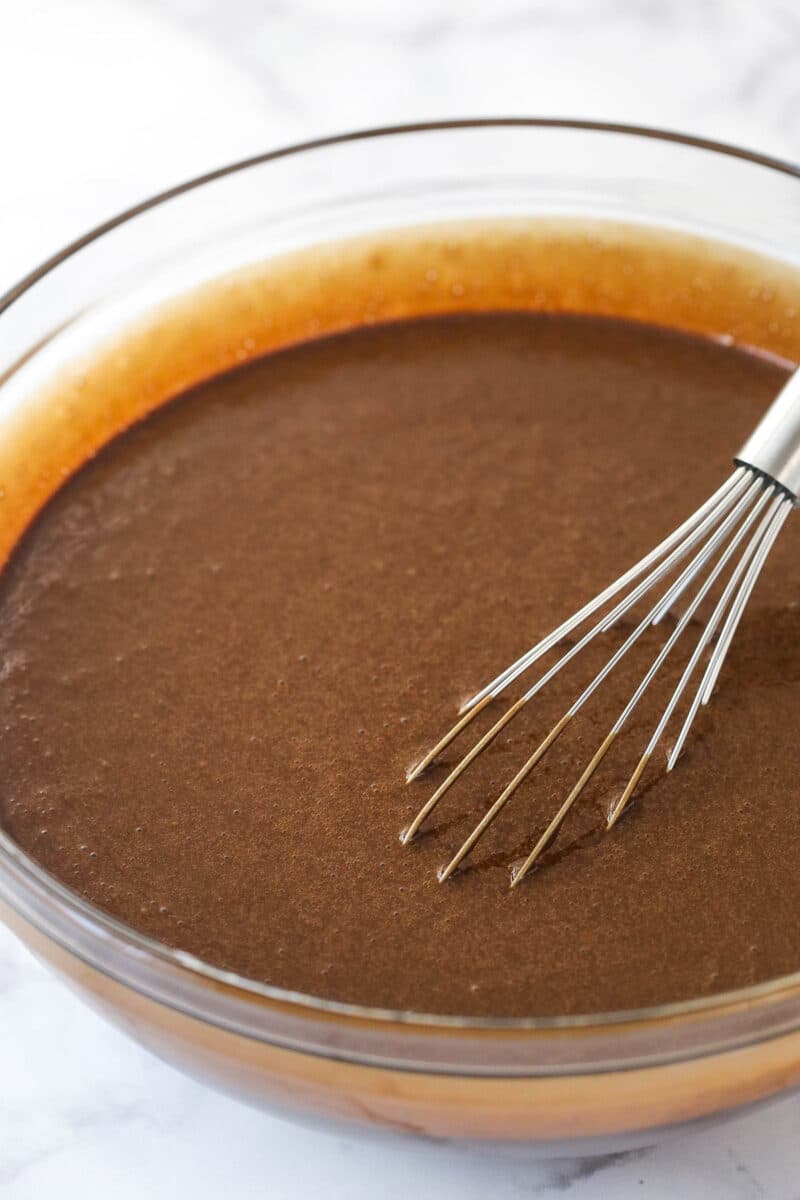
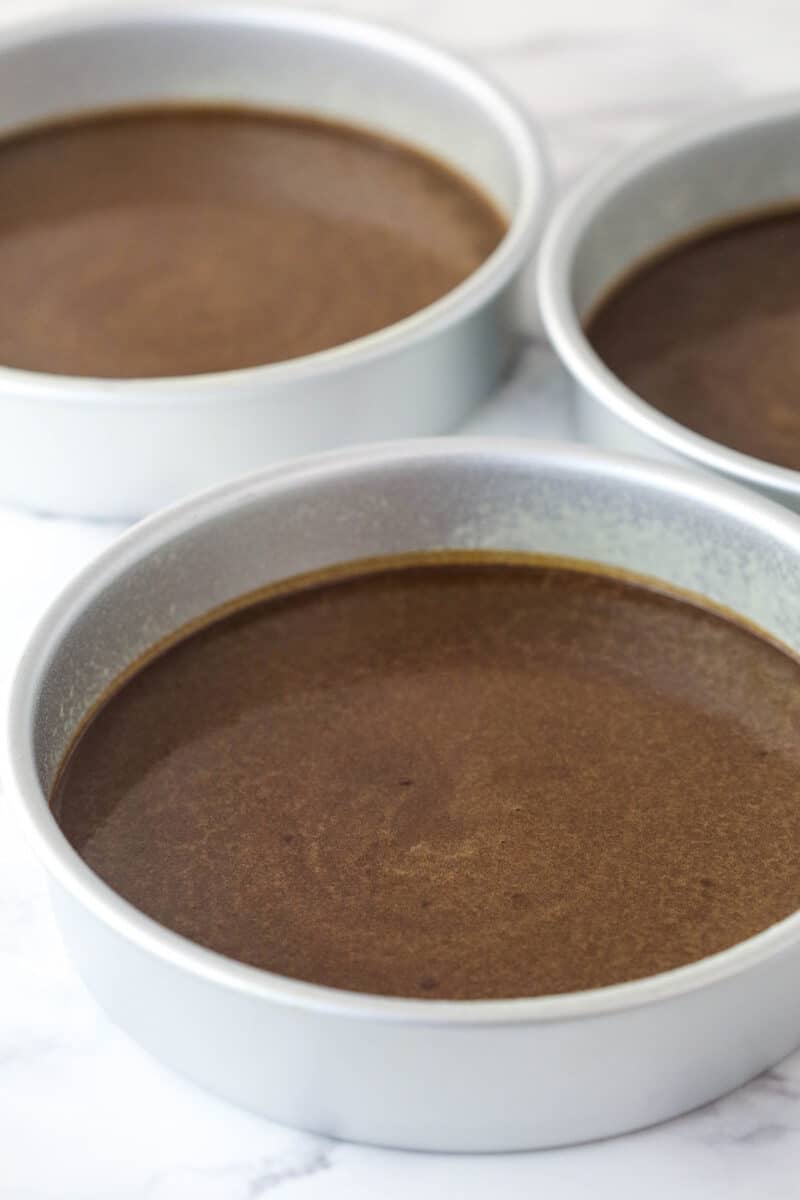
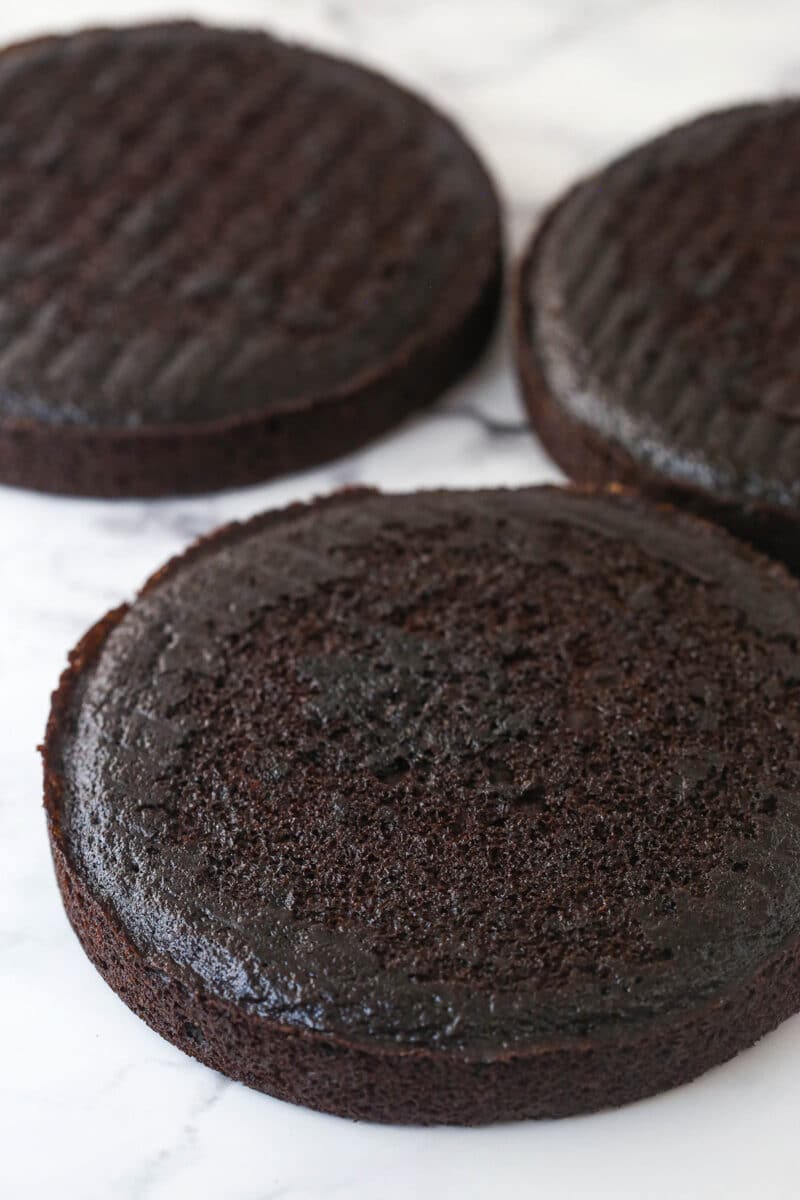
- Bake. Divide the batter between the cake pans. Bake for 22-25 minutes.
- Cool. Allow the cakes to cool in their pans for 2-3 minutes before transferring to a cooling rack to cool completely.
For the chocolate mousse
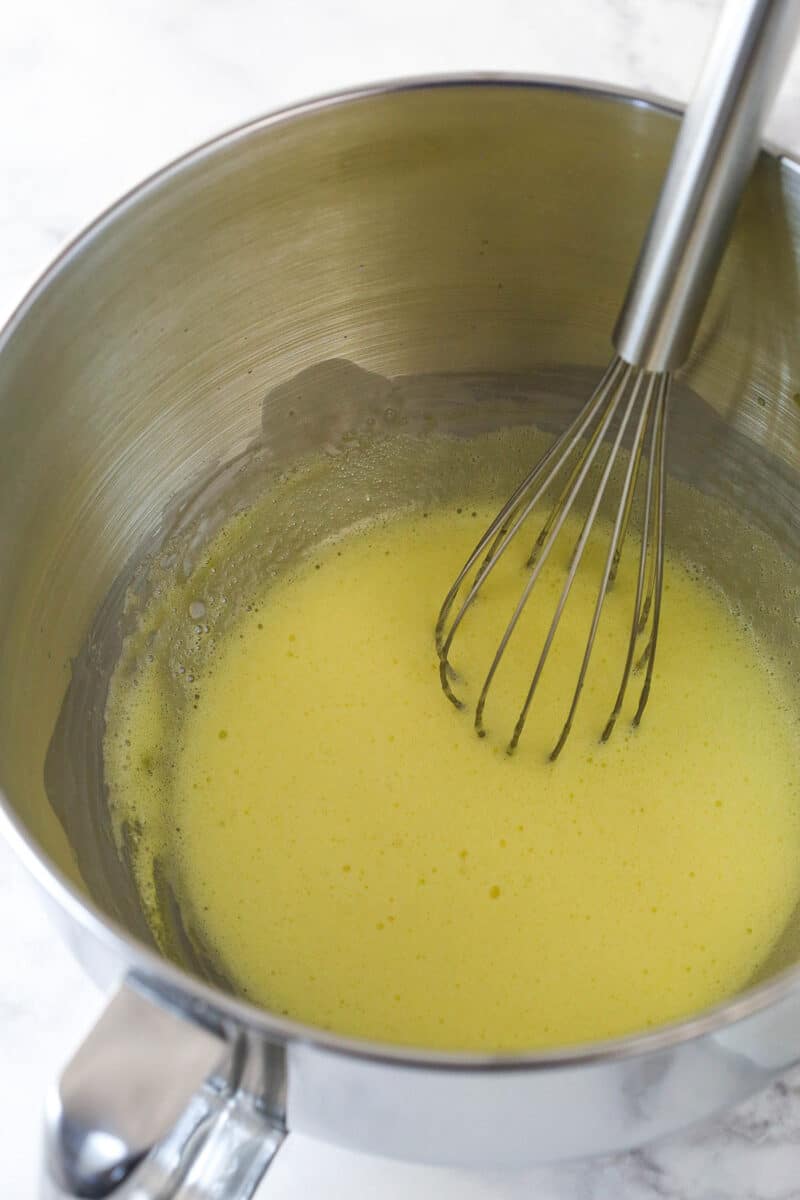
- Heat the egg yolks, sugar, and 1/2 cup of heavy whipping cream in the top of a double boiler over simmering water for 7-10 minutes, whisking constantly. Remove from the heat and set aside.
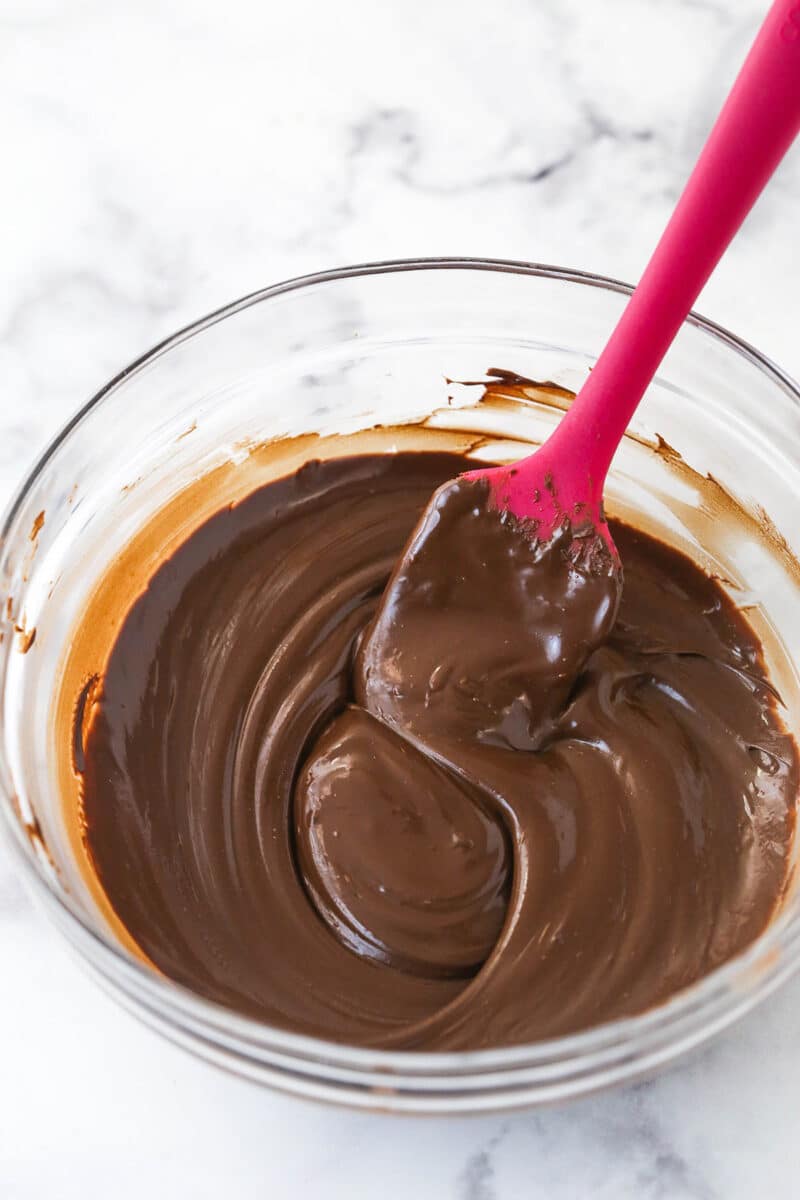
- Melt the chocolate. Microwave the chocolate chips in intervals of 10-15 seconds, stirring well between each, until melted and smooth.
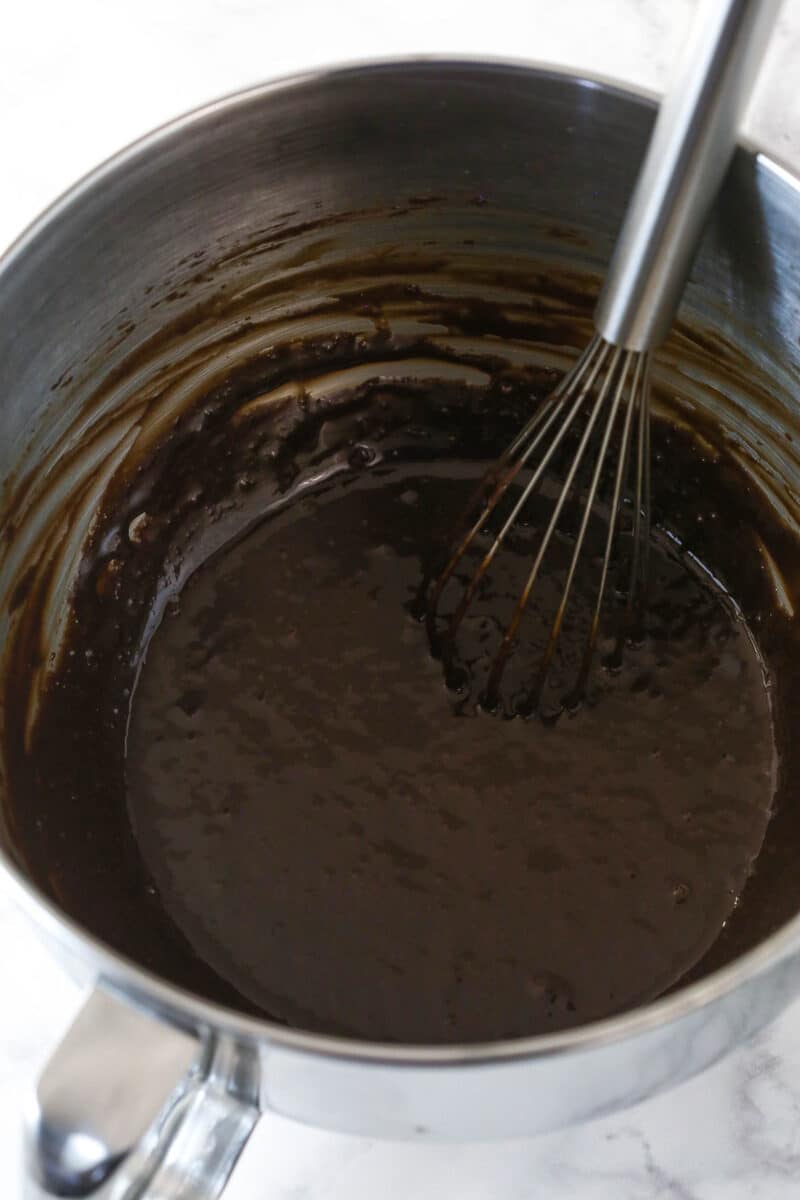
- Whisk the chocolate into the egg yolk mixture. Let it cool to room temperature.
- Whip 1 1/4 cups of heavy whipping cream and powdered sugar until stiff peaks form.
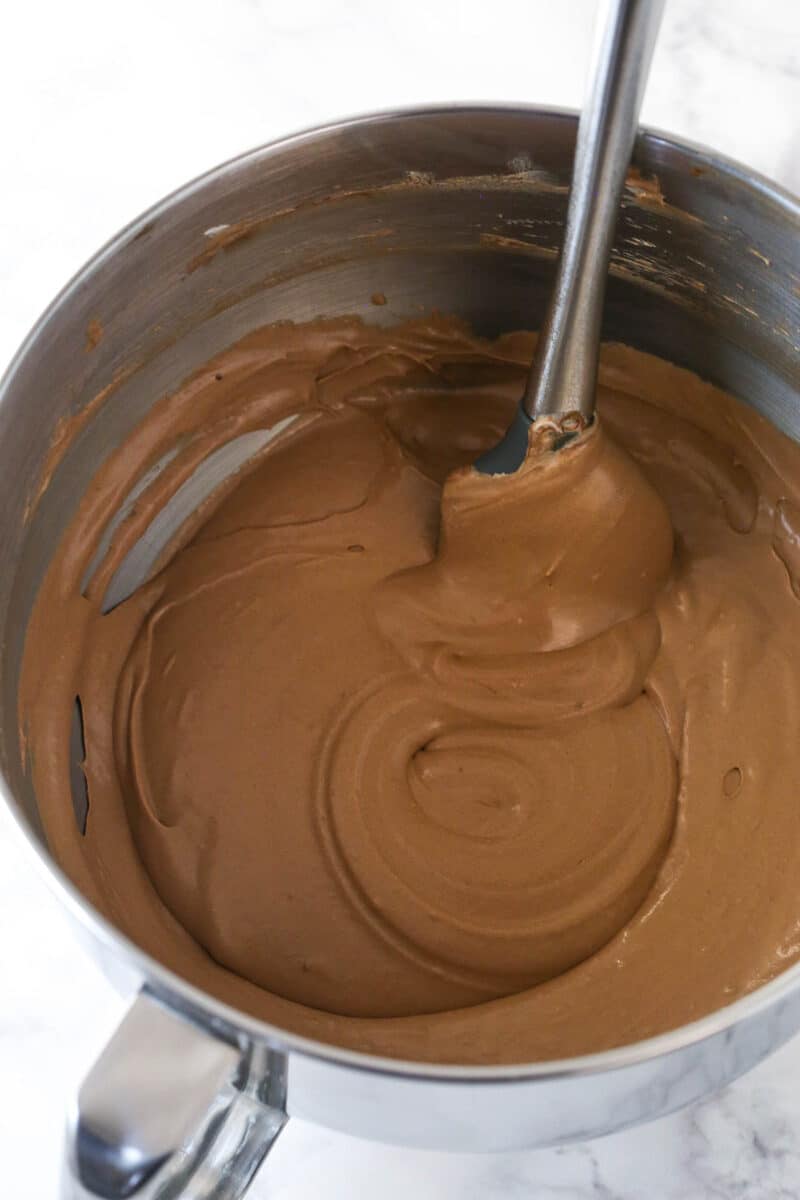
- Put it all together. Fold 1/4 of the whipped cream into the chocolate mixture. Fold 1/4 of the chocolate mixture into the whipped cream. Fold the remaining chocolate mixture into the whipped cream.
Build the cake
- Level the tops of the chocolate cakes with a large serrated knife.
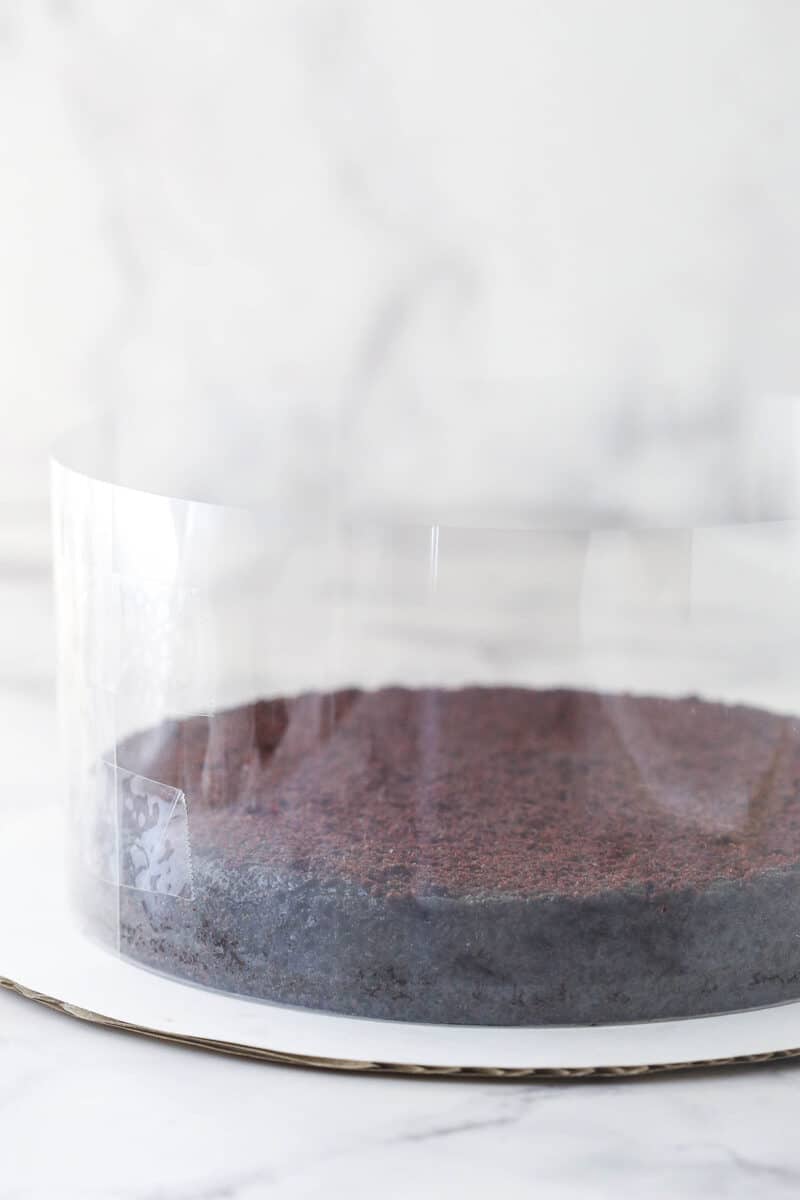
- Prepare the assembly pan. Use a clear cake collar (shown in the images) or an 8×3 inch cake pan (I recommend a springform pan) to build the cake. See the recipe card below for detailed instructions on what to do if you don’t have a springform pan.
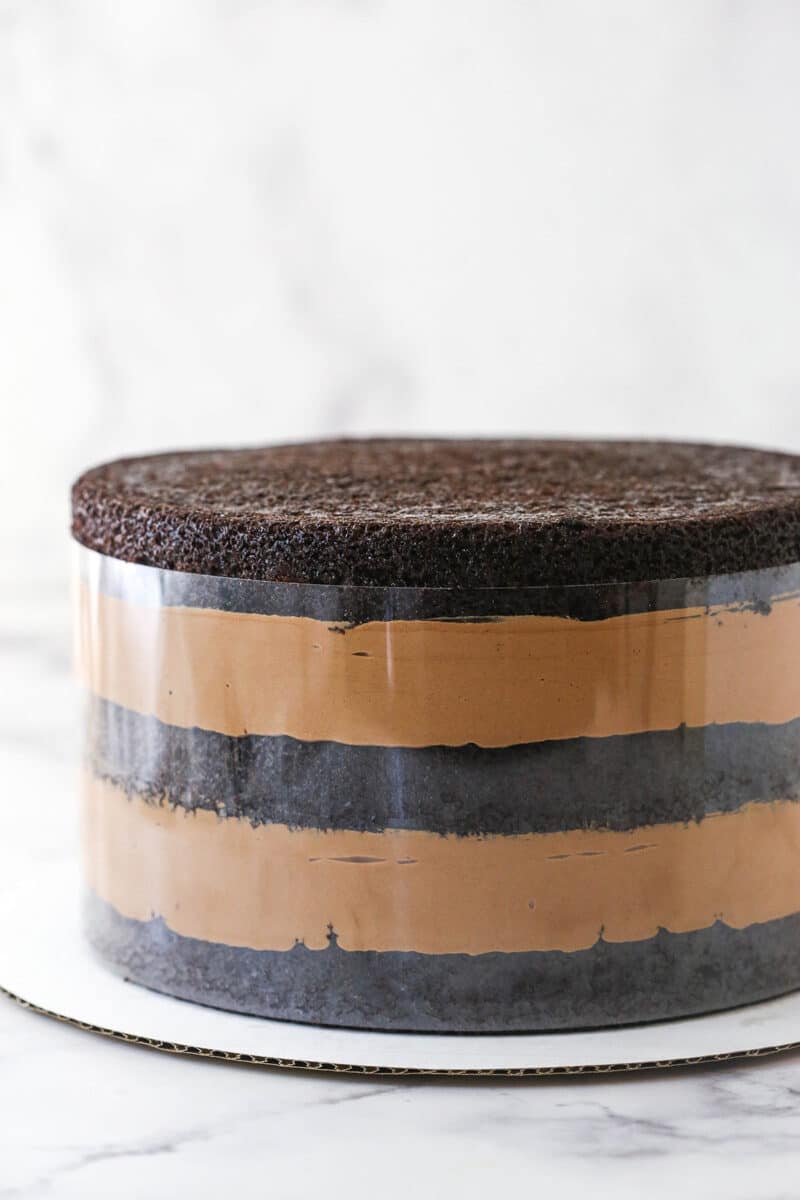
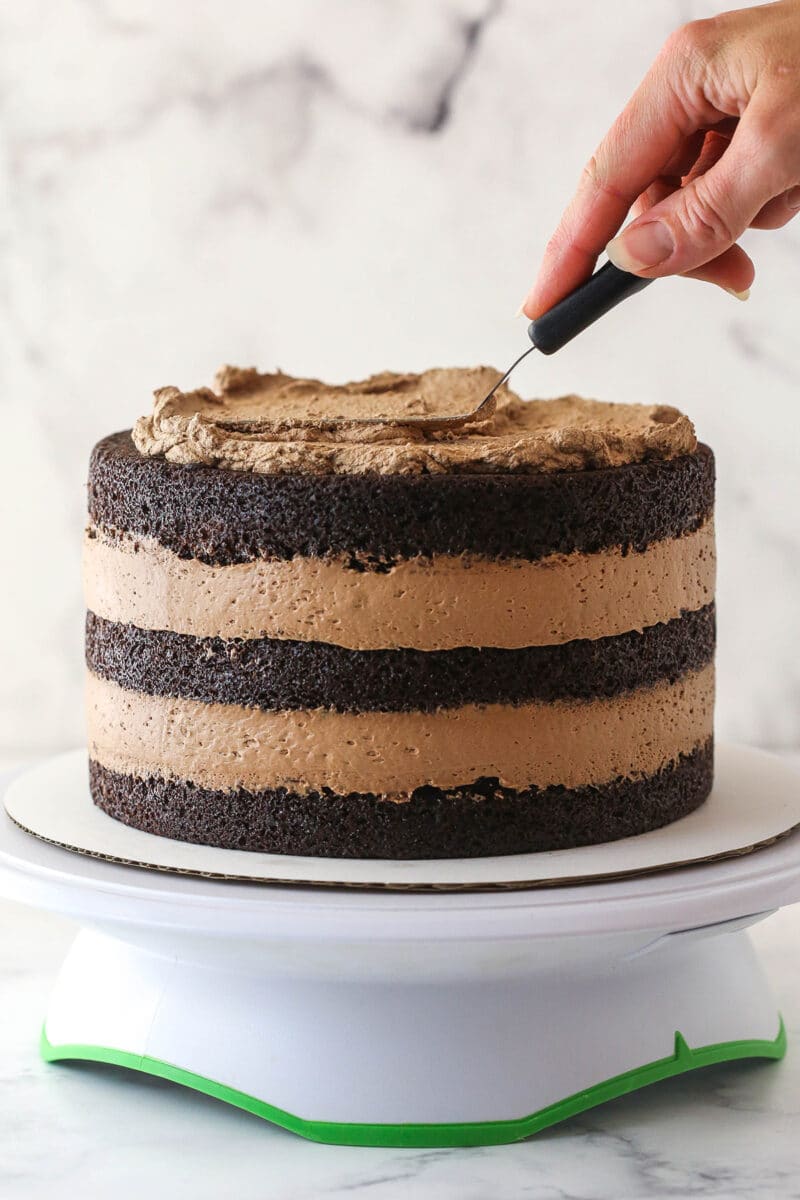
- Stack and fill. Place the first cake layer in the bottom of the cake pan. Spread half of the chocolate mousse over the cake. Add the second cake layer and spread the remaining mousse over the cake before adding the final cake layer.
Frost and decorate
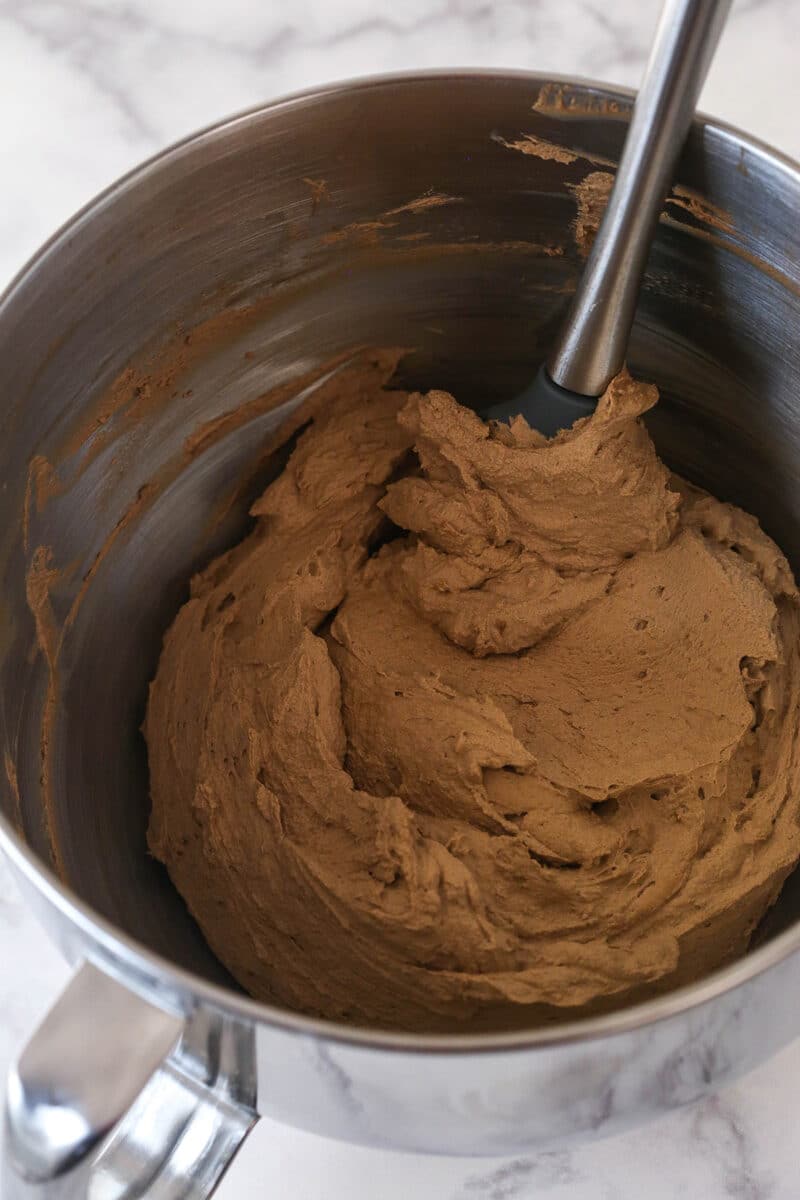
- Make the frosting. Whip the heavy whipping cream, powdered sugar, natural unsweetened cocoa, and vanilla extract on high speed until stiff peaks form.
- Remove the cake from the fridge and release it from the springform pan.
- Frost the outside of the cake with the chocolate whipped cream and pipe swirls around the outer top edge of the cake. Decorate with chocolate sprinkles.
- Refrigerate until ready to serve.
Tips for Success
Intimidated by making this multifaceted layer cake? Not to worry. I’ve got you covered with some helpful tips and tricks that will set you up for success. Here they come.
- Don’t over-mix. When combining the wet and dry ingredients, do not overmix the batter. This will cause the glutens in the flour to overdevelop and will leave you with a tough, dense cake.
- Scrape the sides of the bowl as you add ingredients and mix them in. This will help ensure that all of the ingredients make it into the batter and are incorporated evenly.
- Not too hot. When cooking the egg yolk mixture over the double broiler (for the mousse), don’t let the water boil or you’ll end up with scrambled eggs. You just want the water to be at a simmer. I suggest lifting the bowl occasionally to release steam from underneath.
- Keep it moving. When cooking the egg yolk mixture for the mousse, it is important that you whisk continuously. This not only helps incorporate air and volume into the mixture but it will also help keep you from ending up with scrambled eggs.
- Be gentle with the mousse. When folding the chocolate mixture into the whipped cream and vice versa, do so gently with a rubber spatula so as not to knock the air out of the mousse.
- Let the chocolate cool. Be sure that the egg yolk-chocolate mixture has cooled completely before folding it into the whipped cream for the mousse. Otherwise, it will melt the whipped cream and knock the volume out of it.
- Cold heavy cream. Be sure that the heavy whipping cream used to make the frosting is cold. It will whip up and hold volume better.
- Let the cakes cool. Before stacking, filling, and frosting the cake it is crucial to allow the cake layers to cool. Otherwise, the mousse and the frosting will slide right off.
- No mess assembly. I highly recommend using a springform pan here but, if you do not have one, assemble the cake on a cardboard cake circle with the help of a clear cake collar. You can use an 8×3 inch cake pan instead but make sure to prepare it properly. Place a large piece of plastic wrap in the cake pan so that it covers the bottoms and sides. This will help you lift the cake out of the pan. Line the bottom (over the plastic wrap) with a cardboard cake circle and line the sides of the pan with parchment paper. The parchment paper should stick up above the top edge of the pan to prevent overflow.
Can The Mousse Be Prepared in Advance?
I don’t recommend making the mousse in advance of adding it to the cake. It will firm up in the fridge and you’d have to stir it back up before using it later, which can cause it to deflate. You can definitely make the cake layers in advance though. And with the all the moisture in the cake and chocolate mousse, you can easily make the full cake a day or so in advance. It holds up very well.
How to Store This Chocolate Mousse Layer Cake
If you find yourself with leftover chocolate mousse cake, store it in an airtight cake carrier or let it chill for a couple of hours in the refrigerator before wrapping the whole thing in a double layer of plastic wrap. Use toothpicks to prop the plastic away from any decorations. Already sliced it? Arrange the slices in a single layer in an airtight container. Whatever method you choose, you can store the cake in the refrigerator for 4 to 5 days.
You can also freeze this cake. Pop it in the freezer for a couple of hours to firm up before wrapping it in a double layer of plastic wrap and storing it in the freezer for up to 3 months. If you already sliced the cake, arrange the slices in a single layer in an airtight container and store it in the freezer for up to 3 months. Let the cake thaw in the refrigerator before serving.
More Decadent Chocolate Cakes
In a chocolate kind of mood? Good. Me too. Always. Here are a few other heavenly chocolate cakes. Pour yourself a glass of cold milk and take yourself on a chocolate cooking spree.
- Flourless Chocolate Cake
- Orange Chocolate Cake
- German Chocolate Cake
- The Best Chocolate Cake Recipe
- Chocolate Lava Cake
- Chocolate Oreo Cake
Watch How It’s Made
Print
Chocolate Mousse Cake
- Prep Time: 5-6 hours (including chill time)
- Cook Time: 25 minutes
- Total Time: 5-6 hours 25 minutes
- Yield: 12-14 Slices
- Category: Cake
- Method: Oven
- Cuisine: American
Description
Chocolate Mousse Cake with three layers of moist chocolate cake and two layers of smooth & creamy chocolate mousse – all covered in chocolate whipped cream!
Ingredients
Chocolate cake
- 1 3/4 cups (228g) all purpose flour
- 2 cups (414g) sugar
- 3/4 cup (85g) natural unsweetened cocoa powder
- 2 1/4 tsp baking soda
- 1/2 tsp baking powder
- 1 tsp salt
- 1 cup (240ml) milk
- 1/2 cup (120ml) vegetable oil
- 1 1/2 tsp vanilla extract
- 2 large eggs
- 1 cup (240ml) hot water
Chocolate mousse
- 4 large egg yolks
- 1/4 cup (52g) sugar
- 1 3/4 cup (420ml) heavy whipping cream, divided
- 1 1/4 cups (227g) semi sweet chocolate chips
- 3/4 cup (86g) powdered sugar
Chocolate whipped cream frosting
- 2 1/2 cups (600ml) heavy whipping cream, cold
- 3/4 cup (68g) powdered sugar
- 1/2 cup (57g) natural unsweetened cocoa
- 1 tsp vanilla extract
- Chocolate Sprinkles
Instructions
Make the cake and chocolate mousse
- Preheat oven to 350°F (176°C) and prepare three 8 inch cake pans with non-stick baking spray and parchment paper in the bottom.
- Add the flour, sugar, cocoa, baking soda, baking powder and salt to a large mixer bowl and combine. Set aside.
- Add the milk, vegetable oil, vanilla extract and eggs to a medium sized bowl and combine.
- Add the wet ingredients to the dry ingredients and beat until well combined. Slowly add the hot water to the batter and mix on low speed until well combined. Scrape down the sides of the bowl as needed to make sure everything is well combined.
- Divide the batter evenly between the prepared cake pans and bake for 22-25 minutes, or until a toothpick comes out with a few moist crumbs.
- Remove cakes from oven and allow to cool for 2-3 minutes, then remove to a cooling rack to finish cooling.
- When the cakes have cooled, make the chocolate mousse. Combine the egg yolks, sugar and 1/2 cup (120ml) of heavy whipping cream in the top of a double boiler (or in a metal mixing bowl set over a pot of simmering water). Do not let the water boil, or it’ll get too hot. Occasionally lift the bowl to release steam. Cook the egg mixture, whisking constantly. It’ll be ready when it has thickened, lightened a bit in color and has more volume. It should take about 7-10 minutes and reach 160°F (71°C). When done, remove it from the heat and set aside.
- Place the chocolate chips in a medium bowl and microwave in intervals of 10-15 seconds, stirring well between each, until melted and smooth. You could also use the double boiler again.
- Add the chocolate to the egg mixture and whisk until smooth. Set the mixture aside to cool to room temperature.
- In a mixer bowl, whip the remaining 1 1/4 cups (300ml) of heavy whipping cream and powdered sugar until stiff peaks form.
- Fold about 1/4 of the whipped cream into the chocolate mixture until combined, then fold about 1/4 of the chocolate mixture into the whipped cream. Slowly fold the remaining chocolate mixture into the whipped cream.
Build the cake
- Level the tops of the chocolate cakes by using a large serrated knife.
- The cake can be built in an 8×3 inch cake pan (springform would be ideal) or with a clear cake collar. If you are using a cake pan to build the cake, put a cardboard cake circle in the bottom of the pan. If not using a springform pan, you can put some plastic wrap in the bottom of the pan and up the sides and use it to lift the cake out of the pan when it’s done. Line the sides of the cake pan with parchment paper. The parchment paper should stick up above the top edge of the pan, since the cake will probably be a little taller than your pan. Add the first layer of cake into the bottom of the cake pan. If you are using a cake collar, place the bottom cake on a cardboard cake circle or a serving plate and wrap the cake collar around it and secure in place.
- Add about half of the chocolate mousse and spread into an even layer.
- Add the second layer of cake on top of the mousse, then add the remaining mousse and spread into an even layer.
- Top the cake with the final cake layer. Refrigerate the cake until the mousse is firm, 4-5 hours.
Finish it off
- Make the whipped cream by adding all the ingredients to a large mixer bowl and whipping on high speed until stiff peaks form.
- Remove the cake from the fridge and either remove it from the pan by removing the springform pan sides, lifting the cake out of the pan with the plastic wrap, or removing the cake collar.
- Frost the outside of the cake with the chocolate whipped cream and pipe swirls around the outer top edge of the cake.
- Finish off the cake with some chocolate sprinkles, then refrigerate until ready to serve. Cake is best when well-covered in the fridge for 3-4 days.
Nutrition
- Serving Size: 1 Slice
- Calories: 683
- Sugar: 55.2 g
- Sodium: 410.3 mg
- Fat: 42.8 g
- Carbohydrates: 73.1 g
- Protein: 9.8 g
- Cholesterol: 163.6 mg


Delicious! I made the chocolate cake but paired it with you chocolate stabilized whipped cream and it was marvelous. Definitely will be my go to chocolate cake.
Awesome! Sounds like a great pairing – glad you enjoyed it!
Is it okay if i used topping cream instead of whipping cream? I’m so new to this stuff! Thank you for the recipe
What exactly it topping cream? Like Cool Whip?
I’ve made this cake 4 times and it is my family’s favorite when it comes to chocolate. They request it for birthday s and anything under the sun!!!!
Any advice on freezing the cake? Would the mousse be okay? Thank you!
I haven’t tried freezing it. I would think it should be ok. I’d suggest defrosting in the fridge.
Hi
You mentioned 3 8inch pans. What if we are using 9inch pans. How many should we use for this recipe?
Thank you!
If using 9 inch, I’d use two pans.
Hi Sarah, I’m making this cake and had also planned on layering it and freezing it but am now a little worried about how it’ll defrost. Did u ever try it? Thanks
I made this today well tried too! Lol I made a mistake and the layers turned into fudge icing and I read the directions wrong my fault. I used gluten free and made it sugar free. And I didn’t use confectioners sugar but powdered sweetener. And not bad going to redue it again the correct way. But my mistake cake was really good and rich! Love the recipe
My 5 year old watched your video and picked this for her upcoming birthday!! One question though… what is the best way to wrap and store it in the fridge??
I have a big cake carrier (affiliate link) that I use to make sure it’s well sealed in the fridge.
Hi Lindsay!
Is it safe to leave the whipped cream out overnight at room temp? Im afraid it will melt-if it makes sense lol
Thanks!
The whipped cream holds up really well, but I would not recommend leaving it out overnight.
I made this cake recipe for my daughter’s birthday and everyone loved it! We made more making them into cupcakes. I’m definitely using this recipe again. Thank you for sharing your delicious recipes!
I’m so glad you enjoyed it!
I am making this cake for the first time and have never used the cake collar. Do i place the cake on the cardboard first add the mousse and let it set or do I immediately place the cake on top of the mousse and continue the process? I wasn’t if it would smash it !!!!
You layer cake, mousse, cake, mousse, cake – and all at once. You don’t need to refrigerate between layers. The lovely thing about the cake collar is it allows you to do that without smashing anything. 🙂 It all stays in place. I hope you enjoy it!
Hi, I am planning to make this cake for the holidays. However, nowhere in the recipe or video does it explain how to get layers two and three into the perfectly fitting cake collar without breaking them. Any hints will be appreciated!
I’m not sure that there’s any special trick. I just hold the cake layer and carefully slide it in there.
Hi Lindsay,
I would like to make this cake for my 35th birthday next week. Can I substitute the A/P flour to gluten free one?
I’ve heard of people having good results with it, but haven’t tried it myself.
Yayyyy! I made it with gluten free flour. I love it! So perfect for my palate. So delicious!!! Love everything with this cake. Thanks Lindsay.
Glad to hear it! Thanks Ann!
Can i replace the water with milk?
I haven’t done it that way before. It would likely change the texture of the cake.
Hi lindsay ,
I want to ask you that can l divide the recipe into half ( including cake , chocolate mousse and frosting) ???
And …
If i do that the cake will come out perfectly???
Having not tried to build that size of this cake, it’d be hard to say. I know that the cakes and mousse would be fine individually, but I’m not sure what size cake would be best.
Is it possible to make the mousse ahead of time and put it between the layers after it has set? I do not have a cake collar
Unfortunately, I don’t think it would. Once the mousse sets, it’s set. If you stir it back up again, it usually deflates. You could try the method using the mock collar though. I’ve used that on many cakes in the past and it works just fine.
Hi I am confused about judge 1 3/4 and 2 1/4 is this one 1 time 3/4 or 1 and 3/4 both include similarly 2 time 1/4 or 2 and 1/4 both include please guide me thank.
I’m not sure I understand your question, I’m sorry.
1 3/4 cups means one cup plus 3/4 cup. 2 1/4 cups means 2 cups plus 1/4 cup. American recipe amounts are always written like that. Hope this helps.
Thank you for this recipe. I made this cake this weekend for my husband’s bday. It was delicious!
I’m so glad you enjoyed it!
My mousse came out very runny – it would never support a cake on top. I’ve put it in the fridge for a bit to see if it will firm up. Any ideas on how to fix or what i might have done wrong?
The mousse is very thin when you first make it, which is why the cake is layered with a cake collar or something similar. The cake will not hold up until the mousse has been refrigerated and firmed. The cake collar allows the cake to be stacked while the mousse is soft, then once it’s firm you can remove the collar and it’ll stand up well.