This post may contain affiliate sales links. Please read my disclosure policy.
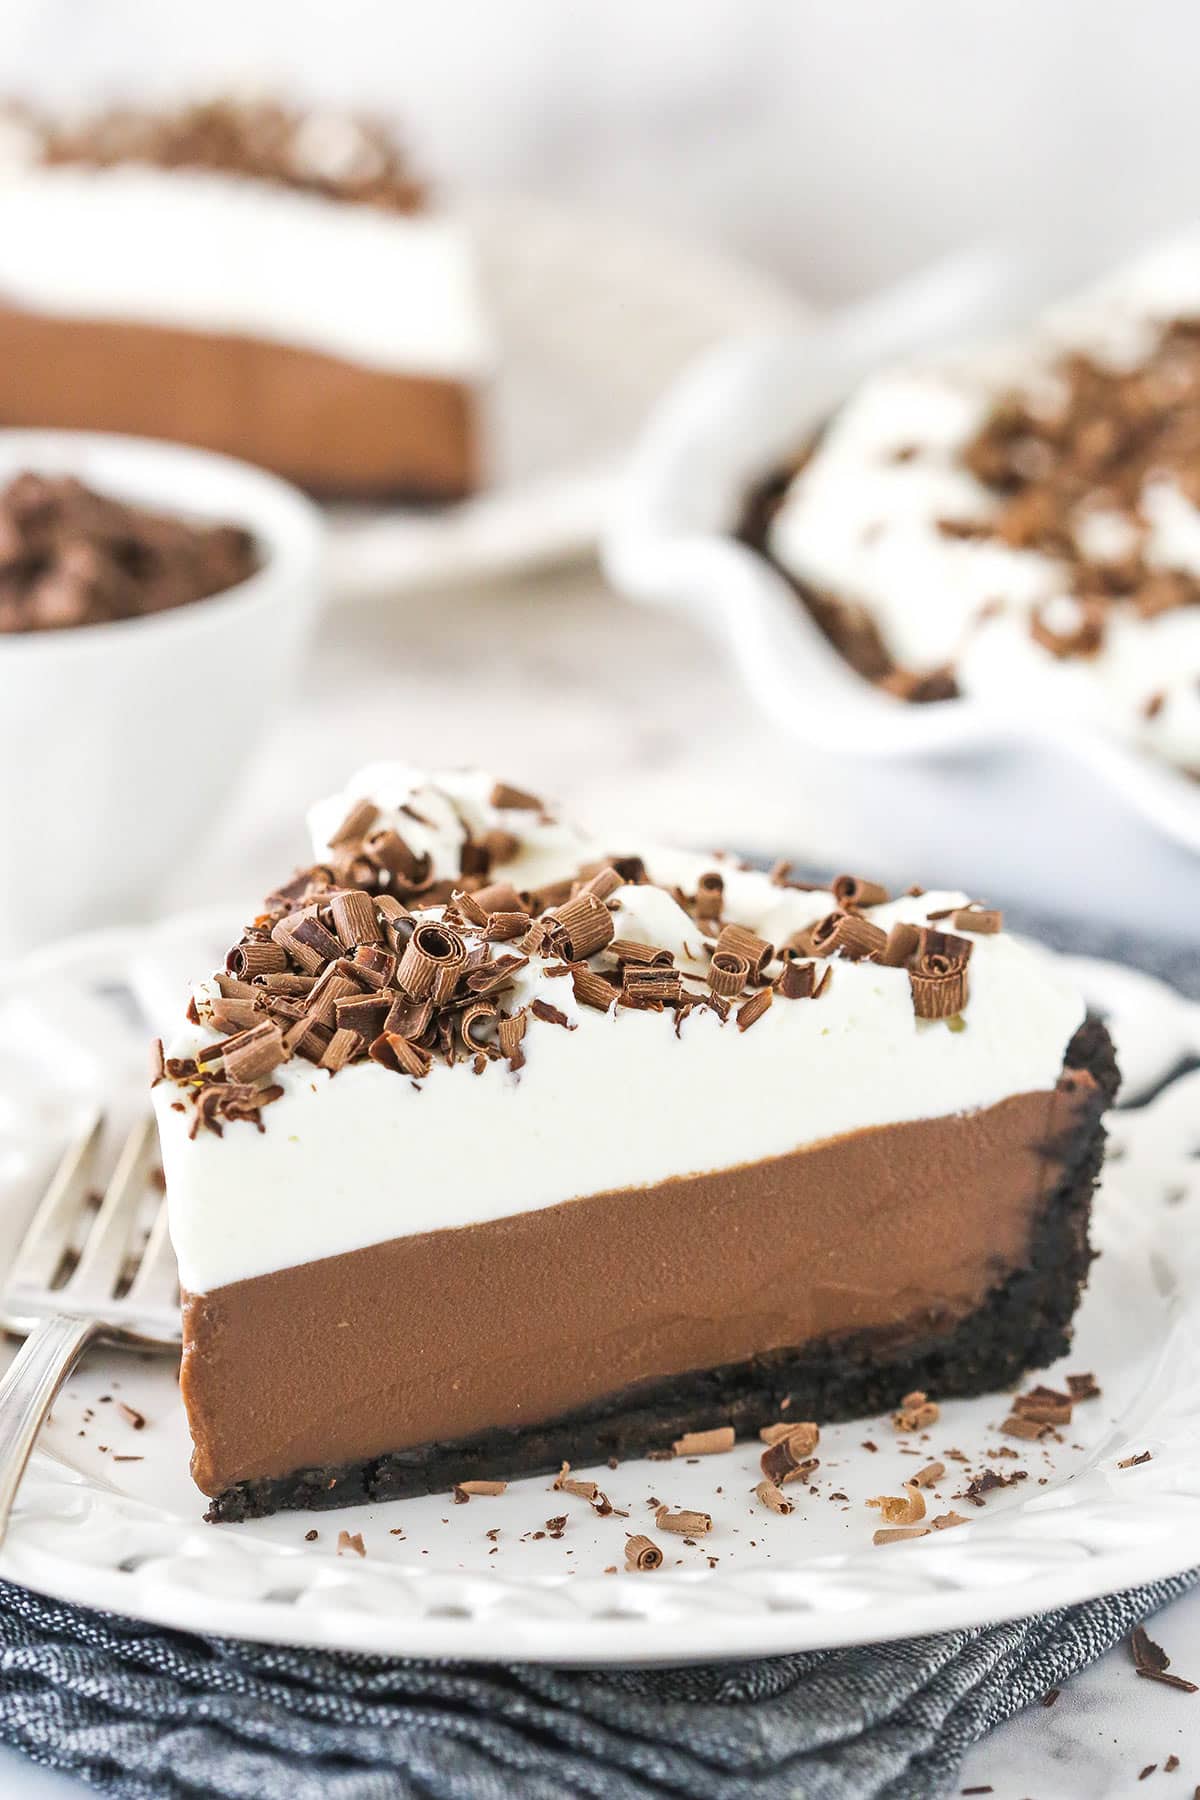
This Chocolate Cream Pie is made with an Oreo pie crust, homemade chocolate pudding filling, and homemade whipped cream! It’s topped with chocolate shavings and curls and is sure to wow the chocolate lovers in your life.
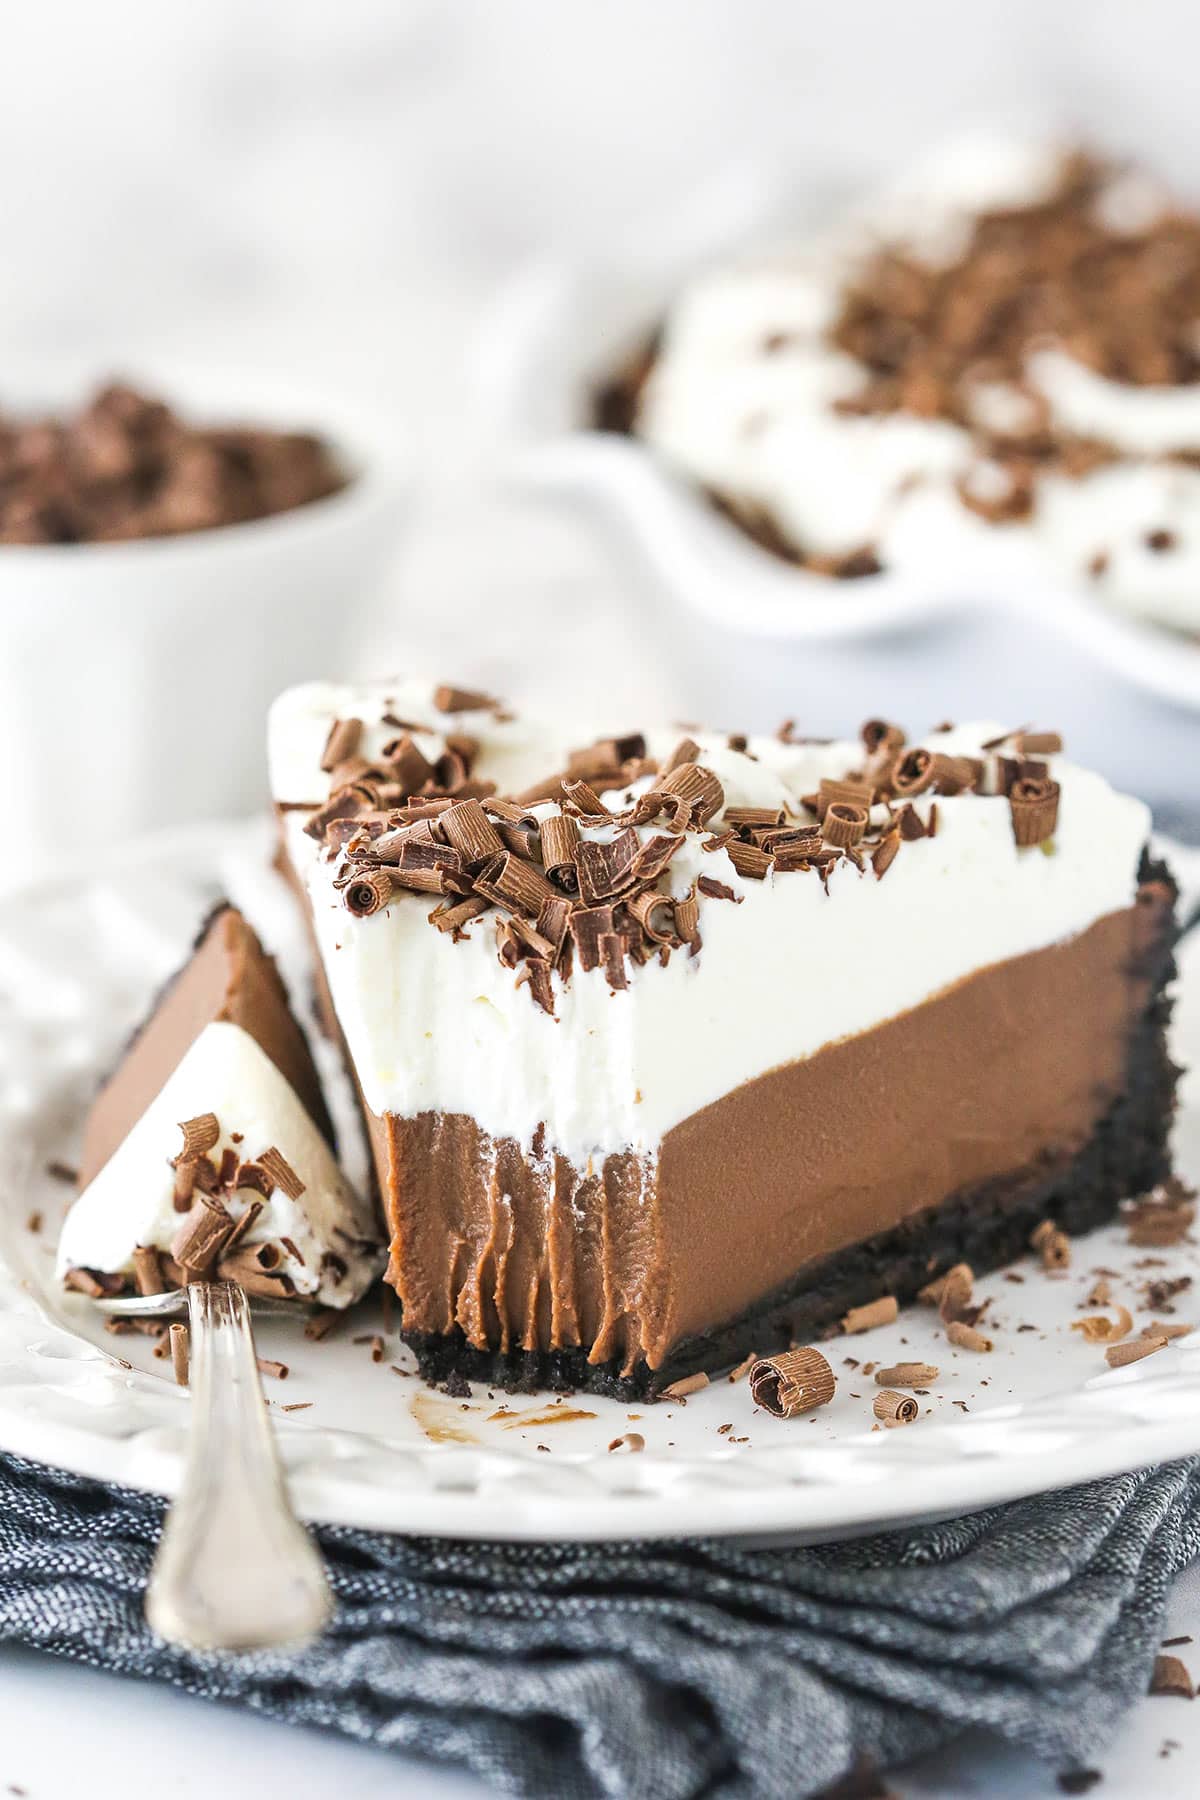
Table of Contents
- The Best Chocolate Cream Pie with Oreo Crust
- Why You’ll Love This Chocolate Cream Pie
- What You’ll Need
- How to Make Chocolate Cream Pie
- How to Make Chocolate Shavings
- Troubleshooting: Why Is My Pie Runny?
- Pro Tips for The Best Pie
- Serving Suggestions
- How to Store
- Can I Freeze This Pie?
- More Decadent Chocolate Pie Recipes:
- Watch How To Make It
- Get the Recipe
The Best Chocolate Cream Pie with Oreo Crust
Thick, creamy, and bursting with chocolate flavor this chocolate cream pie will become your new favorite. From the chocolate crust, to the creamy filling and fluffy whipped cream, the combination of textures is amazing. And it isn’t just delicious, it’s also easy to put together.
Why You’ll Love This Chocolate Cream Pie
- Chocolate crust – The chocolate crust really compliments the chocolate filling. And I love the extra texture it adds.
- Thick, creamy filling – The filling is creamy, but also holds it’s shape. And the combination of eggs and cornstarch creates a perfectly thickened filling that’s also rich and full.
- Perfect chocolate flavor – The filling isn’t bitter and it doesn’t lack chocolate flavor. Semi-sweet chocolate with a touch of vanilla and salt create the perfect flavor.
- Easy decor – You can spend time on fancy chocolate curls, if you like. But all you really need is a good chocolate bar and vegetable peeler to have simple chocolate shavings and curls that make this pie look as good as it tastes.
What You’ll Need
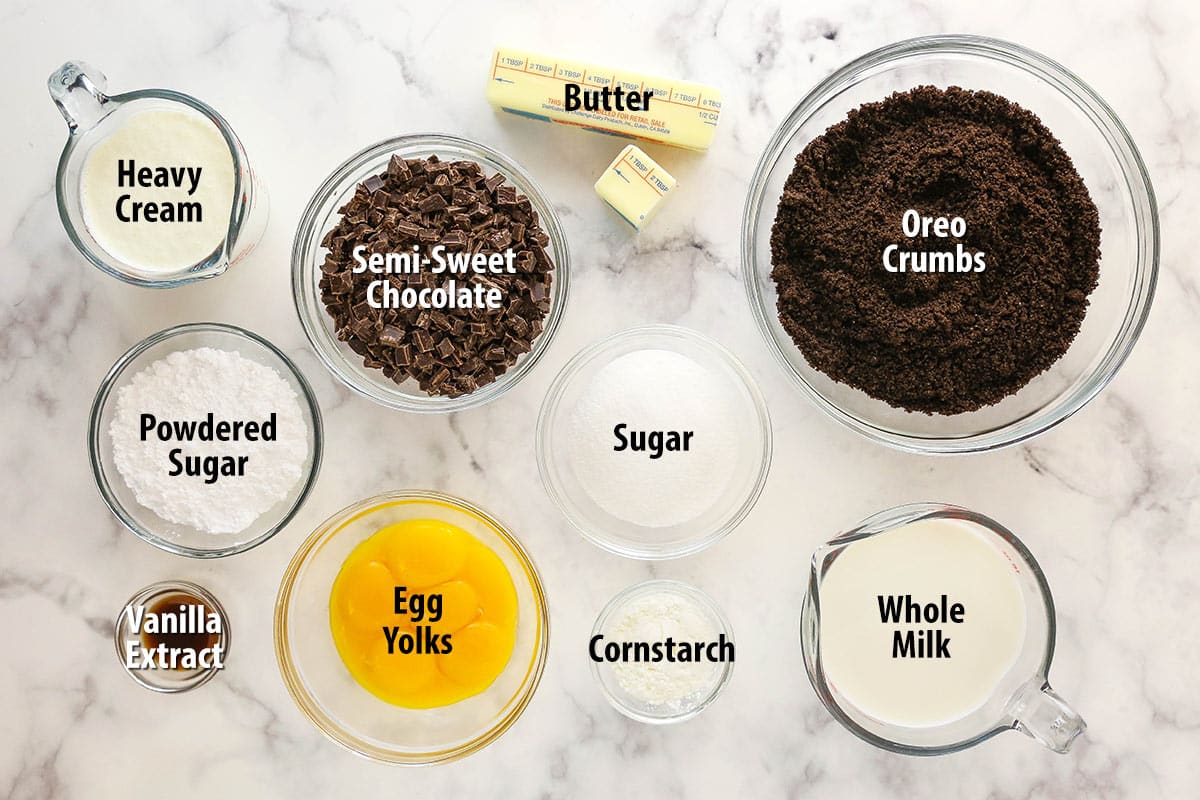
Ready to get cooking? Here’s a list of what you will need to make this decadent chocolate cream pie with pudding. Be sure to scroll to the recipe card below for exact measurements.
Crust
- Oreo crumbs – I love original Oreos here but you could use chocolate graham crackers or even golden Oreos or graham crackers if you want to tone down the chocolate.
- Butter, melted (salted or unsalted)
- Note on substitutions – Interested in trying a different crust? Feel free to use this Flaky All-Butter Pie Crust instead of the Oreo crust.
Chocolate Pie Filling
- Granulated sugar
- Cornstarch – For a little extra thickening power.
- Whole milk – Stick with whole milk here. Anything with a lower fat percentage will give you a less creamy, potentially runny pie.
- Egg yolks – The egg yolks add richness and creaminess to the filling, while also thickening it.
- Salted butter – You could also use unsalted butter and add a couple pinches of salt.
- Semi-sweet chocolate – I do not suggest using a different kind of chocolate. The semi-sweet is just the right balance between mild and bitter.
- Vanilla extract
Whipped Cream
- Heavy whipping cream – The heavy whipping cream must be cold. It will not hold volume properly if it is not.
- Powdered sugar – To stabilize the whipped cream, so it won’t wilt.
- Vanilla extract – For flavor.
- Chocolate bar – Grab a high-quality bar. I like Ghirardelli or Bakers chocolate.
How to Make Chocolate Cream Pie
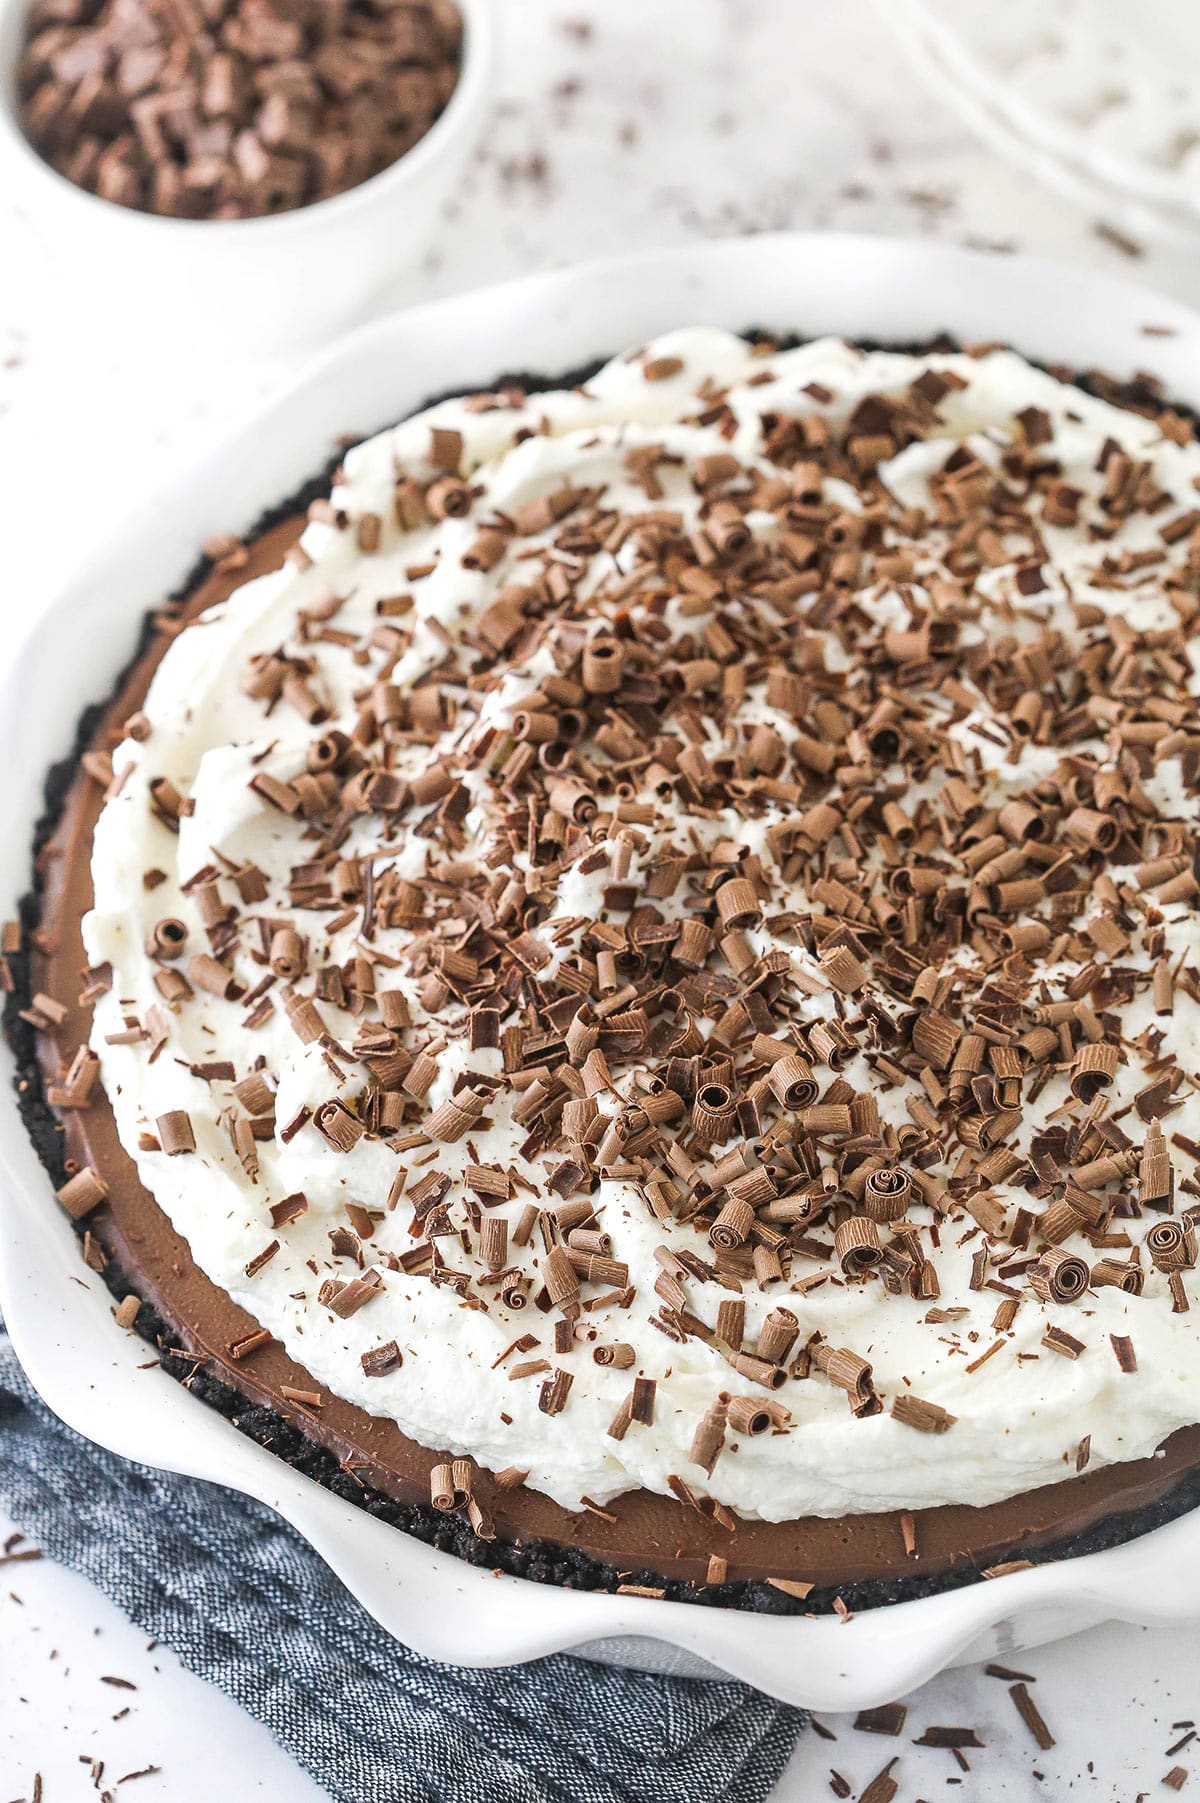
It really doesn’t take much to make this pie. Just a quick crust, an even quicker filling, and the whisking together of some fluffy homemade whipped cream. Here’s a general overview of how to make chocolate cream pie. Scroll to the recipe card below for more detailed instructions.
For the crust:
- Prep. Preheat oven to 350 degrees F and grease a 9-inch pie pan.
- Blend the Oreos into fine crumbs.
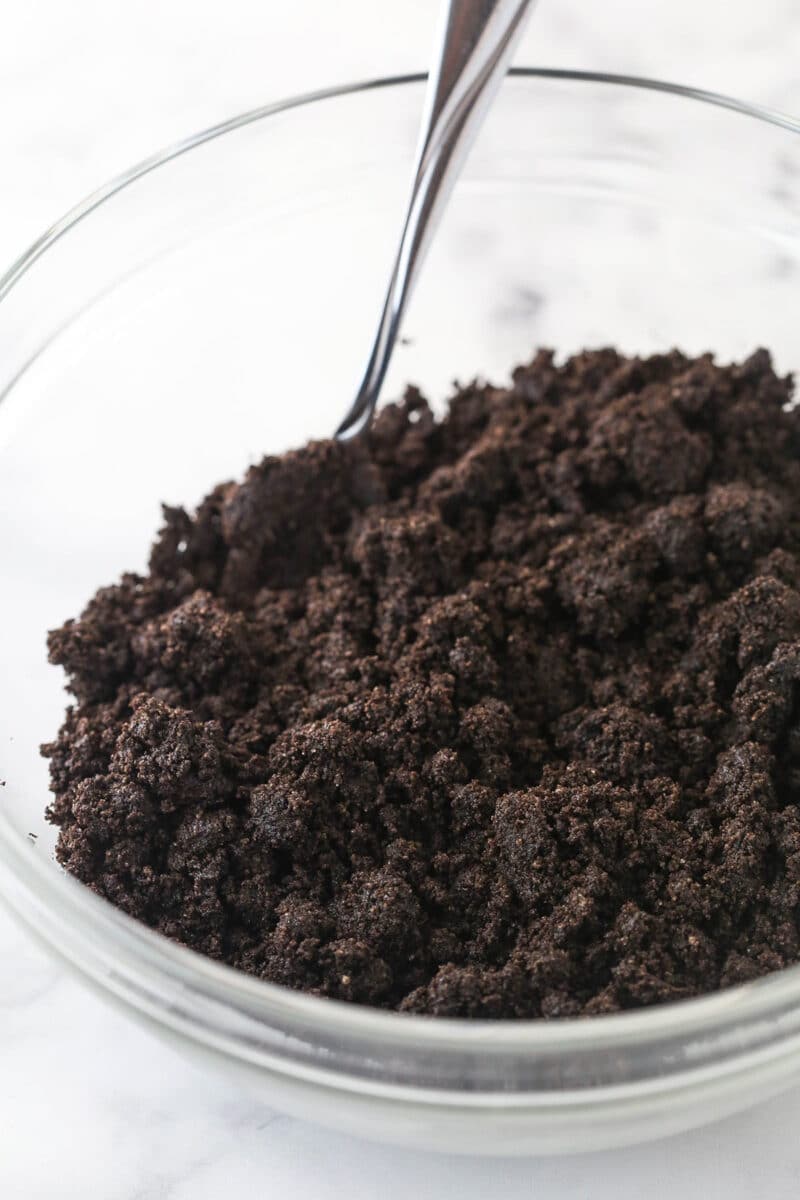
- Combine the Oreo crumbs and the melted butter.
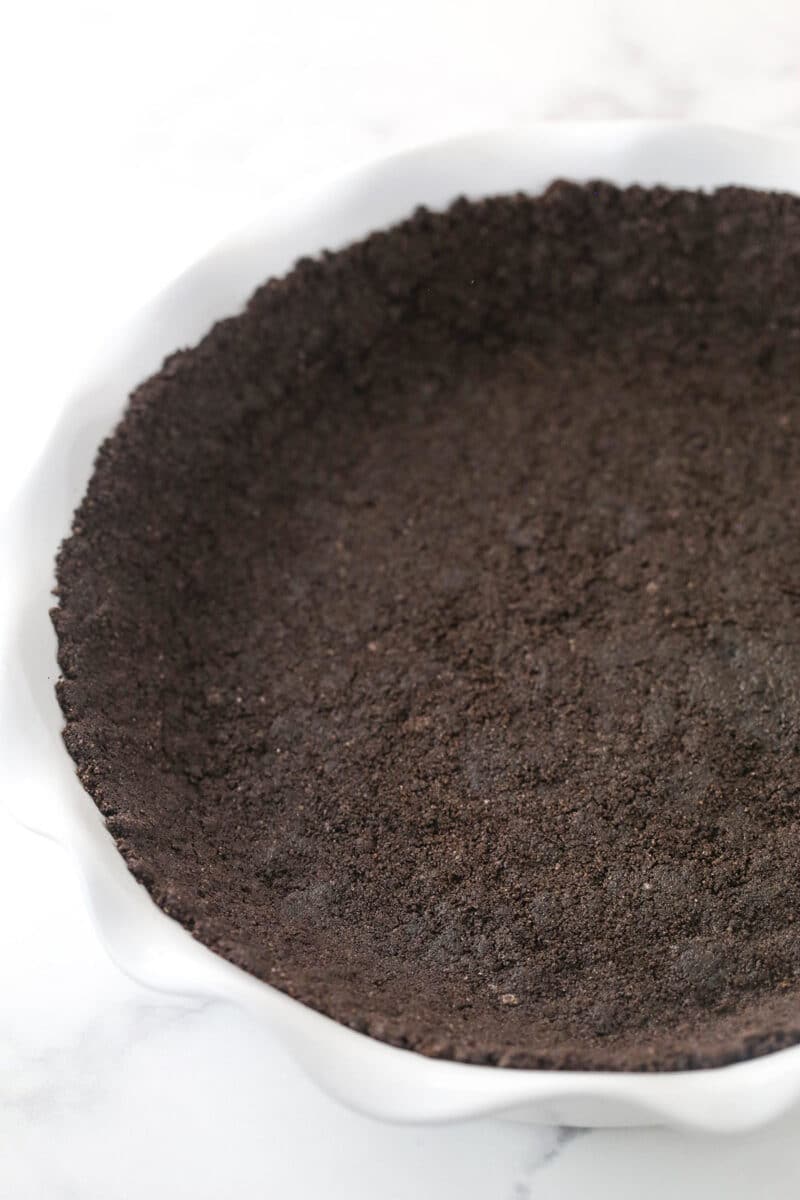
- Press the Oreo mixture into the bottom of the pan and up the sides.
- Bake for 8-10 minutes and set aside to cool.
For the Chocolate Pie Filling:
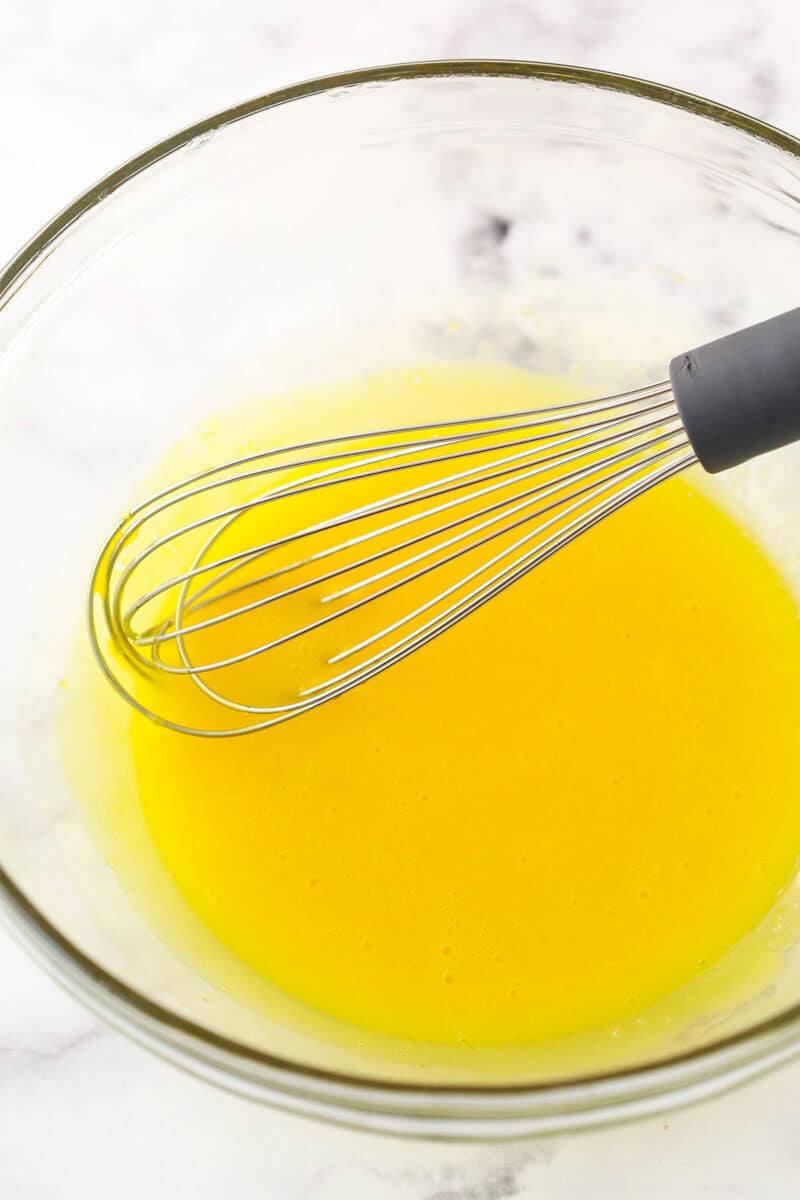
- Whisk the egg yolks until smooth.
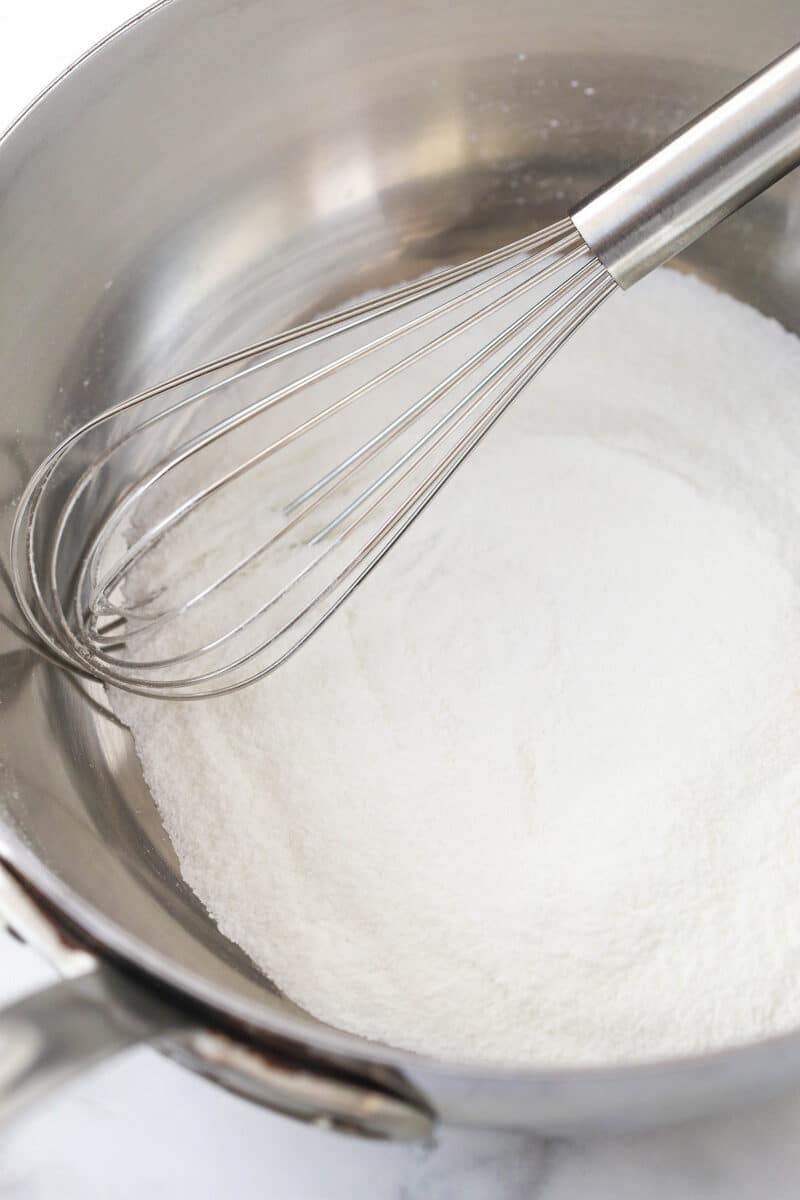
- Whisk together the sugar and cornstarch in a medium saucepan until no lumps remain.
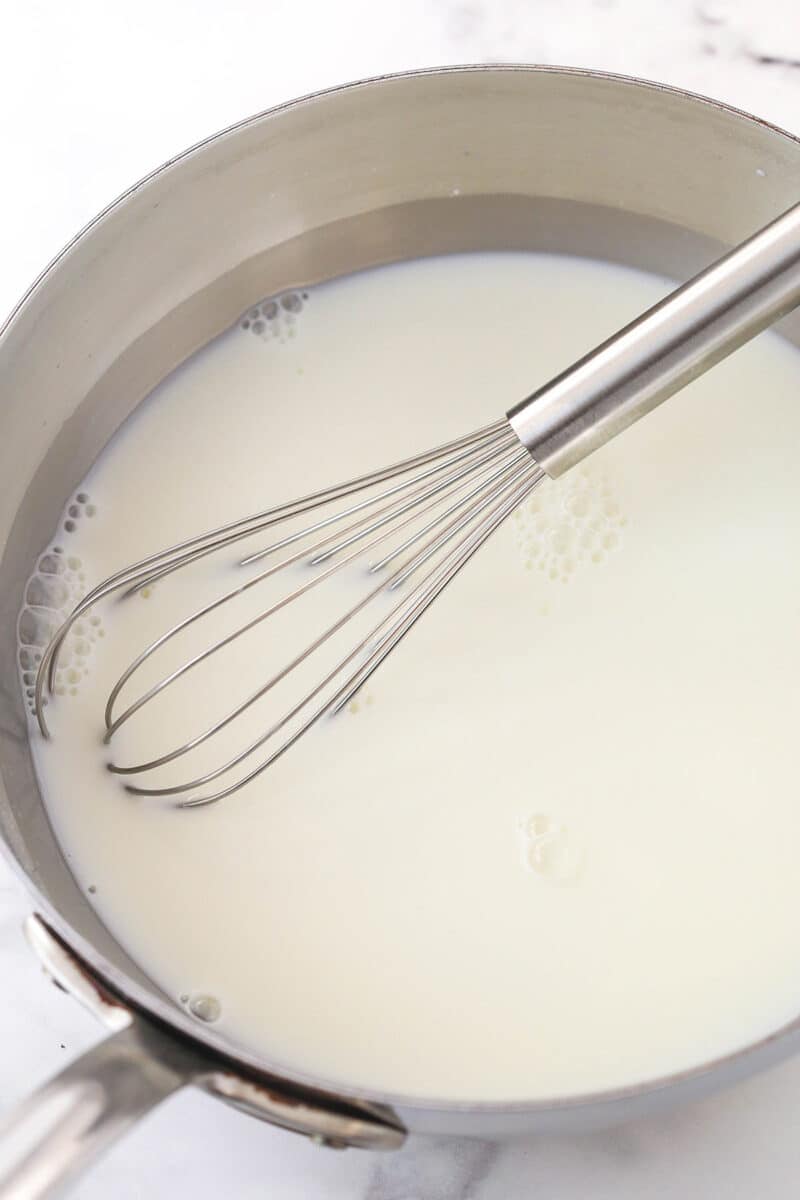
- Add the milk, whisk to combine, and heat over medium heat, whisking constantly until it comes to a simmer.
- Temper the eggs. Pour a little of the milk mixture into the egg yolks, whisking constantly. Repeat before pouring the egg mixture into the saucepan.
- Bring the mixture to a boil, whisking constantly. Boil for 1 minute, then remove from heat.
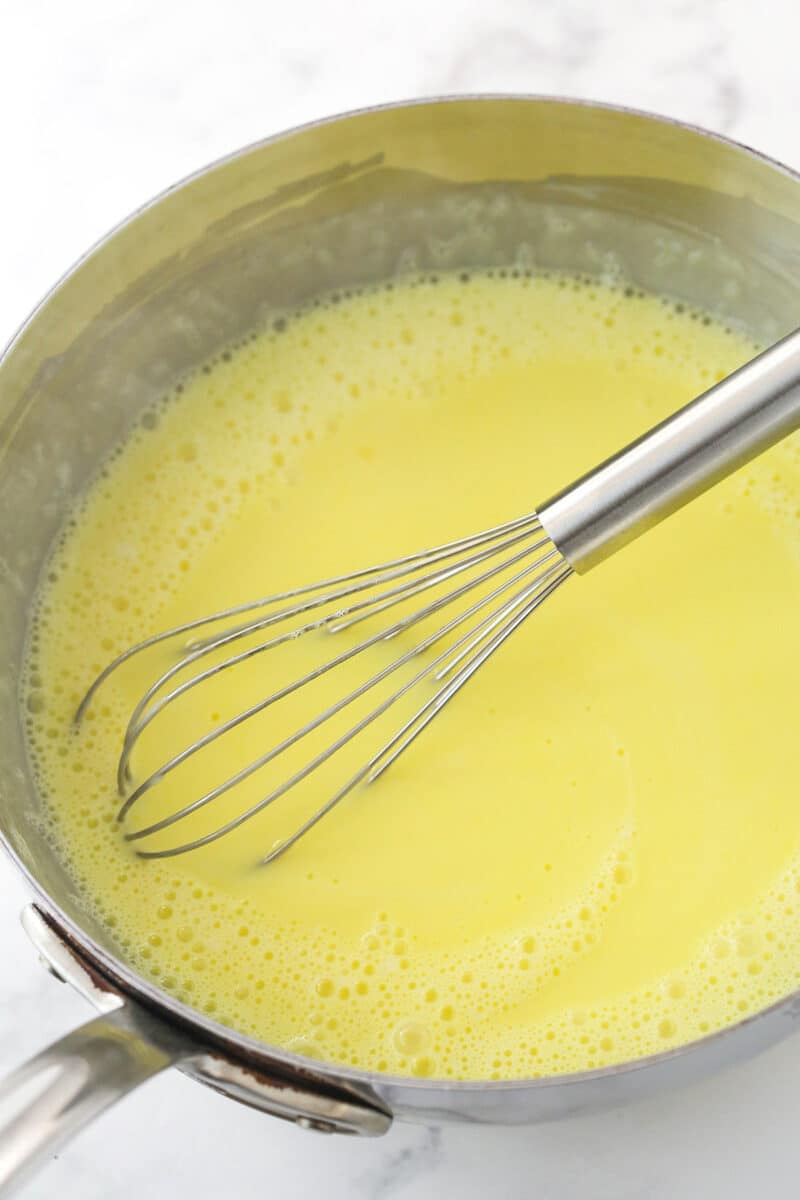
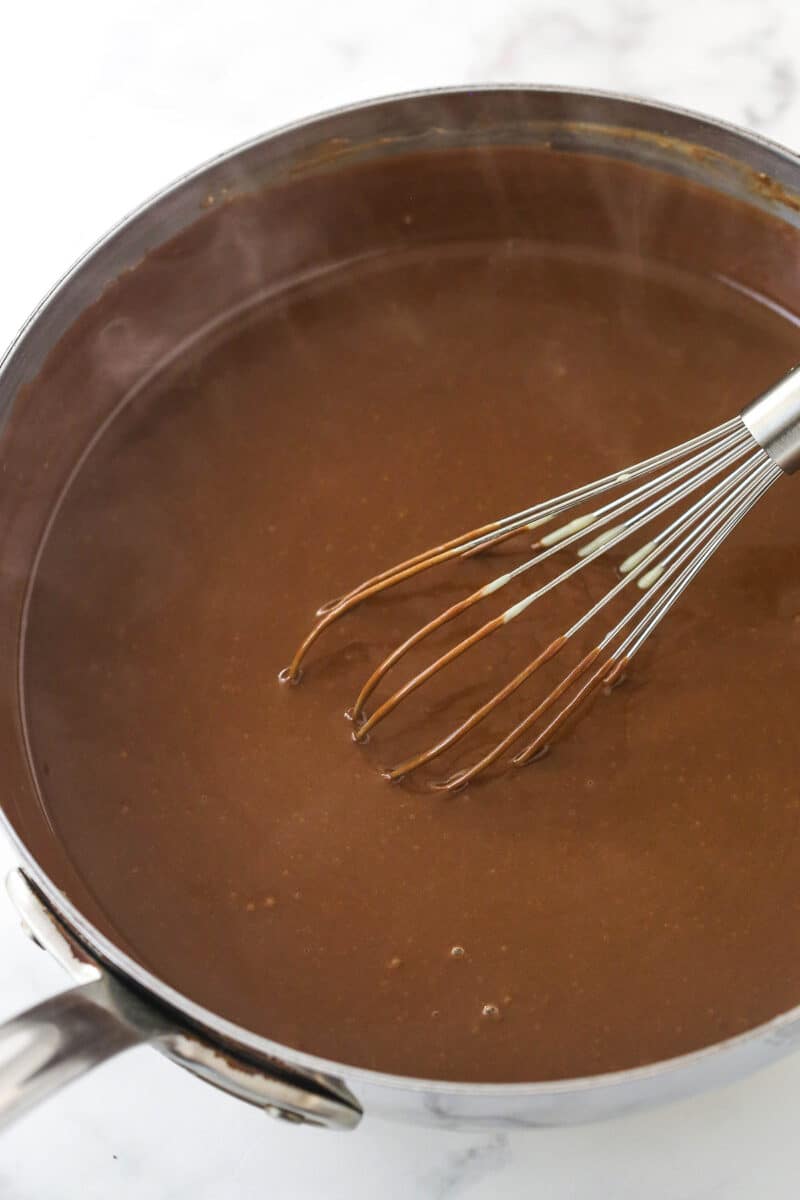
- Add the butter, chopped chocolate, and vanilla extract and stir until smooth.
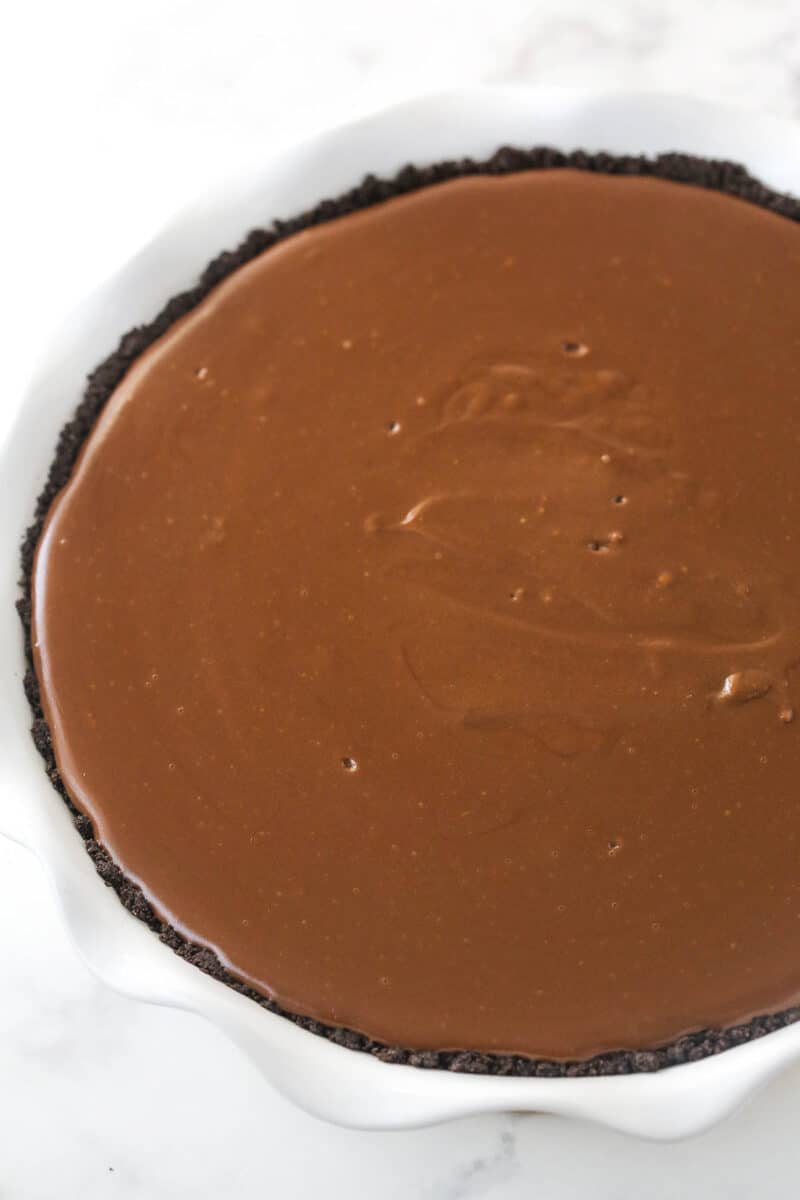
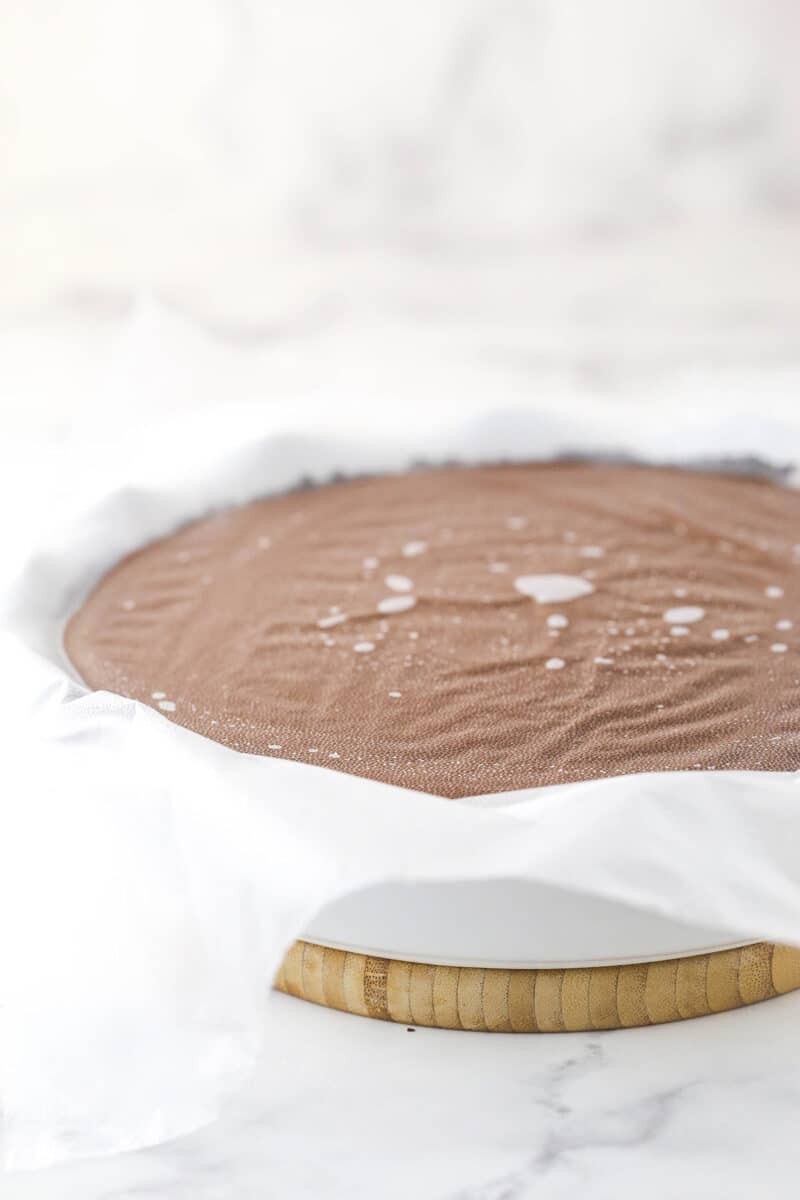
- Fill the crust with the filling and press a piece of plastic wrap directly on top of the pie and refrigerate for 4–6 hours.
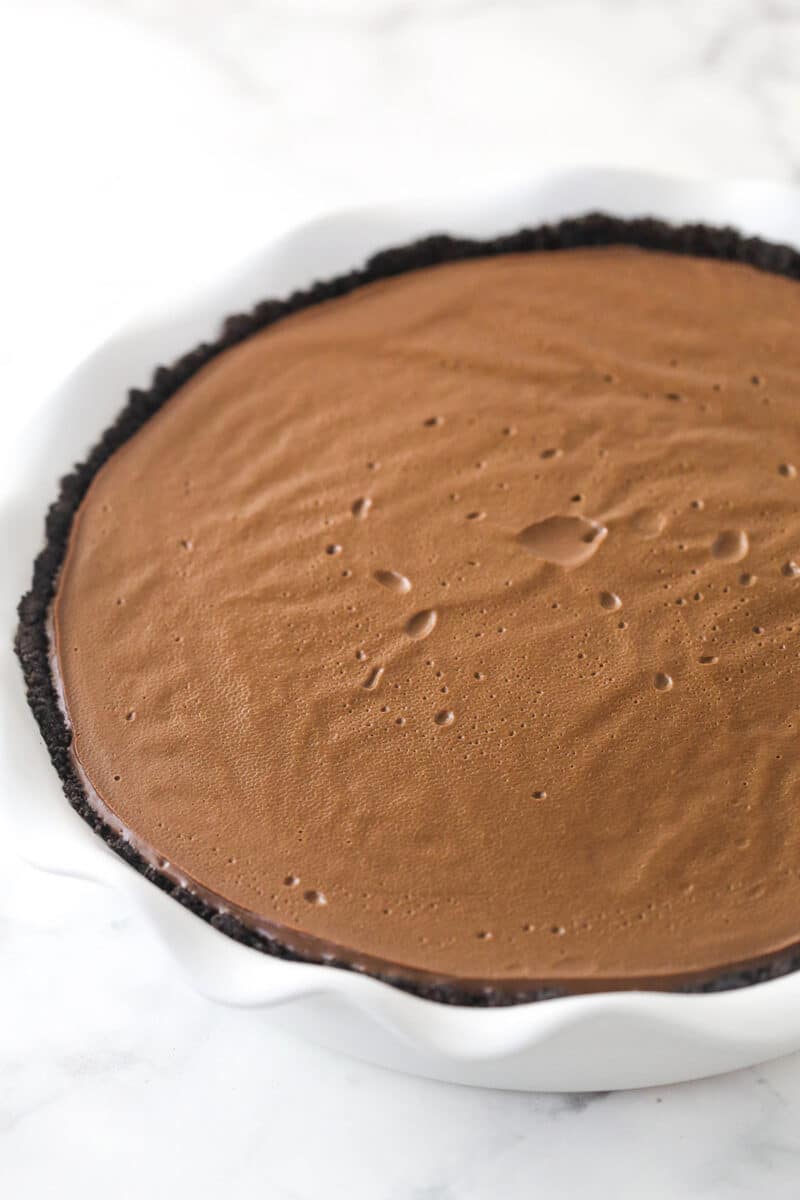
For the Topping:
- Whip the heavy whipping cream, powdered sugar, and vanilla extract on high speed until stiff peaks form.
- Top the pie. Remove the plastic wrap from the pie and spread the whipped cream over the top.
- Make the chocolate shavings and curls by scraping along the sides of a chocolate bar with a vegetable peeler. Top the whipped cream with curls and shavings.
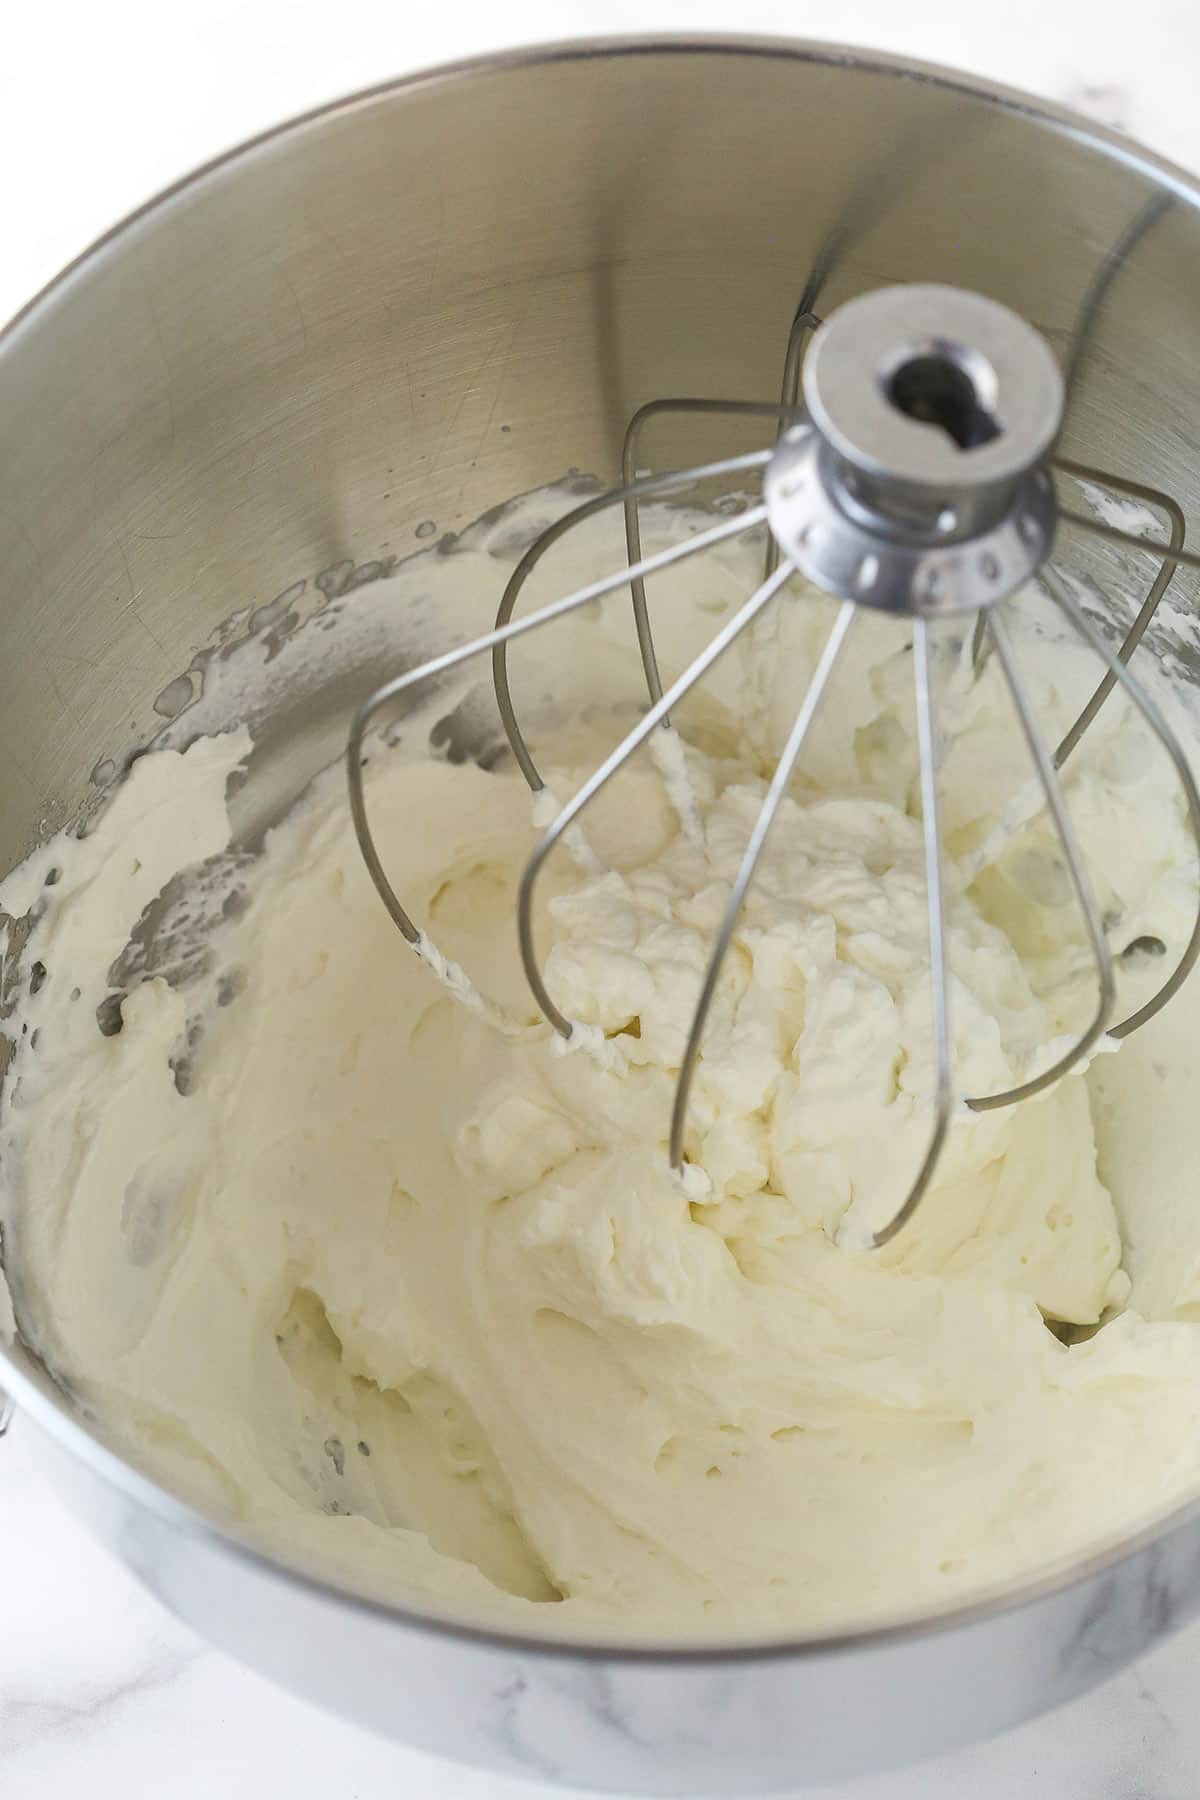
How to Make Chocolate Shavings
If you’re in a hurry or just looking for something simple, use a vegetable peeler to create tiny little curls and chocolate shavings from a large chocolate bar. If you have a little more time on your hands and want to make larger, more awe-inspiring chocolate decorations, check out my tutorial on How to Make Chocolate Curls.
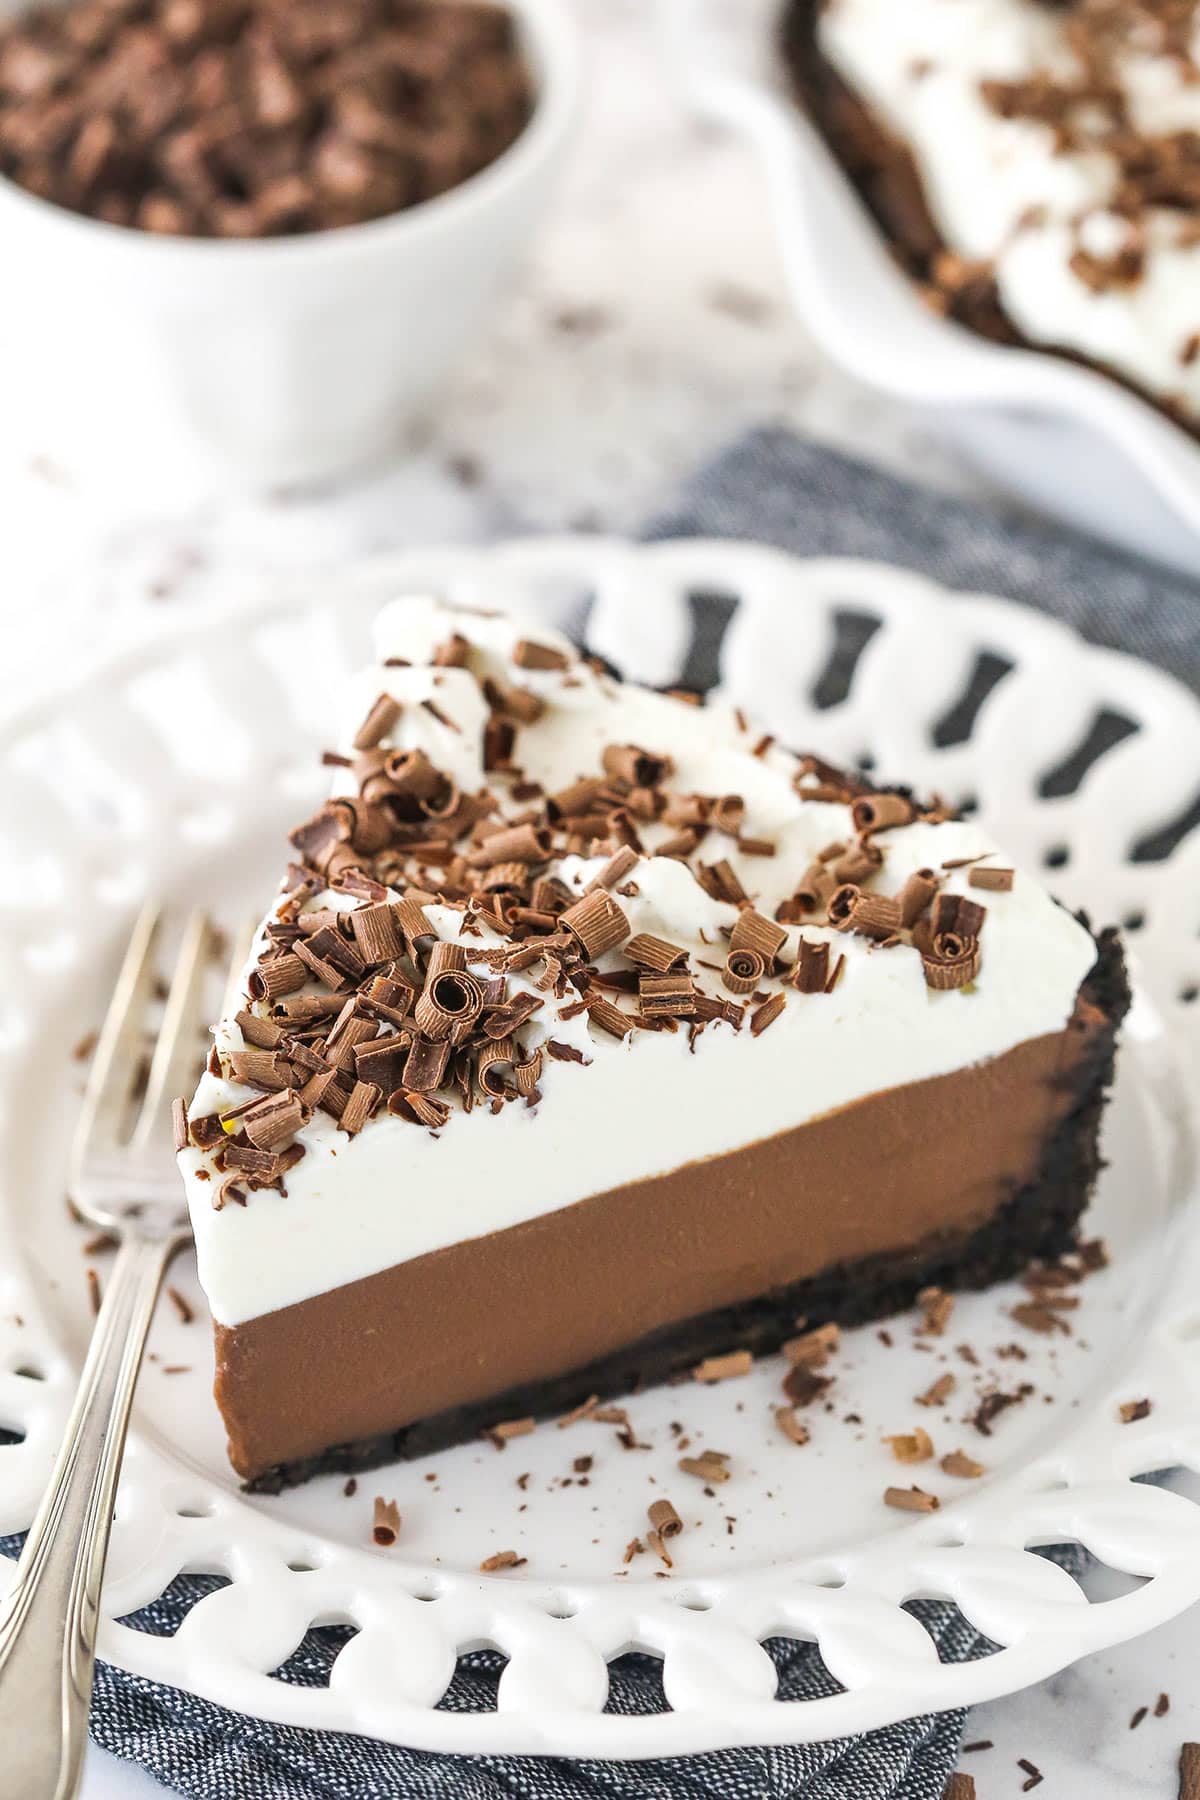
Troubleshooting: Why Is My Pie Runny?
This chocolate cream pie is great because you can slice it without it oozing everywhere. It’s the perfect balance between creamy and thick enough to hold its shape. This perfect texture doesn’t come without effort, though. It’s all too easy to find yourself with a runny pie. Here are a few ways to avoid this common mishap.
- You tried to use low-fat milk. The fat content in whole milk plays a role in allowing the filling to firm up. So resist the temptation to cut a couple of extra calories by using milk with a lower fat percentage.
- You forgot the cornstarch. The egg yolks and the cornstarch work together to produce the perfect consistency for this cream pie. While the yolks add richness and creaminess, it’s not quite enough to ensure that the pie holds its shape. The cornstarch lends just the perfect amount of extra thickening power. So don’t leave it out.
- The filling didn’t cook for long enough. It is important that the filling reach about 160 degrees F otherwise it won’t set up properly. It can be helpful to use a candy thermometer to make sure it is done. On the flip side, you don’t want to cook it too long or the cornstarch can start to break down.
- Not enough chill time. This pie needs to chill in the refrigerator for at least 4-6 hours before slicing and enjoying. Otherwise, it won’t set and you’ll find yourself with a runny pie.
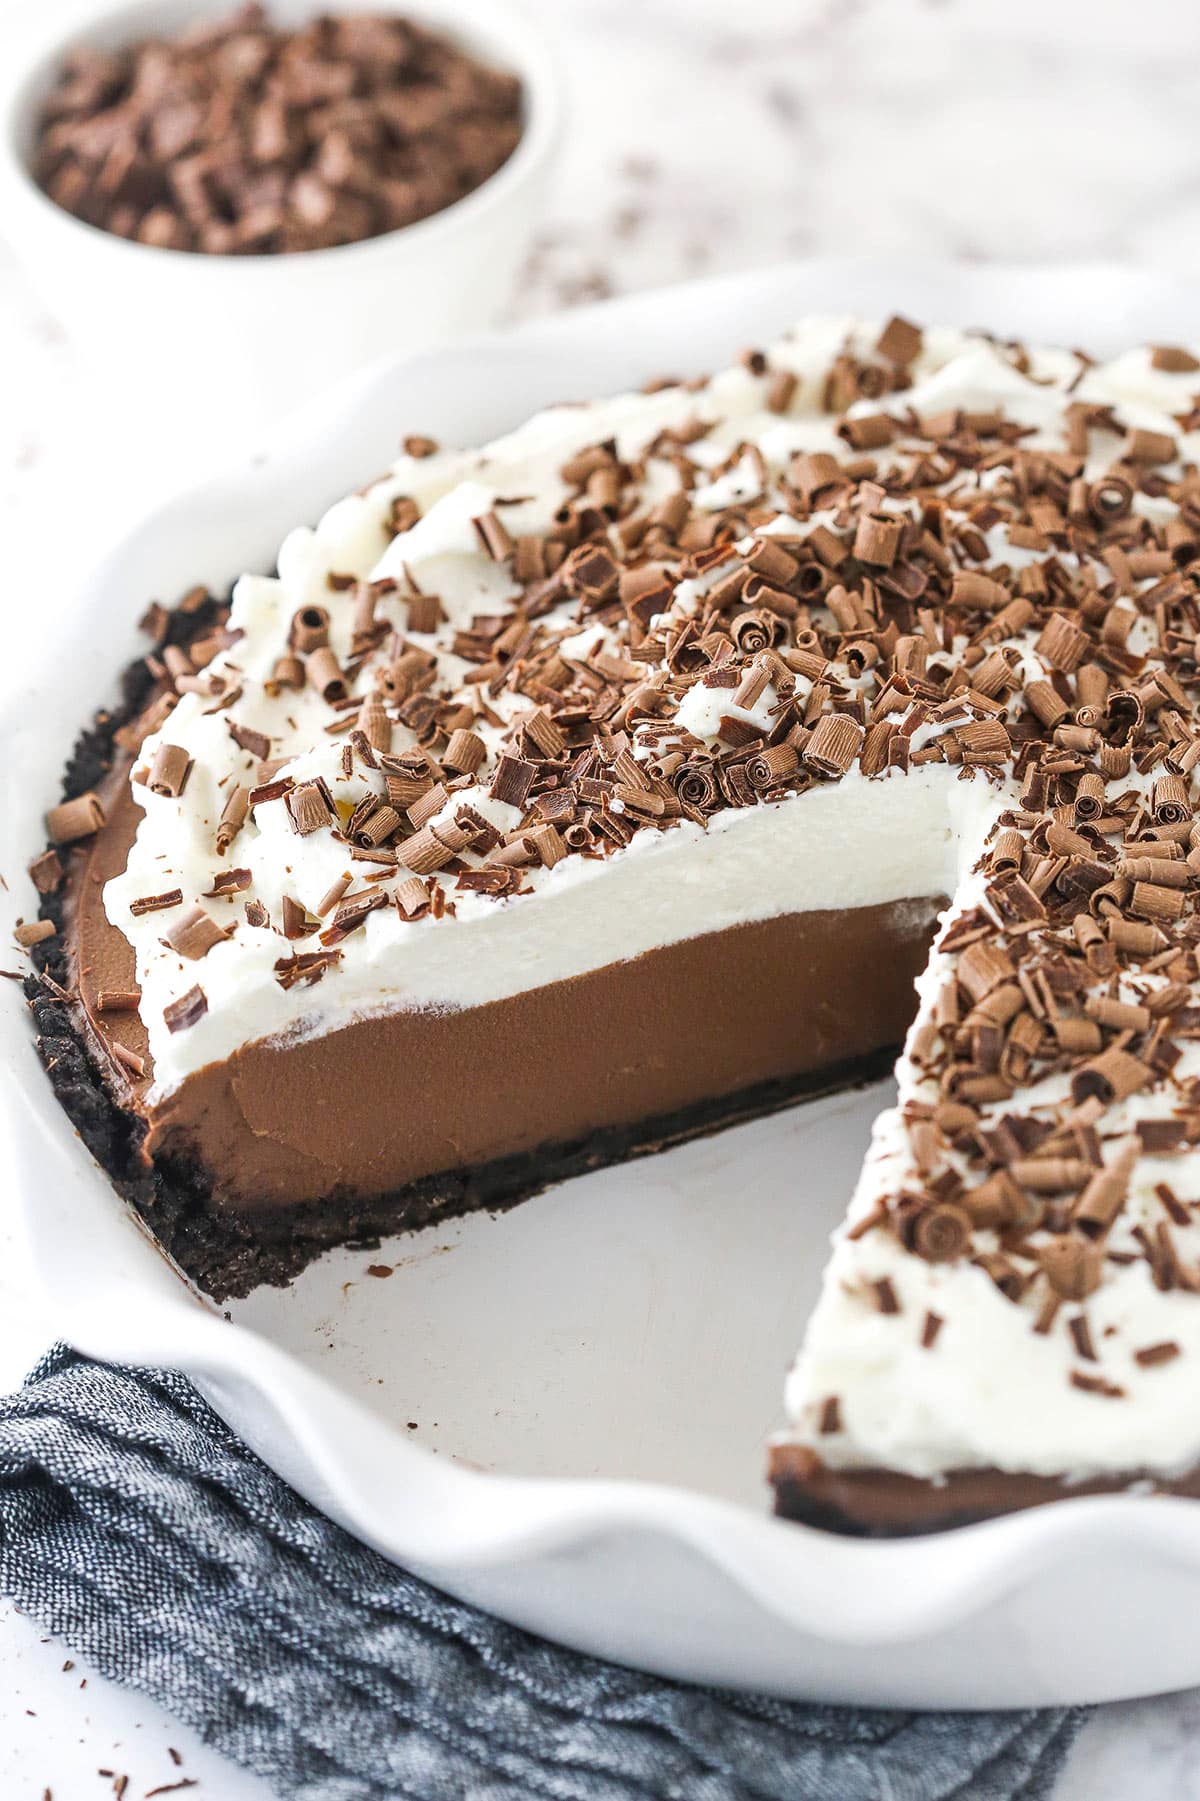
Pro Tips for The Best Pie
Looking to get your chocolate cream pie as close to perfection as possible? Here are some simple tips and tricks that will help get you there.
- Start with room-temperature eggs. This recipe requires you to temper the eggs into a hot mixture. It’s tricky enough as it is but becomes even trickier if your eggs are cold. So let them sit out for a bit before beginning to reduce the temperature difference between the eggs and the milk mixture.
- Use heat sparingly. When heating the cream filling, heat it slowly and just enough to thicken. No longer. In addition, it is important only to boil the filling for one minute. Otherwise, the high temperatures will cause the cornstarch to break down.
- Make sure the filling cooks all the way. Yes, you must heat slowly and not for too long but you also must make sure that the mixture cooks all the way. Otherwise, you will have a runny pie on your hands. It’s a fine balance.
- Whisk, whisk, whisk. When heating the milk, it is important to whisk constantly so the milk doesn’t burn. Same with tempering the eggs. When adding the hot milk to the eggs, whisk constantly so that the milk has less of a chance of turning the eggs into scrambled eggs.
- Start with cold heavy whipping cream. If you want your heavy whipping cream to whip up into a fluffy, delightful topping, make sure it’s coming fresh from the refrigerator. Otherwise, it will not hold volume properly.
- Pick the right chocolate. You don’t want an overly sweet or overly bitter chocolate here, so I highly recommend sticking with semi-sweet.
- Let it set. It is important to allow the pie to chill in the refrigerator for at least 4-6 hours before topping it with whipped cream. If you skip this step, the filling will not set properly resulting in a runny filling.
Serving Suggestions
Looking to dress up your chocolate cream pie with other tasty treats? Serve it up with a cold scoop of ice cream, a drizzle of sauce, or a tasty beverage. Here are some fun ideas for you.
- Ice cream. Go big or go home right? Serve this chocolate cream pie with a scoop of store-bought vanilla, chocolate, or cookies ‘n cream ice cream. In the mood to make your own? Try my Oatmeal Chocolate Chip Cookie Ice Cream or pick up on the Oreo theme with this Birthday Cake Ice Cream.
- A drizzle of sauce. Make this sweet dessert even sweeter with a drizzle of my Easy Homemade Hot Fudge Sauce or this Easy Salted Caramel Sauce Recipe.
How to Store
I suggest storing this creamy chocolate delight in an airtight cake carrier in the refrigerator. It will stay good for up to 5 days. No cake carrier? Alternatively, you can wrap the pie in 2 layers of plastic wrap. I encourage you to prop the plastic wrap away from the whipped cream topping using toothpicks so as not to smoosh the pie.
Can I Freeze This Pie?
You can! Before topping the pie with whipped cream and chocolate shavings and curls, wrap it tightly in a double layer of plastic wrap. Store it in the freezer for up to 3 months. When it comes time to enjoy, allow the dessert to thaw in the refrigerator overnight. Ready to serve? Whip up the whipped cream, spread it over the cream filling, and top the whole thing off with chocolate shavings and curls.
Already topped your chocolate cream pie? No problem. Place the pie in the freezer for 2 to 3 hours to firm up (this is called flash freezing). Wrap the pie tightly in a double layer of plastic wrap and store it in the freezer for up to 3 months. Allow the pie to thaw in the refrigerator before diving in.
More Decadent Chocolate Pie Recipes:
- Baileys Chocolate Cream Pie
- Baileys Hot Chocolate Ice Cream Pie
- Chocolate Truffle Pie Recipe
- French Silk Pie
- S’mores Chocolate Pie
- Chocolate Cherry Ice Cream Pie
Watch How To Make It
Print
Chocolate Cream Pie
- Prep Time: 20
- Chill Time: 4 hours
- Cook Time: 20
- Total Time: 4 hours and 40 minutes
- Yield: 10
- Category: Desserts
- Method: Baking
- Cuisine: American
Description
Get ready chocolate lovers! Oreo pie crust, homemade chocolate pudding filling, and homemade whipped cream come together in this gorgeous chocolate cream pie topped with chocolate shavings and curls. Yum!
Ingredients
Crust
- 2 cups (268g) Oreo crumbs (about 24 Oreos)
- 4 tbsp (56g) butter, melted (salted or unsalted)
Chocolate Pie Filling
- 1/2 cup (104g) granulated sugar
- 2 1/2 tbsp cornstarch
- 2 1/2 cups (600ml) whole milk
- 6 large egg yolks
- 6 tbsp (84g) salted butter, chopped into pieces
- 8 oz semi-sweet chocolate, chopped (I like Ghirardelli’s)
- 1 1/2 tsp vanilla extract
Whipped Cream
- 1 cup (240ml) heavy whipping cream, cold
- 1/2 cup (58g) powdered sugar
- 1 tsp vanilla extract
- Chocolate bar (such as Ghirardelli or Bakers chocolate)
Instructions
For the crust:
- Preheat oven to 350 degrees F. Grease a 9-inch pie pan with non-stick spray.
Add the Oreos to a food processor or blender and grind into fine crumbs. You do not need to remove the filling from the Oreos. - Add the Oreo crumbs to a bowl and combine with the melted butter.
- Pour the mixture into your pie pan and press into an even layer on the bottom and up the sides.
- Bake crust for 8-10 minutes, then set aside to cool.
For the chocolate pie filling:
- Add the egg yolks to a medium sized bowl, whisk together until smooth, then set aside.
- Add the sugar and cornstarch to a medium saucepan and whisk together until well combined and no lumps remain.
- Add the milk and whisk well to combine. Heat mixture over medium heat, whisking constantly.
- Once the milk mixture beings to simmer, pour a little of the milk mixture into the egg yolks while whisking constantly, to temper the eggs. Add a little more of the hot liquid into the egg yolks, then pour the egg mixture back into the saucepan.
- Whisk constantly until the mixture begins to thicken and comes to a boil. Allow to boil for 1 minute, then remove from heat and whisk in the butter, chopped chocolate, and vanilla extract. Stir until completely smooth and well combined.
- Pour the filling into the cooled crust and spread into an even layer. Press a piece of plastic wrap directly on top of the pie and refrigerate about 4–6 hours or until the pie is set.
For the topping:
- To make the whipped cream, and the heavy whipping cream, powdered sugar and vanilla extract a mixer bowl and whip on high speed until stiff peaks form. Remove the clear wrap from the top of chilled pie and spread the whipped cream on top of the pie.
- Use a vegetable peeler to scrape along the sides of a chocolate bar, such as a Bakers or Ghirardelli chocolate bar, to create the chocolate shavings and curls on top of the pie, if desired.
- Cover and refrigerate until ready to serve. The pie is best if eaten within 4-5 days.
Nutrition
- Serving Size: 1 Slice
- Calories: 527
- Sugar: 42.7 g
- Sodium: 159.7 mg
- Fat: 34 g
- Carbohydrates: 52 g
- Protein: 7.4 g
- Cholesterol: 169.3 mg


I cooked filling as you said but it thickened but not as this pudding where it keeps getting thicker very fast. I never quit whisking till it slowly came to simmer then I tempered eggs as you said then combined with mixture and boiled 1 min. Added chocolate butter and vanilla. But you don’t say how thick it should have been when your ready to fill pie? This is for Easter and I’m really worried it’s might not set. Would love a reply if anyone’s out there? Thank you
I’m sorry I wasn’t able to respond sooner. Did it turn out ok? It sounds like you did it correctly. It shouldn’t thicken like boxed pudding when on the stove. It’ll still be somewhat thin by comparison, but thickens as it cools.
This pie is AMAZING ! So delicious and smooth. Honestly the best dessert for thanksgiving that’s not “pie”
I’m so glad you enjoyed it!
I say this every time, but I have never made a recipe from the site that didn’t turn out delicious! And that’s saying something!!! I made the chocolate cream pie and the French silk pie for a birthday party and they were both a hit!
I’m so glad you enjoyed them both!