This post may contain affiliate sales links. Please read my disclosure policy.
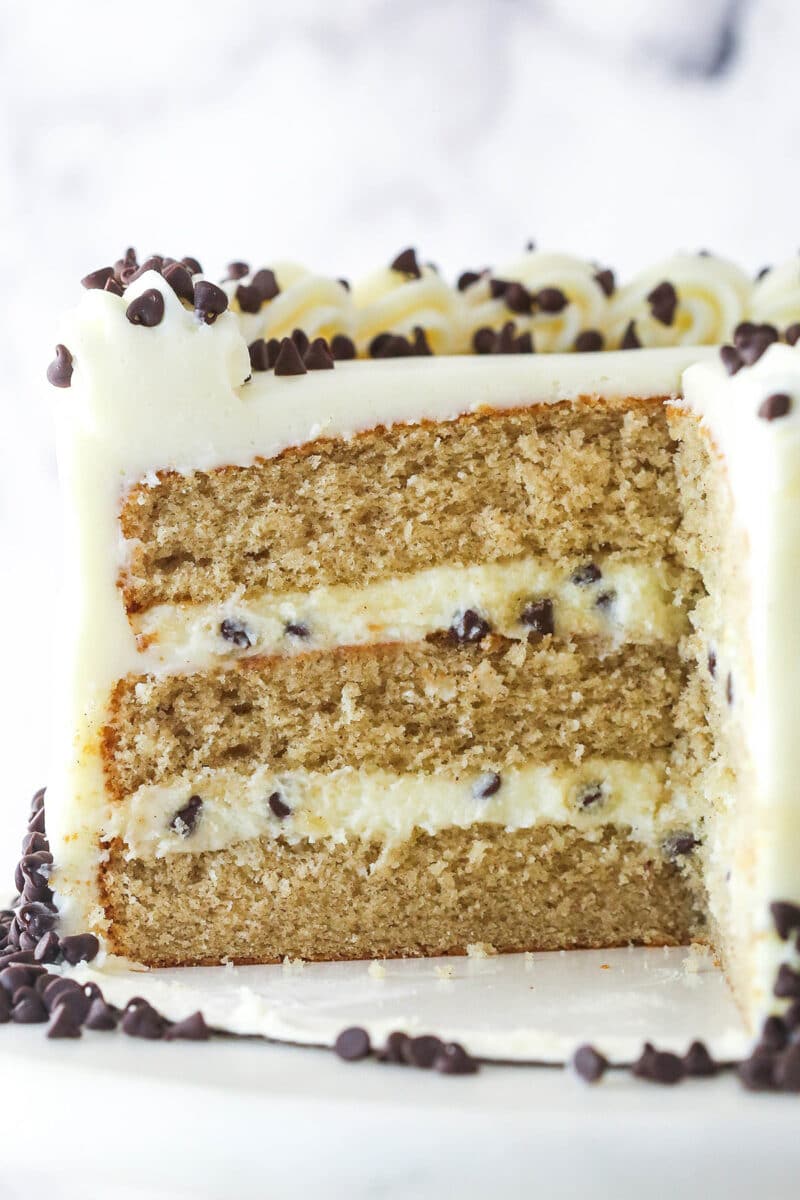
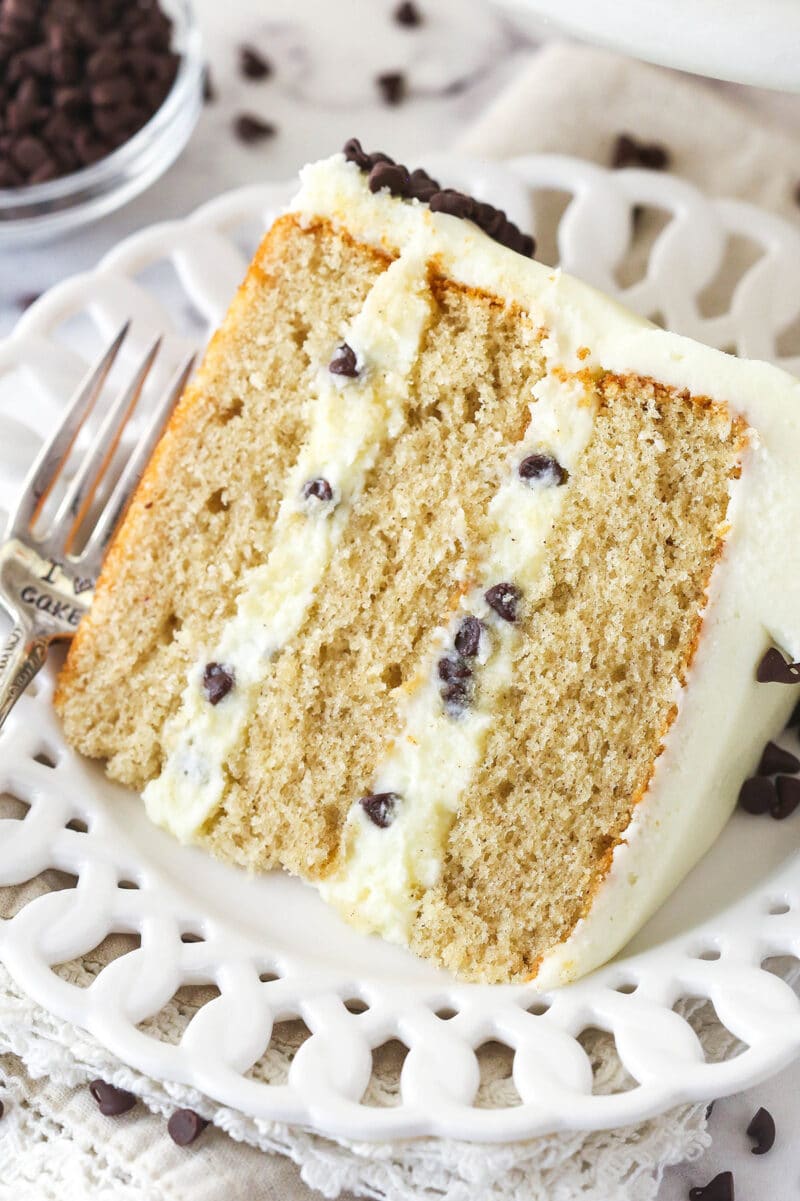
This Cannoli Layer Cake is a light, moist cinnamon cake layered with cannoli filling, chocolate chips, and mascarpone frosting! All the best elements of cannoli in one irresistible cake!
I love cannoli desserts, and I’m always looking for fun, new ways to work those light and creamy flavors into recipes, like this cannoli cheesecake and my cannoli tart. For another favorite Italian dessert-turned-layer cake, try my tiramisu cake, next!
Why You’ll Love This Cannoli Layer Cake
I’ve been making this cannoli layer cake for years and it remains one of my favorites. It has all the flavors of a classic cannoli wrapped up in a decadent three-layer cake! I recently updated the recipe to make it even better. I decided to change the cake layers to my newer moist vanilla cake recipe. It uses whole eggs, instead of egg whites, so you aren’t wasting the yolks, and it’s also a lighter cake. I also reduced the filling and added some mini chocolate chips and made the frosting a bit thicker and more sturdy to hold the cake together better.
This cake was amazing before so trust me when I say it’s simply irresistible now! Here are a few reasons why:
- All the best elements of cannoli. Cannoli as a flavor for cakes and other desserts always surprises me. It seems like a flavor that’s so light and primarily composed of a little cinnamon and a couple of kinds of cheese would be fairly boring – and yet every cannoli dessert I make I totally fall in love with. They are anything but boring and this cannoli layer cake is no exception.
- Light & lightly sweet. Mascarpone cheese has easily become one of my favorite things to use in desserts. The flavor is incredibly light, but so darn good and just sweet enough. I used it for both the filling and the frosting in this cake.
- Absolute showstopper. This cake really is exceptional. It takes a little time and finesse to work with the soft filling and frosting, but it’s totally worth it. You won’t want to share a single crumb with anyone. It’s so beautiful once assembled and doesn’t really require any special decorating skills either.
Recipe Ingredients
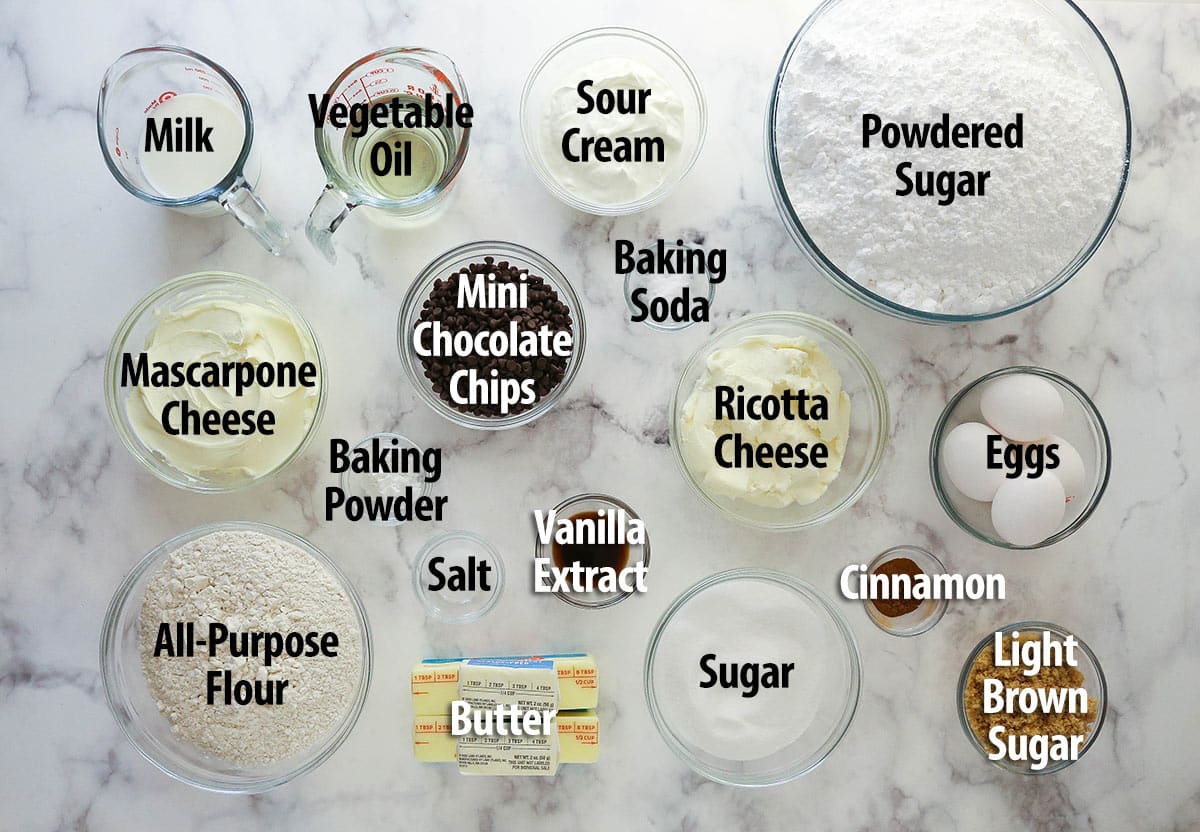
The cannoli filling for this cake is similar to my stabilized mascarpone whipped cream, with a few tweaks and the addition of ricotta cheese. Here’s a run-down of everything you’ll need to make this cake. Scroll down to the recipe card below for the exact measurements.
Cannoli Filling
- Ricotta cheese – Ricotta is a must when it comes to any cannoli filling. You will want to strain it.
- Mascarpone cheese – I use mine straight out of the fridge, but you could also let it sit out for 5-10 minutes. You just don’t want it to get too warm. It’ll turn watery at that point and you can’t really save it.
- Powdered sugar – Sweetens and helps to stabilize the filling.
- Mini chocolate chips
Cake Layers
- All-purpose flour – Be sure to measure it properly. I always recommend a food scale, but the spoon and level method will also work.
- Baking powder & baking soda – Using both helps to give the cake a light and tender crumb.
- Ground cinnamon – Adds just a bit of warmth to the cake layers, which nicely compliments the filling.
- Salt – Enhances the flavors already present. Without a little salt, your cake will be bland.
- Unsalted butter – You could use salted butter, but you’d want to leave out the added salt.
- Vegetable oil – Helps keep the cake extra moist.
- Sugar – This cake uses both white and brown sugar for the best texture and flavor.
- Vanilla extract
- Eggs – It’s best to use room temperature eggs when making as they incorporate into the batter more easily, which helps prevent over mixing. Be sure to use large eggs, not medium or extra large.
- Milk – I typically use 2% but whole milk works too.
- Sour cream – Sour cream adds a bit of extra moisture to the cake.
Buttercream
- Unsalted butter – At room temperature.
- Mascarpone cheese – Again, the mascarpone shouldn’t get too warm or it’ll become watery.
- Powdered sugar – Helps to sweeten, add volume and stabilize the buttercream.
- Vanilla extract
- Mini chocolate chips
How To Make Cannoli Layer Cake
Because the filling and frosting for this cake are made with ricotta and mascarpone cheeses and on the softer side, you’ll need to pay careful attention to the process of building the cake. There’s a bit of waiting involved at a couple of points to make sure things are firm. It’s worth every second, though! You can find the printable version of the instructions in the recipe card below.
Strain the Ricotta
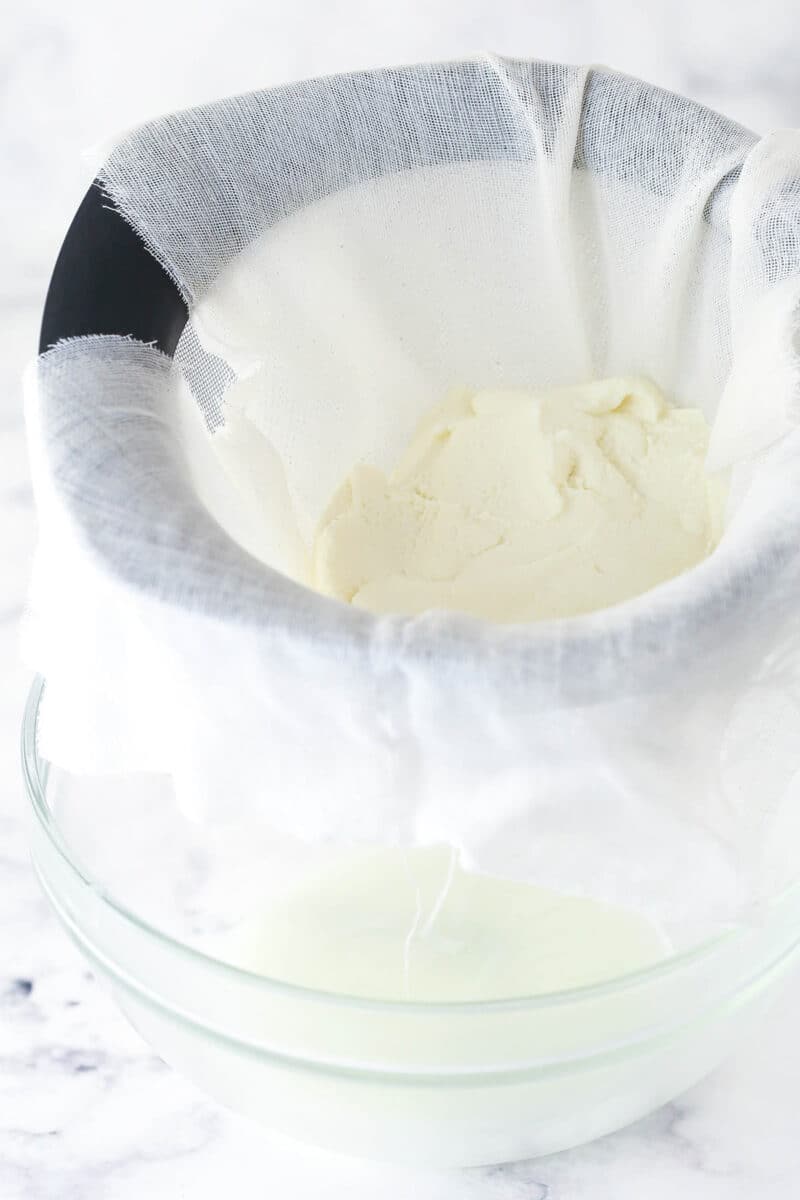
- Strain the ricotta. Line a large strainer with two layers of cheesecloth. Add the ricotta and cover with more cheesecloth. Place the strainer in a bowl with at least 1-2 inches at the bottom of the bowl and place something heavy on top of the cheesecloth to help squeeze out the liquid. Refrigerate for at least 4 hours.
Make the Filling
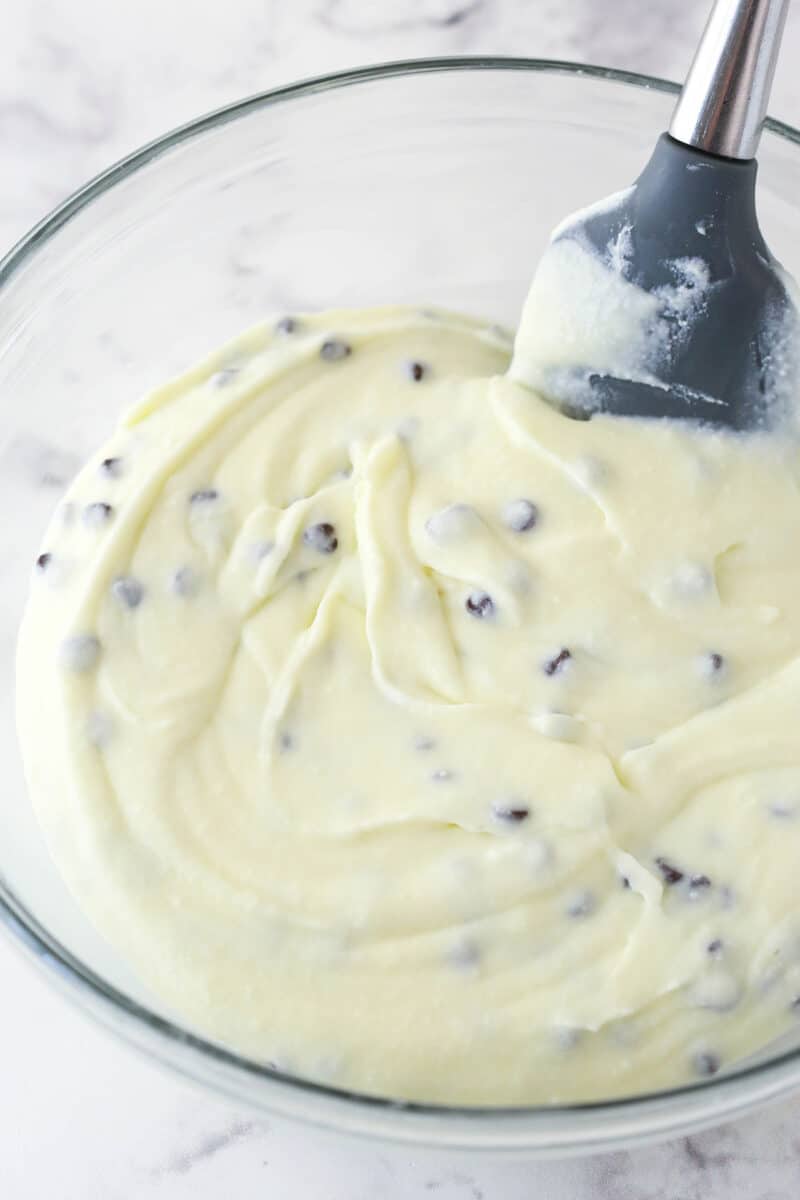
- Make the filling. Mix the strained ricotta, mascarpone, and powdered sugar on low speed until well combined. You can also mix it by hand with a spatula. This is a thinner filling and you do not want to over mix it.
- Chill. Refrigerate for 2-3 hours. (If you start making the cake layers now, it’ll be ready when the cakes have cooled.)
Make the Cake
- Prep. Line three 8-inch cake pans with parchment paper circles in the bottom. Grease the sides and preheat the oven to 350F.
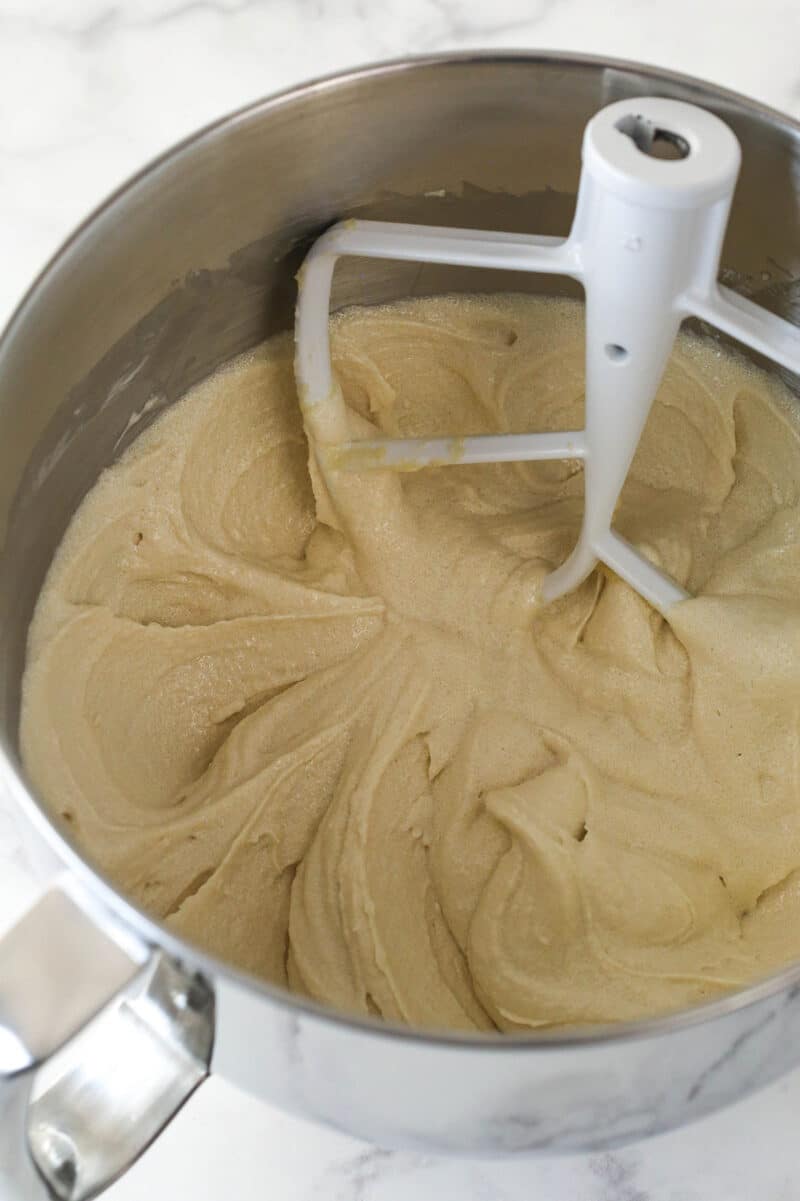
- Make the batter. Combine the dry ingredients and set aside. Beat together the butter, oil, sugars, and vanilla until light in color and fluffy. Add the eggs one at a time, mixing until mostly combined after each and scraping down the sides of the bowl as needed.
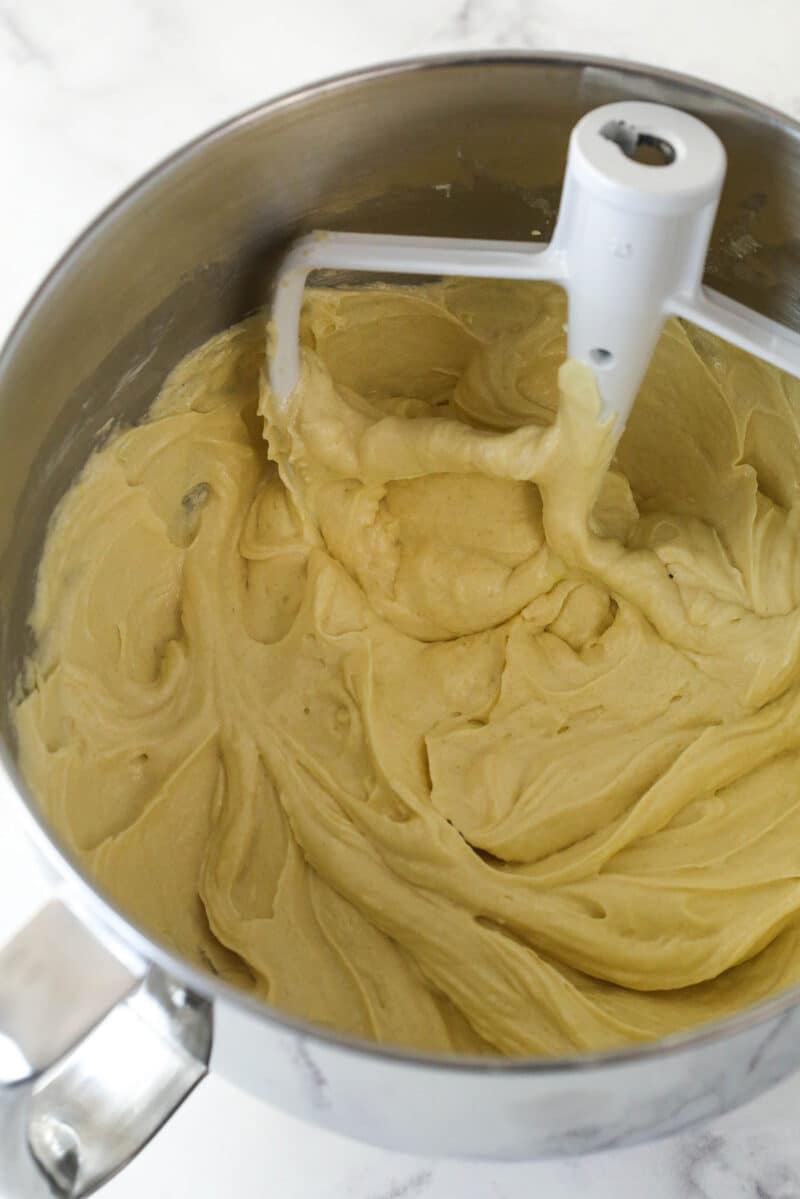
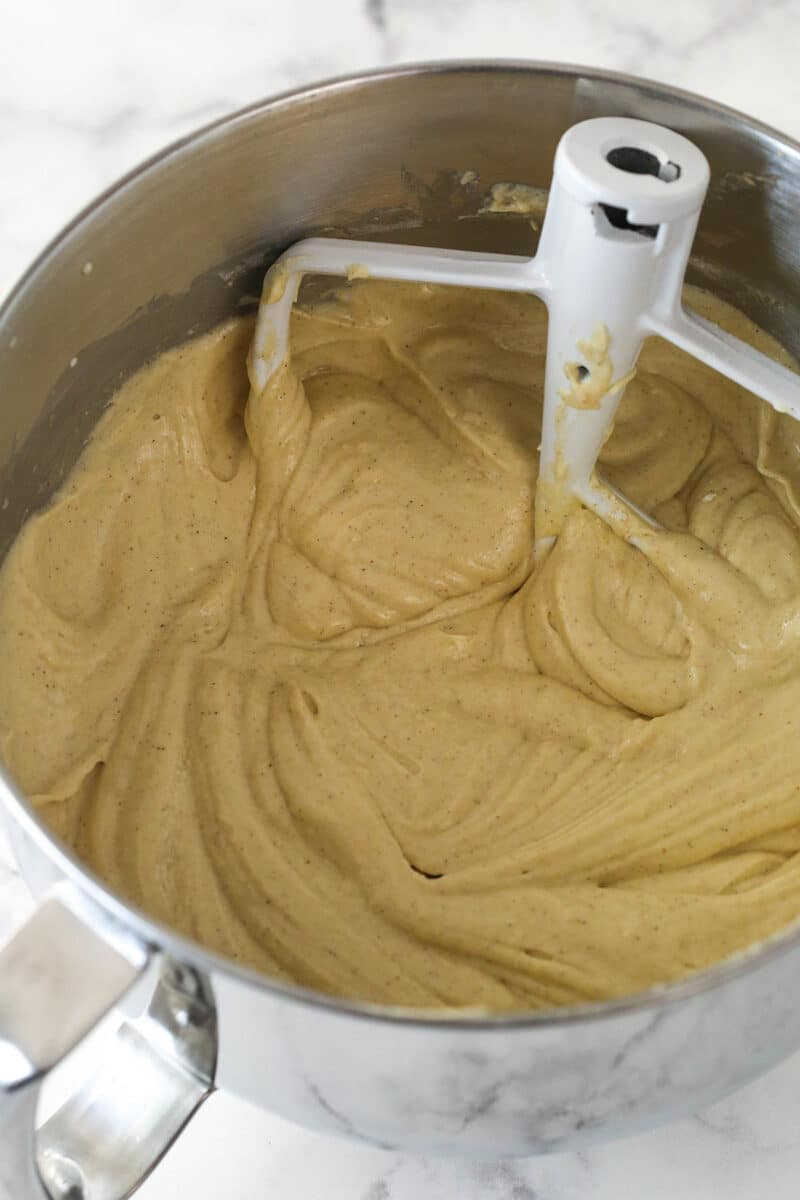
- Combine. Mix in half of the dry ingredients until mostly combined then slowly add in the milk and sour cream. Add the remaining dry ingredients, mixing until well combined and smooth.
- Bake. Divide the batter evenly between the prepared cake pans. Bake for 20-24 minutes, until a toothpick inserted in the center comes out with a few crumbs.
- Cool. Remove the cakes from the oven. Allow to cool for 2-3 minutes then remove to cooling racks to cool completely.
Make the Buttercream
- Beat the mascarpone. Beat the mascarpone and butter just until smooth. Do not overmix or the mascarpone will become too thin and watery.
- Add the powdered sugar. Add the powdered sugar in two parts, mixing until combined and smooth. It may look a bit separated but it will come together as you add more. Gently stir in the vanilla extract.
Build the Cake
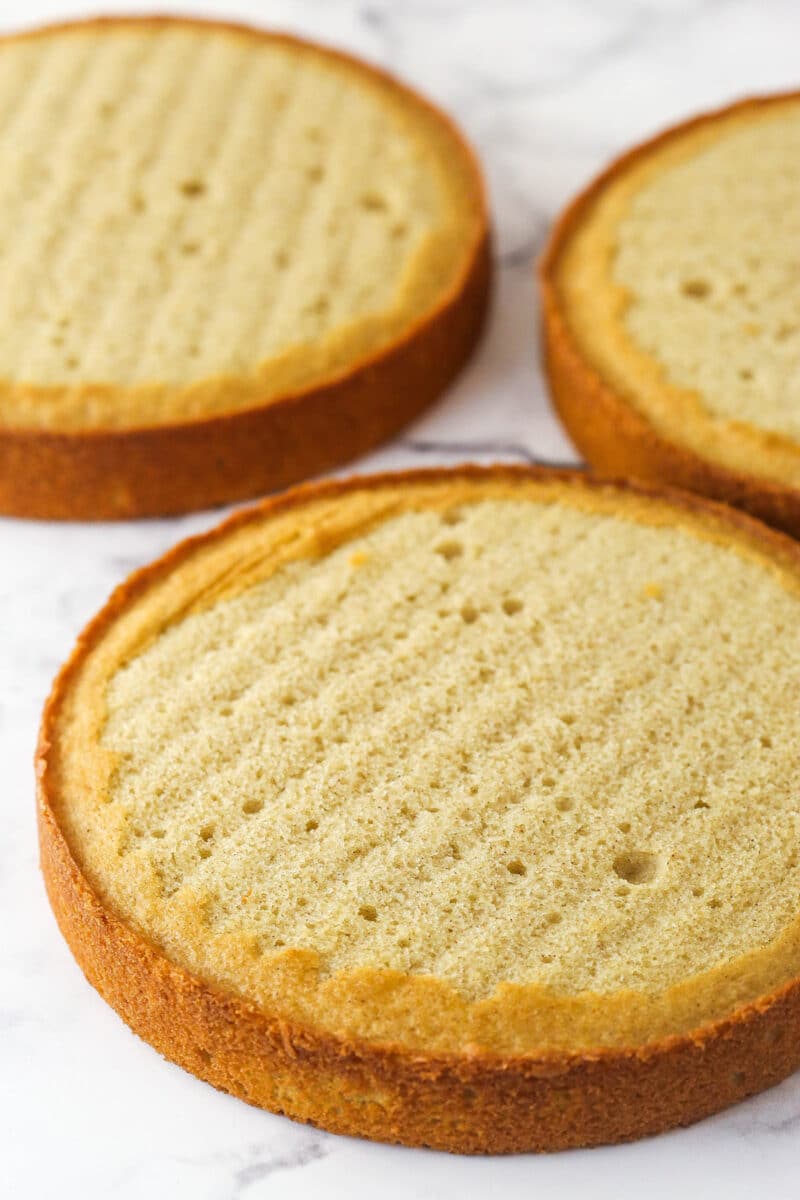
- Prep the cakes. Use a large serrated knife to remove the domes from the tops of the cakes so they’re completely flat.
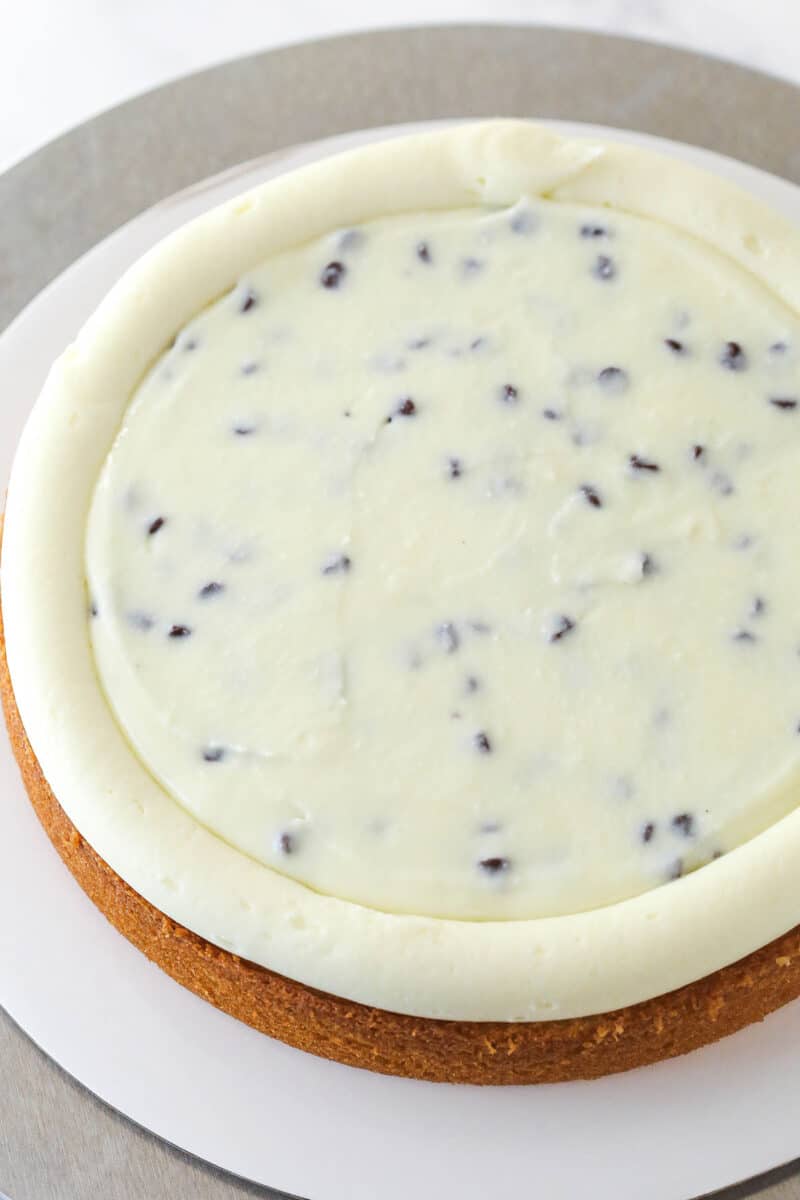
- Assemble. Place the first cake on a serving plate. Pipe a dam of frosting around the edge then fill with 1/2 of the filling. Add the second layer of cake, another dam of frosting, and the remaining filling inside the dam. Add the final layer of cake on top then add a thin crumb coat of frosting to the outside of the cake.
- Chill. Refrigerate the cake for 1-2 hours, until firm and sturdy (Or you can also pop it in the freezer for 30 minutes). Place the remaining frosting in the fridge as well but remove it about 20 minutes before continuing.
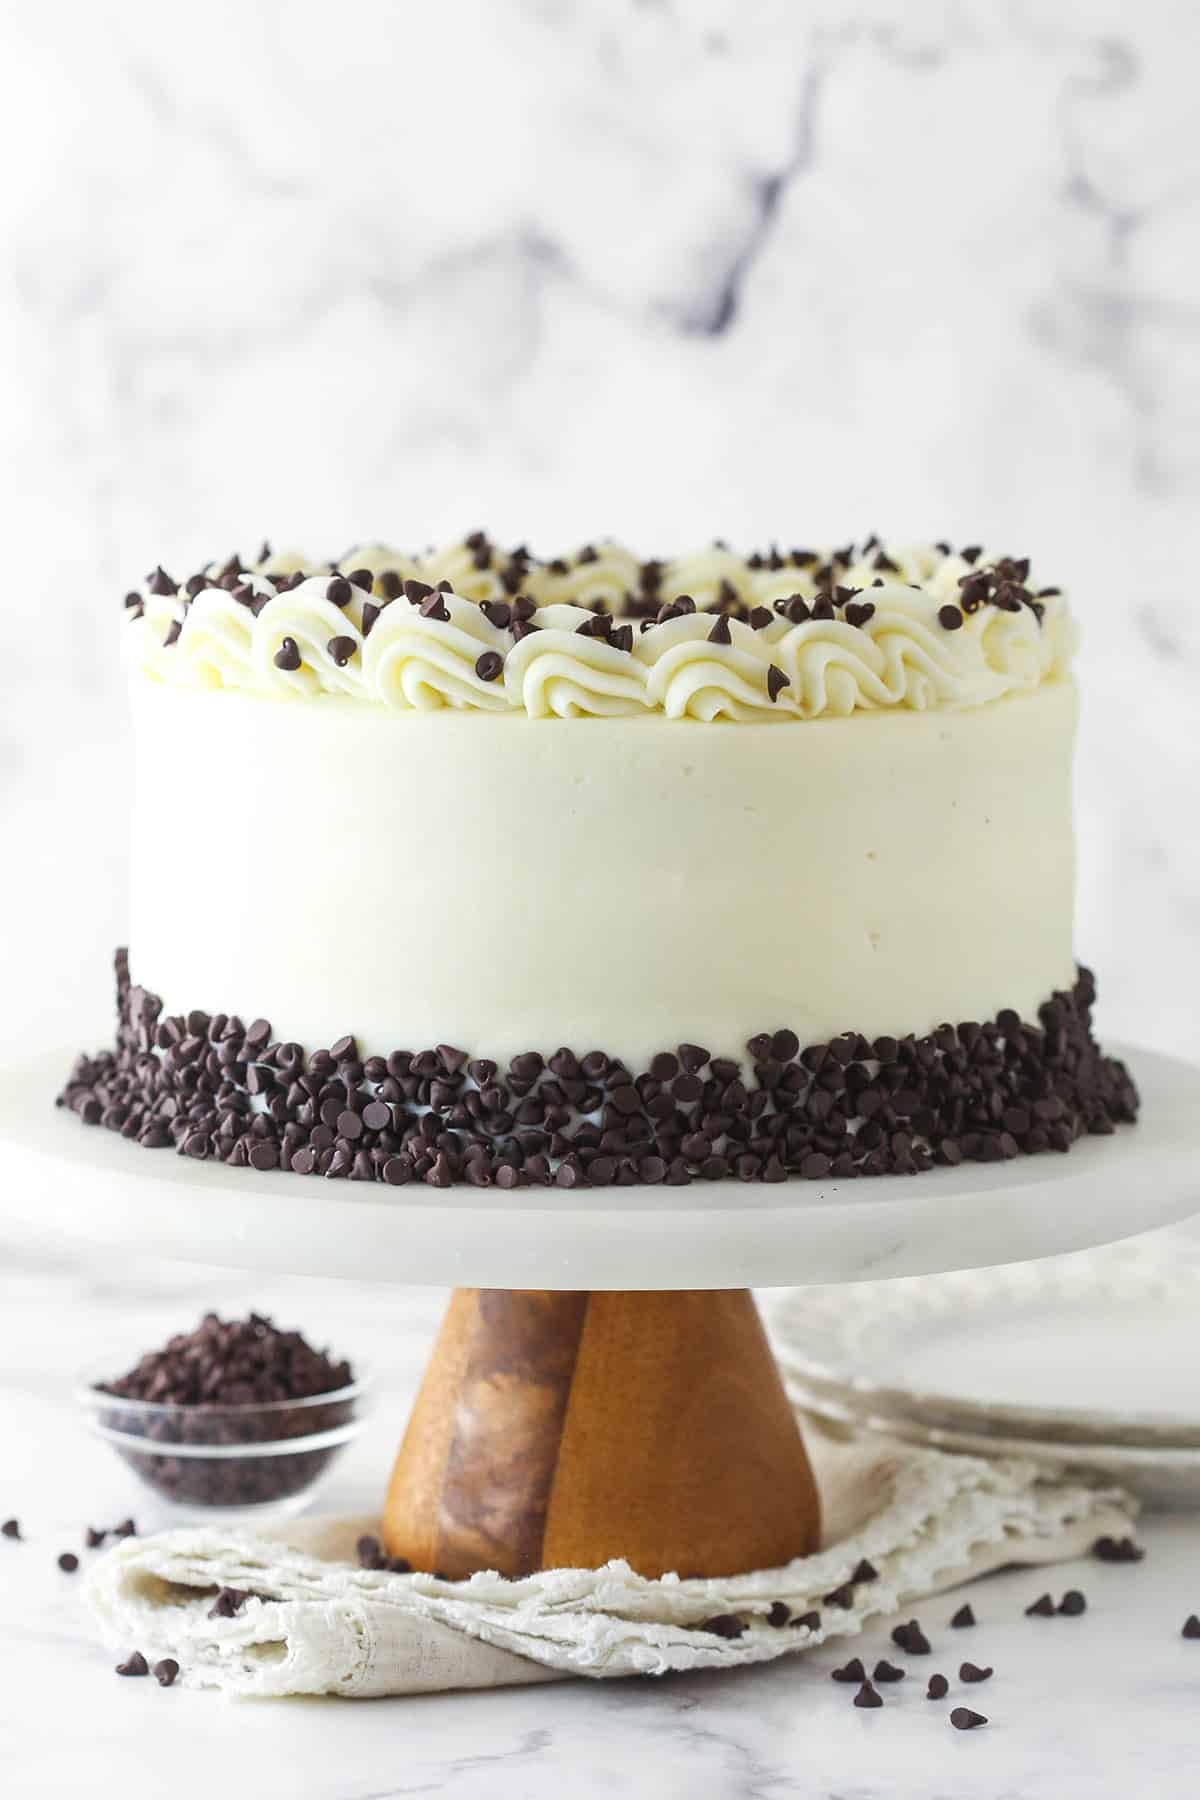
- Decorate. Frost the outside of the cake with the remainder of the frosting. Finish by pressing some mini chocolate chips along the bottom. Pipe the remaining frosting on the top edge. I used Ateco tip 847. Refrigerate until ready to serve.
Tips for Success
Here are a few tips for making this stunning cannoli layer cake. You can also refer to my detailed tutorial on how to fill and stack a layer cake for more helpful tricks.
- Strain the ricotta well. This really isn’t something you want to skip, or your filling can be too thin. I like to do it the night before to save time. I usually get a few tablespoons of liquid after straining it.
- Mix the mascarpone with care. The big thing you have to be careful of when using mascarpone cheese is that you don’t want to over-mix it or mix it at a high speed. The lowest speed you have is best. It easily gets watery if you aren’t careful or it gets too warm.
- Can I use less powdered sugar? The buttercream uses 8 ½ cups of powdered sugar. You can add less powdered sugar to the frosting so that there isn’t so much sugar, but you won’t end up with as much frosting and it won’t be as thick. You need it thick enough for the dam to stay in place and keep the filling in place. I highly recommend using the full amount of powdered sugar.
- Thicken the filling. The filling is on the thinner side. I didn’t add too much powdered sugar to the filling because I like the taste of the cheeses, but you could add more to thicken it further if you’d like.
- Chill the filling. It’s important to make the filling ahead of time and allow it to chill for a few hours before using it in the recipe, to allow it thicken a bit.
- Refrigerate the assembled cake. Once the cake layers are assembled, be sure to give it time to chill and set. Otherwise, the layers can slide everywhere as you try to frost the outside. If you’re in a rush, you can freeze it for about 30 minutes.
Proper Storage
Keep the cannoli layer refrigerated until ready to serve. It should be stored well-covered or in an airtight container, such as this cake carrier. It’s best when enjoyed within 3-4 days.
To freeze the cake, flash freeze for 1-2 hours, then wrap well. Thaw in the fridge before serving. You can also slice the cake and freeze the individual slices. Wrap them individually or store them in an airtight container.
More Italian-Inspired Desserts To Try
This recipe was updated September 30, 2024 based on reader feedback. For the original version, download this recipe PDF.
Print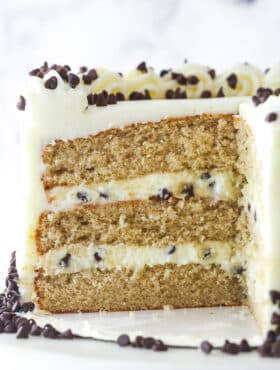
Cannoli Layer Cake
- Prep Time: 1 hour 25 minutes
- Cooling/Chilling Time: 7 hours
- Cook Time: 20 minutes
- Total Time: 8 hours 45 minutes
- Yield: 12-14 Servings
- Category: Dessert
- Method: Oven
- Cuisine: American
Description
This Cannoli Layer Cake is a light, moist cinnamon cake layered with cannoli filling, chocolate chips and mascarpone frosting! All the best elements of cannoli in one irresistible cake!
Ingredients
Cannoli Filling
- 3/4 cups (189g/6 oz) ricotta cheese
- 3/4 cups (170g/6 oz) mascarpone cheese*
- 1 1/3 cups (154g) powdered sugar
- 1/4 cup (43g) mini chocolate chips
Cake Layers
- 2 1/2 cups (325g) all-purpose flour (measured properly)
- 2 tsp baking powder
- 1/4 tsp baking soda
- 1 tsp ground cinnamon
- 1/2 tsp salt
- 1/2 cup (112g) unsalted butter, room temperature
- 1/2 cup (120ml) vegetable oil
- 1 cup (207g) sugar
- 1/2 cup (112g) light brown sugar
- 1 tbsp vanilla extract
- 4 large eggs
- 1/2 cup (120ml) milk
- 3/4 cup (173g) sour cream
Buttercream
- 1 cup (280g) unsalted butter, room temperature
- 12 oz (339g) mascarpone cheese, cool, but not cold*
- 8–9 cups (920g-1035g) powdered sugar
- 1 tsp vanilla extract
- 1 cup (169g) mini chocolate chips
Instructions
Strain the ricotta
- Line a large strainer with two layers of cheesecloth and put the ricotta cheese on top. Cover the top of the cheese with cheesecloth or some plastic wrap. Put the strainer on top of a bowl with at least an inch or two of space between the bottom of the strainer and the bottom of the bowl for liquid to drain to. You can put something heavy on top the cheese and cheesecloth to help squeeze out liquid, if you’d like. Put in the refrigerator and let the ricotta strain for at least 4 hours, or overnight. I ended up with about 2 tablespoons of liquid being removed from my cheese.
Make the filling
- Add the strained ricotta, mascarpone cheese and powdered sugar to a mixer bowl and mix on low speed just until well combined. Do not over mix or mix on a high speed or the mascarpone cheese can become thin and watery. You can even stir it all together by hand with a spatula, just to be sure you don’t over mix it. Keep in mind that this is a thinner filling.
- Place the filling in the fridge to firm up a bit, about 2-3 hours. If you make the cake layers while this chills, it should be good to use when the cakes have fully cooled.
Make the Cake
- Prepare three 8-inch cake pans with parchment paper circles in the bottom and grease the sides. Preheat oven to 350°F (176°C).
- Combine the flour, baking powder, baking soda, cinnamon and salt in a medium sized bowl and set aside.
- Add the butter, oil, sugars and vanilla extract to a large mixer bowl and beat together until light in color and fluffy, about 2-3 minutes. Do not skimp on the creaming time.
- Add the eggs one at a time, mixing until mostly combined after each. Scrape down the sides of the bowl as needed to be sure all ingredients are well incorporated.
- Add half of the dry ingredients to the batter and mix until mostly combined.
- Slowly add the milk and sour cream mix until well combined. The batter may look a little curdled, but that’s ok.
- Add the remaining dry ingredients and mix until well combined and smooth. Scrape down the sides of the bowl as needed to be sure all ingredients are well incorporated. Do not over mix the batter.
- Divide the batter evenly between the cakes pans and bake for 20-24 minutes, or until a toothpick comes out with a few crumbs.
- Remove the cakes from the oven and allow to cool for about 2-3 minutes, then remove to cooling racks to cool completely.
Make the buttercream
- Add the butter and mascarpone cheese to a large mixing bowl and just beat until smooth. You don’t want to over mix the mascarpone cheese or it can become thin and watery.
- Add the powdered sugar in two parts and mix until well combined and smooth, again being careful not to over mix. As you add the powdered sugar, it may start to look a little separated, but will come together as you add additional powdered sugar. Just don’t over mix it.
- Add the vanilla extract and gently stir to combine.
Build the cake
- To put the cake together, use a large serrated knife to remove the domes from the top of the cakes so that they’re flat. These cakes don’t have a large dome, but I like to make sure they’re completely flat.
- Place the first cake on a serving plate or a cardboard cake round.
- Pipe a dam of frosting around the edge of the cake and then fill it with 1/2 of the filling.
- Add the second layer of cake, another dam of frosting and the remaining filling inside the dam.
- Add the final layer of cake on top and then add a thin crumb coat of frosting to the outside of the cake. Refrigerate the cake until firm and sturdy, about 1-2 hours (you can speed the process up by putting the cake in the freezer for about 30 minutes, if you’d like). Set the remainder of the frosting in the fridge while the cake firms up and take it out about 20 minutes before you’re ready to continue, so it can soften a bit.
- Frost the outside of the cake with the remainder of the frosting, then finish it off by pressing some mini chocolate chips onto the outside of the cake, along the bottom.
- Pipe the remaining frosting along the top edge of the cake. I used Ateco tip 847.
- Refrigerate cake until ready to serve. Store well covered or in an airtight cake carrier. Cake is best if eaten within 3-4 days.
Notes
Mascarpone cheese: I use mine straight out of the fridge, but you could also let it sit out for 5-10 minutes. You just don’t want it to get too warm. It’ll turn watery at that point and you can’t really save it.
Powdered sugar: The buttercream uses 8 ½ cups of powdered sugar. You can add less powdered sugar to the frosting so that there isn’t so much sugar, but you won’t end up with as much frosting and it won’t be as thick. You need it thick enough for the dam to stay in place and keep the filling in place. I highly recommend using the full amount of powdered sugar.
Filling: The filling is on the thinner side. I didn’t add too much powdered sugar to the filling because I like the taste of the cheeses, but you could add more to thicken it further, if you’d like.
Nutrition
- Serving Size: 1 Slice
- Calories: 1016
- Sugar: 107.7 g
- Sodium: 178.2 mg
- Fat: 53.1 g
- Carbohydrates: 130 g
- Protein: 10.5 g
- Cholesterol: 163.2 mg





can you do this cake in a 9×13 pan
I haven’t tried it, but you could give it a shot. It’d bake certainly, you just might need to adjust the amounts of frosting.
Just finished making this for the second time. It was touch and go the first time, but I did pull it together and it was such a big hit that my daughter asked for it again for her birthday. Since I had so much trouble with the filling being too runny on my first one, I did things a little differently this time. First of all, I made the cake layers a few days ahead and froze them. So the plastic wrap would not stick to the top of the layers, I put them unwrapped in the freezer for thirty minutes, then wrapped each layer individually with plastic wrap, then foil, and then placed them in a zip lock freezer bag.
I made the filling the evening before I was to assemble the cake and let it chill overnight. When I was ready to assemble the cake, I removed the layers from the freezer, and unwrapped them immediately. I placed the filling onto the frozen layers, which helped the filling stay cold as I spread it. The filling was still a bit unstable, but held together much better than the first time.
I also made small cannoli shell chips to use as an added decoration on top. They are also good to dip into the leftover frosting.
I can’t wait to try this recipe – it looks incredible!! Have you ever incorporated raspberries or other fruit into the cake, filling or frosting? Thank you so much for sharing!!
Have you ever put chocolate chips in the filling?
I haven’t, but you could try it. Sounds great!
Nothing says Happy Valentines Day like a Cannoli Cake! This is the 3rd cake recipe I’ve tried of yours and I think it’s been my favorite so far (although it may actually be a toss up between this one and the chocolate peanut butter layer cake w/ Reeses!).
I shared some with my favorite neighbors and they couldn’t believe it was homemade! Thank you again for sharing this delicious recipe!
Also – I finally invested in a food scale and it made all the difference in how evenly my cakes baked, since I could accurately measure how much batter was in each pan.
Wonderful! So glad they’ve all been a hit!
Made this for Christmas time and my family LOVED it! Each individual part of the cake contribute to the flavor as a whole and it really is magical. Will definitely be making this again for next year!
Honestly, the filling and frosting are a disaster. I am an experienced baker and I have an absolute mess of dripping from the filling taking over the cake and ruining my plans for my husband’s birthday. I finally had to disassemble the filled cake and remove as much filling as I could and it is still a dripping mess. I tried to put the chocolate chips on to stop the bleeding but they were no match for the oozing filling. I just don’t believe that you used these ingredients and got the filling and frosting stiff enough to stay put on the cake.
My filling is wayyyy to runny and it took me five hours to make this cake. Is there anything I can do to solidify the filling by using what I have? I’m not going to the trouble of another trip to the store. I somehow need to scrape off as much of the filling as I can and thicken it up. Any suggestions? More powdered sugar? Corn starch? Geletin? (Sp?). It’s in the fridge and all of the filling has oozed out of the middles and is on the plate. Very long day. 🙁
I am attempting this filling recipe for a two tier chocolate cake. If kept in the fridge do you thinking the cannoli filling will hold up for two days? I’m trying to determine if I can make and assemble in advance or I need to make it the day before? Thanks!!
I’m thinking it’s going to be best to add the filling to your cake right after making it. It’ll be fine in the fridge for a couple days, but I’d have it in the cake already.
I cannot wait to cut into this cake!! However, I am wondering if the frosting should have ricotta in it as well? My “frosting” is very runny and is more like cake batter. LOL Please advise on what I have done wrong.
I didn’t use ricotta in the frosting. It sounds like your mascarpone cheese could have gotten a little too warm. It can be very finicky and should stay a little cool when you’re making and using the frosting. Otherwise it gets watery and refrigerating it unfortunately doesn’t help. I hope you still enjoy the cake!
Thank you so much for responding!! The cake is delicious even though it doesn’t look as lovely as your does!! 🙂 I poured my “frosting” over the top and let it run down the sides and I sprinkled on the chocolate chips. 🙂 We all love it!! You have delicious recipes and enjoy your site! Your strawberry cupcakes are amazing!!!
Thanks again!!
I would like to make this cake on a Sunday night and serve on a Tuesday morning… do you think the cake will be ok?
(I am unable to prepare anything on Monday due to time restraint)
Thank you!!
That should be fine.
Thank you!!
I made this cake for my sisters birthday. It was such a hit everyone loved it. I wasn’t sure how it would turn out because I used a 9” cake pan so there were only 2 layers but everyone loved it. I will definitely be making this again and again. Next time I will use an 8” pan but it is delicious. Thank you for sharing this recipe!
I’m so glad it was a hit!
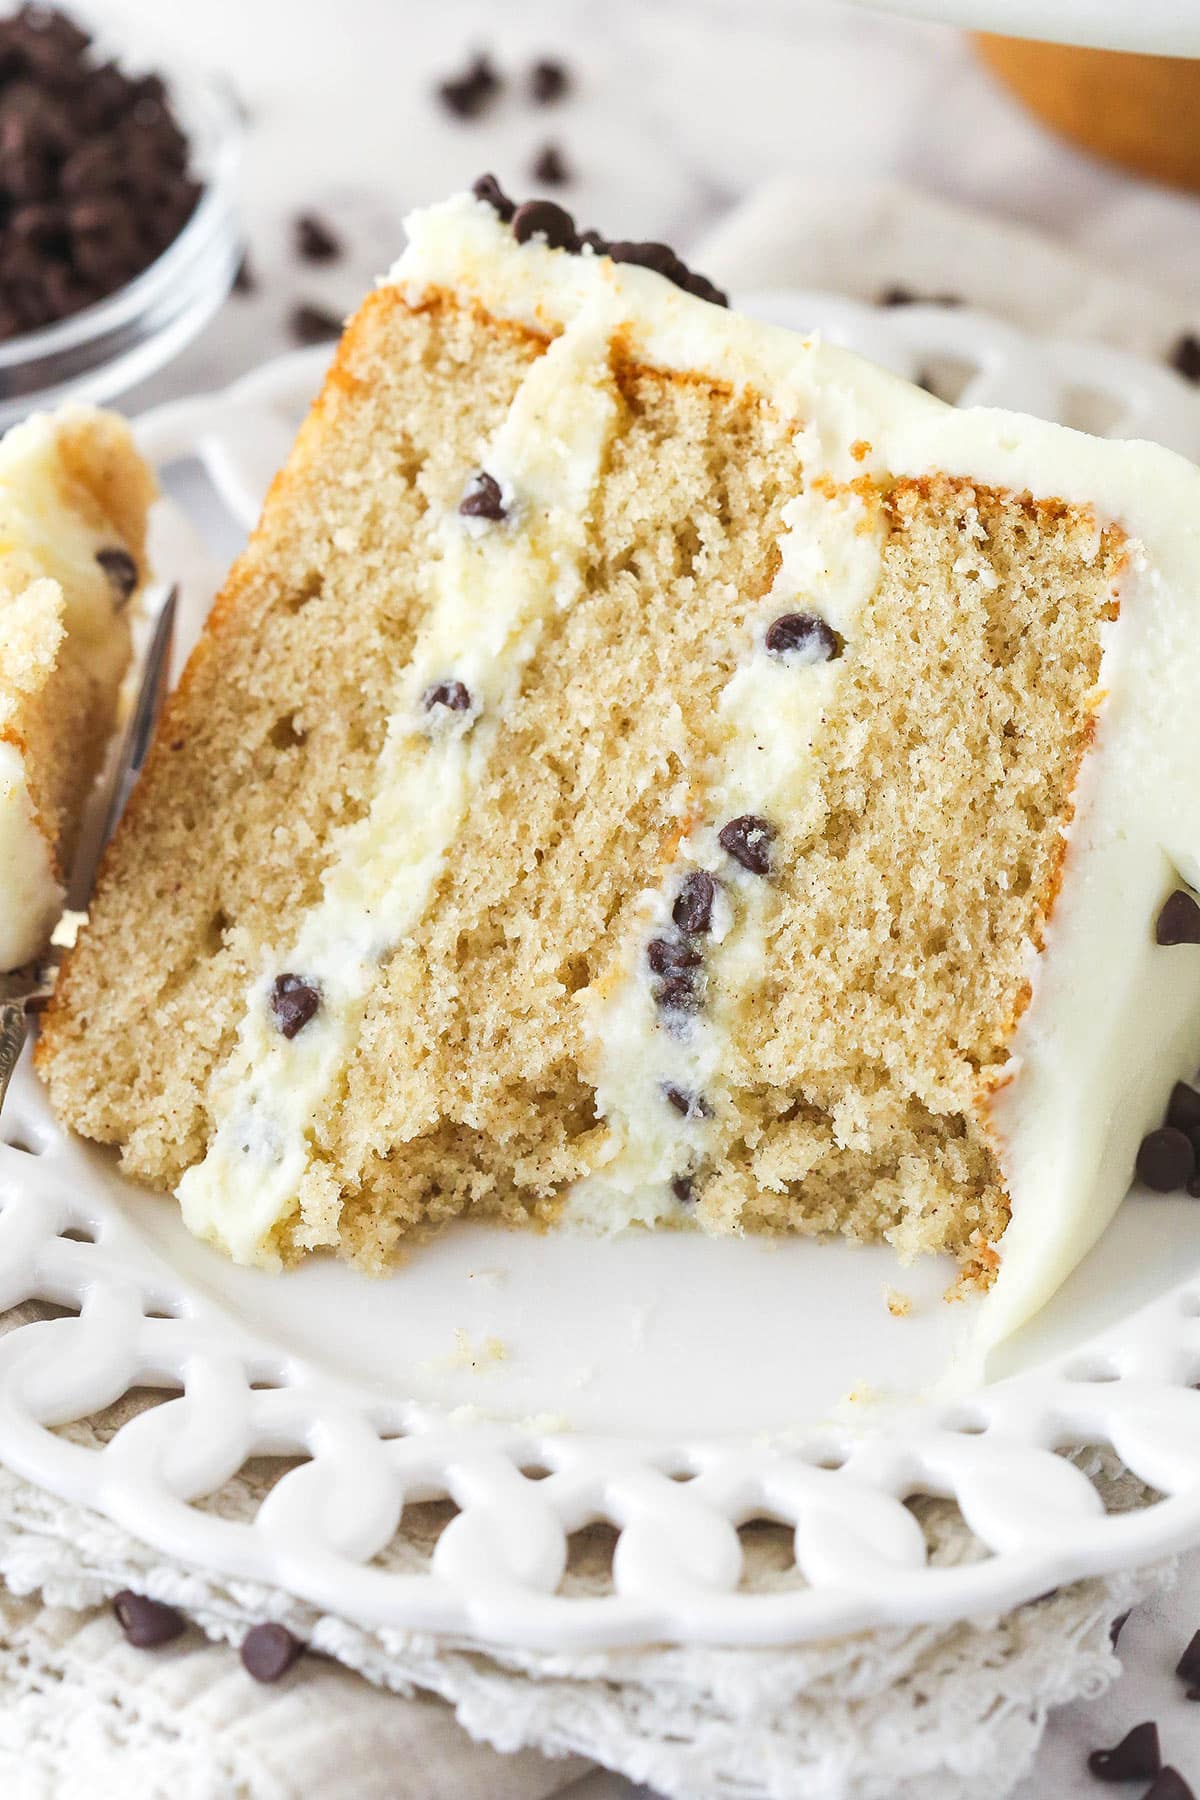
Hello! I made the “cake” part of this recipe last night, and followed with the creamy center filling. I plan to finish today since it was late and I know the center filling needs to sit in the fridge for a while. My questions is: approximately how thick should the spongy cake portion be (each individual part of the three layers)? Right now they seem thin compared to the picture, but maybe that’s because it’s not fully assembled?
The cake layers should be roughly an inch each.
Hello,
I am an a b id home baker however I have never made a cake (or any dessert) with Ricotta yet. I’ve used in savory recipes and am wondering if there is a different or special kind of Ricotta for desserts.
I can’t figure out how the texture of Ricotta will be in a dessert.
Is there a certain type or brand you can recommend?
Thank you and also thank you for all of your recipes.
I typically use Galbani. You don’t want it to be too watery, so if it seems like it is, you can drain it.
Hi, can I use egg whites from a carton for the recipe, rather than waste the egg yolks?
I haven’t tried it to say for sure. I would think it’d be ok.
Can I freeze the cake with filling instead of placing it in the fridge?
I don’t typically freeze full cakes and it wouldn’t really be what I’d recommend. That said, it might be ok. It’s just hard to know what will happen with all the moisture when it thaws. It might not “keep” very well.