This post may contain affiliate sales links. Please read my disclosure policy.
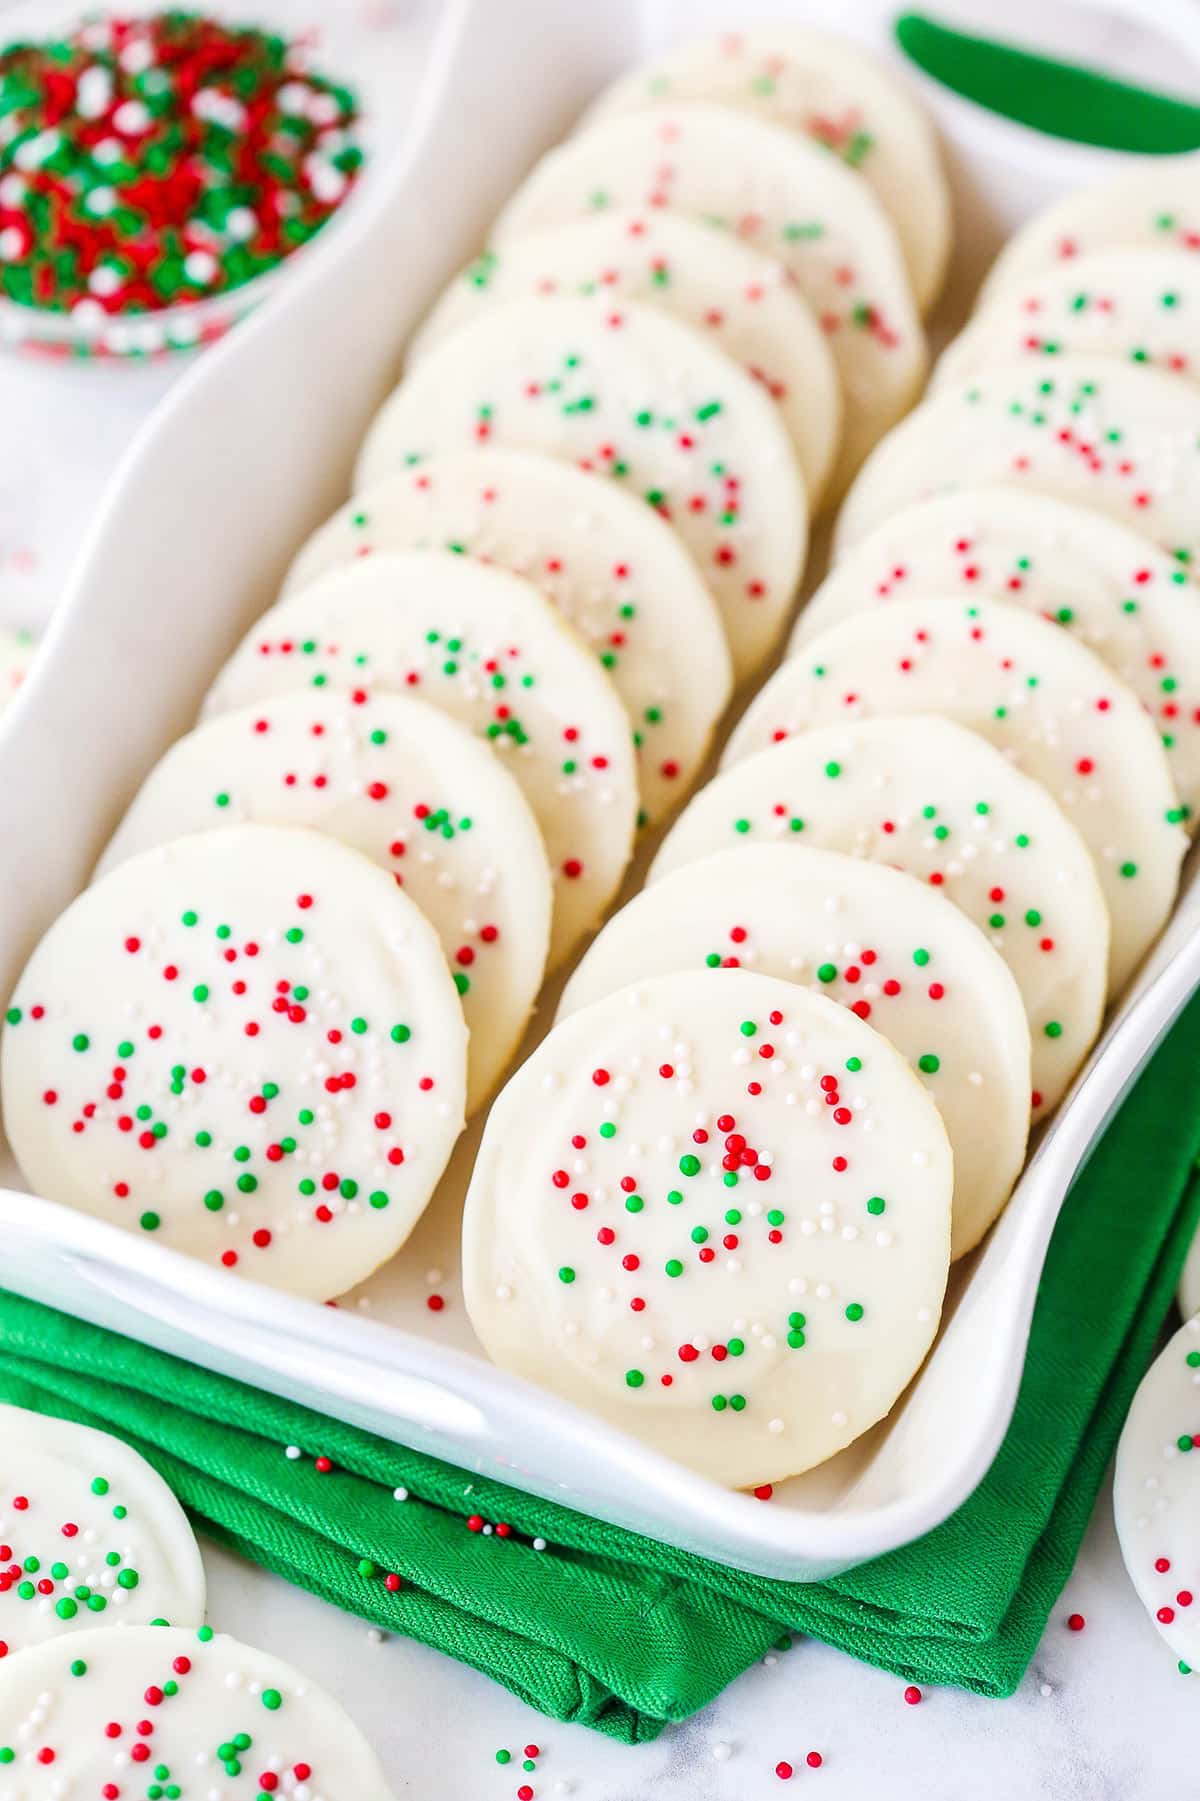
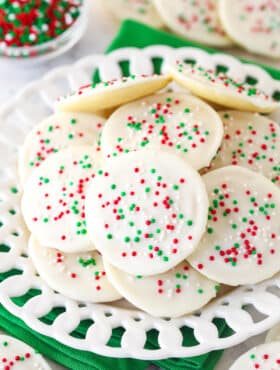
These Cakey Christmas Cookies are soft and tender vanilla cookies topped with a layer of white chocolate and festive sprinkles. They are easy to make and totally irresistible!

This cookie recipe was inspired by the totally addicting cakey cookies you can buy at Publix (you know the super cute cakey ones they decorate for different holidays with seasonal sprinkles?). I always buy them for my kids, but then sneak them for myself. I love the cakey texture of them. They are like little pillowy bites of heaven. So I decided to make a homemade version to enjoy at the holidays — and let’s be honest, my family will be enjoying these all year long! I adjusted my recipe for black and white cookies to create the perfect copycat recipe. I couldn’t be happier with how they turned out.
- Soft and cakey. To say these cookies have the perfect texture would be an understatement. They are super tender and oh-so soft and cakey.
- Easy to make.The dough is simple to make – a cross between cookie and cupcake. The most time-consuming part is covering them in white chocolate, but it’s so worth it.
- Transportable. This Christmassy recipe has cake-like vibes in the shape of a cookie; no more worrying about ruining your dessert on the road! They are totally portable and make a great addition for cookie exchanges and holiday parties.
- Customizable. I decorated this batch for Christmas with red, white and green sprinkles, but you could make them for any holiday or celebration. Just swap out the Christmas sprinkles for any other type of sprinkles that fits the occasion!
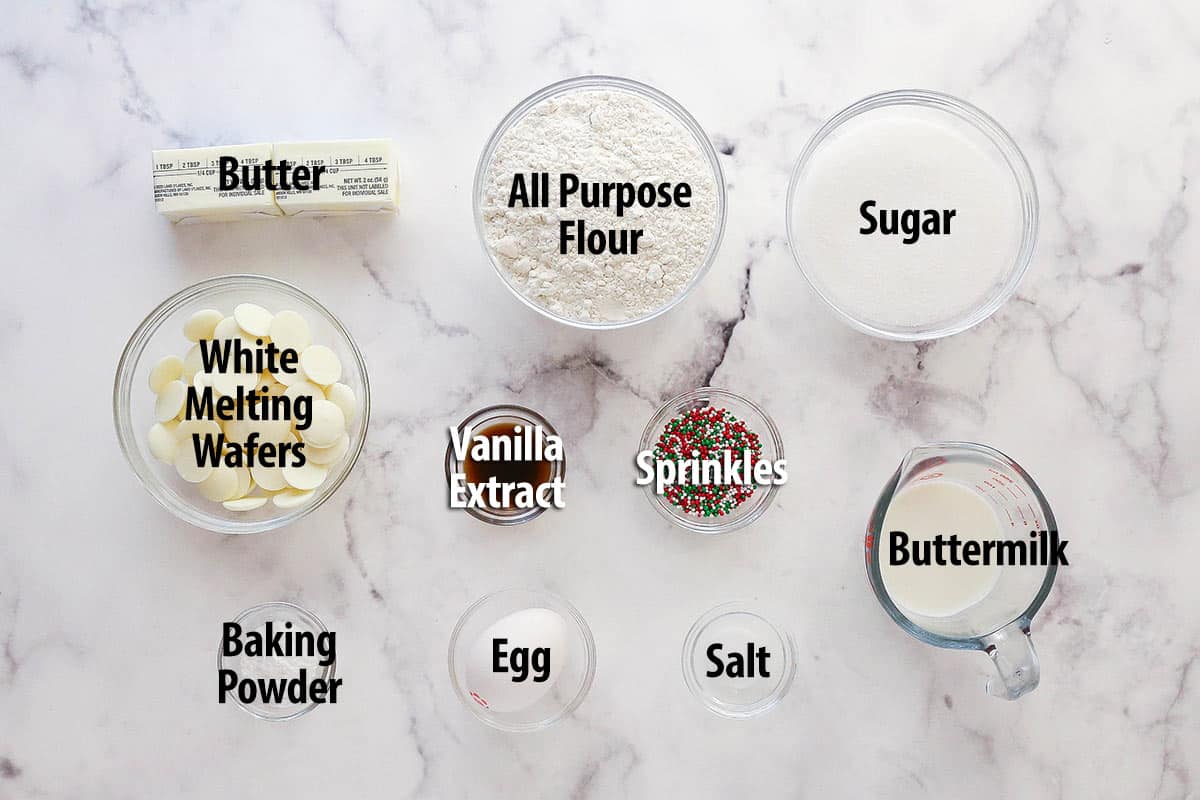
Ingredient Notes
Ready to get started? Here’s what you need to know about the ingredients. Check out the recipe card toward the bottom of this post for the full amounts.
- Flour. Use all-purpose flour for the base of the cookie dough. If possible use a food scale to ensure the flour is measured correctly. Or, use the spoon and level method.
- Unsalted butter and salt. Bring your butter to room temperature before getting started. I used unsalted butter and a little added salt for this recipe. If you only have salted butter, you can use it, but make sure to omit the additional salt.
- Egg. Be sure to use a large egg (not medium or extra large).
- Buttermilk. Helps give the cookies their cakey texture and flavor. I highly recommend the real thing over regular milk or a homemade version.
- White chocolate melting wafers. These cookies are topped with a layer of white chocolate melting candy. The melting wafers might also be called candy coating melts. You could also use a white chocolate baking bar.
- Sprinkles. I used Christmas sprinkles, but you can use any type of sprinkle you’d like (or leave them off completely!).
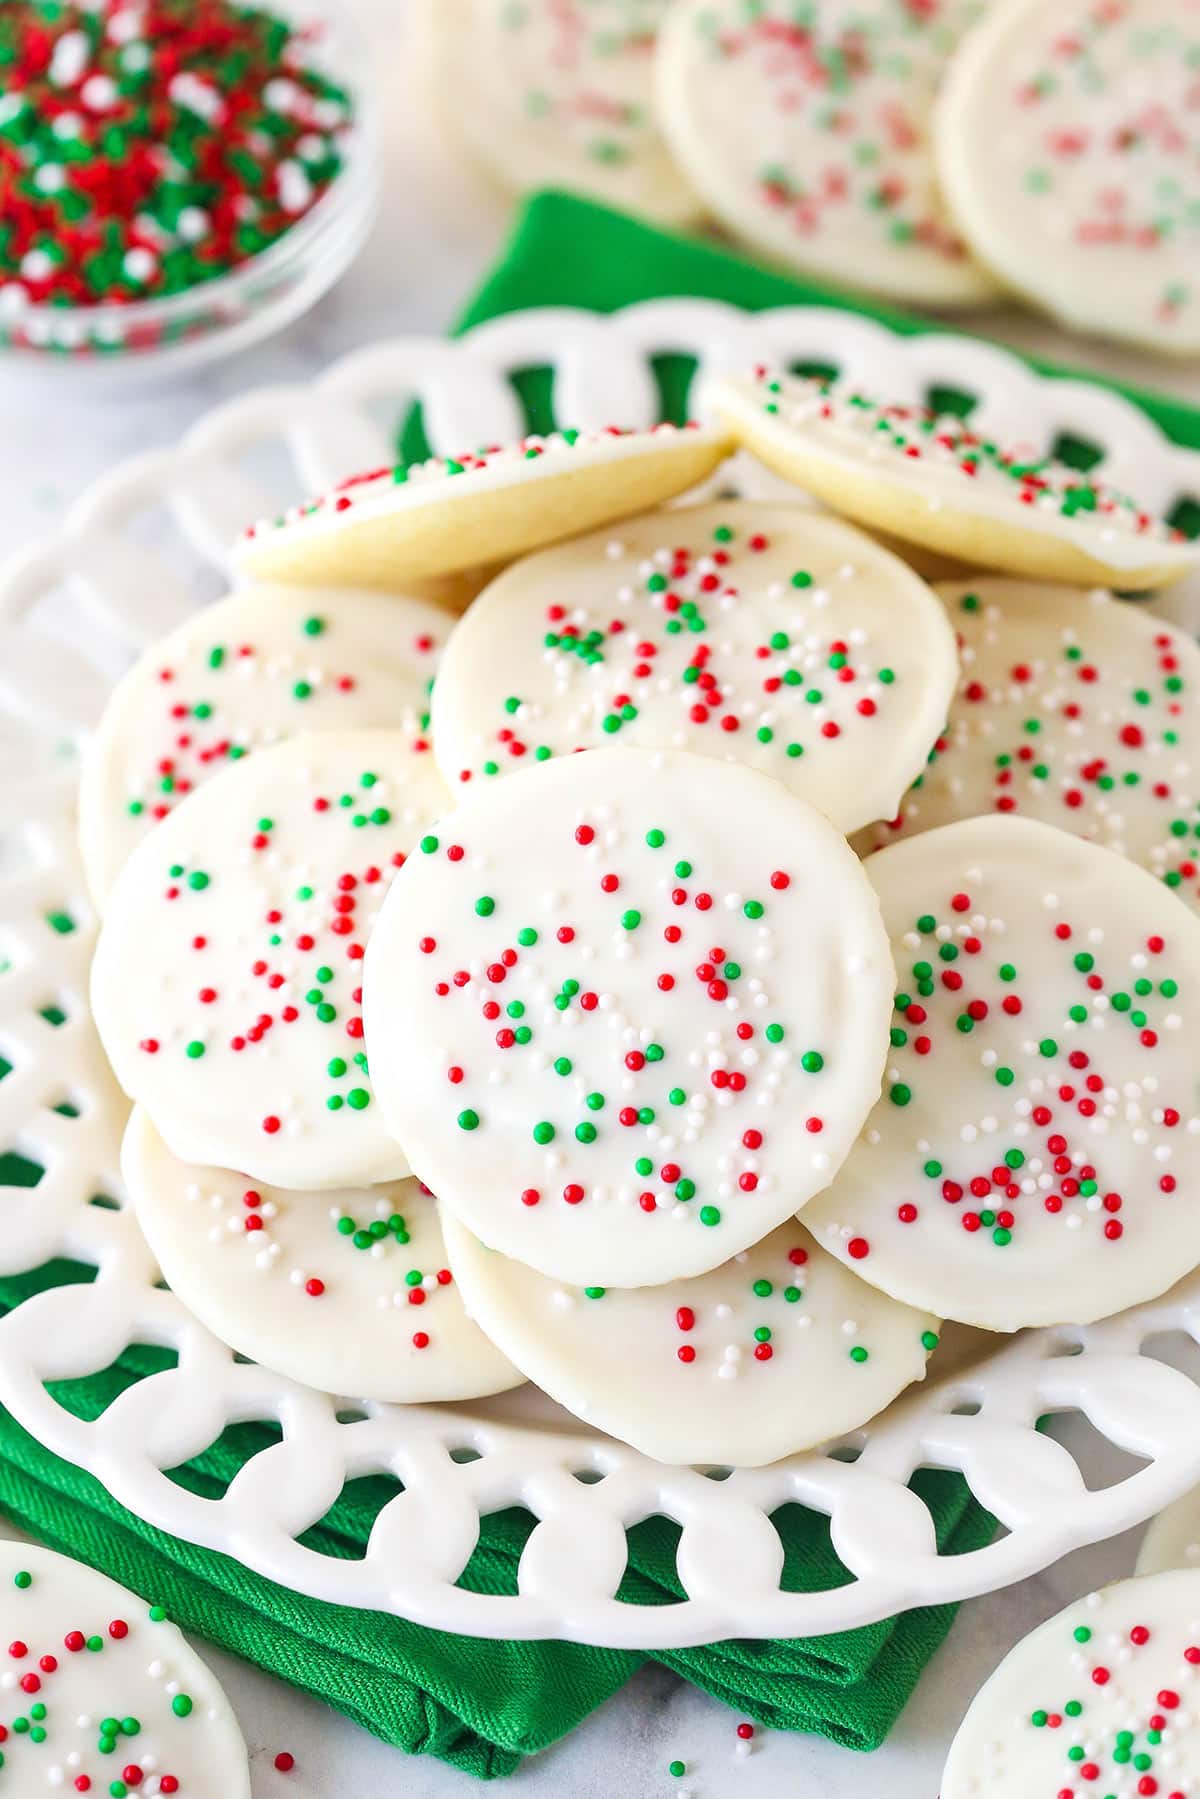
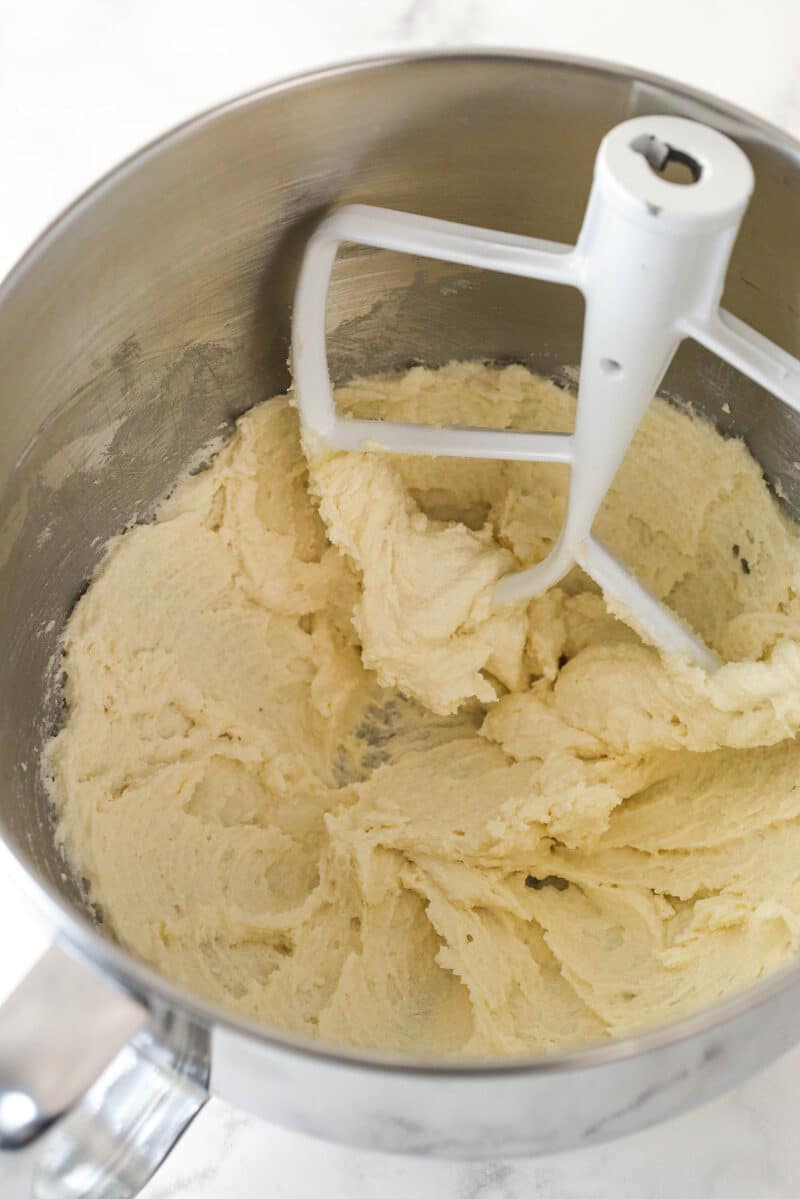
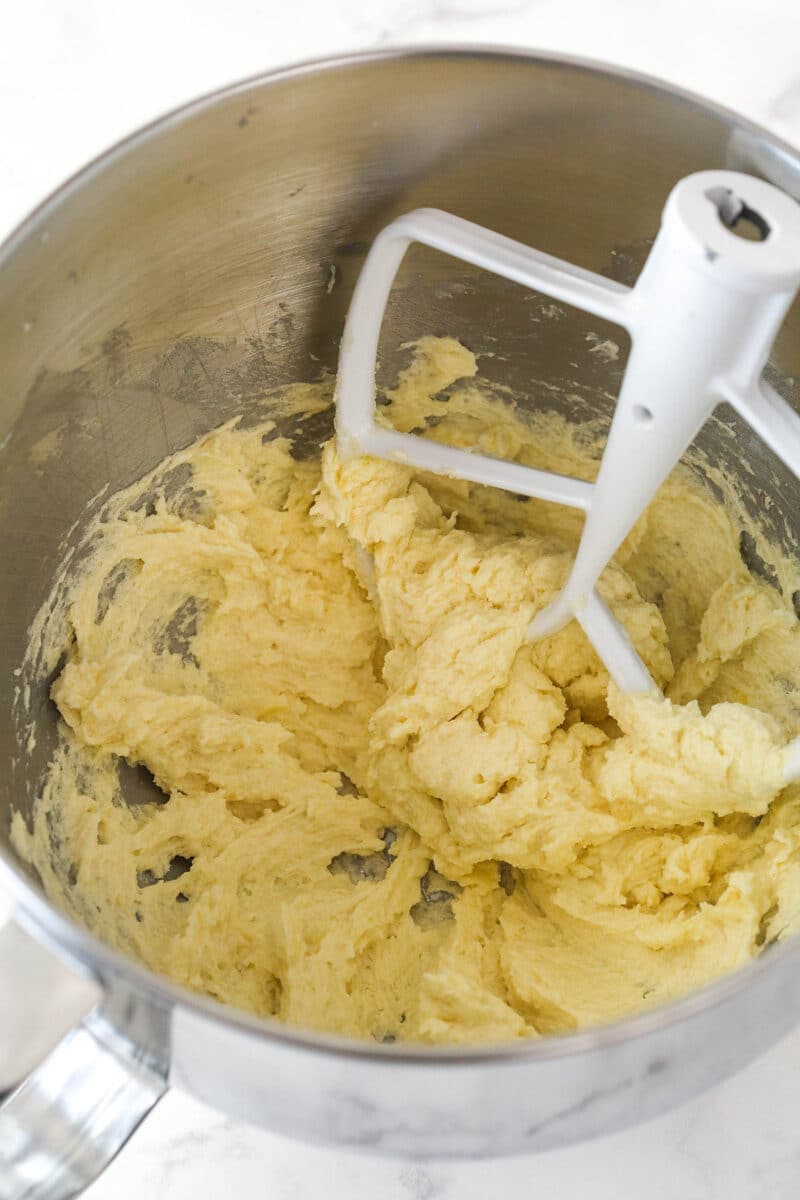
Anxious to get started?! Check out these step-by-step photos to get familiar with the process. More comprehensive directions can be found in the recipe card below.
Make the Cookie Dough
- Prepare to bake. Preheat the oven to 350°F and line a baking sheet with a silicone baking mat or parchment paper.
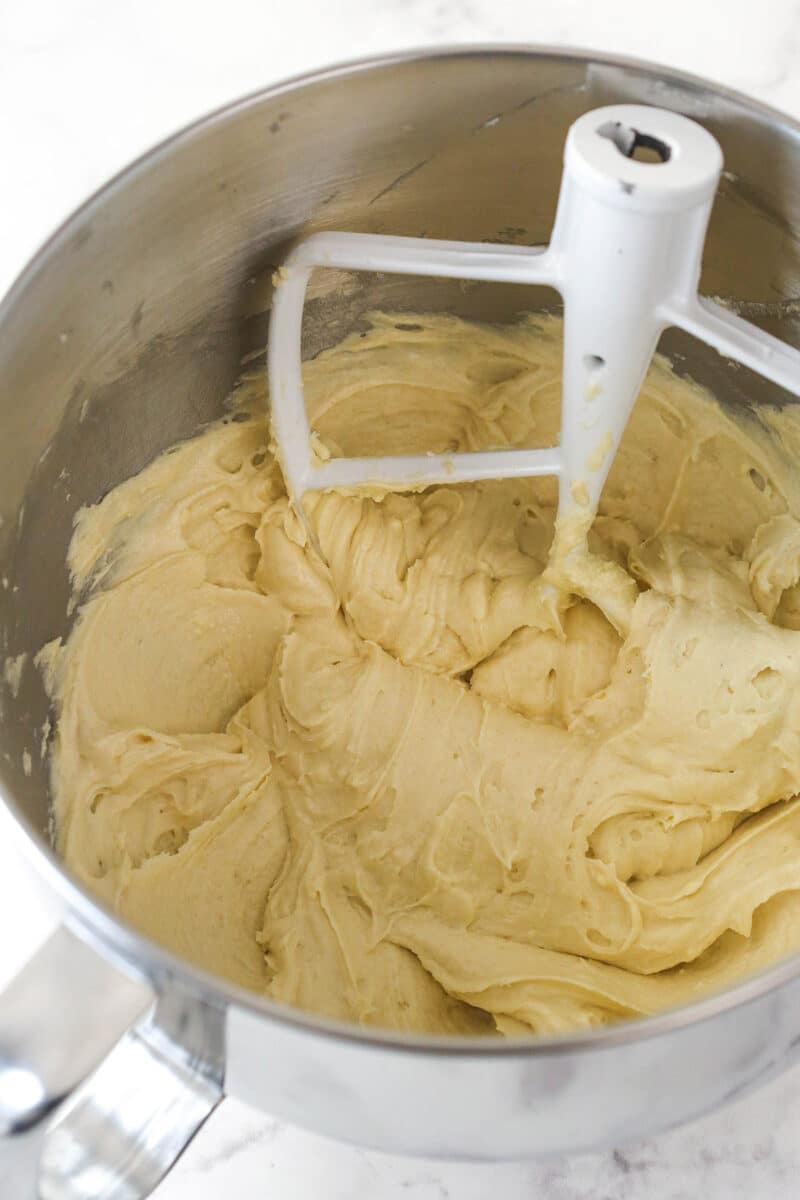
- Make the dough. Combine the dry ingredients in a medium bowl. In a separate bowl, cream the butter, sugar and vanilla extract until light and fluffy. Add the egg and mix until well combined. Alternate adding the dry ingredients and buttermilk, mixing until well combined, taking care to not over mix.
Bake, Cool and Finish Cookies
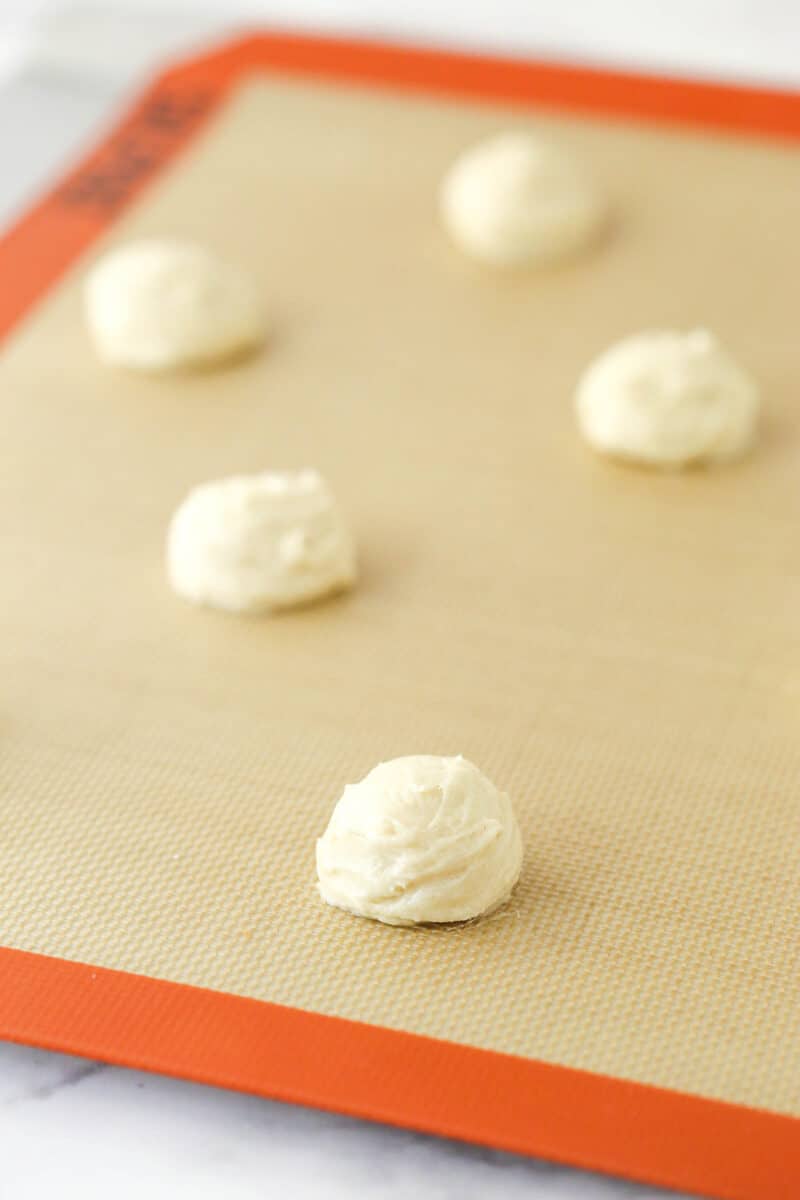
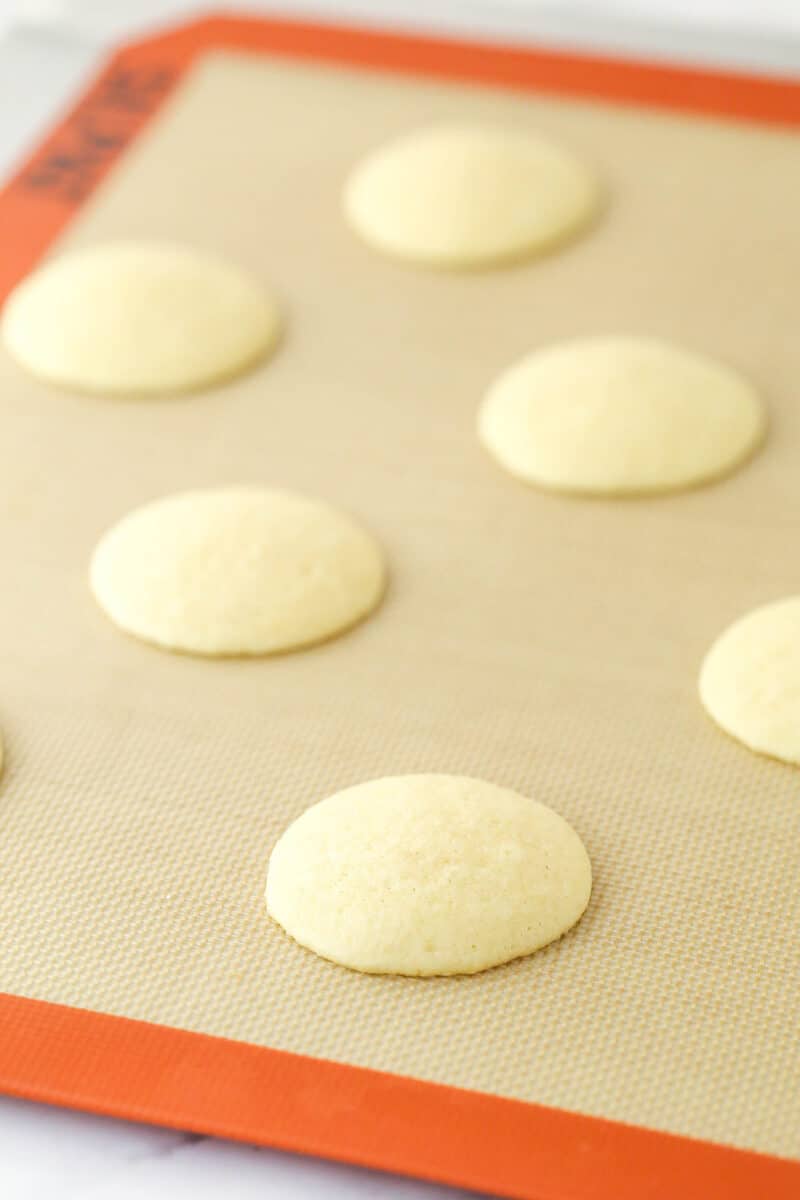
- Bake. Drop scoops of cookie dough onto your prepared baking sheet, and bake for 8-10 minutes.
- Cool. After removing the cookies from the oven, let them rest on the baking sheet for 5 minutes before placing them on a wire rack to cool completely.
- Add white chocolate. In a heat-safe bowl, microwave the white chocolate melting wafers in 10-15 second increments, stirring well between each, until smooth. Spread the white chocolate onto the bottom (which becomes the top) of each cookie and top with sprinkles immediately to make sure they stick before the chocolate dries.
- Set. Place the cookies on a wire rack to let the white chocolate dry completely, then store in an airtight container, using parchment paper to separate the layers.
- Enjoy!
Tips for Success
- Weigh flour properly. One of the most common reasons baked goods don’t turn out is adding too much flour to the dough. This will make the cookies dense and dry instead of moist and cakey. It’s important to measure the flour correctly by using a food scale or by using the spoon and level method.
- Use room temperature ingredients. Room temperature ingredients are easier to blend and less likely to create pesky lumps.
- Don’t skimp on the creaming time. Creaming butter and sugar together is more than just mixing them. You are actually looking for changes in the color and texture of the mixture. When it is fully creamed, the mixture will be lighter in color and fluffy in texture. This change shows that air as been incorporated into the mixture that will make the cookies soft and tender.
- Use a cookie scoop. To make perfectly shaped, identical cookies, I use this cookie scoop. Then I use a spatula or spoon to smooth out the outside of the cookie and ensure the shape is round. The cookie will spread as it bakes, but retain a symmetrical shape.
- Layer cookies with parchment paper. These cookies really travel well but occasionally they can stick together a bit. To save yourself any headaches, separate the layers of cookies with parchment paper.
Storage Information
- Make ahead. The cookies will stay fresh for at least 4-5 days, making them a great option if you need to get started early on holiday baking. You can even make the cookies and freeze them (without any toppings – the sprinkles can bleed) until you need them. Allow them to thaw in the fridge and then bring them to room temperature before adding the white chocolate and sprinkles.
- Room temperature. The fully set cookies should be stored in an air-tight container until you are ready to serve them. Separate the layers of cookies with parchment paper to keep them from sticking to each other. Best if eaten within 4-5 days, but they should last a few days more.
- Freezer. The un-iced, completely cool cookies can be frozen for up to 3 months in a freezer safe container or wrapped well in plastic wrap. Thaw the cookies in the fridge and then bring them to room temperature before finishing the cookies with white chocolate and sprinkles.
Variations
- Change the coating color. I used white chocolate melting wafers to ice the cookie. However, melting wafers come in a ton of different colors. You could make the topping any color you’d like.
- Add flavoring. You can also add a small amount of flavoring to the candy coating. Start with 1/4 teaspoon of your flavoring of choice, adding more to taste. For example, you could try flavoring the candy coating with almond, peppermint or lemon.
- Drizzle the top. For another fun embellishment, heat up another color of melting wafers, place it in a piping bag with a small round tip, like Ateco #2. Drizzle the top of the cookie with the contrasting color.
- Use different sprinkles. These cookies can be made any time of the year for any reason you’d like to celebrate. Change the style of the cookies with seasonal sprinkles that fit your theme.
- Christmas Sprinkle Cookies
- Cut Out Cookies
- Buttery Classic Spritz Cookies
- Grinch Cookies
- Gingerbread Man Cookies
- Jam Thumbprint Cookies
- Prep Time: 45 minutes
- Cook Time: 8 minutes
- Total Time: 53 minutes
- Yield: 40
- Category: Dessert
- Method: Oven
- Cuisine: American
Description
These Cakey Christmas Cookies are soft and tender vanilla cookies topped with a layer of white chocolate and festive sprinkles. They are easy to make and totally irresistible!
Ingredients
- 1 1/2 cups plus 2 tbsp (211g) all-purpose flour (measured correctly)
- 1 1/4 tsp baking powder
- 1/4 tsp salt
- 1/2 cup (112g) unsalted butter, room temperature
- 3/4 cup (155g) sugar
- 2 tsp vanilla extract
- 1 large egg, room temperature
- 1/3 cup (80ml) buttermilk, room temperature
- 8–10 oz white chocolate melting wafers
- Christmas sprinkles
Instructions
- Preheat the oven to 350°F and line a baking sheet with a silicone baking mat or parchment paper.
- Combine the flour, baking powder and salt in a medium sized bowl and set aside.
- Add the butter, sugar and vanilla extract to a large mixer bowl and beat together until light in color and fluffy, about 2-3 minutes. Do not skimp on the creaming time.
- Add the egg and mix until well combined. Scrape down the sides of the bowl as needed to be sure all ingredients are well incorporated.
- Add half of the dry ingredients to the batter and mix until mostly combined.
- Slowly add the milk and mix until well combined.
- Add the remaining dry ingredients and mix until well combined and smooth. Scrape down the sides of the bowl as needed to be sure all ingredients are well incorporated. Do not over mix the batter.
- Scoop 1 tablespoon (about 15g) of batter for each cookie. I use this cookie scoop. I like to use a spatula or spoon to shape the edges of the cookie so they are smooth and the cookie shape is round. The baked cookie will spread, but have a shape similar to the shape they are before baking.
- Bake for 8-10 minutes or until lightly golden on the edges.
- Remove cookies from the oven and allow to cool for about 5 minutes, then remove to a cooling rack to cool completely.
- To add the topping, add the white chocolate melting wafers to a microwave safe bowl and heat in 10-15 second increments, stirring well between each, until melted and smooth.
- Spread the white chocolate onto the bottom (which becomes the top) of each cookie, then add sprinkles before the chocolate dries.
- Allow the white chocolate to dry, then store the cookies in an air-tight container until ready to serve. You can separate layers of cookies with parchment paper to keep them from sticking to each other. Best if eaten within 4-5 days.
Nutrition
- Serving Size: 1 cookie
- Calories: 87
- Sugar: 7.3 g
- Sodium: 24.3 mg
- Fat: 4.4 g
- Carbohydrates: 11 g
- Protein: 1.1 g
- Cholesterol: 12.2 mg





I don’t like the icing. Is there something better that would work? May a vanilla icing.
Sure, you could use a vanilla icing. You could try this cookie icing. It’s typically more for sugar cookies, but would work and dries firm.
Can you make ahead and freeze?
Yes, but the sprinkles can sometimes bleed when they thaw, from condensation. You might want to freeze them without the white chocolate and sprinkles, and add that later.