This post may contain affiliate sales links. Please read my disclosure policy.
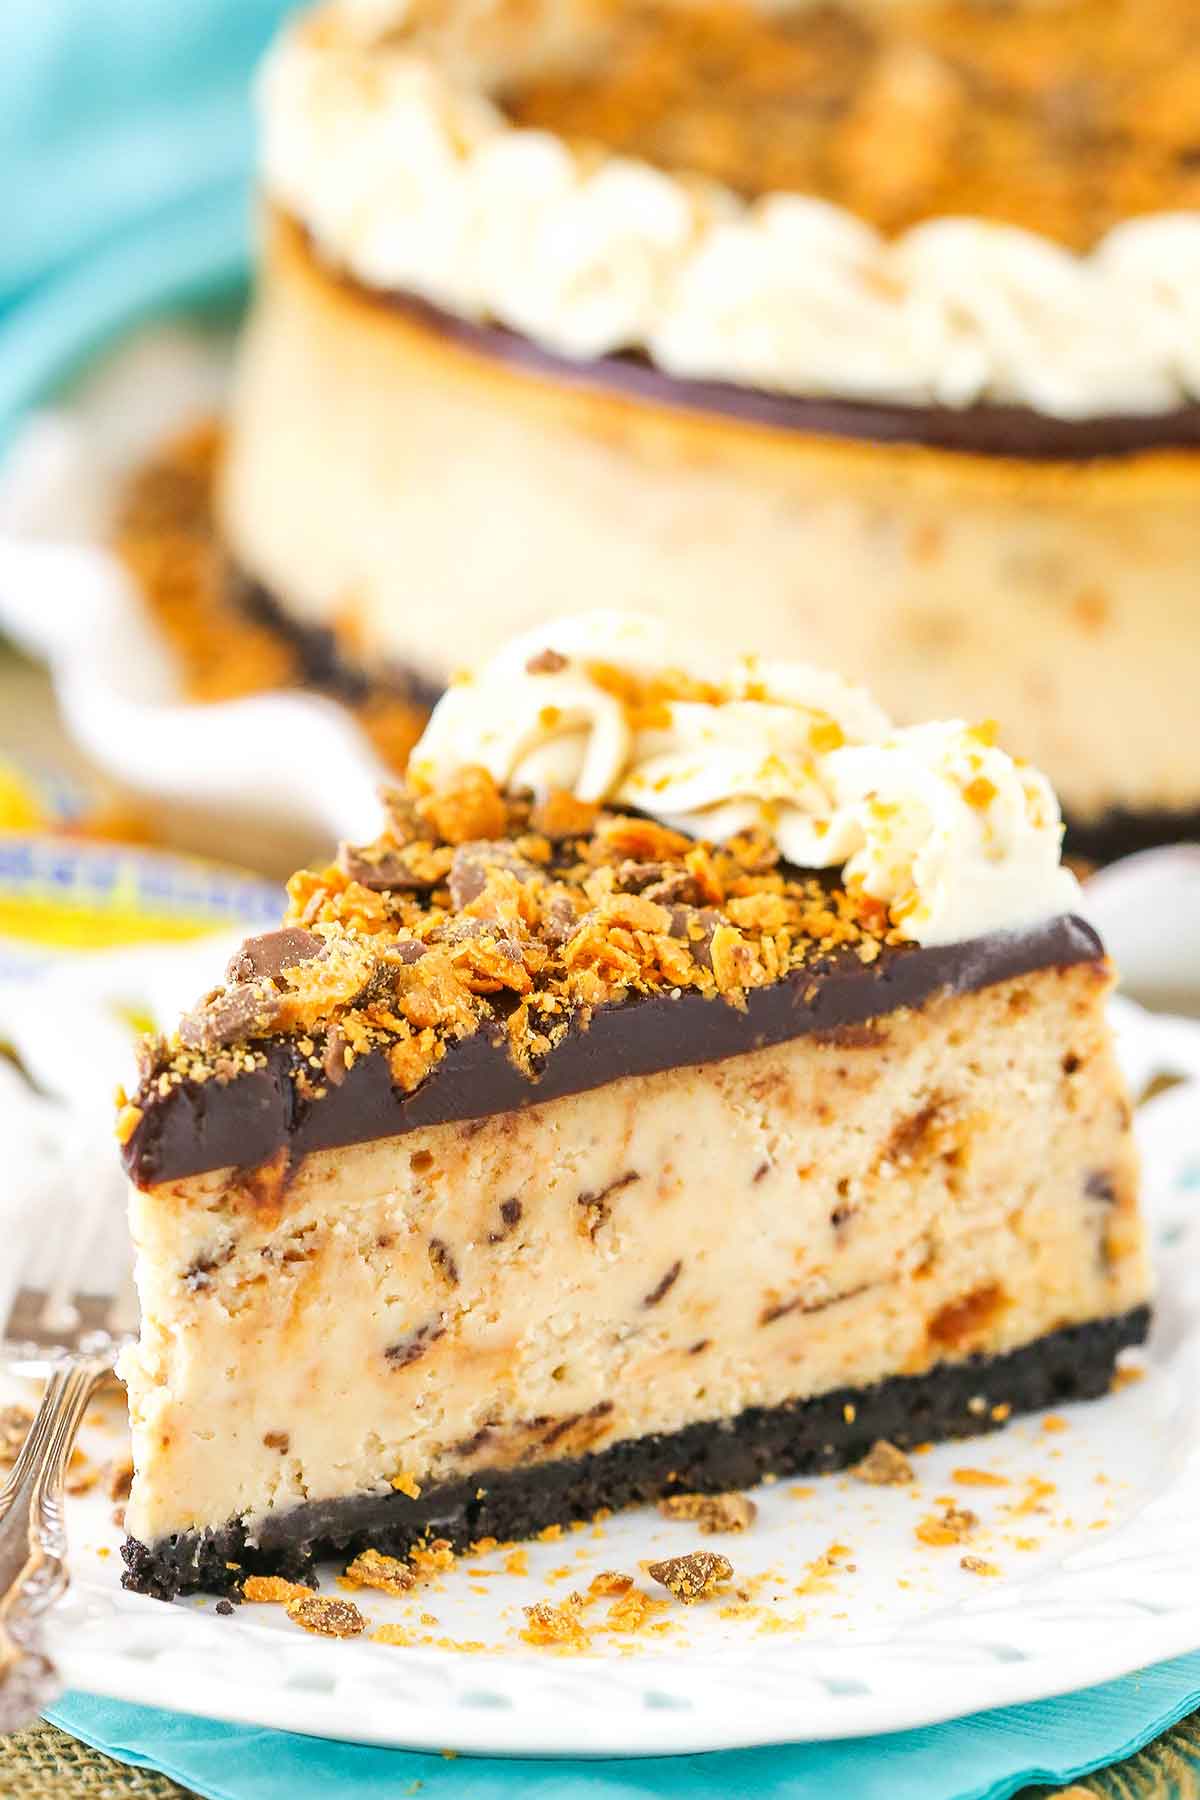
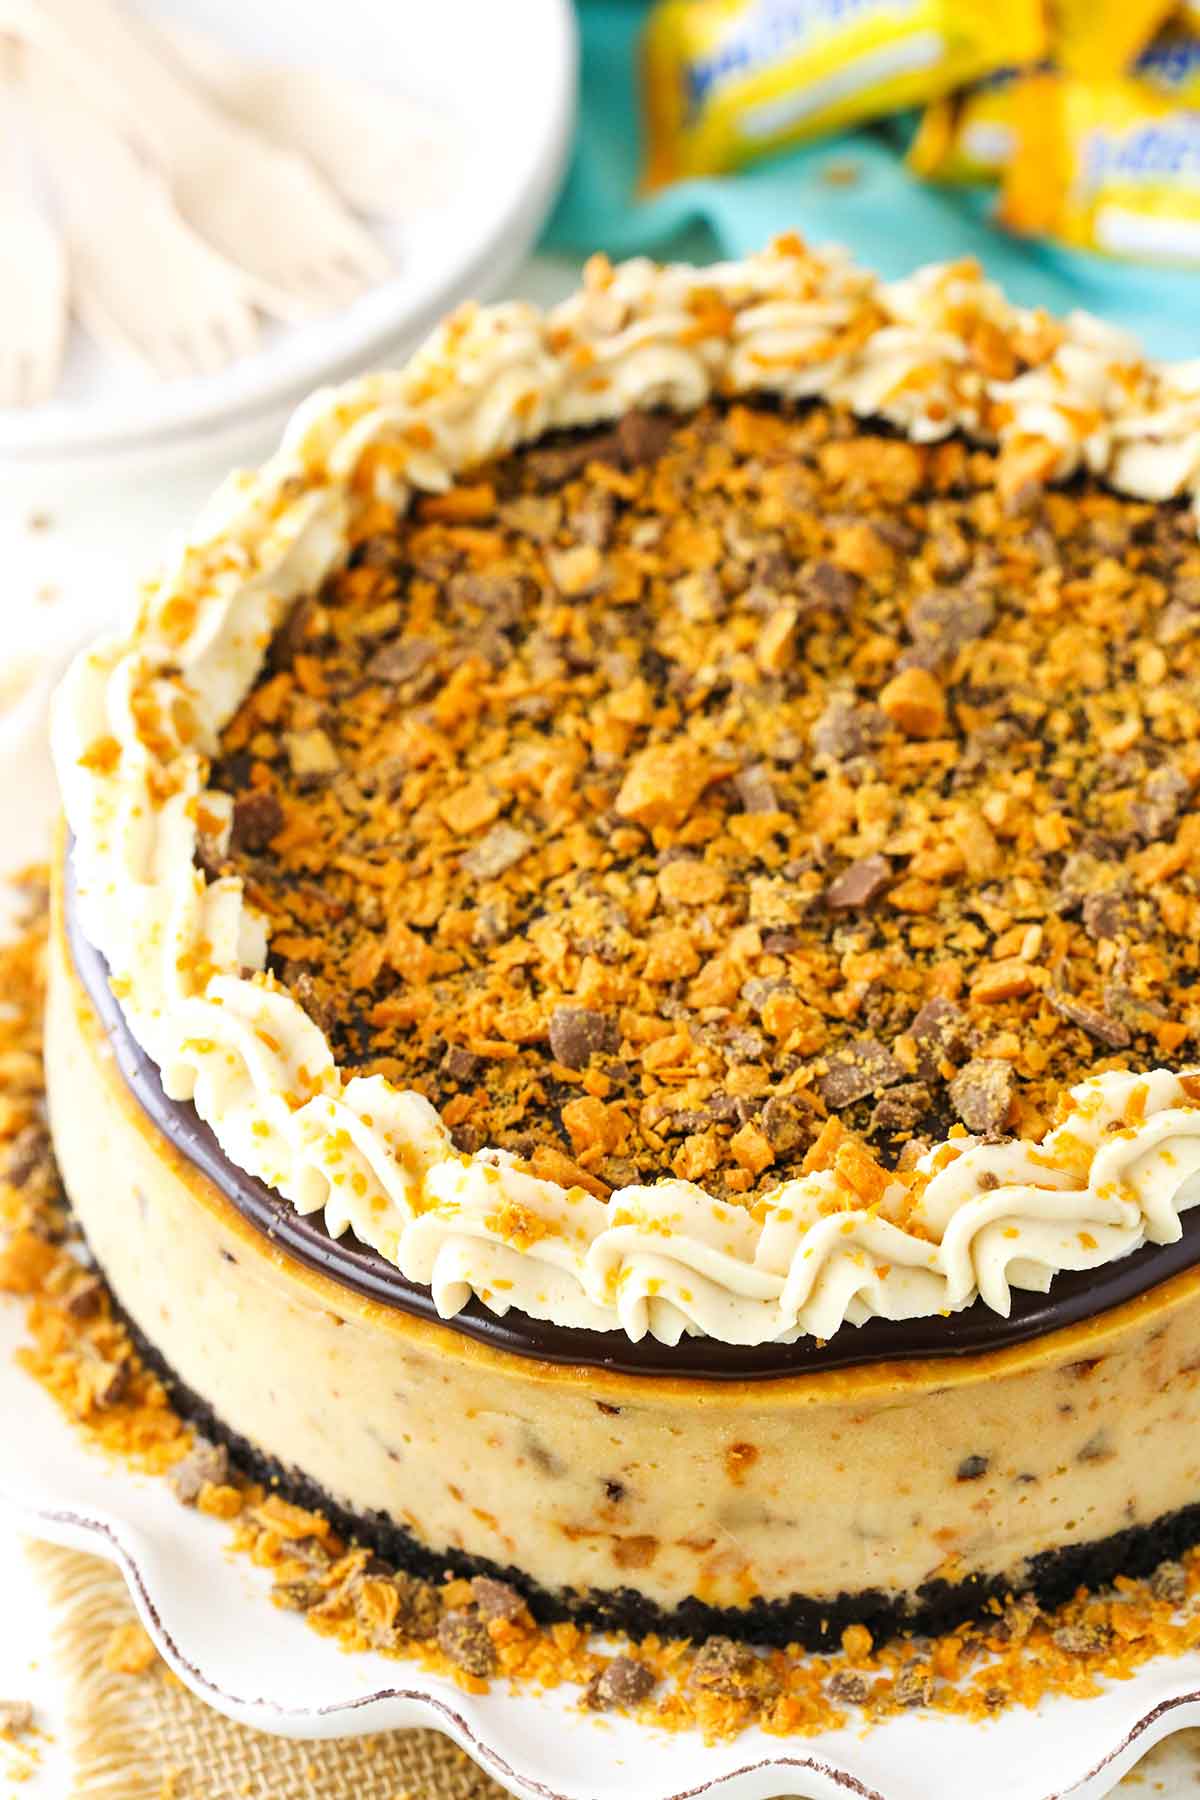
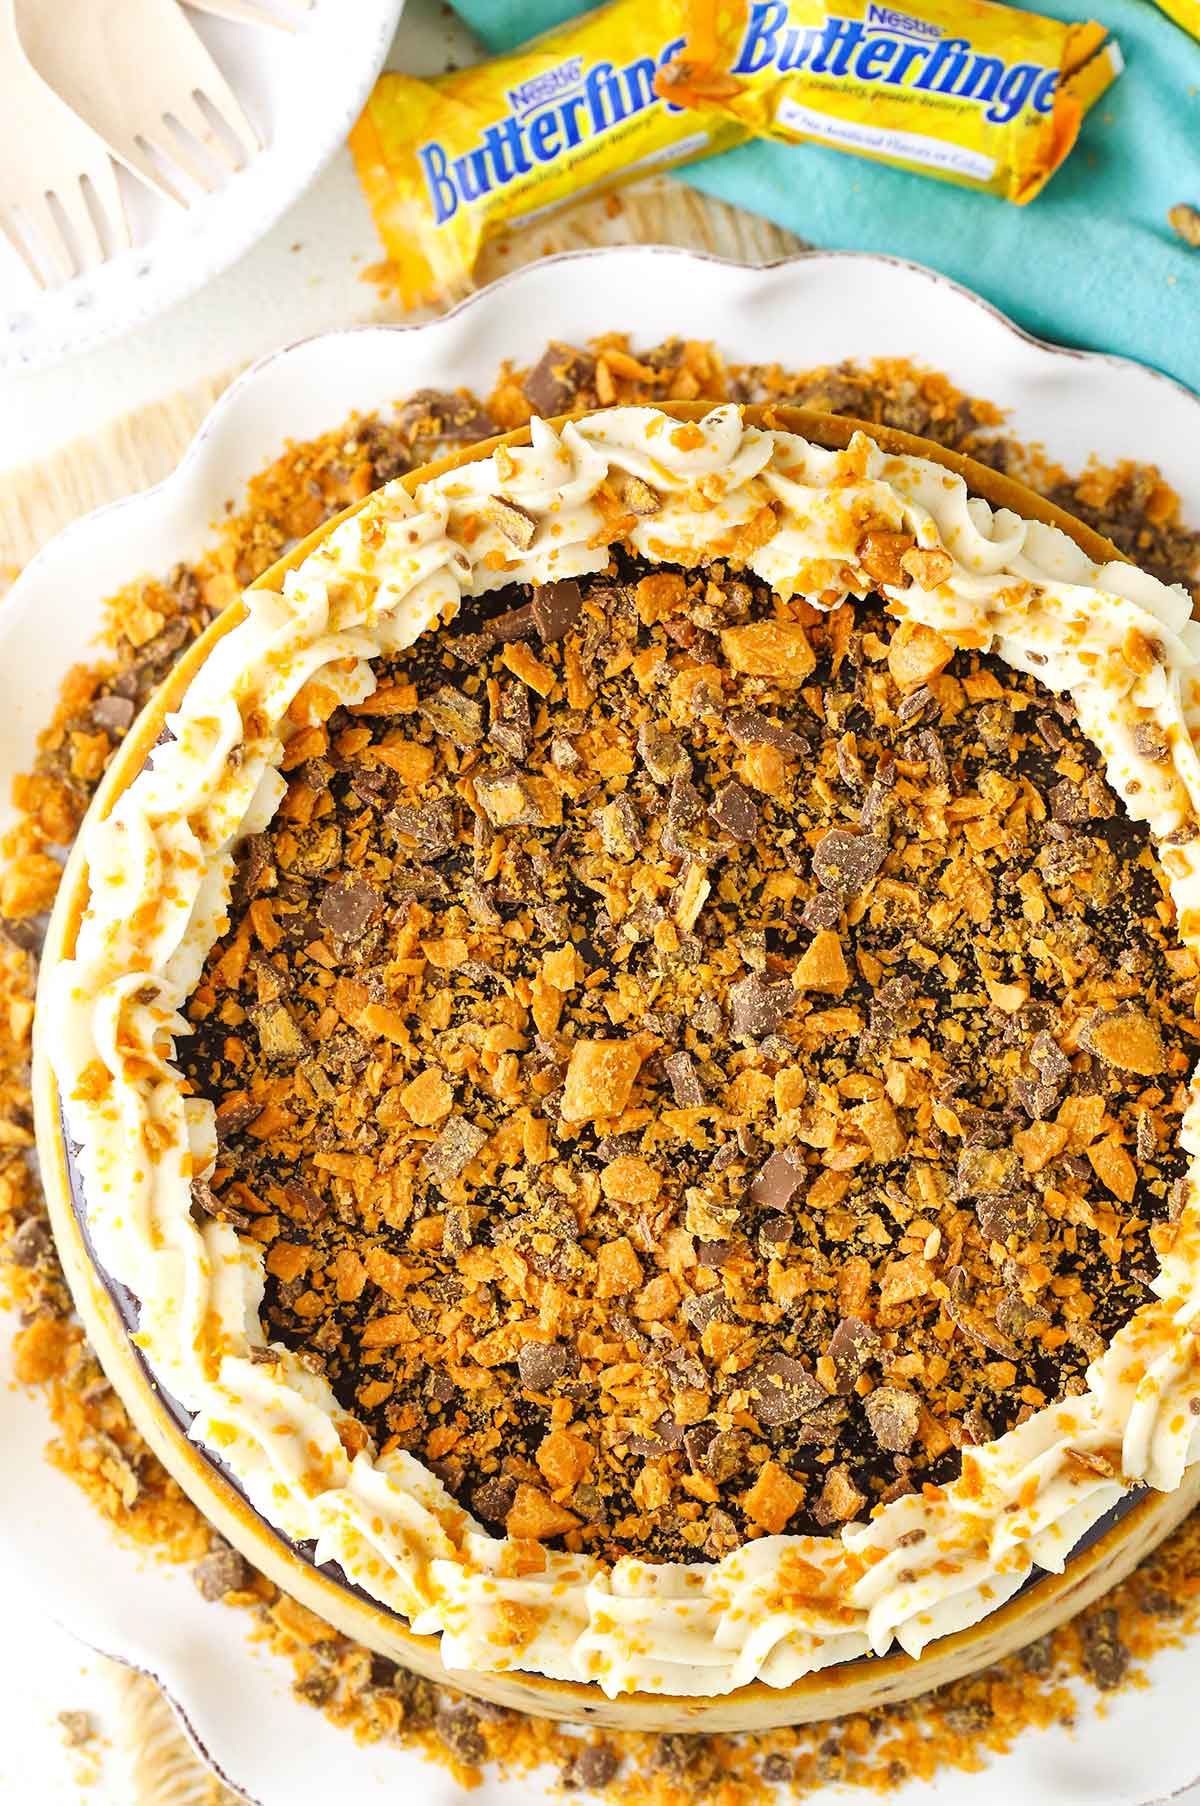
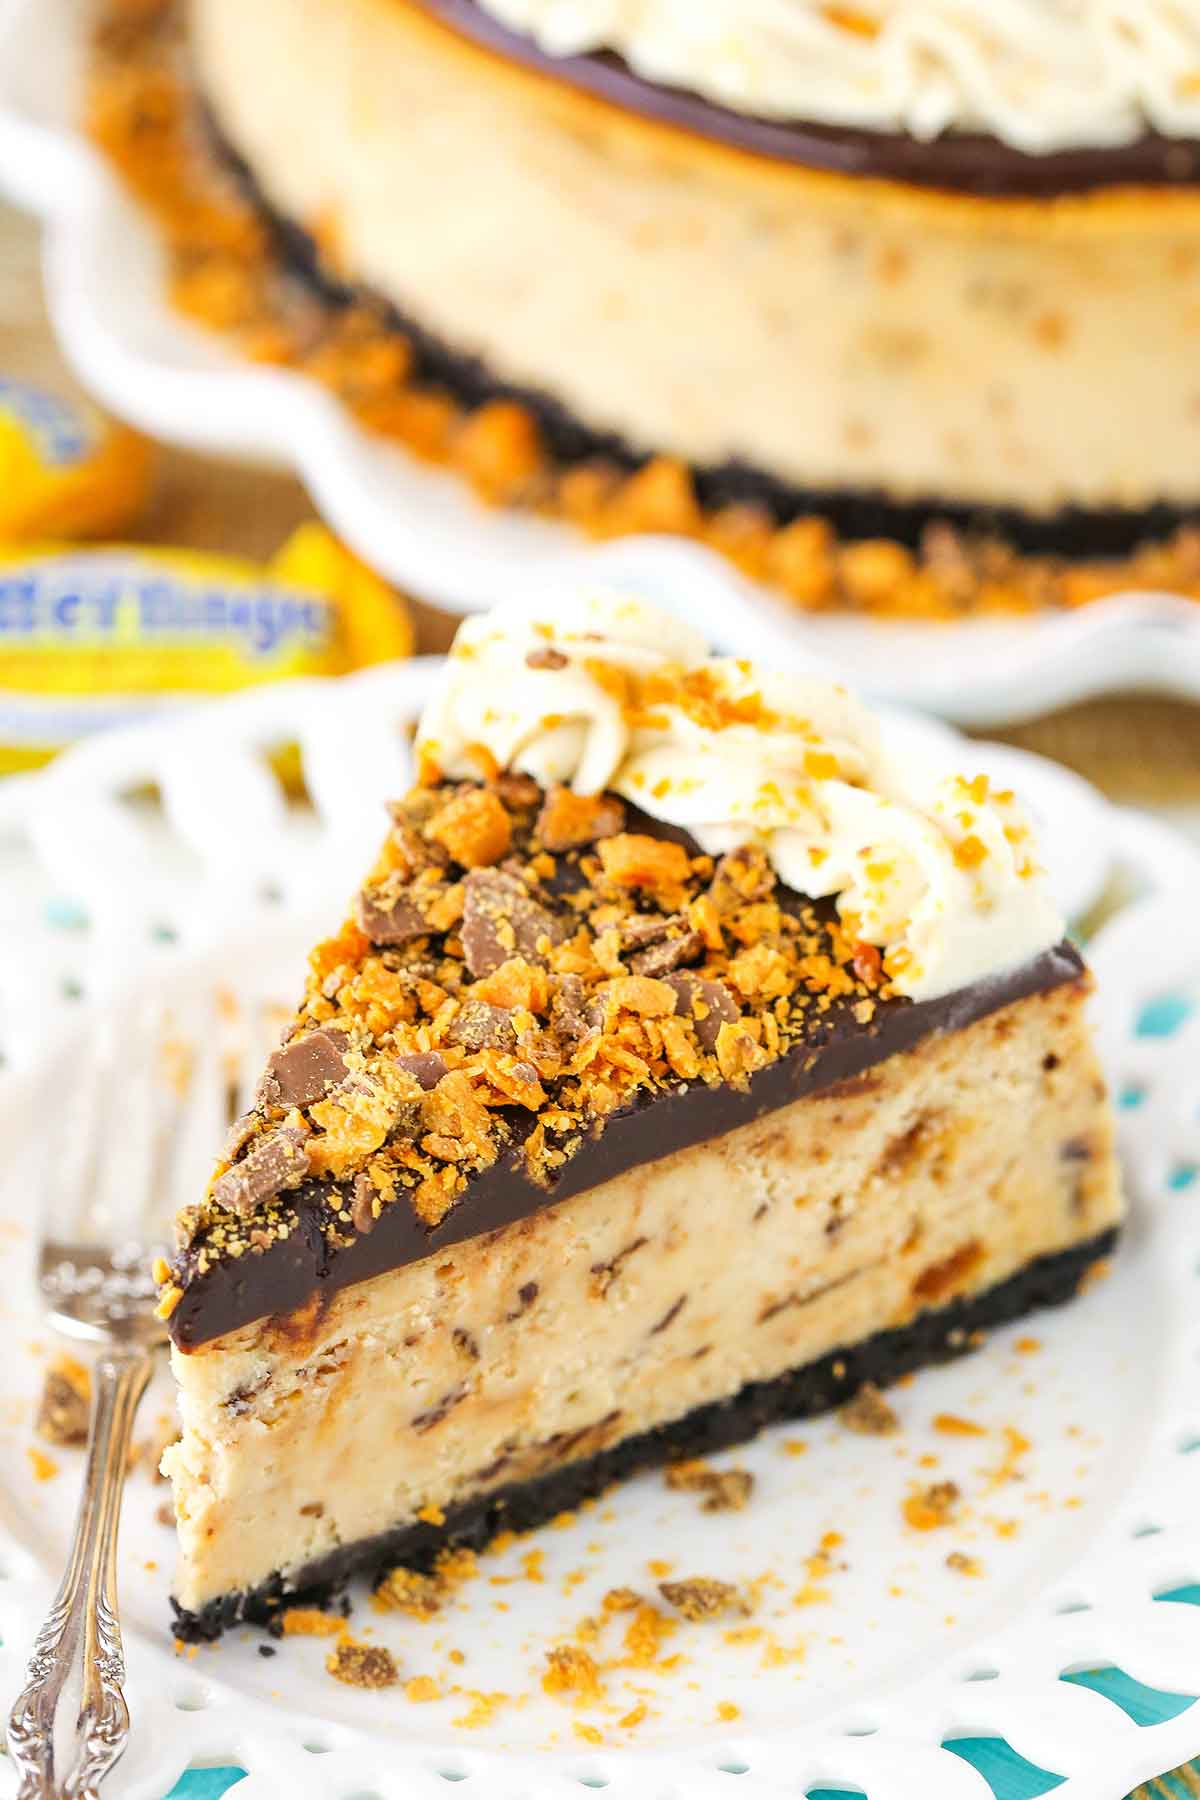
This Butterfinger Cheesecake is a rich, thick and creamy peanut butter cheesecake filled with chopped Butterfingers in an Oreo crust topped with chocolate ganache and more Butterfingers!
Despite having twin babies at home, the hubs and I are trying to do our best do enjoy some of the things we’ve always enjoyed. Quality things like watching The Bachelor and binge watching new series.
We’ve recently discovered that Netflix actually has some pretty solid movies and series. We can’t catch up on new shows as quickly as we used to, but we make a solid effort when we can. Since we have to man the baby monitor, binge-watching is our biggest thrill and we gladly take it. 🙂
Speaking of big thrills, cheesecake has been one of my big baking thrills lately. If there’s one dessert I’ve been loving making, it’s cheesecake. I’ve had so many new flavors and ideas popping in my head, it’s been hard to keep up. There are just do many things you can do! But of course I can’t share cheesecake alone, so I’m doing my best to pace myself.
Today is all about the peanut butter and butterfingers. Surprisingly, I don’t actually have a baked peanut butter cheesecake on the blog yet. That changes today with a cheesecake that is wonderfully delicious and rich. The specks of baked Butterfingers throughout the cheesecake entice with every bite!
How to make Butterfinger Cheesecake
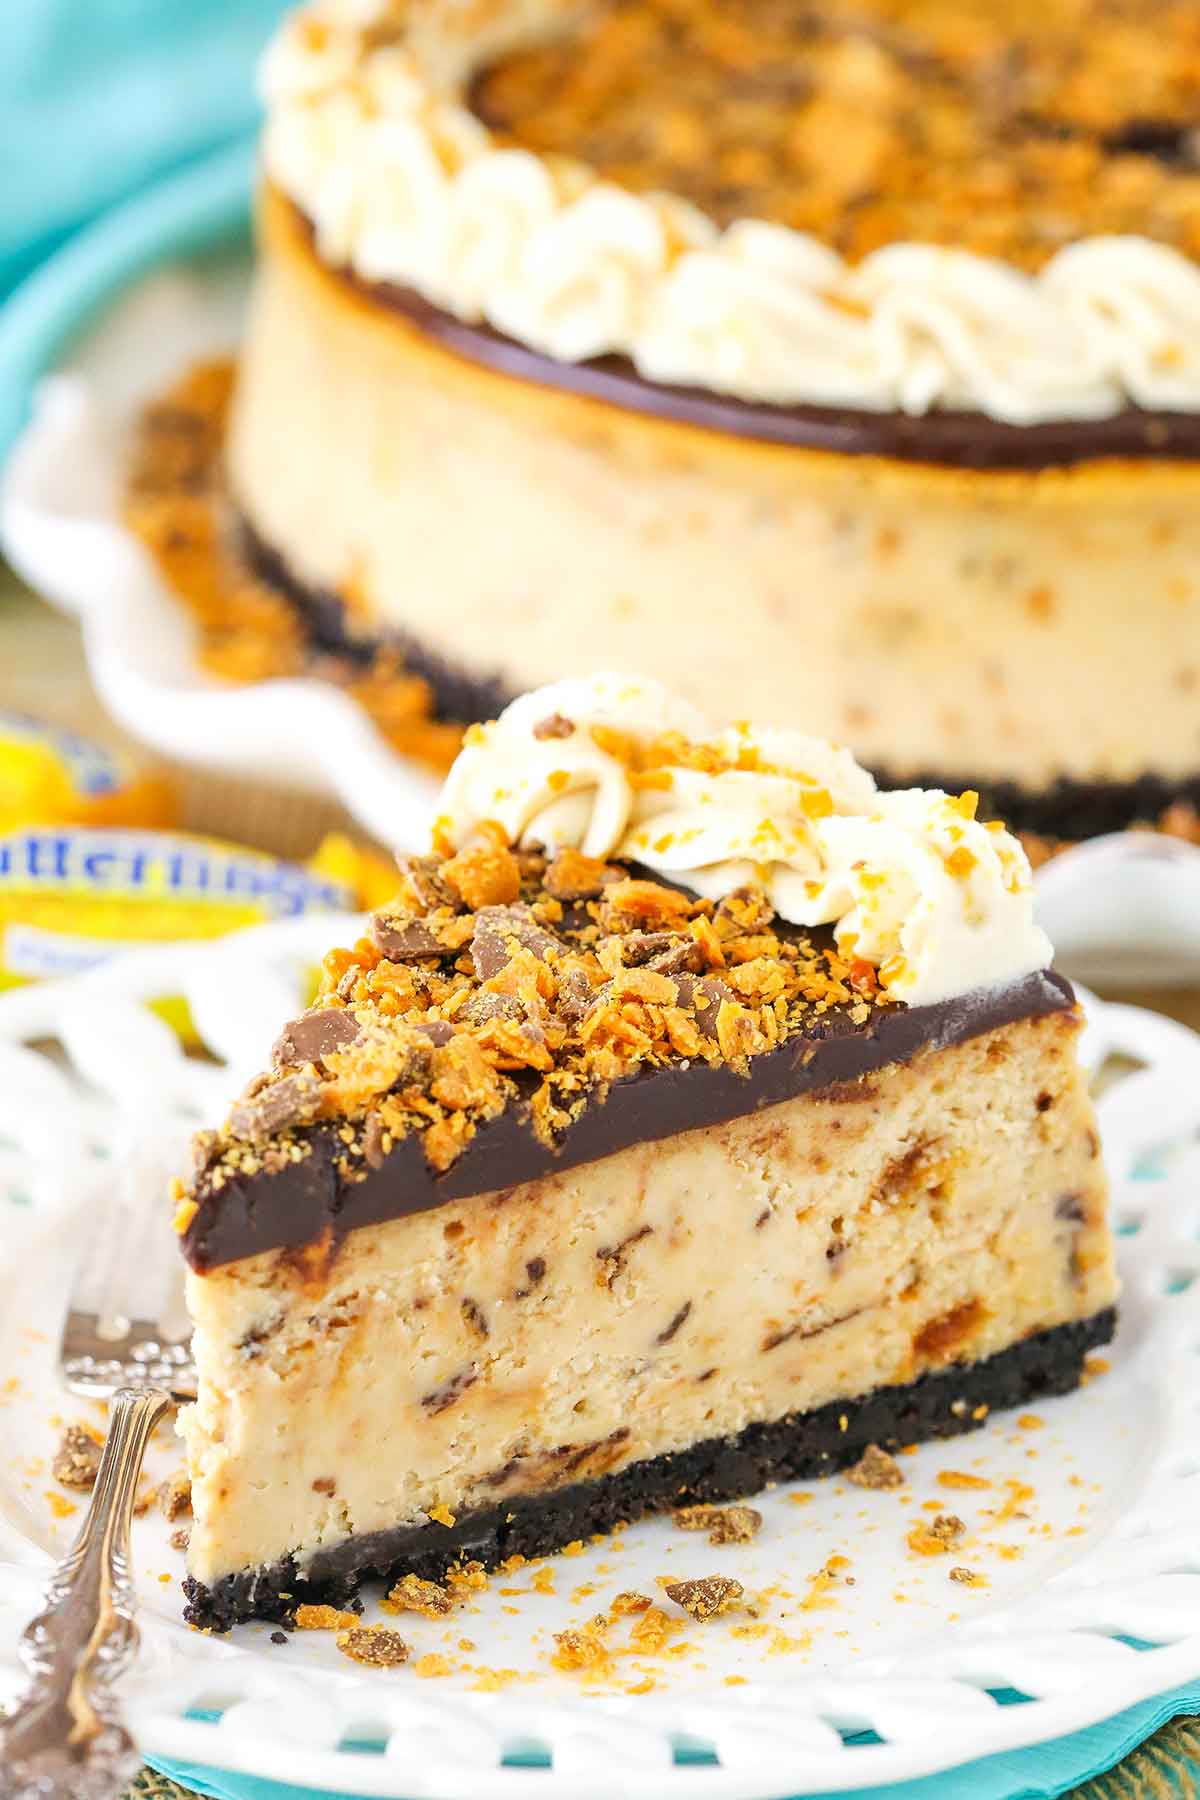
The base of this Butterfinger cheesecake is an Oreo crust – one of my favorites. The chocolate naturally goes perfect with this candy bar flavored cheesecake. Bake the crust prior to adding the filling so that it holds together better.
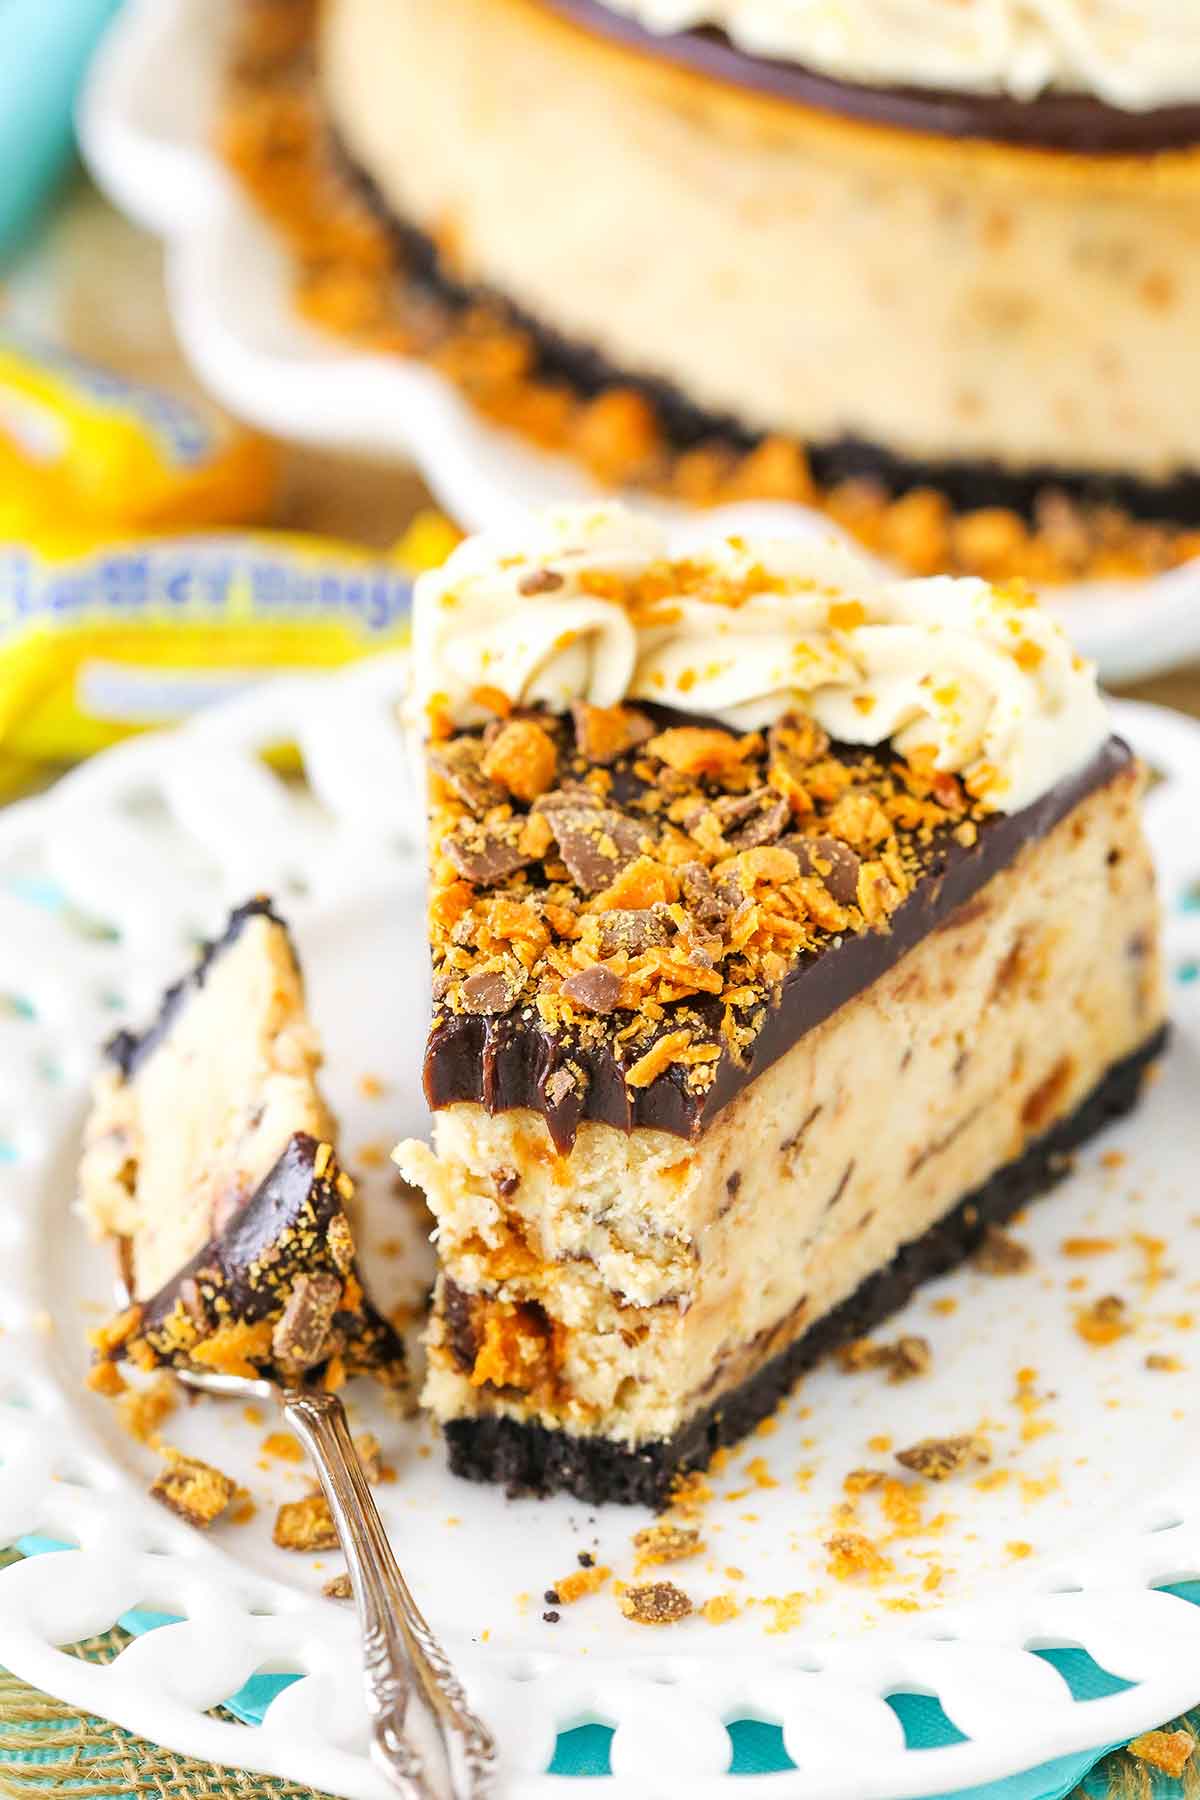
The peanut butter cheesecake filling is full of plenty of peanut butter flavor, with a full half cup of peanut butter and 1 1/2 cups of chopped butterfingers. Any cheesecake with that many butterfingers (12 fun-sized bars!) had got to be good! It’s made with plenty of the usual ingredients as well – cream cheese, sugar, sour cream and eggs.
Once everything is combined, it’s baked in a water bath. I know water baths can be a pain, but they are definitely worth it. You end up with a more creamy cheesecake that doesn’t crack, dry out or sink in the middle.
After the cheesecake has baked and cooled, it’s topped with chocolate ganache, more chopped butterfingers and some peanut butter whipped cream! The final Butterfinger cheesecake is thick, creamy and delicious! The peanut butter, pops of Butterfinger candy, chocolate topping and peanut butter whipped cream all combine to make a rich cheesecake with lots of texture and flavor. A new hit!
You might also like:
Butterfinger Cupcakes
Fudgy Brownies with Crunchy Butterfingers Crust
No Bake Reeses Peanut Butter Cheesecake
Mini Reeses Peanut Butter Cheesecake
Loaded Peanut Butter Layer Cake
Butterfinger Cheesecake
- Prep Time: 45 minutes
- Cook Time: 2 1/2 hours
- Total Time: 3 hours, 15 minutes, plus cooling time
- Yield: 12-14 slices
- Category: Dessert
- Method: Oven
- Cuisine: American
Description
This Butterfinger Cheesecake is a rich, thick and creamy peanut butter cheesecake filled with chopped Butterfingers in a chocolate Oreo crust. It’s topped with decadent layers of chocolate ganache, peanut butter whipped cream and more chopped Butterfingers!
Ingredients
Crust
- 2 1/4 cups (302g) Oreo crumbs
- 4 tbsp (56g) salted butter, melted
Filling
- 24 ounces (678g) cream cheese, room temperature
- 1 cup (207g) sugar
- 3 tbsp (24g) all purpose flour
- 3/4 cup (173g) sour cream, room temperature
- 1/2 cup (140g) peanut butter
- 1 tsp vanilla extract
- 4 large eggs, room temperature
- 1 1/2 cups (12 fun sized bars) chopped Butterfingers
Chocolate Ganache
- 6 oz semi-sweet chocolate chips
- 1/2 cup heavy whipping cream
Peanut Butter Whipped Cream
- 3/4 cup heavy whipping cream
- 1/2 cup (58g) powdered sugar
- 2 tbsp (35g) peanut butter
- 1/4 tsp vanilla extract
- Chopped Butterfingers
Instructions
Crust
- Preheat oven to 325°F (163°C). Line a 9-inch (23cm) springform pan with parchment paper in the bottom and grease the sides.
- Combine the crust ingredients in a small bowl. Press the mixture into the bottom of the springform pan.
- Bake the crust for 10 minutes, then set aside to cool.
- Cover the outsides of the pan with aluminum foil so that water from the water bath cannot get in (see how I prepare a pan for a water bath). Set prepared pan aside.
Cheesecake
- Reduce oven temperature to 300°F (148°C).
- Chop Butterfingers and set aside.
- In a large bowl, beat the cream cheese, sugar and flour on low speed until well combined and completely smooth. Be sure to use low speed to reduce the amount of air added to the batter, which can cause cracks. Scrape down the sides of the bowl.
- Add the sour cream, peanut butter and vanilla extract and mix on low speed until well combined.
- Add the eggs one at a time, mixing slowly to combine after each addition. Scrape down the sides of the bowl as needed to make sure everything is well combined.
- Stir in chopped Butterfingers.
- Pour the cheesecake batter evenly into the crust.
- Place the springform pan inside another larger pan. Fill the outside pan with enough warm water to go about halfway up the sides of the springform pan. The water should not go above the top edge of the aluminum foil on the springform pan.
- Bake for 1 hour 25 minutes. The center should be set, but still jiggly.
- Turn off the oven and leave the door closed for 30 minutes. The cheesecake will continue to cook, but slowly begin to cool as well.
- Crack the door of the oven for 30 minutes to allow the cheesecake to continue to cool slowly. This process helps prevent cracking.
- Remove the cheesecake from the oven and water bath wrapping. Refrigerate until firm, 5-6 hours or overnight.
- When the cheesecake is cool and firm, remove from the springform pan and set on a serving plate.
To Decorate the Cheesecake
- Make the chocolate ganache by putting the chocolate chips in a heat proof bowl and set them aside.
- Pour the heavy whipping cream into another heat proof bowl and microwave it until it just begins to boil, then pour it over the chocolate chips.
- Allow chocolate and cream to sit for 2-3 minutes, then whisk until smooth.
- Pour the ganache onto the cheesecake and spread into an even layer.
- Next make the whipped cream. Add the heavy whipping cream, powdered sugar, peanut butter and vanilla extract to a large mixer bowl and whip on high speed until stiff peaks form.
- Fill a piping bag fitted with a piping tip with whipped cream. I used Ateco tip #844. Pipe shells of whipped cream around the edge of the cheesecake.
- Chop a few fun-sized Butterfingers for the topping and sprinkle over the cheesecake.
- Refrigerate cheesecake until ready to serve. Best when stored well-covered and eaten within 3-4 days.
Nutrition
- Serving Size: 1 Slice
- Calories: 583
- Sugar: 42.2 g
- Sodium: 373.6 mg
- Fat: 36.4 g
- Carbohydrates: 56.1 g
- Protein: 12.3 g
- Cholesterol: 116.4 mg
Categories
Enjoy!





This was one of the best cheesecakes I’ve ever made, thank you so much. I chose this recipe for our big family bake-off and took first place! I too had some separation with the whipped cream topping and made it a second time. Just don’t over beat it, it whips up quickly. I threw the Butterfinger by crumbles on right after the ganache and then added the whipped cream on top.
I’m so glad it was a hit!
What changes would I have to make if I use a 10 inch spring pan? and this cheesecake was AWESOME.
CAN I BAKE THIS AT 350 DEGREES FOR 50-60 MINUTES.
It wouldn’t be my recommendation
Do you recommend adding the ganache and icing before you put it in the fridge for 6 hours or after?
I usually do it after but either way should be ok.
Made your butterfinger cheesecake for a party tonight. Huge success. They ate the entire cheesecake. This is the best cheesecake. One person commented that they don’t like chocolate, but they liked this cheesecake. I’ll definitely make it again.
So glad you enjoyed it!
This recipe is amazing! I made a basic version of it today. I did just the crust, filling, and ganache. My only issue is that I messed up my water bath and the crust got soggy. Even with this mistake it’s still amazing! The soft crust makes it seem like. Soft brownie as the crust.
So glad you enjoyed it!
Can I use heavy cream instead of sour cream? If so, do I use the same amount?
You can, but you might need to bake the cheesecake a little longer. And yes, I’d use the same amount.
This cheesecake is delicious!!! Have you ever frozen it to store? I’m thinking if I freeze just pull it out day of and put into the fridge to let it thaw?
I didn’t freeze it, but that should be just fine.
Would the bake time be the same if I’m making muffin size cheesecakes?
No, it’d be quite different. Here’s my recipe for Mini Reeses Peanut Butter Cheesecakes. You could either follow those baking times, or use that recipe and swap out the reeses for butterfinger.
This is delicious! Question, though…This was my first time using a water bath. It definitely turned out creamier than baking without water bath. So much so, I was concerned it was underbaked? Not sure if that is how it is supposed to be?
Hard to know what the texture was like, but if it seemed a little under baked that’s totally possible. All ovens vary a little so it may have just needed a little more time.
How long does it take to get stiff peaks to form? I must have done something wrong. I spread it over as a layer. It worked out okay. Second time I substituted cool whip for the heavy cream. Worked well and much easier & quicker.
It should take less than five minutes. Are you whipping it by hand or using a mixer of some kind? I use a stand mixer which I think produces the stiffest result. But a handmixer usually works pretty well too. Be sure you’re using the full amount of powdered sugar, because it helps stabilize the whipped cream.
This cheesecake turned out great!!! I love making cheesecakes and I love finding recipes that are more than just simple😉 Also a local coffee shop asked me to make cheesecakes for them and I’ve been coming to your website for recipes😄thanks Lindsay!
So glad you enjoyed it!
Do you remove the oreo cream filling before crushing the cookie up?
No, leave the filling in the Oreo.
Just made this for my mom’s birthday and they were all in love! The only thing I had a problem with was the peanut butter whipped cream. For some reason it didn’t whip up and just separated and got all chunky. Not sure what I did wrong as I’ve made whipped cream tons of times before. I think it was something to do with the peanut butter? Anyway, I ended up serving it without it and it was still delicious! Definitely saving this one to make again 🙂
I’m glad you enjoyed it! The whipped cream can be a little temperamental. Maybe it’s the kind of peanut butter? I just used regular, creamy JIF.
Just made this this week – another HUGE hit!! Be warned – it’s decadent – so have a BIG glass of milk nearby. For some reason my peanut butter whipped cream didn’t set right but trust me this cheesecake is perfect even without it! Not a bite was left in the ER I work in!
I’m so glad you enjoyed the cheesecake!
Ok, glad I wasn’t the only one that had an issue making the whipped cream! I thought I was losing it lol. Mine totally separated and wouldn’t set, despite me trying twice.
How do keep the ganache from running down the sides of the cheesecake?
You can let the ganache sit for a bit and firm up before adding it to the top. As long as you don’t spread it too far to the edges, it should be fine.
I’m making this for a local coffee shop, which I have made a ton of your recipes and they are always amazing! So my question is do I need to stabilize the whipped cream so that it won’t weep and get watery or does the peanut butter stabilize it? I’m just worried bc it’ll be at the coffee shop for several days.
I personally didn’t have an issue with it – it stayed stable. But if you’d like, you could try using peanut butter powder instead of actual peanut butter. That might remain more stable.
Ohhh! Another wonderful creation! I can’t wait to try this. Thanks, Lindsay!!!
Thanks Suzy-q! I hope you enjoy it!
Being European,I have no knowledge of (butterfingers )..although, looking at photo I think they may be what we call (honeycomb.) which does not come in packaged form, and would have to make from scratch . What equivalent would there be … I was thinking of Cadbury’s Crunchy bar… crushed .
Hmmm, naturally I’m not very familiar with European candies. I googled the crunchy bar and that does seem similar, but just different in flavor. The Butterfingers are peanut butter flavored.
Honestly, any peanut butter candy could be used in the cheesecake, just chopped up.
Here in Canada Butterfingers are hard to find so I ended up using Crispy Crunch bars instead and it turned out great 🙂 Not sure if you have those in Europe but they make a good substitute 🙂
Can I opt out the butterfinger and substitute it with the same amount of peanuts instead? Will it affect the baking time?
Well the peanuts will probably be quite crunchy, that should be fine. It shouldn’t affect the baking time.