This post may contain affiliate sales links. Please read my disclosure policy.
This post is sponsored by Challenge Butter, but all opinions are my own.
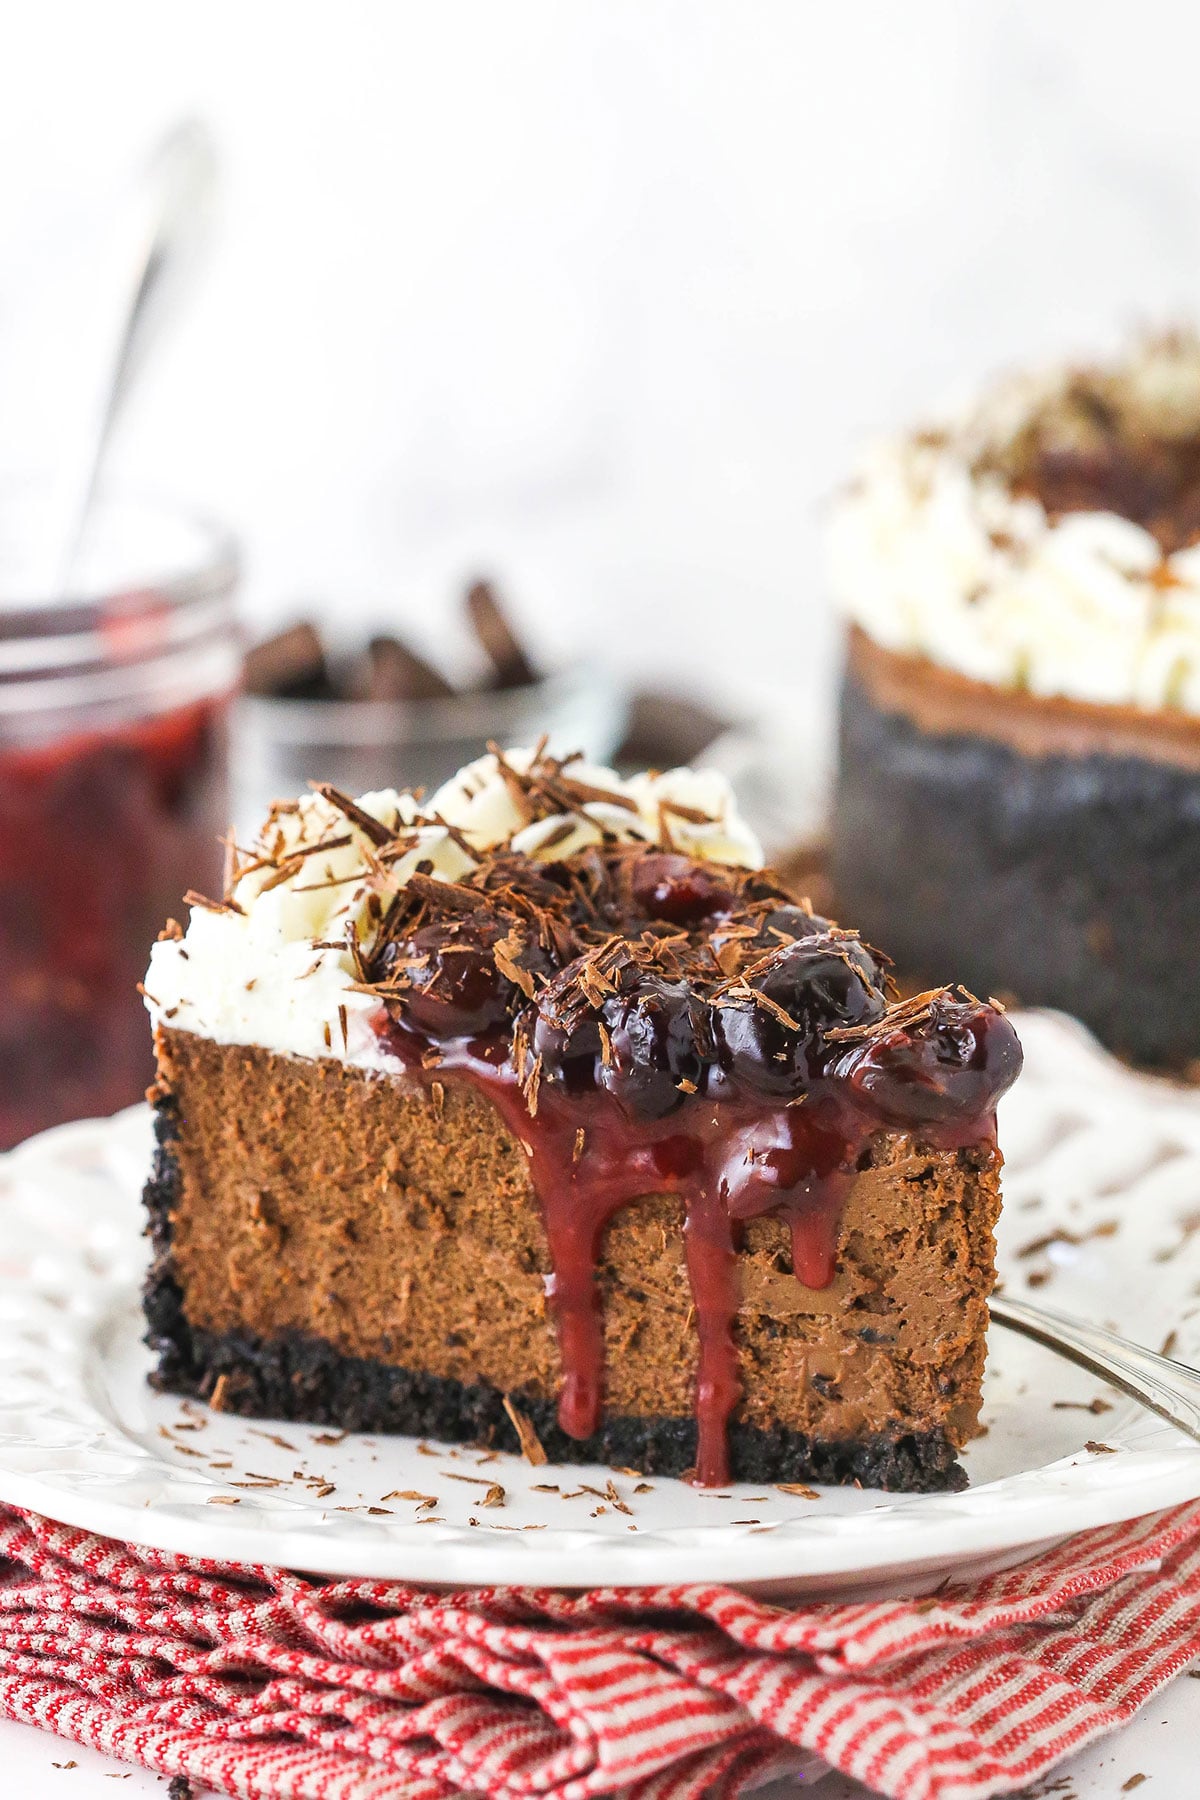
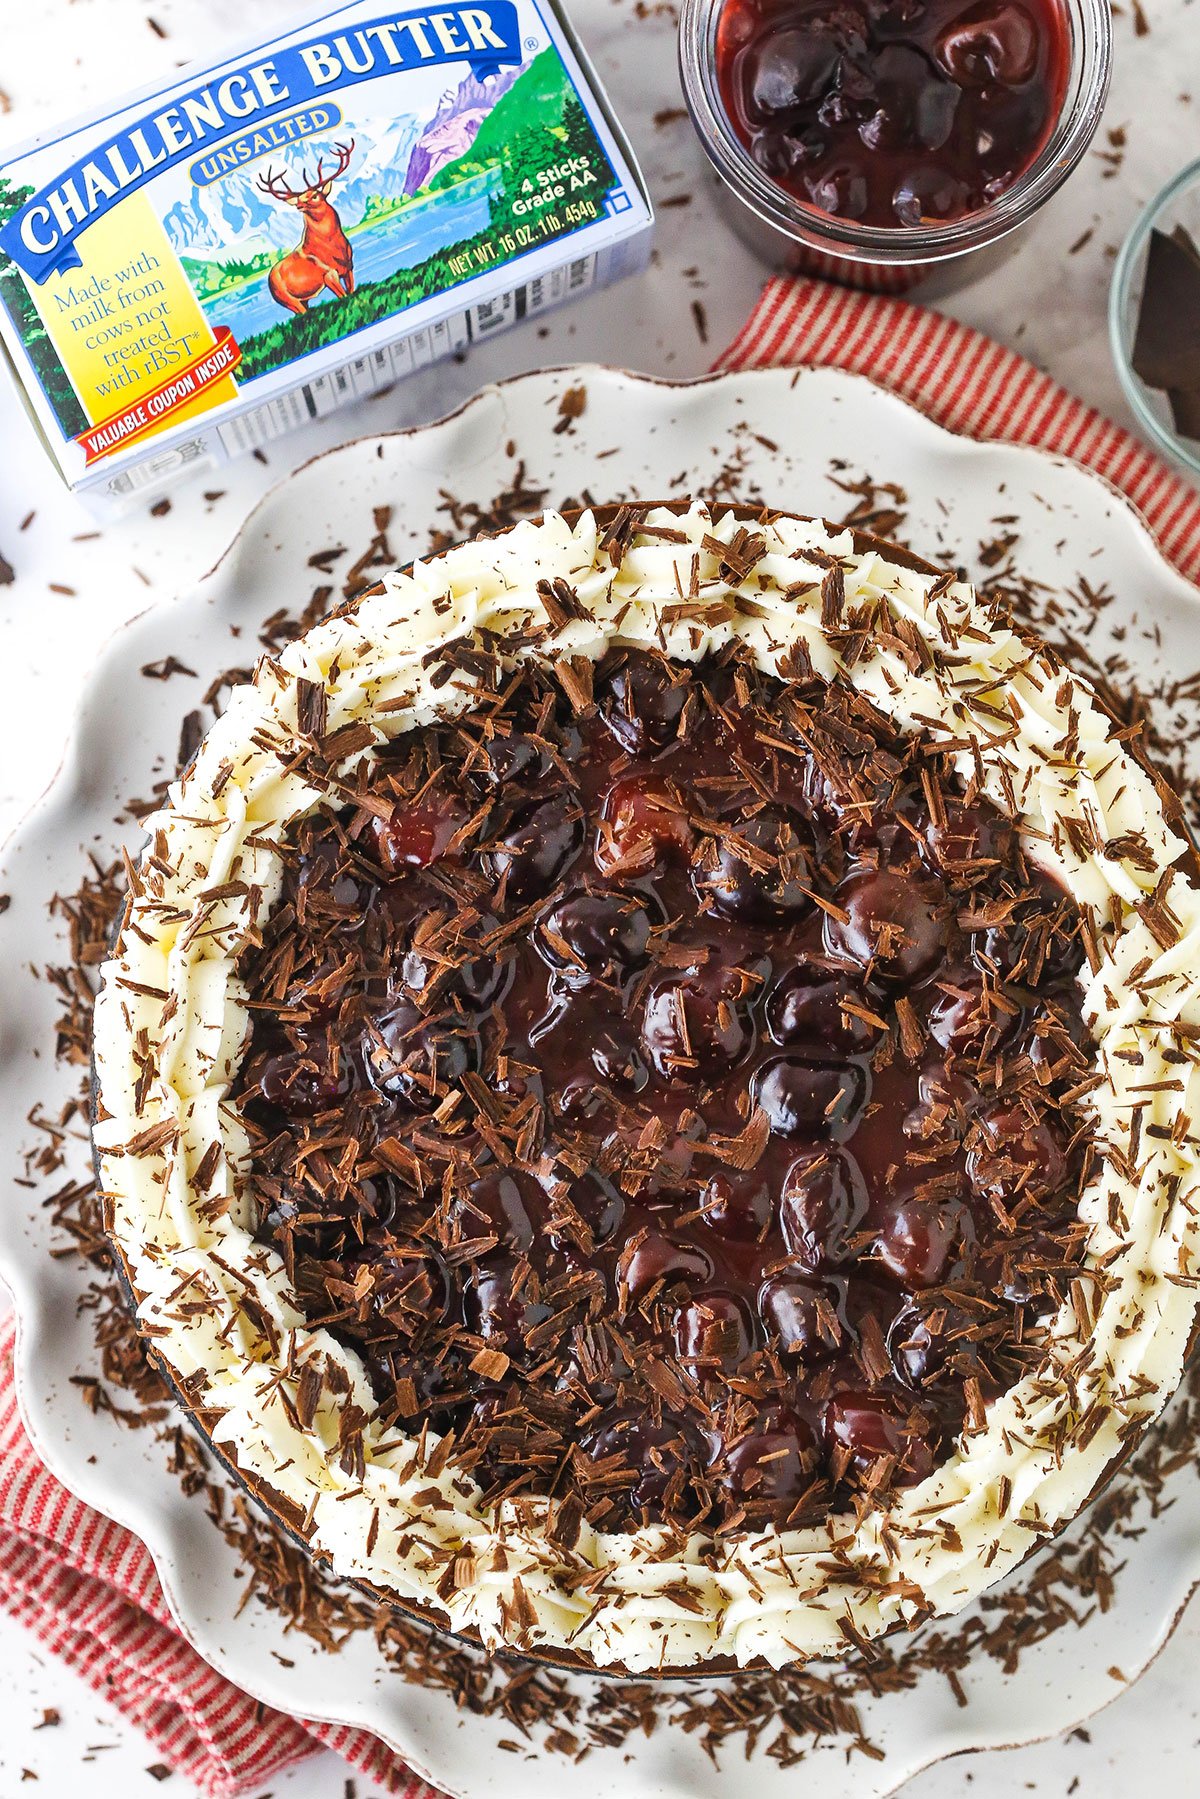
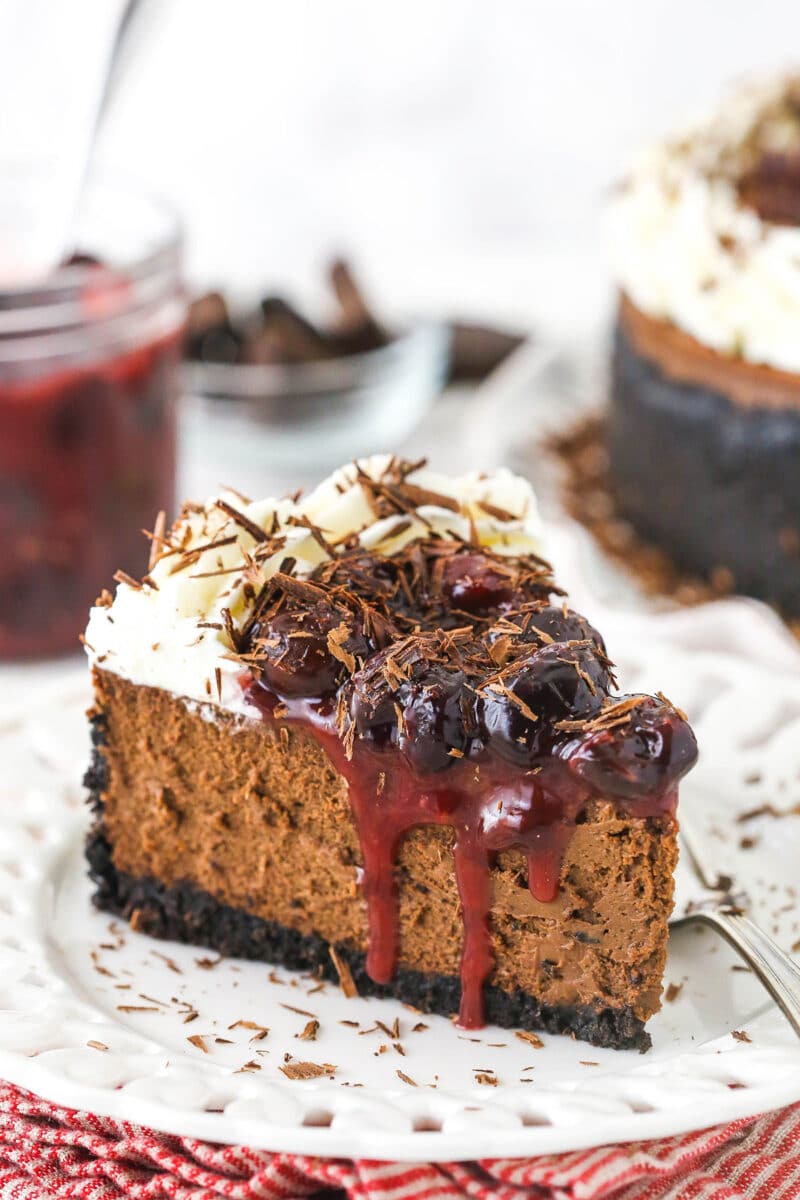
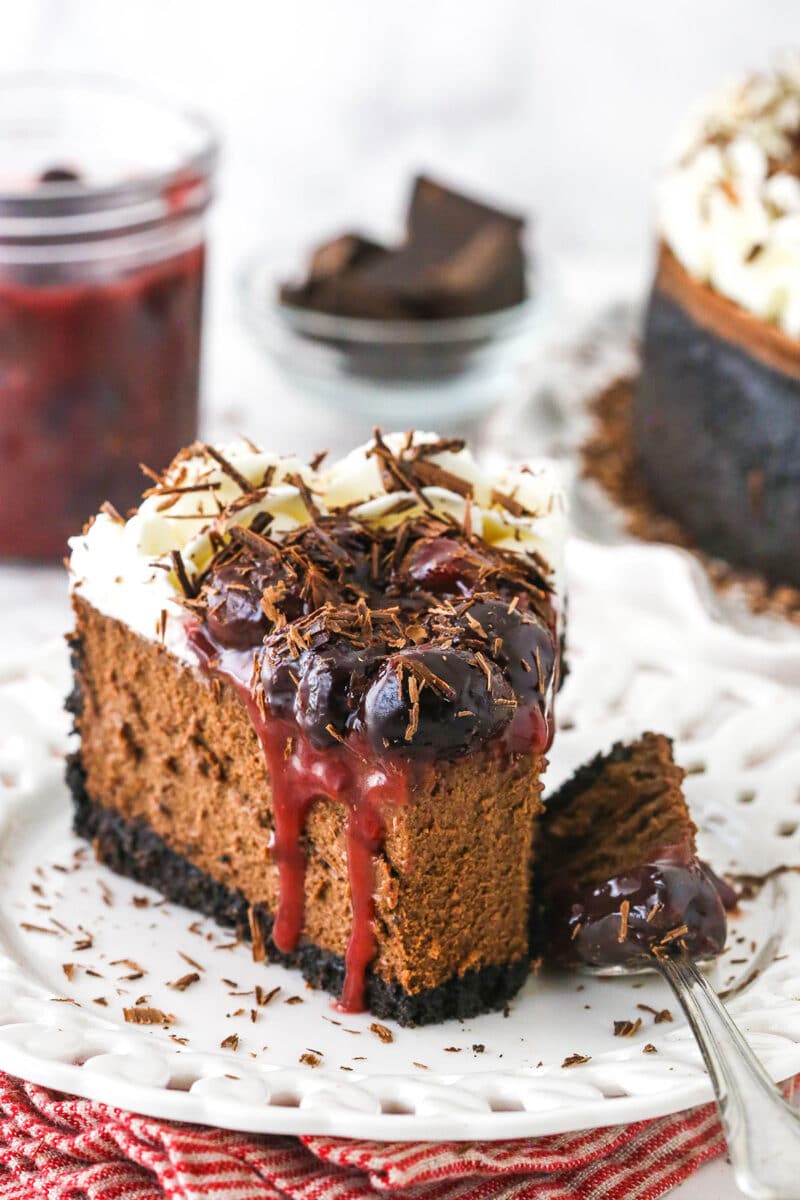
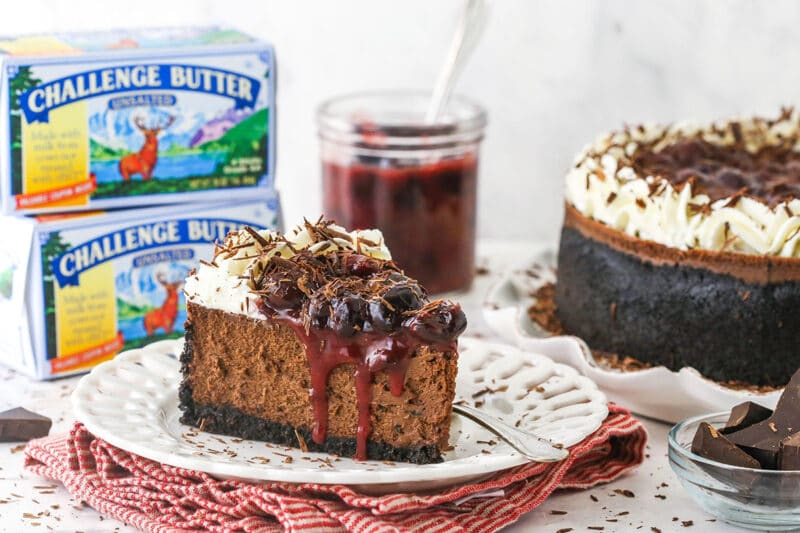
This Black Forest Cheesecake is a creamy, decadent chocolate cheesecake with a homemade cherry liqueur topping and fresh whipped cream! It’s the perfect treat for the holidays!
Black Forest Cheesecake
Cookies get a lot of attention this time of year, but for those of us that love cake-y things, this cheesecake deserves a place at the table. The combination of chocolate and cherries make it perfectly festive, not to mention delicious. This black forest cheesecake is definitely a holiday winner!
So what is a black forest cheesecake? Well, it’s based on the traditional Black Forest Cake, which has been around for ages. It’s a traditional German cake known for its layers of chocolate cake, whipped cream, cherries and most importantly, a clear liqueur made from sour cherries called kirschwasser. This cheesecake is a spin on that cake.
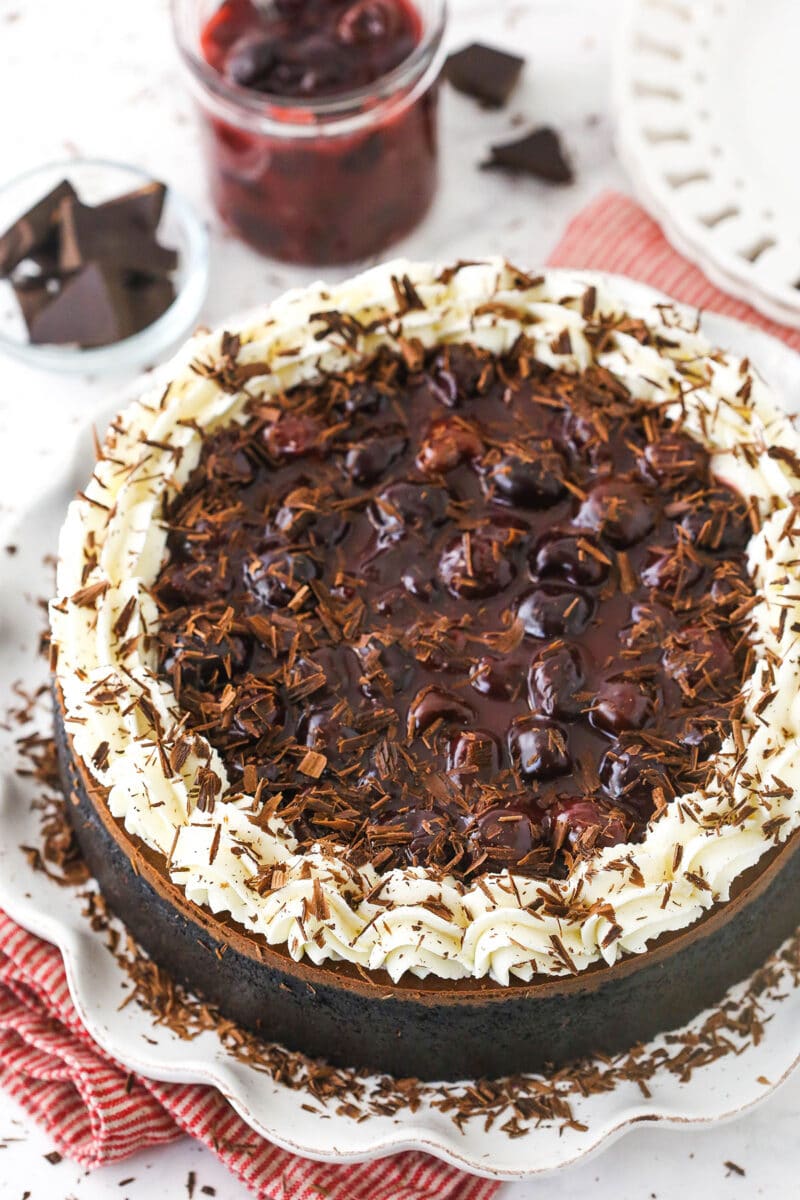
To start, you’ve got the chocolate Oreo crust. In the crust sits the rich, creamy chocolate cheesecake. The topping is a homemade cherry filling made with kirschwasser, the traditional cherry liqueur, and is actually the same as the one I use in my Black Forest Cake. The cheesecake is finished off with whipped cream and chocolate shavings. While the shavings are totally optional, they do add some nice texture to the top of the cheesecake.
What You’ll Need
The list of ingredients is somewhat long, but most are things that you likely already have and can easily find at the grocery store. The only exception is the cherry liqueur, but even that is readily available.
Cheesecake Ingredients
- Oreos: For the crust. I leave the filling in the Oreos and grind them into crumbs in a food processor. You could also pound the Oreos into crumbs in a ziplock bag.
- Butter: The butter holds the Oreo crumbs together for the crust. I used my favorite Challenge Butter. Challenge Butter is a high quality, creamy butter that goes from farm to fridge in just two days, ensuring that it’s nice and fresh. It has no added hormones, artificial flavors or fillings, so you can feel good about feeding it to your family. If you haven’t tried it before, you definitely need to. It will definitely elevate your baking and cooking. Their spreadable butter is also a favorite in our house.
- Cream Cheese: This is the base of the cheesecake and must be room temperature so you don’t end up with little chunks of cream cheese throughout your cheesecake. Again, I use Challenge Cream Cheese. It’s as close to homemade as it gets and has nothing artificial and no added hormones. Plus, it’s super creamy and perfect as the base of the cheesecake filling.
- Sugar: For sweetness and to soften the tang in the cream cheese.
- Cocoa Powder: Provides part of the chocolate flavor in this cheesecake. I used regular natural unsweetened, but you could also use a dark cocoa.
- Sour Cream: Helps give the cheesecake a creamy texture.
- Vanilla Extract: For flavor.
- Chocolate: 8 ounces of melted chocolate add additional chocolate flavor and richness to this cheesecake. I used semi-sweet, but bittersweet would be fine as well.
- Eggs: Add richness and bind everything together. Cheesecake is technically a custard-based dessert because of the eggs.
Cherry Topping
- Sugar: For sweetness, but also moisture. The sugar melts and combines with the cherry juices to create the sauciness.
- Cornstarch: To help thicken the topping.
- Cherry liqueur: For the traditional cherry liqueur flavor. You could substitute it for water, if you prefer.
- Cherries: You’ll want pitted cherries, of course. You can use fresh or frozen cherries.
Whipped Cream
- Heavy Whipping Cream: It must be cold for it to whip well. Also be sure to use heavy whipping cream, which has a higher fat percent.
- Powdered Sugar: For a touch of sweetness, but also to stabilize the whipped cream and keep it from wilting.
- Vanilla Extract: For flavor.
How to Make Black Forest Cheesecake
There are three main parts of this cheesecake. If it seems overwhelming, think about them in the individual parts. The cheesecake and the topping can both be made ahead, which makes prep much more approachable.
Cheesecake
Make the crust: Grind your Oreos into crumbs and mix them with the melted butter. Press the mixture into the bottom and up the sides of the pan. Bake the crust for 8-10 minutes, then prep the pan for a waterbath.
Make cheesecake filling: First you’ll combine the cream cheese, sugar and cocoa powder. Be sure the cream cheese is softened, so that you don’t end up with lumps. You also want to mix at a low speed so you don’t incorporate too much air into the filing, which can create cracks.
Add the sour cream and vanilla extract and mix until well combined and smooth. Again, you don’t want lumps.
Next, you’ll add the melted chocolate in three parts. I find it helps to add it in parts to ensure it’s all incorporated evenly. It also helps with preventing clumps of chocolate.
Finally, add the eggs one at a time.
Add the filling to the crust and bake it. It should bake for about an hour, until the edges of the cheesecake are set and the center is set, but still jiggly. Then begin the cooling process, which helps cool the cheesecake slowly, while still cooking it fully. The slow cooling process helps prevent the cheesecake from cracking.
To cool the cheesecake, leave it in the oven with the door closed for 30 minutes. Then crack the oven door for 30 minutes. Finally, cool the cheesecake in the fridge until cool and firm.
Topping
The topping can be made while the cheesecake bakes and then refrigerated until ready to use. Add all but the cherries to a pan and heat until the sugar melts, then add the cherries. Continue cooking until the cherries release their juices and the juices begin to thicken. Keep in mind that everything will thicken further as it cools. Remove the topping from heat and pour it into another bowl. Refrigerate until ready to use.
Whipped Cream
When you’re ready to put things together, make the whipped cream. Add everything to a large mixer bowl and whip on high speed until stiff peaks form.
To put the cheesecake together, remove it from the pan and set on a platter. Pipe the whipped cream border around the outer edge, then fill it in with the cherry topping. The final touch is some shaved chocolate.
Tips for Success
- Ingredient Temperatures: Be sure your cream cheese is fully at room temperature to avoid having a lumpy cheesecake. Lumps are especially noticeable in a chocolate based cheesecake. Also be sure the cream for the whipped cream is cold.
- Oreo Filling: I’m often asked about this – you can leave the filling in the Oreos and just grind them up as is. No need to add the step of removing the filling.
- Don’t Overcook the Topping: When the topping begins to thicken, go ahead and remove it from the heat. It will continue to thicken as it cools, so if you over cook it, it will be super thick.
- Beat Cheesecake Filling at Low Speed: Make sure you’re using low speed when making the cheesecake filling. This reduces the amount of air added to the batter, which prevents the cheesecake from cracking.
- Follow Cooling Instructions: Another way to prevent your cheesecake from cracking is by cooling it slowly, according to the recipe directions.
- More Tips & Tricks: For more advice on making perfect cheesecake at home, be sure to check out this comprehensive list of tips and tricks!
Watch How To Make It
Print
Black Forest Cheesecake
- Prep Time: 1 hour 30 minutes
- Cook Time: 2 hours
- Total Time: 3 hours 30 minutes
- Yield: 12-14 slices
- Category: Dessert
- Method: Oven
- Cuisine: American
Description
This Black Forest Cheesecake is a creamy, decadent chocolate cheesecake with a homemade cherry liqueur topping and fresh whipped cream!
Ingredients
Crust
- 35 Oreos (3 cups |403g Oreo crumbs)
- 4 tbsp (56g) Challenge Butter, melted (salted or unsalted is fine)
Cheesecake Filling
- 24 oz (678g) Challenge Cream Cheese, room temperature
- 1 cup (207g) sugar
- 6 tbsp (43g) natural unsweetened cocoa powder
- 1 cup (230g) sour cream, room temperature
- 1 tsp vanilla extract
- 8 oz | 1 1/3 cups semi-sweet chocolate, melted and slightly cooled
- 4 large eggs, room temperature
Cherry Topping
- 1/4 cup (52g) sugar
- 2 tbsp cornstarch
- 2 tbsp (30ml) cherry liqueur (or water)
- 1 1/2 cups (255g) pitted cherries (I used frozen)
Whipped Cream
- 1/2 cup (120ml) heavy whipping cream, cold
- 1/4 cup (29g) powdered sugar
- 3/4 tsp vanilla extract
- Chocolate bar, for shaving, optional
Instructions
To make the crust:
- Preheat oven to 325°F (163°C). Line a 9-inch (23cm) springform pan with parchment paper in the bottom and grease the sides.
- Combine the crust ingredients in a small bowl. Press the mixture into the bottom and up the sides of the springform pan.
- Bake the crust for 10 minutes, then set aside to cool.
- Cover the outsides of the pan with aluminum foil so that water from the water bath cannot get in (see how I prepare my pan for a water bath). Set prepared pan aside.
To make the cheesecake:
- Reduce oven temperature to 300°F (148°C).
- In a large bowl, beat the cream cheese, sugar and cocoa on low speed until well completely combined and smooth. Be sure to use low speed to reduce the amount of air added to the batter, which can cause cracks. Scrape down the sides of the bowl.
- Add the sour cream and vanilla extract and mix on low speed until well combined.
- Add the melted chocolate in three parts, stirring until combined after each. Adding it in parts helps ensure that it incorporates evenly and helps prevent clumping.
- Add the eggs one at a time, mixing slowly to combine after each addition. Scrape down the sides of the bowl as needed to make sure everything is well combined.
- Pour the cheesecake batter evenly into the crust.
- Place the springform pan inside another larger pan. Fill the outside pan with enough warm water to go about halfway up the sides of the springform pan. The water should not go above the top edge of the aluminum foil on the springform pan.
- Bake for 1 hour. The center should be set, but still jiggly.
- Turn off the oven and leave the door closed for 30 minutes. The cheesecake will continue to cook, but slowly begin to cool as well.
- Crack the door of the oven for 30 minutes to allow the cheesecake to continue to cool slowly. This process helps prevent cracking.
- Remove the cheesecake from the oven and water bath wrapping and refrigerate until firm, 5-6 hours or overnight.
To make the cherry topping:
- To make the cherry mixture, combine the sugar, cornstarch and liqueur (or water) in a medium-sized saucepan over medium heat and stir to combine. Heat until the mixture is wet and the sugar begins to melt.
- Add the cherries and stir to coat them with the sugar mixture. Cook mixture until the cherries start to soften and let out juices.
- Remove from heat when the cherries are juicy and the juice has begun to thicken. Pour the mixture into another bowl and refrigerate until cool.
To finish the cheesecake:
- Make the whipped cream. Add the heavy whipping cream, powdered sugar and vanilla extra to a large mixer bowl and whip on high speed until stiff peaks form.
- Remove the cheesecake from the springform pan and set on a serving plate.
- Pipe shells of whipped cream around the outer edge of the cheesecake. I used Ateco tip 847.
- Fill in the center with the cherry topping and sprinkle with chocolate shavings.
- Refrigerate until ready to serve. Store well covered. Cheesecake is best eaten within 3-4 days.
Nutrition
- Serving Size:
- Calories: 463
- Sugar: 34.9 g
- Sodium: 202.6 mg
- Fat: 31 g
- Carbohydrates: 42.3 g
- Protein: 8 g
- Cholesterol: 121.5 mg




Every year I make whatever cheesecake my husband asks for, for Fatters Day. Last year he gave me a whole year to prepare my brain for this one. I took it slow, as I wanted it to be perfect AND it was more than perfect. He shared it with so many people that I am now making a second one ❤️ and it was absolutely beautiful. Thank you for allowing us to venture into this recipe. I wish I could post a picture. Oh, and we paired it with our Lor’ barista and some great coffee. I think anything else would have thrown it off.
I’m so glad to hear it was a hit!
I just made this and it looks fabulous! But now I am nervous about removing the paper from the bottom. Is there a trick?
You can see the process of removing the cheesecake from the pan (including removing the parchment) in this video.
Delicious! I love black forest cake, so I thought I’d give this cheesecake a try and I’m so glad I did. I did double the cherry topping because I love loads of cherries and it was a tiny bit too much, but for my taste I think the cherry topping as the recipe calls for would not have been enough. I will say, I thought it tasted fine the first night, but by the 2nd night it was absolutely amazing. In the future I’d probably make this a day in advance from when it will be eaten because by day 2 the juice from the cherry topping had seeped into the cheesecake and just made it even more delicious. I will definitely make this again.
I’m so glad you enjoyed it!
Such an amazing recipe. Have made it several times. I double the cherry topping as I don’t think the recipe gives enough
I’m so glad you enjoy it!
Have you ever frozen this? If so, any suggestions?
I haven’t, but I would recommend freezing the baked cheesecake without the toppings. Wrap it well and then thaw in the fridge and add your toppings prior to serving.
Thank you so much for this recipe! My family loved it. By any chance can you help me 1/2 the recipe. Thanks!
So glad you enjoyed it! I would take a look at my guide to adjusting cheesecake sizes.
Great cheesecake- came out of the form perfectly!
I just made this for a family birthday. I highly highly highly recommend this recipe. It tasted delicious and looked professional.
So glad you enjoyed it!