This post may contain affiliate sales links. Please read my disclosure policy.
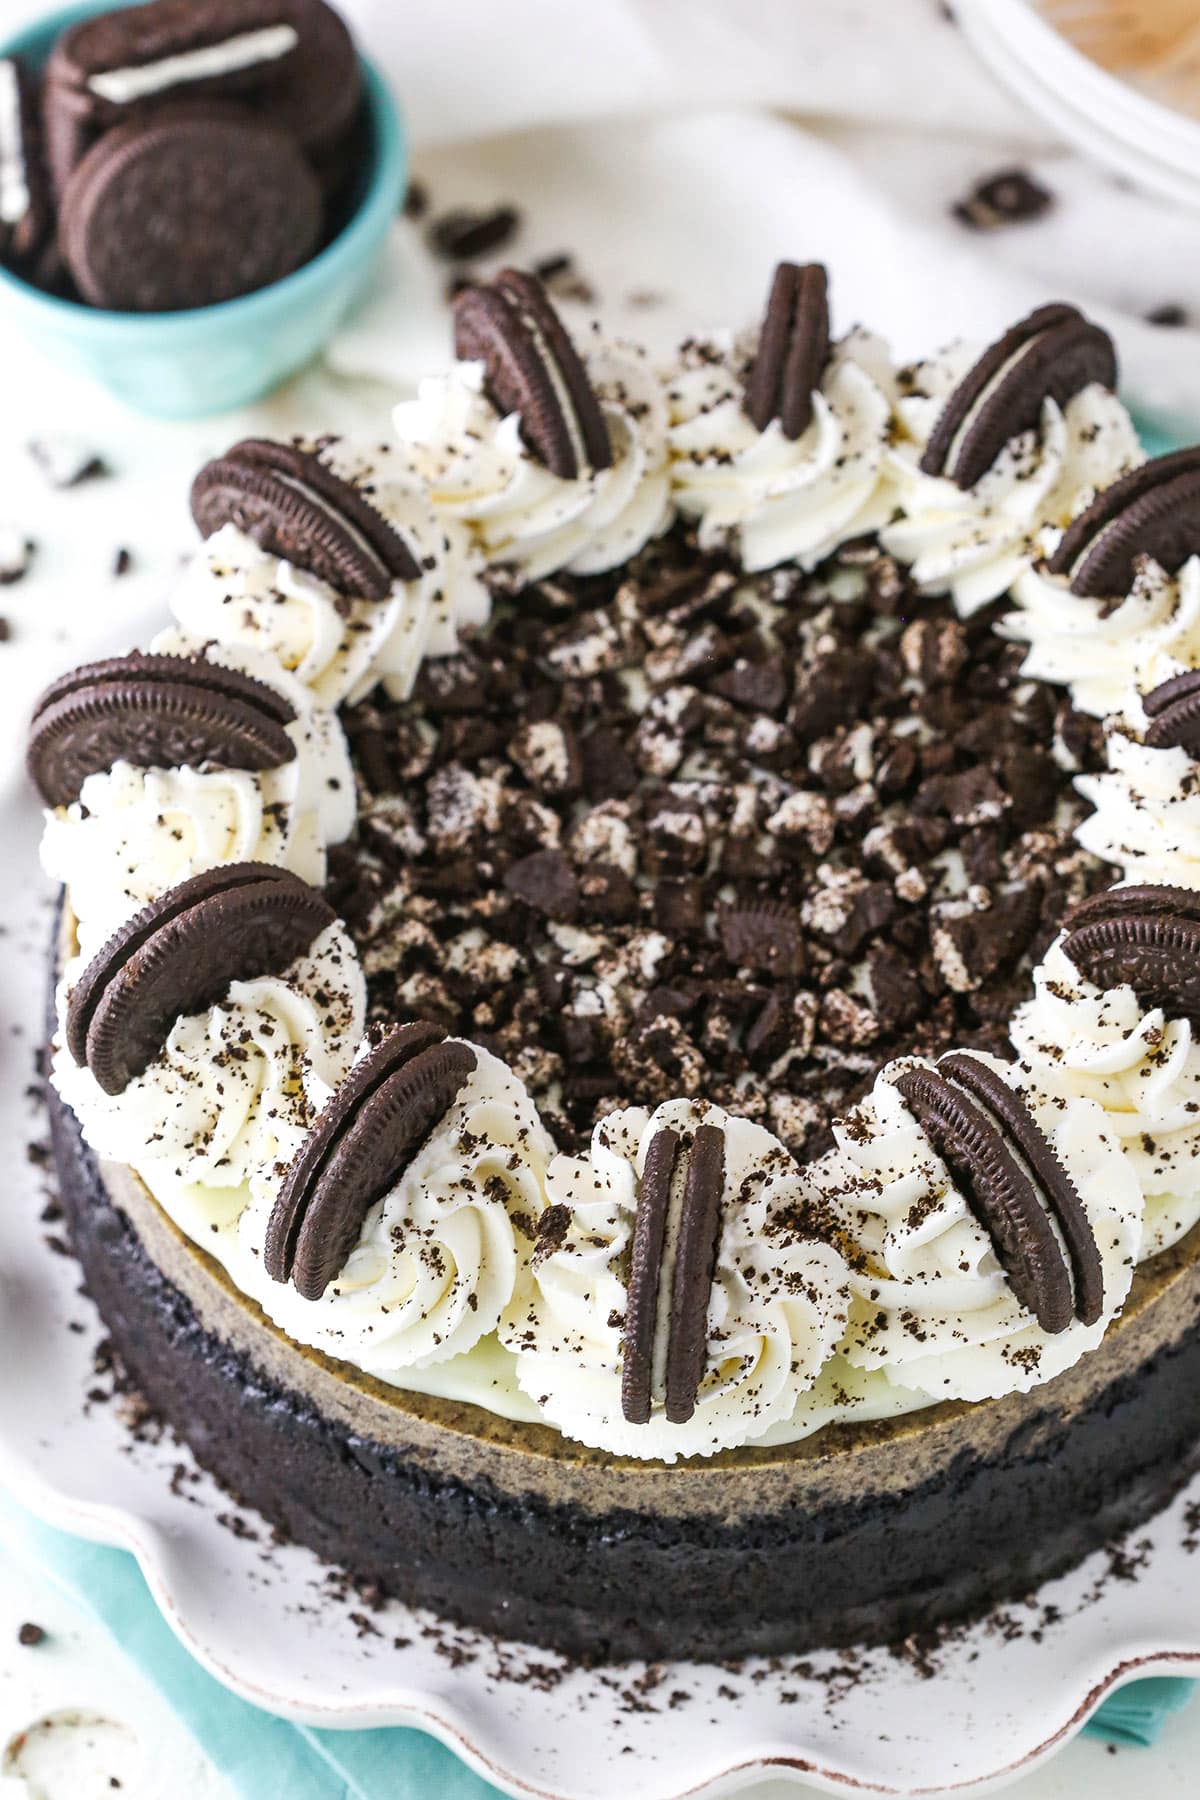
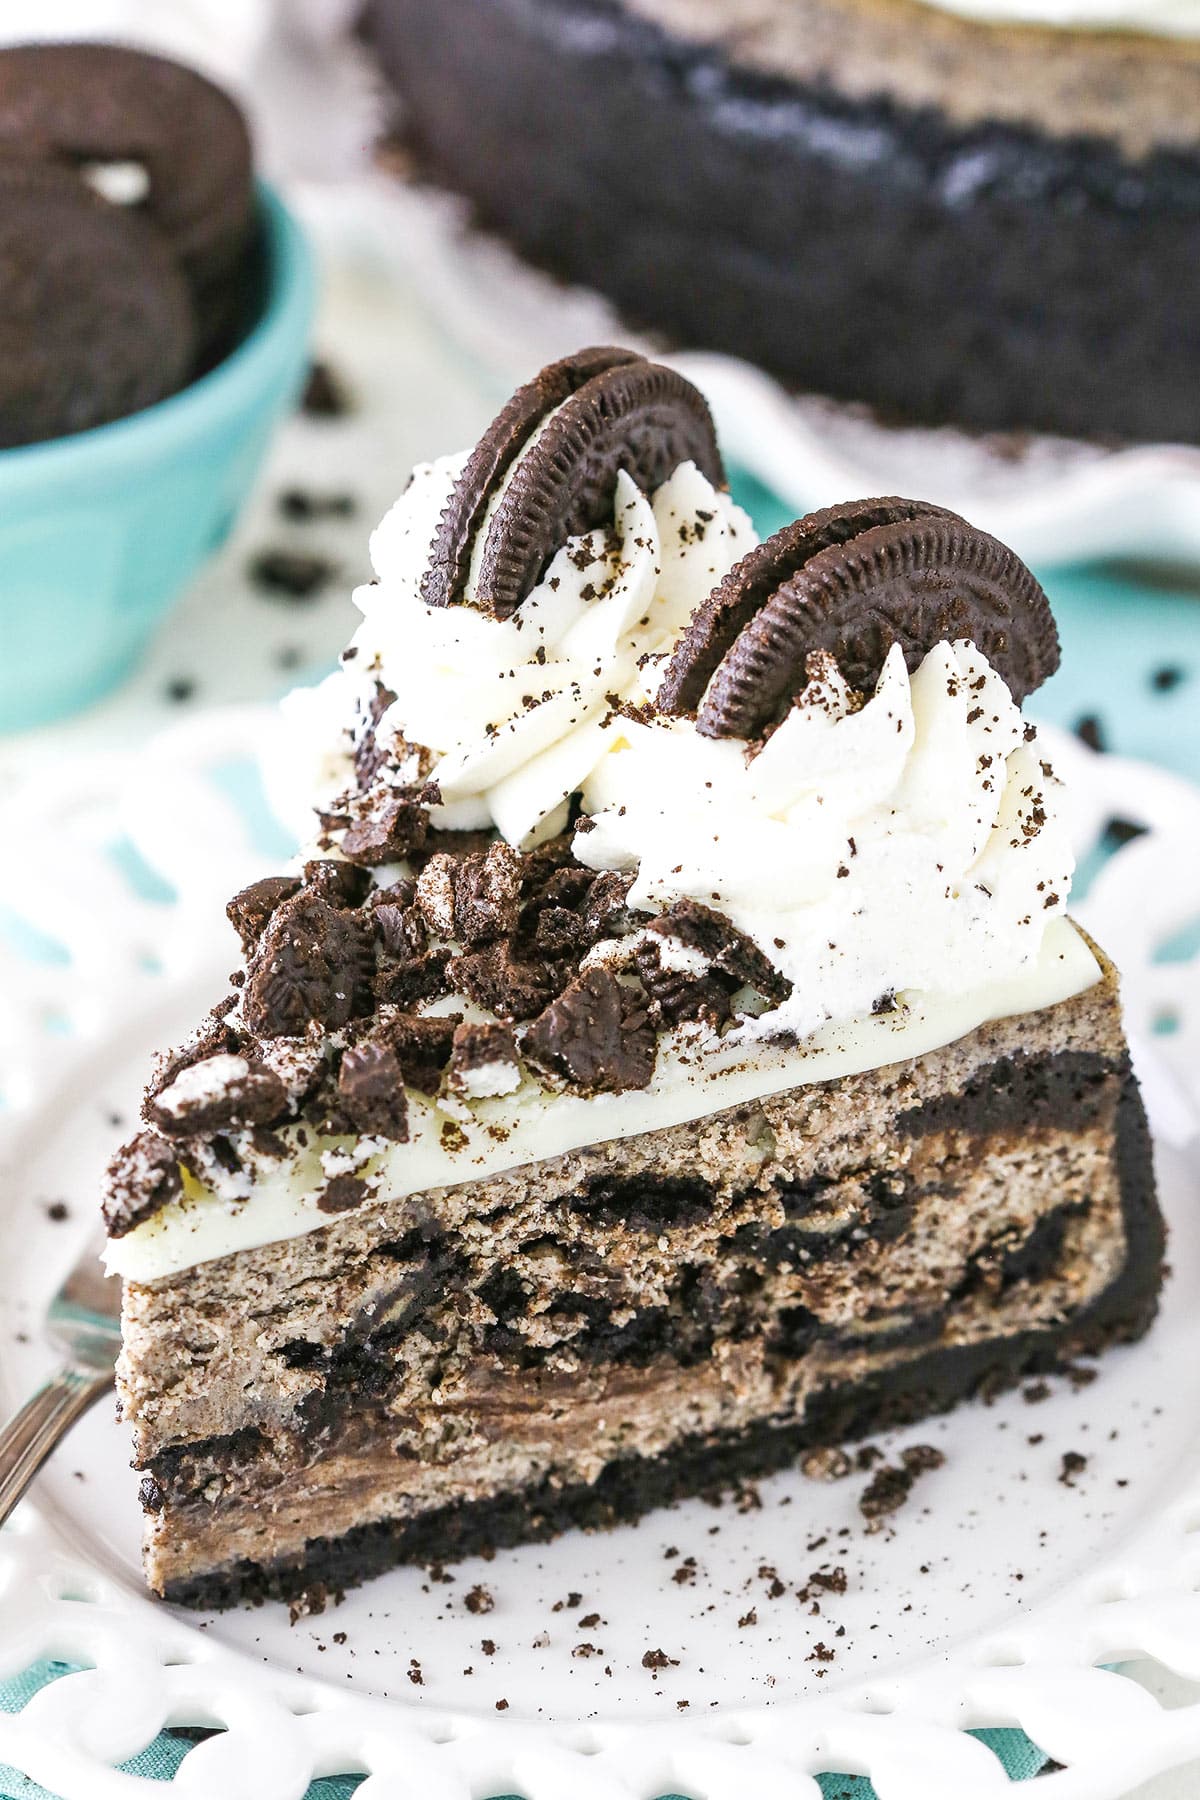
This really is the BEST Oreo Cheesecake you’ll ever have! The filling is thick, creamy, and absolutely bursting with Oreos. It’s baked in an Oreo crust and topped with white chocolate ganache, whipped cream, and more Oreos. Delicious!
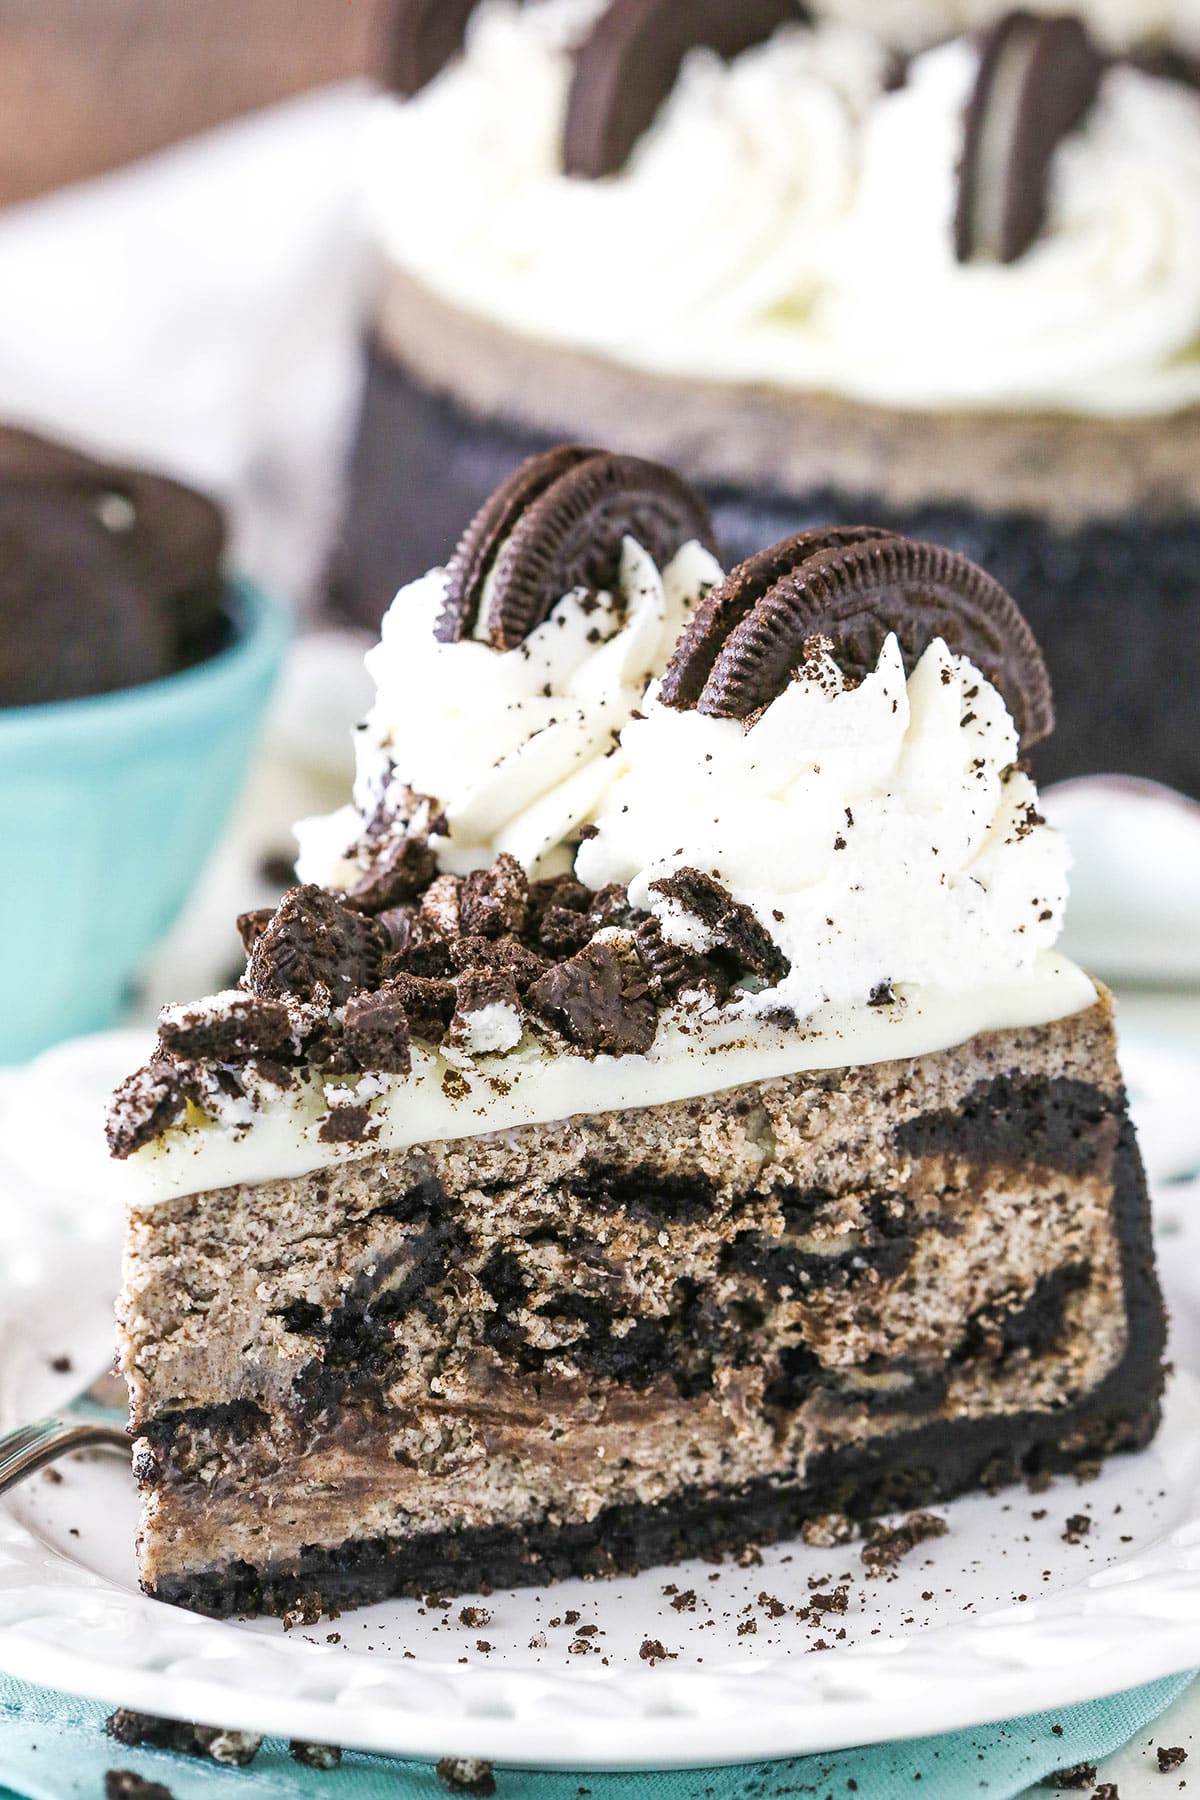
Table of Contents
The Best Oreo Cheesecake Recipe
If you’ve been following my blog, you probably already know this but for those of you who are new here, I have a confession. I am love Oreos and cheesecake. So what could be better than putting the two together in one sinfully delicious dessert?
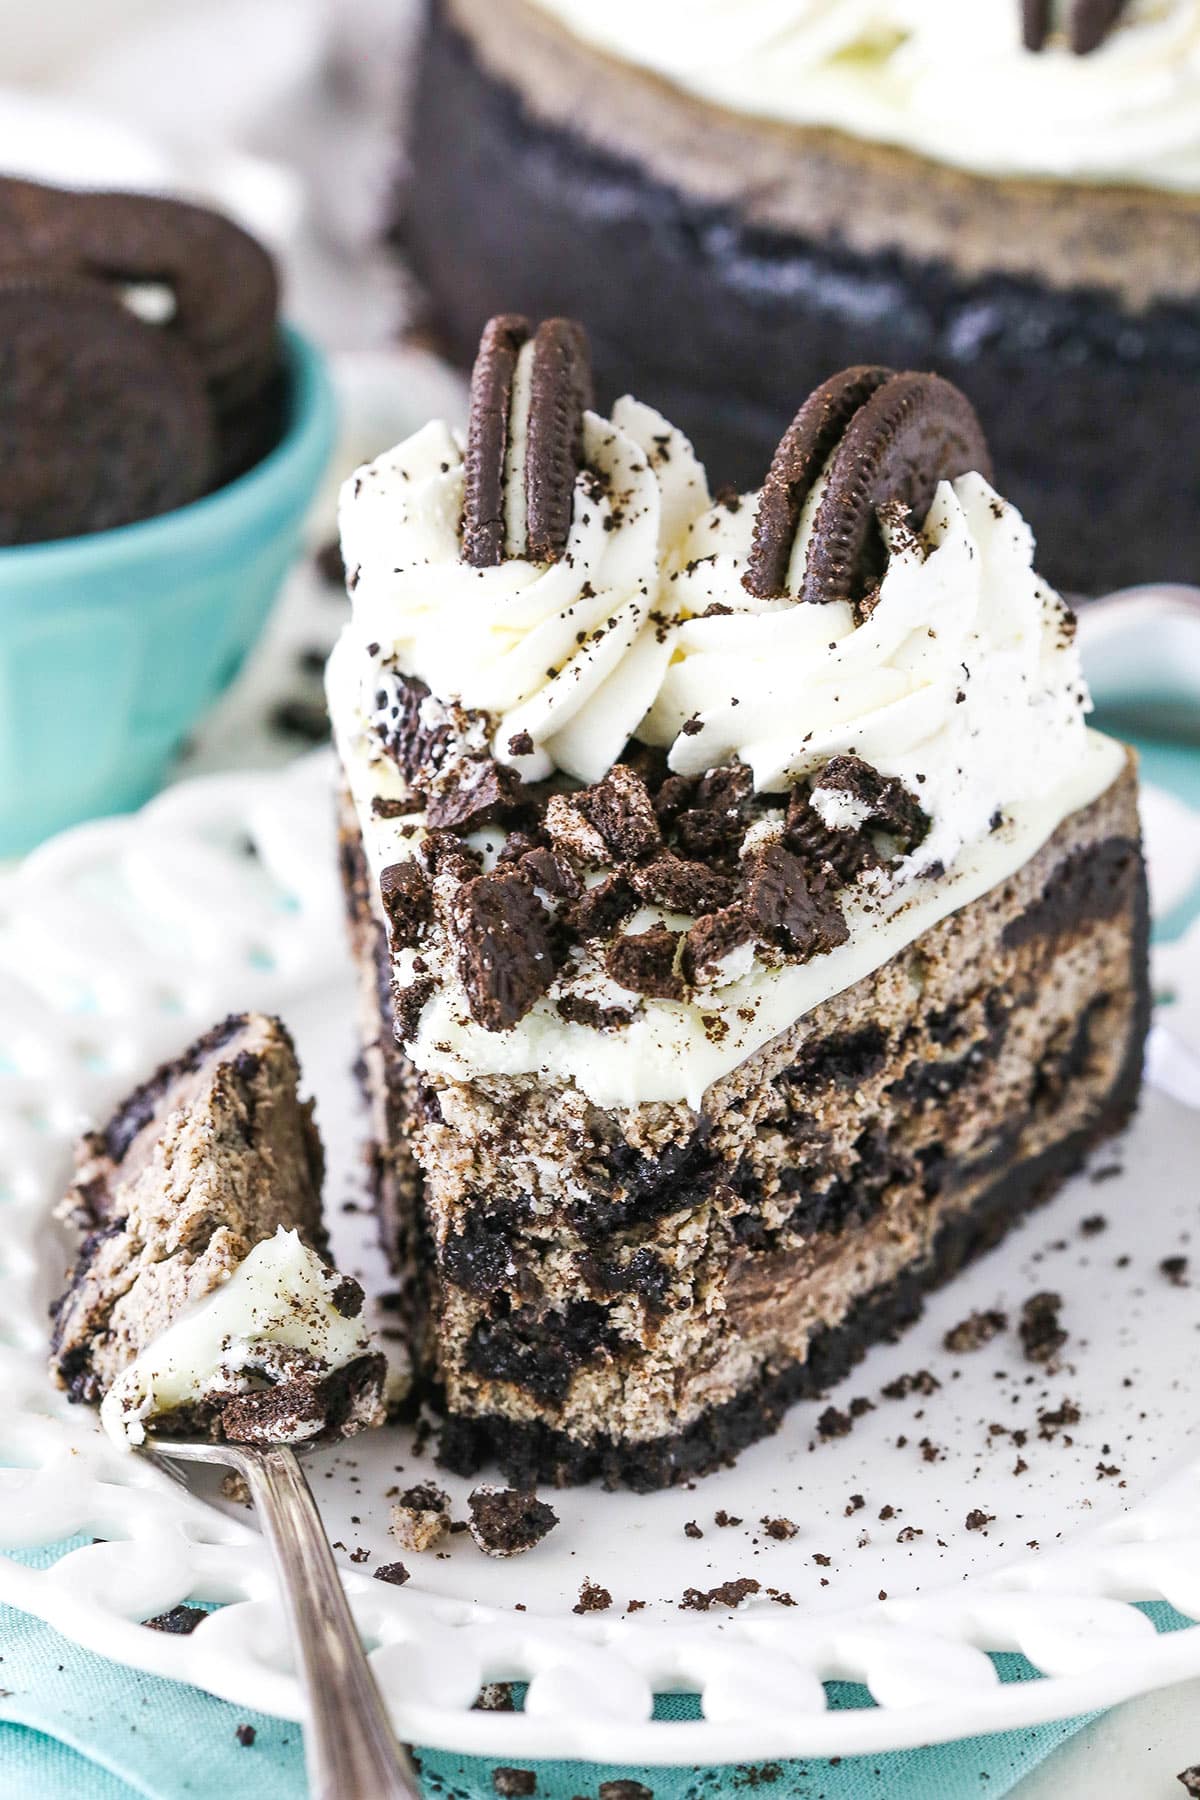
While I love a good no bake cheesecake, there’s no substitute for the real thing. This Oreo cheesecake is made up of a thick, creamy cheesecake filling that is loaded with crumbled Oreos and big cookies ‘n cream flavor. The filling is broken up by chopped Oreo cookies that add even more flavor to every bite. Everything sits on top of my trusty Oreo Cookie Crust Recipe and is topped with a rich white chocolate ganache. Is your mouth watering yet? Mine is.
Why You’ll Love This Oreo Cheesecake
Oreos and cheesecake wrapped into one dessert? What’s not to love? Here are some of my favorite things about the best Oreo cheesecake ever.
- So. Many. Oreos. If you are an Oreo fan like me, you will not be disappointed. From the crust to the filling to the decorations, this cheesecake is absolutely bursting with Oreos.
- Great texture. I love the smooth, creamy cheesecake filling. The Oreos add some texture, but soften while the cheesecake bakes.
- Easy to make it your own. There is a lot of room to play with this recipe. Try using a different flavor of Oreo, a flavored whipped cream such as my Baileys Chocolate Whipped Cream, or consider using Chocolate Ganache instead of white chocolate ganache.
What You’ll Need
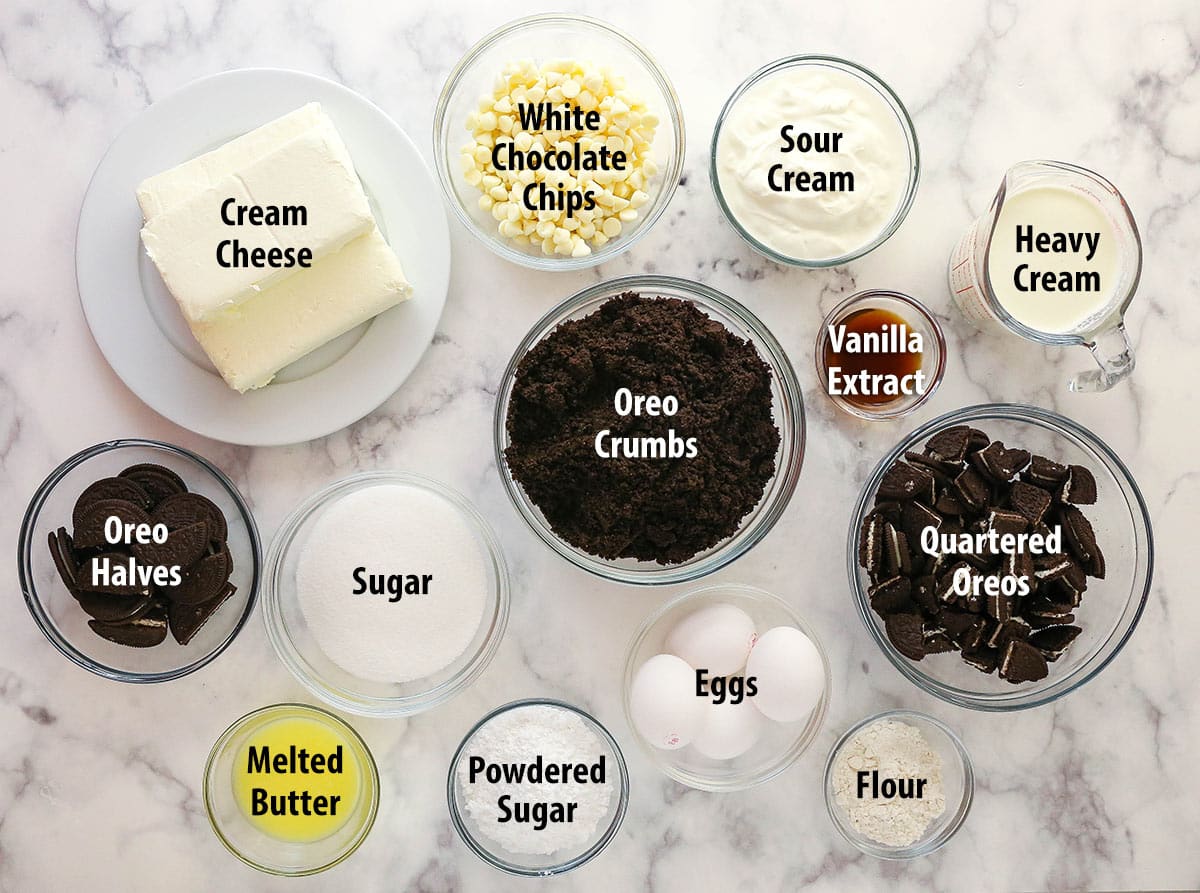
Here is a list of ingredients you will need to make this Oreo cookie cheesecake. Make sure to scroll to the recipe card below for exact measurements.
Crust
- Oreos – Lots of them! You are welcome to play around with other Oreo flavors if you would like. That goes for all of the Oreos in this recipe. There’s no need to remove the filling from the Oreos. You’ll use the whole cookie.
- Butter – Feel free to use salted or unsalted butter.
Filling
- Cream cheese – The cream cheese should be at room temperature. It will incorporate into the other ingredients more easily resulting in a smooth filling and helping to keep you from over-mixing. Also be sure to use brick-style cream cheese, which is thicker, not the tub cream cheese, which is softer for spreading on things.
- Sugar
- All-purpose flour – You can use your favorite 1:1 gluten-free flour instead or use cornstarch in half the amount.
- Sour cream – For an extra creamy texture.
- Vanilla extract – For flavor.
- Eggs – It is important that the eggs are at room temperature. They will mix more easily into the filling, helping to prevent over-mixing.
- Oreo crumbs
- Oreos (quartered)
White Chocolate Ganache
- White chocolate chips – You can use semi-sweet, milk, or dark chocolate chips instead if you would like, but you’ll need to adjust the amount of cream. You can refer to the chocolate ganache linked above.
- Heavy whipping cream – Do not try to use a dairy product that has a lower fat percentage such as half and half or milk. They will make the ganache runny.
- Chopped Oreos
Whipped Cream
- Heavy whipping cream – Make sure that the heavy whipping cream is cold otherwise it will not whip up and hold volume properly.
- Powdered sugar – Do not try to use a different kind of sugar here. The powdered sugar stabilizes the whipped cream so that it doesn’t wilt.
- Vanilla extract
- Oreos
How to Make Oreo Cheesecake
Here’s a quick overview of how to make this decadent Oreo cheesecake. Don’t forget to scroll to the recipe card below for more detailed instructions.
Make the Crust
- Prep. Preheat the oven to 325°F and line the bottom of a 9-inch springform pan with parchment paper. Grease the sides.
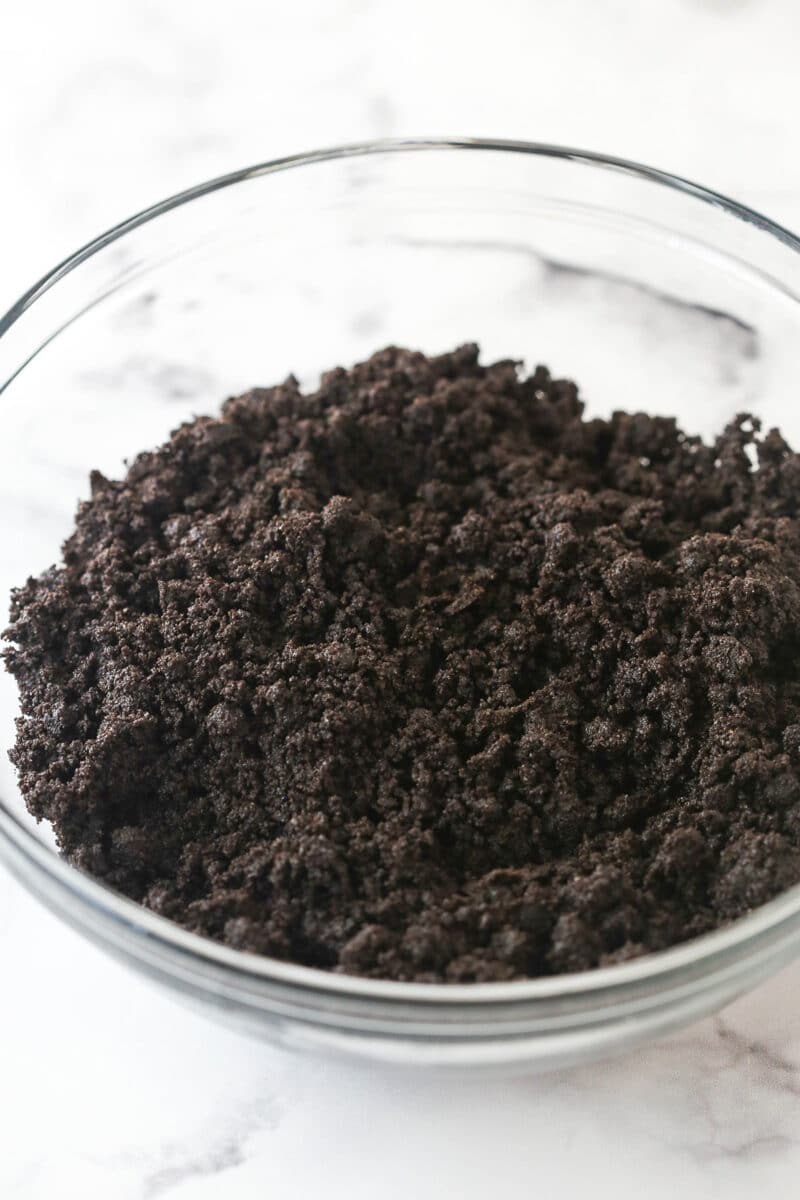
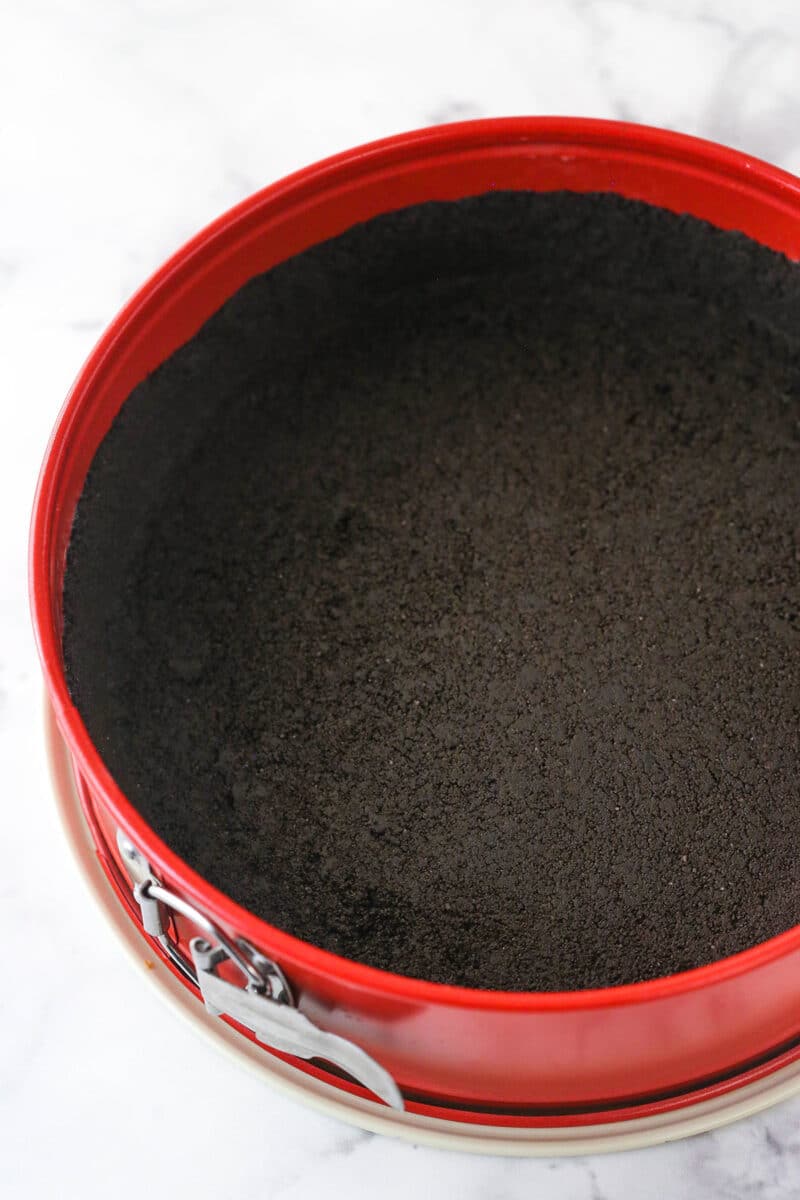
- Form the crust. Mix together the crust ingredients and press into the bottom and up the sides of the pan.
- Bake for 8-10 minutes.
- Leakproof the pan. Wrap the outside of the pan with aluminum foil.
Make the Filling & Assemble Cheesecake
- Reduce oven temperature to 300°F.
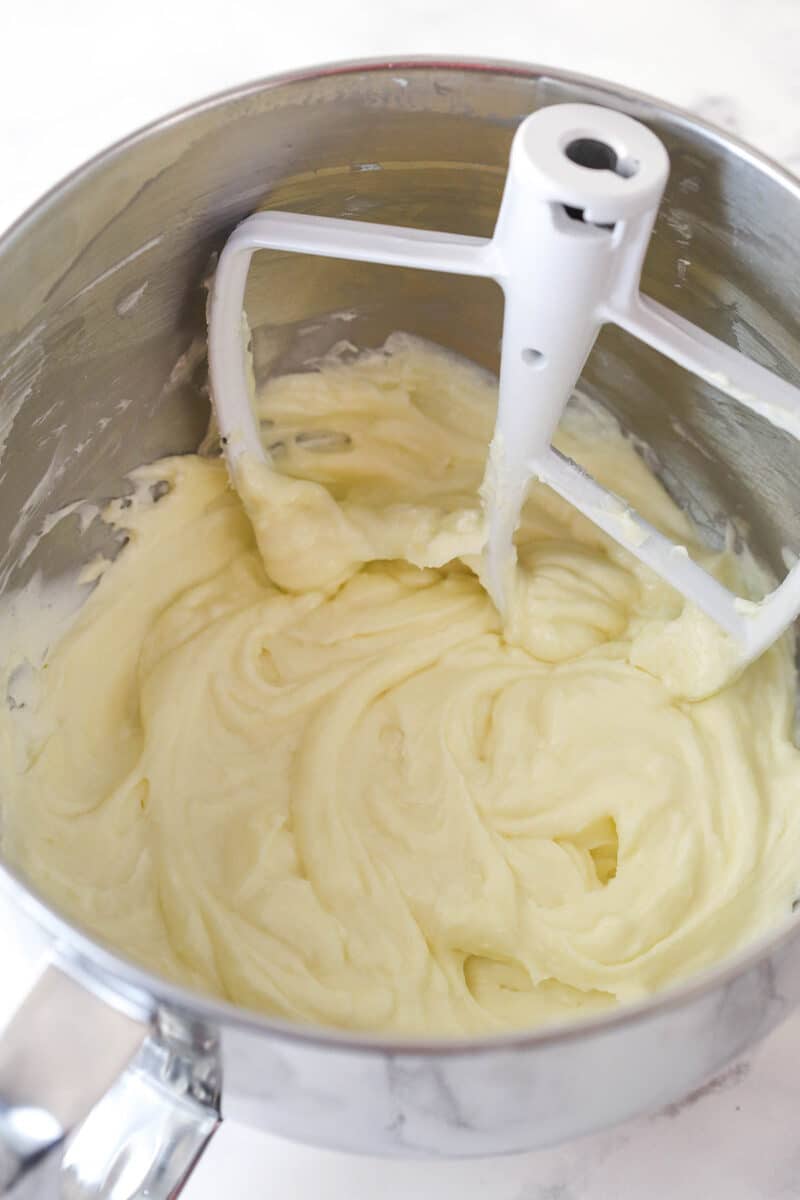
- Beat the cream cheese, sugar, and flour on low speed until smooth.
- Mix in the sour cream and vanilla extract.
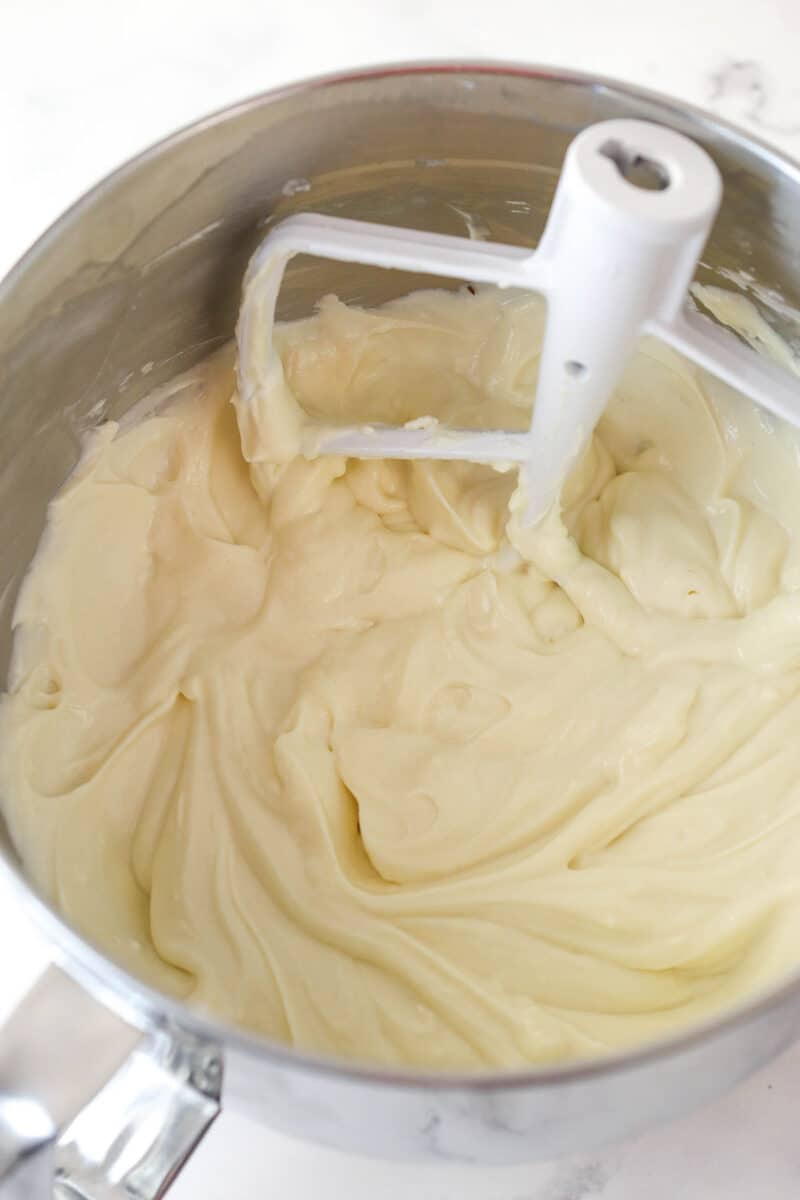
- Add the eggs one at a time, mixing to combine after each addition.
- Stir in the Oreo crumbs.
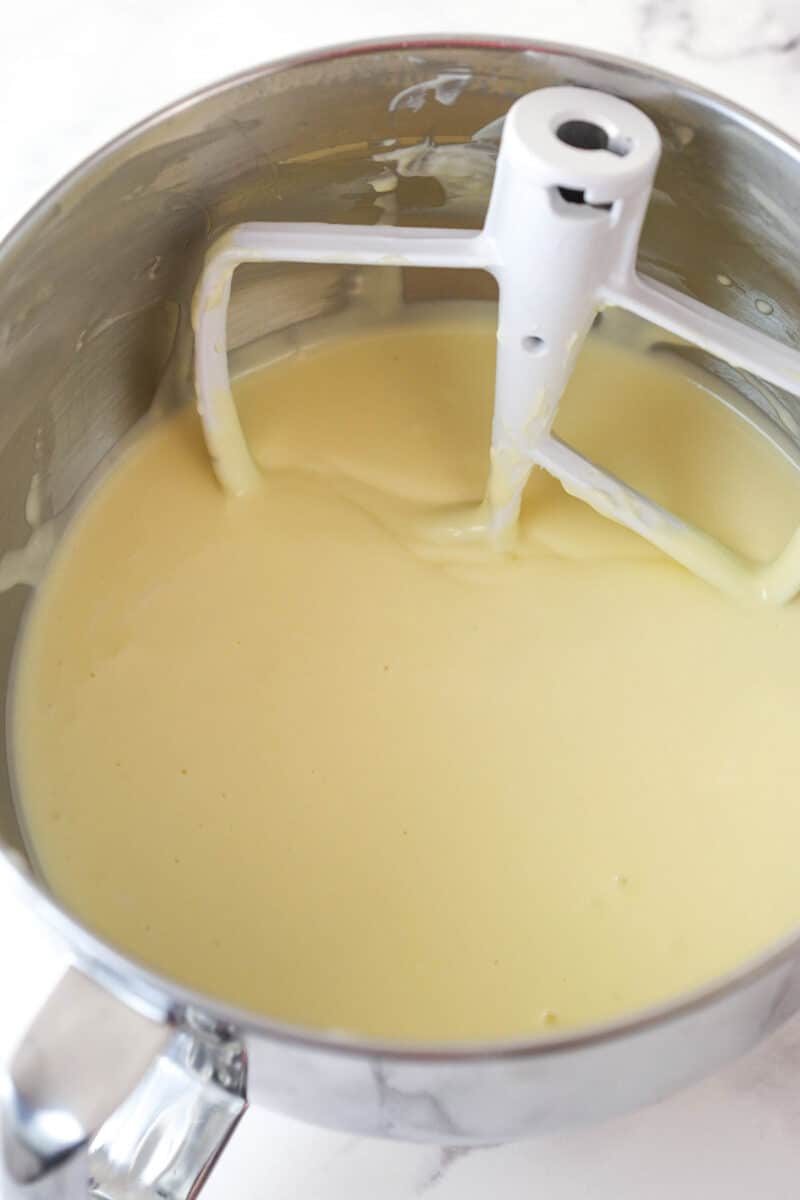
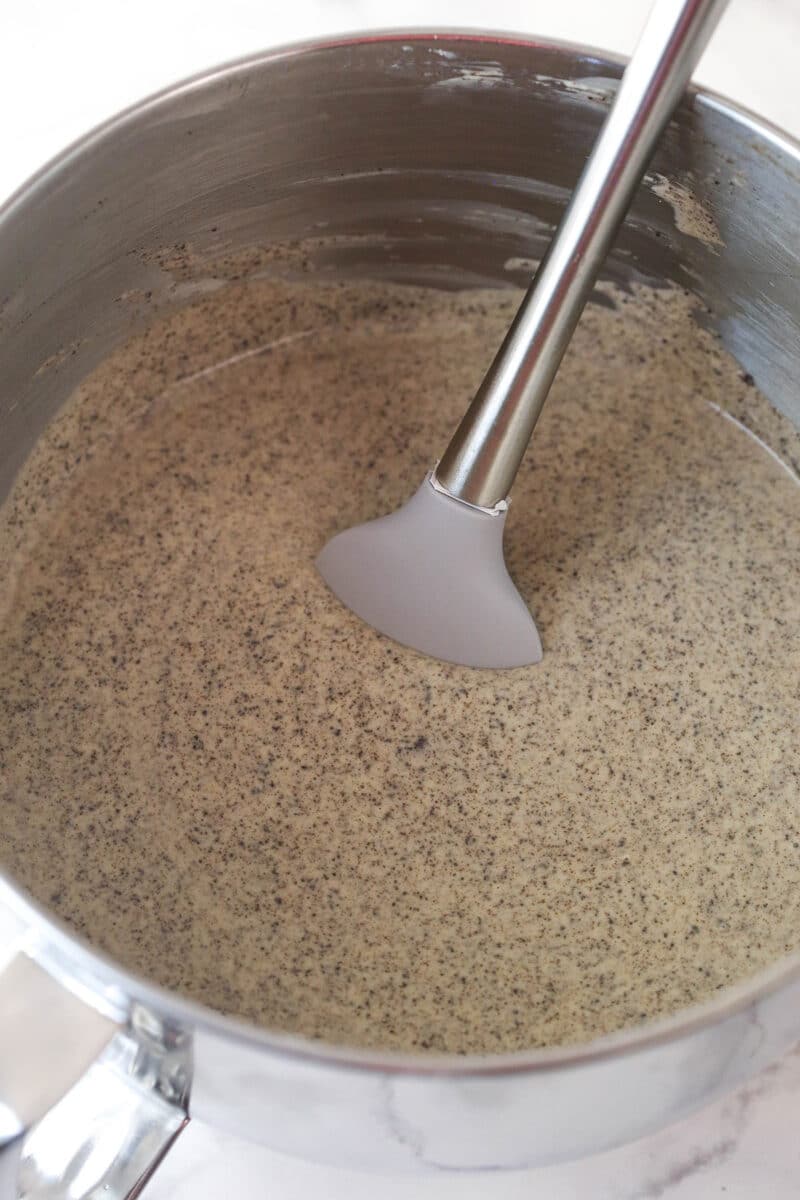
- Make layers. Pour a third of the cheesecake filling into the crust. Top it with half of the quartered Oreos. Repeat and top with the remaining filling.
- Make a water bath. Place the springform pan inside another larger pan. Fill the outside pan with enough warm water to go about halfway up the sides of the springform pan.
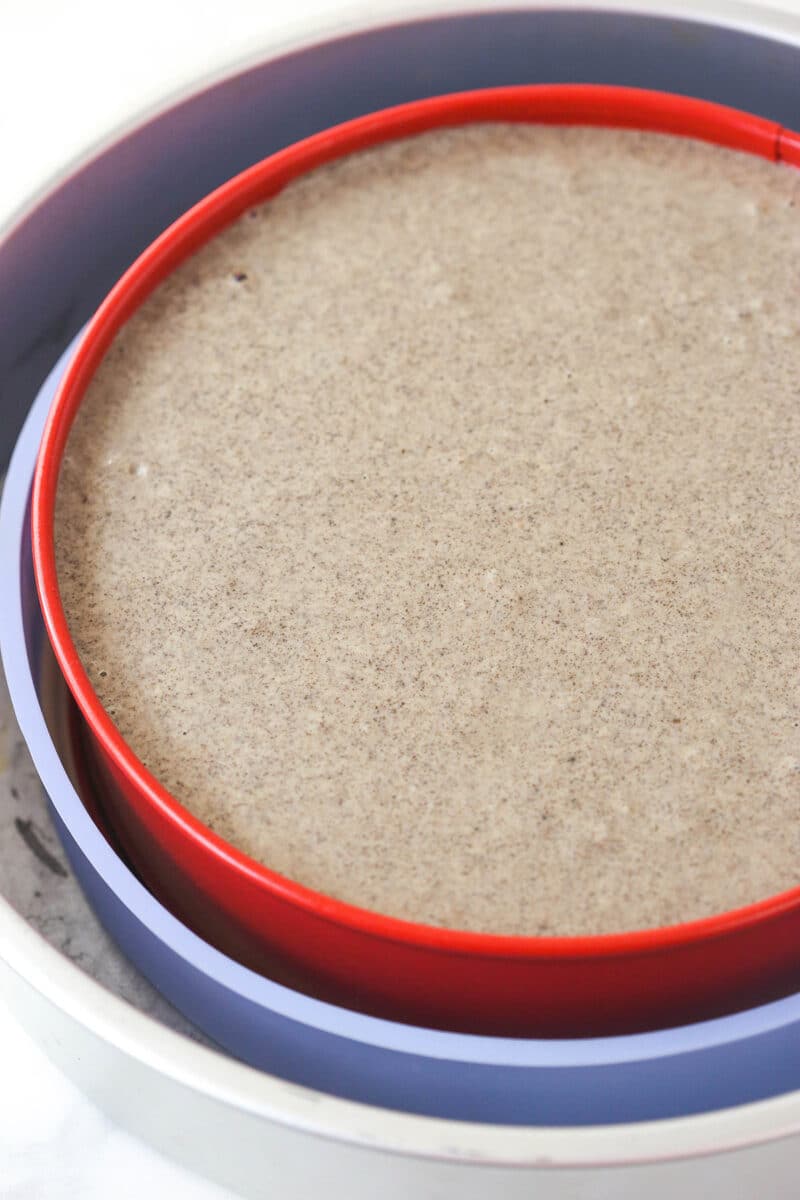
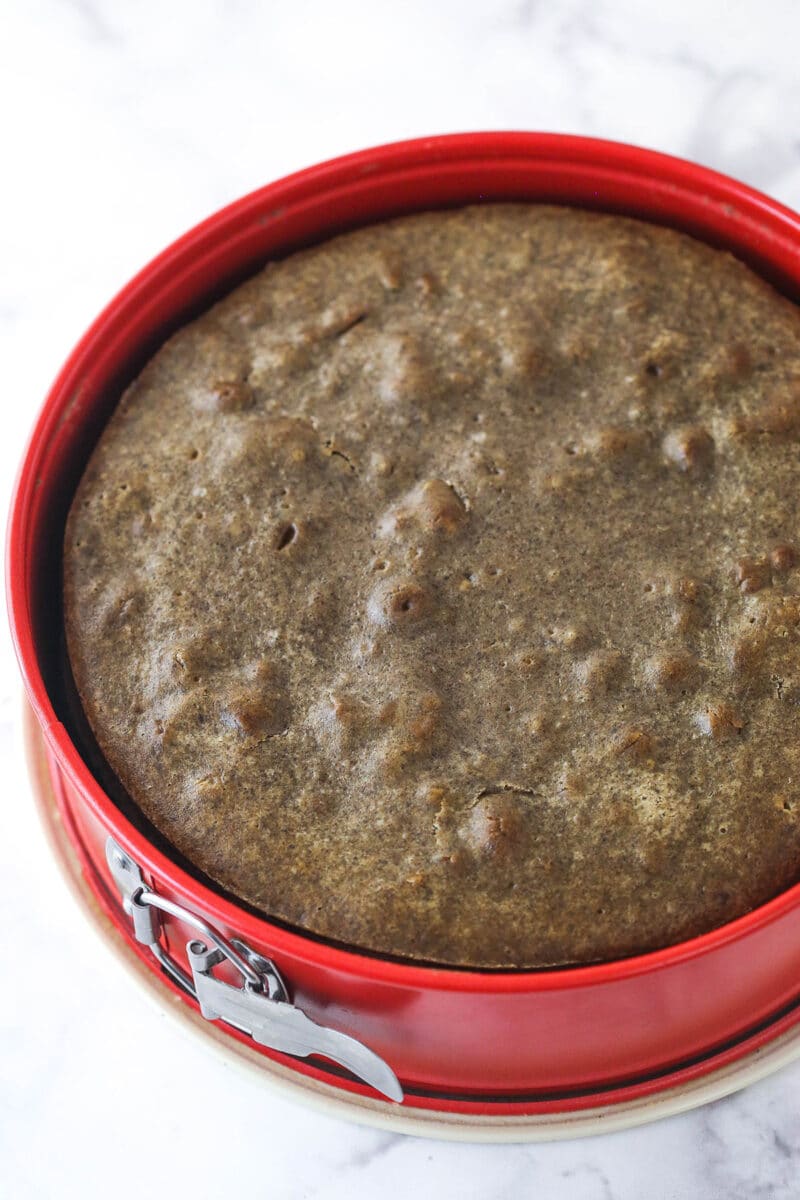
- Bake for 1 hour and 20 minutes.
- Cool slowly. Turn off the oven and leave the door closed for 30 minutes. Crack the door of the oven and leave the cheesecake inside for an additional 30 minutes.
- Chill. Remove the cheesecake from the oven and the water bath. Unwrap the pan and refrigerate the cake for 5-6 hours before removing it from the pan and placing it on a serving dish to be decorated.
Make Ganache, Whipped Cream & Decorate
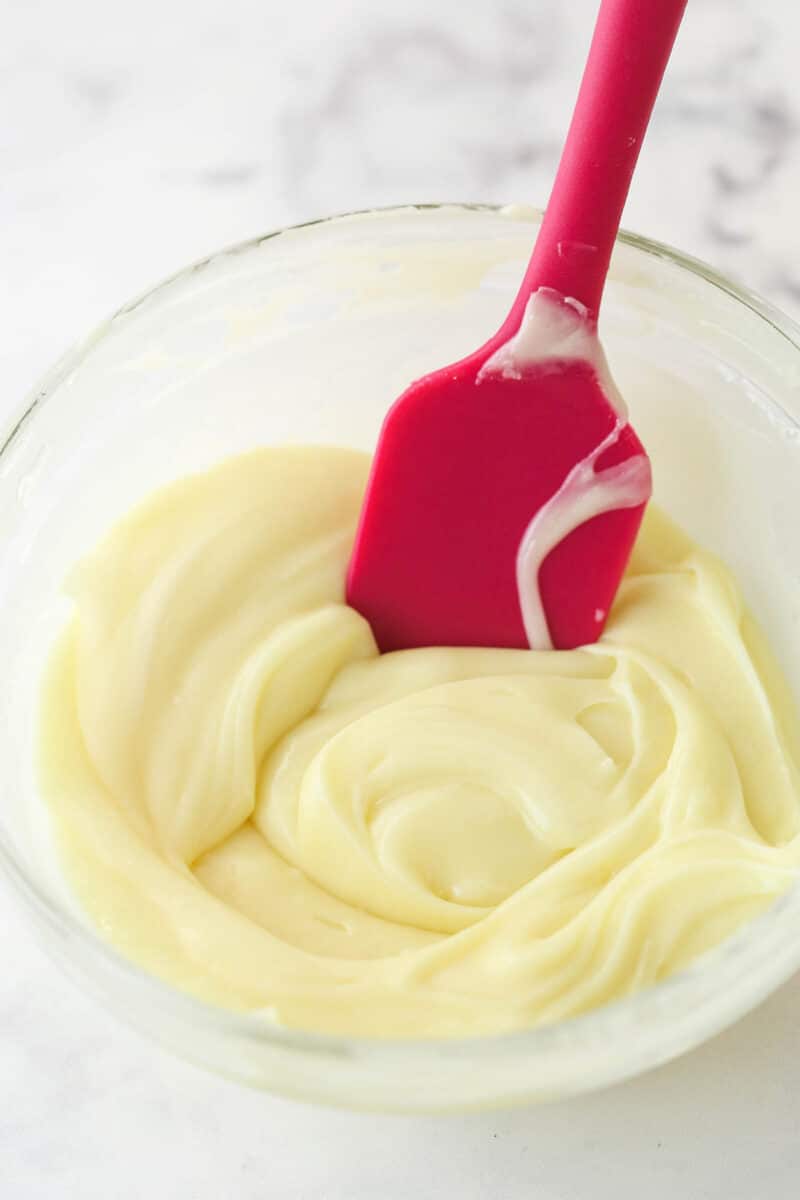
- Make the ganache. Heat the heavy cream just to boiling and pour it over the white chocolate chips. Let the mixture sit for 2-3 minutes. Whisk until smooth and let cool for 5 minutes.
- Make the whipped cream, Whip the heavy whipping cream, powdered sugar, and vanilla extract on high speed until stiff peaks form.
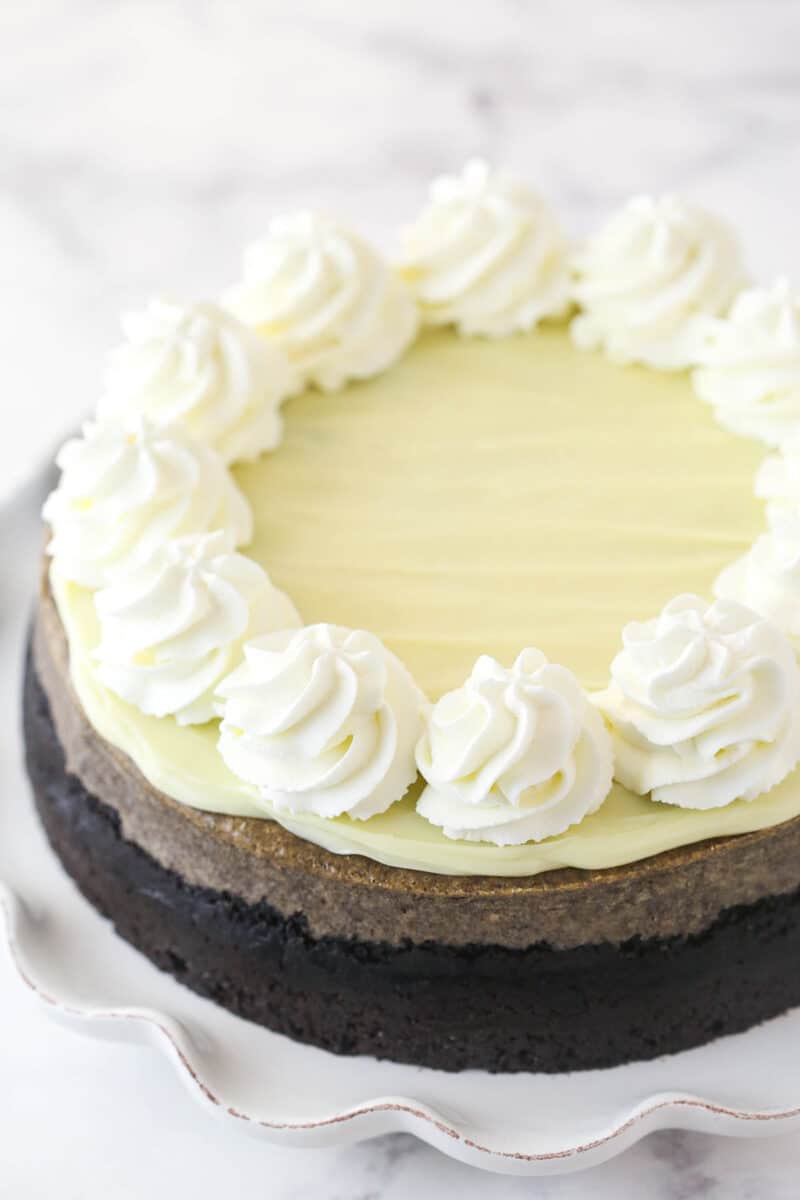
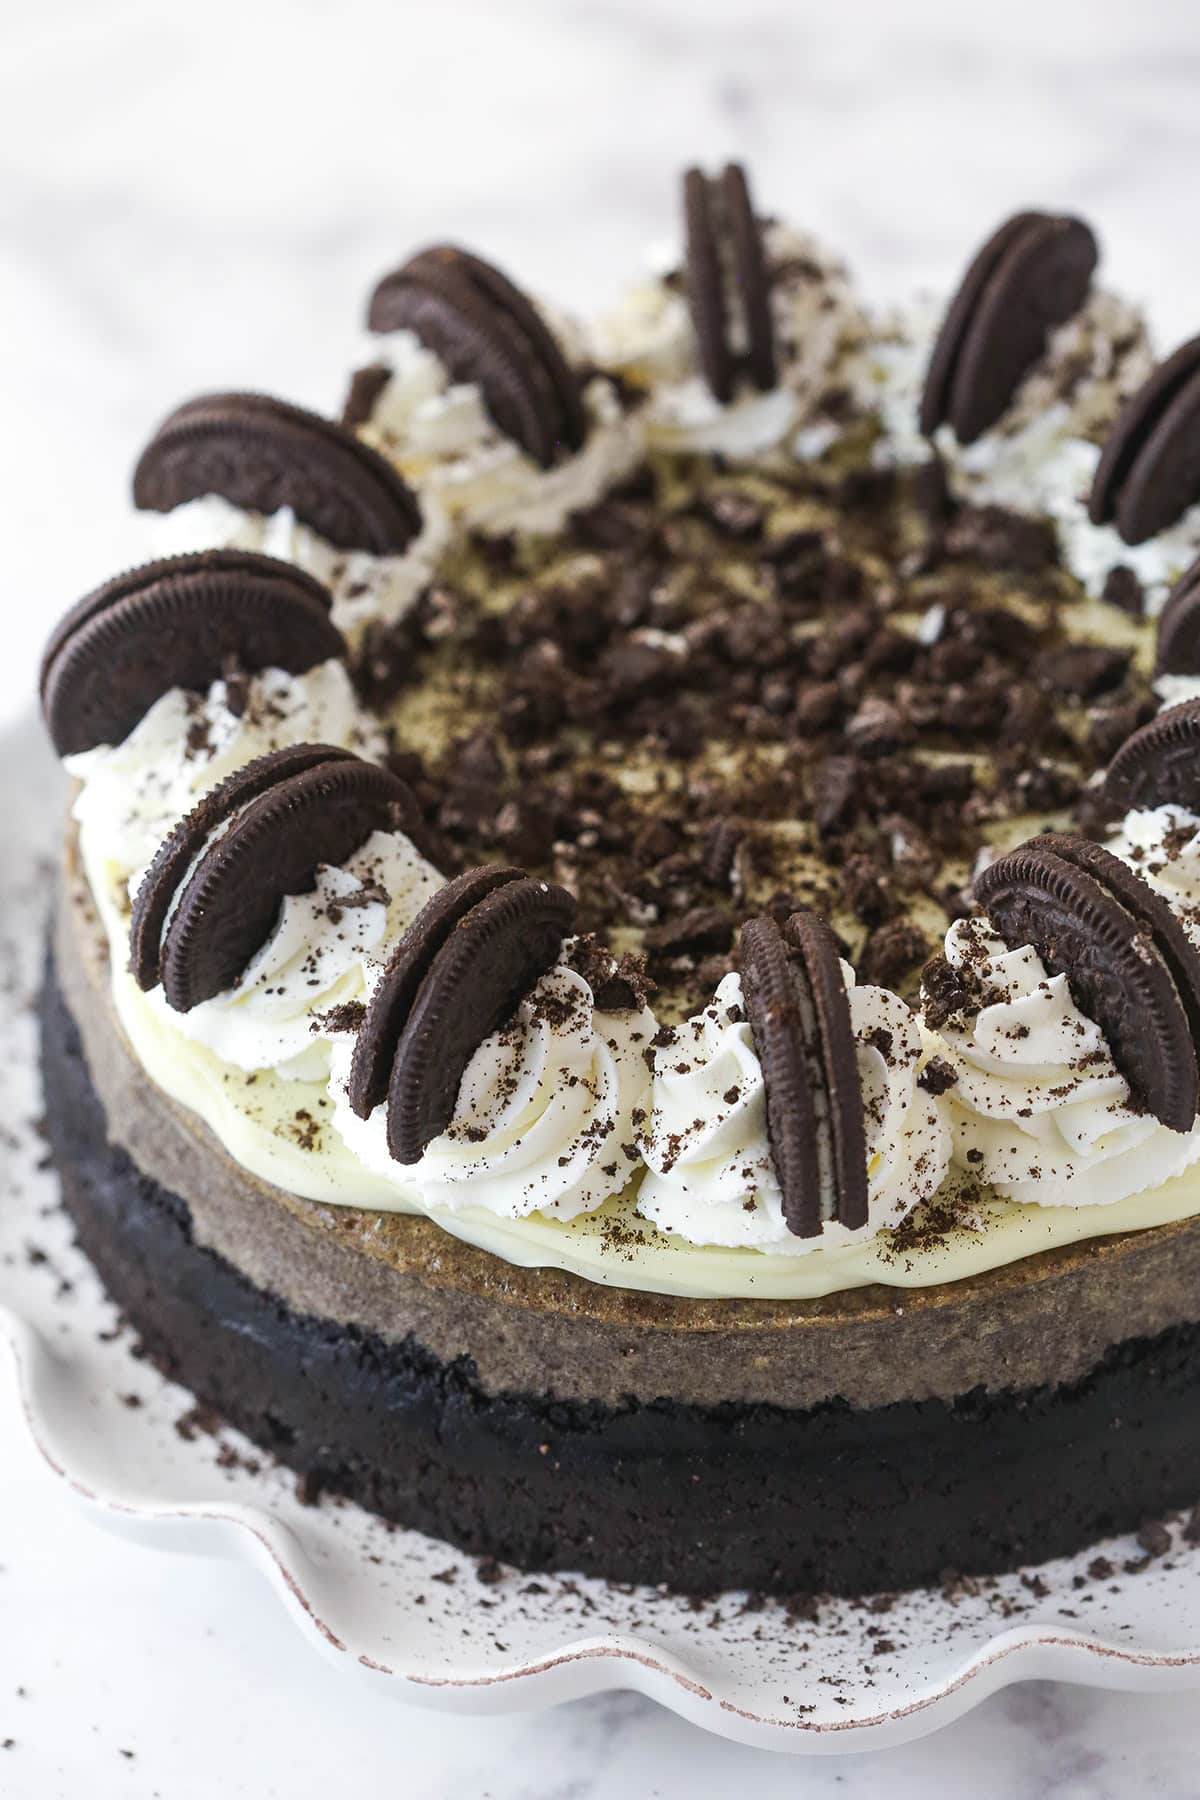
- Decorate. Pipe swirls of whipped cream onto the top outer edge of the cheesecake, sprinkle the cake with chopped Oreos, and add an Oreo half to each whipped cream swirl.
- Chill in the refrigerator until ready to serve.
Tips For the Best Homemade Oreo Cheesecake
Cheesecakes are some of my favorite desserts on the planet. They require some love and attention, though. That’s why I have assembled a list of tips and tricks that will help you achieve the best result possible. Interested in learning more? Check out my post on How to Make a Perfect Cheesecake.
- Room temperature ingredients. Make sure the cream cheese and eggs used in the filling are at room temperature. They will incorporate more smoothly and easily into the batter helping to ensure a lump-free filling and to prevent over-mixing.
- Don’t over-mix. Over-mixing will incorporate more air into the filling which can cause the cheesecake to crack as it bakes. So mix just until everything is incorporated. No more.
- Mix on low speed. When making the filling, mix on low speed. This will help prevent excess air from getting trapped in the filling and causing cracks in the finished product.
- Layers. In order to avoid cracks in your cheesecake, it is important that the Oreos in the filling stay beneath the surface, which is why the Oreos are layered into the filling instead of just stirred in. Some air bubbles may still rise to the surface, giving you a lumpy top, but hopefully no major cracks.
- Don’t jostle the cake. Try not to jostle the cake too much when making layers. This can cause the chopped Oreo to rise to the top.
- Make a leak-proof water bath. It can be tempting to skip the hassle of making a water bath for your cheesecake. Don’t do it. A water bath will keep your cheesecake from over browning on the edges and from developing cracks in the surface. Wrap the outside of your springform pan with aluminum foil and place it in a pan that is slightly larger. Fill the exterior pan with water so that the water comes halfway up the springform. If you find that setup often leaks, I’ve got you covered. Check out my post on How to Bake Cheesecake in a Water Bath. I have a couple other methods that work even better.
- Cool slowly. When the cheesecake is “done” baking, allow it to sit in the closed oven with the heat off for 30 minutes before cracking the oven door and letting it sit for another 30 minutes. The cake will continue to cook during this process. In addition, the slow cooling will help prevent the cake from cracking.
Decorating Ideas
Sure this Oreo cheesecake would be absolutely delicious without any decorations at all, but you’ve come so far. Why not make it extra pretty? Plus, if you get some air bubbles or cracks, those can be covered. Here are some of my favorite ways to decorate this delicious dessert.
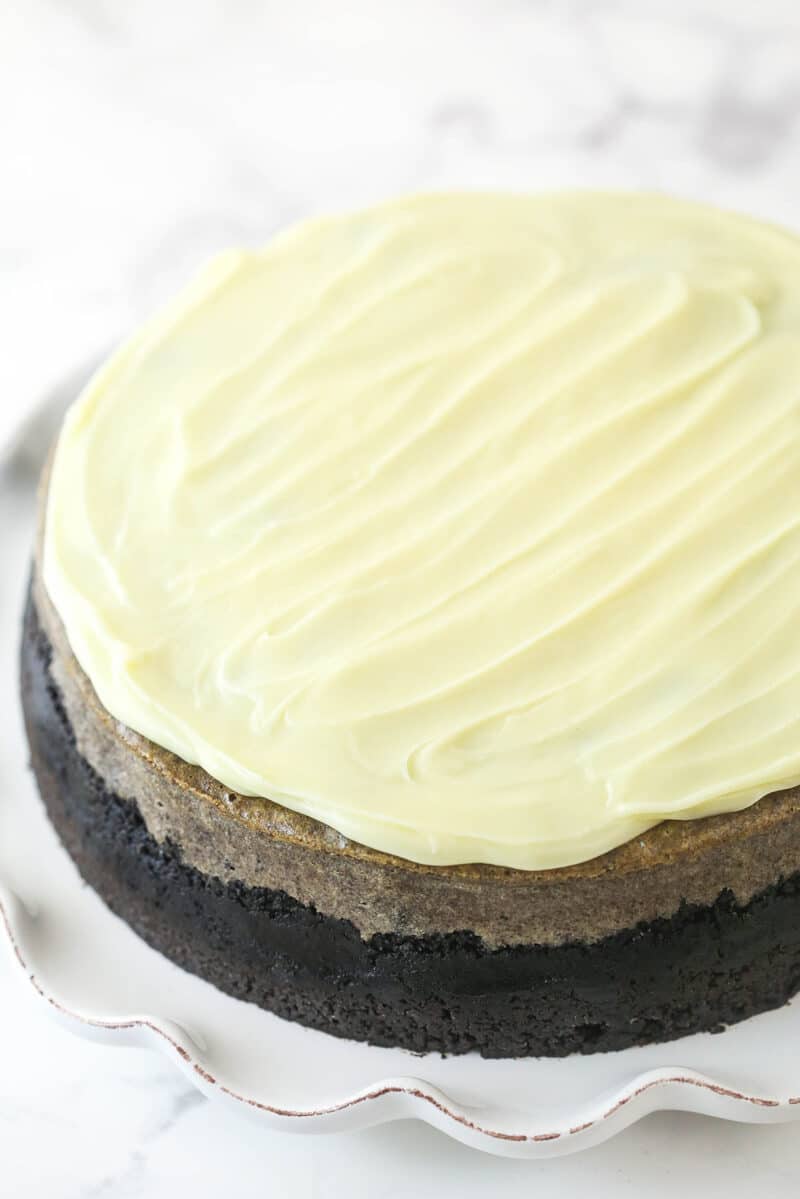
- White chocolate ganache. I love adding smooth white chocolate ganache (or regular chocolate ganache) to the top of the cake. The flavor reminds me of the cream portion of the Oreos. Plus it covers up any cracks that may have arisen in the baking process.
- Whipped cream swirls. Pipe some whipped cream around the top border of the cake for a little extra pizazz.
- More Oreos. This is the BEST Oreo cheesecake after all. It seems fitting that you would finish it off with more Oreos. Sprinkle the top of the cake with crumbled oreos and sit some halved Oreos upright in the whipped cream. Now that’s a pretty cake!
Can Oreo Cheesecake Be Made In Advance?
Yes, it can! Go ahead and bake the Oreo cheesecake, let it cool, and top it with white chocolate ganache up to 3 days before you plan on serving. Once the ganache has set, seal it in an airtight cake carrier or wrap it in a double layer of saran wrap and store it in the refrigerator. When you are ready to serve, make the whipped cream and decorate the cake with whipped cream swirls, Oreo crumbles, and halved Oreos.
How to Store Cheesecake
If you find yourself with leftover cheesecake, not to worry. Cheesecake keeps quite nicely. Just seal the cake in an airtight cake carrier and store it in the refrigerator for up to 5 days. No cake carrier? No problem. Wrap the cheesecake in a double layer of saran wrap instead. I recommend using toothpicks to prop the saran wrap away from any decorations. If you have already sliced the cake, arrange the slices in a single layer in an airtight container and store them in the refrigerator.
Want to freeze your cheesecake? Pop the cheesecake in the freezer for a couple of hours to firm up before wrapping it in a double layer of saran wrap. Although it’s not the end of the world, I do recommend doing this before adding the whipped cream and Oreos to the top. Store the dessert in the freezer for up to 3 months. When you are ready to enjoy, allow the cake to thaw in the refrigerator before serving. If you froze the cake before decorating it, make the whipped cream, pipe it onto the cake, and decorate it with Oreos. Yummy!
Want to learn more? Check out my post on How To Store Cheesecake.
More Oreo Desserts:
Are you as obsessed with Oreos as I am? If you are, you’re in luck. I have made so many different Oreo desserts over the years and I want to share them with you. Here are some of my favorites.
- Oreo Cookies and Cream Cheesecake Cake
- No Bake Oreo Cheesecake
- Ultimate Oreo Cheesecake
- Chocolate Oreo Cake
- Oreo Brookie Layer Cake
- Oreo Brookie Cheesecake
- Oreo Cookies and Cream Ice Cream Cake
Watch How to Make It
Print
Best Oreo Cheesecake
- Prep Time: 1 hour 20 minutes
- Cook Time: 2 hours 30 minutes
- Total Time: 9 hours, 50 minutes
- Yield: 12-14 slices
- Category: Dessert
- Method: Oven
- Cuisine: American
Description
This Oreo Cheesecake is thick, creamy and filled with cookies and cream! It’s baked in an Oreo crust and topped with white chocolate ganache and homemade whipped cream! With the amount of Oreos baked into it, this is the BEST Oreo Cheesecake you’ll ever have!
Ingredients
Crust
- 35 Oreos (3 cups | 403g Oreo crumbs)
- 5 tbsp (70g) butter, melted (salted or unsalted is fine)
Filling
- 24 ounces (678g) cream cheese, room temperature
- 1 cup (207g) sugar
- 3 tbsp (24g) all purpose flour
- 1 cup (230g) sour cream
- 1 1/2 tbsp vanilla extract
- 4 large eggs, room temperature
- 1 cup (134g) Oreo crumbs (from about 11–12 Oreos)
- 20 Oreos, cut into quarters
White Chocolate Ganache
- 7 oz white chocolate chips
- 4 tbsp (60ml) heavy whipping cream
- Chopped Oreos
Whipped Cream
- 1 cup (240ml) heavy whipping cream, cold
- 1/2 cup (58g) powdered sugar
- 3/4 tsp vanilla extract
- Oreos, cut in half
Instructions
Make the Crust
- Preheat oven to 325°F (163°C). Line a 9-inch (23cm) springform pan with parchment paper in the bottom and grease the sides.
- Combine the crust ingredients in a small bowl. Press the mixture into the bottom and up the sides of the springform pan.
- Bake the crust for 8-10 minutes, then set aside to cool.
- Cover the outsides of the pan with aluminum foil so that water from the water bath cannot get in (or see how I prepare a pan for a water bath for more options). Set prepared pan aside.
Make the Filling & Assemble Cheesecake
- Reduce oven temperature to 300°F (148°C).
- In a large bowl, beat the cream cheese, sugar and flour on low speed until well completely combined and smooth. Be sure to use low speed to reduce the amount of air added to the batter, which can cause cracks. Scrape down the sides of the bowl.
- Add the sour cream and vanilla extract and mix on low speed until well combined.
- Add the eggs one at a time, mixing slowly to combine after each addition. Scrape down the sides of the bowl as needed to make sure everything is well combined.
- Gently stir the Oreo crumbs into the filling.
- Pour a third of the cheesecake filling into the crust and spread evenly. Top it with half of the quartered Oreos.
- Add another third of the cheesecake filling and spread evenly, then the other half of the Oreos.
- Top the cheesecake with the remaining filling and spread into an even layer. It should be a thick enough layer to keep the Oreos from floating to the top. Try not to jostle the cheesecake around too much, or the Oreos will come to the surface. You want to avoid that so that you don’t end up with cracks in the top of your cheesecake. If some Oreos or air bubbles surface, use a toothpick to push down the Oreos and pop the bubbles.
- Place the springform pan inside another larger pan. Fill the outside pan with enough warm water to go about halfway up the sides of the springform pan. The water should not go above the top edge of the aluminum foil on the springform pan.
- Bake for 1 hour 20 minutes. The center should be set, but still jiggly.
- Turn off the oven and leave the door closed for 30 minutes. The cheesecake will continue to cook, but slowly begin to cool as well.
- Crack the door of the oven for 30 minutes to allow the cheesecake to continue to cool slowly. This process helps prevent cracking.
- Remove the cheesecake from the oven and water bath wrapping and refrigerate until firm, 5-6 hours or overnight.
- Remove the cheesecake from the springform pan and place on a serving dish.
Make Ganache, Whipped Cream & Decorate
- To make the ganache, place the white chocolate chips in a medium heat proof bowl.
- Heat the heavy cream just until it begins to boil.
- Pour the hot cream over the white chocolate chips and allow to sit for 2-3 minutes, then whisk until smooth. If not completely melted and smooth, heat in 10 second increments, stirring between each until fully melted.
- Allow the ganache to cool a bit (about 5 minutes, until thickened but still pourable and spreadable), then pour the ganache onto the top of the cheesecake and spread evenly.
- To make the whipped cream, add the heavy whipping cream, powdered sugar and vanilla extract to a large mixer bowl. Whip on high speed until stiff peaks form.
- Pipe the whipped cream onto the top outer edge of the cheesecake. I used Ateco tip 844.
- Finish the cheesecake off by adding additional chopped Oreos to the center of the cheesecake and an Oreo half to piped whipped cream swirls.
- Refrigerate until ready to serve. Cheesecake is best if eaten within 4-5 days.
Nutrition
- Serving Size: 1 slice
- Calories: 809
- Sugar: 60.6 g
- Sodium: 372.5 mg
- Fat: 52.7 g
- Carbohydrates: 75.2 g
- Protein: 11.2 g
- Cholesterol: 151.9 mg






Hi just put it in the oven.. I’ll have to see how it turns out.. I don’t know what I was thinking for some stupid reason today I was thinking the 24oz of cream cheese was only 2 packs.. And I didn’t realize till I was putting it in the water bath.. Kept thinking it looked to thin.. I took I was thinking of taking 10 min off the cook time cuz of the slightly less volume.. What do u think?
Also I’ve made the banana cream cheesecake you have like 5 times everybody in my family loves it but I did find a had to double the Bavarian cream part.. first time I made it it just seems so thin for that layer
Can I use ricotta instead of sour cream?
I haven’t ever tried that. I imagine it would bake fine, but it will change the taste and texture of the cheesecake.
Do you think I could do this in a 3 piece angel food cake pan? It’ll definitely be deep enough but I can’t find a springform in stores!
I’ve never tried that and wouldn’t have any idea how to advise.
Can i freeze this after it is cooked and cooled, then thaw and then add toppings? Better to thaw in the fridge?
Yes, you can. Just be sure to wrap it well. And yes, thaw in the fridge.
Made this last night and obviously had breakfast cheesecake. It’s delicious, light and fluffy. Rich and chocolaty. I’ve bookmarked it as my go to recipe.
Changes: I didn’t have enough sour cream so I substituted the rest with ricotta
I used a bag of chocolate baking crumbs instead of crushing Oreos. Worked like a charm. Less sweet.
I baked the cheesecake on a rack elevated off a cookie sheet with the cookie sheet filled with water. I had some cracking on top but it cooked through perfectly.
So glad you enjoyed it!
Amazing! Made this for Easter as my husbands 2 favourite things are Oreos and cheesecake. Your explanation on this was perfect! Can’t wait to try other recipes of yours.
Can you make mini cheesecakes in mini spring form pans from this recipe? How would you adjust the baking time?
I would imagine you can, but I haven’t made mini cheesecakes in smaller springform pan so I’m not sure of the baking time. I’ve only used a cupcake pan, which is likely smaller.
Awesome recipe! Easy to follow and comes out delicious and very pretty. I made it for my boyfriend’s birthday. He’s an Oreo fanatic and he loooooooved it. Thank you!
How long would this last in the fridge?
It’s usually best for 3 to 4 days, maybe 5 if we’ll covered.
For the whipped cream, it says “Oreos, cut in half” but it doesn’t say about how many/much Oreos. I wanna know so I don’t add too many/not enough. I REALLY hope to make this one day so I’m VERY curious. Let me know ASAP, please!!
I added the cut Oreos to the top of the whipped cream swirls. I made 12 swirls, so I needed 6 Oreos. If you have more or less swirls though, you might need more or less Oreos.
hi there, the oreo cheesecake was a hit which i brought to office for sharing. However, the whipped cream didn’t turn out to be as good. Because after whipping halfway, the whole mixture just disintegrates (i follow strictly what you mentioned in the recipe). So how can I salvage or do a good whipped cream? pls help..
I’m so glad you enjoyed it!
It’s possible that you overwhipped the whipped cream. That’s the only reason I can think of that it would break down, if you truly followed the recipe as written. For more help with whipped cream, check out my full recipe and tutorial.
I notice that my speed of the mixer is maximum speed high when mixing which I guess is the reason for the mixture disintegrates. I read should be medium to low-speed gradually. Is that true?
The speed isn’t necessarily the issue. I typically make whipped cream on a high speed setting. It’s more if it’s whipped for too long. Or it could’ve been something else. I just don’t know what else it would be.
Wondering if you could make this without the warm water part and just cook it in the oven as normal in the springform pan
Leaving out the water bath will make your cheesecake on the more dry side, it will also brown on the edges more and will likely sink in the middle after you remove it from the oven. It’s also very likely to crack. If none of that bothers you, then you can. I would suggest reducing the baking time by a little bit.
Hi , I’m baking this today , just a quick question, if you don’t do a water bath, how long do you cook the cake for please ?
I’m not sure. I didn’t test it that way. I’d check it at around an hour.
Hi, i absolutely LOVE this recipe. My first try was a HUGE success. Im just wonderiing if i could use less to no sugar at all in the filling, and if it will have any effect on the final product.. not everybody has an extreme sweet tooth like me. Thanks 🙂
I’m so glad you enjoyed it! A few notes about the sugar – the sugar adds moisture in addition to sweetness, so if you reduce it, you’d likely need to reduce the baking time. Also, you could reduce it, but I wouldn’t leave it out completely. Yes, there are things in the filling other than sugar that add flavor, but the sugar really cuts down the straight up taste of cream cheese. Unless you really like biting into a bar of cream cheese, I’d recommend at least some sugar. 🙂
Can I make this in 6 inch pan? Would I need to reduce the ingredients?
You would need to reduce the ingredients, but I haven’t made that size before so I’m not sure how to advise.
Great recipe! I did use semi sweet chocolate for the ganache because that’s what I had! Didn’t do the water bath i just put a pan under the springform to catch any dripping figured i don’t care if there’s cracks it’ll get covered by the chocolate
I only have a 10″ spring form pan. Any adjustments to the recipe?
I have t made that size before. I think it’d be fine, it’ll just need less baking time.
Made this yesterday as an early Valentines gift for my husband who loves cheesecake. He loved it! The only part that caused trouble was the ganache, but I think it’s because my chips were too old. The texture was just off. Left it off and just added more whipped cream. Love your recipes! I’m not a good baker, but your recipes make me look like I am!
I’m so glad you enjoyed the cheesecake and that you’ve enjoyed the other recipes as well!
I’m thrilled to bake this for my fiancée’s birthday but will only have 3 hours to chill post-baking… is this going to ruin the outcome?
I don’t know that it would necessarily ruin it, I’m just not entirely sure if it will firm up enough.
Thanks so much! As others have said, this was the best cheesecake we’ve ever had! The recipe is amazing!!!
As to the cooling time: I started it off in the refrigerator and after 1 hour, moved it to the freezer for 15 minutes, then back to the refrigerator and repeated once. It set perfectly and the minimal freezer time did not upset the texture or create ice crystals – worked like a charm for us! Thanks again
Made this for my friend’s 36th bday. We had a girl’s night and they all went crazy over it. Really good recipes!! Only thing I did different was just put a shallow pan of water on rack right below cake instead of water bath. No cracks so it worked. Thanks for the recipe!
I’m so glad it was a hit!