This post may contain affiliate sales links. Please read my disclosure policy.
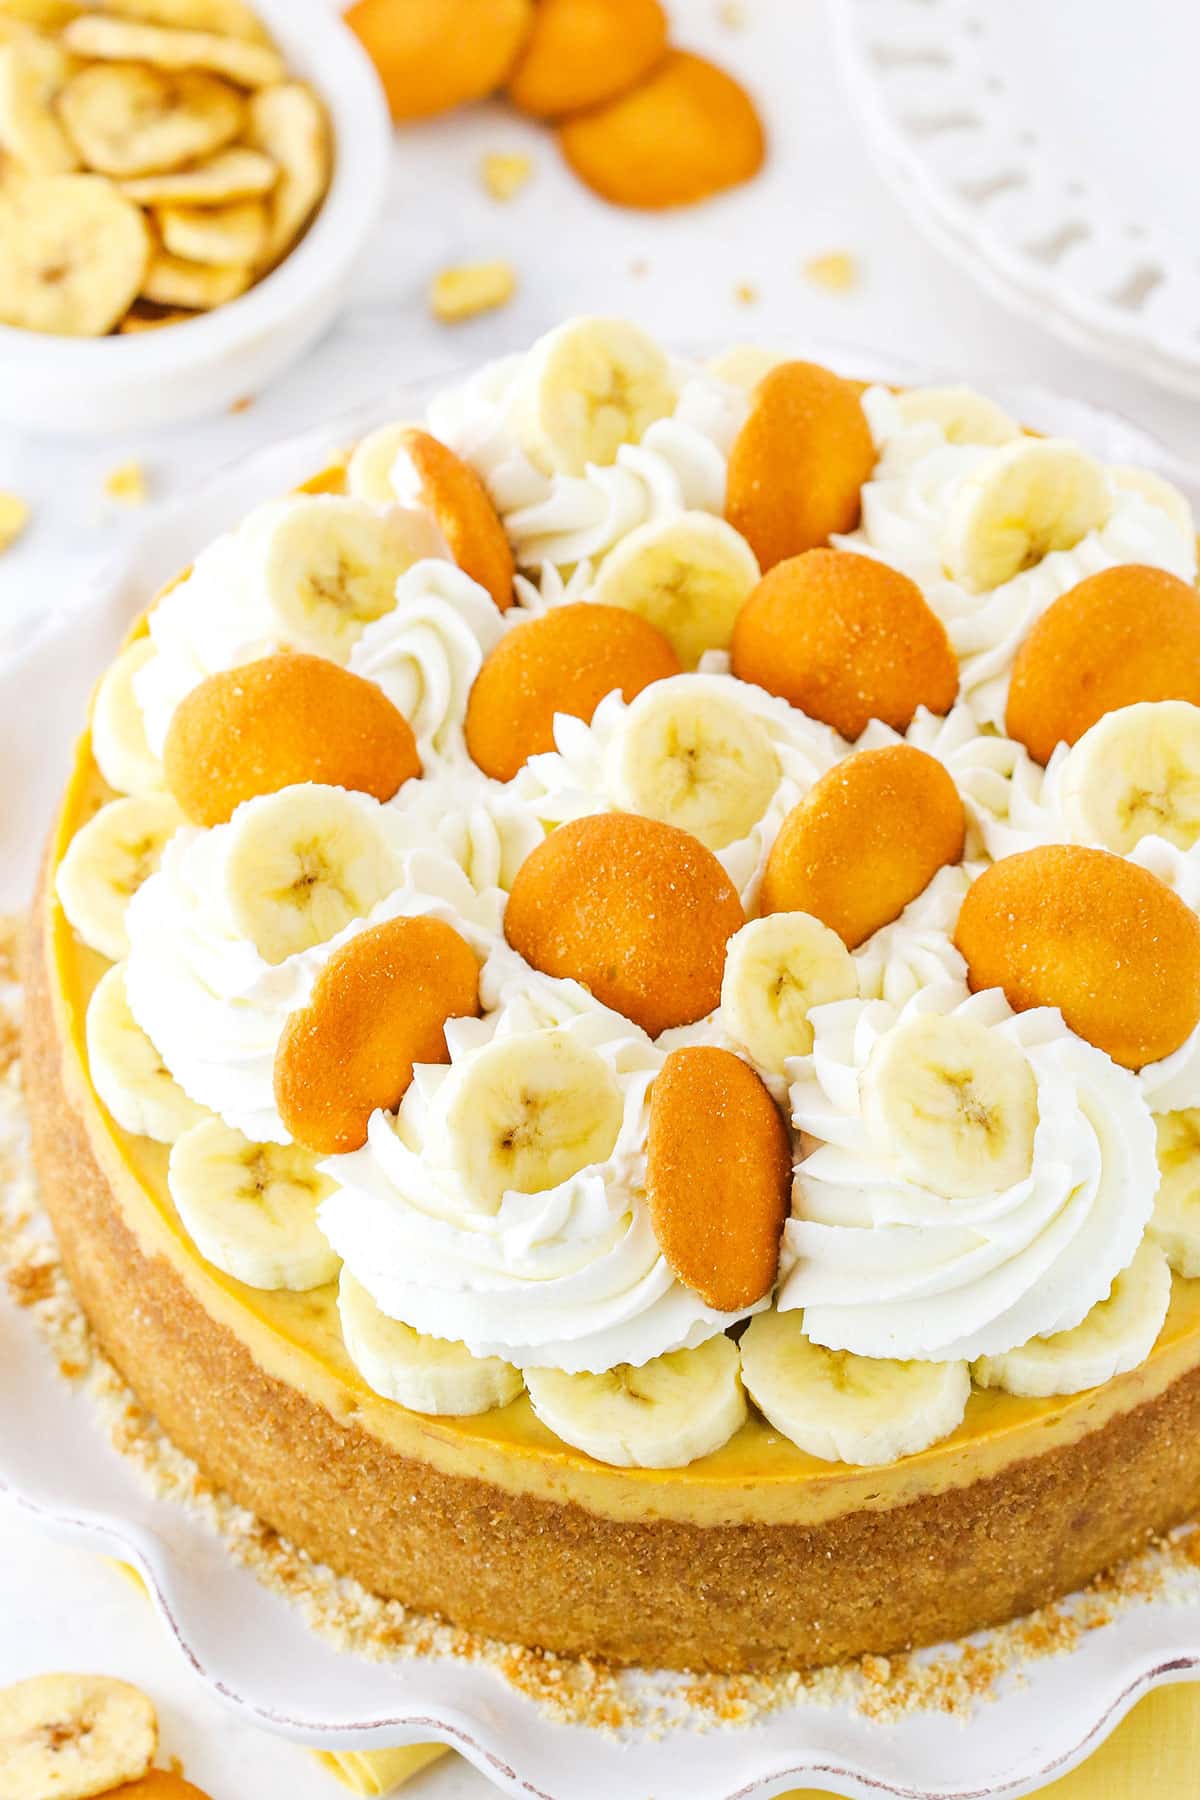
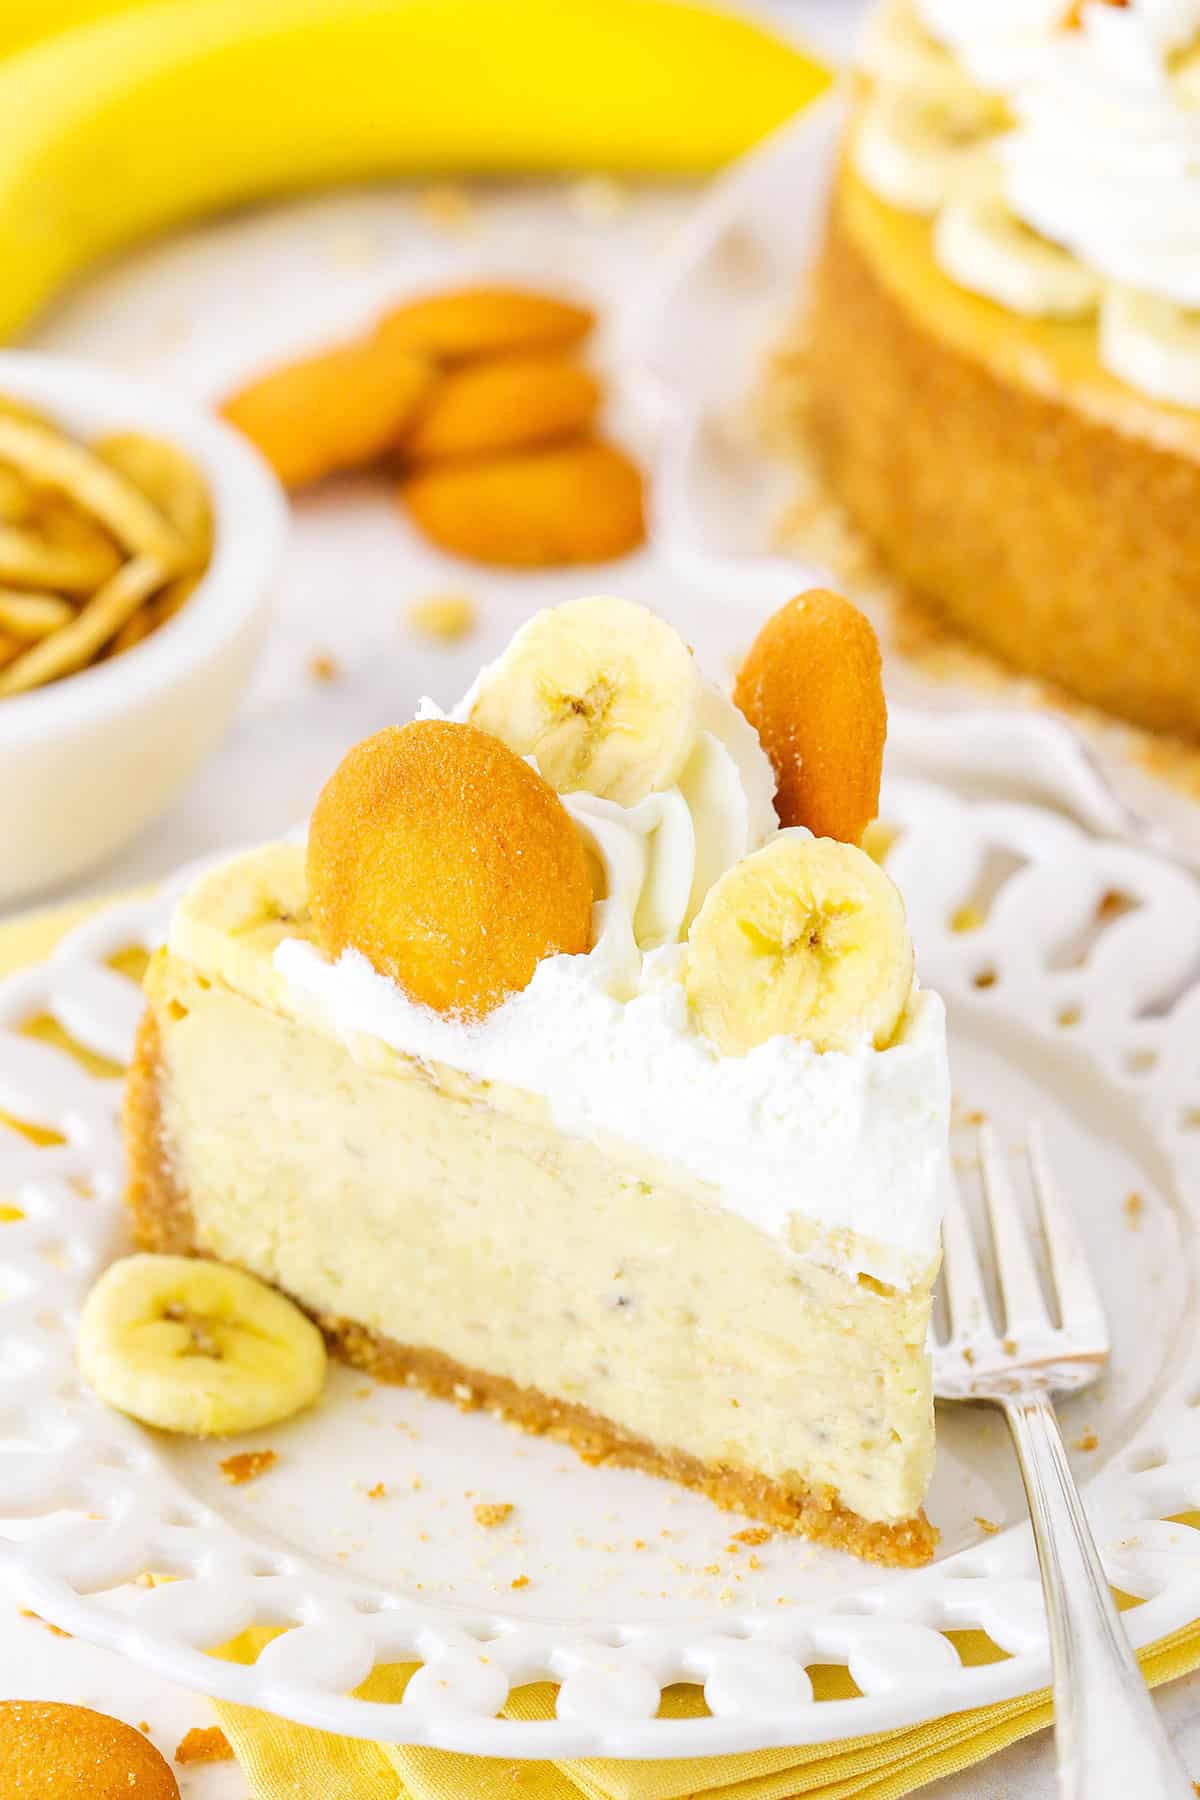
This Banana Pudding Cheesecake is made with a vanilla wafer crust, loads of mashed and sliced bananas, and banana pudding mix! It’s got the best banana pudding flavor you could have in a cheesecake and it’s completely addicting!
Banana Pudding Cheesecake
So this Banana Pudding Cheesecake was only the third baked cheesecake that I ever shared on this site and that was back in 2014. It was the first cheesecake that I spent a bunch of time testing and learned so much about cheesecakes. That’s a big statement considering the number of cheesecake recipes I have now. They are one of my favorite things to make! I guess you could say that this cheesecake was the beginning of my love for making and testing fun new cheesecakes.
Given that it was posted almost 6 years ago exactly, I thought it was time to give it a facelift and a little extra love. If you love banana pudding, you will LOVE this cheesecake! It’s full of legit banana pudding flavor. There’s lots of banana – both in the filling as the “pudding” and as sliced bananas on top, and plenty of vanilla wafers – both in the crust and on top. You’re definitely going to want to try it.
As far as changes to the recipe, I didn’t really change much. It was pretty darn good from the beginning. I did decide to add a little sour cream to the filling. I’m a big fan of some sour cream in cheesecakes. It adds to a more creamy texture and and nice flavor. And then I increased the amount of crust. I love a good, solid crust.
How to make Banana Pudding Cheesecake
To get started with this cheesecake, you’ll make the crust. Since vanilla wafer cookies are key to banana pudding, they make up the crust. Combine some cookie crumbs with a little sugar and melted butter, then press them into your springform pan.
The filling is fairly straightforward. Combine your cream cheese with the sugar, flour and dry banana pudding mix. It will be a sticky mixture that’s a little thick, but that’s ok. It’ll work itself out as you go.
Next, add the sour cream. It starts to break up the sticky filling a little bit. Then add the eggs one at a time.
Keep in mind that when mixing ingredients together for a cheesecake filling, you want to mix on LOW speed. A higher speed will incorporate more air into the mixture and can lead to air bubbles, which can lead to cracks. Be patient and use low speed.
Finally, you’ll add in the vanilla extract and mashed bananas. Pour the filling into your crust and then get your water bath ready.
How to Use a Cheesecake Water Bath
I know most aren’t big fans of a water bath. They add some extra steps and seem like a pain. But they really do make a difference in how a cheesecake turns out. If you were to bake this one without it, it would brown more around the edges, likely crack and fall a good bit in the center when it cools. You work so hard on a cheesecake, don’t miss out on a beautiful result by not taking the few extra steps. If you need a little help with setting up your water bath, or often have trouble with leaking, check out how I set my springform pans up for a water bath for some tips and tricks.
Baking Method
When baking the cheesecake, you’ll first bake it for about an hour and a half. You’re looking for edges of the cheesecake to be set and the inner couple inches to be somewhat set, but still a little jiggly.
Because of the eggs in a cheesecake filling, it’s similar to a custard. Therefore, you don’t want to over bake it and end up with cracks. So, you bake it until it’s mostly baked, then turn off the oven but keep it closed for another 30 minutes. The residual heat continues to finish cooking the cheesecake while also beginning to slowly cool it. It ends up cooked, but not over baked.
The final step is to continue the slow cooling process by cracking the oven door and letting it cool for another 30 minutes. After that, refrigerate until cool and firm, then add the whipped cream and some fresh bananas and vanilla wafers.
A Must Try Banana Dessert!
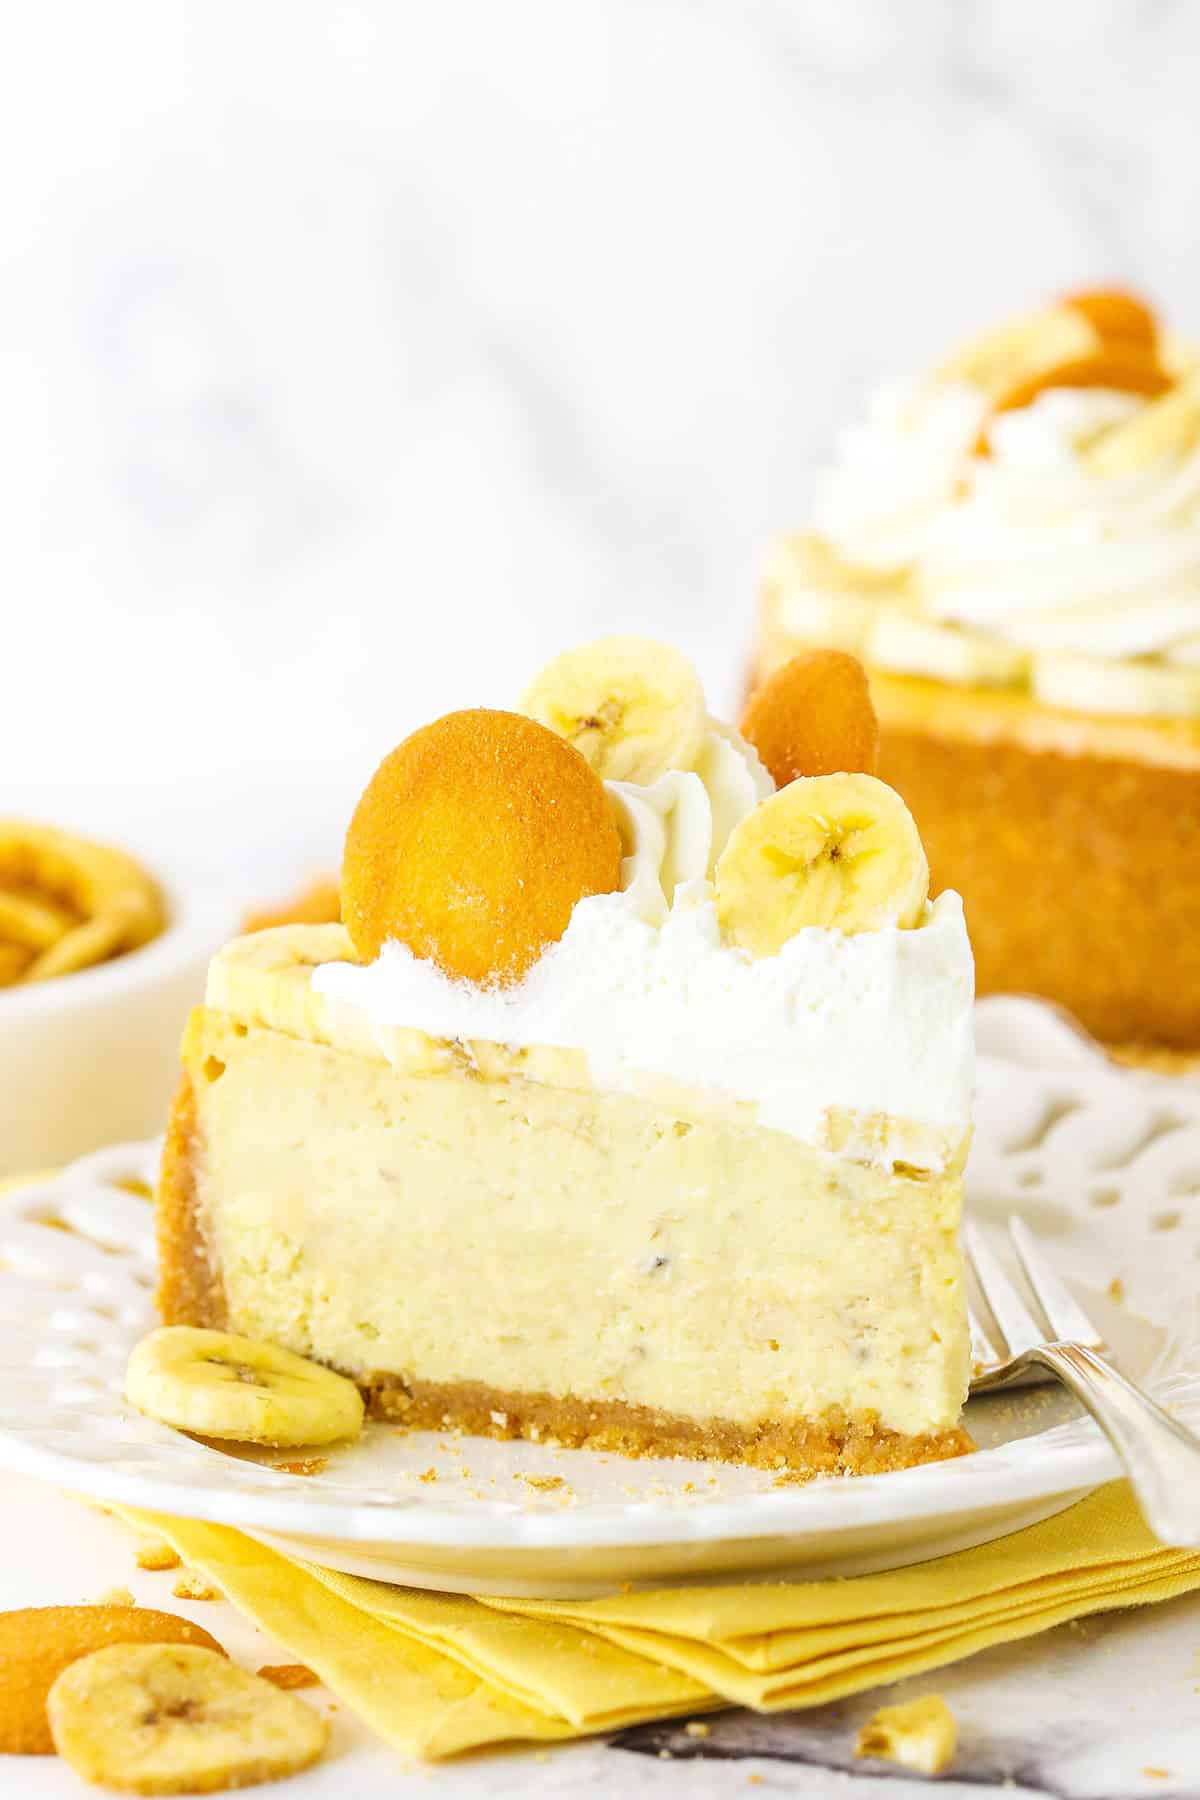
The final cheesecake is thick, creamy and full of flavor! I’m a big lover of banana flavored anything and this is definitely a favorite. In fact, my husband’s co-workers got to eat the remainder of this cheesecake and deemed it one of my best!
If you are looking for an awesome banana dessert, this is it! And for more great tips on baking cheesecake, check out my post on how to make a perfect cheesecake.
More Great Banana Desserts
Moist and Chewy Banana Cookies
Easy Banana Bread
Banana Cream Pie Cupcakes
Banana Cream Cheesecake
Mini Banana Pudding Cheesecakes
Overnight Baked Banana French Toast Casserole
Bananas Foster Cheesecake
Banana Pudding Ice Cream Cake
Banana Split Layer Cake
Caramel Banana Layer Cake
Watch How To Make It
Print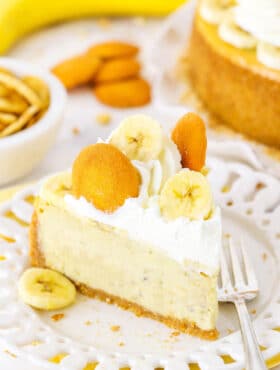
Banana Pudding Cheesecake
- Prep Time: 1 hour
- Cook Time: 2 hours 15 minutes
- Total Time: 3 hours 15 minutes
- Yield: 12-14 Slices
- Category: Dessert
- Method: Oven
- Cuisine: American
Description
This Banana Pudding Cheesecake is made with a vanilla wafer crust, loads of mashed and sliced bananas, and banana pudding mix! It’s got the best banana pudding flavor you could have in a cheesecake and it’s completely addicting!
Ingredients
CRUST
- 2 ¼ cups (302g) vanilla wafer crumbs
- 5 tbsp (65g) sugar
- 10 tbsp (140g) salted butter
CHEESECAKE FILLING
- 24 oz cream cheese, room temperature
- 1 cup (207g) sugar
- 3 tbsp (24g) all-purpose flour
- 3.4 oz instant banana cream pudding mix, dry
- 1/4 cup (58g) sour cream
- 3 large eggs, room temperature
- 1/2 tsp vanilla extract
- 1 cup mashed ripe bananas (2–3 bananas)
TOPPING
- 1 ¼ cups (300ml) heavy whipping cream, cold
- 6 tbsp (43g) powdered sugar
- 1 tsp vanilla extract
- 2–3 medium sized bananas
- 11 vanilla wafer cookies, whole
Instructions
CRUST
- Preheat oven to 325°F (163°C). Line a 9-inch (23cm) springform pan with parchment paper in the bottom and grease the sides.
- Combine the crust ingredients in a small bowl. Press the mixture into the bottom and up the sides of the springform pan.
- Bake the crust for 8-10 minutes, then set aside to cool.
- Cover the outsides of the pan with aluminum foil so that water from the water bath cannot get in (see how I prepare my pan for a water bath). Set prepared pan aside.
CHEESECAKE FILLING
- Reduce oven temperature to 300°F (148°C).
- In a large bowl, beat the cream cheese, sugar, flour and pudding mix on low speed until well combined and smooth. Mixture will be sticky. Be sure to use low speed to reduce the amount of air added to the batter, which can cause cracks. Scrape down the sides of the bowl.
- Add the sour cream and mix on low speed until well combined.
- Add the eggs one at a time, mixing slowly to combine after each addition. Scrape down the sides of the bowl as needed to make sure everything is well combined.
- Add the mashed banana and vanilla extract and mix on low speed until well combined. Mixture will be a little lumpy
- Pour the cheesecake batter into the crust.
- Place the springform pan inside another larger pan. Fill the outside pan with enough warm water to go about halfway up the sides of the springform pan. The water should not go above the top edge of the aluminum foil on the springform pan.
- Bake for 1 hour 30-45 minutes. The center should be set, but still jiggly.
- Turn off the oven and leave the door closed for 30 minutes. The cheesecake will continue to cook, but slowly begin to cool as well.
- Crack the door of the oven for 30 minutes to allow the cheesecake to continue to cool slowly.
- Remove the cheesecake from the oven and water bath wrapping and refrigerate until cool and firm, 5-6 hours or overnight.
TOPPING
- When cooled and ready to serve, remove the cheesecake from the springform pan and place on a serving plate.
- To make the whipped cream, add the heavy whipping cream, powdered sugar and vanilla extract to a large mixer bowl and whip on high speed until stiff peaks form.
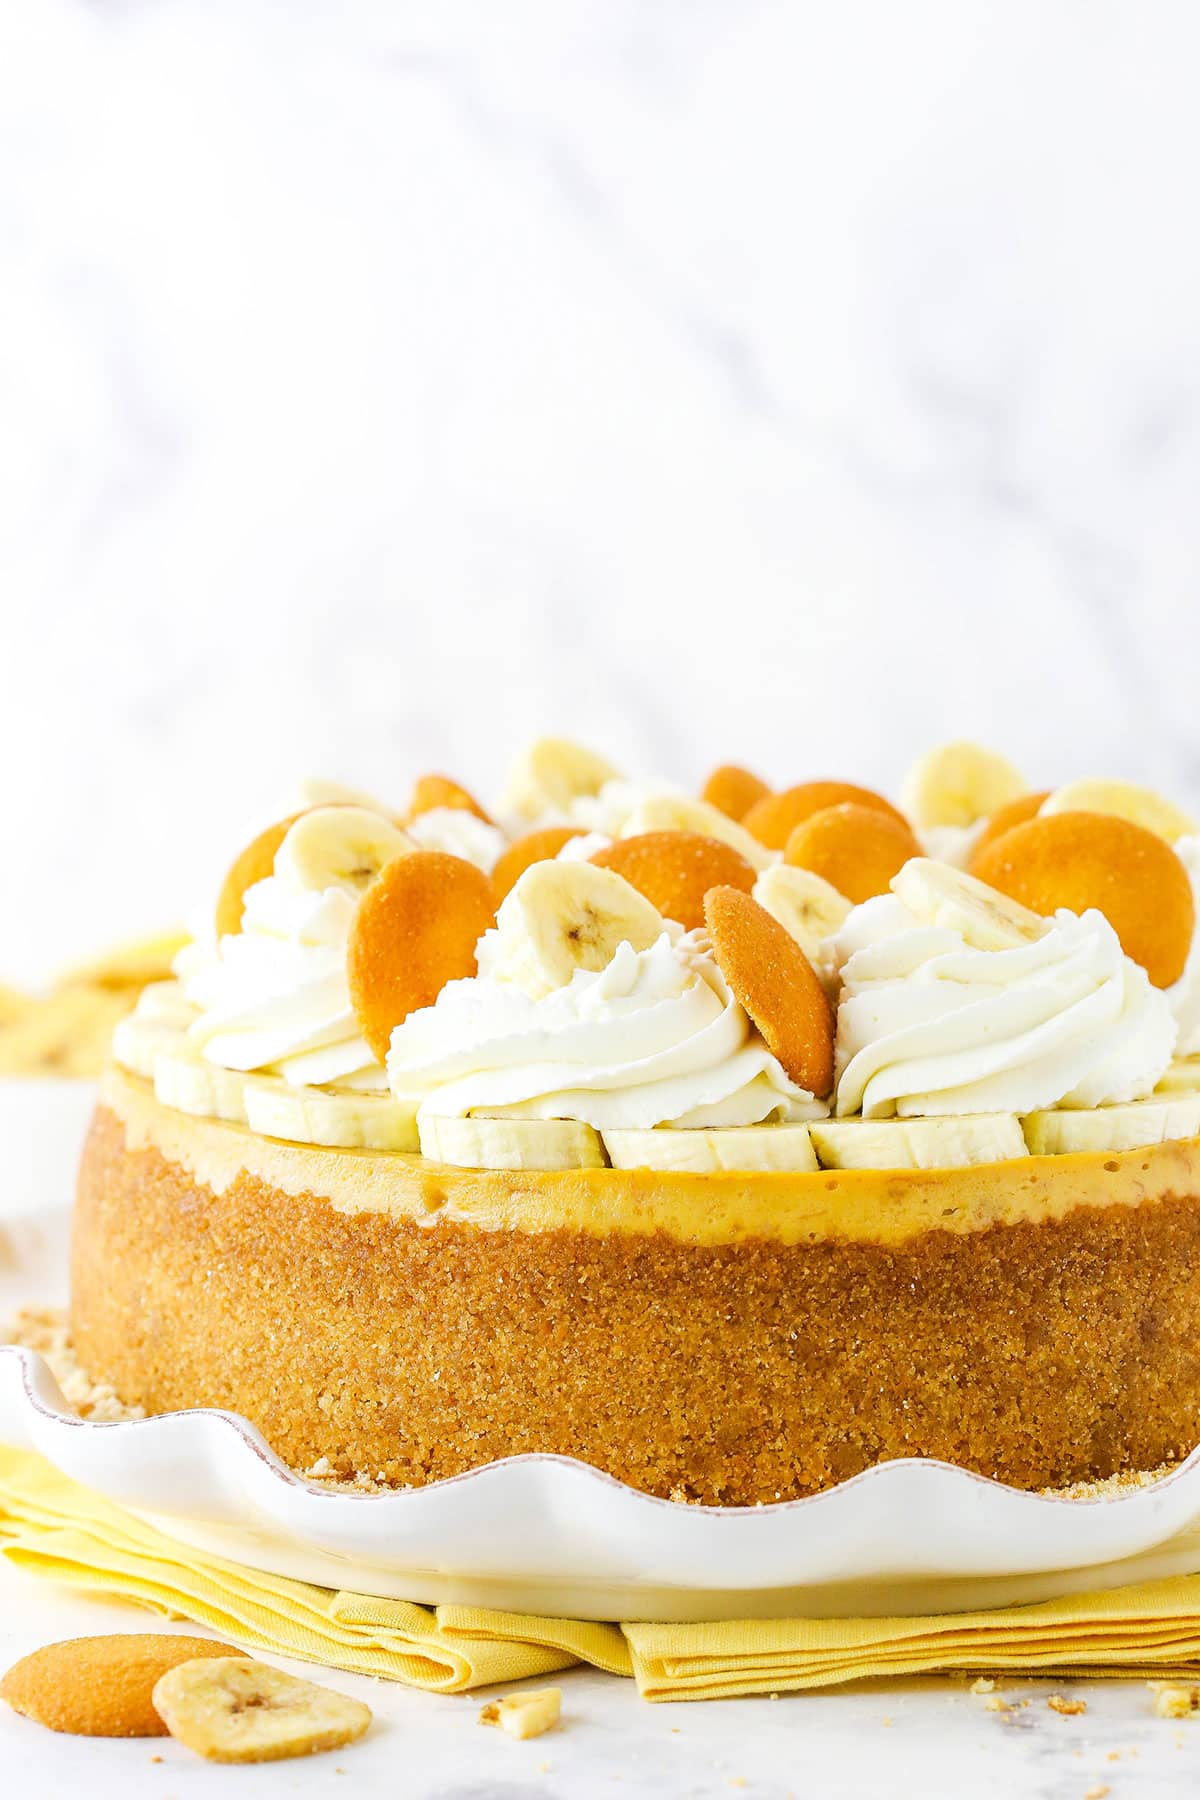
- Place a layer of sliced bananas on top of the cheesecake, then pipe a layer of whipped cream swirls on top.
- Finish off the cheesecake with a few more banana slices and vanilla wafers. The fresh banana slices are best when added just before serving.
- Cheesecake is best when stored well covered in the fridge for 3-4 days.
Nutrition
- Serving Size: 1 Slice
- Calories: 733
- Sugar: 30.3 g
- Sodium: 609.1 mg
- Fat: 57.6 g
- Carbohydrates: 46.1 g
- Protein: 11.5 g
- Cholesterol: 200.6 mg
Categories
Enjoy!







What is pudding mix? I’m wondering if we may have something equivalent in the UK.
Looks amazing though !
I just came across this recipe a few months ago and had to make it. What an amazing recipe. My whole family could not get enough of it! Thank you!!!
Awesome! I’m so glad it was a hit!
Can this cheesecake be frozen?
It should be fine to freeze it.
can we use cook and serve pudding or is it instant pudding?
I use instant putting. I have never tried the cook and serve.
This looks delicious! A couple of questions from a novice… when you say chill, does that mean room temp, or go ahead and place in the fridge? Also, is the a way to convert using a pie pan? Thanks in advance!
Yes, refrigerate. I’ve updated the instructions there to make things more clear. And as for a pie pan, I haven’t ever baked a cheesecake in a pie pan. If you try it, you’ll want it to be a fairly deep pan, since the cheesecake is relatively thick.
AMAZING RECIPE! THANKS A MILLION!! ❤❤❤
So glad you enjoyed it!
So, I made this today and my husband and I are OBSESSED. Omg this thing is truly a slice of heaven! I’m a banana freak and I love a good cheesecake, so this is basically my new favorite thing. Once it was a bit cool, I spread on a thin layer of caramel topping. I put some fresh whipped cream, bananas, Nilla wafers, and a caramel topping drizzle on top. It’s pretty and tastes even better.
I made this for a family dinner tonight, and everyone enjoyed it. My foil wasn’t wide enough (even after applying a few layers), so a bit of water got in and the cheesecake got a bit of a soggy bottom, but it still went down well. Thanks for the great recipe ????
I’m so glad you enjoyed it!
I make this cheesecake regularly. I have one in the oven right now and am trying the slow cooker bag trick. I’m in Australia so the last time I went to the USA I bought LOTS of banana pudding and even though they’re past their best before date, the cheesecake still tastes great. I can’t afford to run out of instant banana pudding, as I can’t do without this cheesecake!!!
So glad to hear you’ve enjoyed it!
What’s the shelf life on the banana pudding cheesecake?
3-4 days in the fridge, well covered, is best.
hi! how would you modify to make as mini? thx
This new recipe for minis should be helpful 🙂
I know this is a really old post , however I came across this recipe and decided to give it a try!! It is Good GOod GOOD!! 🥳☺
hi! how would you make these into mini form??? THANKS 😉
Check out this recipe for a mini version.
Hi I’m in the process of making this recipe now and was wondering if I just put the pudding powder the way it is in the mixture bowl or do I need to mix the pudding before hand and then add it to the cream cheese mixture? Does that make sense? Lol
You add the powder as is. No need to actually make the pudding.
This recipe looks really good am making it tonight.
I made this last night, and it got rave reviews at lunch today! Tastes just like banana pudding!
Yay! So glad you liked it! 🙂
What kind of whipped cream should I use I have to take it to a party and am not sure I don’t want it to get running all over the. Any suggestions are a ppreciated 🙂
I’d suggest this stabilized whipped cream for something homemade. Another option is Cool Whip.
Hi
How do you cut through the cheesecake with the bananas and cookie pieces without falling off the slices.
I just move them round with my knife a little bit so that they are out of the way when I cut.
I put a large pan of water on the bottom shelf of the oven to provide the moisture needed to bake a cheesecake.
Is the pudding mix just blended in dry?
Yes, it is.
I want to try the banana cheesecake for fathers day. It Looks delist
Can you give me the cooling instructions..i think I missed something
Thank you
Christine discenna
The cooling instructions begin with #7 for the filling. There are a few cooling steps before chilling it. Enjoy!