This post may contain affiliate sales links. Please read my disclosure policy.
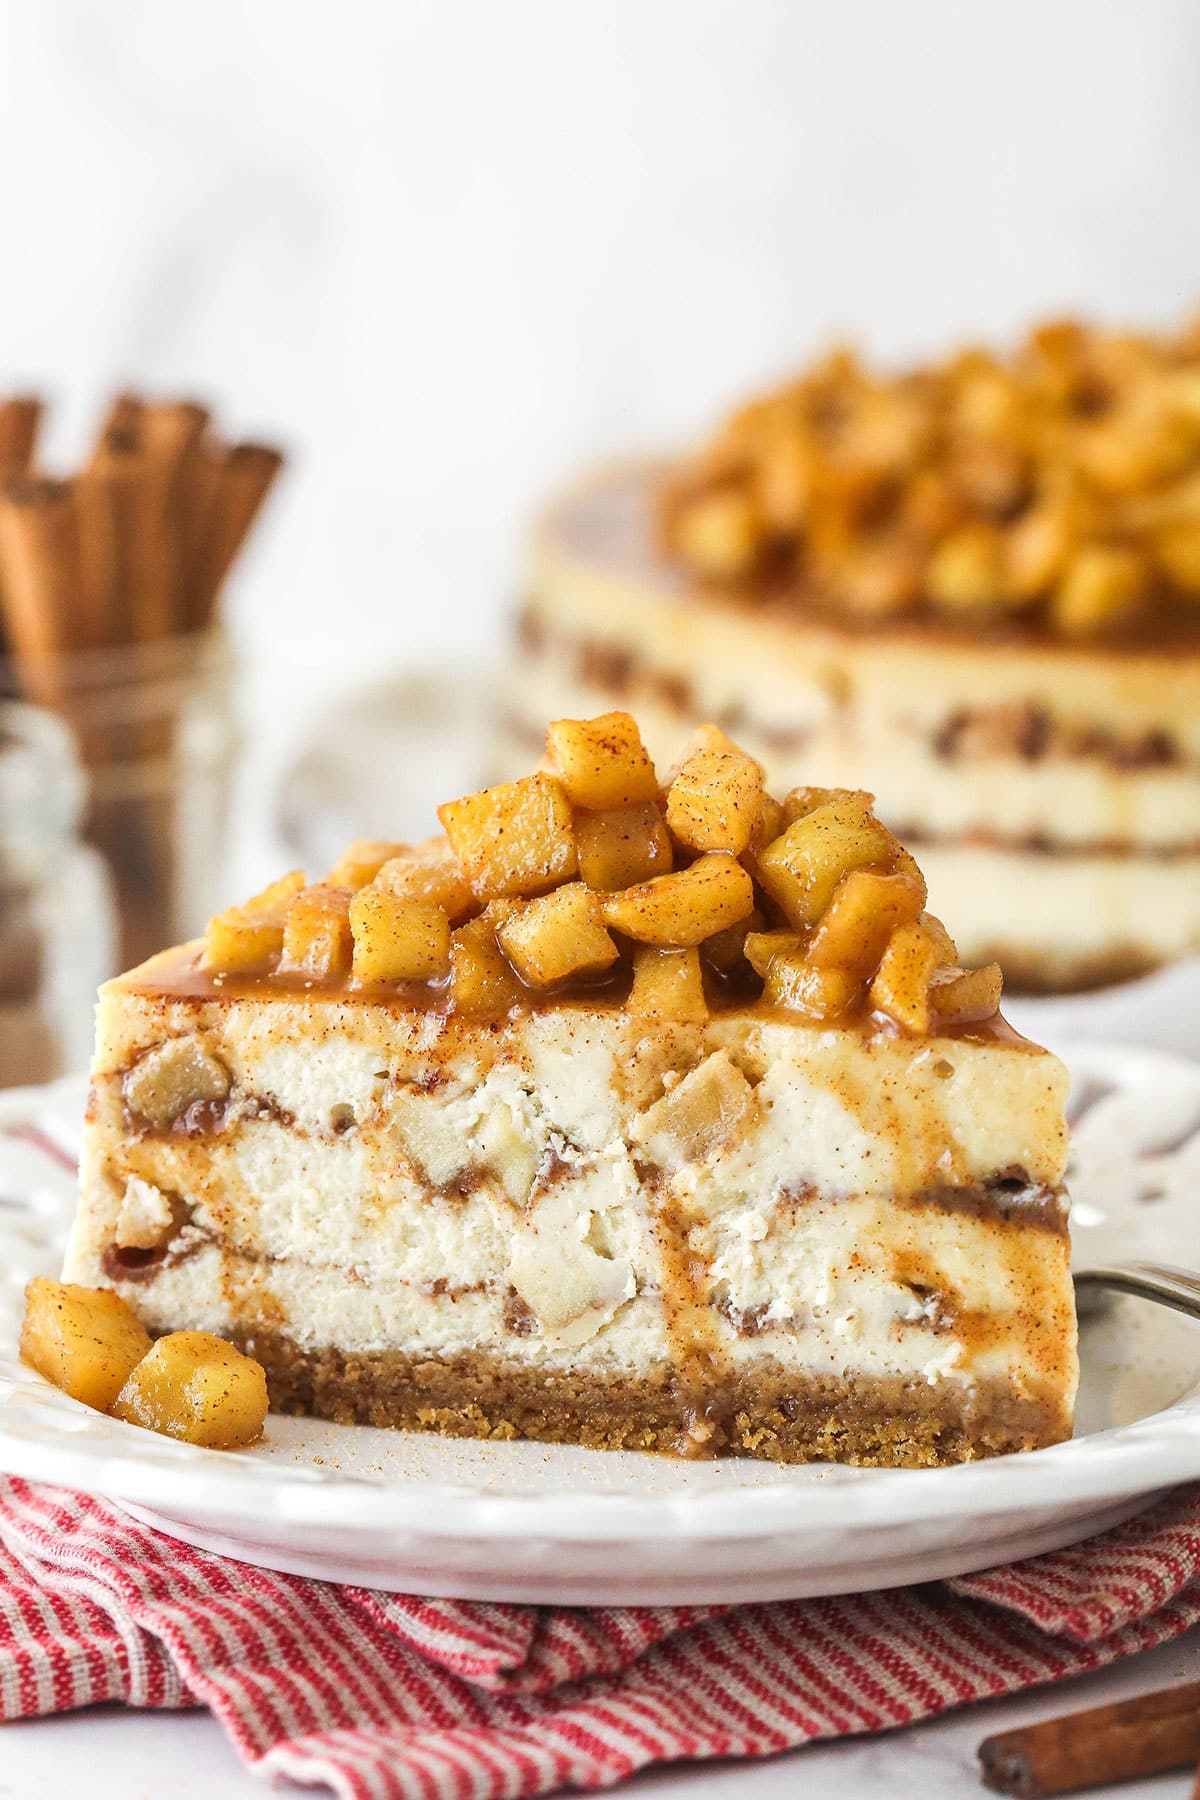
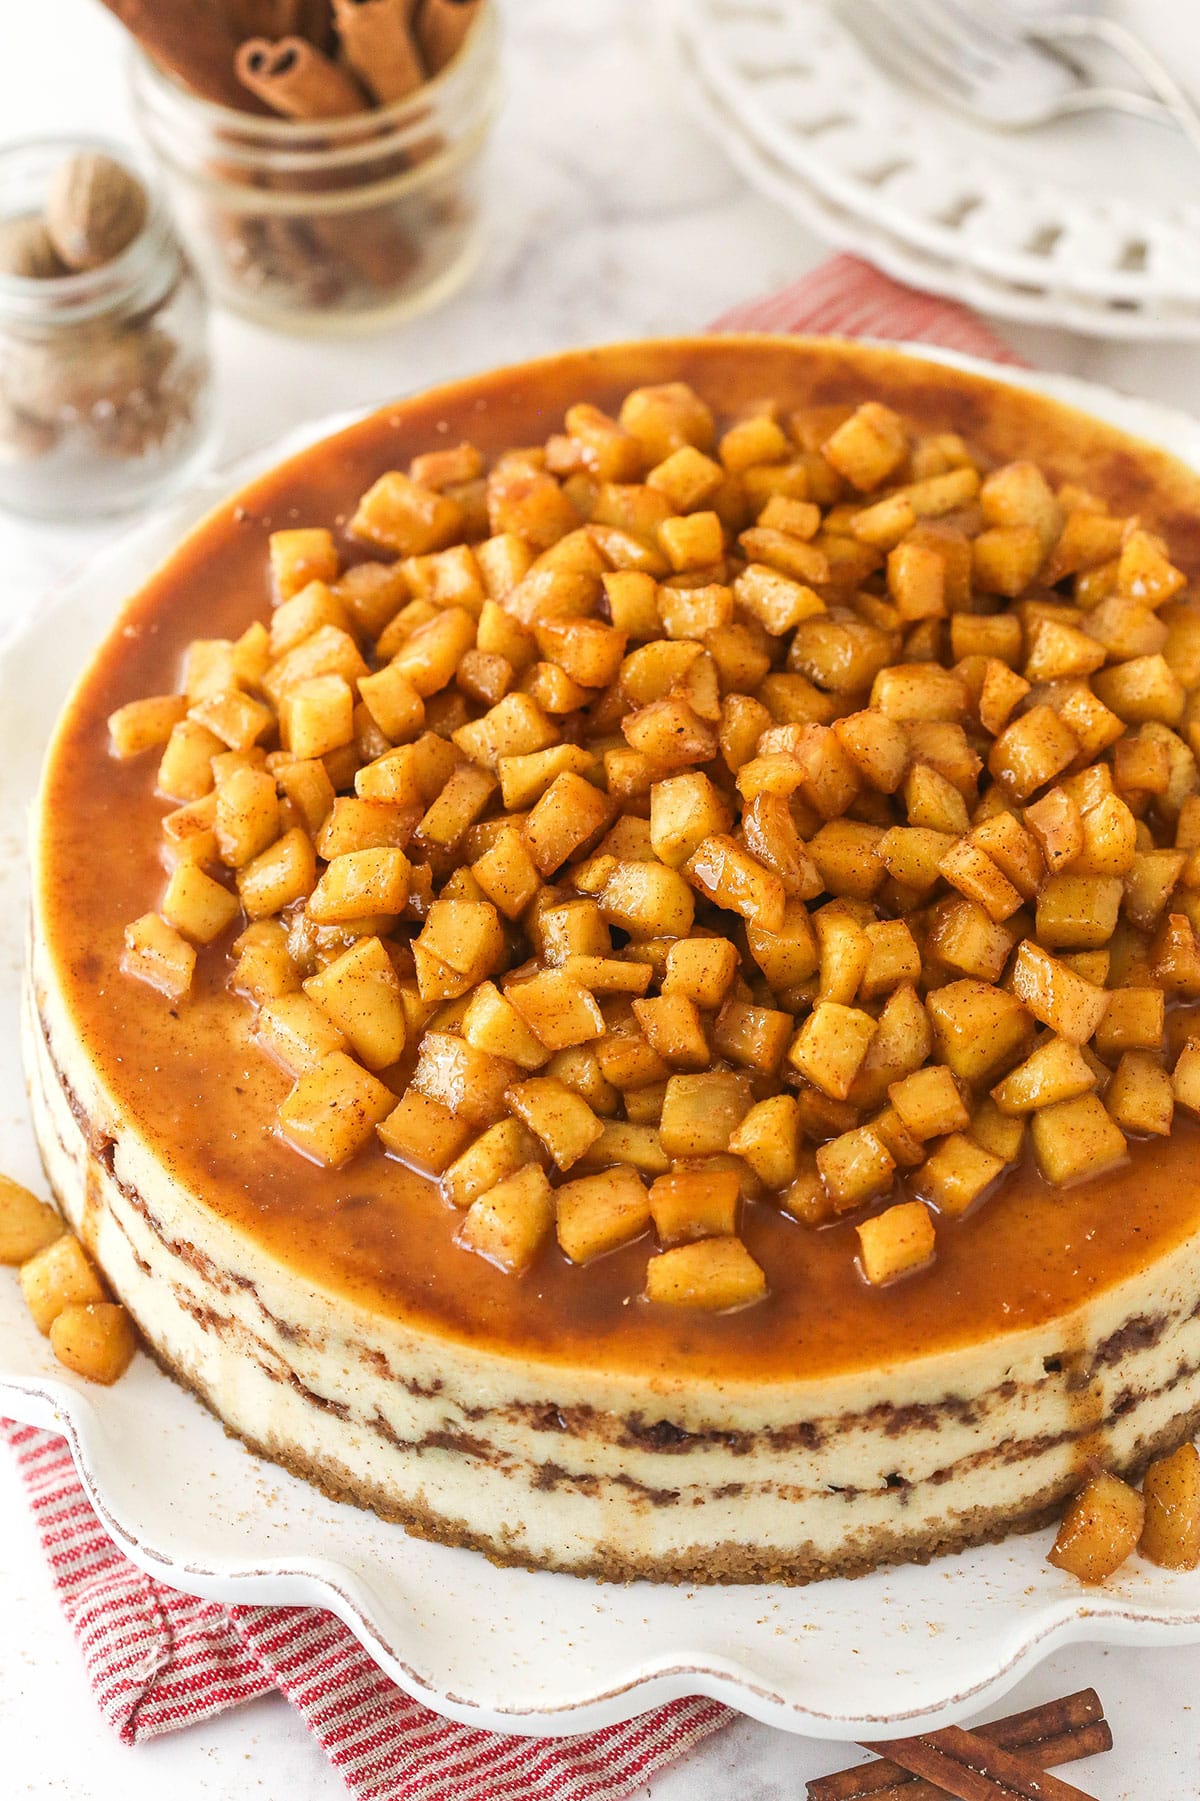
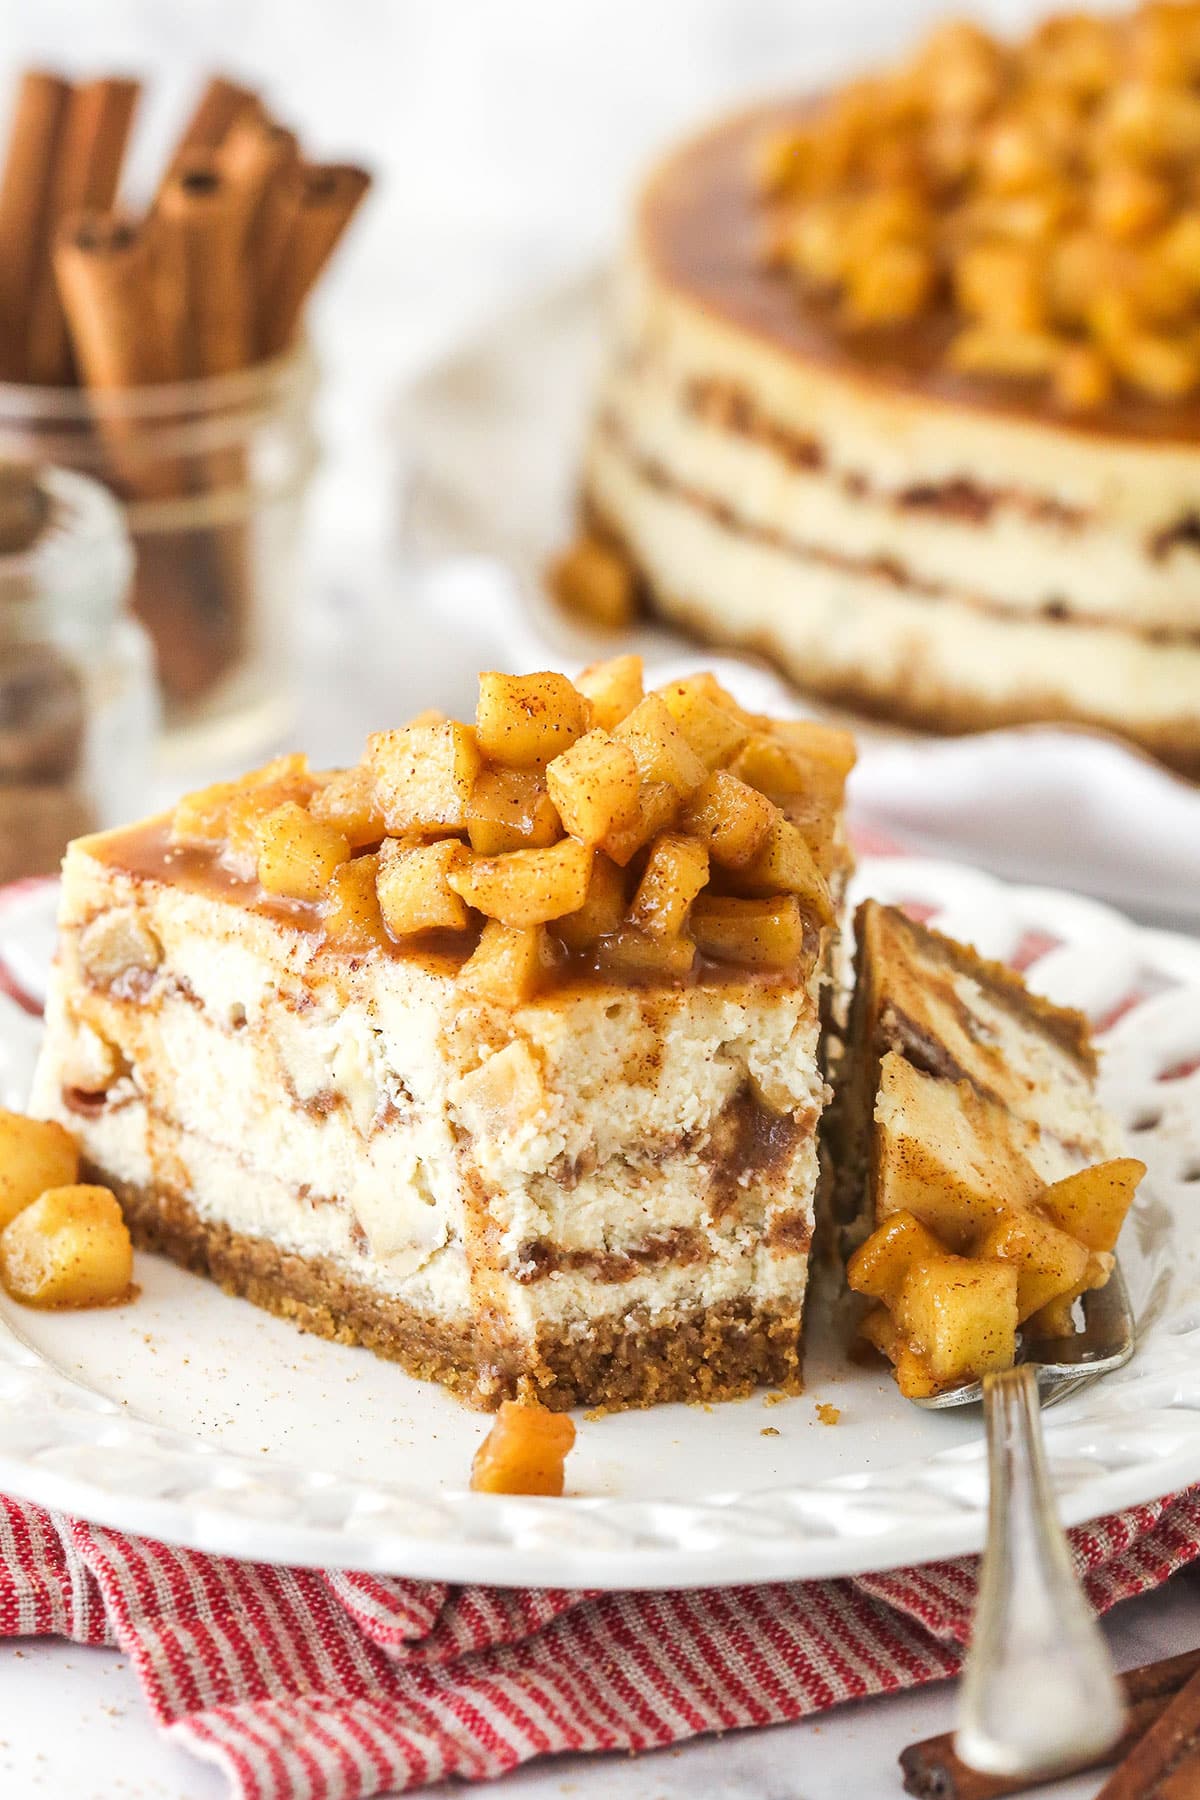
This Apple Cinnamon Cheesecake has pieces of apple and pockets of cinnamon filling layered into it. The incredible combination of smooth cheesecake, cinnamon, and lightly crunchy apples is something you won’t want to miss!
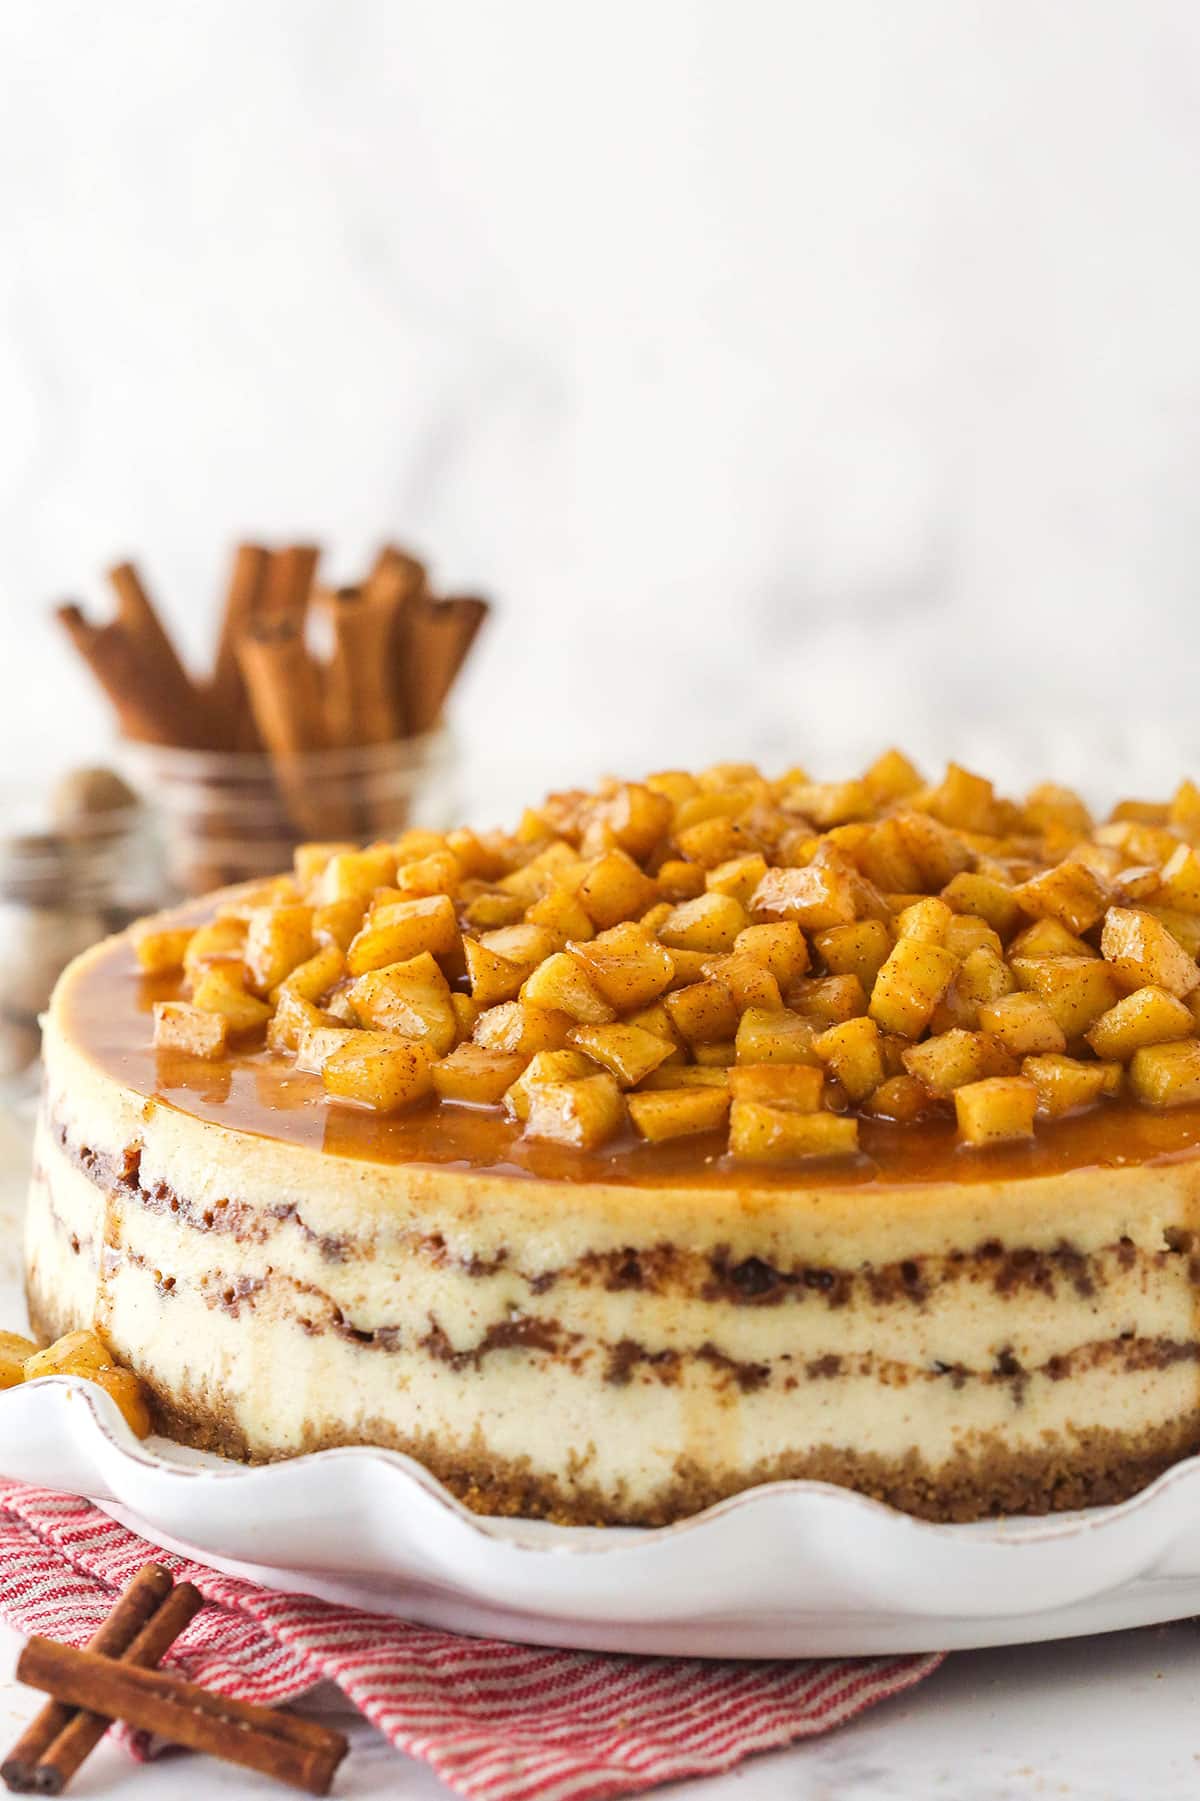
Why You’ll Love Apple Cinnamon Cheesecake
I don’t know about you, but I am really starting to get excited for fall. Baking with apples always seems to get me in the mood for all things fall. Enter this Apple Cinnamon Cheesecake with all the flavors of pure fall heaven.
- Easy to make. Making the cheesecake takes some time, but it really is easy to put together. That’s one of the great things about cheesecakes. Once it’s baked, you’re pretty much done. No fuss, just put it in the fridge to cool and top it with something tasty – cinnamon apples in this case!
- Amazing flavor. If you’ve had my cinnamon roll cheesecake, the filling is very similar but with apples mixed in and on top. The combination of layered cinnamon and cinnamon apples can’t be beat.
- Thick and creamy. This cheesecake is thick and super creamy and just melts in your mouth. There’s a slight crunch from the apples and it’s pure perfection.
- Perfect for fall. This really is the perfect dessert for fall with it’s cozy flavors. It also serves a crowd, so it’s great for holidays like Thanksgiving, intimate family gatherings or any celebration that needs a classy and delicious dessert!
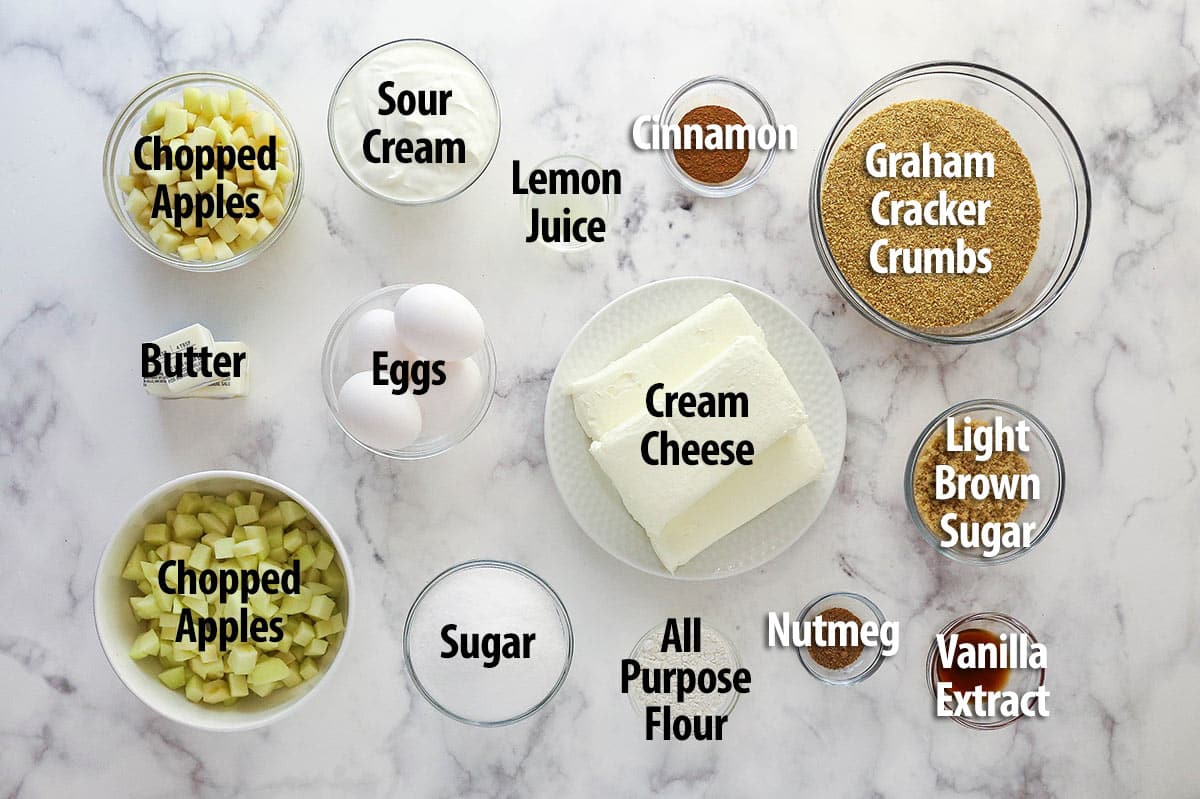
Ingredients and Substitutions
Get going in the right direction. Check out these notes on what you’ll need to make this amazing apple cinnamon cheesecake. Scroll down to the recipe card below for exact measurements.
Crust
- Graham cracker crumbs. I find that freshly ground crumbs have better flavor than the ready-made crumbs you can buy, but either will work. You could even use vanilla wafer crumbs.
- Light brown sugar. To add sweetness and a touch of flavor to the crust.
- Ground cinnamon. For even more fall flavor.
- Unsalted butter. This binds the crust together. I used unsalted butter for the crust. If you don’t have any, salted butter will also work.
Cheesecake Filling
- Cream cheese. When baking cheesecake, you’ll need brick-style, full-fat cream cheese. Avoid tubs, low-fat and whipped varieties of cream cheese. It’s also important to bring the cream cheese to room temperature.
- Sugar. You’ll need regular granulated sugar.
- All-purpose flour. Although you don’t need much, flour is a key ingredient for baking a creamy cheesecake that is less likely to crack. For a gluten free alternative, try cornstarch. You’ll need half the amount.
- Sour cream. Use full-fat sour cream for added richness and creamy texture.
- Vanilla extract.
- Ground cinnamon. For extra cinnamon flavor in the filling.
- Eggs. Make sure to use large, room temperature eggs for this recipe. Avoid medium and extra large eggs.
Cinnamon Apple Filling and Topping
Most of the same ingredients are shared between the two. Here’s what you need to know.
- Light brown sugar. Don’t forget to pack it tightly when measuring.
- Spices. Use ground cinnamon and ground nutmeg to add warmth to the spiced filling and topping.
- All-purpose flour. Used in the cinnamon filling layers, this keeps them from melting into the cheesecake, so that it maintains as a separate layer.
- Unsalted butter. Helps to bind the cinnamon filling together and add flavor to the apple topping.
- Chopped apples. You’ll need 4-5 large apples to make enough roughly chopped apples for the filling and topping. Use baking apples such as Granny Smith, Pink Lady or Honey Crisp that have a firm texture and sweet-tart flavor.
- Lemon juice. Adds a little bit of tartness to balance the sweet flavors in the topping. It also helps to prevent the apples from browning.
How to Make Apple Cinnamon Cheesecake
Here’s an overview of how to make this irresistible cheesecake. Scroll down to the recipe card below for the printable version of the instructions.
Make the Crust
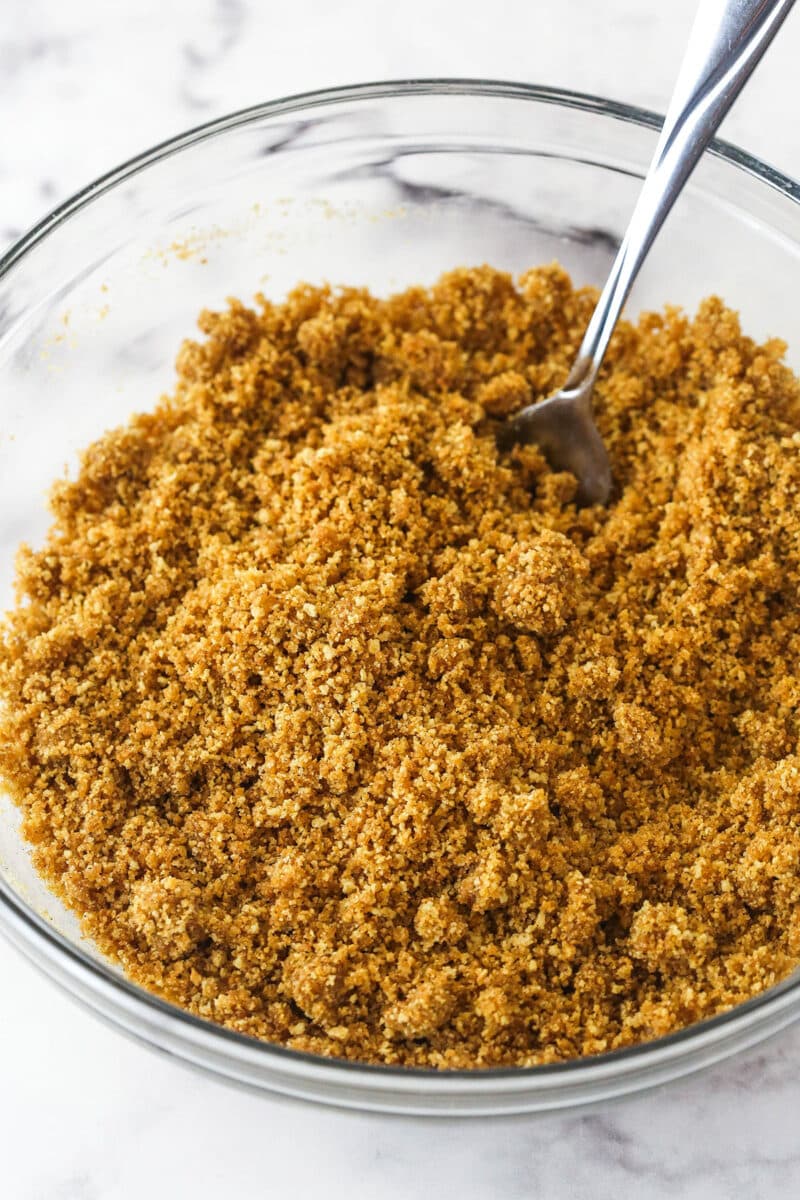
- Prep pan and oven. Preheat oven to 325°F (163°C). Line a 9-inch (23cm) springform pan.
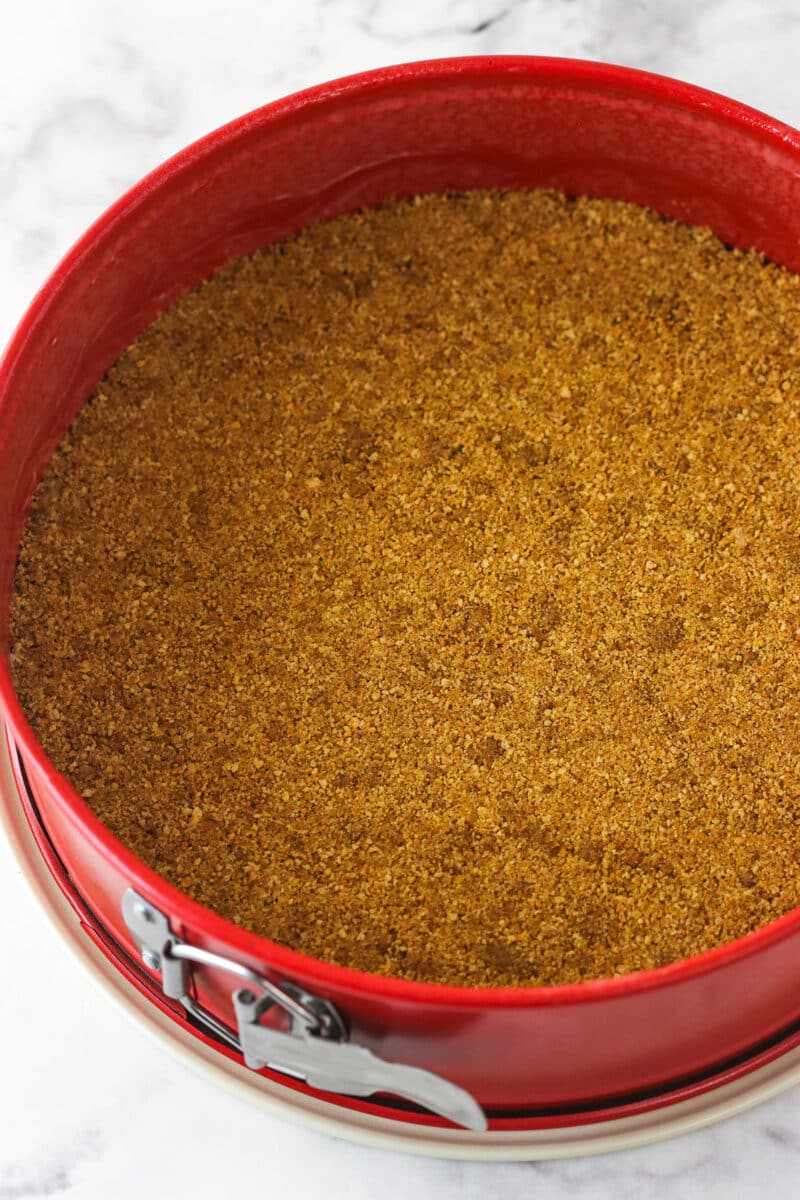
- Make the crust. Combine the crust ingredients in a bowl. Press the mixture into the pan and bake for 8-10 minutes.
- Prepare the pan for water bath. Cover the outsides of the pan with aluminum foil (or see how I prepare my pan for a water bath).
Make the Cheesecake and Cinnamon Apple Filling
- Turn oven down. Reduce oven temperature to 300°F (148°C).
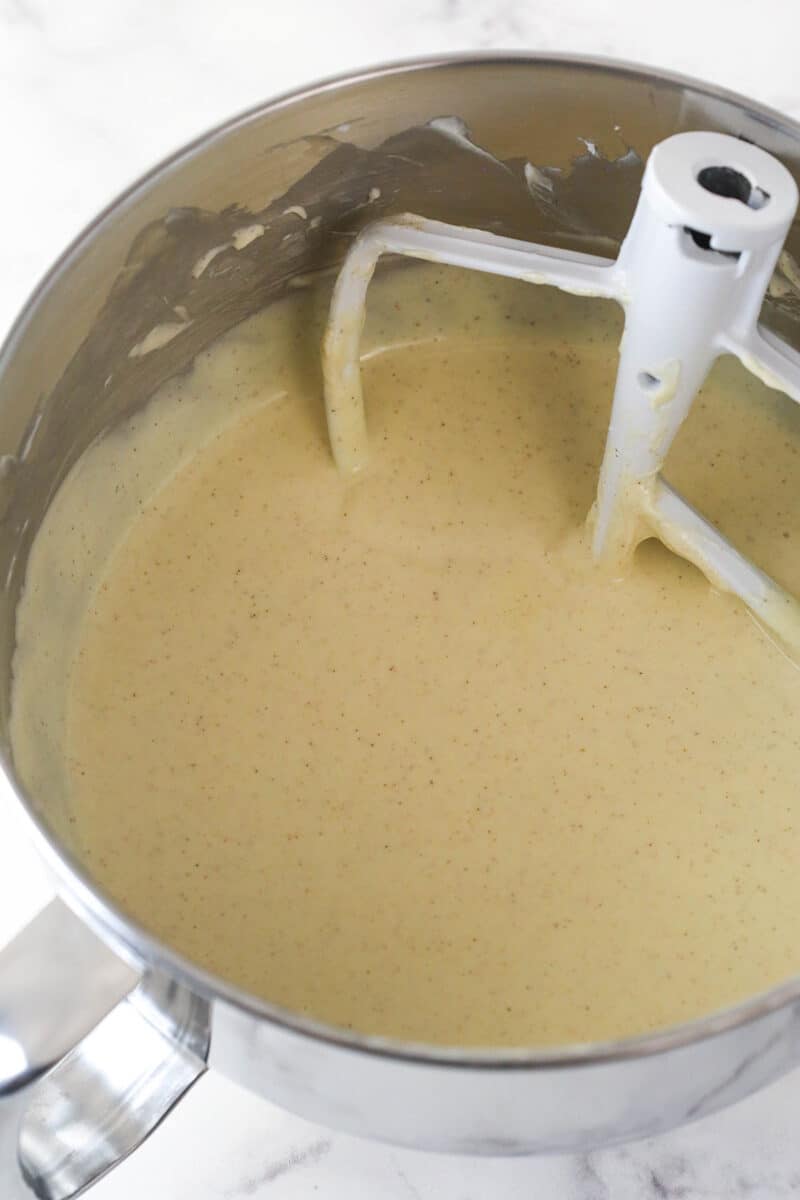
- Make cheesecake filling. Add the cream cheese, sugar and flour to a large mixing bowl and mix until smooth. Add the sour cream, vanilla extract and cinnamon. Finally, add the eggs one at a time.
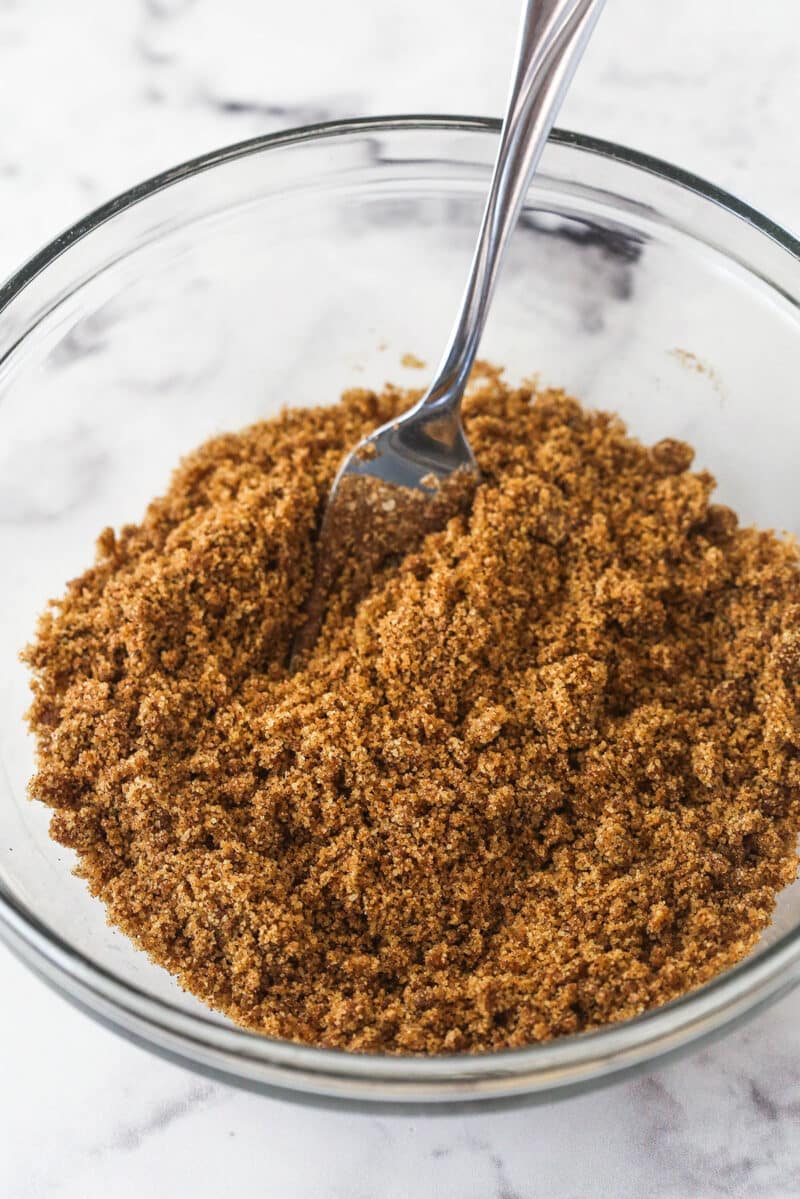
- Prep cinnamon filling. Combine the brown sugar, cinnamon, nutmeg and flour in a medium sized bowl. Stir in melted butter until the mixture is crumbly.
Assemble, Bake and Cool Cheesecake
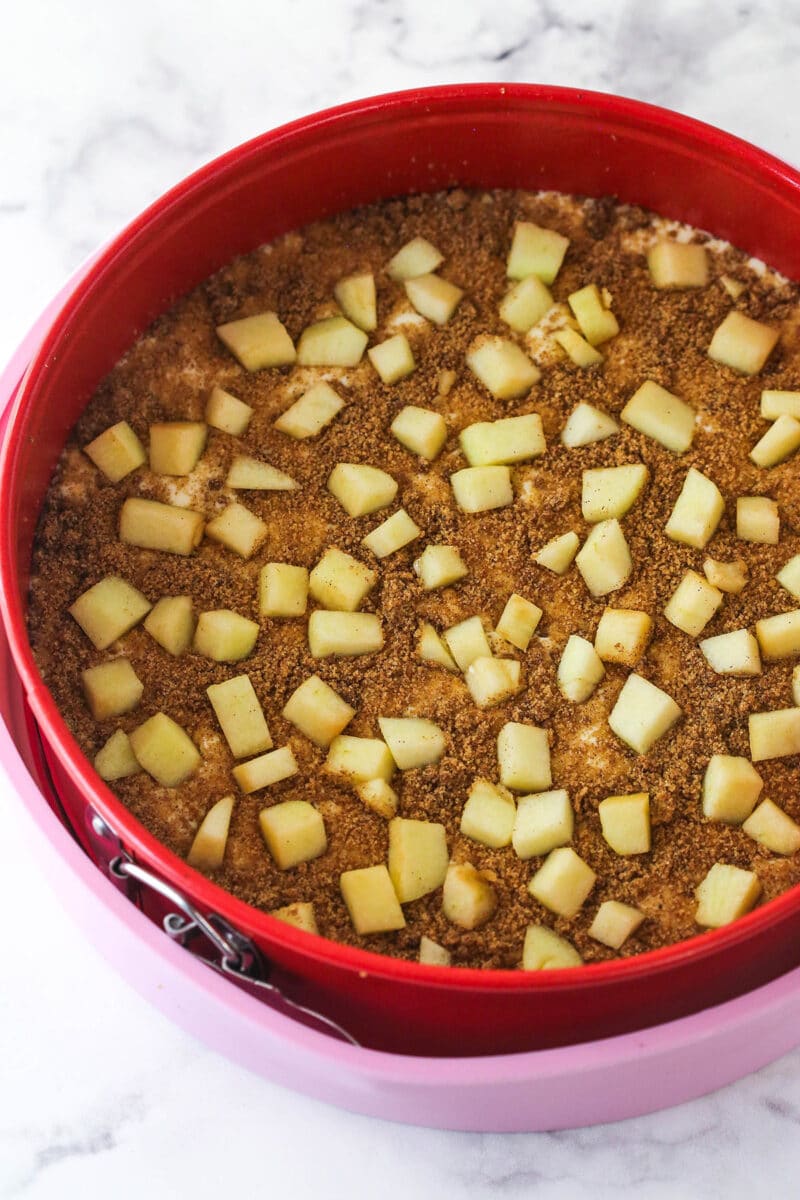
- Layer cheesecake filling. Add about 1/3 of the cheesecake filling to the crust. Sprinkle about 1/2 of the cinnamon filling and about 1/2 of the chopped apple filling on top. Repeat the layers with another 1/3 of the cheesecake filling over the cinnamon apple layer, then another layer of the cinnamon filling and apple filling. Drizzle the remaining cheesecake filling over the top.
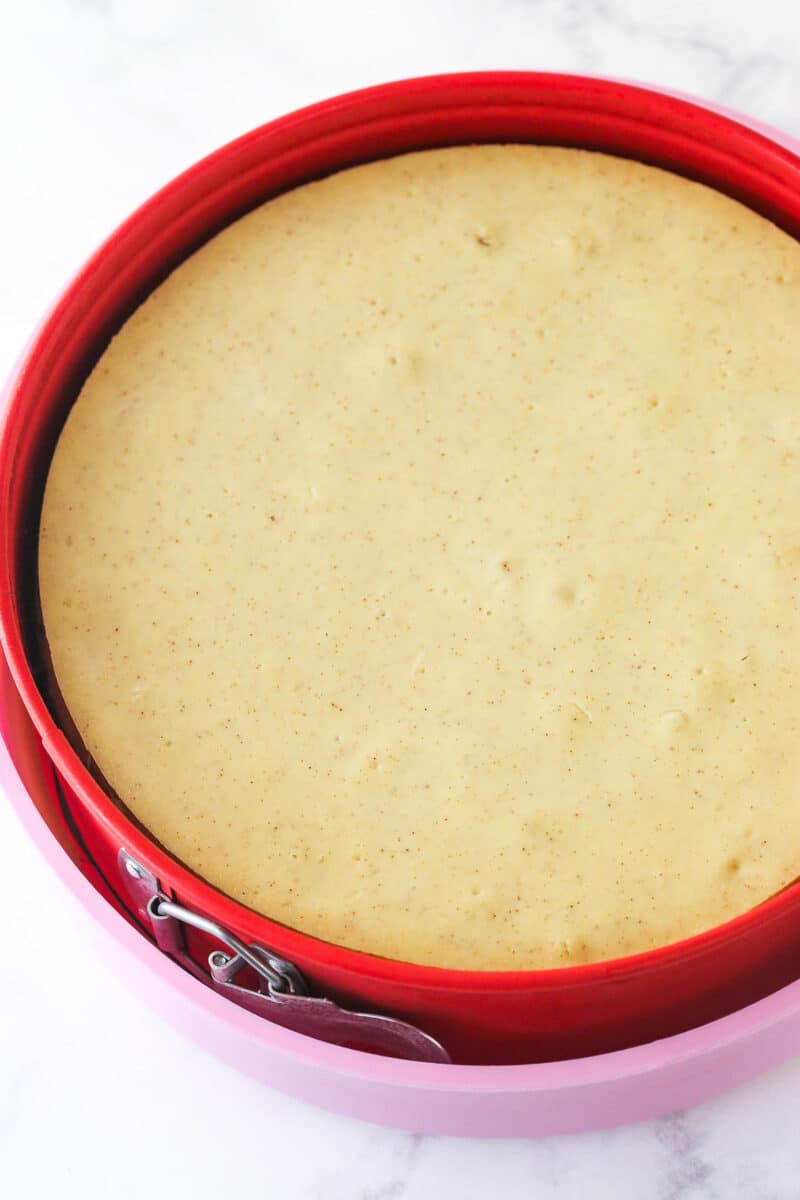
- Bake. Place the cheesecake in a water bath and bake for 1 hour and 20 minutes until the center is set, but still jiggly. Turn off the oven and leave the door closed for 30 minutes. The cheesecake will continue to cook, but slowly begin to cool as well.
- Cool and refrigerate. Crack the door of the oven for 30 minutes to allow the cheesecake to continue to cool slowly. This process helps prevent cracking. Remove the cheesecake from the oven and let it cool to about room temperature. Refrigerate until firm, 4-5 hours or overnight.
Make Topping and Finish the Cheesecake
- Make cinnamon apple topping. Add the apples, brown sugar, cinnamon, nutmeg, lemon juice and butter to a pan. Cook apples until at desired tenderness, about 10 minutes. Set aside to cool a bit.
- Finish cheesecake. Remove cheesecake from springform pan and place on serving plate. Add apples to the top of the cheesecake and drizzle remaining sauce from pan over cheesecake.
- Enjoy! Serve or store in the fridge until ready to serve.
Tips for Success
Make an incredible Apple Cinnamon Cheesecake by following these pro tips and tricks. I’d also encourage you to check out my post on How to Make the Perfect Cheesecake for even more information.
- Room temperature ingredients. The cream cheese, sour cream, and eggs in the filling should be at room temperature, otherwise they may not blend smoothly into the batter, which can lead to over-mixing (see below).
- Mix slowly to avoid over-mixing. Be sure to use low speed to reduce the amount of air added to the batter. Over-mixing your cheesecake batter or mixing at high speed can introduce excess air into the filling and ultimately cause your cheesecake to crack.
- Eliminate air bubbles. The crumbly cinnamon filling and chopped apples in this cheesecake can create air pockets in the batter. I suggest that you gently tap the filled pan on the countertop a few times before baking to dislodge any trapped air bubbles and, thus, prevent cracks in the cheesecake.
- Use a springform pan. Trust me on this one! Trying to remove a cheesecake from a standard cake pan is a royal pain. The removable sides of a springform pan make things so much easier when it’s time to finish and serve your cake.
- Use a water bath. While it might be a bit of a hassle, using a water bath is crucial. It will help the cheesecake cook evenly as well as keep the center from falling and cracks from forming at the surface. Check out my post on How to Bake Cheesecake in a Water Bath to learn how to do it right.
- Cool gradually. To prevent cracks, allow the cheesecake to cool gradually in the oven (30 minutes with the oven off and the door closed and 30 minutes with the door cracked). Then move it to the counter before chilling in the fridge. During this process, the filling will continue to cook and set.
How Can I Tell When My Cheesecake is Done?
I typically use the jiggle test. Use gloves and gently shake the cheesecake pan to get it to jiggle. You want the outer 2-3 inches of the cheesecake to look more set and less jiggly, and in the center to be the party that’s jiggly. It should wobble a bit, but not too much. If it looks liquid-y still and has kind of a sloshy wiggle, it’s not done it. If it’s just set and still jiggly, it should be good. The next step is to slowly cool the cheesecake, which gives it a chance to finish cooking and firm up more, while also starting to cool slowly and avoid cracks. For more ways to test doneness, check out my post on how to tell when your cheesecake is done baking.
Storage Information
- Refrigerator. Seal any leftover cheesecake in an airtight cake carrier or wrap it in plastic wrap. You can use toothpicks to create some space between the plastic and the topping. If you’ve already sliced it, just arrange the slices in a single layer in an airtight container. This cheesecake tastes best if eaten within 4-5 days.
- Freezer. Allow your cheesecake to firm up in the freezer for a couple of hours before wrapping it in a double layer of plastic wrap. You can also freeze slices arranged in a single layer in an airtight container. Store it in the freezer for up to 3 months and thaw it in the fridge before serving. I’d recommend freezing without the topping if prepping ahead. The apple topping won’t look as fresh after freezing.
Want to know more, check out my post on How To Store Cheesecake!
More Fall Cheesecake Recipes
- Caramel Apple Blondie Cheesecake
- Browned Butter Pecan Cheesecake
- Mini Caramel Apple Cheesecakes
- Pecan Praline Cheesecake
- Caramel Apple Cheesecake
- Salted Caramel Cheesecake
Watch How To Make It
Recipe update 9/10/2024. The recipe hasn’t changed much, but for the old version, download the recipe PDF.
Print
Apple Cinnamon Cheesecake
- Prep Time: 1 hour 45 minutes
- Cook Time: 2 hours 20 minutes
- Total Time: 4 hours 5 minutes
- Yield: 12-14 Slices
- Category: Dessert
- Method: Oven
- Cuisine: American
Description
This Apple Cinnamon Cheesecake has pieces of apple and pockets of cinnamon filling layered into it. The incredible combination of smooth cheesecake, cinnamon, and lightly crunchy apples is something you won’t want to miss!
Ingredients
Crust
- 1 1/2 cups (201g) graham cracker crumbs
- 1/4 cup (56g) packed light brown sugar
- 1 tsp ground cinnamon
- 4 tbsp (56g) unsalted butter
Cheesecake Filling
- 24 ounces cream cheese, room temperature
- 1 cup (207g) sugar
- 3 tbsp (24g) all-purpose flour
- 1 cup (230g) sour cream
- 2 tsp vanilla extract
- 1 tsp ground cinnamon
- 4 large eggs
Cinnamon Apple Filling
- 5 tbsp (70g) packed light brown sugar
- 1 tbsp ground cinnamon
- 1/2 tsp ground nutmeg
- 3 tbsp (24g) all-purpose flour
- 1 tbsp (14g) unsalted butter, melted
- 1 1/4 cups (148g) peeled, roughly chopped apples
Cinnamon Apple Topping
- 3 cups (355g) peeled, roughly chopped apples
- 6 tbsp (84g) packed light brown sugar
- 1 1/2 tsp ground cinnamon
- pinch of ground nutmeg
- 3 tsp lemon juice
- 2 tbsp butter
Instructions
Make the crust
- Preheat oven to 325°F (163°C). Line a 9-inch (23cm) springform pan with parchment paper in the bottom and grease the sides.
- Combine the crust ingredients in a small bowl. Press the mixture into the bottom of the springform pan.
- Bake the crust for 8-10 minutes, then set aside to cool.
- Cover the outsides of the pan with aluminum foil so that water from the water bath cannot get in (or see how I prepare my pan for a water bath). Set prepared pan aside.
Make the cheesecake and cinnamon apple filling
- Reduce oven temperature to 300°F (148°C).
- To make the cheesecake filling, add the cream cheese, sugar and flour to a large mixing bowl and beat on low speed until completely combined and smooth. Be sure to use low speed to reduce the amount of air added to the batter, which can cause cracks. Scrape down the sides of the bowl.
- Add the sour cream, vanilla extract and cinnamon. Beat on low speed until well combined.
- Add the eggs one at a time, mixing slowly to combine after each addition until well combined. Scrape down the sides of the bowl as needed to make sure everything is well combined. Set aside.
- To make the cinnamon filling, combine the brown sugar, cinnamon, nutmeg and flour in a medium sized bowl. Stir in melted butter until well combined.
- Add about 1/3 of the cheesecake filling to the crust, creating an even layer.
- Sprinkle about 1/2 of the cinnamon filling over the bottom of the crust, then spread about 1/2 of the chopped apples for the filling over the cinnamon mixture.
- Add another 1/3 of the cheesecake filling over the cinnamon apple layer. I like to drizzle it over the cinnamon filling so that it doesn’t get displaced.
- Repeat another layer of the cinnamon filling and apples, then top the cheesecake with the remaining cheesecake filling. You should have a total of three layers of cheesecake filling and two layers of cinnamon apple filling.
- Place the springform pan inside another larger pan. Fill the outside pan with enough warm water to go about halfway up the sides of the springform pan. The water should not go above the top edge of the aluminum foil on the springform pan.
- Bake for 1 hour and 20 minutes. The center should be set, but still jiggly (see how to tell if your cheesecake is done baking).
- Turn off the oven and leave the door closed for 30 minutes. The cheesecake will continue to cook, but slowly begin to cool as well.
- Crack the door of the oven for 30 minutes to allow the cheesecake to continue to cool slowly. This process helps prevent cracking.
- Remove the cheesecake from the oven and water bath wrapping and set the cheesecake aside to cool to about room temperature, then refrigerate until firm, 4-5 hours or overnight.
Make the cinnamon apple topping and finish
- To make the cinnamon apples for the topping, add the apples, brown sugar, cinnamon, nutmeg, lemon juice and butter to a pan. Stir together until apples are well coated.
- Cook apples over medium heat until at desired tenderness, about 10 minutes.
- Remove cheesecake from springform pan and place on serving plate. Add apples to the top of the cheesecake and drizzle remaining sauce from pan over cheesecake. Serve.
- Store the cheesecake in the fridge until ready to serve. Cheesecake is best if eaten within 4-5 days. Read more on how to store cheesecake.
Notes
- Flour. For a gluten free alternative, try cornstarch. You’ll need half the amount.
- Apples. You’ll need 4-5 large apples to make enough roughly chopped apples for the filling and topping. Use baking apples such as Granny Smith, Pink Lady or Honey Crisp that have a firm texture and sweet-tart flavor.
- Cream cheese. You’ll need brick-style, full-fat cream cheese. Avoid tubs, low-fat and whipped varieties of cream cheese.
- Refrigerator storage. Seal any leftover cheesecake in an airtight cake carrier or wrap it in plastic wrap. You can use toothpicks to create some space between the plastic and the topping. If you’ve already sliced it, just arrange the slices in a single layer in an airtight container. This cheesecake tastes best if eaten within 4-5 days.
- Freezer. Allow your cheesecake to firm up in the freezer for a couple of hours before wrapping it in a double layer of plastic wrap. You can also freeze slices arranged in a single layer in an airtight container. Store it in the freezer for up to 3 months and thaw it in the fridge before serving. I’d recommend freezing without the topping if prepping ahead. The apple topping won’t look as fresh after freezing.
Nutrition
- Serving Size: 1 Slice
- Calories: 327
- Sugar: 29.8 g
- Sodium: 262.5 mg
- Fat: 16.4 g
- Carbohydrates: 39.2 g
- Protein: 6.9 g
- Cholesterol: 87.3 mg





This recipe looks great and cannot wait to make it! The water bath part has me a little anxious. Is that a step I can skip or will it do harm if I do? Thanks again!
I always recommend the water bath. It’s a few extra steps, but it’s worth it. Without it, you’ll often have a cheesecake that cracks, falls in the middle and browns a good bit around the edges. Here’s a tutorial for how I set mine up that might be helpful.
This looks and sounds amazing! My hubby has asked for chocolate also, so I’m thinking of either adding it to the cheesecake filling as chips, or melting it into the mixture – which (if either) do you think would work best?
It depends on how much of a chocolate flavor you want to add. Chocolate chips will be a little more subtle if added as chips. If you want to mix chocolate into the batter, melting chips would require quite a bit in order to actually taste it. You’d be best to add in some powdered cocoa.
Can this cheesecake go into the freezer? Made it and now company not coming for a month. I have not put cooked apples on top yet. Thought maybe freeze it then when it’s thawed then could add the hot apples before serving. Do you think that would be ok? Hate to ruin It! It’s that or eat it all myself!
I haven’t ever frozen a whole cheesecake, but it should be fine. I wouldn’t freeze it for longer than a month though. Just wrap it well and thaw it in the fridge.
Hey!
How far ahead can you make this? Could I bake it on a Thursday night and keep in the fridge until Monday? Should I keep the apple topping off until ready the day of serving?
I’ve never ever made a cheesecake (only phony non bake kids….), and would love to make this for Thanksgiving. Any tips would be great!!
THANKS!
You could keep it that long, but it would not be quite as fresh. I would recommend 2-3 days ahead at most. And Yes, I would wait to add the apple topping until the day of.
This cheesecake was excellent, made it exactly as the recipe says. I will definitely make this one again, my husband wants it for his birthday.
Do you have to cover with aluminum? And what kind of pan do you put it in?
Here’s a quick tutorial on how I do a water bath. I do use aluminum foil and usually put it in a larger cake pan, but I know people also use roasting pans and similar.
I truly love your website.. Great colors & theme. Did you build this website yourself? Please reply back as I’m attempting to create my own personal site and would love to find out where you got this from or just what the theme is called. Cheers!
Hi Patricia! I’m glad you like the look of the site. I had a designer put it together for me. It was Lindsay from Purr Design.
Hi! Wonderful and flavorful recipe! I was wondering when you take it out of the oven is it still jiggly? I’m hoping it will firm up in the fridge. It’s for Christmas dessert so we are anticipating a good outcome. Thanks so much!
Yes, cheesecake usually is jiggly in the center until it’s been refrigerated and cooled. I hope you enjoyed it!
Sooo, did u peel ur apples? And what variety of apple do u prefer to bake with? Thanks!!!
I did peel them. And I usually use red delicious since they are my fave, but feel free to use whichever you prefer.
I ended up using a couple varieties of apples… VERY VERY tasty!!!! Wonderful recipe! Thanks so much! And I LOVE your website!! My favorite above all others!!!
Thanks so much Gaby! I’m so glad you enjoyed it and enjoy the site – that’s wonderful 🙂
I absolutely love this recipe! So much so I added it to my ultimate apple recipe roundup…I hope you will come by and take a look! Have a great week xo https://dreamingofleaving.com/2015/09/21/worlds-best-apple-recipe-roundup/
Ok… it’s in the oven! Let’s see!!
Seriously? Is this cheesecake even real?! Looks absolutely incredible!!!
Omg this cheesecake! It made me so happy when I saw it. I’m so ready for fall baking and cinnamon apple is totally my favorite. Wish I had a big slice of this right now! 🙂
Lindsay, this cheesecake looks incredible, and I love that you used Nilla Wafers for the crust! Also, I’m totally right there with you, so, SO excited for fall! 🙂
I’ll be dreaming about apples for days because of this cheesecake!!!!
Um, are you allowed to enter the contest? Because this cheesecake is for the WIN. It looks like the best possible way to use apples!