This post may contain affiliate sales links. Please read my disclosure policy.
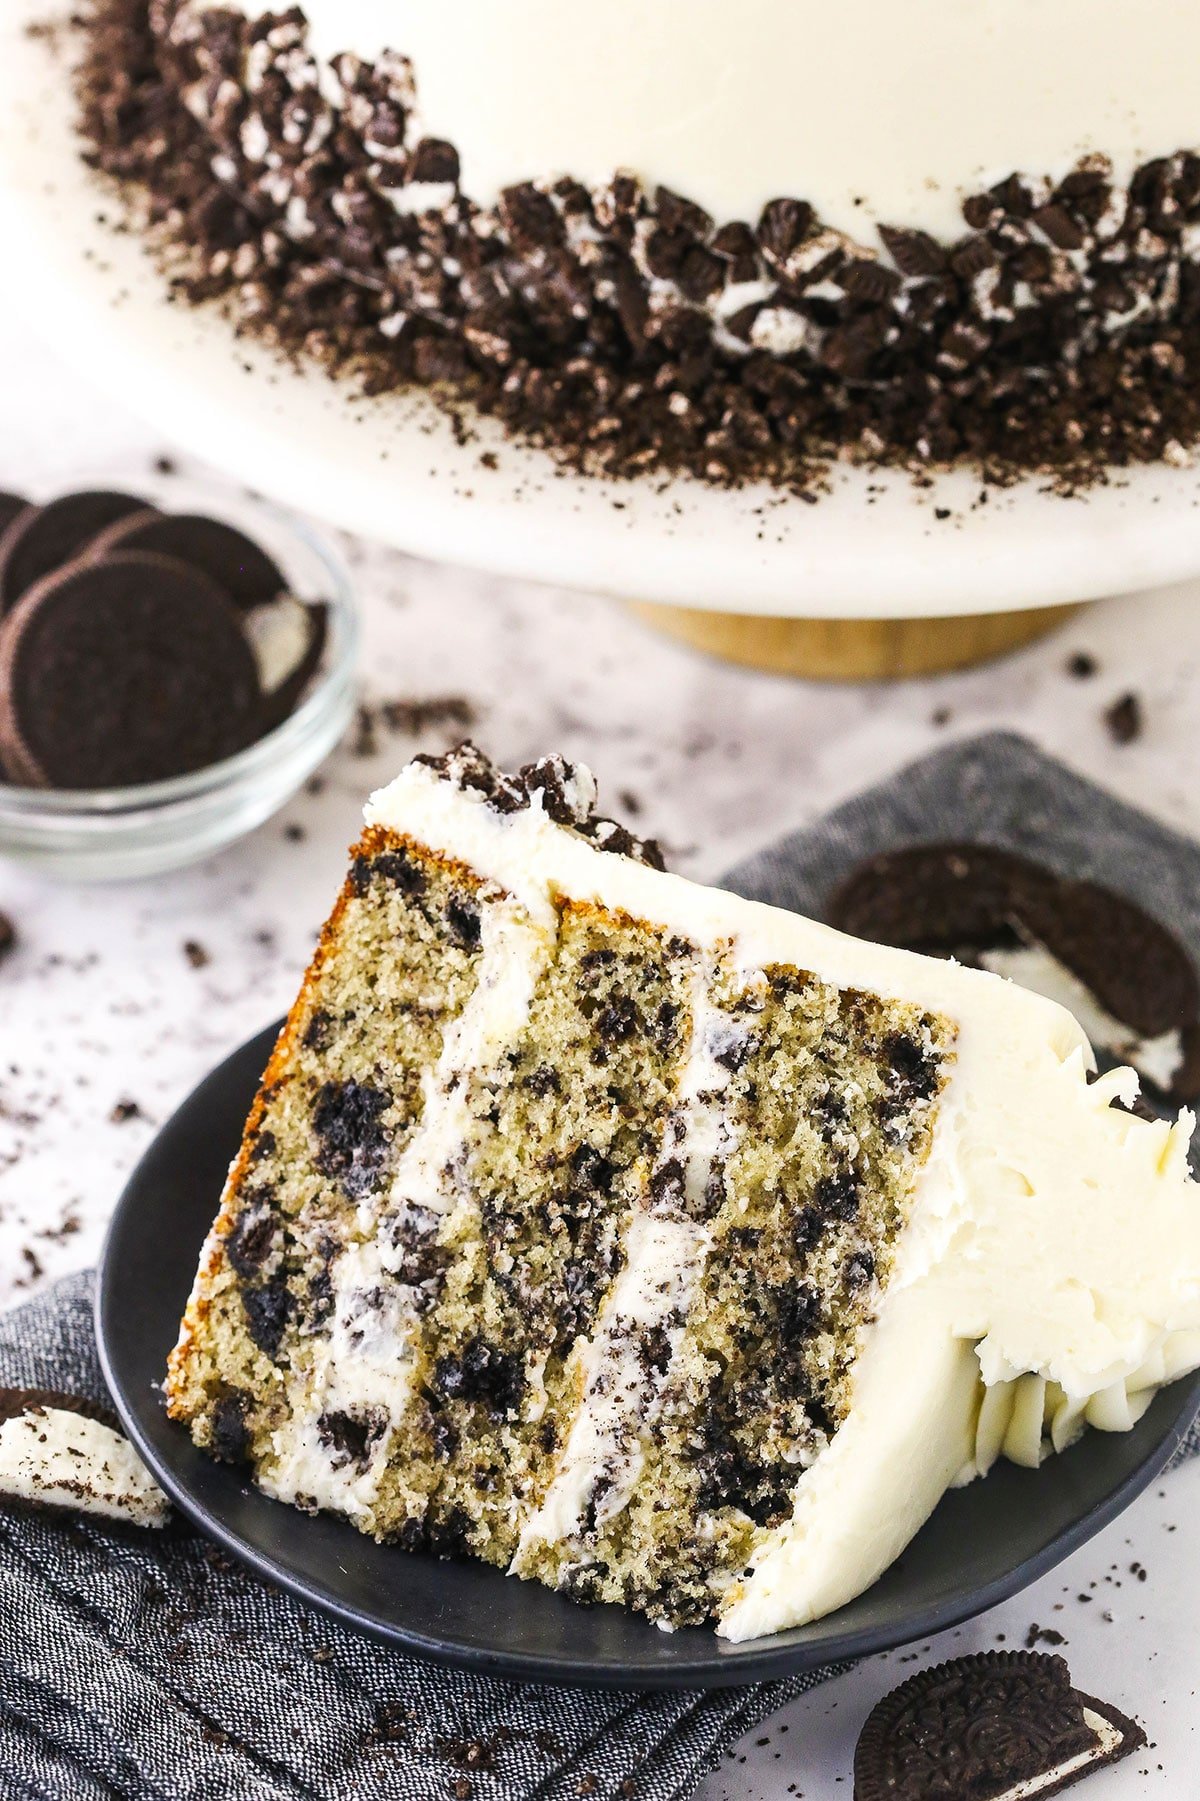
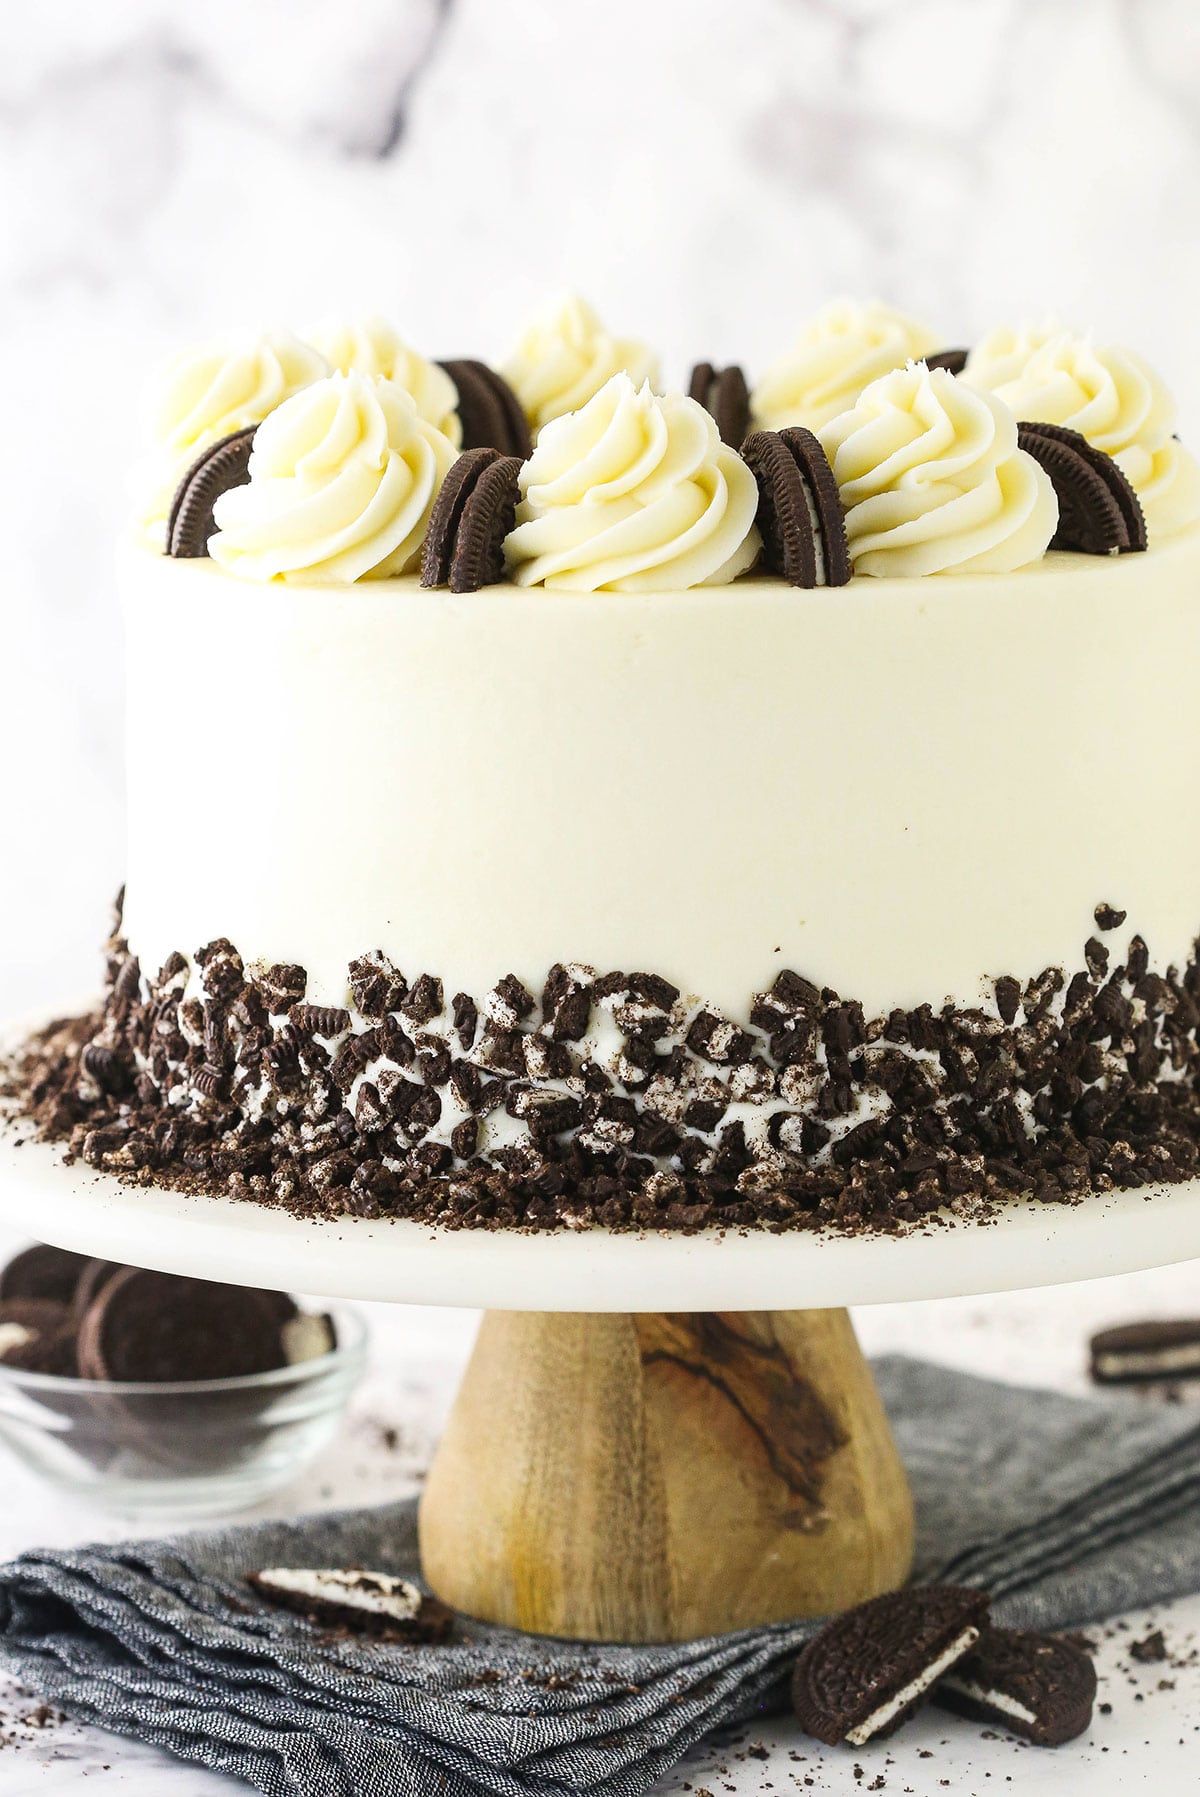
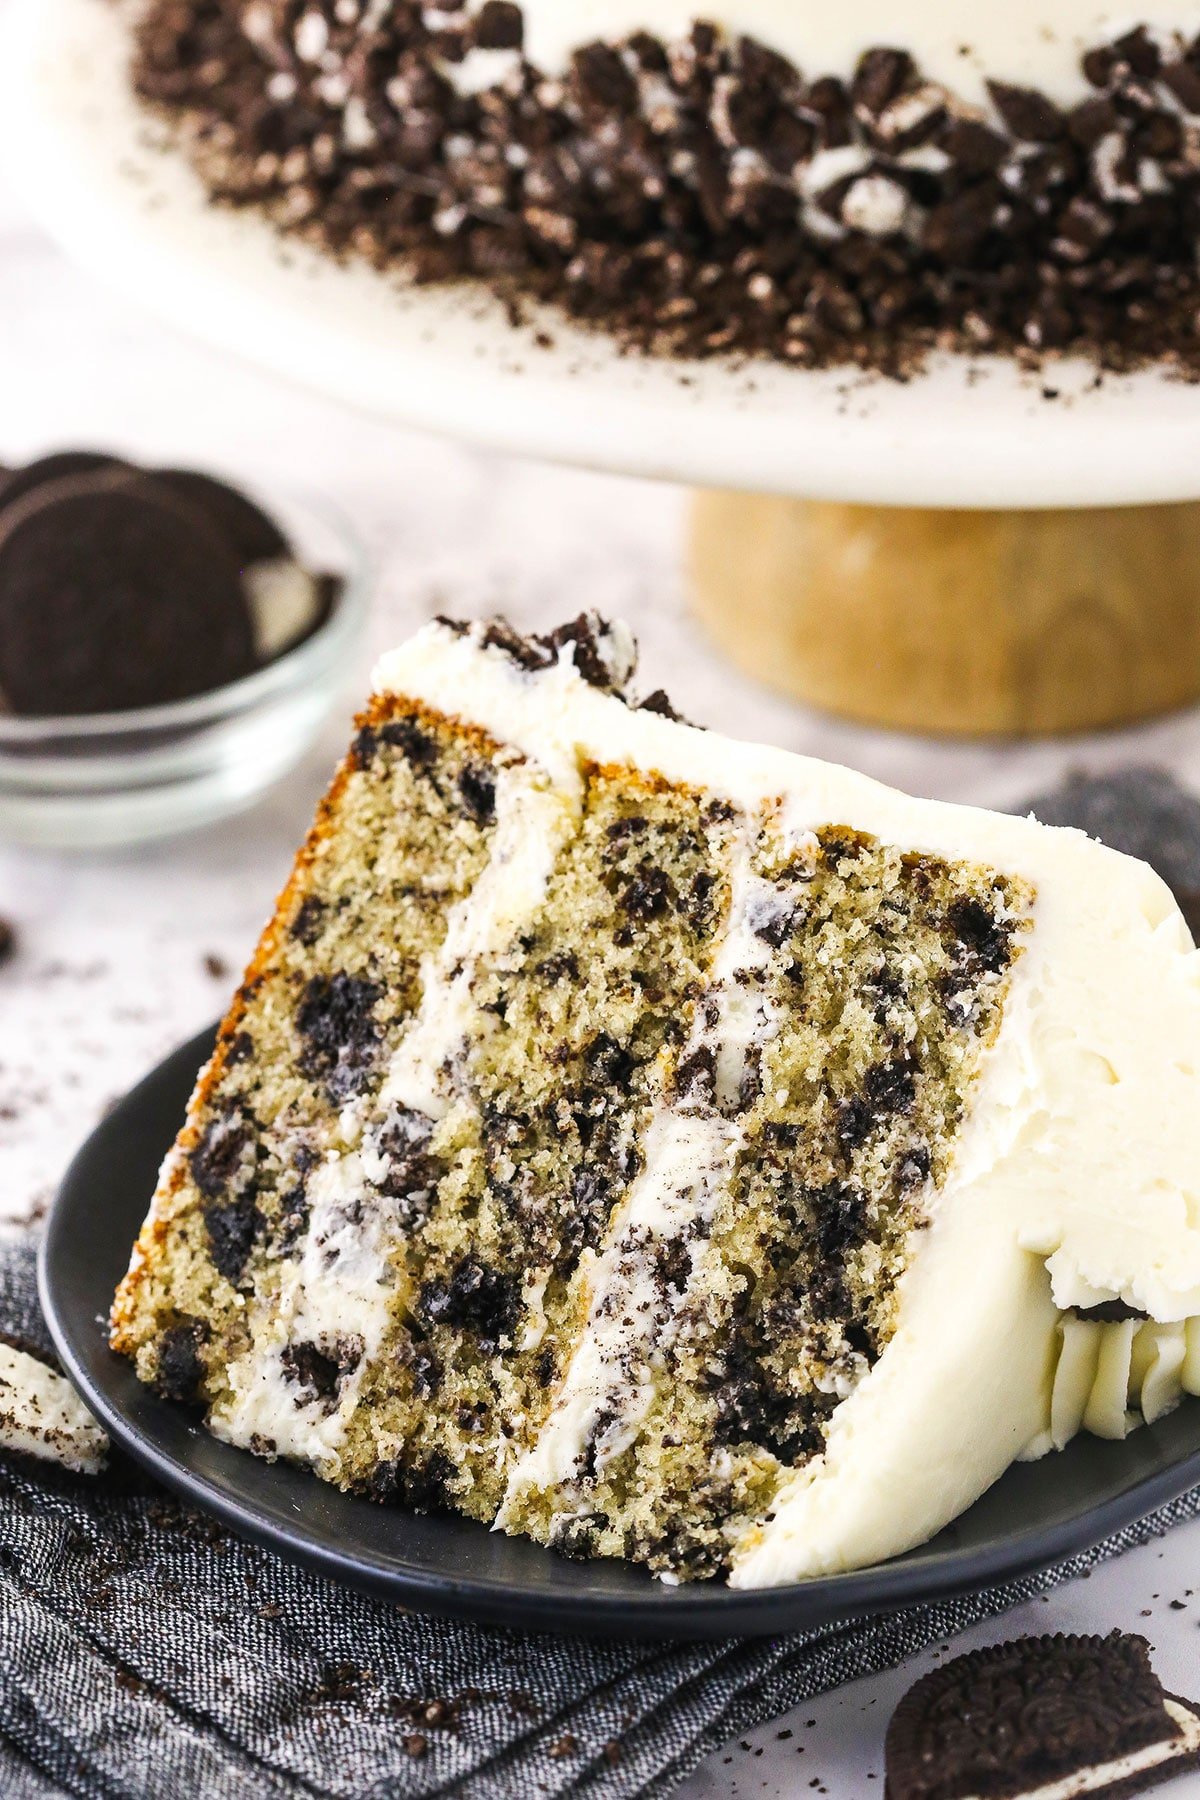
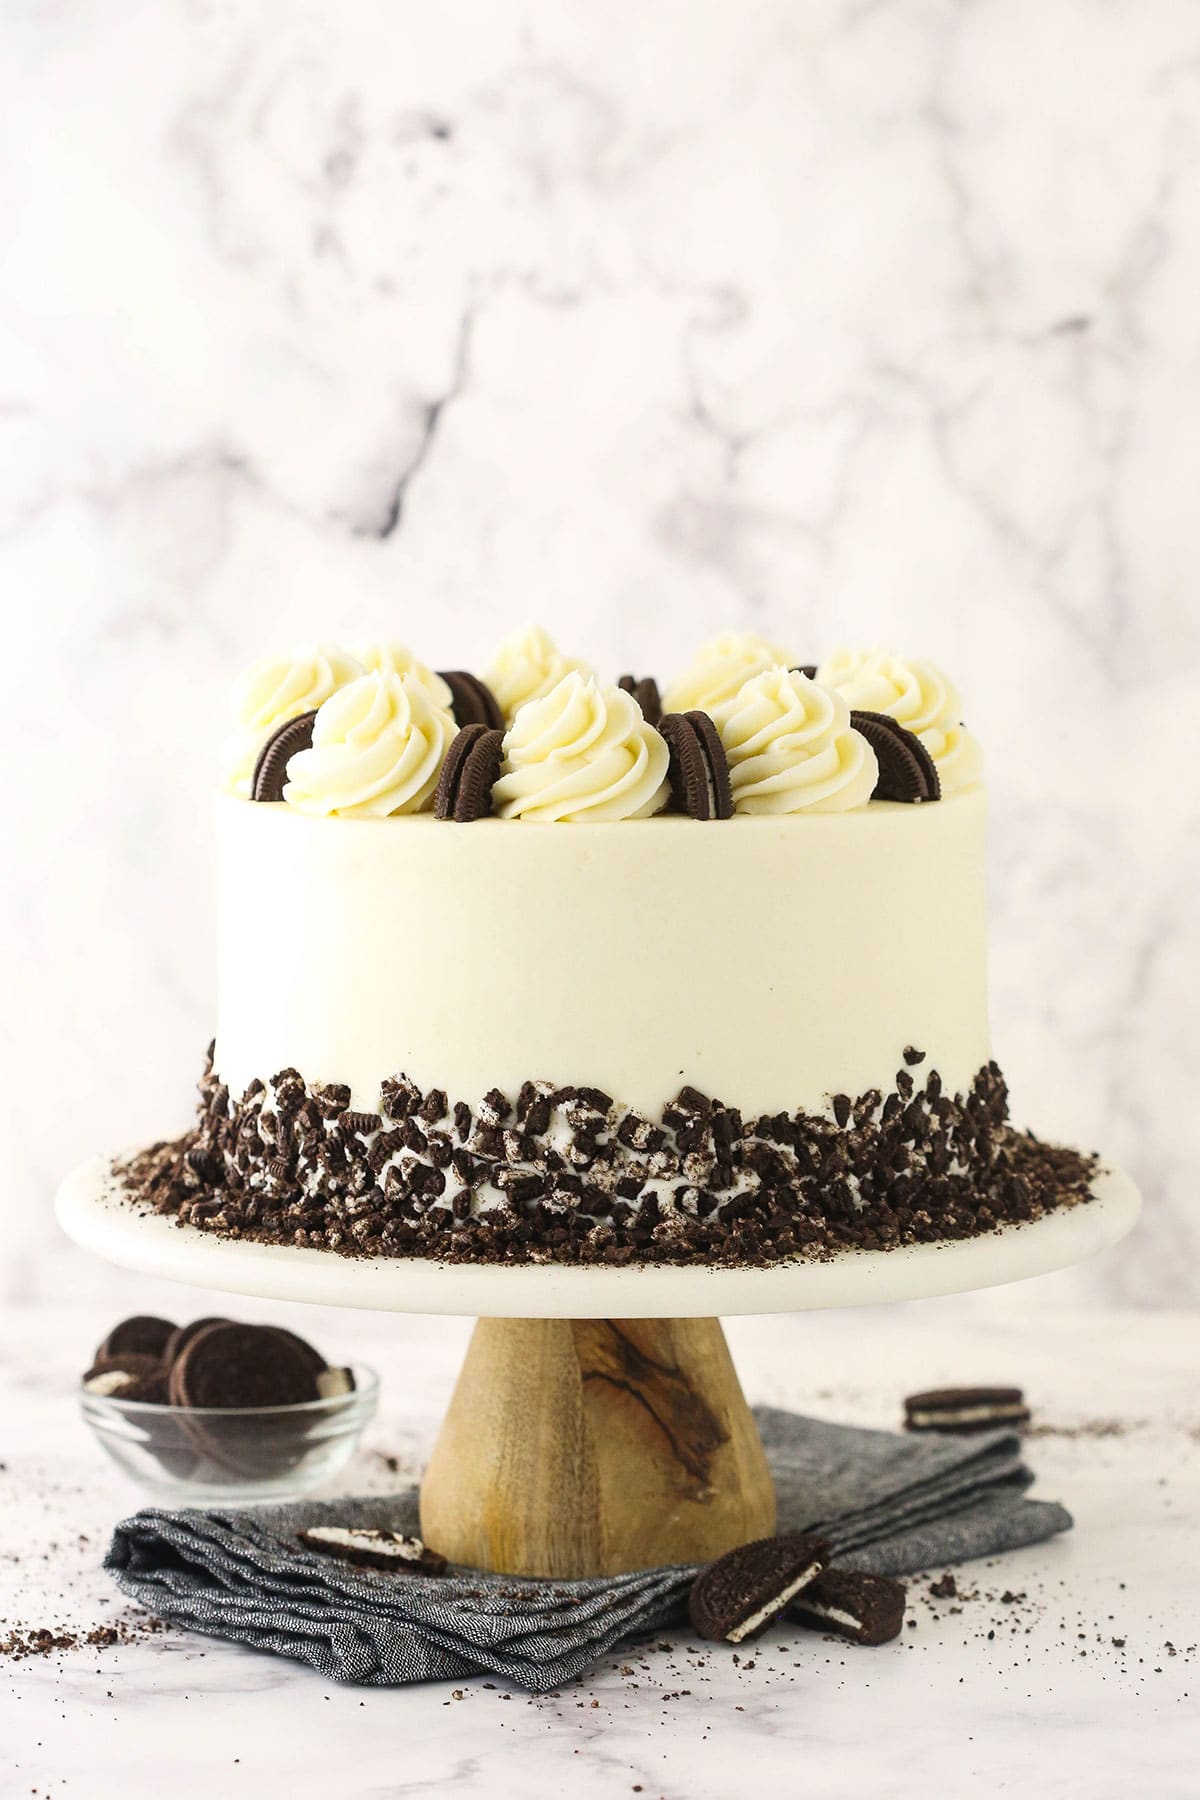
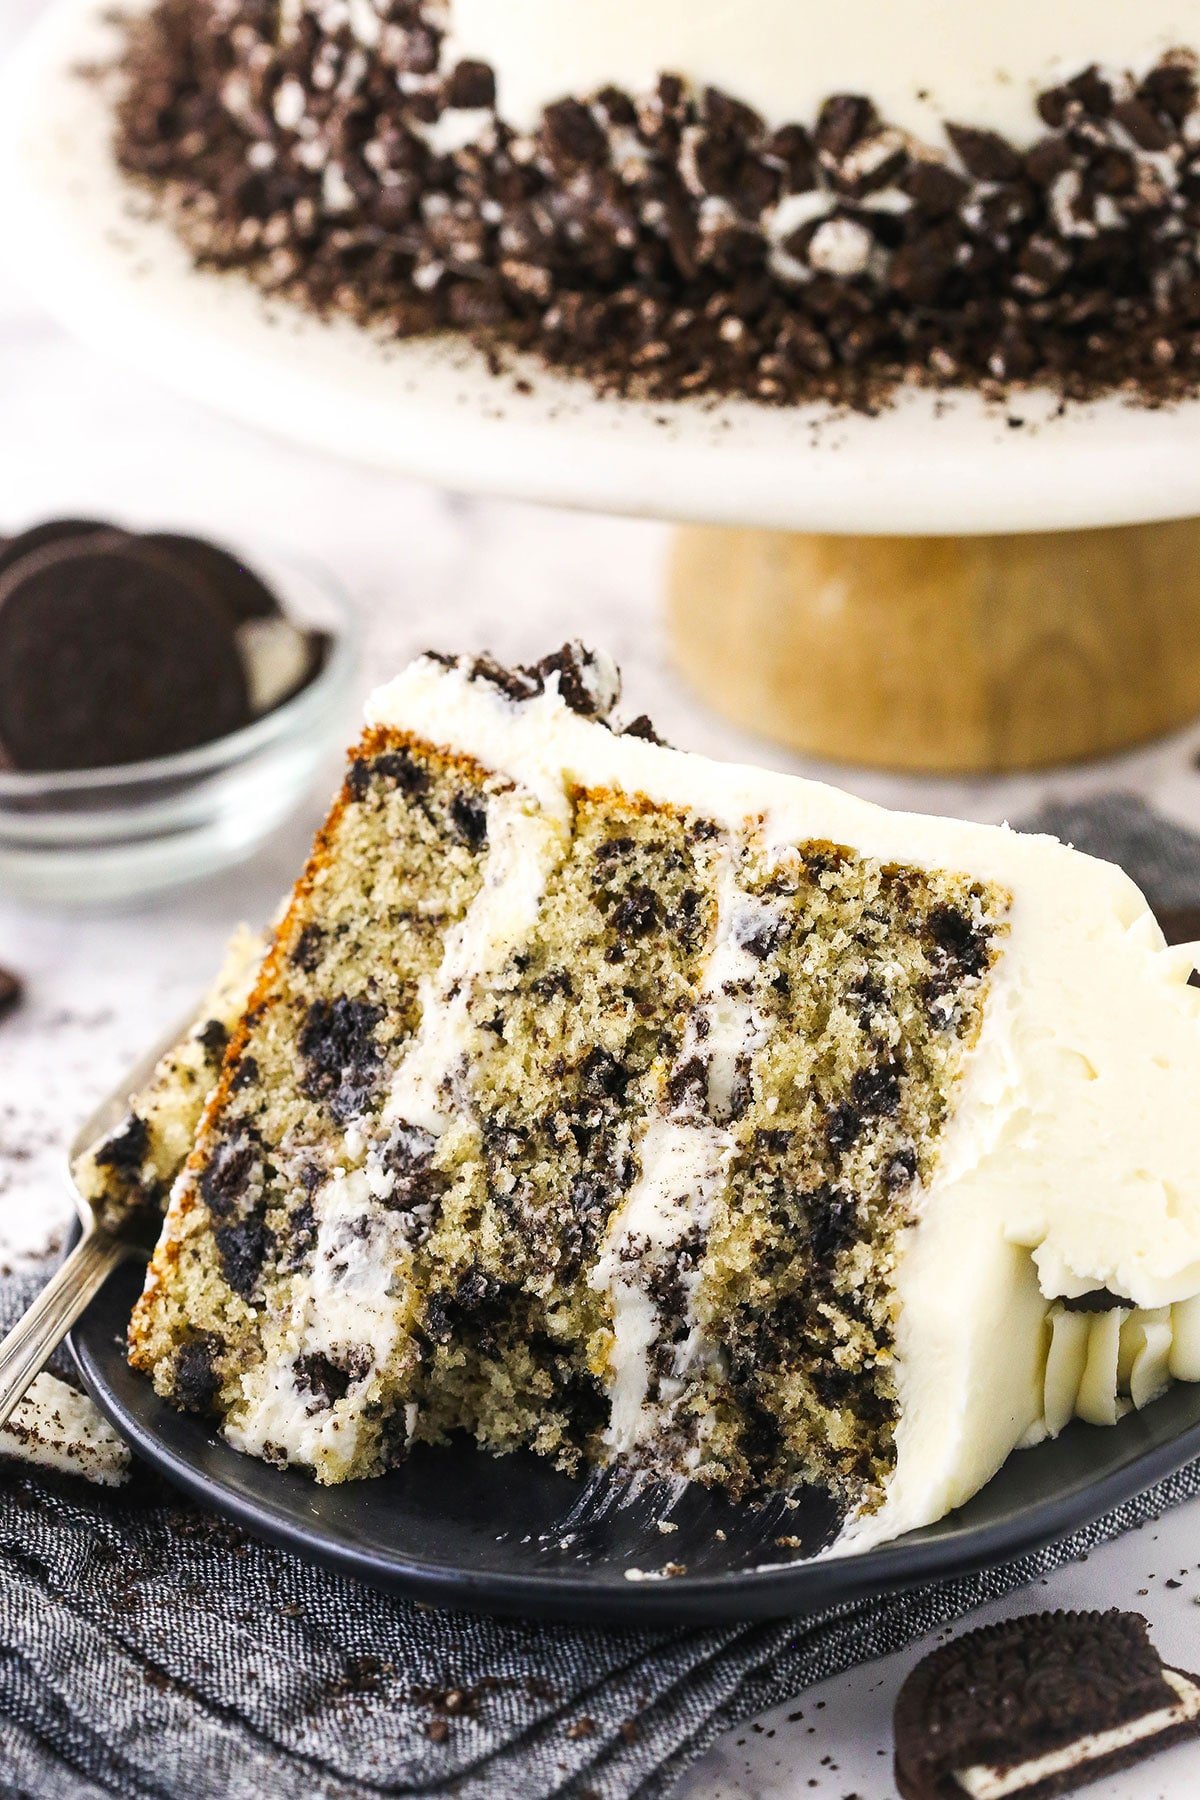
Three moist and fluffy layers of vanilla cake are loaded with Oreo cookie pieces and topped with creamy vanilla buttercream in this decadent Cookies and Cream Layer Cake! With more cookies decorating the top and sides of the cake, Oreo lovers will be in heaven.
Want more Oreo dessert ideas? Try my popular Oreo cheesecake recipe!
The Most Epic Oreo Cake of All Time
I honestly don’t think I’ve ever met someone who doesn’t like Oreo cookies. They are iconic. The question is do you like the regular ones or the ones with the double stuf – or even those mega stuffed ones they had a few years ago. There’s no doubt that I’m all about the “stuf”. And as an avid Oreo fan, I’ve made quite a few desserts with them. If you’ve been keeping up with trying them all, this one should definitely be added to the list.
This layer cake is jam-packed with Oreo cookies and it’s frosted with a vanilla buttercream to compliment the loaded Oreos in the cake. It’s moist and tender, yet full of texture from the Oreos. I have a Chocolate Oreo Cake that’s frosted with Oreo frosting and has Oreos between the layers too, but it’s more heavy on the chocolate. This cake has Oreos front and center but brings a little more attention to the vanilla creaminess that is loved from the “stuf” in the cookies.
What You’ll Need
Let’s break this bad boy down between the frosting and the cake layers.
For the Cookies and Cream Cake Layers
- All-Purpose Flour: Either use a food scale to weigh your flour or spoon it into the measuring cup and level it off at the top to prevent over-measuring.
- Baking Powder: Not to be confused with baking soda. This helps the cake rise and have a tender texture.
- Salt: This helps the batter lock in moisture and gives it flavor.
- Unsalted Butter: Brought to room temperature.
- Vegetable Oil: Helps add extra moisture to the cake.
- Sugar
- Eggs: These help bind all of the ingredients together.
- Buttermilk: This adds to the tender texture of the cake.
- Vanilla Extract: Use a high-quality extract for the best results – yes, it makes a difference!
- Chopped Oreos
For the Oreo Buttercream Frosting
- Unsalted Butter: Room temperature.
- Powdered Sugar: For volume and consistency.
- Vanilla Extract
- Water: Or heavy cream.
- Salt: Once you’re done making the frosting, feel free to continue adding a tiny bit of salt at a time until you’re happy with how it tastes.
- Chopped Oreos
This cake may look like it came straight from a fancy bakery, but I promise that it’s not hard to make. On the contrary, it’s quite simple!
Make the Cake Layers
- Prep for Baking: Prepare three 8-inch cake pans with parchment paper circles in the bottom and grease the sides. Preheat the oven to 350°F.
- Combine Dry Ingredients: Combine the flour, baking powder and salt in a medium-sized bowl and set the mixture aside.
- Cream Butter, Oil & Sugar: Add the butter, vegetable oil and sugar to a large mixer bowl and beat until the mixture is light in color and fluffy, about 3-4 minutes.
- Add Eggs: Add the eggs one at a time, mixing until well combined after each addition. Scrape down the sides of the bowl as needed to be sure all of the ingredients are well incorporated.
- Start Adding Dry Ingredients: Add half of the dry ingredients to the batter and mix until combined.
- Add Buttermilk & Vanilla: Add the buttermilk and vanilla extract, mixing until well combined.
- Finish Adding Dry Ingredients: Add the remaining dry ingredients and mix until the batter is well combined and smooth. Scrape down the sides of the bowl as needed.
- Add Oreos: Gently fold the chopped Oreos into the cake batter.
- Bake: Divide the batter evenly between the cake pans and bake the layers for 18-23 minutes, or until a toothpick inserted into the center comes out with a few crumbs.
- Let Cool: Remove your cake layers from the oven and allow them to cool in the pans for about 2-3 minutes, then transfer them to wire racks to finish cooling.
Make the Buttercream
- Beat Butter: Beat the butter in a large mixing bowl until it’s nice and smooth.
- Start Adding Powdered Sugar: Slowly add half of the powdered sugar and mix until smooth.
- Add Vanilla, Water & Salt: Add the vanilla extract, salt and 4-5 tablespoons of the water or cream. Mix until the frosting is smooth.
- Finish Adding Powdered Sugar: Slowly add the remaining powdered sugar and mix until smooth. Add additional water or cream as needed to reach your desired frosting consistency.
Assemble the Cake
- Flatten Cake Layers: Use a large serrated knife to remove the domes from the top of the cake layers so that they’re flat. These don’t tend to have a large dome, but I like to make sure they’re completely flat before I start building the cake.
- Frost First Layer & Add More Oreos: Place the first cake layer onto a serving plate or a cardboard cake round. Spread about 1 cup of frosting evenly on top of the cake, then sprinkle it with about half a cup of chopped Oreos. Press the Oreos down into the frosting.
- Continue Layering: Add the second layer of cake, another cup of frosting and another half cup of chopped Oreos. Press the cookies down into the frosting and add the final layer of cake on top.
- Frost Exterior: Use an offset spatula to frost the top and sides of the cake. Refer to my tutorial on frosting a smooth cake if needed.
- Decorate Sides with Chopped Oreos: Press the remaining chopped Oreos into the sides of the cake immediately after frosting it.
- Decorate Top: Pipe swirls of frosting around the top edge of the cake (I used Ateco tip 847), adding half an Oreo in between each swirl.
Can I Make it in Advance?
If desired, you can bake your cake layers a day before you make the frosting and assemble the cake. Let them cool completely, then place them in an air tight container and store them at room temperature.
If you’d like to hang onto them for longer, wrap the cake layers in clear wrap and foil, then place them into heavy-duty storage bags and freeze them for 1-2 months. Unwrap and thaw frozen cake in the fridge before using it.
Tips for Success
Even with little to no baking experience under your belt, you can still knock this cookies and cream cake out of the park. Here’s some extra advice to help you out:
- Cream the Butter, Oil & Sugar Well: I urge you not to skimp on the creaming time for the butter, oil and sugar. Keep beating them together until the mixture fluffs up and lightens in color, typically 2-3 minutes
- Don’t Over-Mix the Batter: If you over-mix the batter, your cake won’t come out as soft and fluffy. Stop mixing it once everything is well combined, then fold in the Oreo pieces gently.
- Decorate the Sides of the Cake Immediately After Frosting it: As soon as you’ve spread the frosting onto your cake, go ahead and press the chopped Oreos into the sides. If you wait, the buttercream will “crust” and the cookie pieces won’t stick as well.
- Frosting Consistency: If you find your frosting is a bit too thick, you can always add a little more cream to thin it out and make it easier to work with.
How to Store Extra Oreo Cake
If you end up having extra cake, simply place it in an airtight container and store it at room temperature for up to 3 days. I like to keep mine in a cake carrier so as not to smoosh the buttercream. If you used cream in your frosting instead of water, it’s not a bad idea to keep your cake in the fridge instead. I do recommend serving it at room temperature though.
Does This Freeze Well?
As mentioned before, you can freeze the cake layers ahead of frosting the cake, if you like. I don’t typically recommend freezing fully frosted cakes, but you can freeze the slices for later. Cut the slices and wrap the cake tightly in a layer of plastic wrap then foil, then freeze it in an airtight container or freezer bag. Unwrap it and defrost it in the fridge before digging in.
Print
- Prep Time: 30 minutes
- Cook Time: 20 minutes
- Total Time: 50 minutes
- Yield: 14
- Category: Dessert
- Method: Oven
- Cuisine: American
Description
Three moist and fluffy layers of vanilla cake are loaded with Oreo cookie pieces and topped with smooth vanilla buttercream in this decadent Cookies and Cream Layer Cake! With more cookies decorating the top and sides of the cake, Oreo lovers will be overjoyed.
Ingredients
For the Cookies and Cream Cake Layers
- 2 1/4 cups (293g) all-purpose flour
- 2 1/2 tsp baking powder
- 1/2 tsp salt
- 1/2 cup (112g) unsalted butter, room temperature
- 1/2 cup (120ml) vegetable oil
- 1 1/2 cups (310g) sugar
- 4 large eggs
- 1 cup (240ml) buttermilk
- 1 tbsp vanilla extract
- 3 cups chopped Oreos (about 24 Oreos)
For the Oreo Buttercream Frosting
- 3 cups (672g) unsalted butter, room temperature
- 12 cups (1380g) powdered sugar
- 1 tbsp vanilla extract
- 6–7 tbsp (90-105ml) water or cream
- Salt, to taste
- 3–4 cups chopped Oreos
Instructions
Make the Cake Layers
- Prepare three 8 inch cake pans with parchment paper circles in the bottom and grease the sides. Preheat oven to 350°F (176°C).
- Combine the flour, baking powder and salt in a medium sized bowl and set aside.
- Add the butter, vegetable oil and sugar to a large mixer bowl and beat together until light in color and fluffy, about 3-4 minutes. Do not skimp on the creaming time.
- Add the eggs one at a time, mixing until well combined after each. Scrape down the sides of the bowl as needed to be sure all ingredients are well incorporated.
- Add half of the dry ingredients to the batter and mix until combined.
- Add the buttermilk and vanilla extract and mix until well combined.
- Add the remaining dry ingredients and mix until well combined and smooth. Scrape down the sides of the bowl as needed to be sure all ingredients are well incorporated. Do not over mix the batter.
- Fold the chopped Oreos into the batter.
- Divide the batter evenly between the cakes pans and bake for 18-23 minutes, or until a toothpick comes out with a few crumbs.
- Remove the cakes from the oven and allow to cool for about 2-3 minutes, then remove to cooling racks to cool completely.
Make the Buttercream
- Beat the butter until smooth.
- Slowly add half of the powdered sugar and mix until smooth.
- Add the vanilla extract, 4-5 tablespoons of water or cream and salt and mix until smooth.
- Slowly add the remaining powdered sugar and mix until smooth. Add additional water or cream, as needed to get the right consistency of frosting.
Assemble the Cake
- Use a large serrated knife to remove the domes from the top of the cakes so that they’re flat. These cakes don’t have a large dome, but I like to make sure they’re completely flat.
- Place the first cake on a serving plate or a cardboard cake round.
- Spread about 1 cup of frosting evenly on top of the cake, then sprinkle with about 1/2 cup of chopped Oreos. Press the Oreos down into the frosting.
- Add the second layer of cake and another cup of frosting and another 1/2 cup of chopped Oreos.
- Top the cake with the remaining layer and frost the outside of the cake. Refer to my tutorial for frosting a smooth cake, if needed.
- Press chopped Oreos into the sides of the cake immediately after frosting it. If you wait, the buttercream will “crust” and things won’t stick as well.
- Pipe swirls of frosting around the top edge of the cake, adding half an Oreo between each swirl. I used Ateco tip 847.
Notes
- To Store: Keep cake in an airtight container and enjoy within 2-3 days.
- To Freeze: You can freeze the cake layers ahead of frosting the cake, if you like. Wrap them in clear wrap, then foil, then freeze it in an airtight container or freezer bag. Unwrap and defrost in the fridge before frosting.
Nutrition
- Serving Size:
- Calories: 1184
- Sugar: 133.1 g
- Sodium: 393 mg
- Fat: 60.7 g
- Carbohydrates: 159 g
- Protein: 5.8 g
- Cholesterol: 177.1 mg
Categories
More Indulgent Oreo Dessert Ideas
Oreo cookies are an amazing addition to all sorts of treats. Here are some more of my favorites!




Is it ok to substitute with gluten free flour and oreos?
I haven’t tried it, but I would expect it to be fine.
Hi, would I be able to double this recipe for a three layered 10inch cake?
Yes, that should be fine.
What would you recommend for 2 9” pans? Did not have 8” pans? Temp, and baking time. Thank you!
It depends on what look you are going for. You can leave the recipe as is and use two 9-inch pans and have a cake that is not as tall. The baking time would be about the same. If you would like a full-sized 9 inch cake, I would do one and a half recipes worth. I’m not sure of the exact bake time. It may be about the same or a few minutes more. The temperature would be the same regardless.
Thanks for sharing, how do adjust your recipe to make an2 layer 6 inch cake?
If you just cut the recipe in half, it should work well for 6 inch pans. I usually do three layers, but two layers should be fine.
It turned out crumbly. Any advice?
What do you mean by crumbly? Like dry?
Yes, the cake layers just crumbled.
It’s still a little hard for me to know what that means. It’s possible that the chopped Oreos in the cake weren’t cut small enough and therefore when you cut into it, it made it difficult to slice and crumbly in that way. Or was it too dry? Maybe you added too much flour? A little difficult to say without more information, but those are a couple possibilities.
Amazing flavor, so moist and delicious! Everyone at the party raved!
Awesome! So glad it was a hit!
This recipe looks so delicious. Can you make cupcakes from this? If so, is there any variation in the recipe?
You sure can. You can find the recipe for Cookies and Cream Cupcakes here.
My husband’s birthday is coming up. He loves Oreos so much! Do you think I could use this cake recipe for cupcakes? I’ll do him a 4″ cake, but I’d like to use the rest of the batter as cupcakes for our family and friends.
Yes, definitely. And I also have this as a cookies and cream cupcakes version as well.
This looks delicious. Do the cream centers of the oreo cookies need to be removed before they are added to the cake batter?
Nope! The filling can be left in the Oreo.
Can the buttermilk be substituted ? If so what can it be substituted with ?
I really do recommend the buttermilk. It’ll give you a softer and more moist cake. If you really don’t want to use it, you can use regular milk.
made this for my birthday cake & absolutely loved it! Got rave reviews from all my party guests!
Wonderful! So glad to hear that!
Could I use the same recipe with Golden Oreo cookies?
Yes, you can.
I’m planning to make this cake. It really looks so appetising. I would like to clarify though that the 1/2 cup of vegetable oil is 60ml as shown in the recipe ingredients? Thank you
It’s 120ml and has been updated. I hope you enjoy it!
Thank you for the update, Lindsay. I made this cake and the lemon and blueberry cake for my wedding anniversary on 17/5. I must say the cakes were lovely. My daughter loved the cookies and cream cake especially. Thank you so much for sharing your wonderful recipes.
Wonderful! So glad to hear that!
This cake was so appealing to me, because I love desserts with Oreos. The cake portion turned out really well. It was the frosting that I didn’t love so much. I only made half a batch, since I wasn’t going to do any piping with it. Half a batch is just perfect if you just want to frost the cake. However, the frosting was way too sweet. Since Oreos are so sweet on their own, I think a less-sweet frosting would’ve paired better. I’m sure the quantity of powdered sugar was to help create a stiffer frosting, which is better to pipe with, but I found it too much. I’ve also never had a buttercream frosting “crust” like this before. Again, maybe the extra sugar? I found that unappealing as well. If I made this cake again, I would definitely make it with a different frosting or just add less sugar.
I’m glad you enjoyed the cake portion. Sorry to hear you didn’t care for the frosting. It’s a standard American buttercream. It’s what I use on most of my cakes and the proportions that I used are the standard for that type of buttercream. It does typically crust as well. People certainly like to reduce the amount of powdered sugar to suit their preferences so I’m glad that worked out all right for you.
1/2 cup of butter is 144 grams ? What should I add?
It’s half a cup of butter. I have updated the grams measurement to 112g. 144g is too much.
This cake looks amazing. I need to bake a few of them for a crowd. Can I make this in a 9”x13” pan?
I didn’t test it in a 9×13. I often find it turns out more dense that way, but you could try it. I’d reduce the temperature to 325.