This post may contain affiliate sales links. Please read my disclosure policy.
Chewy sugar cookies are baked to golden brown and filled with a classic cheesecake filling in these Fruit Cheesecake Sugar Cookie Cups. Top it all off with fresh fruit and you’ve got yourself a perfectly refreshing, spring-time treat.
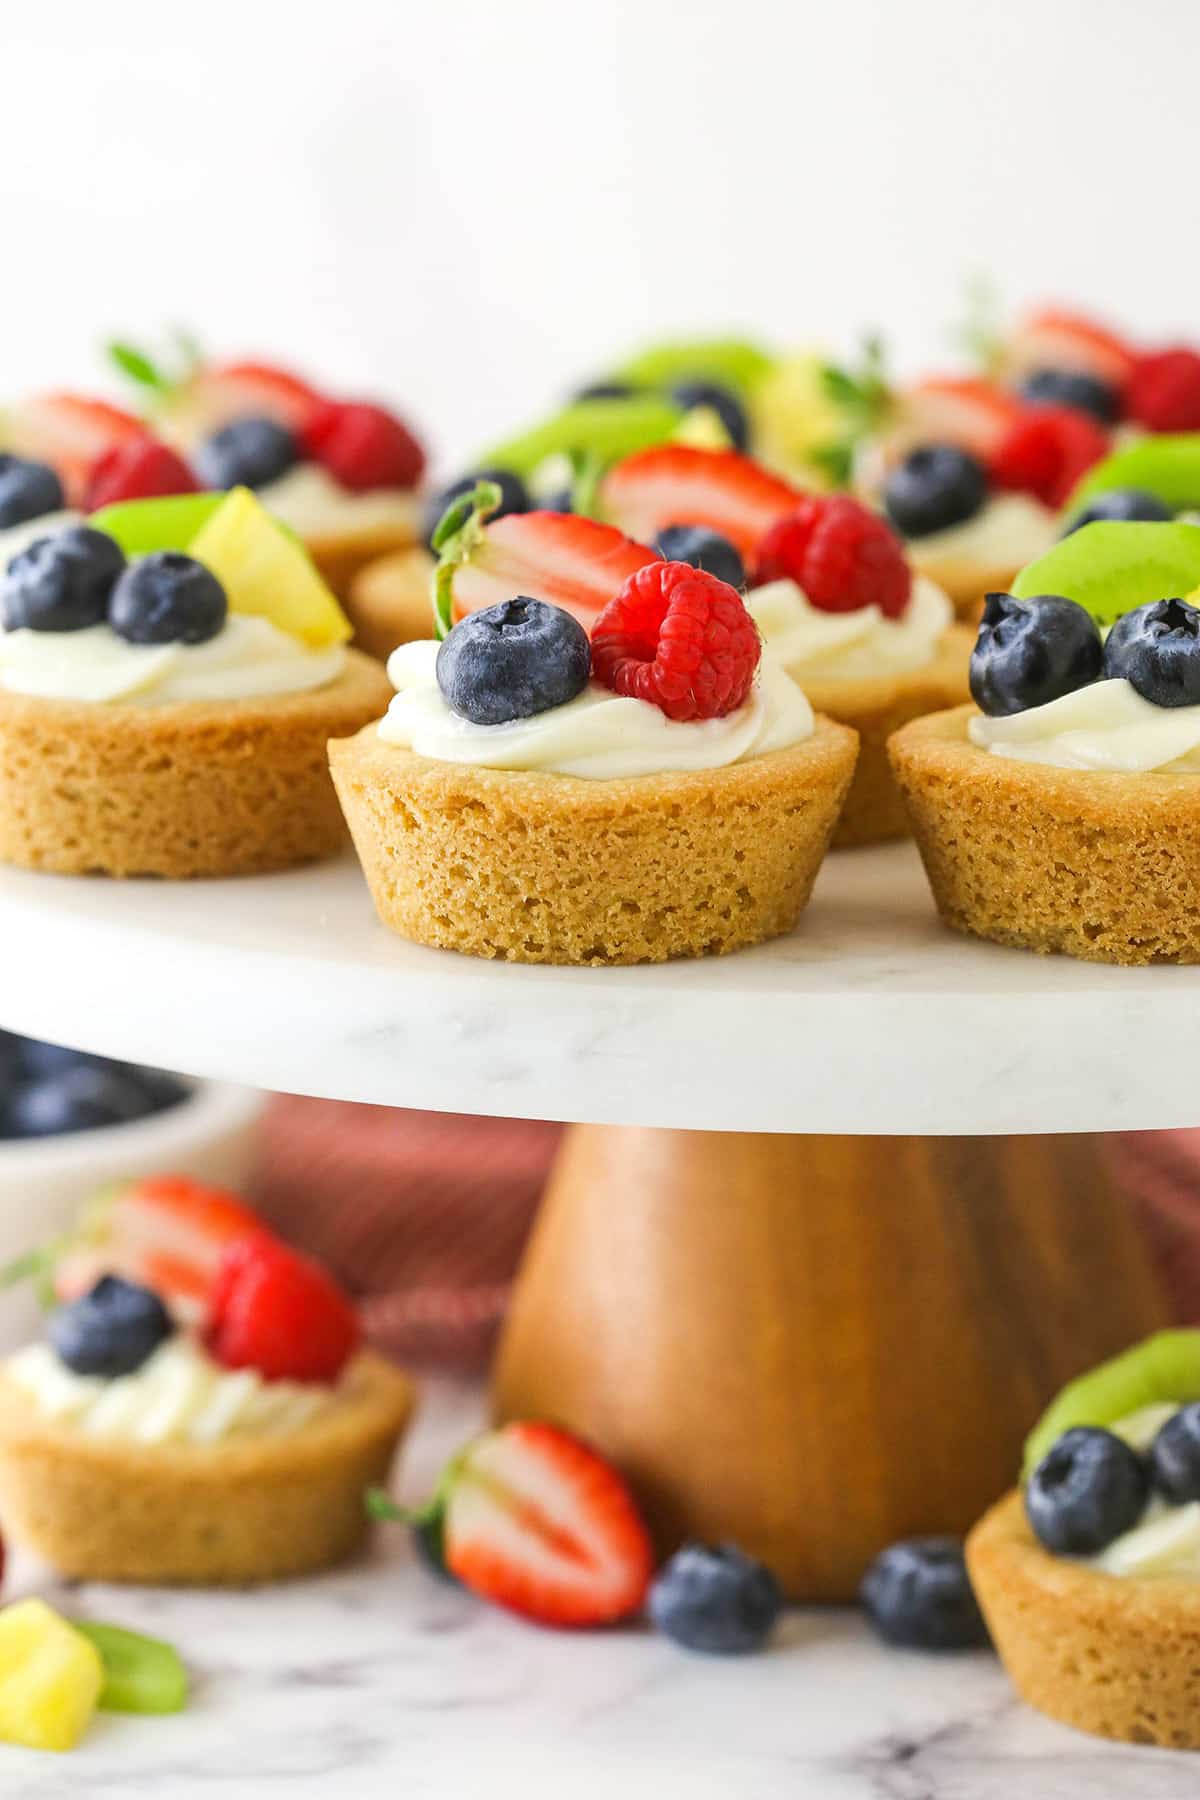
Spring is in the air and I have been loving light, fruity desserts. Of course, you all know I love cheesecake and who doesn’t appreciate a good sugar cookie? I am so excited to share this recipe with you because it combines both of these delightfully simple components, adds in some fresh fruit, and produces a dessert worthy of any spring-time gathering.
And cookie cups are such great little treats. They are small enough to not feel super guilty about eating them, they are perfect for traveling with and sharing, and with the filling (the same one from my Mini Strawberry Cheesecake Cookie Cups!) and fresh fruit on top, they feel more special than your average cookie, but aren’t really much extra work. Time to get baking!
Why You’ll Love This Recipe
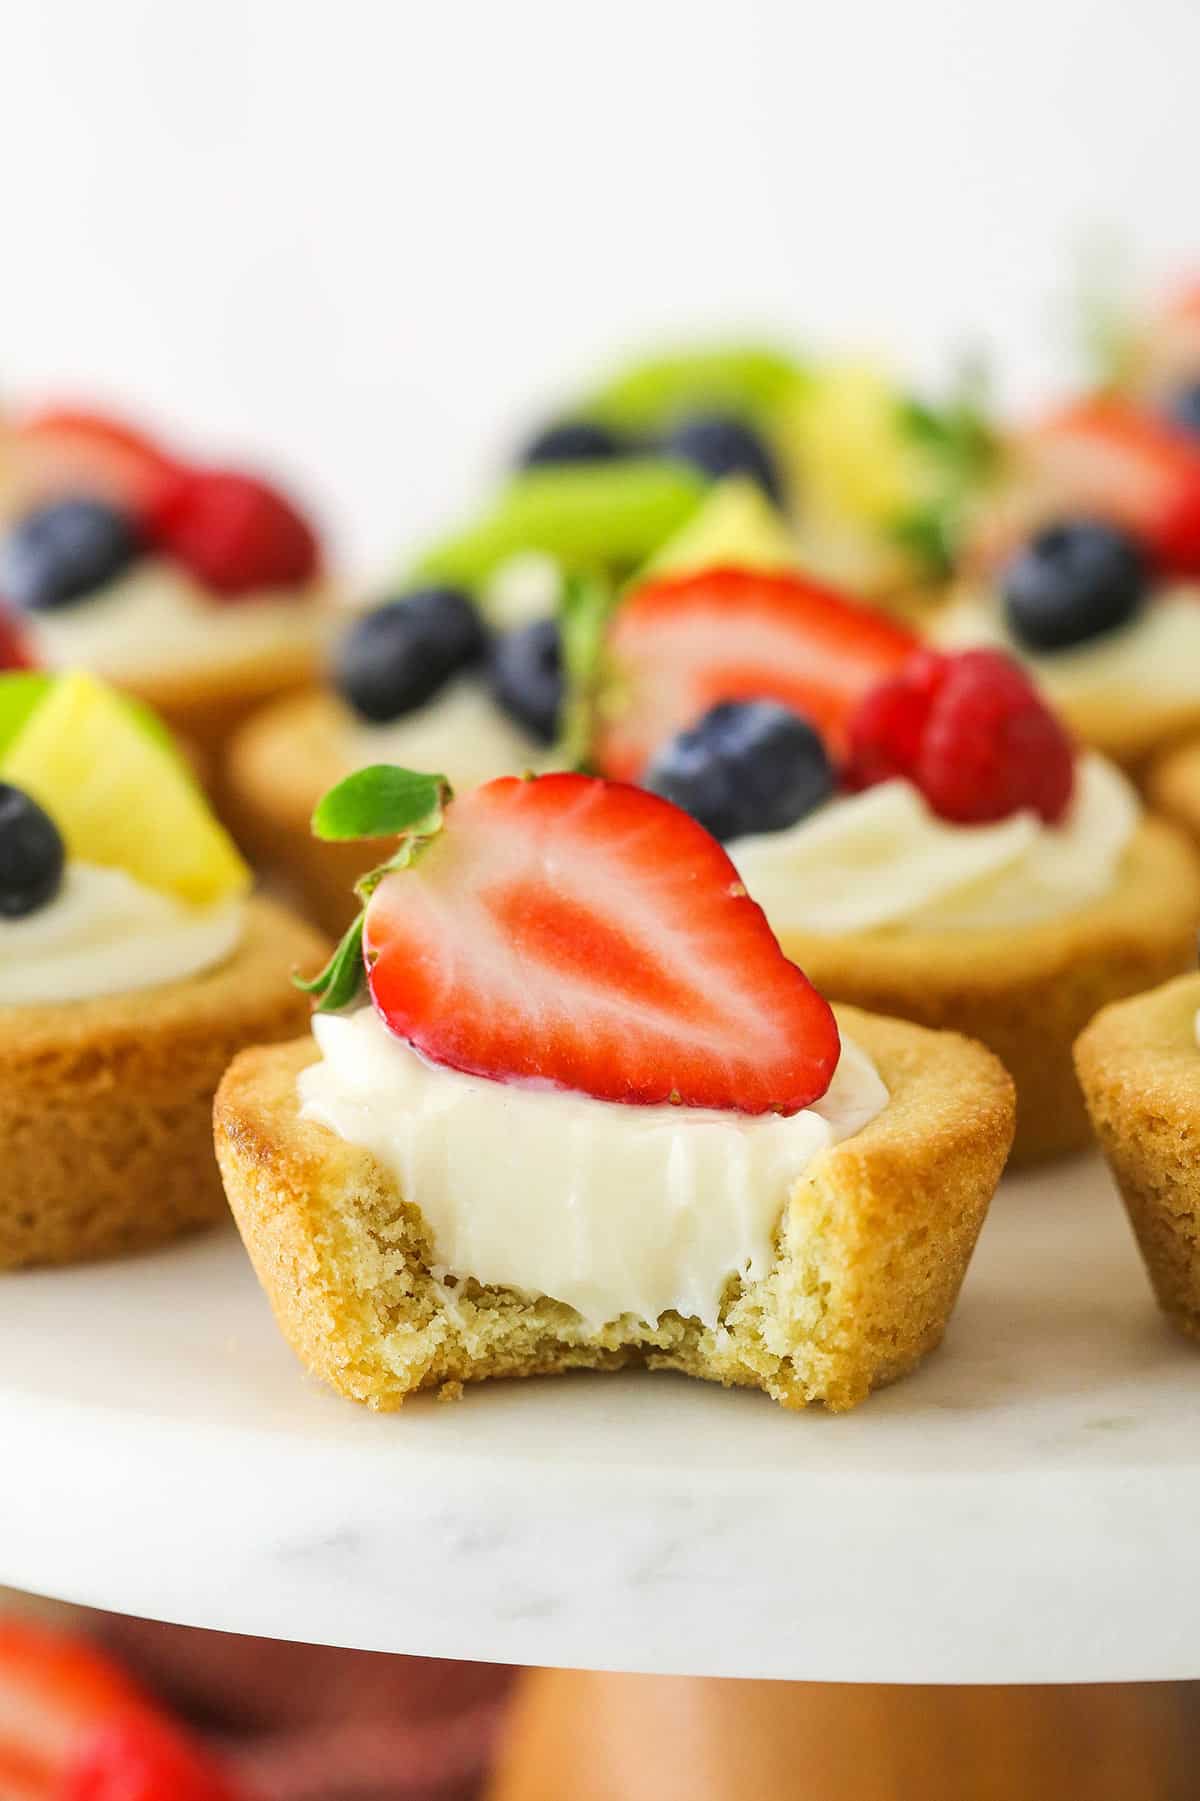
These fruit cheesecake sugar cookie cups are hard not to love. They are so tasty, absolutely adorable, and super fun to customize. Here are some reasons I think you’ll fall in love with them.
- So many textures and flavors. A soft, chewy cookie. Smooth, creamy cheesecake filling. Juicy fresh fruit. Each component has its own unique flavor and texture. They all complement each other beautifully making for the perfect bite.
- Light and bright. These little confections won’t weigh you down or overwhelm your palate. Their delicate flavors make them perfect for a spring-time luncheon or an Easter soiree.
- Visually appealing. There is no arguing that these cookie cups are both adorable and quite beautiful at the same time. This makes them even more fun to eat and the perfect things to awe a crowd.
- Customizable. I love the flexibility that these little confections provide. Sure I’m using a sugar cookie and a cheesecake filling, but you could go so many different directions here. Just pick a cookie, a filling, and a topping. See the section below titled “Topping and Filling Ideas” for inspiration.
A cookie cup takes a basic cookie, bakes it in a cup shape using a muffin/cupcake pan and dresses it up with a sweet topping. Because the cookie portion of the dessert is shaped like a cup, it can accommodate a significant amount of filling. Once the cookie is baked, the cup is filled with cheesecake filling, whipped cream, frosting, or whatever delicious confection the baker sees fit and is topped off with (in this case) fresh fruit. Yum!
Recipe Ingredients
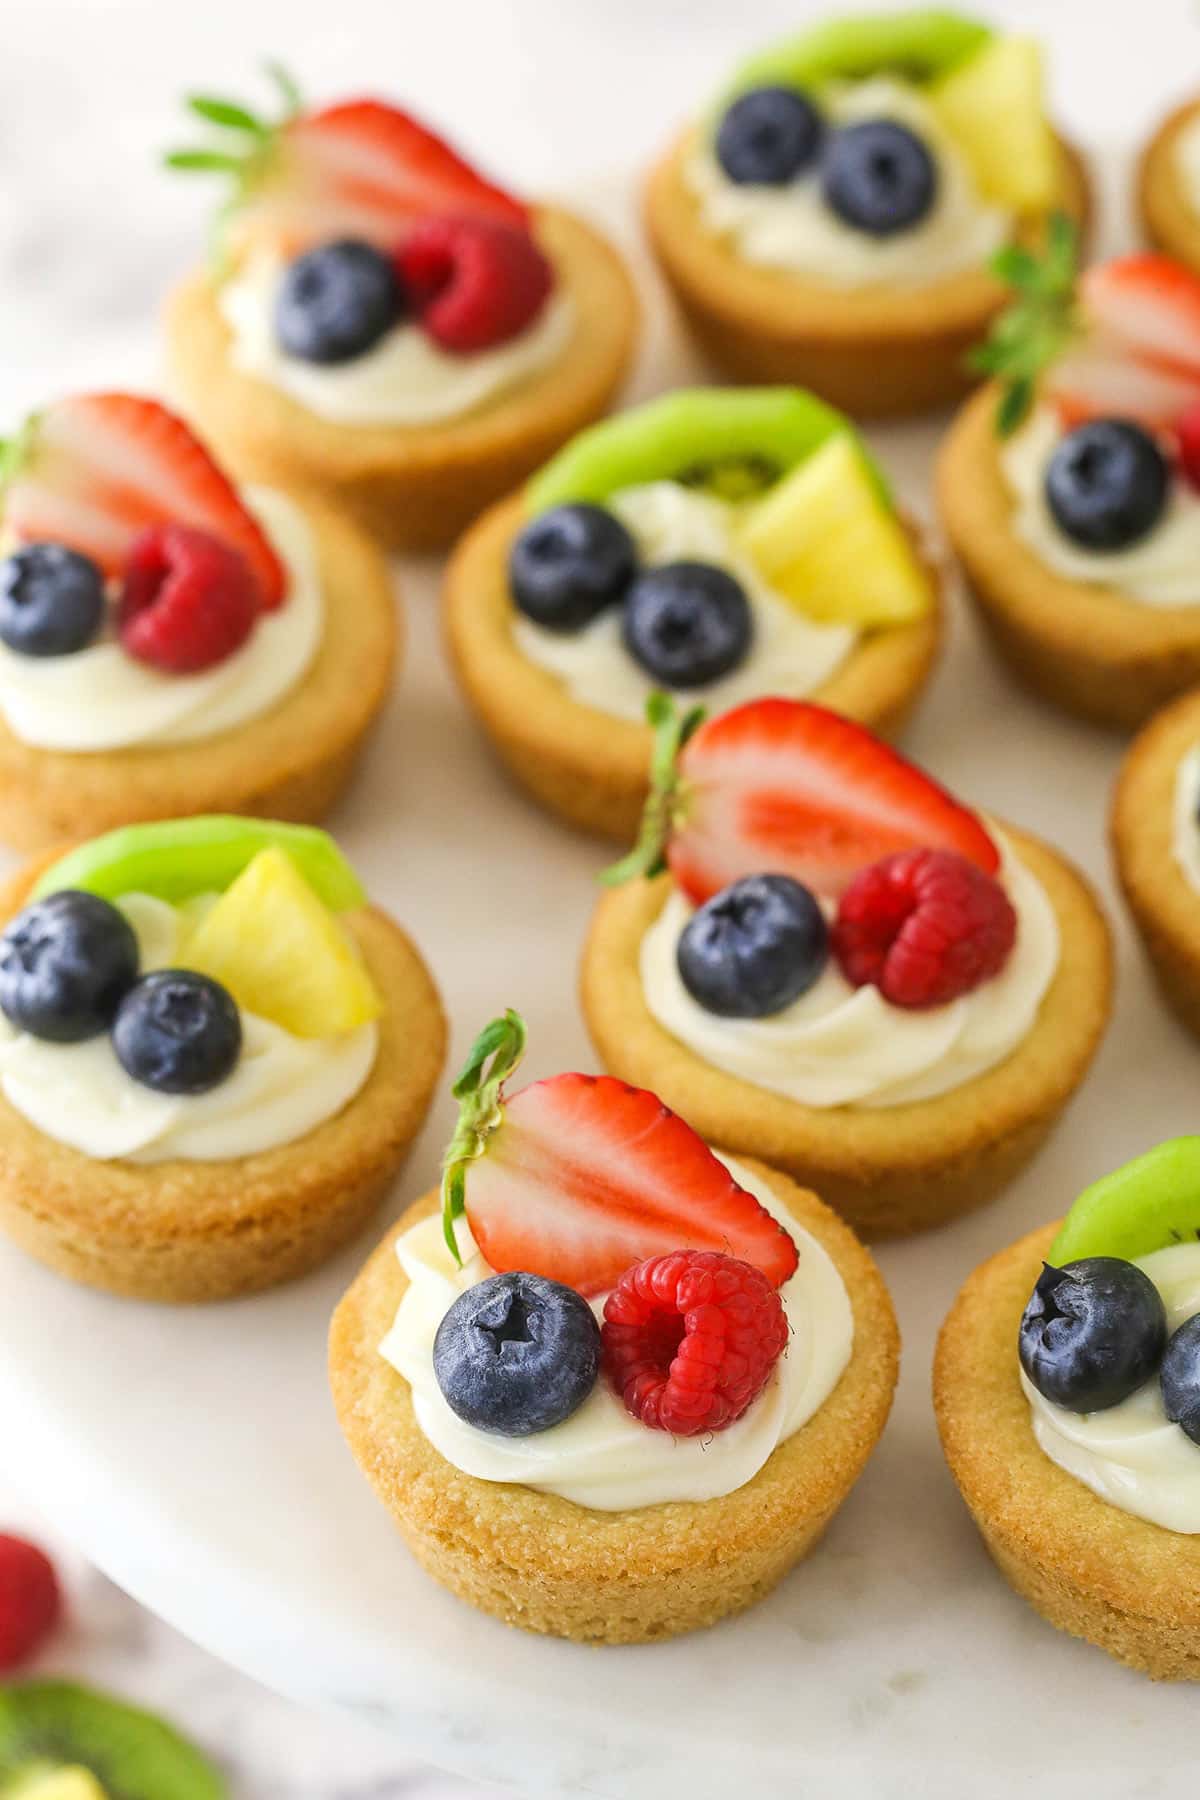
You might have to run to the store for some cream cheese and fresh fruit, but my guess is that you have most of what it takes to make these fruit cheesecake sugar cookie cups in your kitchen already. Here’s a list of what you’ll need. Scroll to the recipe below for exact measurements.
Cookie Cups
- Unsalted butter – The butter should be at room temperature. It will mix more smoothly with the other ingredients than cold butter and will hold more air than warm butter, giving you a fluffier cookie.
- Sugar – Good old-fashioned granulated sugar is great here.
- Egg – Be sure to use a large egg, not another size.
- Vanilla extract
- All-purpose flour – Feel free to use your favorite 1:1 gluten-free flour instead.
- Baking soda – For the right texture and chewiness.
- Cornstarch – To add a little softness to the cookies.
- Salt – For flavor.
Cheesecake Filling and Topping
- Cream cheese – Be sure to use a brick-style cream cheese, which is much ticker, not the tub-style cream cheese. The cream cheese should be at room temperature. It will incorporate more smoothly with the other ingredients and ensure a clump-free filling.
- Powdered sugar – For a little sweetness and to thicken the filling a touch.
- Vanilla extract – For flavor.
- Assortment of chopped fresh fruit
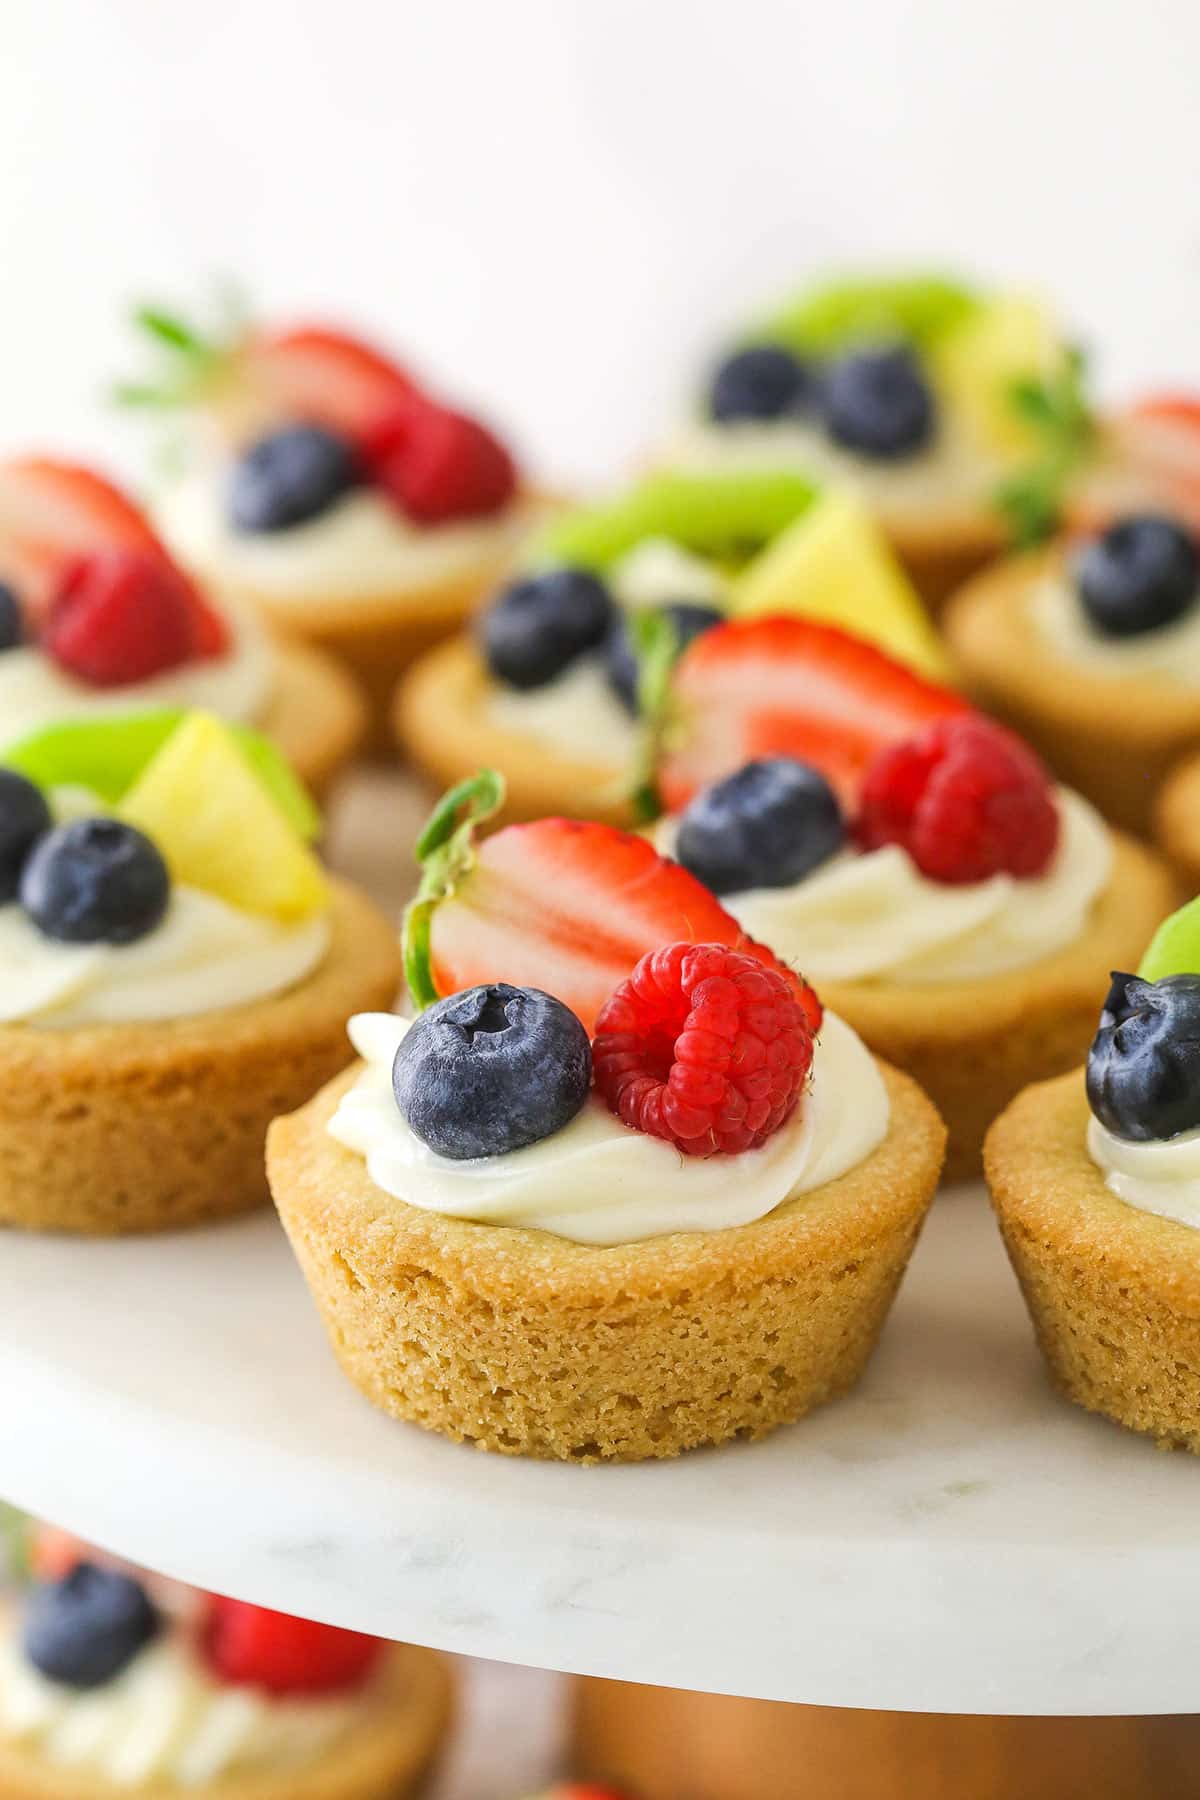
Are you ready to make these easy mini cheesecakes? Here’s how to do it:
For the cookie cups
- Prep. Grease a cupcake pan and preheat the oven to 350 degrees F
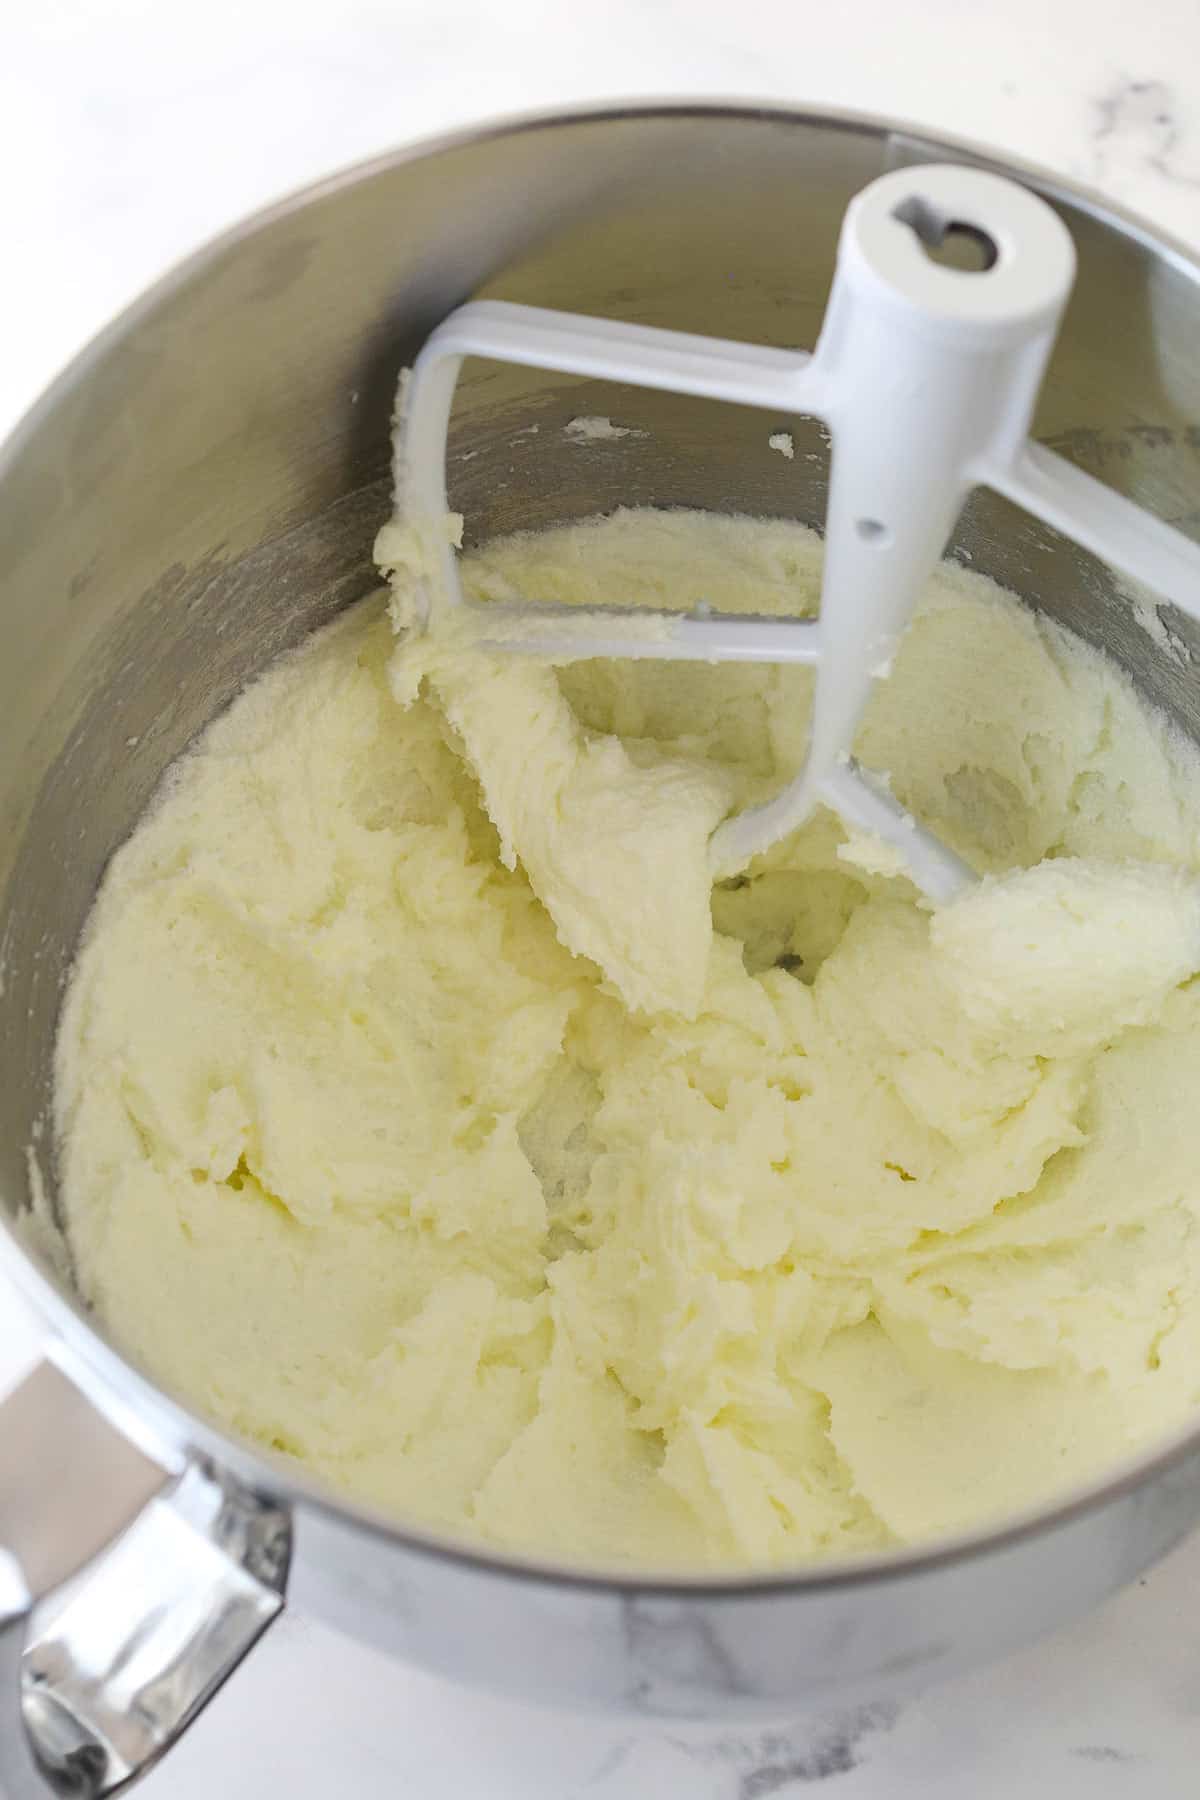
- Cream the butter and sugar until light and fluffy.
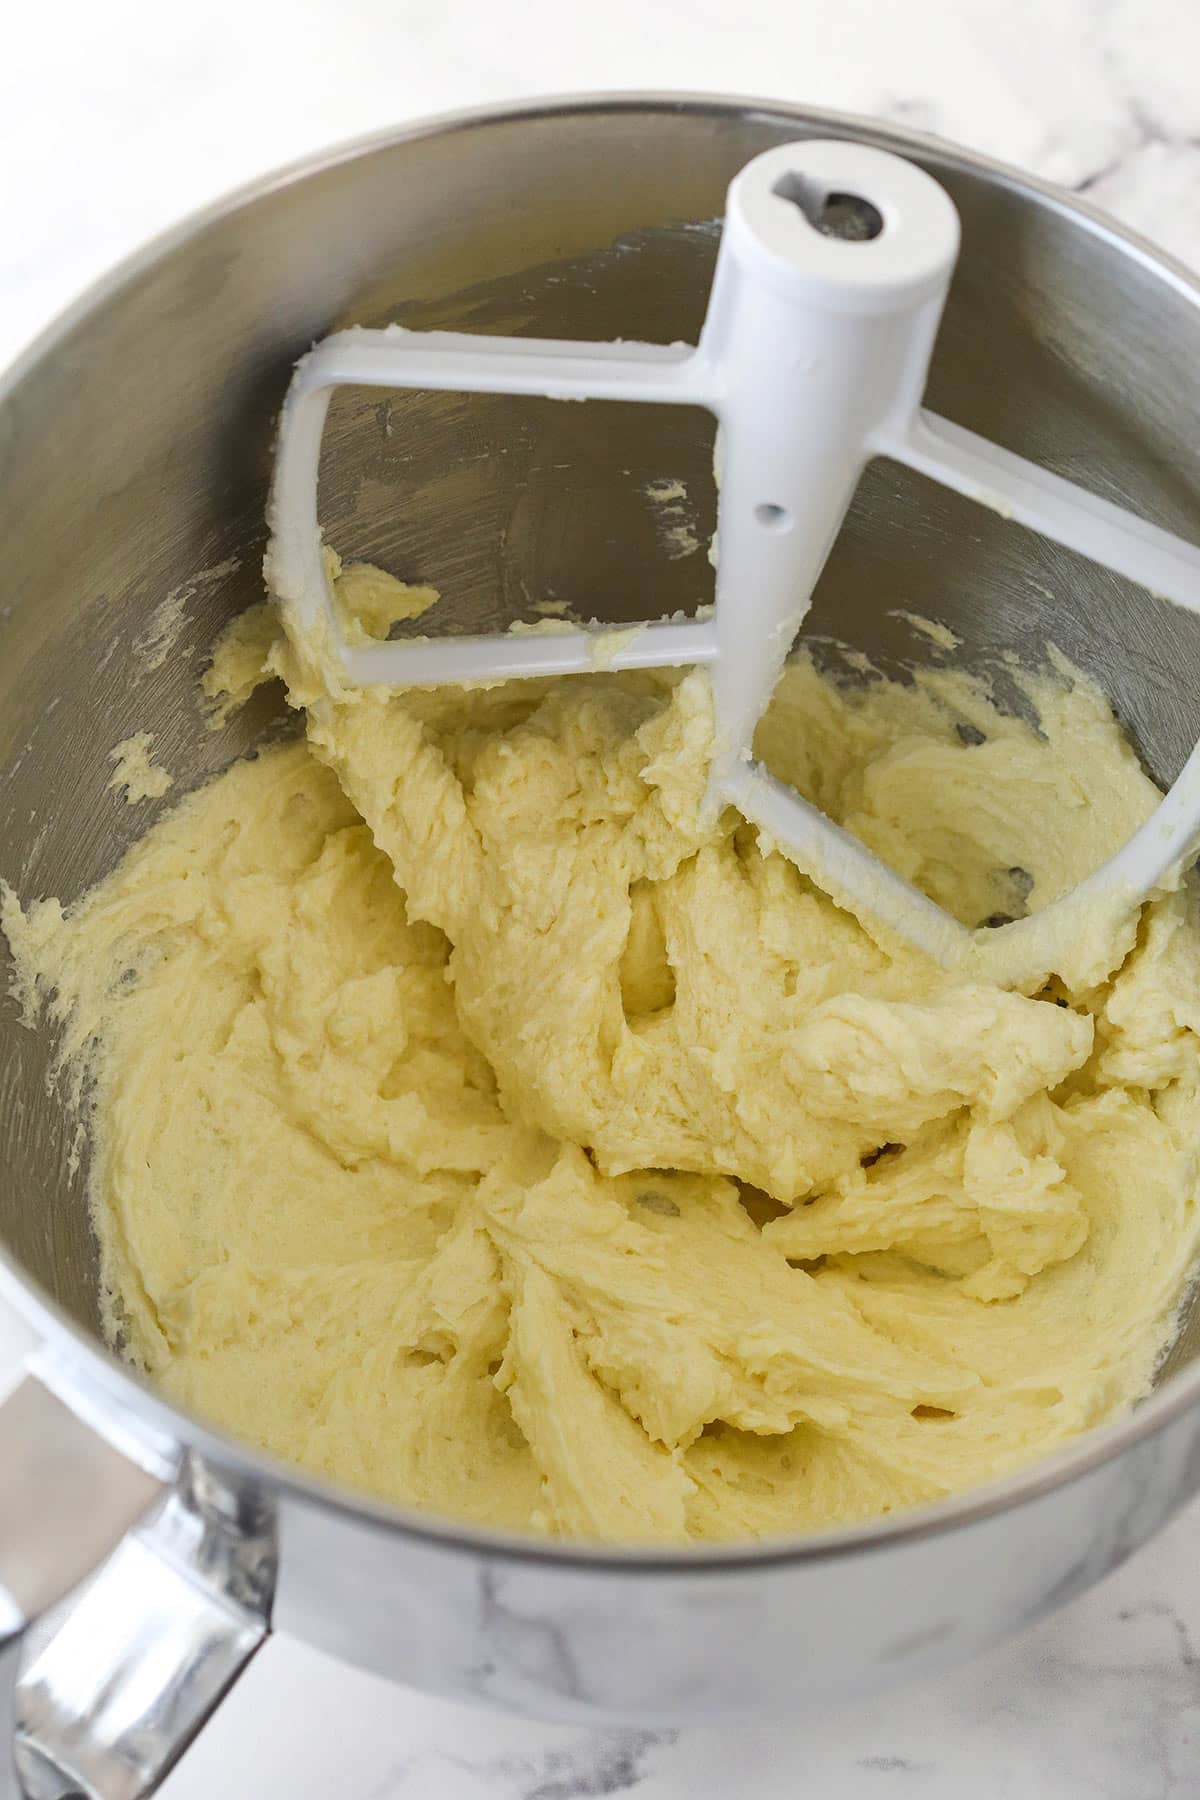
- Add the egg and vanilla and beat until well combined.
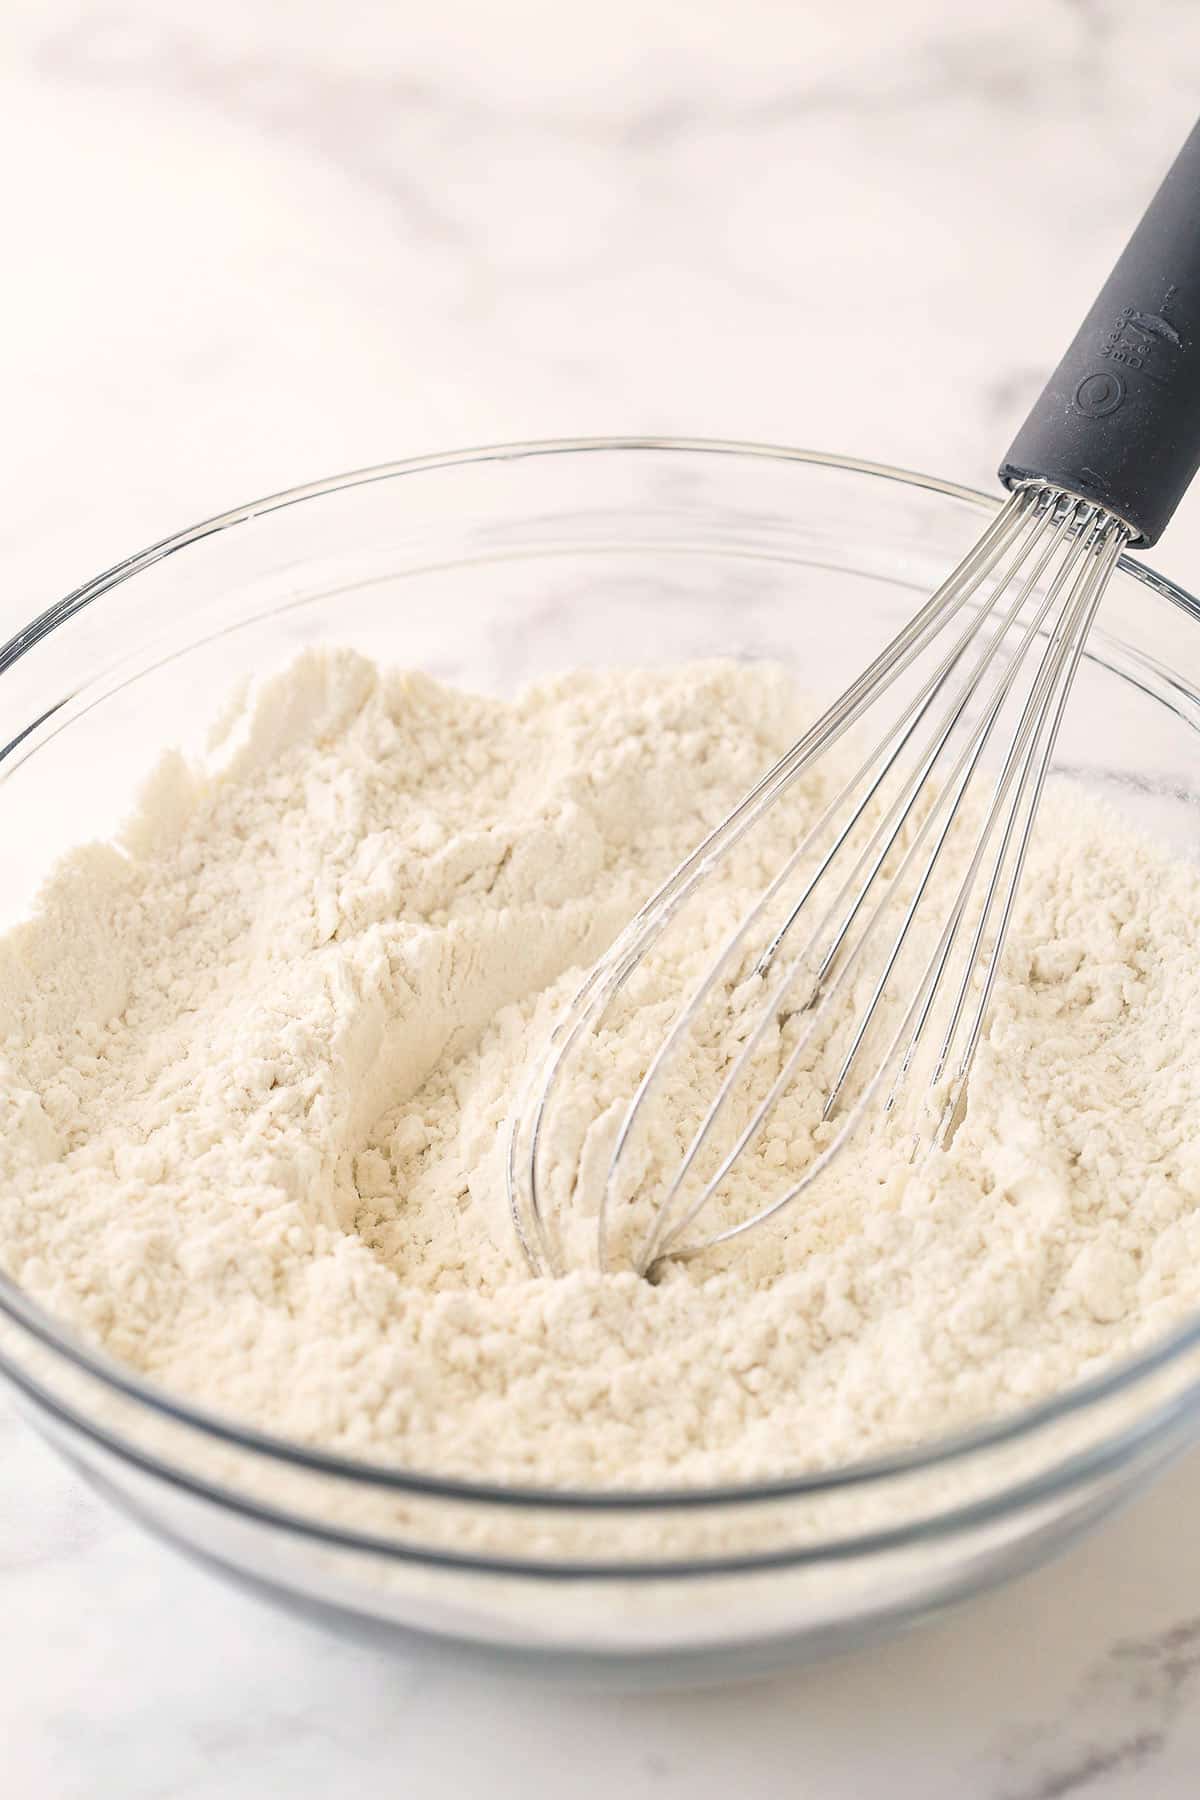
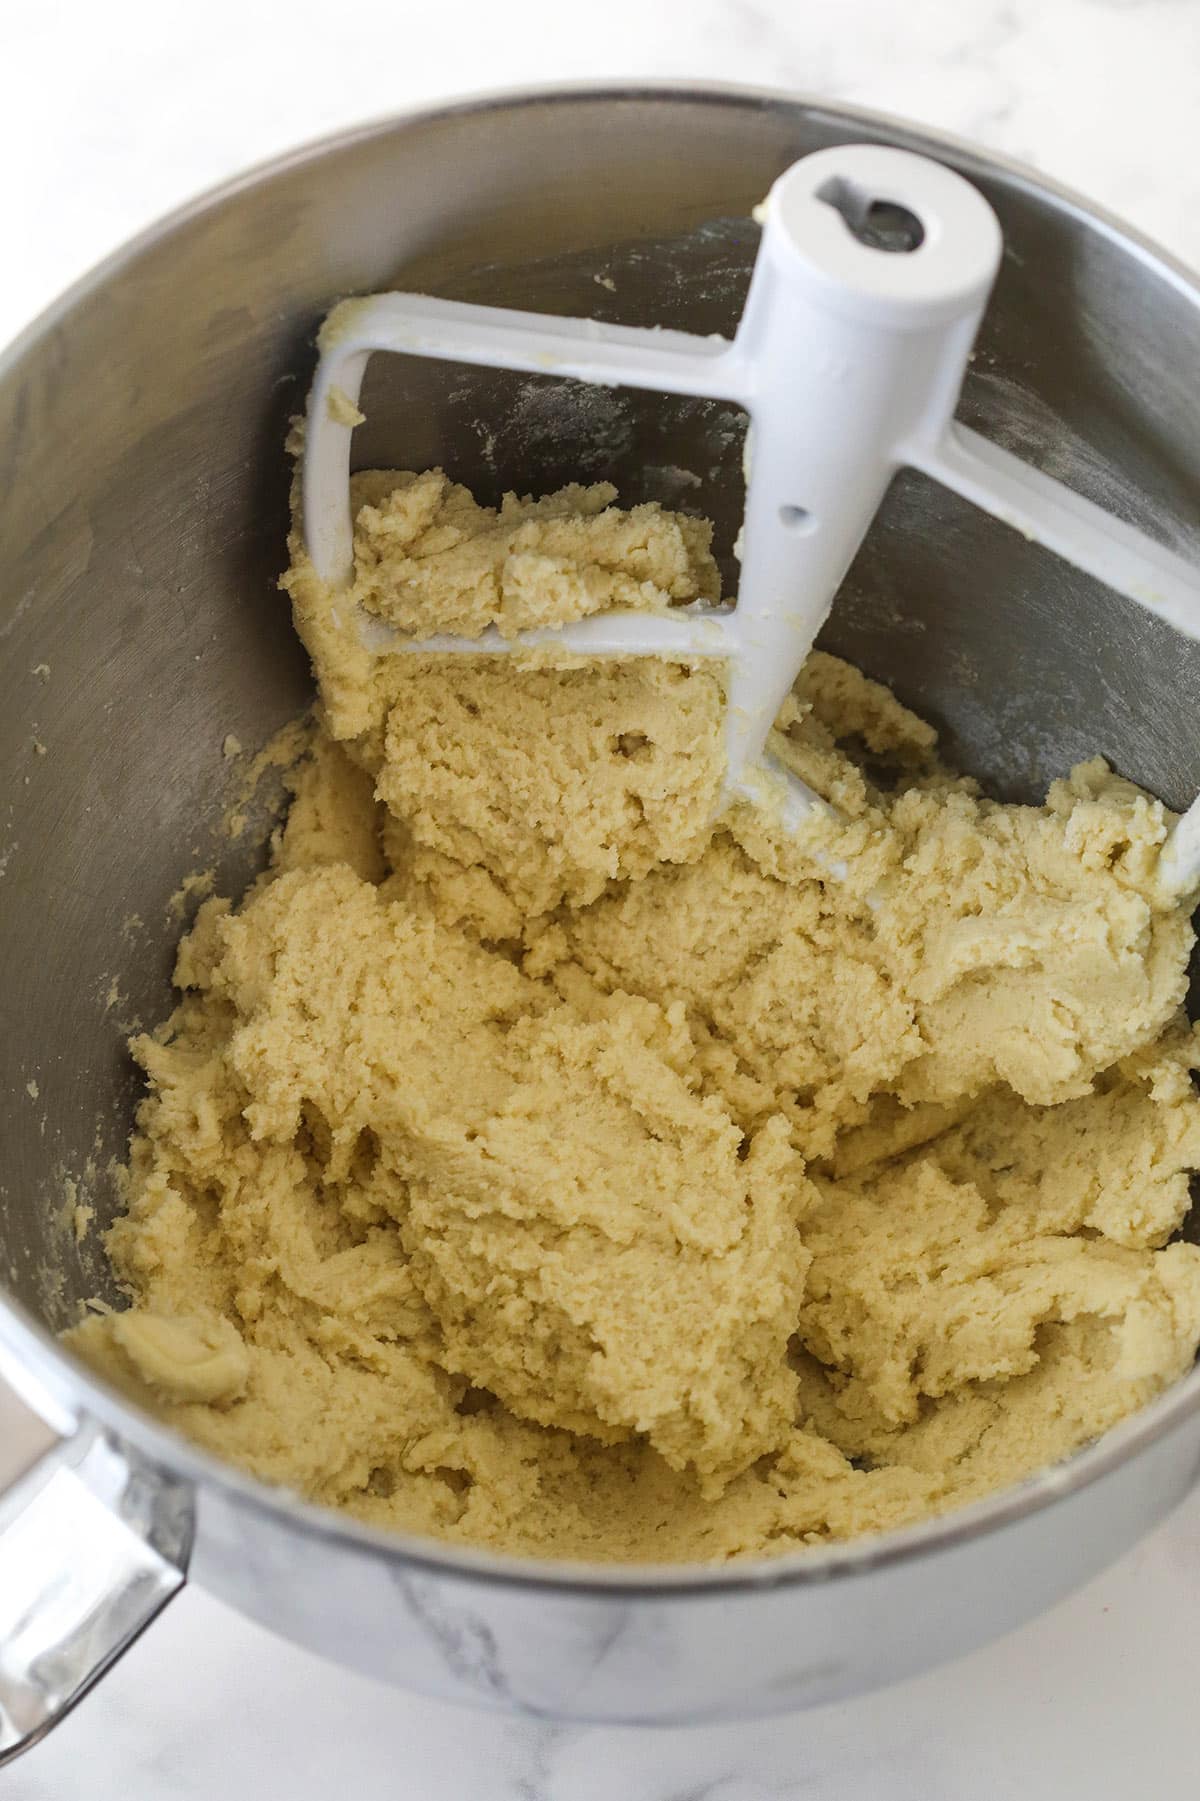
- Add the dry ingredients to the wet ingredients and mix to combine.
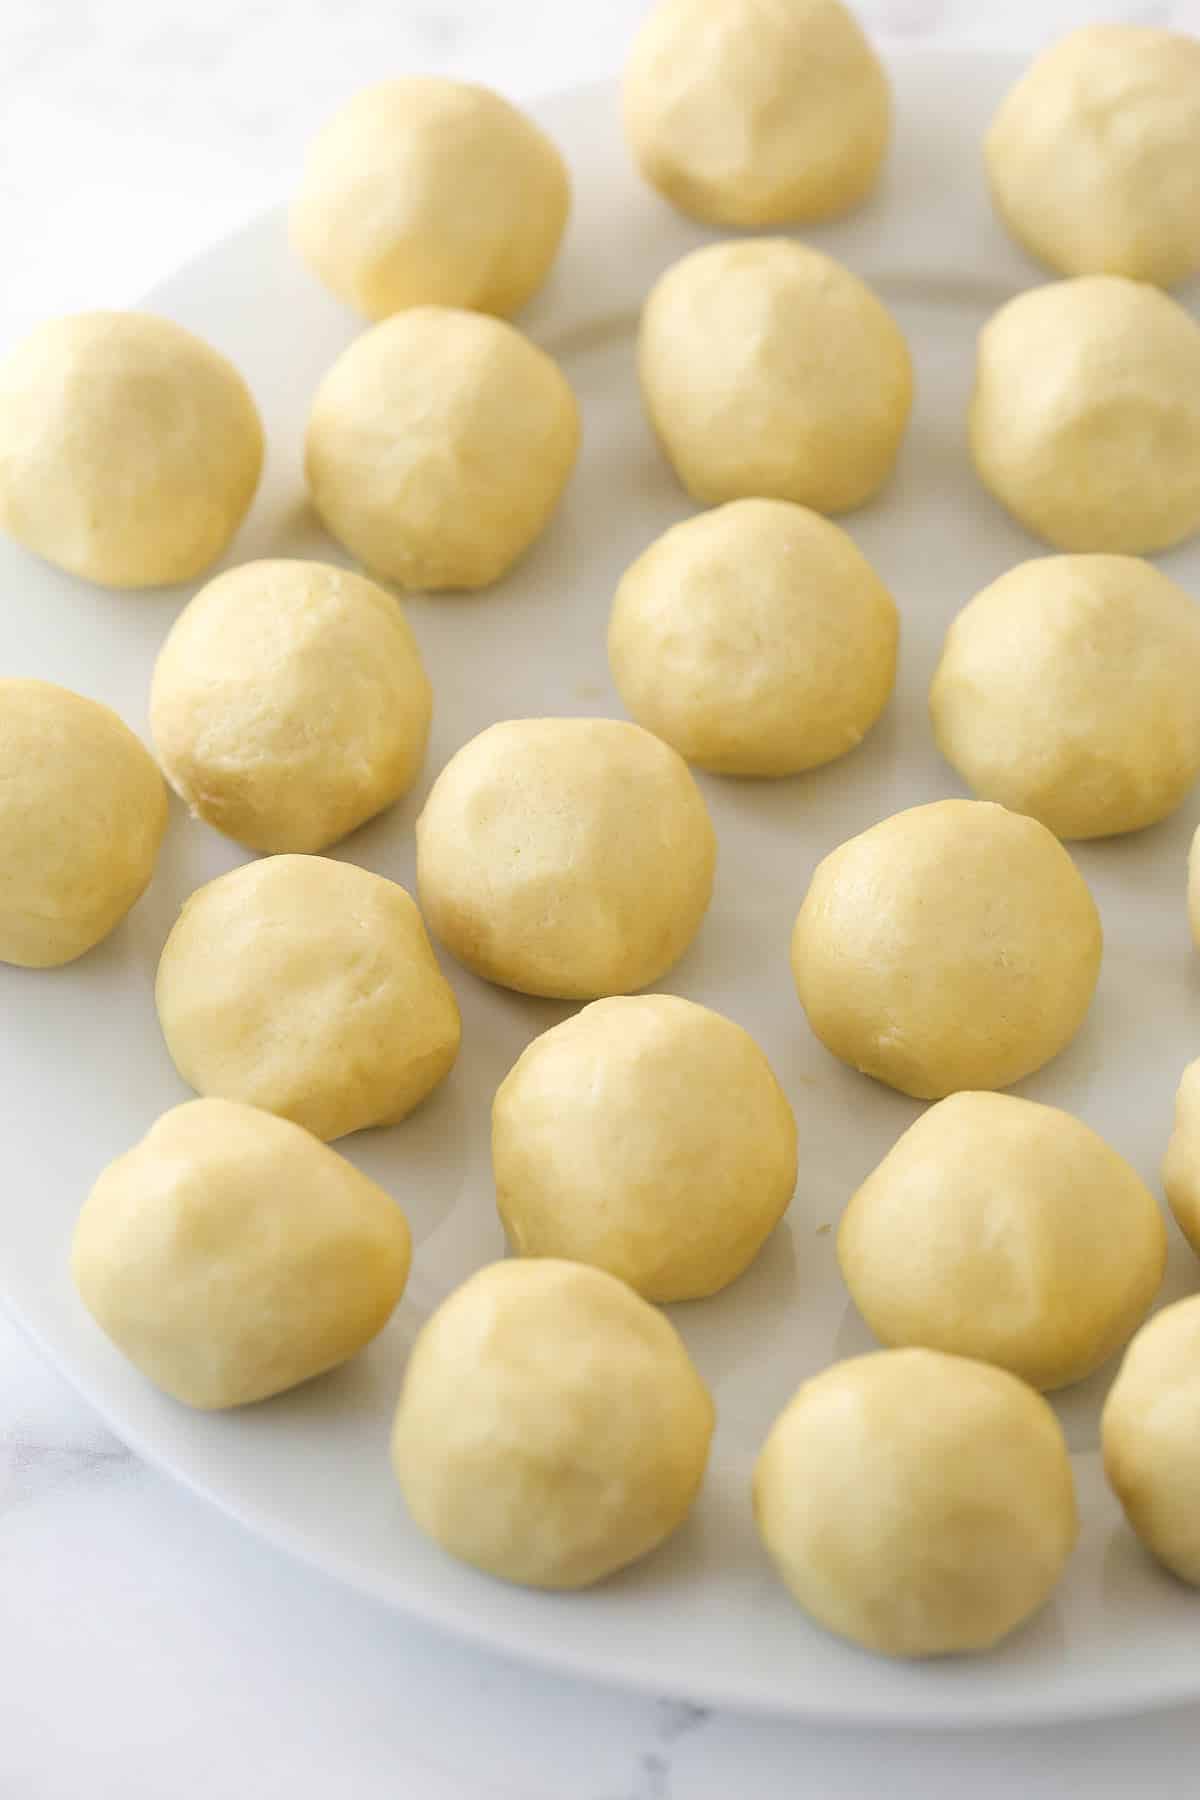
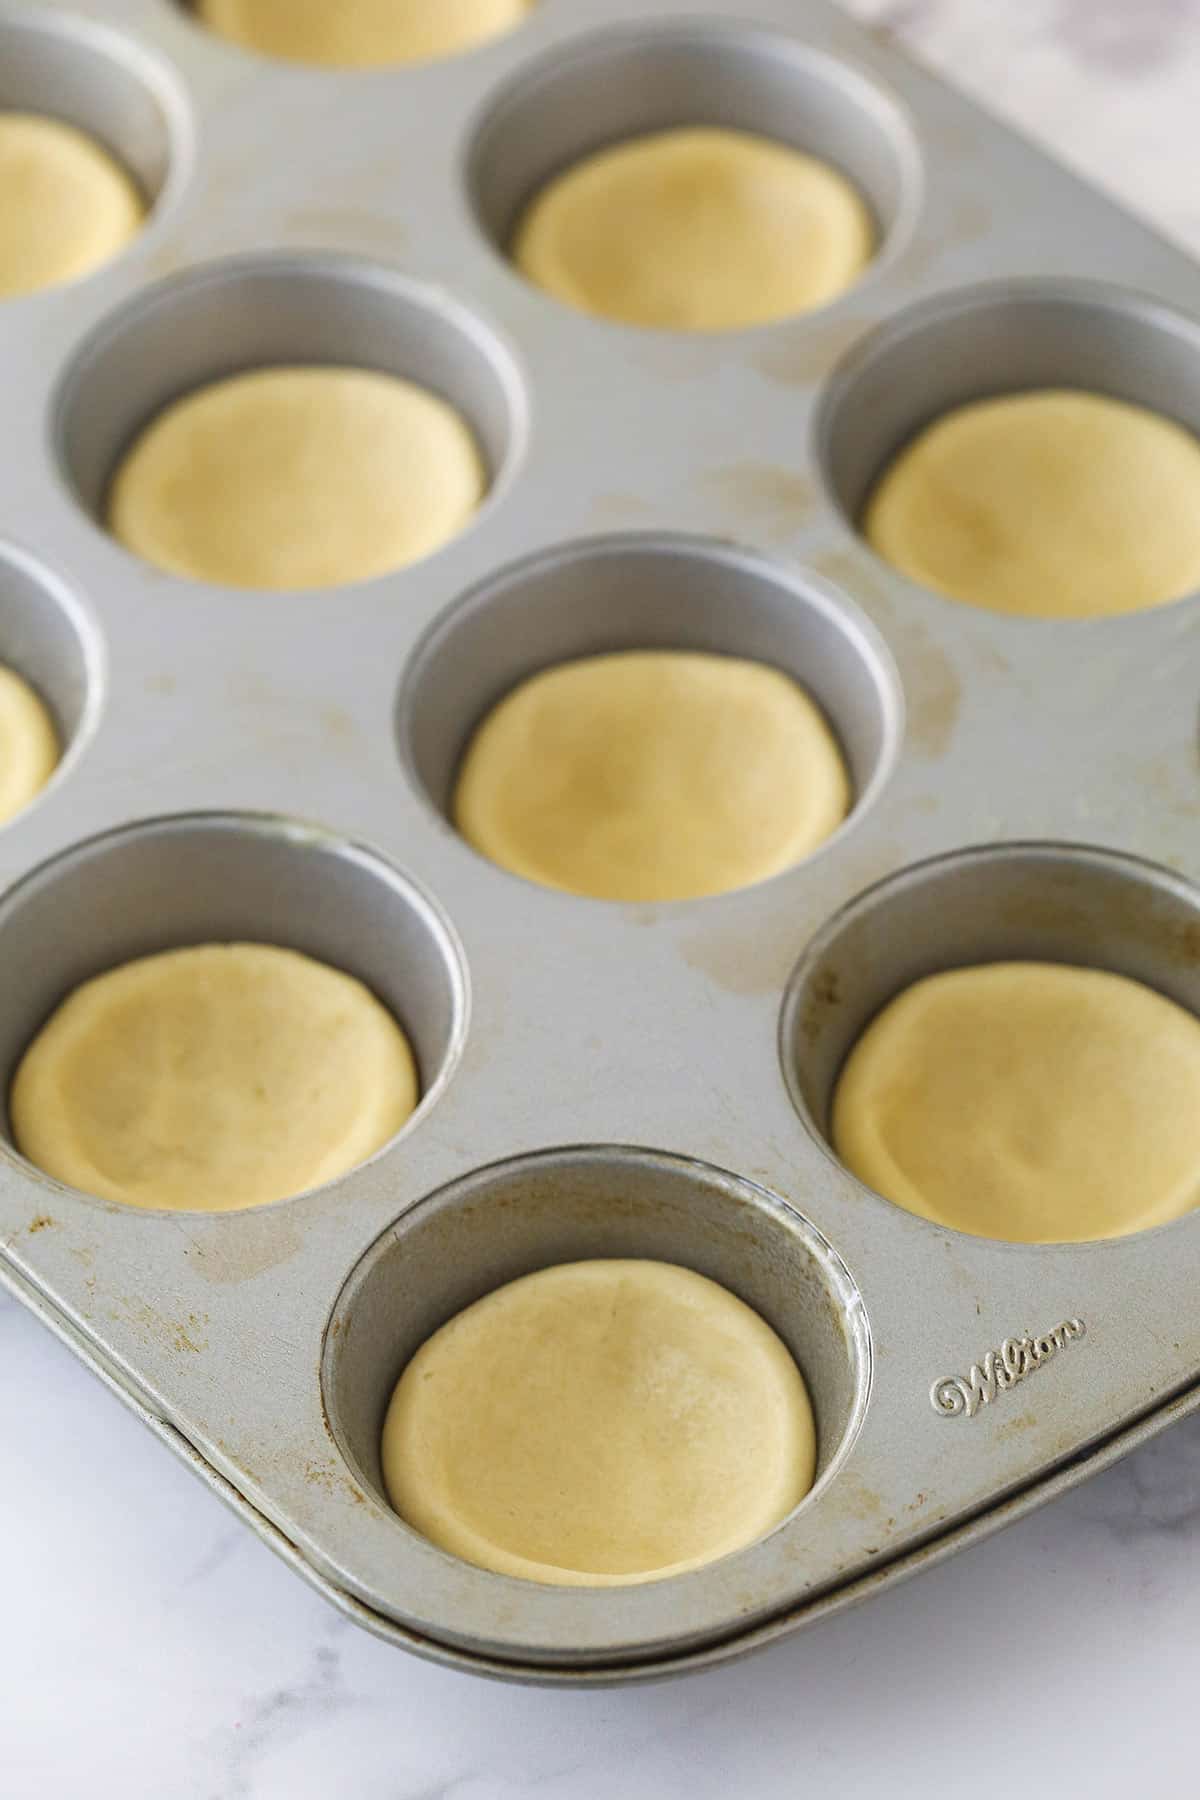
- Make the cookie cups. Divide the cookie dough into the cupcake tins and press the dough into the bottom and part way up the sides of each tin.
- Bake for 8-10 minutes.
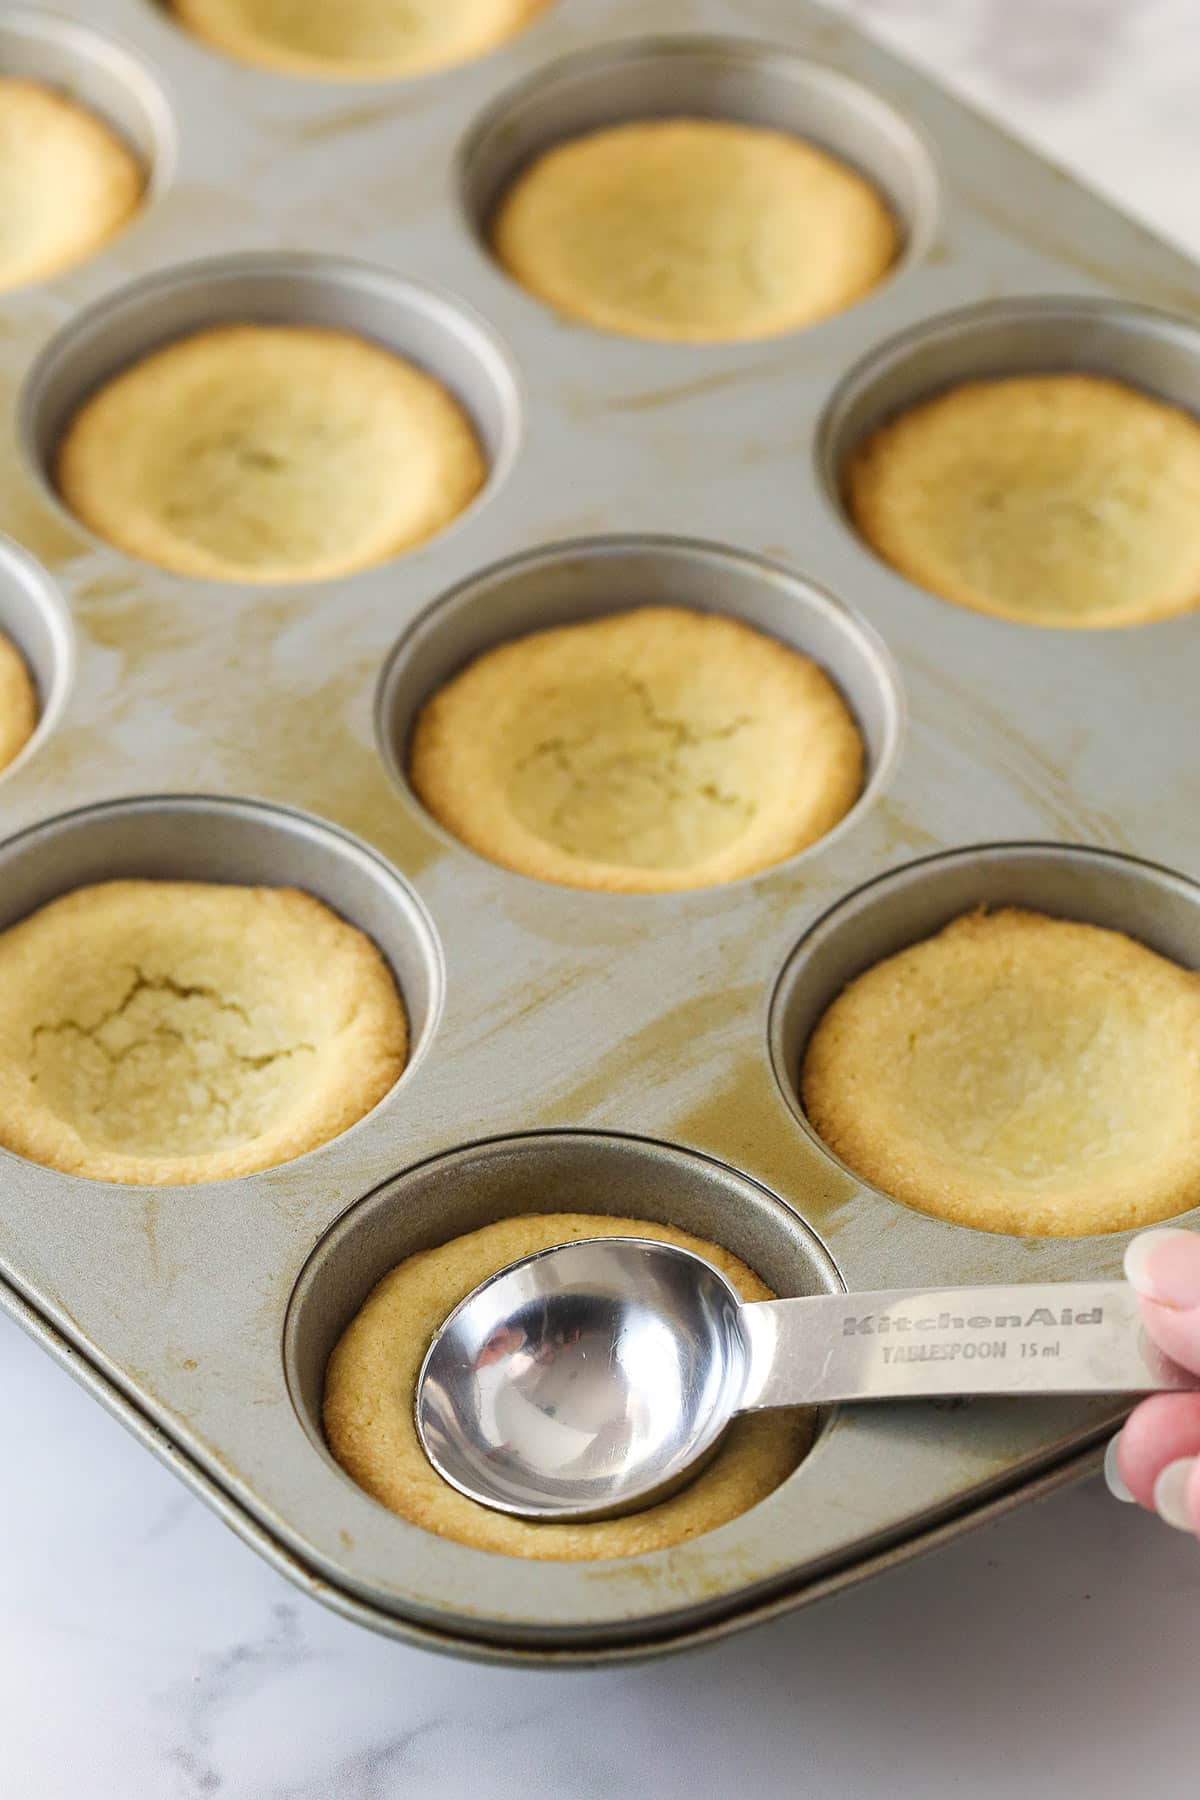
- Shape. Remove the cupcake pan from the oven. If the indent in the cookie does not seem deep enough to fill with cheesecake filling, press it down a bit with the back of a tablespoon.
- Cool. Allow the cookie cups to cool for 5 minutes before carefully turning them out onto a cooling rack. If you you
For the cheesecake filling and topping
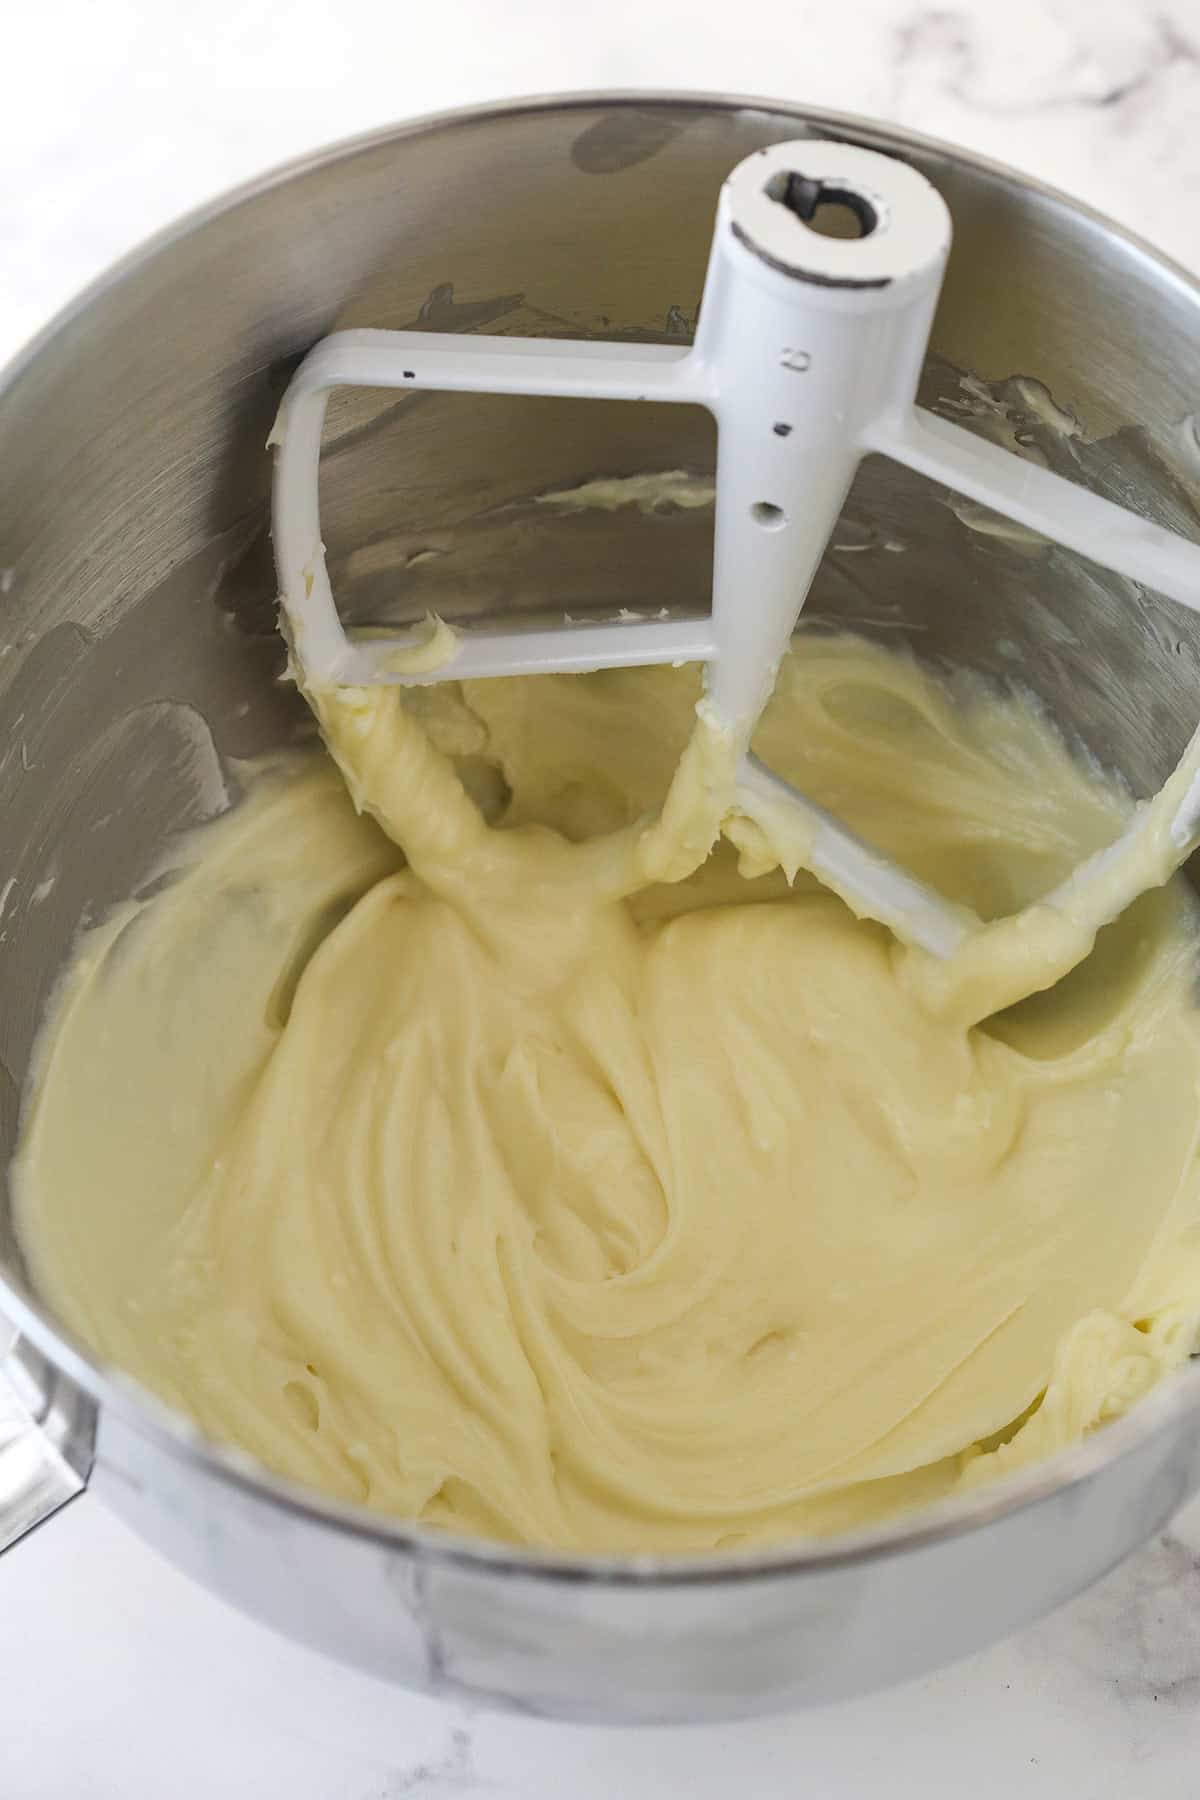
- Make the filling. Beat the cream cheese, vanilla and powdered sugar until smooth.
- Fill. Pipe or scoop cheesecake filling into the cookie cups.
- Top with fresh fruit.
Tips for Success
These cookie cup cheesecakes are pretty easy to make, but it never hurts to have a few tricks at the ready. Here are my top tips:
- Start with room-temperature ingredients. For the cookies, start with room-temperature butter. It will hold air better, producing a fluffier cookie cup. For the cream cheese filling, make sure the cream cheese is at room temperature to ensure a smooth filling.
- Grease thoroughly. These cookie cups have a tendency to be a little tricky to get out of the pan. So grease the cupcake pan liberally before pressing the cookie dough into the tins.
- Let the cookie cool completely before filling. If it is still warm, the cheesecake filling will become runny and you will have a mess on your hands.
- Wait to decorate. The fresh fruit on top will go bad over time. These look their best shortly after the fruit is cut and added to the top. So if you are making these in advance, go ahead and bake the cookies. You can even make the filling ahead of time and keep it in the refrigerator (keep in mind that you’ll need to let it come back to room temperature in order to pipe it into the cookies). Just don’t put the two components together until you are ready to also add the fruit.
Topping and Filling Ideas
This is such a classic recipe. Classic sugar cookie. Classic cheesecake filling. Fresh fruit. I think it’s pretty perfect as is. That being said, I wouldn’t fault you if you wanted to put your own spin on these fruit cheesecake sugar cookie cups. Here are some ideas you might like.
- Top with sauce. I love fruity sauces such as this Easy Strawberry Sauce, Blueberry Sauce, or Easy Raspberry Sauce here. My Easy Brown Sugar Caramel Sauce or this Easy Salted Caramel Sauce Recipe would be great choices as well, though.
- Try lemon curd. Consider swapping out the cheesecake filling and using my Lemon Curd instead for a tangy twist.
- Top (or fill) with whipped cream. Grab some from the store or make your own Homemade Whipped Cream. Feeling adventurous? Try my Strawberry Whipped Cream or this Stabilized Mascarpone Whipped Cream. You can either replace the cheesecake filling with your whipped cream of choice or swirl a bit on top of the cookie cups.
- Frosting. You can’t go wrong with a bit of frosting. I suggest trying my Homemade Strawberry Frosting, a Cream Cheese Frosting, Vanilla Buttercream Frosting, or this slightly less sweet Ermine Frosting. Feel free to use the frosting in place of the cheesecake filling or as a topping.
- Candy. If you are looking for something a little more over the top, feel free to skip the fruit and crumble your favorite candy bar on top of the filling. Heath Bar, toffee, or a nut brittle would make wonderful choices.
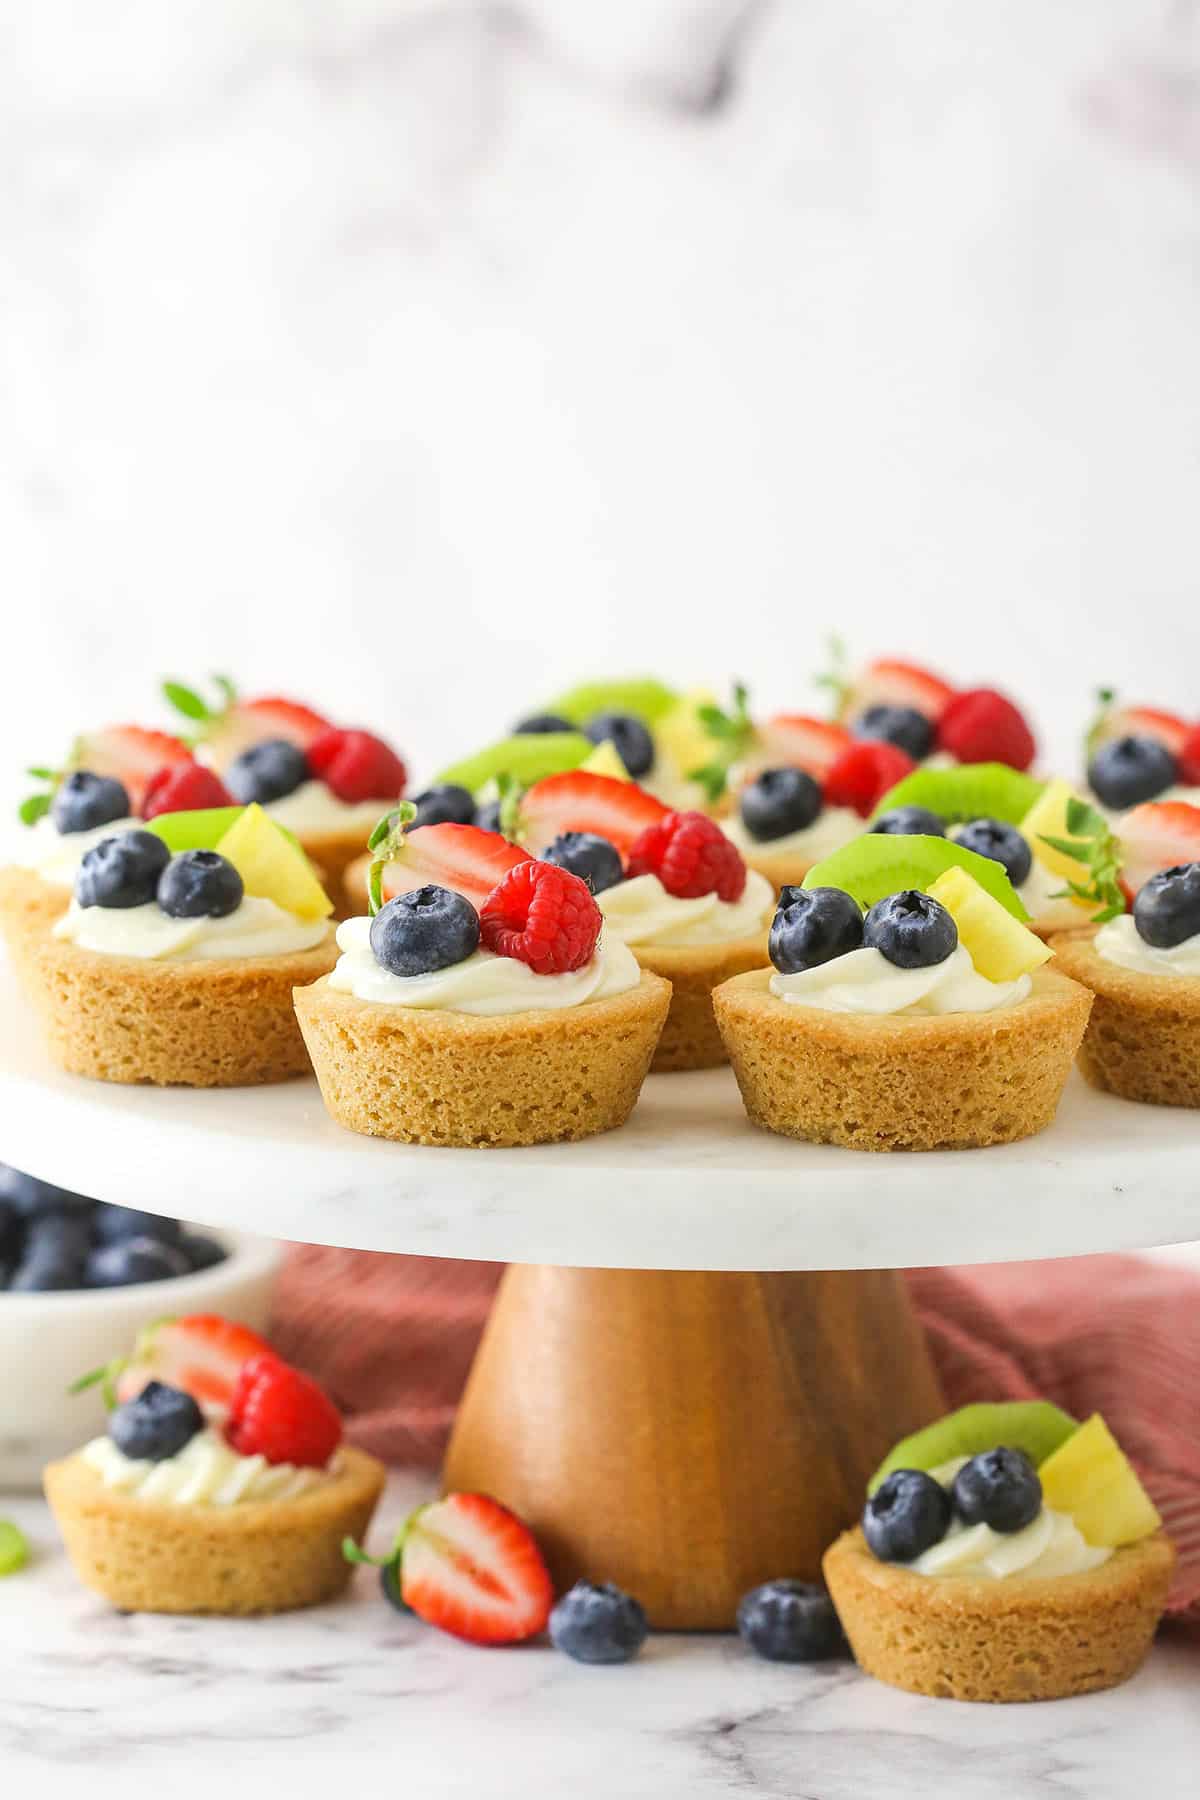
Cookie cups must be stored in the refrigerator due to their perishable filling. Arrange them in a single layer in an airtight container, seal the container, and store them in the refrigerator for up to 4 days. I recommend waiting to add the fresh fruit until you are ready to enjoy.
Can I Freeze Them?
You can! These cookie cups actually freeze quite nicely. Before adding the fresh fruit, arrange the filled cookie cups in a single layer in an airtight container, seal the container, and place it in the freezer. You can also individually wrap the cookie cups for a single-serve option.
In either case, they will keep nicely for up to 2 months in the freezer. When you are ready to devour them, allow them to thaw in the refrigerator before topping with fresh fruit.
Did these fruit cheesecake sugar cookie cups get you excited about cookie cups? Good! They are so fun to make and share. Here are a few of my other favorites.
- Berry Lemon Cheesecake Cookie Cups
- Pina Colada Cookie Cups
- Strawberry Cheesecake Chocolate Cookie Cups
- Boston Cream Pie Cookie Cups
- Nutella Cheesecake Chocolate Cookie Cups
- Turtle Chocolate Cookie Cups
- Red Velvet Cheesecake Cookie Cups
- Dirt Cookie Cups

- Prep Time: 40 minutes
- Cook Time: 10 minutes
- Total Time: 50 minutes
- Yield: About 22 Cookie Cups
- Category: Dessert
- Method: Oven
- Cuisine: American
Description
Chewy sugar cookies filled with a classic cheesecake filling and topped with fresh fruit. These little gems are perfect for your next spring gathering.
Ingredients
Cookie cups
- 2 cups (260g) all-purpose flour
- 1 tsp baking soda
- 2 tsp cornstarch
- 1/4 tsp salt
- 3/4 cups (168g) unsalted butter, room temperature
- 1 cup (207g) sugar
- 1 large egg
- 2 tsp vanilla extract
Cheesecake filling and topping
- 12 oz cream cheese, room temperature
- 1 3/4 cups (201g) powdered sugar
- 1 1/2 tsp vanilla extract
- Assortment of chopped fresh fruit
Instructions
- Spray cupcake pan with non-stick cooking spray. Preheat oven to 350 degrees F.
- In a medium sized bowl, combine the flour, baking soda, cornstarch and salt. Set aside.
- Add the butter and sugar to a large mixer bowl and beat together for 2-3 minutes, until light in color and fluffy in texture.
- Add the egg and vanilla and beat until well combined.
- Add the dry ingredients to the wet ingredients and mix until well combined, but don’t over mix. Dough will be thick.
- Makes balls of about 2 tbsp of dough. Press cookie dough in bottom and about 1/2 way up the sides of each cupcake cup, forming a cup shape.
- Bake for 7-10 minutes, or until cookie cups are lightly golden around the edges.
- Remove from oven and allow to cool for about 5 minutes, then remove to cooling rack to finish cooling. If the centers aren’t cupped enough to add filling, use the end of a wooden spoon or the bottom of a tablespoon to press the center down a bit while they are still warm and fresh out of the oven.
- Once cookie have cooled, make the cheesecake filling. Add the cream cheese, vanilla and powdered sugar to a large mixer bowl and beat together until smooth and well combined.
- Pipe or scoop cheesecake filling into the cookie cups, then top with assorted fresh fruit.
- Store the cookie cups in an airtight container in the refrigerator. They are best eaten within 3-4 days, depending how well your fruit on top lasts.
Nutrition
- Serving Size: 1 Cookie Cup
- Calories: 315
- Sugar: 25.5 g
- Sodium: 152.1 mg
- Fat: 16.5 g
- Carbohydrates: 39 g
- Protein: 3.5 g
- Cholesterol: 56 mg











Is this in a regular cupcake pan or mimi pan
A regular cupcake pan.
I made these and they were a big hit! We did have leftovers which I stored as suggested in the fridge. Unfortunately, the cookie cups got soggy and didn’t hold their shape. Any suggestions?
Hmm, the cookies will soften over time because the moisture from the cheesecake filling sets in. But they shouldn’t get so soft that they fall apart. Did too many juices from the fruit seep into the cookie as well? It sounds like there may have been some kind of excess moisture that soaked into them or something. I’m glad you enjoyed them though!
What are your thoughts on using a jam or marmalade instead of the cheesecake filling, then adding the fruit to match the jam or marmalade. Or would you recommend using one of your other cookie cup recipes with this idea. Appreciate your thoughts. Can’t wait to make with the grand kids who love to bake.
That should work just fine and I think it would work well with these cookie cups. I hope you enjoy them!
These look perfect for a bridal shower I’m hosting! Can I freeze the cookie crust before filling them and then defrost and fill the day before serving?
Sure, that would be fine. Just store them in an airtight container, and then thaw them in the fridge before adding the filling.
Can the shell be made the day before and filled the day they are eaten?
Yes, that’d be fine.
Did you use regular or mini cupcake size?
Regular size
Hi I’m just baking these, how would I know when the cookie cups are ready?
They should be done when they are beginning to brown around the edges. They may be a little soft in the middle, but will firm up as they cool.
This looks nothing short of delicious! Thank you for sharing!
I made these and they were delicious but I’d Like to try making them in the mini muffin pan this time. How long should I bake them in the mini muffin pan?
I haven’t tried minis, but I know people have had success with them. The amount of dough for each cupcake would be less, but I’m not sure on the baking time.
This recipe looks so good! Can’t wait to try it. I was wondering if the cookie crust is soft and chewy or hard/crispy? I personally prefer soft.
These cookie cups are on the softer side.
I really love this recipe but I need a little help because I’m making it for a friend who is vegan and I don’t know what to substitute the ingredients with
I’m sorry, I’m not really familiar with vegan baking and ingredients.
Thank you so much for this recipe. I found your adorable and yummy recipe when I was searching for bridal shower desserts. I made them for a shower today and they were definitely a hit! My daughter ate the one that wouldn’t fit in the container for breakfast this morning 🙂 so needless to say, we are making more for our family tonight. So happy to have found your site. It looks delicious and inspiring!
I’m glad you found the site as well, Bea! Glad to hear you enjoyed them!
How many does this make?
About 16