This post may contain affiliate sales links. Please read my disclosure policy.
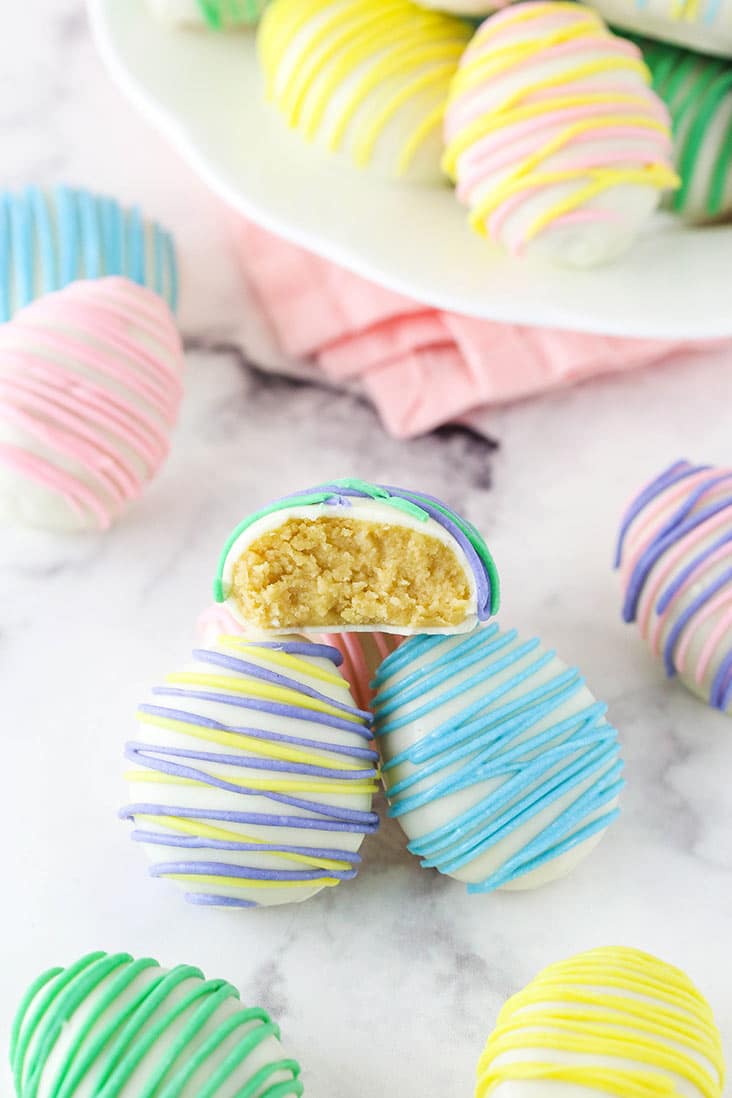
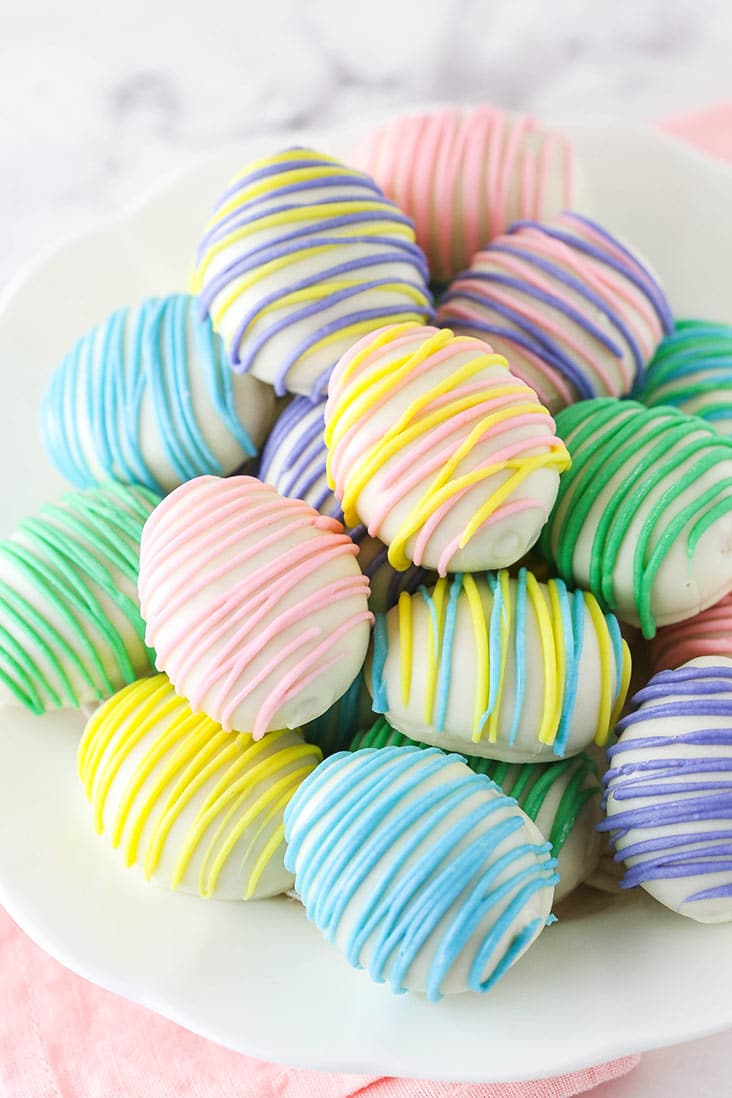
These Easter Egg Oreo Cookie Balls are a fun and tasty treat for Easter! They are a great thing to make with kids and can be enjoyed by all!
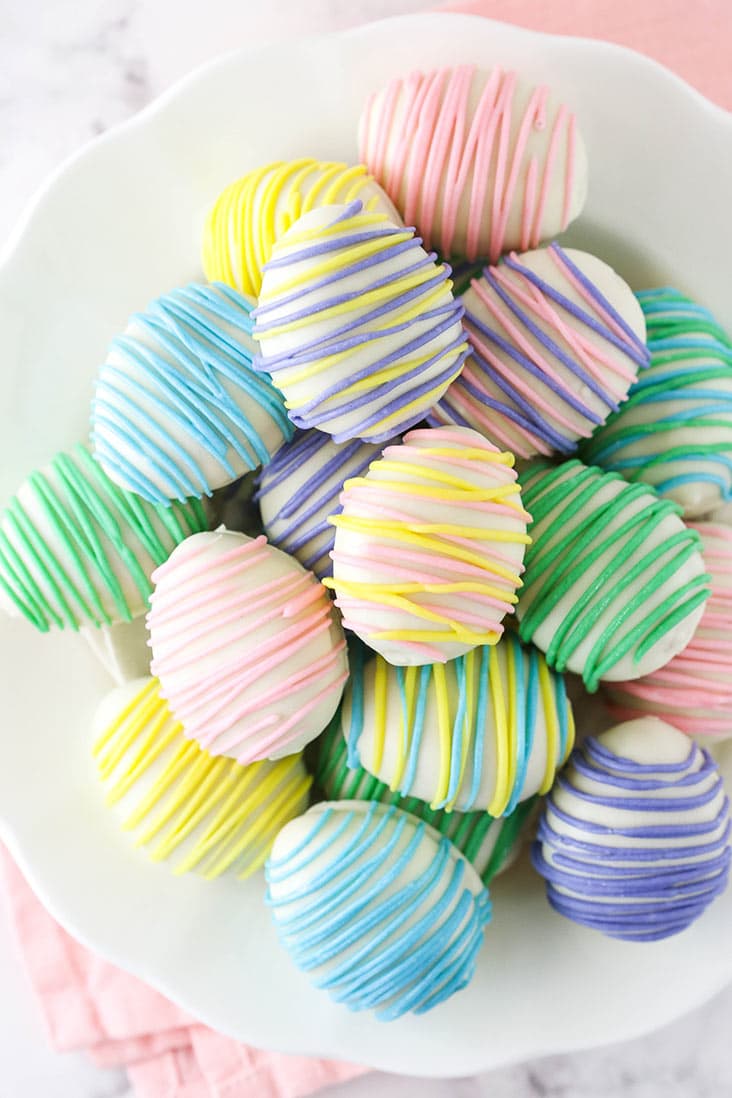
Who doesn’t love Oreos? They are definitely one of the best store bought cookies out there. And I’m definitely a fan of Oreo cookies balls, so turning them into festive versions is fun and a great way to celebrate a holiday. Plus, it’s a fun activity to get your kids involved in. Depending on their age, they could do any or all parts of the process. Even our three year old twins can get involved in the decorating and drizzling – or even adding sprinkles. Just be prepared for a little mess.
These Easter Egg Oreo Cookie Balls also use only 4 ingredients! So simple! Just make sure you have gel icing colors on hand so that you can create the colors you want to decorate with. You could even add sprinkles and skip the gel icing color all together. I’d recommend various colors of sanding sugar or your favorite Easter mix.
Recipe Ingredients
This list isn’t long, since there’s only four things you’ll need:
- Golden Oreos: You need one full 14.3 ounce package. You could use regular Oreos too, but I thought the Golden ones would be nice here so that you don’t see the dark color through the white chocolate coating. The lemon ones would also be fun for spring.
- Cream cheese: It should be at room temperature.
- White candy coating: You can use Wilton candy melts, almond bark, candiquick or something similar. You’ll need about 10 ounces for dipping the eggs, then additional for decorating with.
- Gel icing colors: You’ll need these for coloring your candy melts.
- Crush Cookies: Add the Golden Oreo cookies to a food processor or blender and crush into crumbs. It’s best to not have any big chunks, or it may be hard for your eggs to hold together well.
- Add Cream Cheese: Mix the cream cheese and cookie crumbs together in a bowl until well combined. You should easily be able to form balls.
- Form Eggs: Form Easter eggs from the cookie mixture using about 1 1/2 tablespoons per egg.
- Chill Eggs: Put the eggs in the fridge for about 1 hour to firm up a bit.
- Coat Eggs with Candy: When the Oreo eggs have been chilled, melt the 10 ounces of white candy coating and dip the chilled eggs into the melted candy coating. Set on parchment paper to dry. I use a toothpick for dipping and put the toothpick into the bottom of the egg when I dip them. Lightly shake off excess candy coating, then set the egg on the parchment paper and gently twist the toothpick while pulling it out. Use a little dab of candy coating to fill in the hole where the toothpick was.
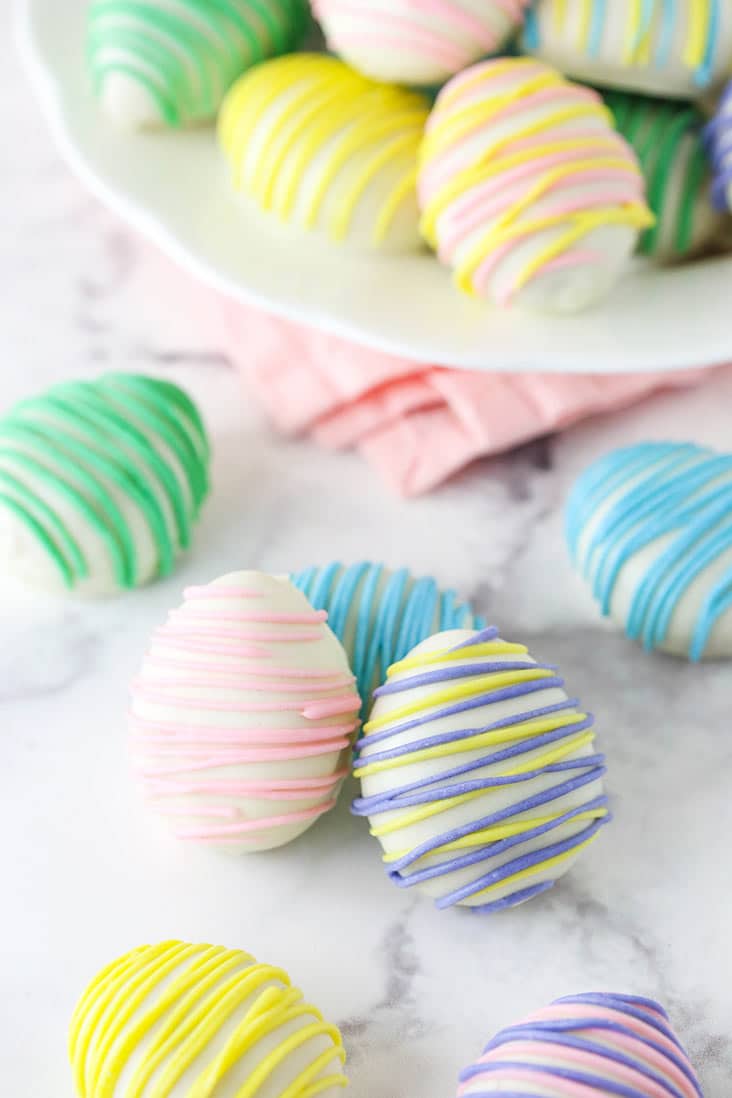
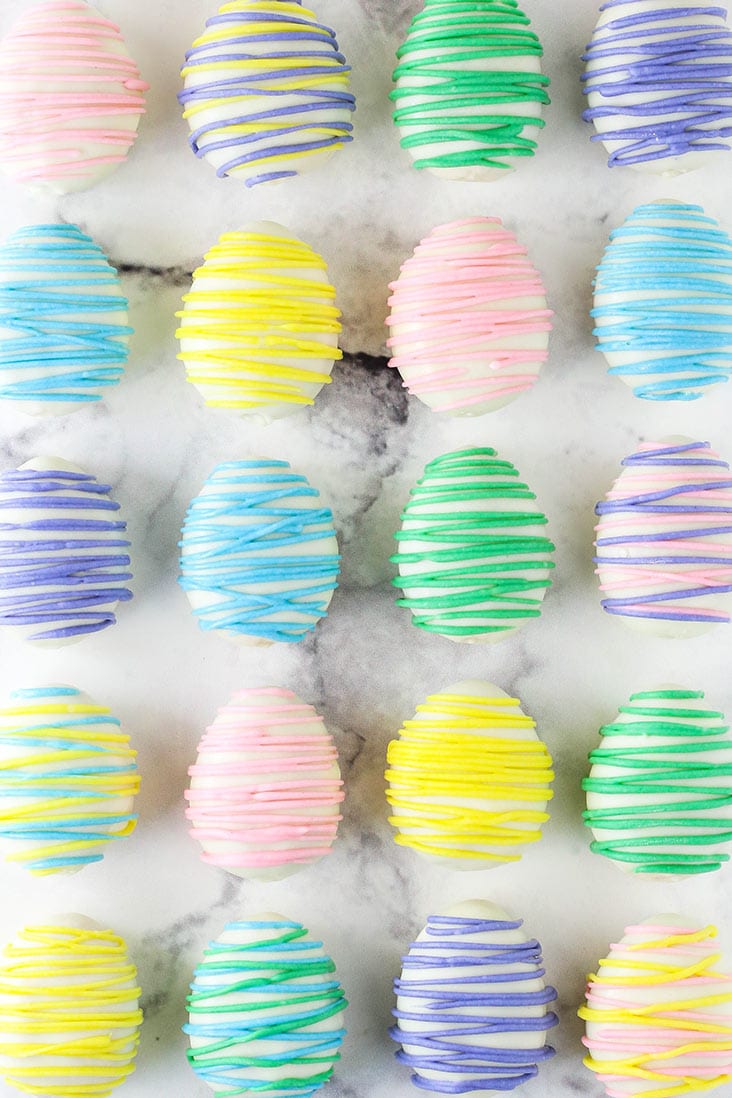
- Add Decorations: Once dry, add the decorations. Use about 1 ounce of each color you’re using so that you have enough to melt and work with. I used 5 colors, but feel free to use as many or as few as you like. If you’re only using one color, you probably want to use at least 3-4 ounces of white candy coating. Melt your white candy coating, one color at a time, then add gel icing color until you have the color you want. Pipe or drizzle the colors over the Oreo eggs.
Variation Ideas
These Easter Egg Oreo Cookie Balls are super simple and you can totally change them up a bit, if you like:
Oreo flavors: You could really use use any flavor you like, but I do think that a light colored Oreo is best with the white candy coating. That said, you could use a chocolate Oreo and coat them with regular chocolate melts, instead of the white. That would look great too!
Sprinkles: If you don’t want to deal with melting several batches of chocolate, coloring them or drizzling them, then just use sprinkles! Add them before the coating on the eggs dries and you’re done! This would also be quicker, if you’re short on time. I’d recommend colored sanding sugar or your favorite Easter mix.
More Great Easter Treats
Easter Egg Chocolate Cupcakes
The Best Carrot Cake
Resurrection Easter Cake
Easter Bunny Cake
Cheesecake Swirl Carrot Cake
- Prep Time: 3 hours
- Total Time: 3 hours
- Yield: 20-22 eggs
- Category: Dessert
- Method: No Bake
- Cuisine: American
Description
These Easter Egg Oreo Cookie Balls are a fun and tasty treat for Easter! They are a great thing to make with kids and can be enjoyed by all!
Ingredients
- 14.3 oz package (36 cookies) Golden Oreos, crushed into crumbs
- 8 oz cream cheese, room temperature
- 10 oz white candy coating
- Additional 1 oz of white candy coating per color, for decorating
- Gel icing colors
Instructions
- Add the Golden Oreo cookies to a food processor or blender and crush into crumbs.
- Mix the cream cheese and cookie crumbs together in a bowl until well combined. You should easily be able to form balls.
- Form Easter eggs from the cookie mixture using about 1 1/2 tablespoons per egg.
- Put the eggs in the fridge for about 1 hour to firm up a bit.
- When the Oreo eggs have been chilled, melt the 10 ounces of white candy coating and dip the chilled eggs into the melted candy coating. Set on parchment paper to dry. I use a toothpick for dipping and put the toothpick into the bottom of the egg when I dip them. Lightly shake off excess candy coating, then set the egg on the parchment paper and gently twist the toothpick while pulling it out. Use a little dab of candy coating to fill in the hole where the toothpick was.
- Once dry, add the decorations. Use about 1 ounce of each color you’re using so that you have enough to melt and work with. I used 5 colors, but feel free to use as many or as few as you like. If you’re only using one color, you probably want to use at least 3-4 ounces of white candy coating. Melt your white candy coating, one color at a time, then add gel icing color until you have the color you want. Pipe or drizzle the colors over the Oreo eggs.
- Store Oreo eggs in the fridge. They should be good for about 1 week.
Nutrition
- Serving Size: 1 egg
- Calories: 132
- Sugar: 10.6 g
- Sodium: 56.3 mg
- Fat: 9 g
- Carbohydrates: 11.6 g
- Protein: 1.6 g
- Cholesterol: 13.7 mg








Can you freeze the oreo easter eggs
Yes, you can.
Do I use the top & bottom of plastic eggs to make forms? And put them in the freezer too?
I just used my hands to shape them. Mind are egg shaped, but flat and rounded, if that makes sense.
Love this recipe would like to make for Easter .. do you including cookie filling when add to food processor?
I have a question too, Lindsay. First off, I want to thank you SO much! My family and friends seem to think that I am a phenomenal baker and that I have these mad baking skills. The truth is, I follow your recipes to a T. Moreover, I’ve truly learned to bake through your tutorials, which are supremely priceless. You make ladies like me, achieve new heights in the eyes and tummies of my loved ones. Here is my question: Would you please make a tutorial for this recipe? If not, I totally understand. You’re an insanely busy mama.
So glad you enjoy the recipes and tutorials! As for a tutorial, it’s been on my mind to try to do oreo balls like these on video at some point and hopefully will be able to soon. Thanks!
So I have a really dumb question for you… When dipping you say you put the toothpick at the bottom of the egg ~ so do you let them dry top down where the top of the egg would be a little flat? Or do you somehow flip it over so it’s face-up to dry? LOL ~ told you it was a dumb question 🙂
So if you’re looking at the eggs, I put it in the bottom, not the back. Does help clarify? So when I set it on the parchment paper, it’s on its back with the toothpick in the bottom and I slowly rotate the toothpick as I pull it out.