This post may contain affiliate sales links. Please read my disclosure policy.
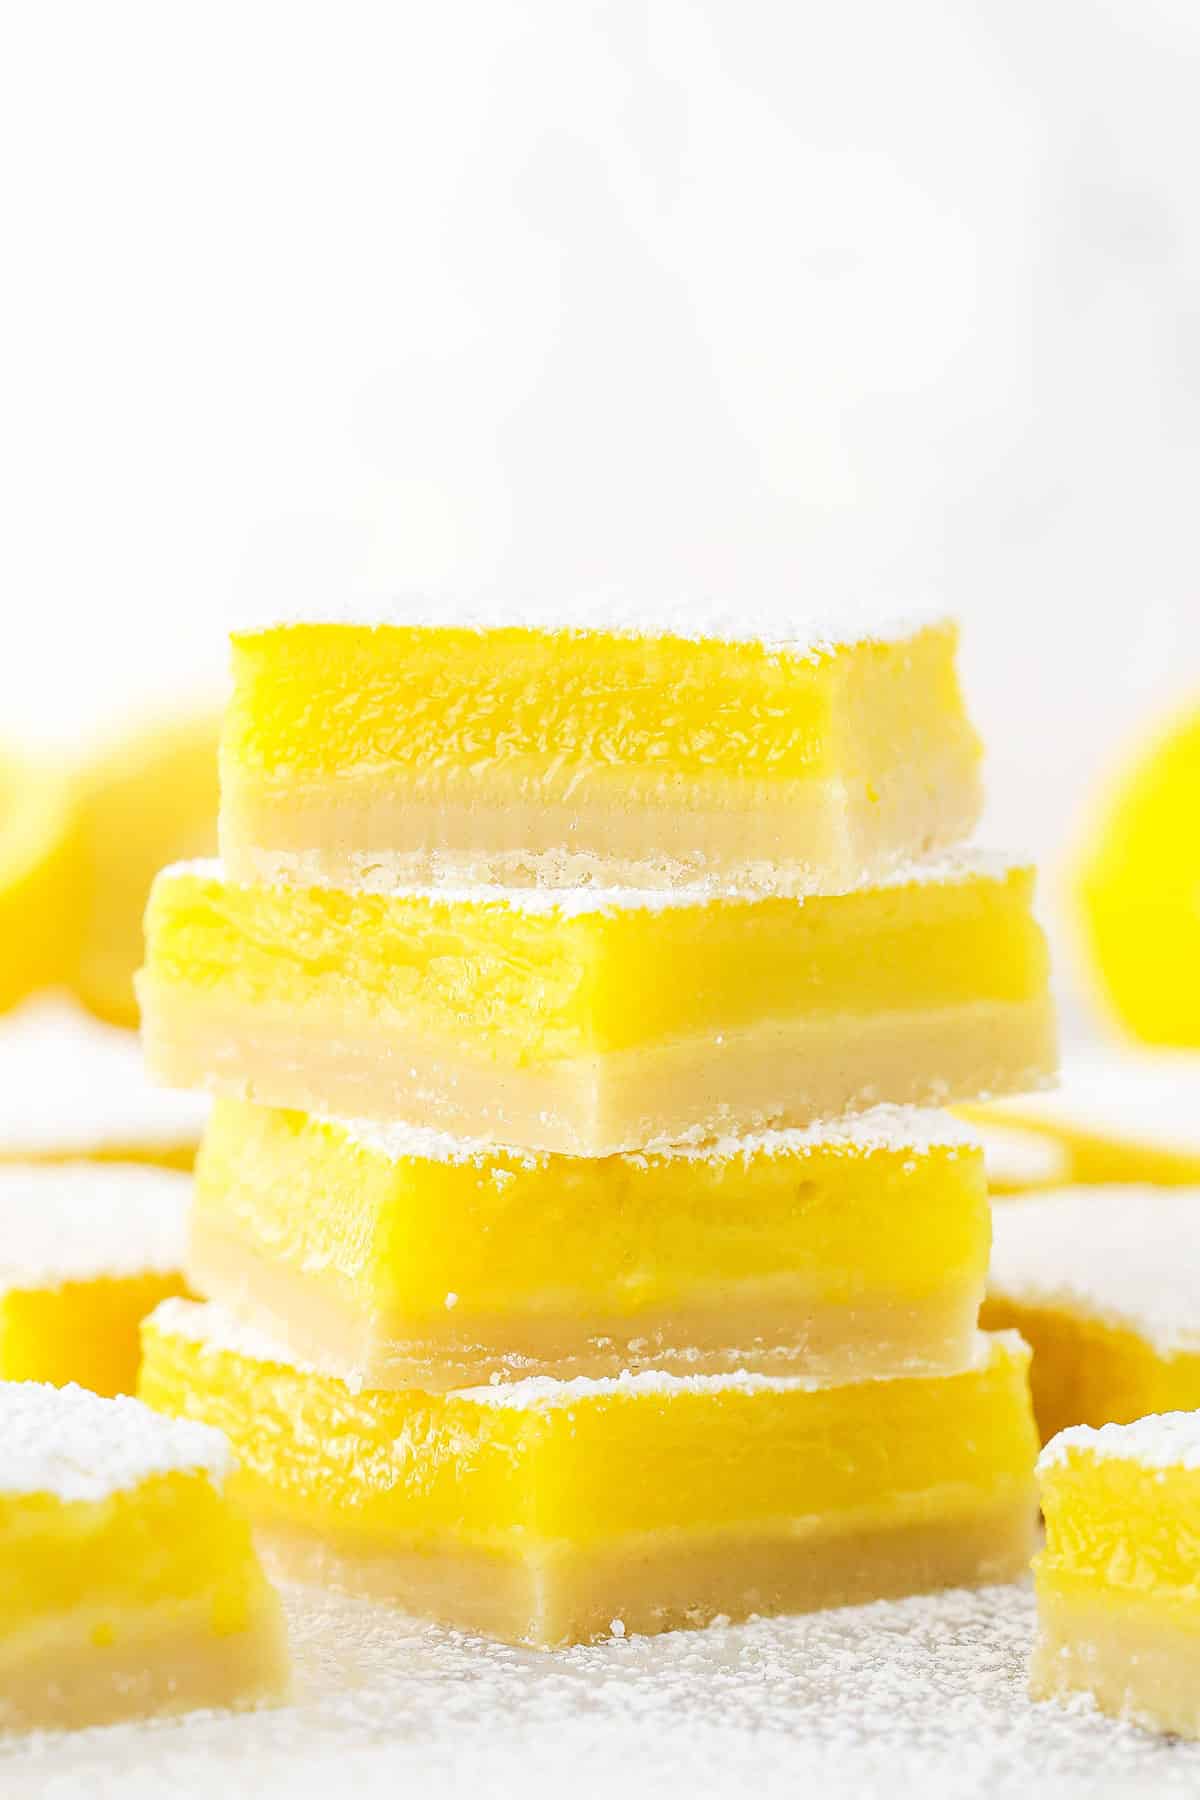
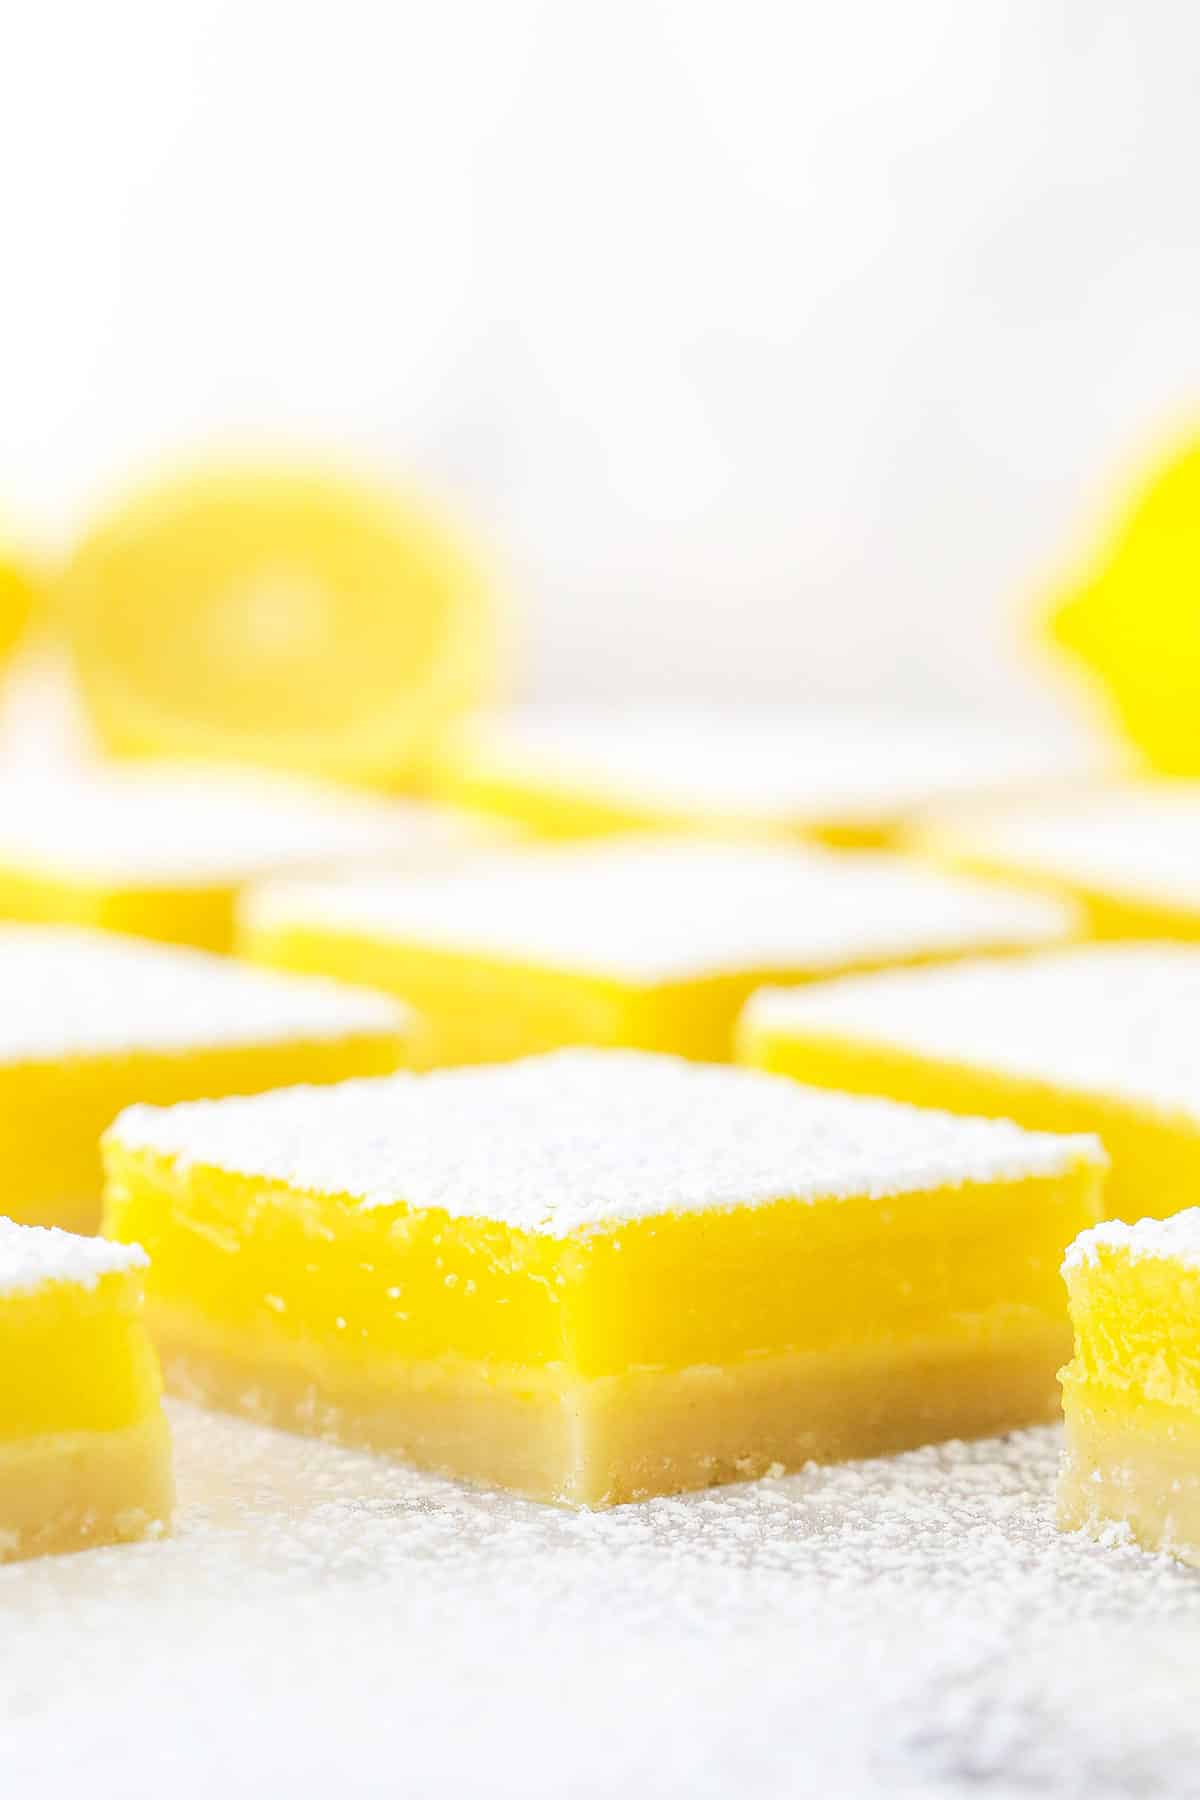
This Easy Lemon Bars Recipe has the perfect combination of tart and sweet. Made with a vanilla crust and a smooth lemon filling, these are easily the best lemon bars ever!
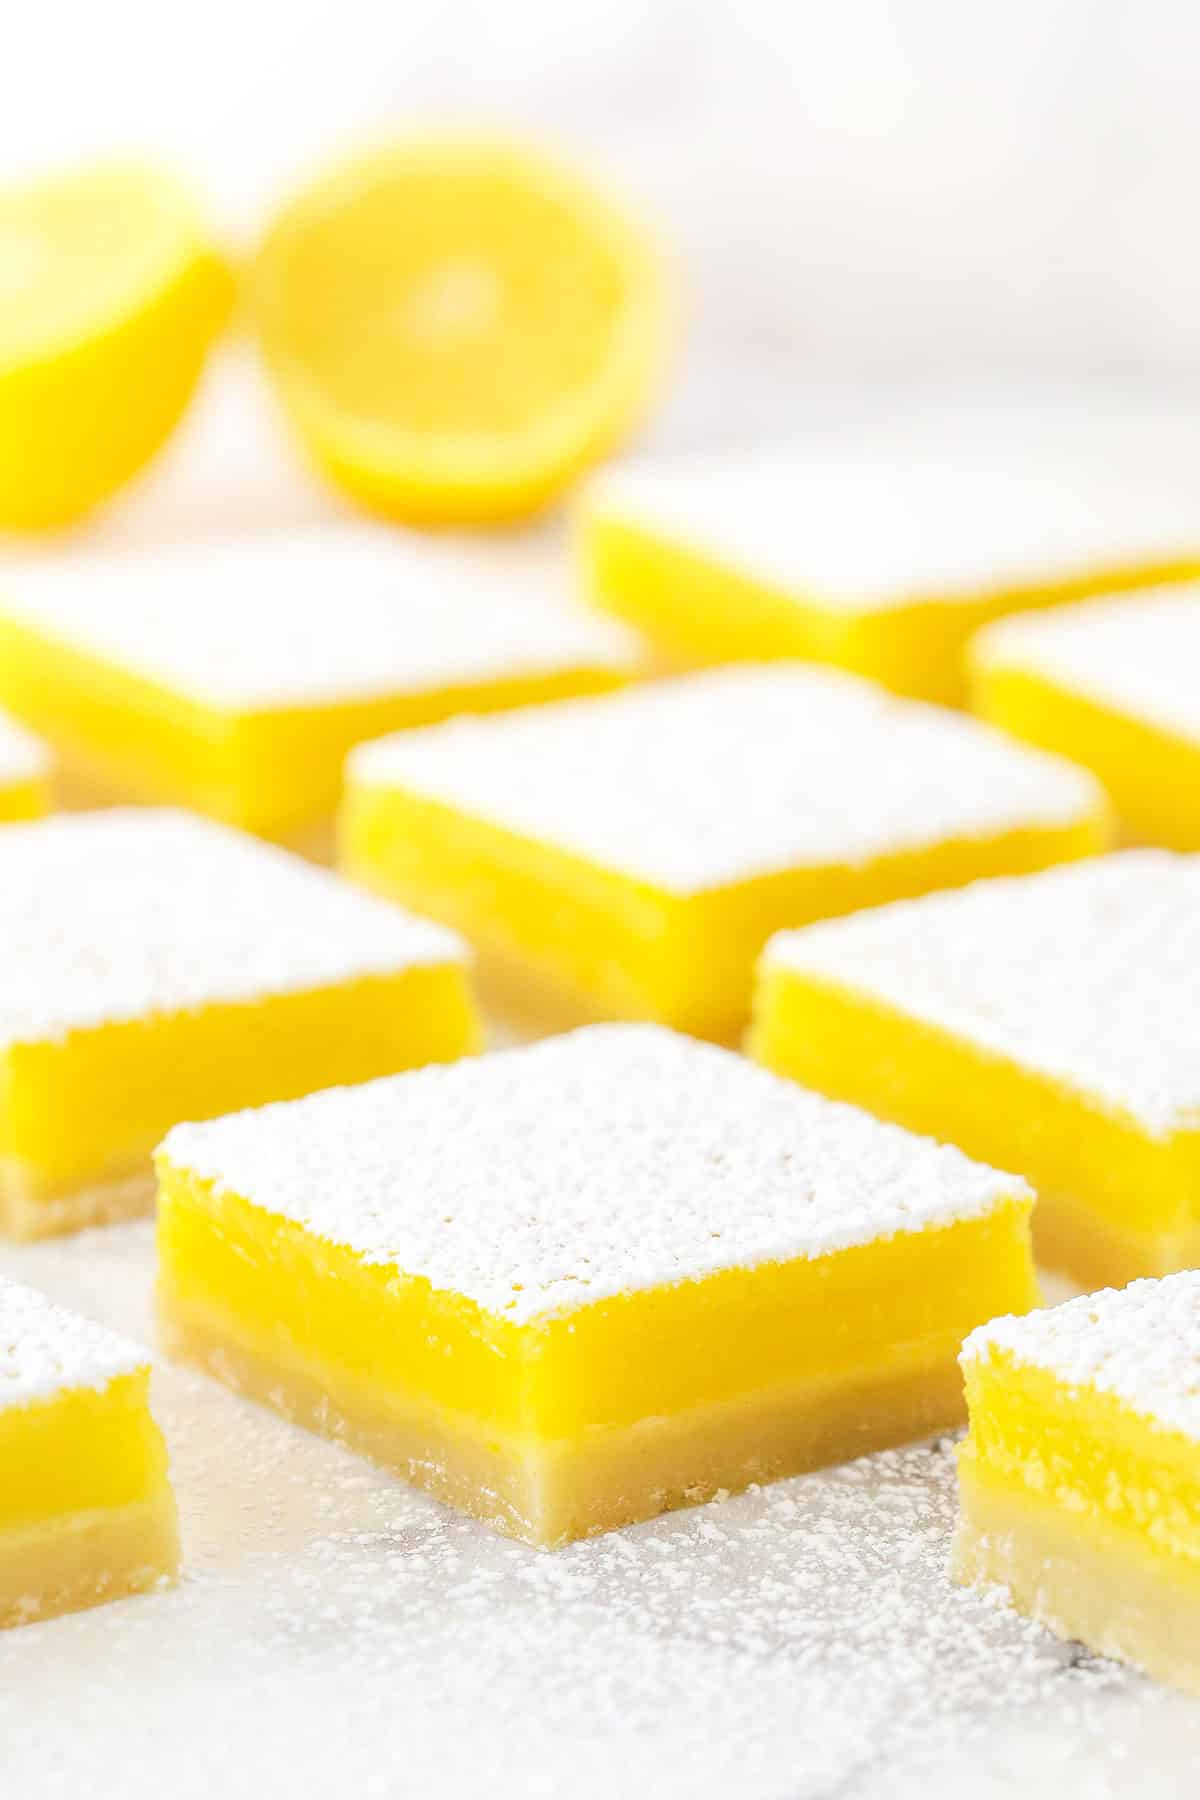
Easy Homemade Lemon Bars
This recipe has the most wonderful ratio of crust to lemon filling – they compliment each other without overpowering one another. The crust is seriously so good. It has just the right amount of sweetness to offset the tart lemon filling.
I played with the crust recipe until it turned out exactly how I wanted it to. The amount of flour in this recipe will ensure that the crust isn’t too soft or too firm. It has the perfect amount of vanilla extract to give it that sweet flavor. The powdered sugar sprinkled on top of the bars also adds a sweet touch that’s not too much.
I’m so happy with how the filling for these lemon bars came out! It has the best texture and flavor and it won’t crack when you bake it. I decided not to use lemon zest in the final recipe, because it made the filling taste a bit too strong, which threw off the balance of this dessert.
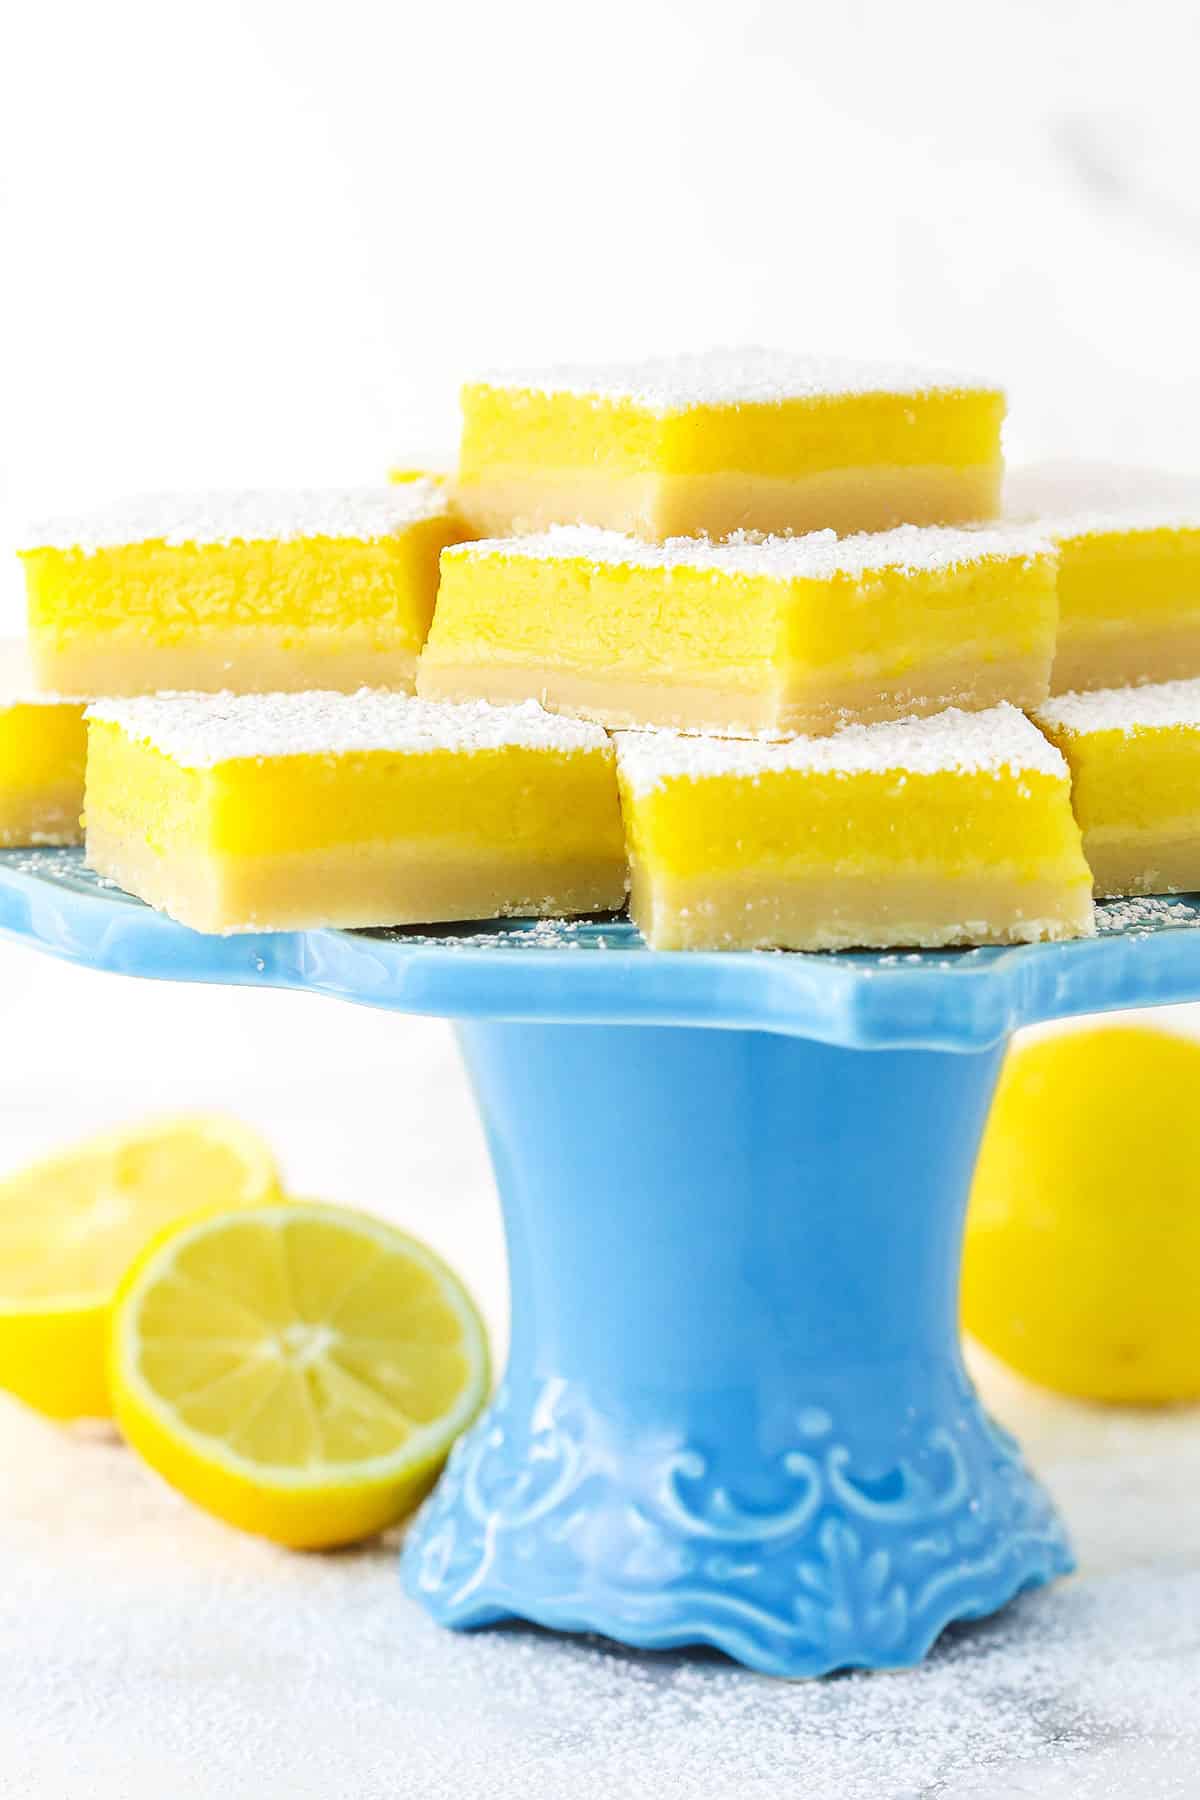
Recipe Ingredients
I tested every possible combination of lemon bar ingredients, and this is the recipe that came out on top! It’s an easy dessert that uses super simple ingredients. Here’s what you’ll need to make the best lemon bars you’ve ever tasted:
For the Crust
- All-Purpose Flour: Don’t change the amount of flour called for in this recipe – it will give your crust the perfect consistency.
- Powdered Sugar
- Salt: So that the crust isn’t too sweet or bland.
- Vanilla: Vanilla extract will give your crust an amazing flavor to compliment the filling.
- Unsalted Butter
For the Filling
- Granulated Sugar: Aside from giving your bars a touch of sweetness so they’re not too tart, the sugar will add moisture so the bars won’t crack when you bake them!
- All-Purpose Flour: To help thicken the filling.
- Large Eggs: To help the filling set. Be sure to use large eggs, not medium or extra large.
- Fresh Lemon Juice: Bring on the lemon daydream with some fresh-squeezed lemon juice. So good!
- Salt
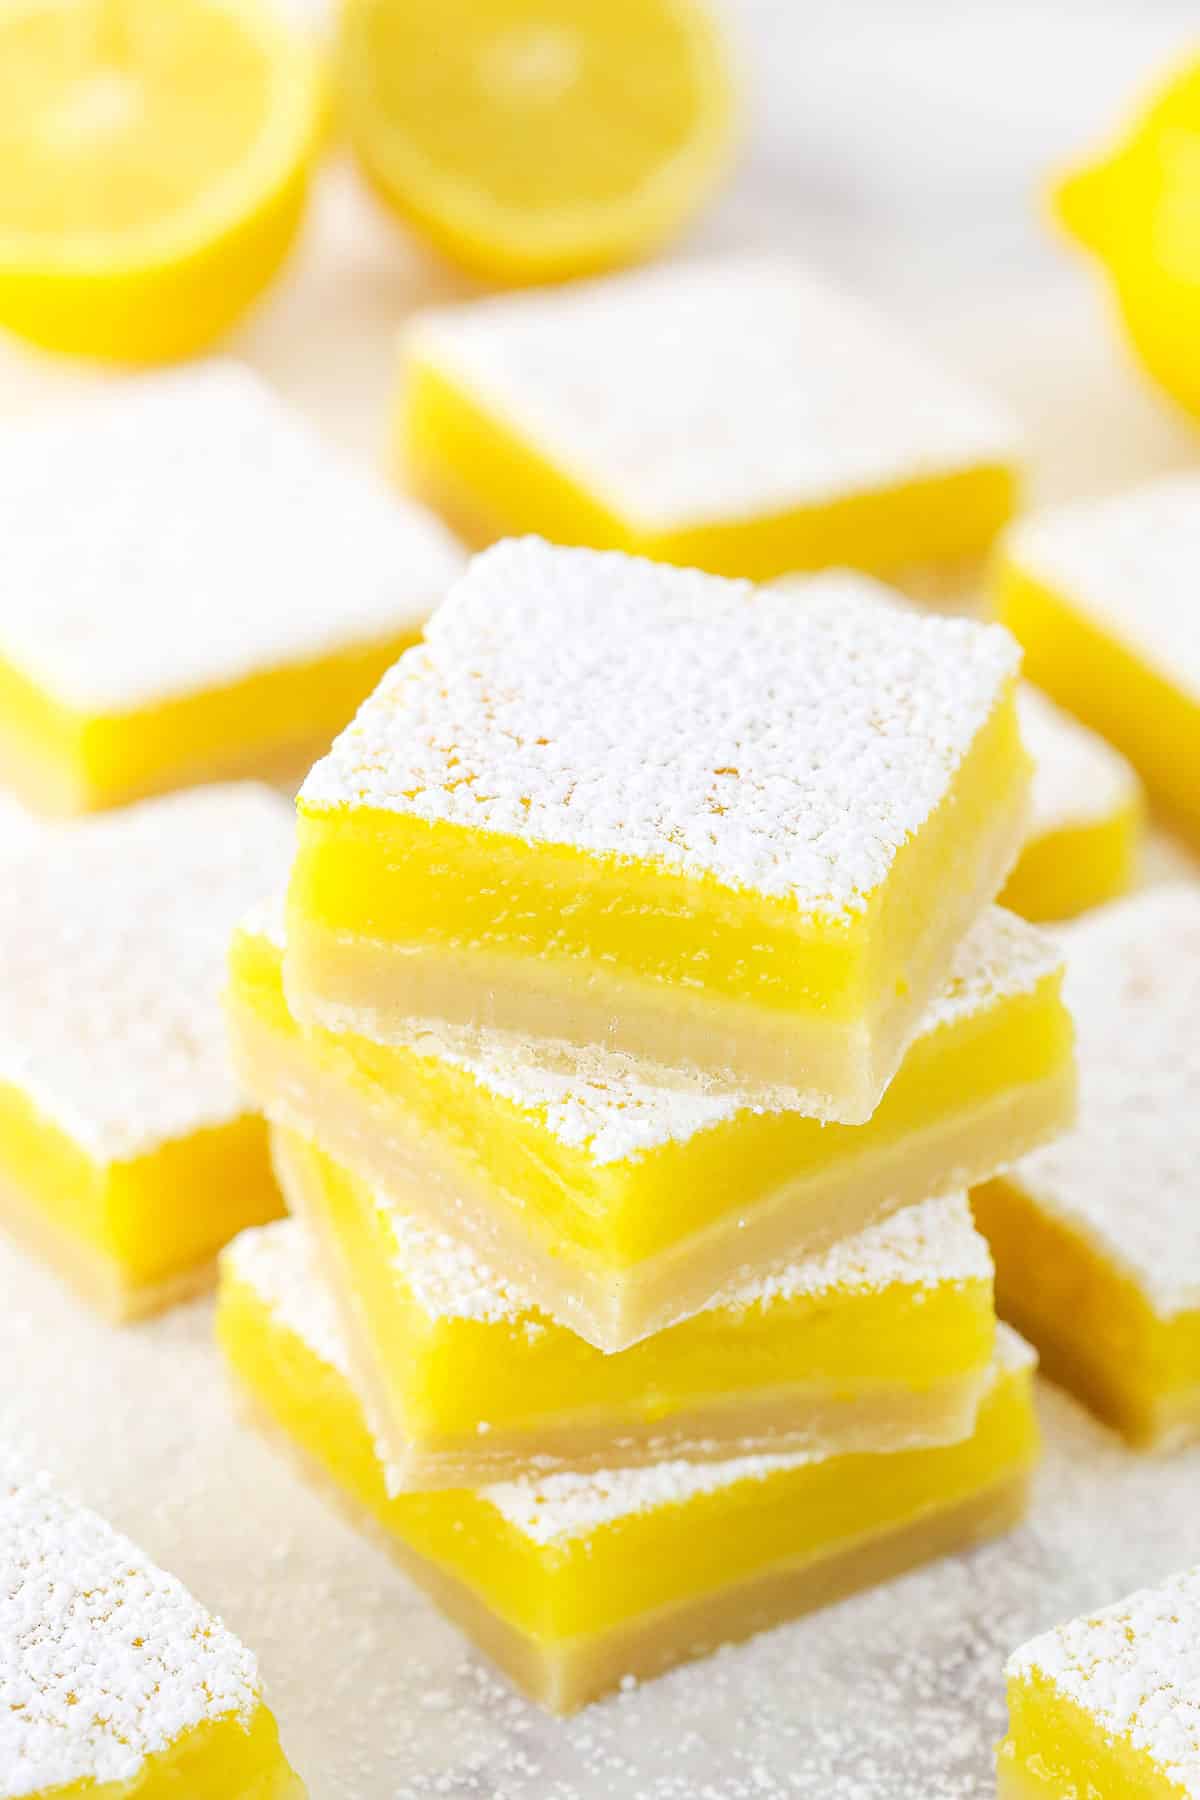
How to Make Lemon Bars
- Prepare Pan for Baking: Preheat your oven to 350 degrees and line the bottom and sides of a 9×13 baking pan with parchment paper that sticks up above the sides of the pan. This will help you remove the bars later for easy cutting. Set the pan aside.
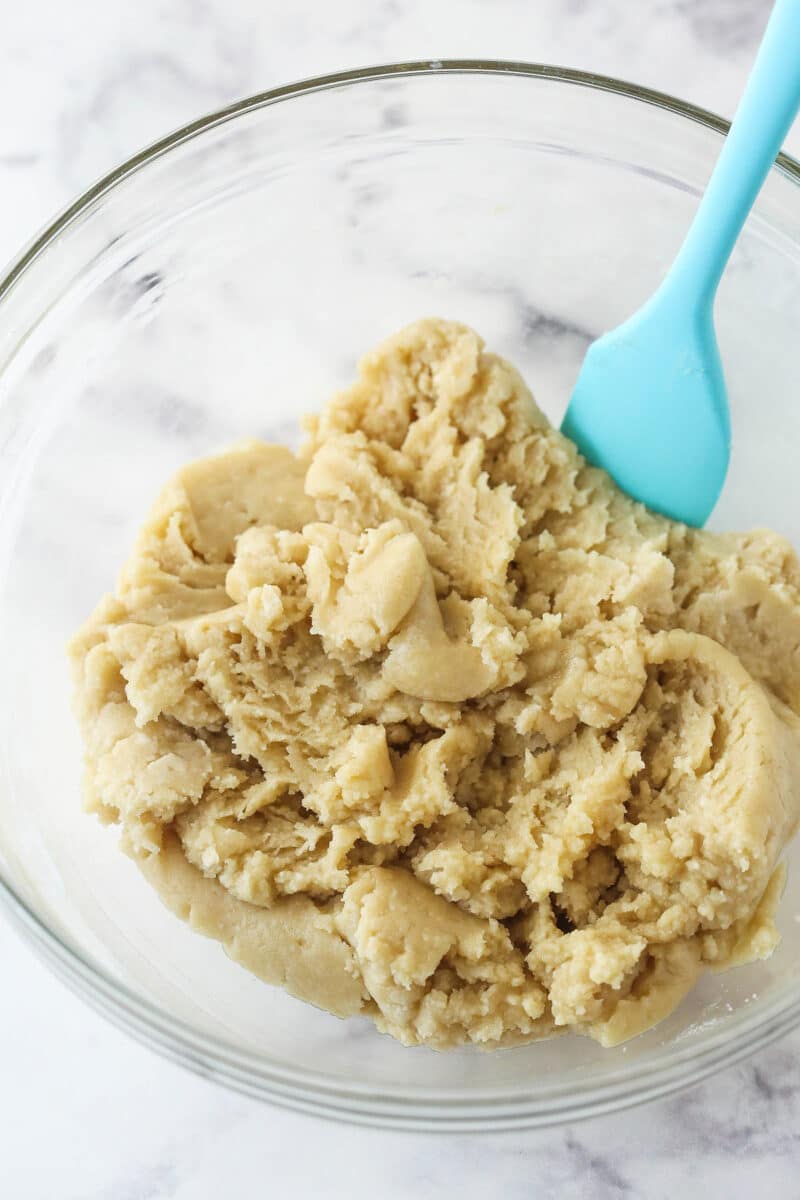
- Make Your Crust: Combine the flour, powdered sugar and salt in a medium bowl. Add the melted butter & vanilla extract and stir to combine completely.
- Assemble Crust: Crumble and distribute your crust over the bottom of the pan and press it evenly into the bottom.
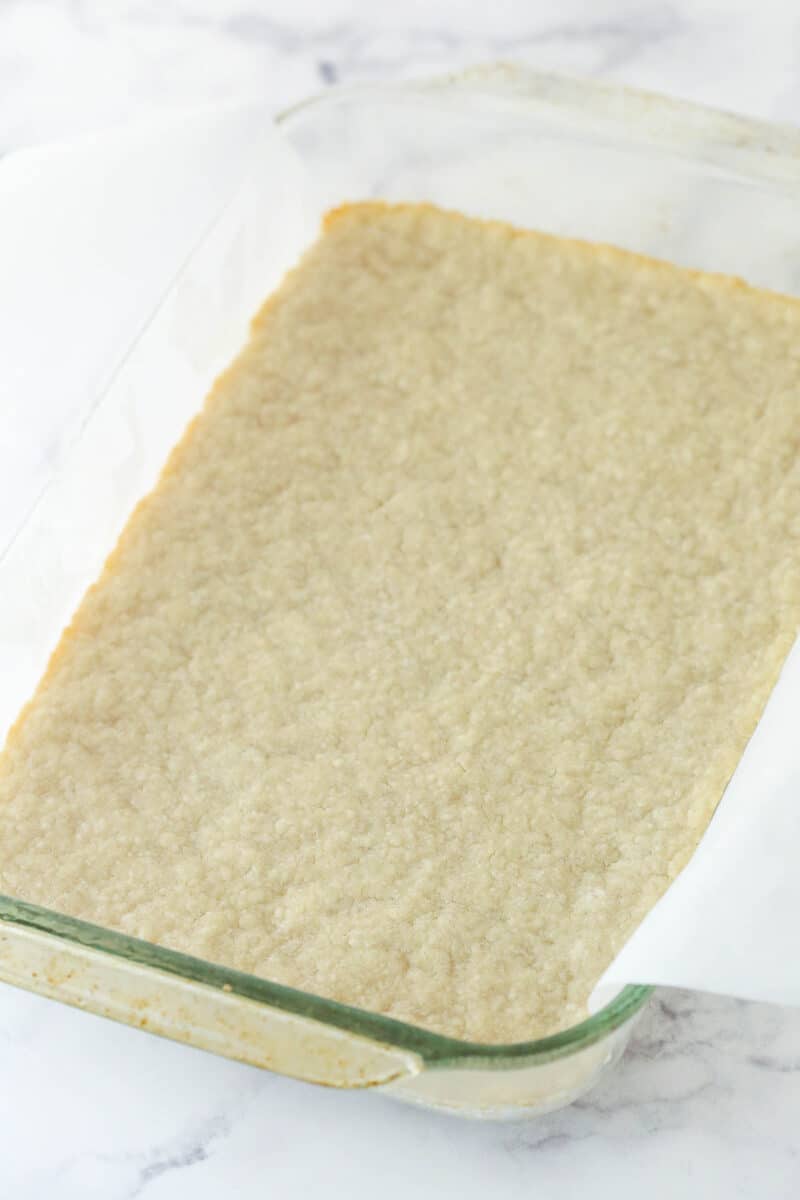
- Bake: Bake the crust for 15-20 minutes, or until the edges are just getting lightly browned. Remove from the oven and set aside.
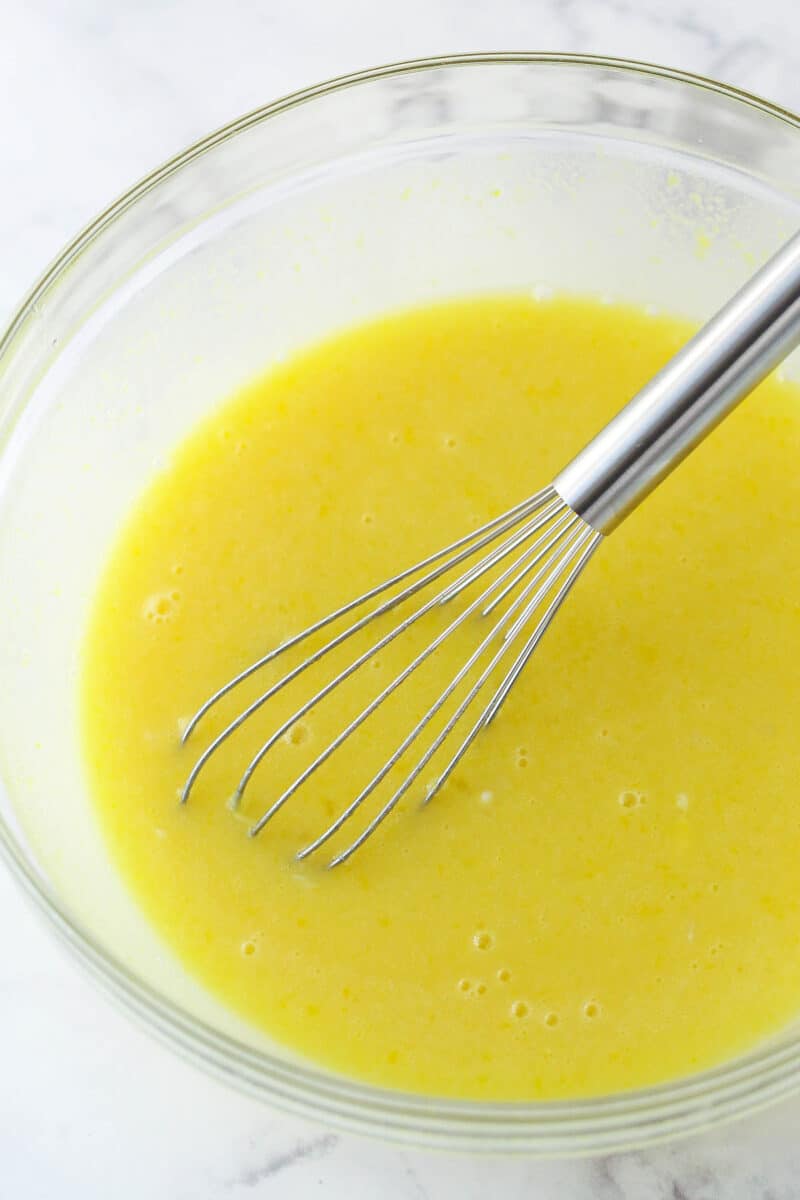
- Make Your Filling: Combine the sugar and flour in a bowl. Add the eggs, lemon juice & salt and whisk together to combine. Don’t over mix.
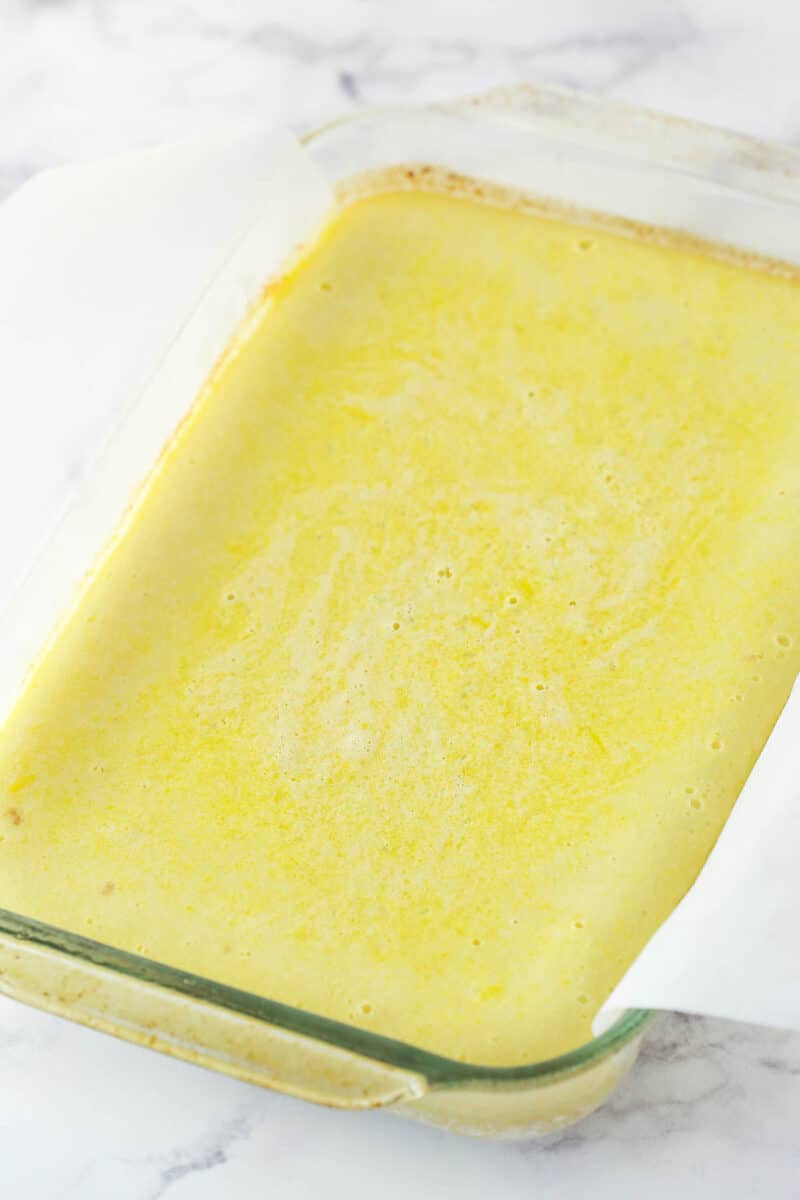
- Bake & Let Cool: Pour the filling on top of the crust and bake for 18-22 minutes, or until the edges are set and the center only jiggles ever so slightly. Don’t over bake them, or they can crack when they cool. Remove from the oven and cool for 15-20 minutes on the counter, then refrigerate until cold and firm.
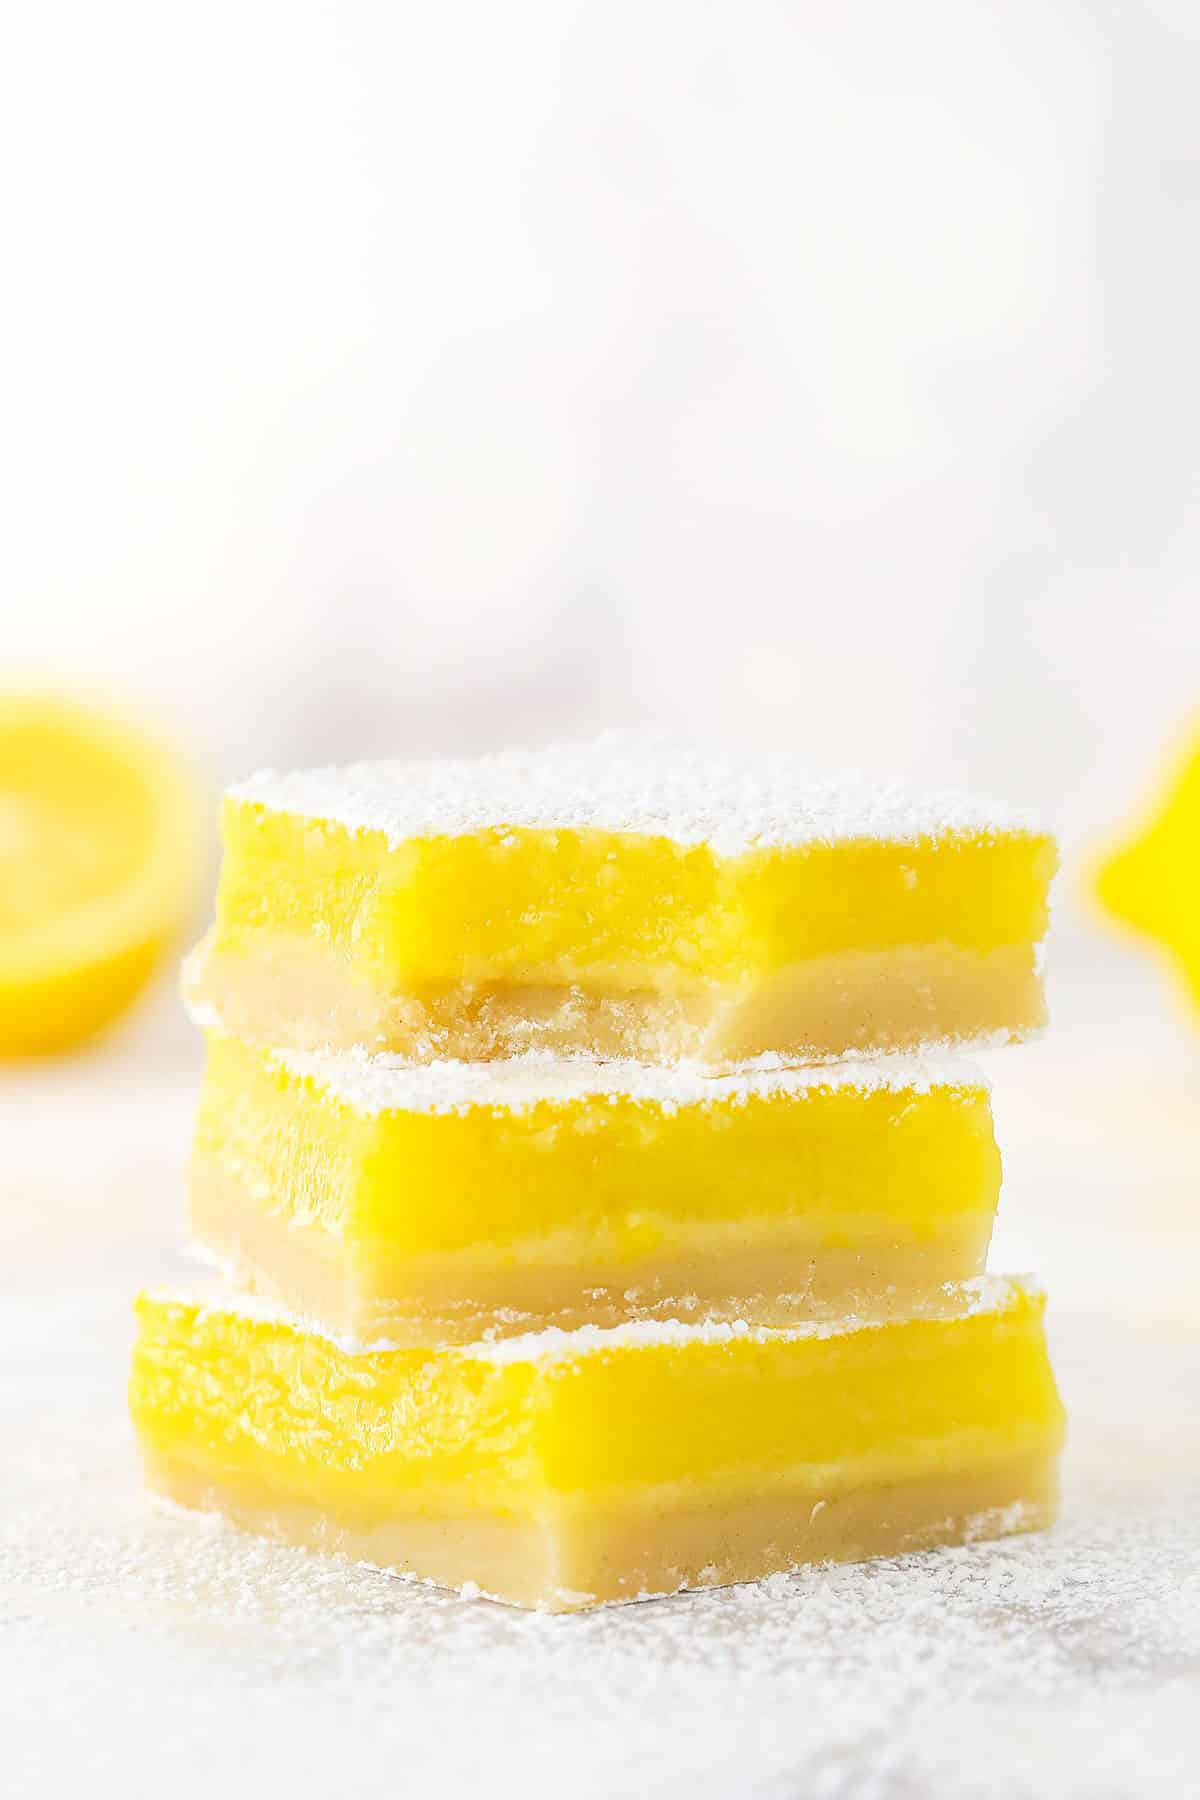
- Assemble Your Dessert: Remove bars from the pan and dust with powdered sugar, then cut into squares and serve!
Tips for the Best Lemon Bars
- Don’t Reduce the Sugar: I know it may be tempting for those who are trying to cut back on sugar, but sugar not only adds sweetness (which helps reduce how tart the filling could be), but it also adds moisture. That moisture helps to keep these bars from cracking.
- Use Fresh Lemon Juice: Definitely opt for fresh lemon juice rather than bottled – the flavor is very different, and the fresh lemon juice will make these bars SO much better. Trust me.
- Don’t Over Mix Your Filling: If you notice some air bubbles or even a little white layer of air bubbles on top of your baked bars, it’s ok. It’s just the air from the filling rising while the bars bake! To help avoid too much of that, just be sure not to over mix your filling.
How to Get Lemon Bars Out of the Pan
In order to get your lemon bars out of the pan easily, be sure to use plenty of parchment paper to line the pan. It should cover the entire bottom of the pan as well as the sides, and you should even have the paper sticking up above the sides to make sure nothing sticks to the pan.
This extra bit of parchment paper doubles as a handle to remove the bars with! Simply run a thin, sharp knife along the sides, lift your dessert right out with the parchment paper “handles,” and transfer it to a cutting board.
If your bars have been chilled enough, you should be able to cut into them with no problem. But if you’re having trouble, running your knife under hot water before each cut will make your job even easier!
How to Store Lemon Bars
These lemon bars are an amazing make-ahead dessert, because they’ll last for nearly a week if stored properly! Be sure to put them in a covered container in the refrigerator. They’ll stay good for up to 6 days!
More Great Lemon Treats
Lemon Curd
Lemon Blueberry Cheesecake
No Bake Lemon Cheesecake
Lemon Poppyseed Cake
Lemon Mascarpone Cream Pie
Watch How To Make Them
Print
Easy Lemon Bars Recipe
- Prep Time: 15 minutes
- Cook Time: 35 minutes
- Total Time: 50 minutes
- Yield: 20-24
- Category: Dessert
- Method: Oven
- Cuisine: American
Description
This Easy Lemon Bars Recipe has the perfect combination of tart and sweet. Made with a vanilla crust and a smooth lemon filling, these are easily the best lemon bars ever!
Ingredients
Crust
- 2 cups + 2 tbsp (276g) all-purpose flour
- 1 cup (115g) powdered sugar
- 1/2 tsp salt
- 1 tsp vanilla
- 1 cup (224g) unsalted butter, melted
Filling
- 2 1/2 cups (518g) granulated sugar*
- 1/2 cup (65g) all-purpose flour
- 7 large eggs
- 1 cup (240ml) fresh lemon juice (4-5 lemons)
- Pinch salt
Instructions
- Preheat oven to 350°F. Spray the bottom and sides of a 9×13 glass or ceramic pan with baking spray, then line it with parchment paper that sticks up above the long sides of the pan, so that you can remove the bars later for easy cutting. Set pan aside.
- To make the crust, combine the flour, powdered sugar and salt in a medium bowl.
- Add the melted butter and vanilla extract and stir to combine completely.
- Crumble and distribute over the bottom of the pan and press evenly into the bottom so that it’s even.
- Bake for 15-20 minutes or until the edges are just getting lightly browned. Remove from oven and set aside.
- To make the filling, combine the sugar and flour. Add the eggs, lemon juice and salt and whisk together to combine. Don’t over mix.
- Pour the filling on top of the hot crust and bake for 18-22 minutes or until the center is set, but still jiggles slightly when you gently jiggle the pan. Remove from the oven and cool on the counter until room temperature, then refrigerate until cold and firm.
- Remove bars from pan and dust with powdered sugar, then cut into squares. Bars are best when stored well covered, and they’ll last for 5-6 days.
Notes
Don’t reduce the sugar. It not only adds sweetness (which helps reduce how tart the filling could be), but it also adds moisture. That moisture helps keep these bars from cracking.
Nutrition
- Serving Size:
- Calories: 239
- Sugar: 26.1 g
- Sodium: 100 mg
- Fat: 9.2 g
- Carbohydrates: 36.6 g
- Protein: 3.3 g
- Cholesterol: 74.6 mg




Can you substitute store bought pillsbury crust?
That isn’t the same kind of crust. I wouldn’t recommend it.
I’ve always wondered on these kind of recipes on whether I can make the crust ahead of time or is it necessary to do while hot so filling and crust bind. 🙂 just been wondering.
I do think it helps to add the filling to the warm crust. You may be able to get away with using a cold crust, but that could end up varying based on your pan or other factors.
so I haven’t tried this recipe yet, I was just wondering if you could replace the powdered sugar in the crust with regular granulated sugar? also I have tried your other recipes and I adore them! I almost always use your recipes when I bake
I think the crust baked a little better with the powdered sugar, but you could try granulated. I’m so glad to hear you enjoy the recipes!